
This post may contain affiliate links. Please read our disclosure policy.


How to dry mint at home with three methods to choose from: oven-drying, using a dehydrator, or air-drying. This post also includes mint benefits and how to store, convert, and use dried mint!
I think my obsession with dehydrating and preserving came at just about the right time. Along with DIY methods for things like ‘sun-dried tomatoes’ and garlic & onion flakes, I’m now moving on to herbs – like how to dry mint, rosemary, and thyme.
Since moving from London to Oxford, I’ve been able to take advantage of my extra space (and garden!!) for lots more herb growing, which means I’m constantly looking for ways to make my herbs last longer. I already store herbs in the fridge and freezer, but learning how to dry mint leaves (and stems) can be great for preserving mint for a long shelf-life. Plus, it’s usually fresher and better-tasting than the store-bought versions.
When preserving mint at home, you can also easily prepare dried mint leaves, crushed mint, powdered mint, etc. Best of all, there are tons of ways to use the dried herb too – within spice mixes, for sauces and dressings, for mint tea, etc. Check out the ‘uses’ section below for tons more options.
Want to save this recipe?
Mint Benefits
It’s no secret that mint, along with smelling and tasting wonderful, has also been used in several medicinal ways for years (and years and years). There are several varieties, too, including spearmint and peppermint. Whether you’re eating it, inhaling it, rubbing it on your skin in some form or another, the benefits differ from method to method.
Mint is fairly rich in several nutrients – containing good amounts of vitamin A (critical for eye health), manganese, and iron, as well as being a rich source of antioxidants.
There are also several ways that mint is used to relieve digestive issues. However, the majority are treated with mint (essential) oil rather than fresh or dried versions. Likewise, there are several potential benefits linked with inhaling mint – from increased alertness to helping with cold symptoms, such as clearing congestion.
When it comes to consuming fresh or dried mint leaves, the health benefits research is limited. On the plus side, it tastes great and doesn’t have many adverse side effects!
How To Dry Mint
There are three main ways to dry mint including using a dehydrator, oven, or air-drying. Using a dehydrator is my preferred method for the low heat and quick turnover.
Oven drying mint can be quick, but you need to be careful not to cook/burn the leaves as you often can’t get temperatures that are as low.
Lastly, air-drying mint is a great heatless option, but will really only work in warm climates that aren’t humid (a room that is around 60-68ºF/15-20ºC will work well). Cold/humid climates may lead to moldy mint.
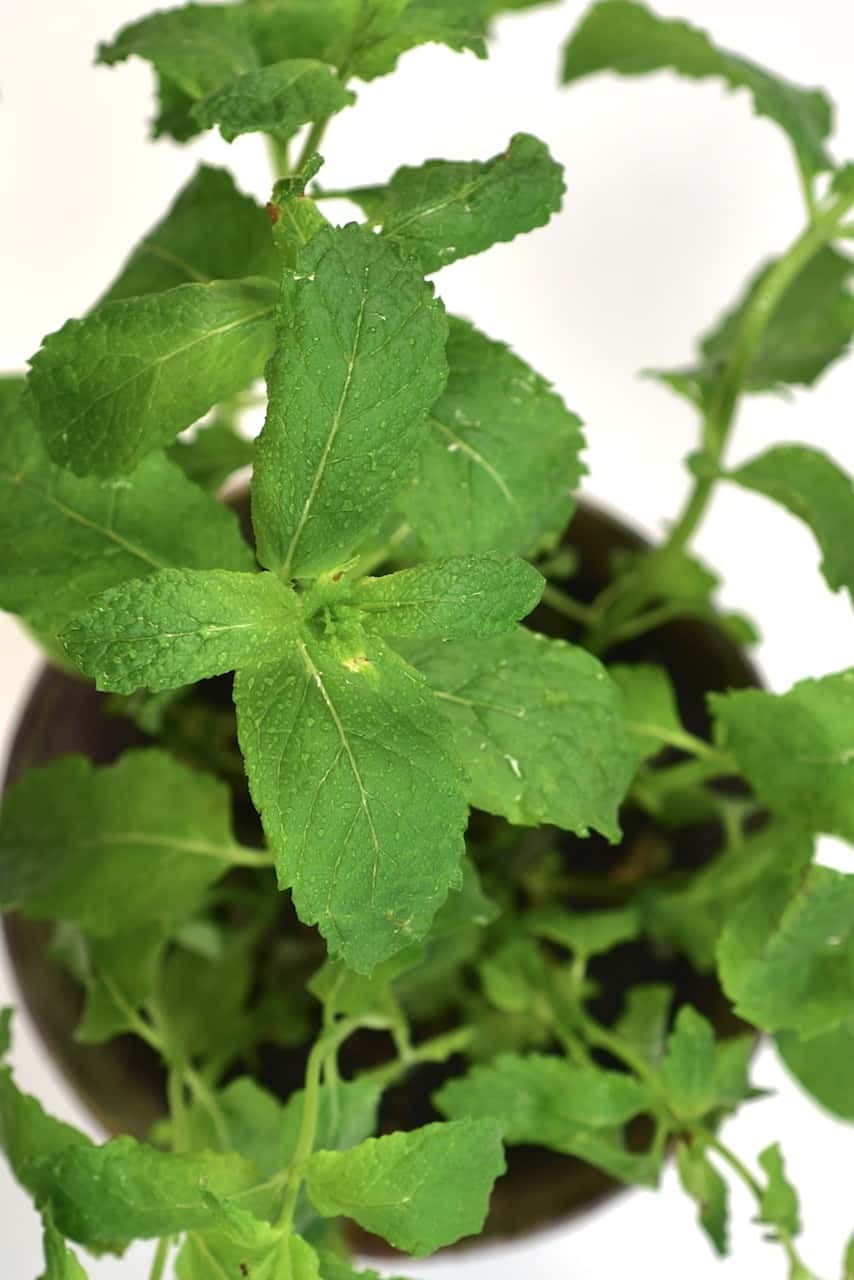
Wash and dry the herb
It’s important to wash and carefully dry any mint before dehydrating it – to get rid of any critters and germs.
Add the mint to a bowl of water and swish it carefully. After rinsing, you could use a salad spinner to get rid of as much excess water before patting dry or go straight to patting dry.
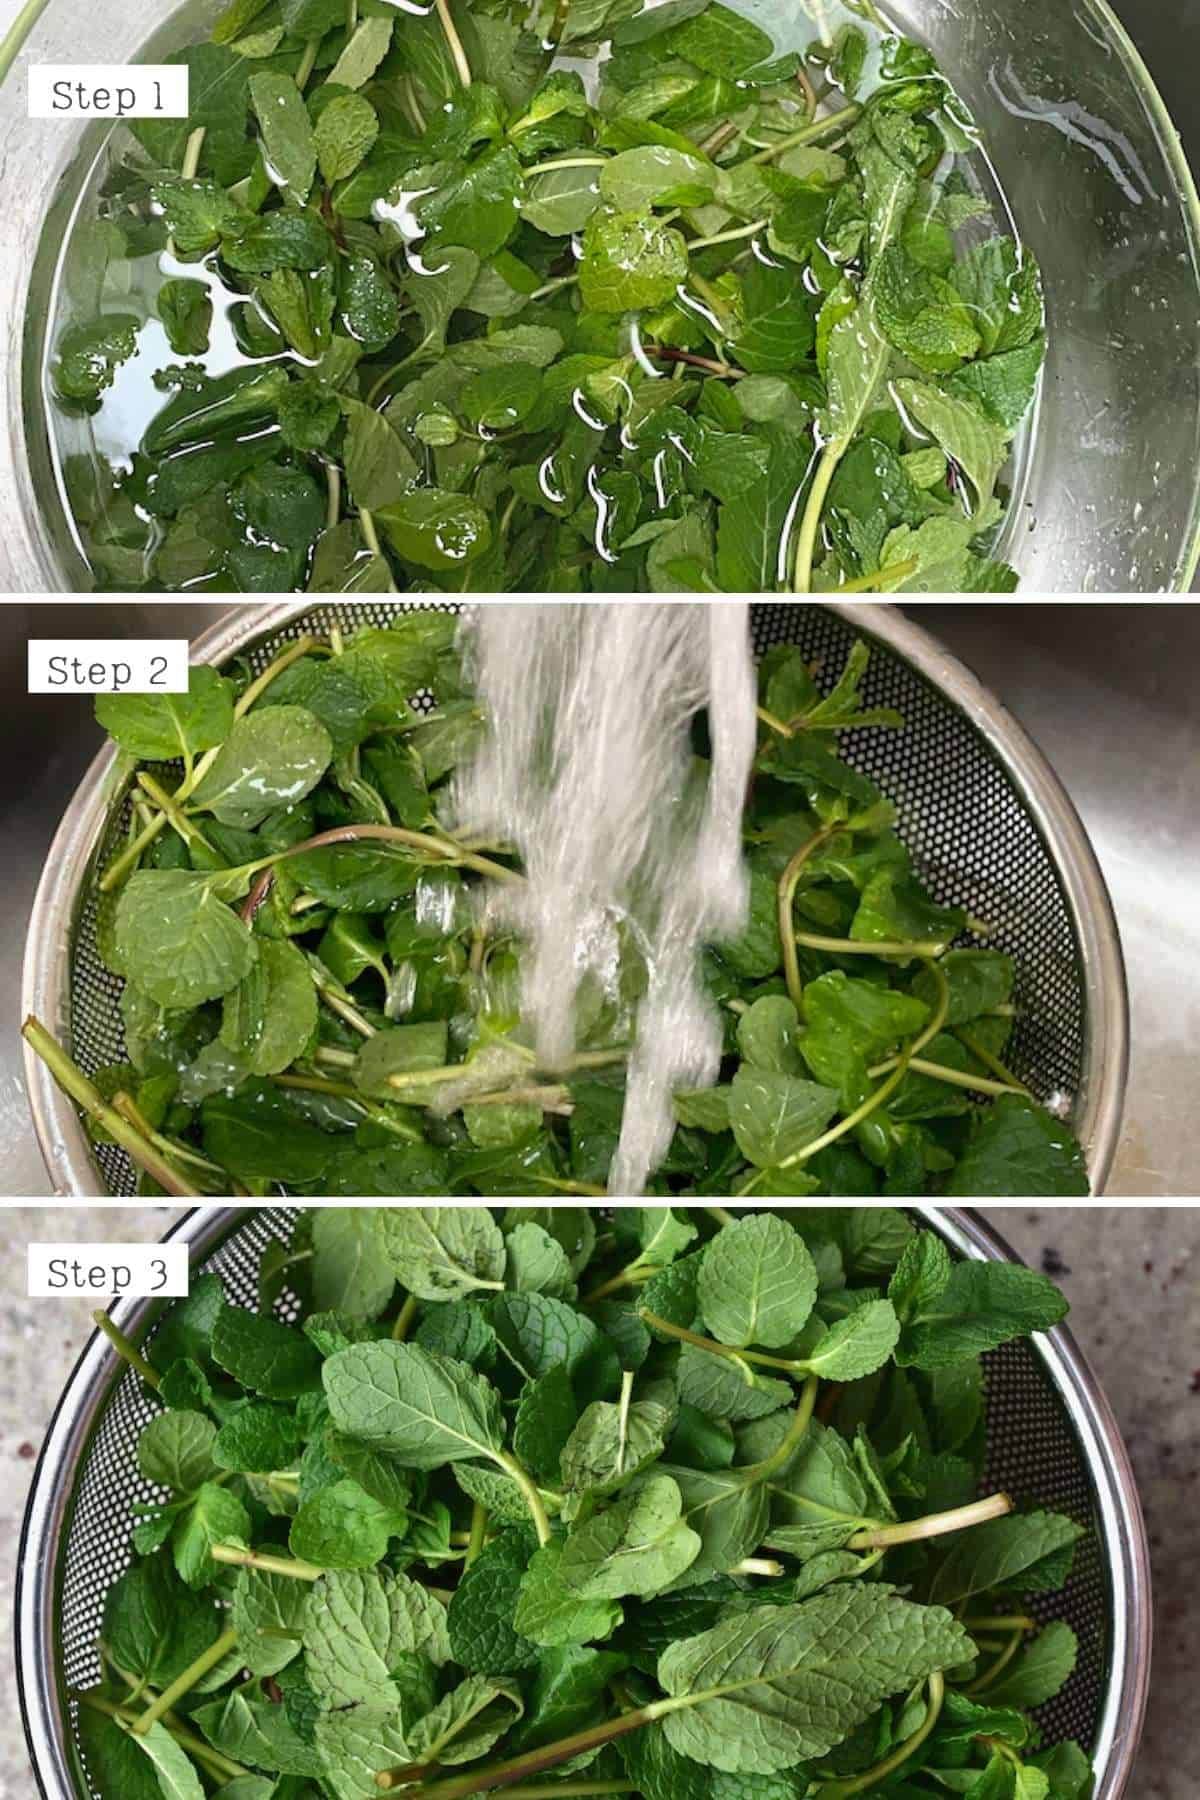
It’s important to get rid of ALL the excess moisture before drying the mint so it can be a good idea to let it air-dry for an extra 30-60 minutes, pat dry once more, before using the oven or dehydrator method.
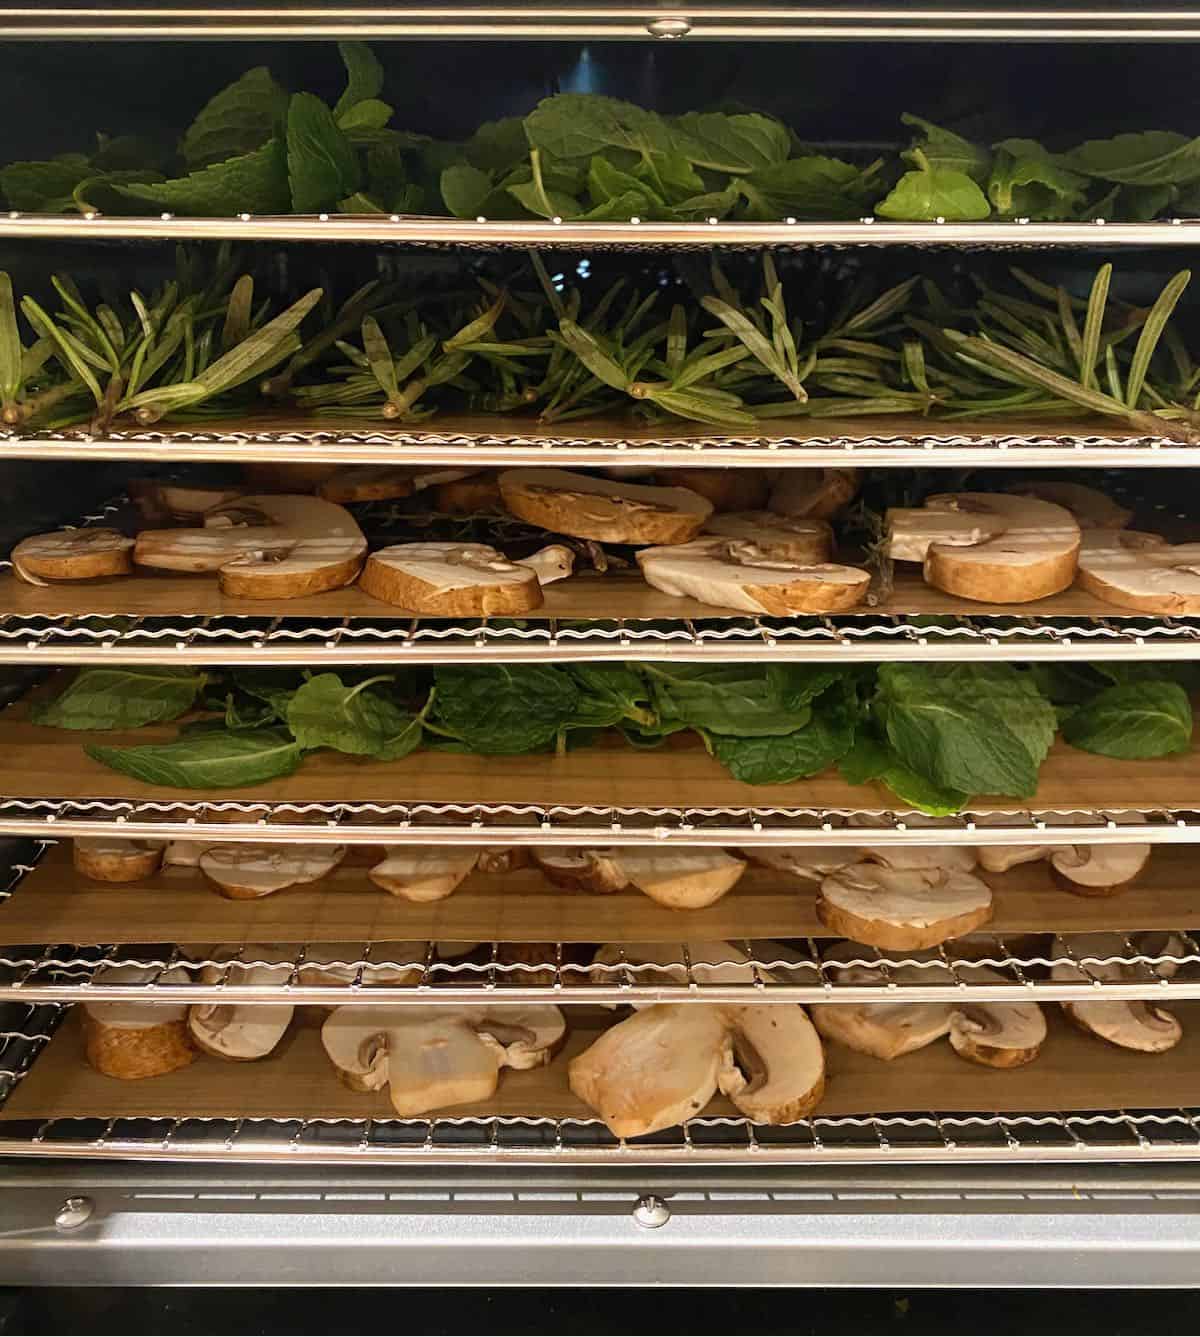
In A Dehydrator
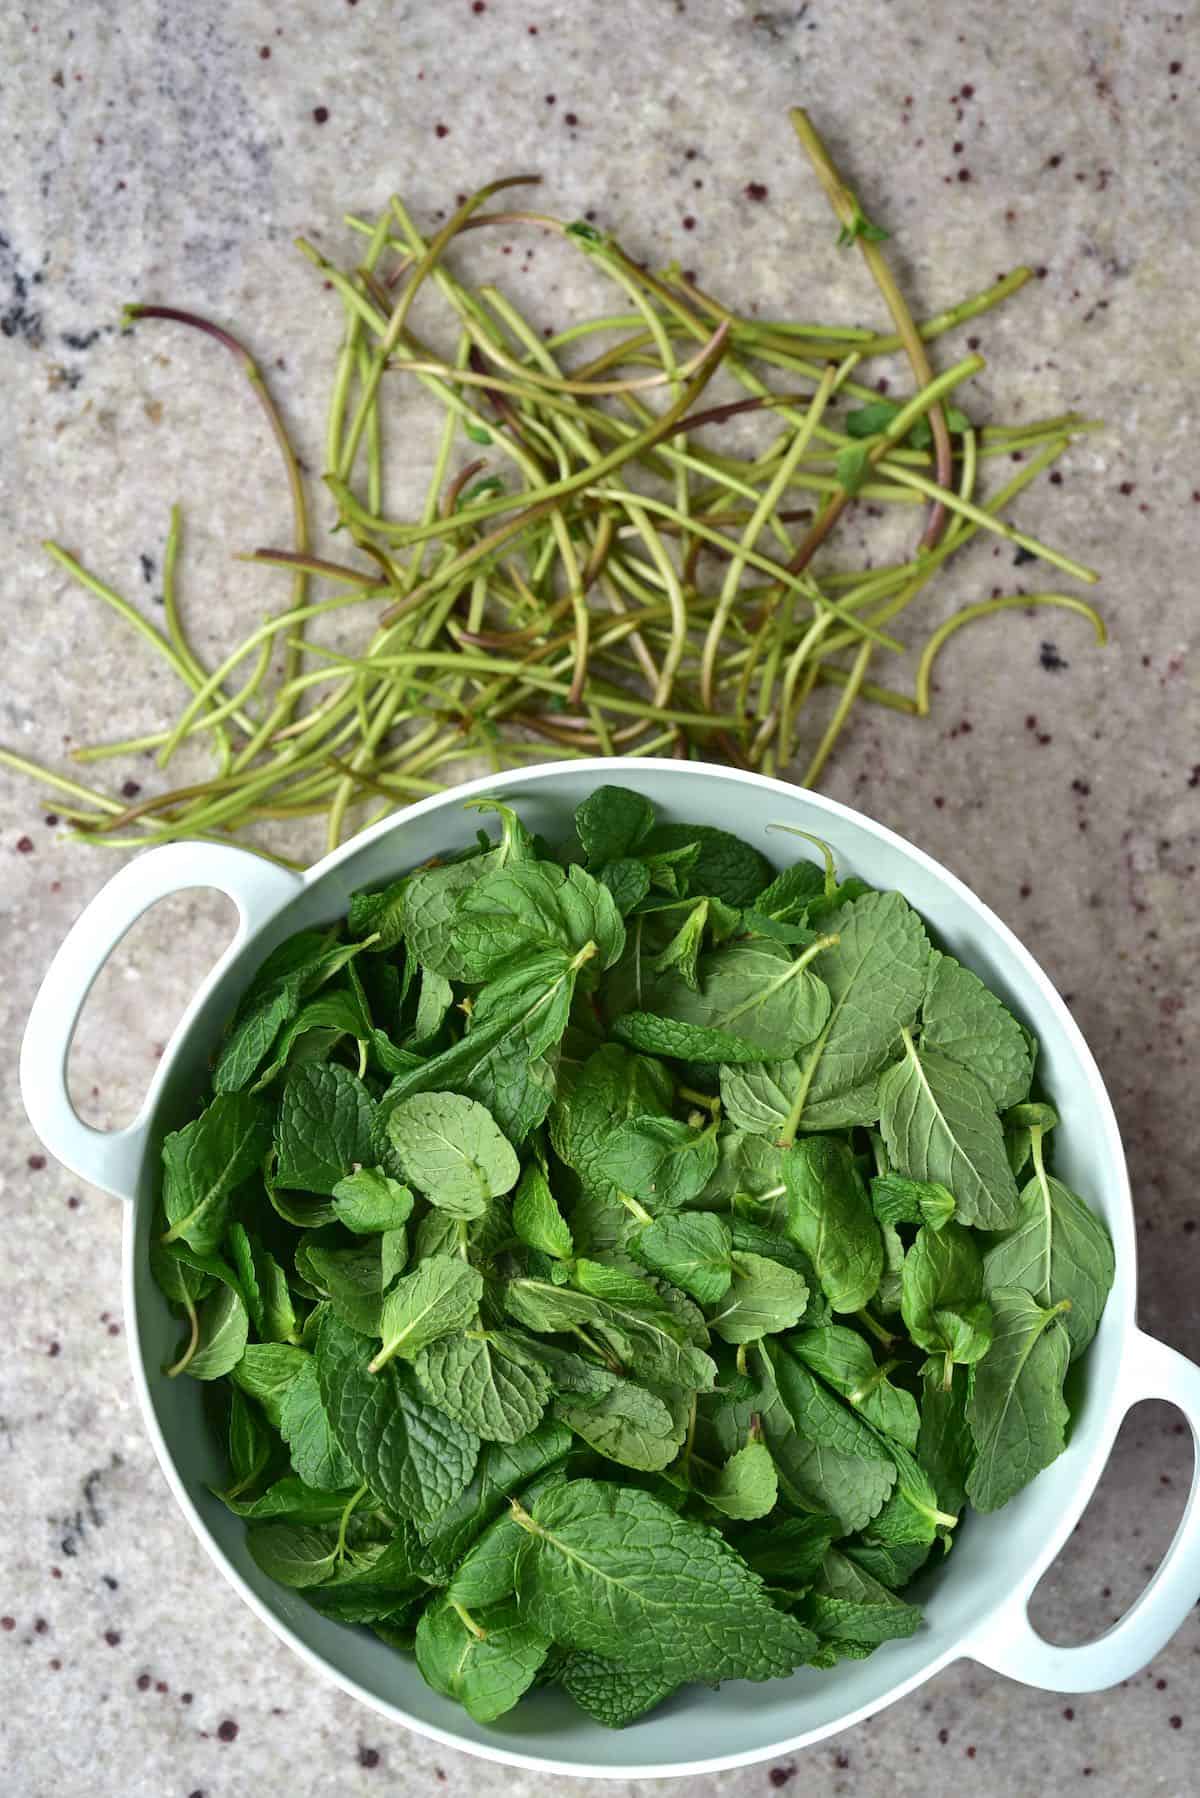
Once rinsed and dried, remove the mint leaves from the stems (you can dry the stems separately if you want).
Lay the leaves in a single layer across your dehydrator tray/s, making sure to leave space in-between for the air to circulate.
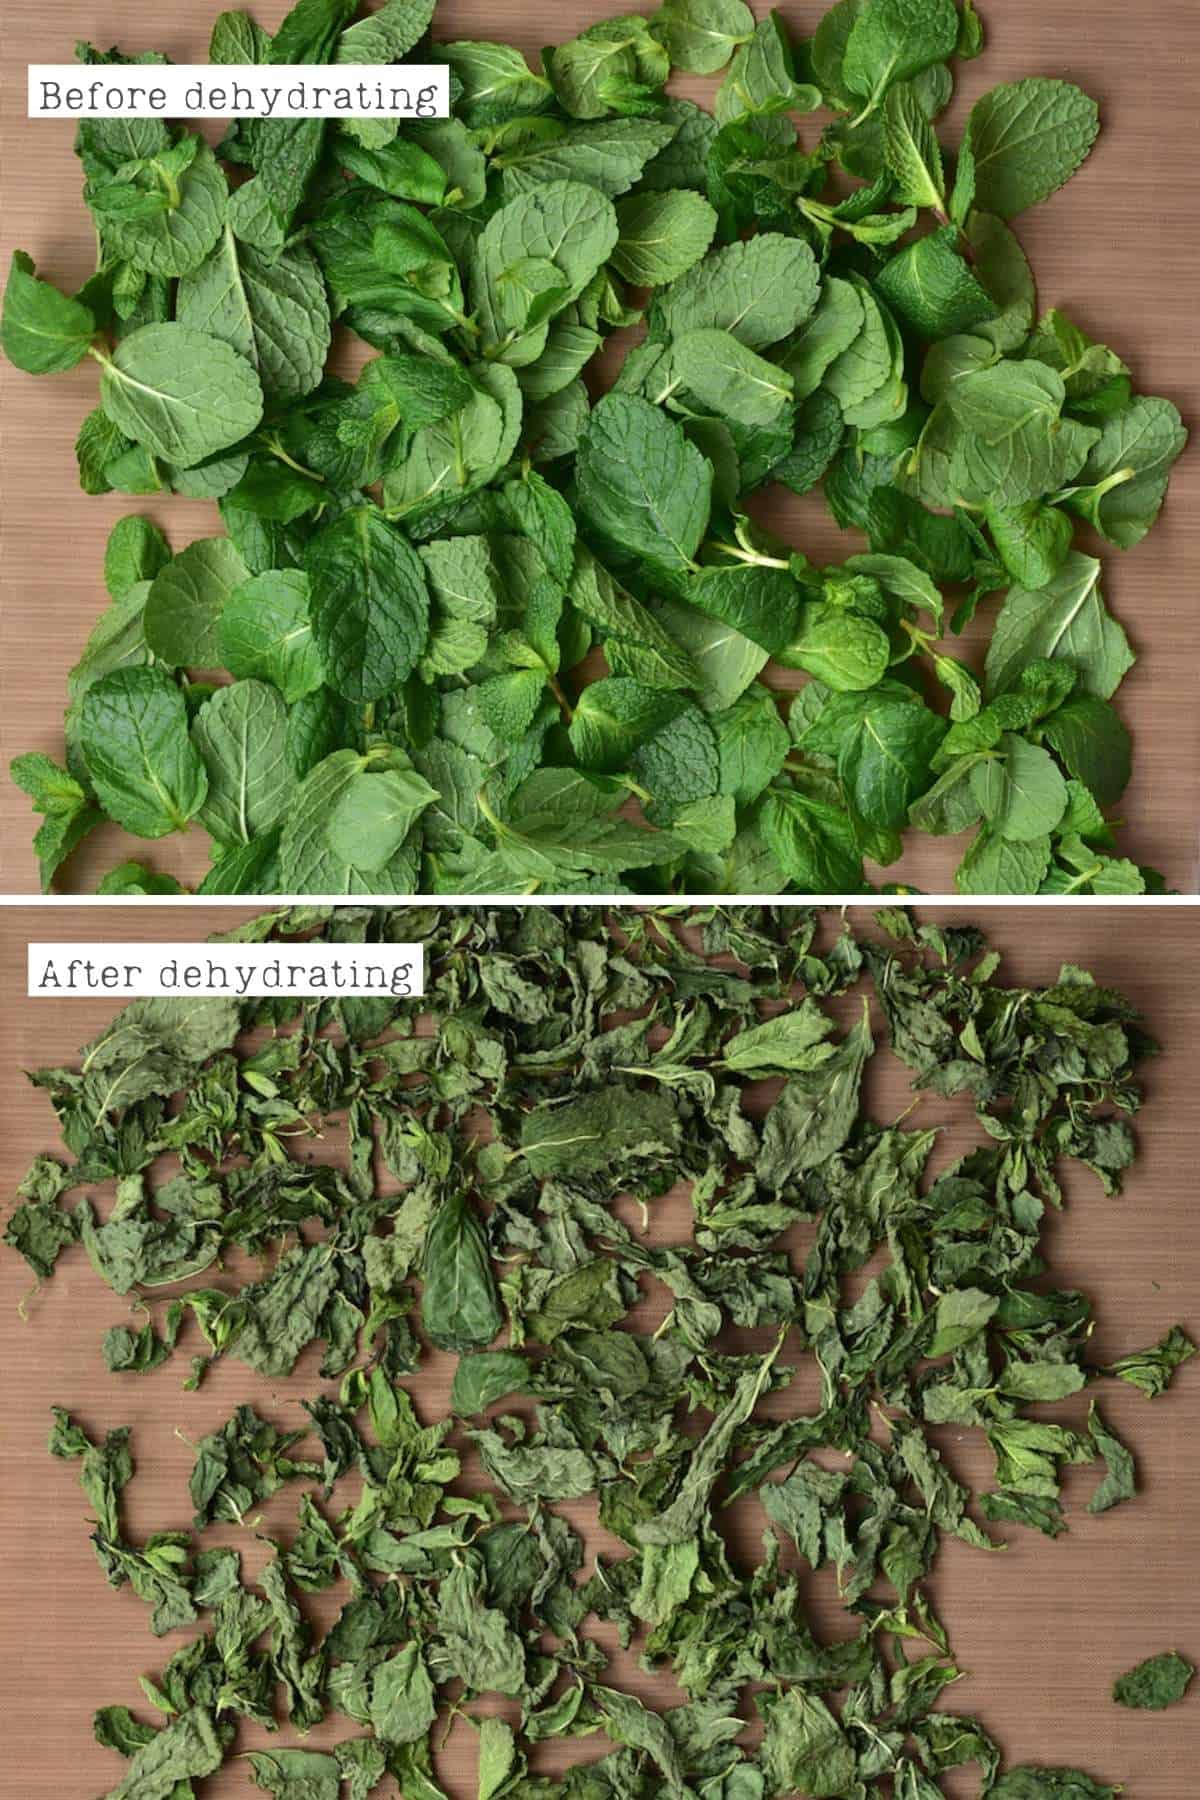
Dry the mint at 40°C/105°F for between 2-5 hours, until they are brittle and crumble to pieces rather than bending.
The time will vary based on your machine, how much you’re drying, the climate you live in, etc. It’s best to check on them after 2 hours and then again every 15-20 minutes.
Allow the dried mint leaves to cool entirely before transferring to an airtight jar.
In The Oven
After rinsing and drying the mint, remove the leaves from the stems (or leave them, for now) and lay them out on a parchment-lined baking tray/s with space between for air to circulate.
Place the tray in the oven at its lowest temperature, best to be under 200ºF/95ºC (higher temperatures can cause the mint to brown and “cook”). Depending on the temperature, this process will take a different amount of time.
For example, 120ºF/50Cº may take between 1.5-4 hours. 180ºF/80ºC may take 1-2.5 hours.
It can be a good idea to slightly prop the oven door open using a heat-proof wooden spoon or potholder to release the steam and dry the leaves faster (as well as avoid overheating them). You can also flip the mint leaves after 1 hour to allow for faster even drying.
Air-drying
After rinsing and drying mint (fresh), you can gather it into a bouquet and tie it together with a piece of twine/string at the bottom of the stems.
Hang the bouquet in a warm, well-ventilated area away from any direct sunlight. You can do this by creating a hanging apparatus with strings, drying the bouquet of mint from a hanger, or even using a herb drying rack.
Use this method if you live in a warm, dry climate to avoid your mint becoming moldy. Also, make sure to dry them away from sunlight as the sun causes the leaves to brown and destroys the mint essential oils.
Allow it to hang dry for between a couple of days up to 1-2 weeks until dry and ‘crumbly’ to the touch.
Due to the long drying time, it can be a good idea to cover the herbs with a ventilated ‘protective covering’ like a paper bag – to avoid dust settling on the herbs (and little critters).
How To Store Dried Mint
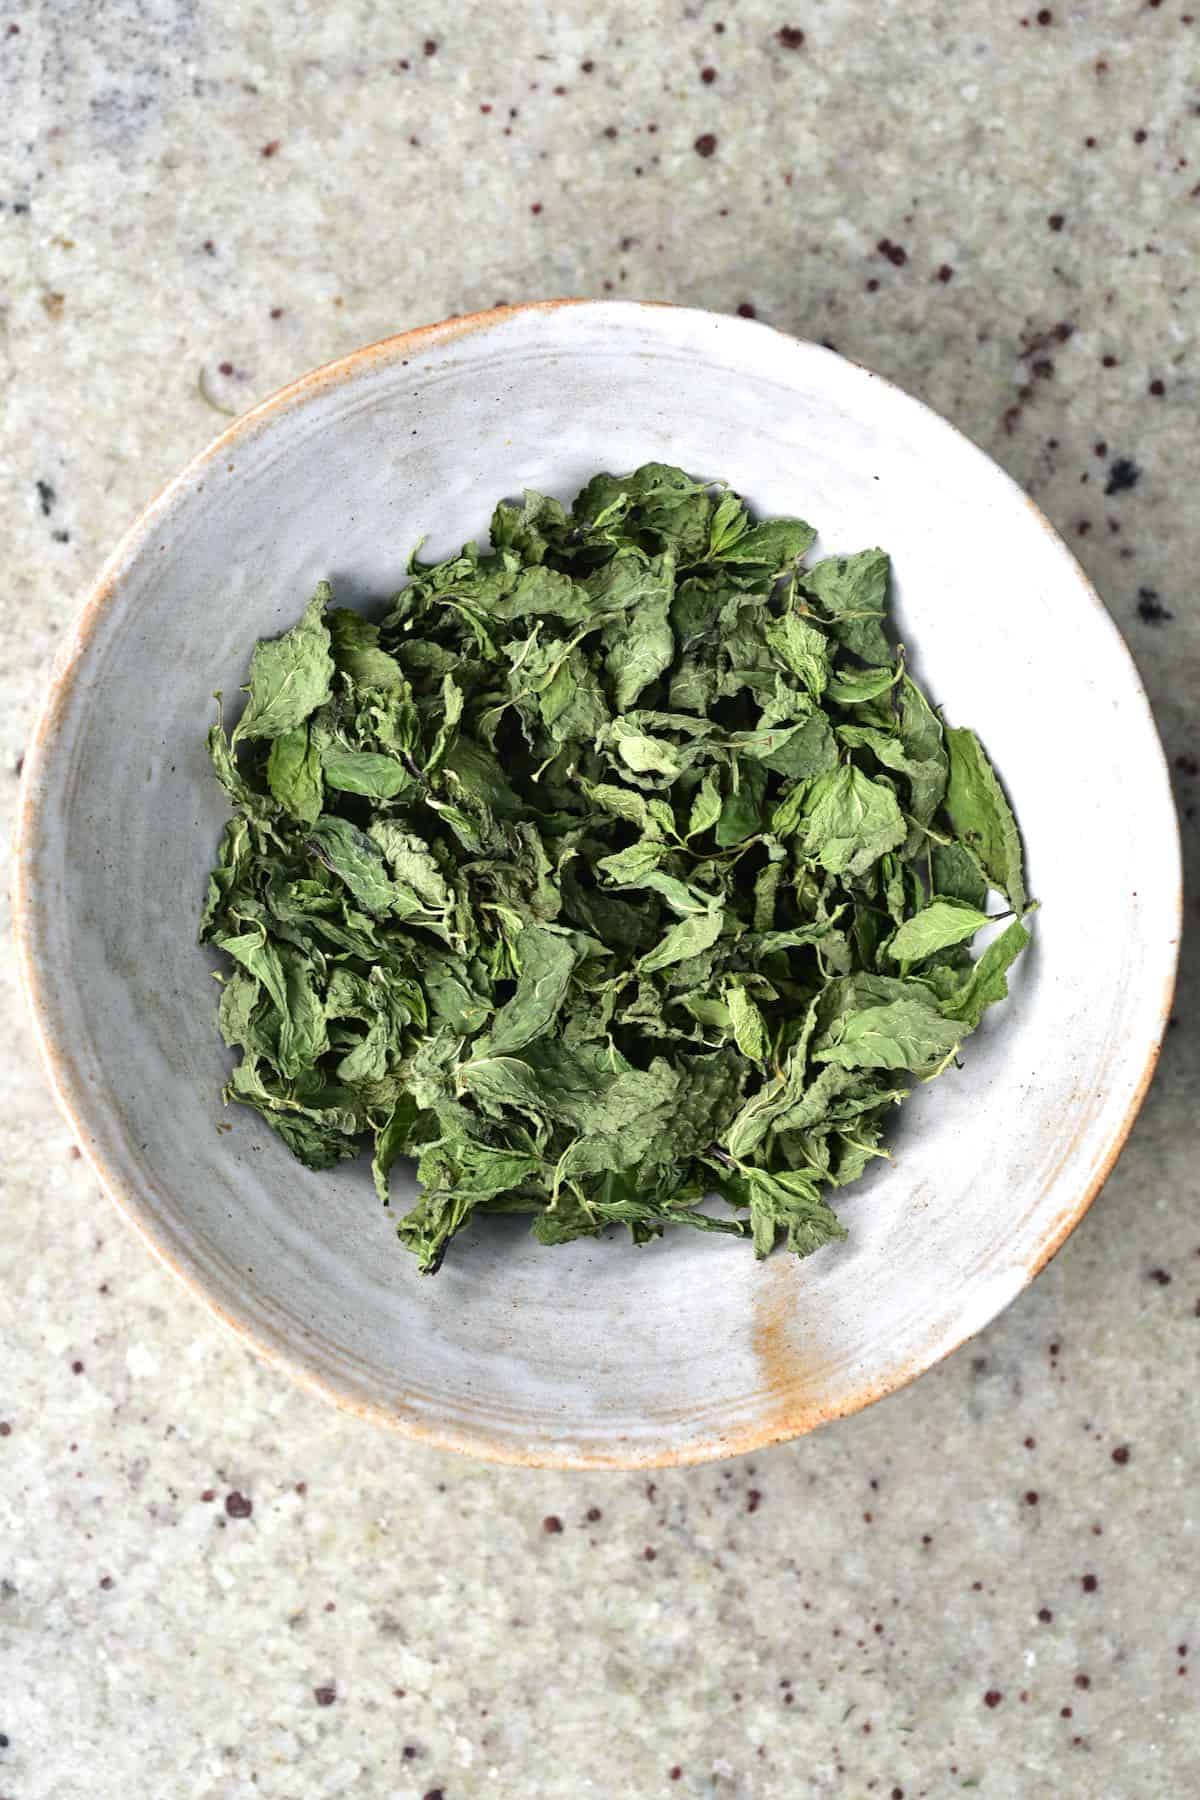
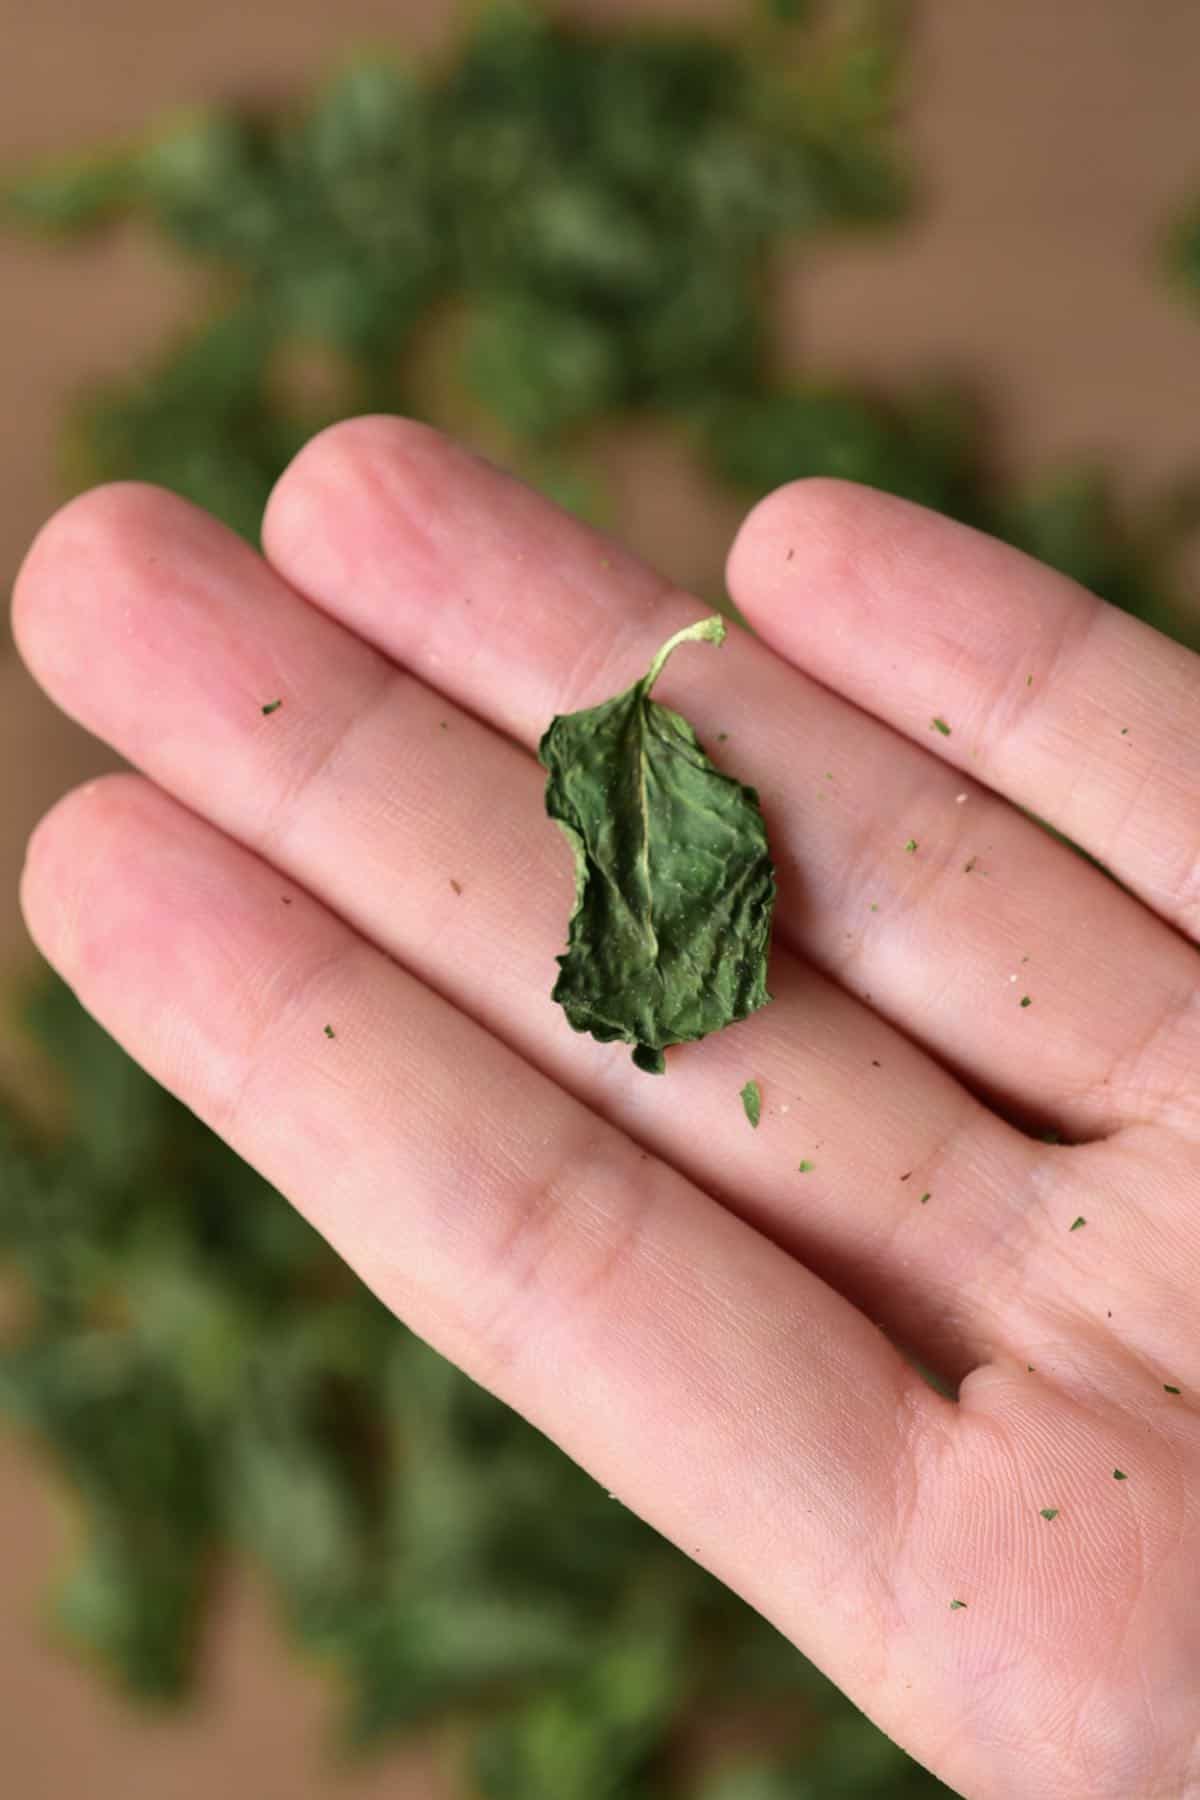
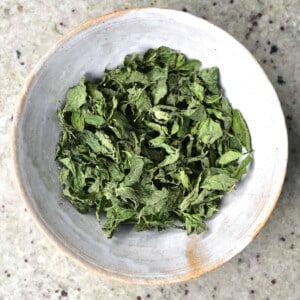
Once dried, no matter which method you use, the dry mint leaves should still be green in color and have a strong minty aroma. If it is significantly darkened, then it’s likely ‘cooked’/burnt.
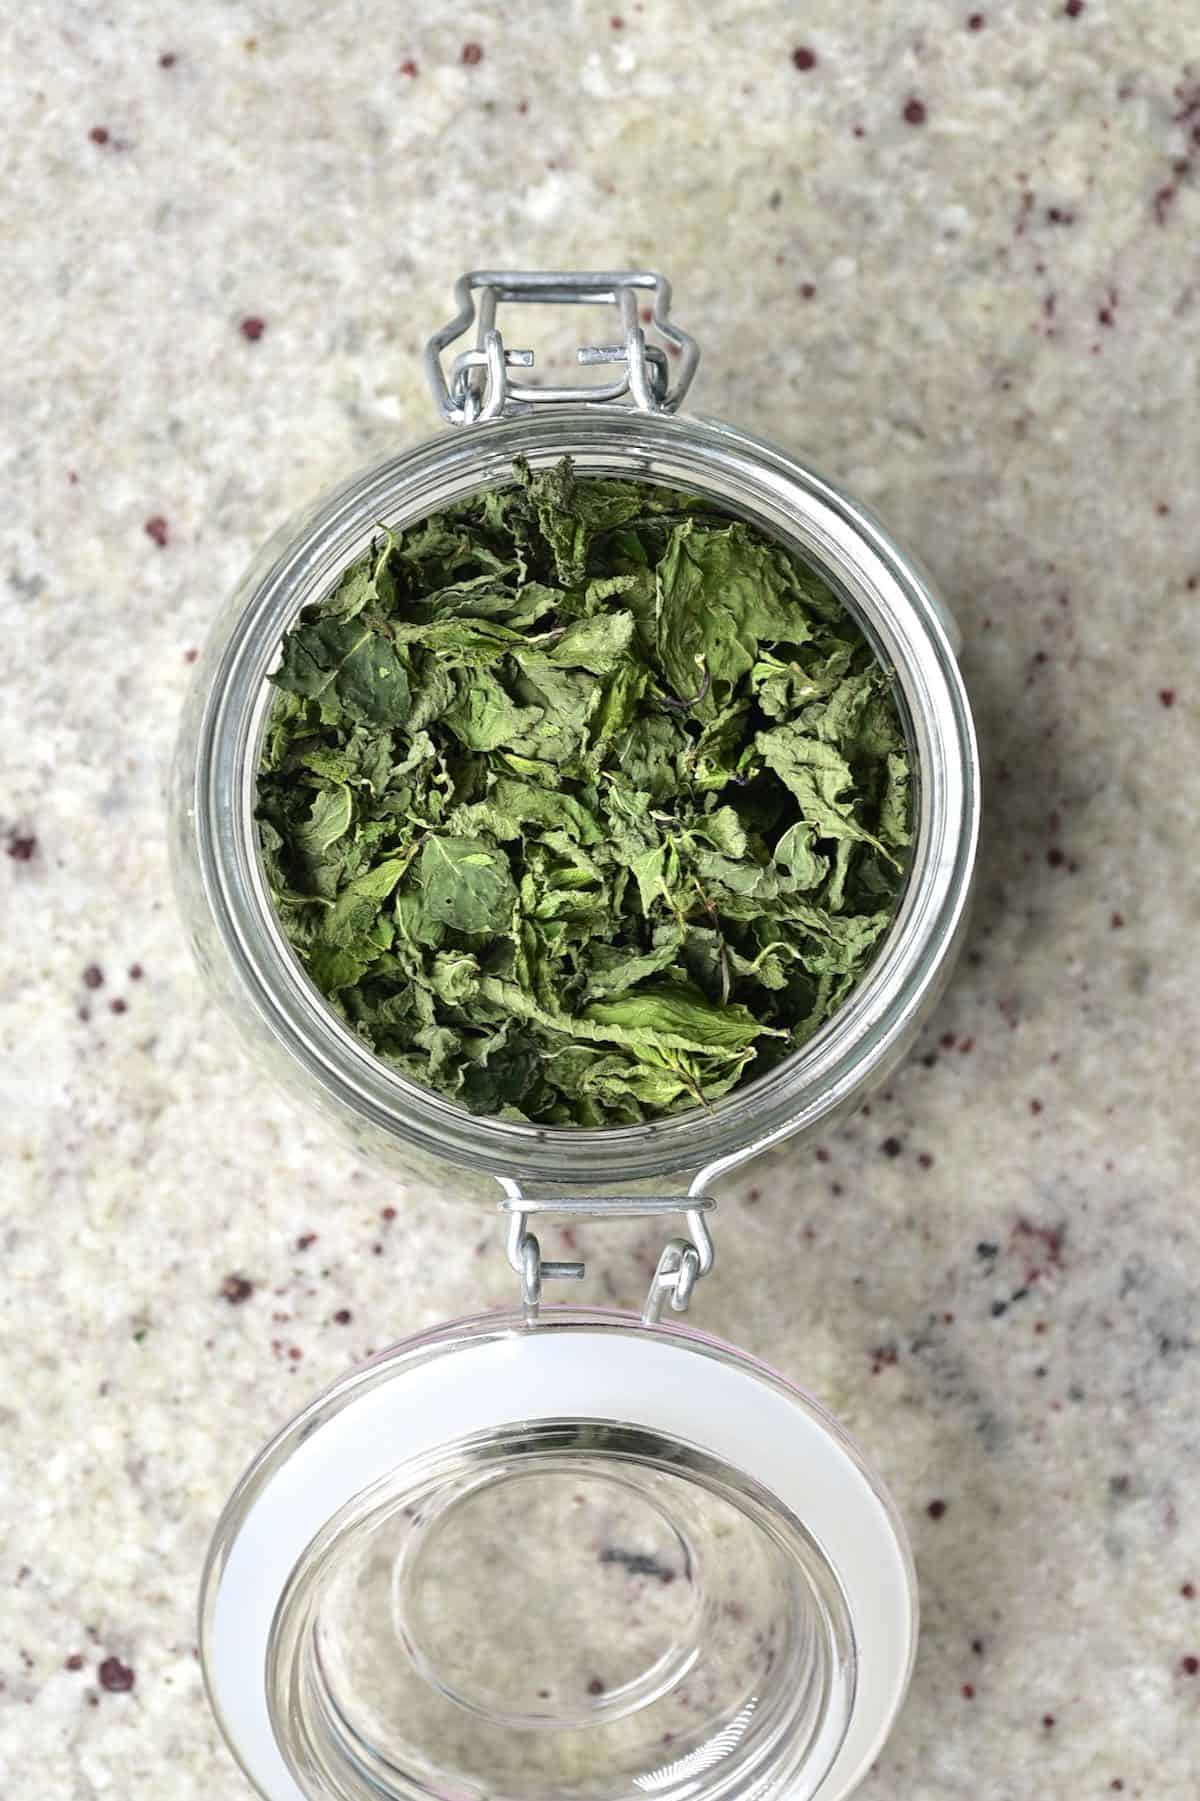
You can store the leaves whole, crumbled (by hand or food processor), or as a powder (using a coffee/spice grinder or food processor for longer). Store in airtight glass containers and avoid anything porous (like cardboard and certain plastics) that will absorb the oils.

Store the dried mint in a cool, dark area for up to 12 months for optional freshness. After that, it will begin to deteriorate in quality.
Top Tip: in the immediate days after drying the mint, check on the leaves for any sign of moisture in the container. If there is then repeat the drying process for a little longer. Otherwise, the entire batch can become moldy.
How To Use Dried Mint
There are tons of ways to enjoy your dry mint, including:
- Used for mint tea: Add 1 tsp dried mint leaves to your mug of hot water and steep for 3-4 minutes.
- As part of spice blends & herb salt.
- Within herby compound butter.
- In tzatziki and similar dishes – like this Lebanese Cucumber Salad (Kh’yar bi laban).
- Added to cheese recipes – like this Goat Cheese or Herby Vegan Feta.
- Within marinades and dressings – like this 5-Ingredient Delicious Lemon Herb Tahini Sauce or Easy Raspberry Salad Dressing.
- As part of a ‘rub’/Marinades for meats or tofu.
- Within cocktails and ‘herby’ drinks – like this Refreshing Blackberry Earl Grey Iced Tea or Fresh Raspberry Lemonade (Naturally Sweetened).
- Within soups & stews.
- You can also use dry mint leaves within beauty applications – like soap.
FAQs
It’s best to harvest mint just before they flower – so late spring usually. This is when their oils will be at their ‘peak’ levels. It’s also best to harvest them in the early morning before the sunlight/heat evaporates any of the oils.
Choose leaves that are fresh, bright, and green.
Yes, you can use stems for mint tea too – for less waste. You could also grind it into a mint powder.
Use 1/3 the amount of dried mint to fresh mint.
I.e., 1 teaspoon of dried for 3 teaspoons (1 tablespoon) fresh mint.
Related DIYs
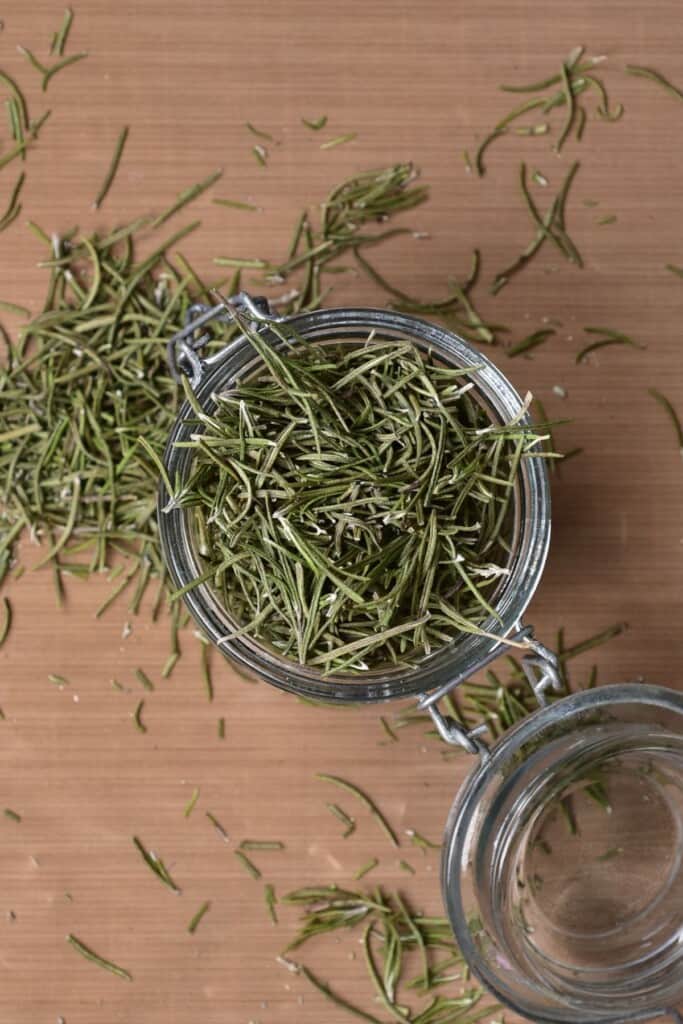

- How To Dry Rosemary
- How To Dry Thyme
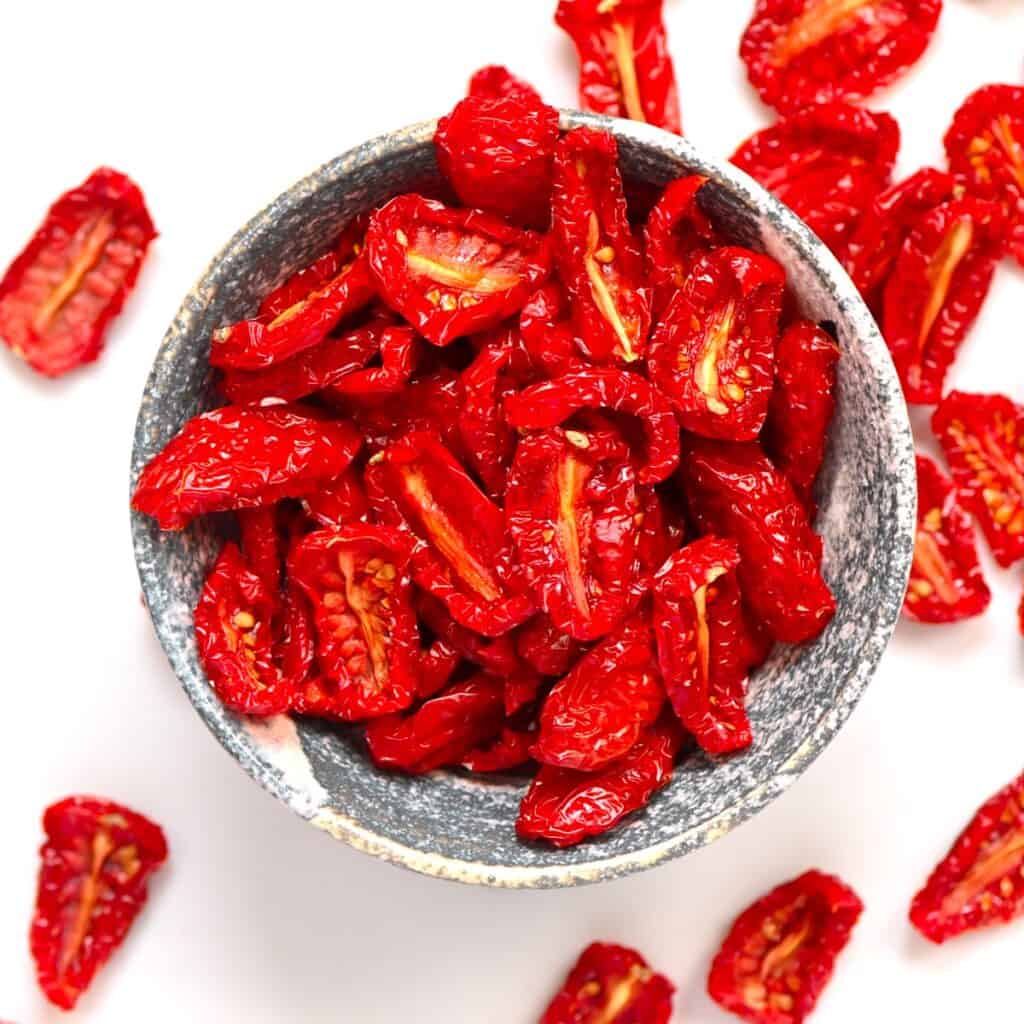
- “Sun-Dried” Tomatoes (In Oven or Dehydrator)
- DIY Dried Mushrooms
- Homemade Ginger Powder (Two Methods)
- Garlic Flakes (+ Dried Minced Garlic)
- Onion Flakes (2 methods)
- How to Make Flaky Salt (Plain and Infused)
- Easy French Fry Seasoning
If you try this dried mint DIY, then let me know your thoughts and any questions in the comments. I’d also really appreciate a DIY rating and would love to see your recreations – just tag @AlphaFoodie.
How To Dry Mint (3 Methods for Dried Mint)
Equipment
Ingredients
- 3.5 oz fresh mint
This would yield about 0.4 oz/ 11 g dried mint
Instructions
Step 1: Wash and dry the herb
- It's important to wash and carefully dry any mint before drying it – to get rid of any critters and germs.Add the mint to a bowl of water and swish it carefully. After rinsing, you could use a salad spinner to get rid of as much excess water first before patting dry or go straight to patting dry.It's important to get rid of ALL the excess moisture before drying the mint to it can be a good idea to let it air-dry for an extra 30-60 minutes, pat dry once more, before using the oven or dehydrator methods.
Step 2 (choose a method):
In A Dehydrator
- Once rinsed and dried, remove the mint leaves from the stems (you can dry the stems separately if you want).Lay the leaves in a single layer across your dehydrator tray/s, making sure to leave space in-between for the air to circulate.
- Dry the mint at 40°C/105°F for between 2-5 hours, until they are brittle and crumble to pieces rather than bending.The time will vary based on your machine, how much you're drying, the climate you live in, etc. It's best to check on them after 2 hours and then again every 15-20 minutes.
In The Oven
- After rinsing and drying the mint, remove the leaves from the stems (or leave them, for now) and lay them out on a parchment-lined baking tray/s with space between for air to circulate.Place the tray in the oven at its lowest temperature, best to be under 200ºF/95ºC (higher temperatures can cause the mint to brown and "cook"). Depending on the temperature, this process will take a different amount of time.For example, 120ºF/50Cº may take between 1.5-4 hours. 180ºF/80ºC may take 1-2.5 hours.It can be a good idea to slightly prop the oven door open using a heat-proof wooden spoon or potholder to release the steam and dry the leaves faster (as well as avoid overheating them). You can also flip the mint leaves after 1 hour to allow for faster even drying.
Air-drying
- After rinsing and pat-drying the fresh mint, you can gather it into a bouquet and tie it together with a piece of twine/string at the bottom of the stems.Hang the bouquet in a warm, well-ventilated area away from any direct sunlight. You can do this by creating a hanging apparatus with strings, drying the bouquet of mint from a hanger, or even using a herb drying rack.Use this method if you live in a warm, dry climate to avoid your mint becoming moldy. Also, make sure to dry them away from sunlight as the sun causes the leaves to brown and destroys the mint essential oils.
- Allow the mint to hang dry for between a couple of days up to 1-2 weeks until dry and 'crumbly' to the touch.Due to the long drying time, it can be a good idea to cover the herbs with a ventilated 'protective covering' like a paper bag – to avoid dust settling on the herbs (and little critters).
How To Store Dried Mint
- Once dried, no matter which method, the dry mint leaves should still be green in color and have a strong minty aroma. If it's significantly darkened, then it's likely 'cooked'/burnt. Also, allow the leaves to cool completely before transferring so there's no risk of 'steam'.You can store the dry mint leaves whole, crumbled (by hand or food processor), or as a powder (using a coffee/spice grinder or food processor for longer). Store in airtight glass containers and avoid any porous boxes (like cardboard and certain plastics) that will absorb the oils.Store the dried mint in a cool, dark area for up to 12 months for optimal freshness. After that, it will begin to deteriorate in quality.Top Tip: in the immediate days after drying the mint, check on the leaves for any sign of moisture in the container. If there is then repeat the drying process for a little longer. Otherwise, the entire batch will become moldy.
Notes
Nutrition
Nutrition information is automatically calculated, so should only be used as an approximation.


This looks great! I can’t wait to gift it to my mint tea-loving friend. How long does mint store once dehydrated?
Thank you, Rachel. I recommend the dried min is stored in an air-tight container in a dark place (like a cupboard) for up to 12 months. It won’t necessarily be bad after, but it might have lost a bit of its potent aroma and flavor.
Great article.
Thank you, Liz!
Loved the step by step guidance and different options!
Thank you so much for your comment, Laura. Glad you enjoyed the guide!
Thank you for the simple oven method as not many of us have the tools you speak of using. appreciated
Thank you for your comment, Brenda!
I have gardens full of mint. I am going to try all 3 methods. I love the glass jars. Will make great gifts.
Aww, that garden sounds amazing! You will have mint for ages 🙂
Just the info I needed to begin to use my new dehydrator. Thank you for such great information
Thank you for your comment, Karyn. I hope you had fun dehydrating some mint 🙂