
This post may contain affiliate links. Please read our disclosure policy.


A crispy, plant-based alternative to junk food, this amazing crispy tofu recipe is one of the best ways to cook tofu. Plus, it’s so delicious and you can customize it with your favorite seasonings!
Tofu has been used in Eastern Asian cooking for more than 2,000 years. But it is still a relatively new ingredient to the wider Western palate and home cooks. Recipes with tofu tend to confuse rather than delight – despite this soy delicacy being packed with goodness. When the tofu is served on its own, firm tofu recipes can be pretty bland.
But thankfully, crispy tofu recipes are here to save the day. So here goes my addition to the canon.
Tofu is also something of a superfood. Made by curdling soy milk until it forms a block, it’s naturally high in calcium and Vitamin D. These are both important for keeping bones healthy. Some studies have also shown that tofu is high in protein and high in antioxidants. So this means that it can support heart health, calm the symptoms of menopause and support the regulation of blood sugar levels.
Want to save this recipe?
What Is Crispy Tofu
Crispy tofu is a form of baked tofu that takes the soy block, covers it in cornstarch, and fries it. It’s usually coated in a spiced batter to make it extra crispy. It;s a staple part of Chinese cuisine. And in recent years, it can be found on menus across the world.
With my version of baked crispy tofu, I am lowering the amount of oil being used. But I am not sacrificing any delicious crunch. So let’s dive right into how to make this easy tofu recipe.
Crispy Tofu Ingredients
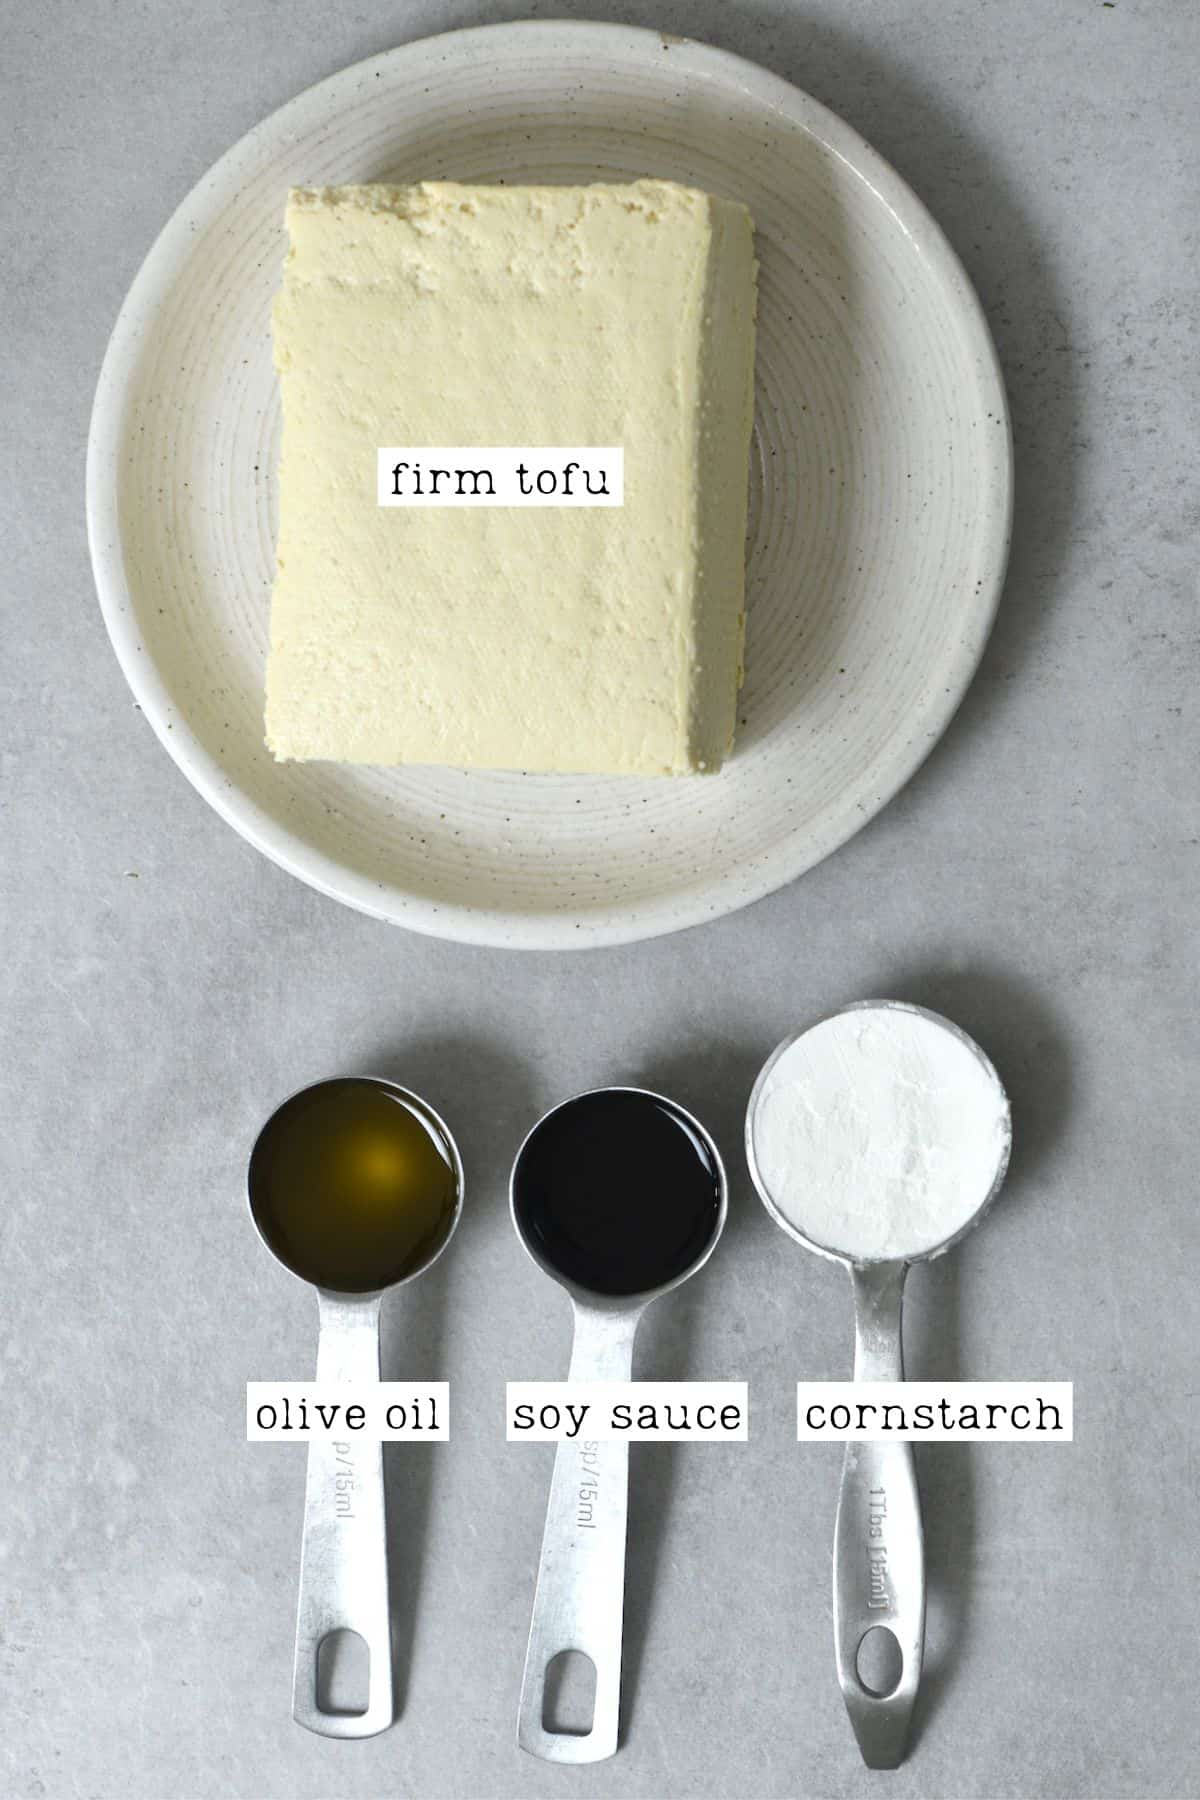
You just need a handful of ingredients to make the best crispy tofu.
- Tofu: To keep your tofu crunchy, go for firm or extra firm tofu. This a good choice for most tofu recipes as it helps the bean curd keep its shape.
- Olive oil: You can use another oil if you prefer, like sesame, peanut, or avocado oil. But I think olive oil has the best taste for baking tofu.
- Soy sauce: You can use tamari if you prefer, but soy sauce works just as well.
- Cornstarch: Otherwise known as cornflour, this is an integral ingredient in this crispy baked tofu recipe. Alternatively, you can use arrowroot starch.
Why Use Cornstarch When Baking Tofu
The best tofu recipes use cornstarch. Why? Because cornstarch = crispy. As you bake tofu, the starch mixes with the oil to create a coating, giving it an amazing crunch.
How To Prepare Tofu Before Cooking
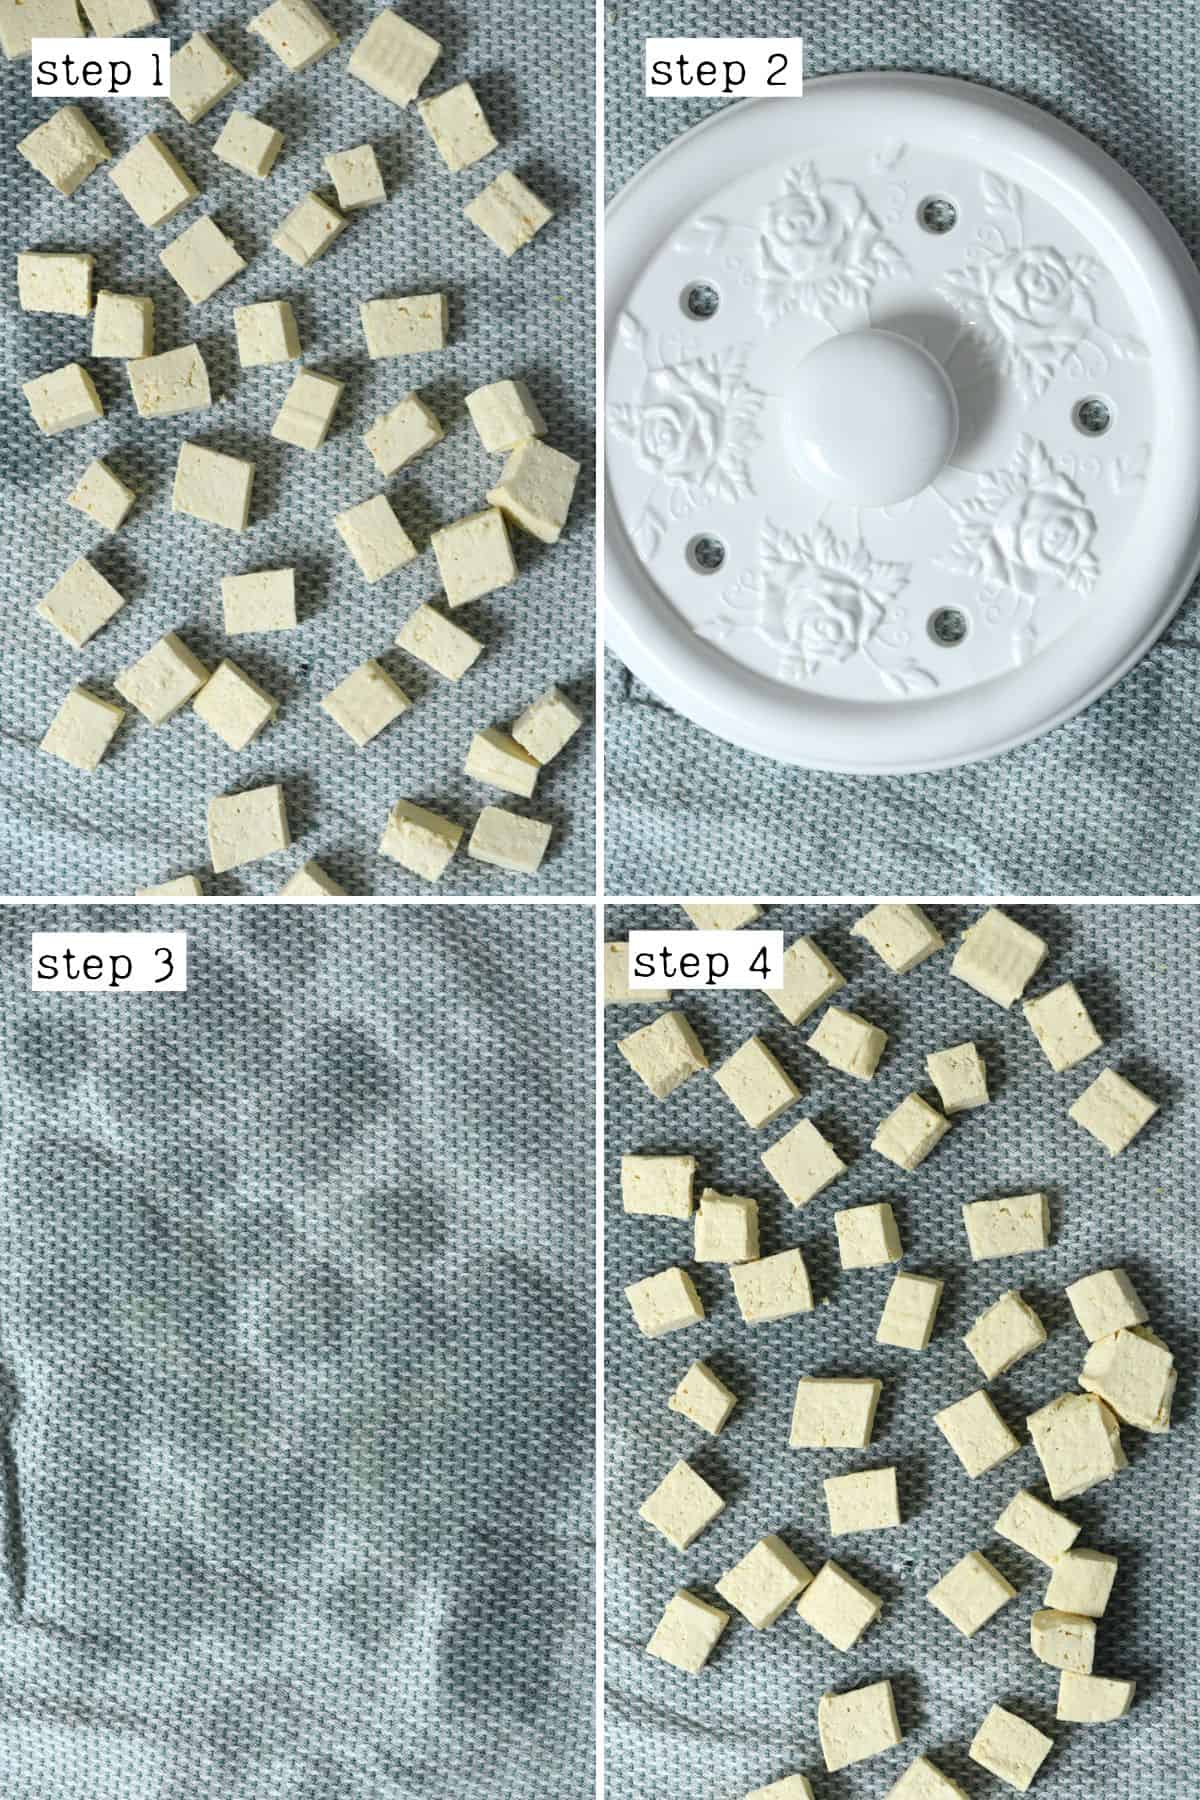
First, you’ll want to remove as much moisture as possible from the tofu block for the best oven-baked tofu. Instead of pressing the whole block, I find it easier to cut it into smaller cubes to maximize the surface area and make it easier to press.
To cut the tofu into small cubes, first, cut it into three slices horizontally. Then, cut it lengthwise into thirds. Finally, cut across into five pieces. See the pictures below for a helpful guide.
Another way is to cut it into 5 slices and then cut each slice into small cubes.

Pressing Tofu To Remove Moisture
To make easy tofu recipes even simpler, place a kitchen towel or kitchen paper on a chopping board. It’s best to use a lint-free towel so you don’t have to collect links from your tofu.
Place the tofu cubes on the towel and then fold the towel over them (or use a second one). Place something heavy, like a pan or a second chopping board, over the tofu. This will press the tofu and will extract the moisture from the tofu into the towel.
How Long To Press Tofu
Set aside for at least ten minutes to ensure all the water has been absorbed into the towel. If you can, let it rest for up to 30 minutes.
Why Freeze Tofu Before Cooking
When the tofu freezes, the water within the tofu expands as it becomes ice crystals. Upon thawing, it leaves behind small, spongy holes that help to suck up the extra flavor and provide a different texture. After pressing, you’ll get out way more liquid than if you don’t freeze the tofu first.
For crispy tofu recipes, you can freeze it for 4-6 hours or overnight. Then move it to the refrigerator to thaw during the day in time to press and bake it in the evening.
Keep in mind though, freezing the tofu is totally optional. Also, if you prefer a creamier texture, feel free to omit this step.
How To Bake Tofu
Preheat the oven to 400ºF/200ºC and line a baking sheet with parchment paper.
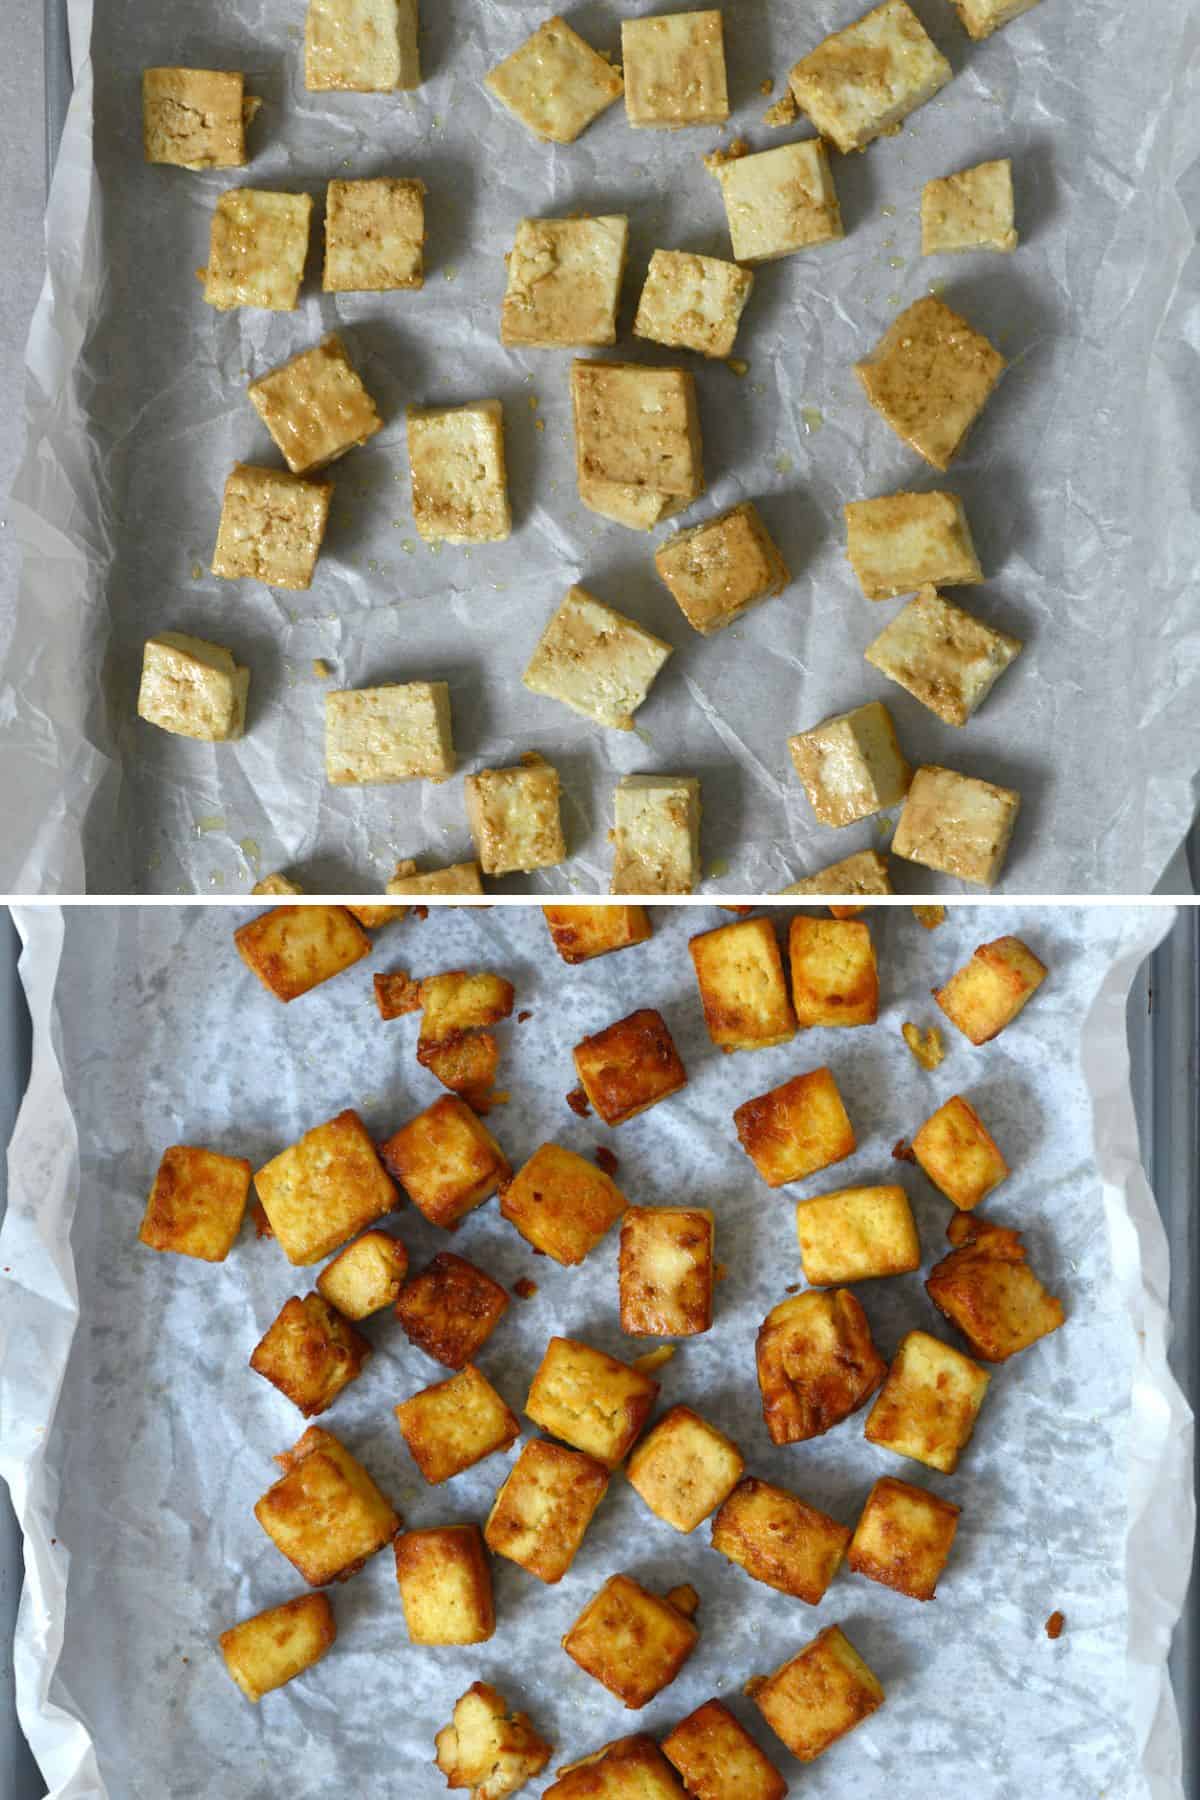
Put the drained and pressed tofu cubes in a mixing bowl and add the olive oil, soy sauce, and cornstarch. Toss to make sure the tofu is completely covered.

Then, place the cubes in a single layer on the tray.
How Long To Bake Tofu To Make It Crispy
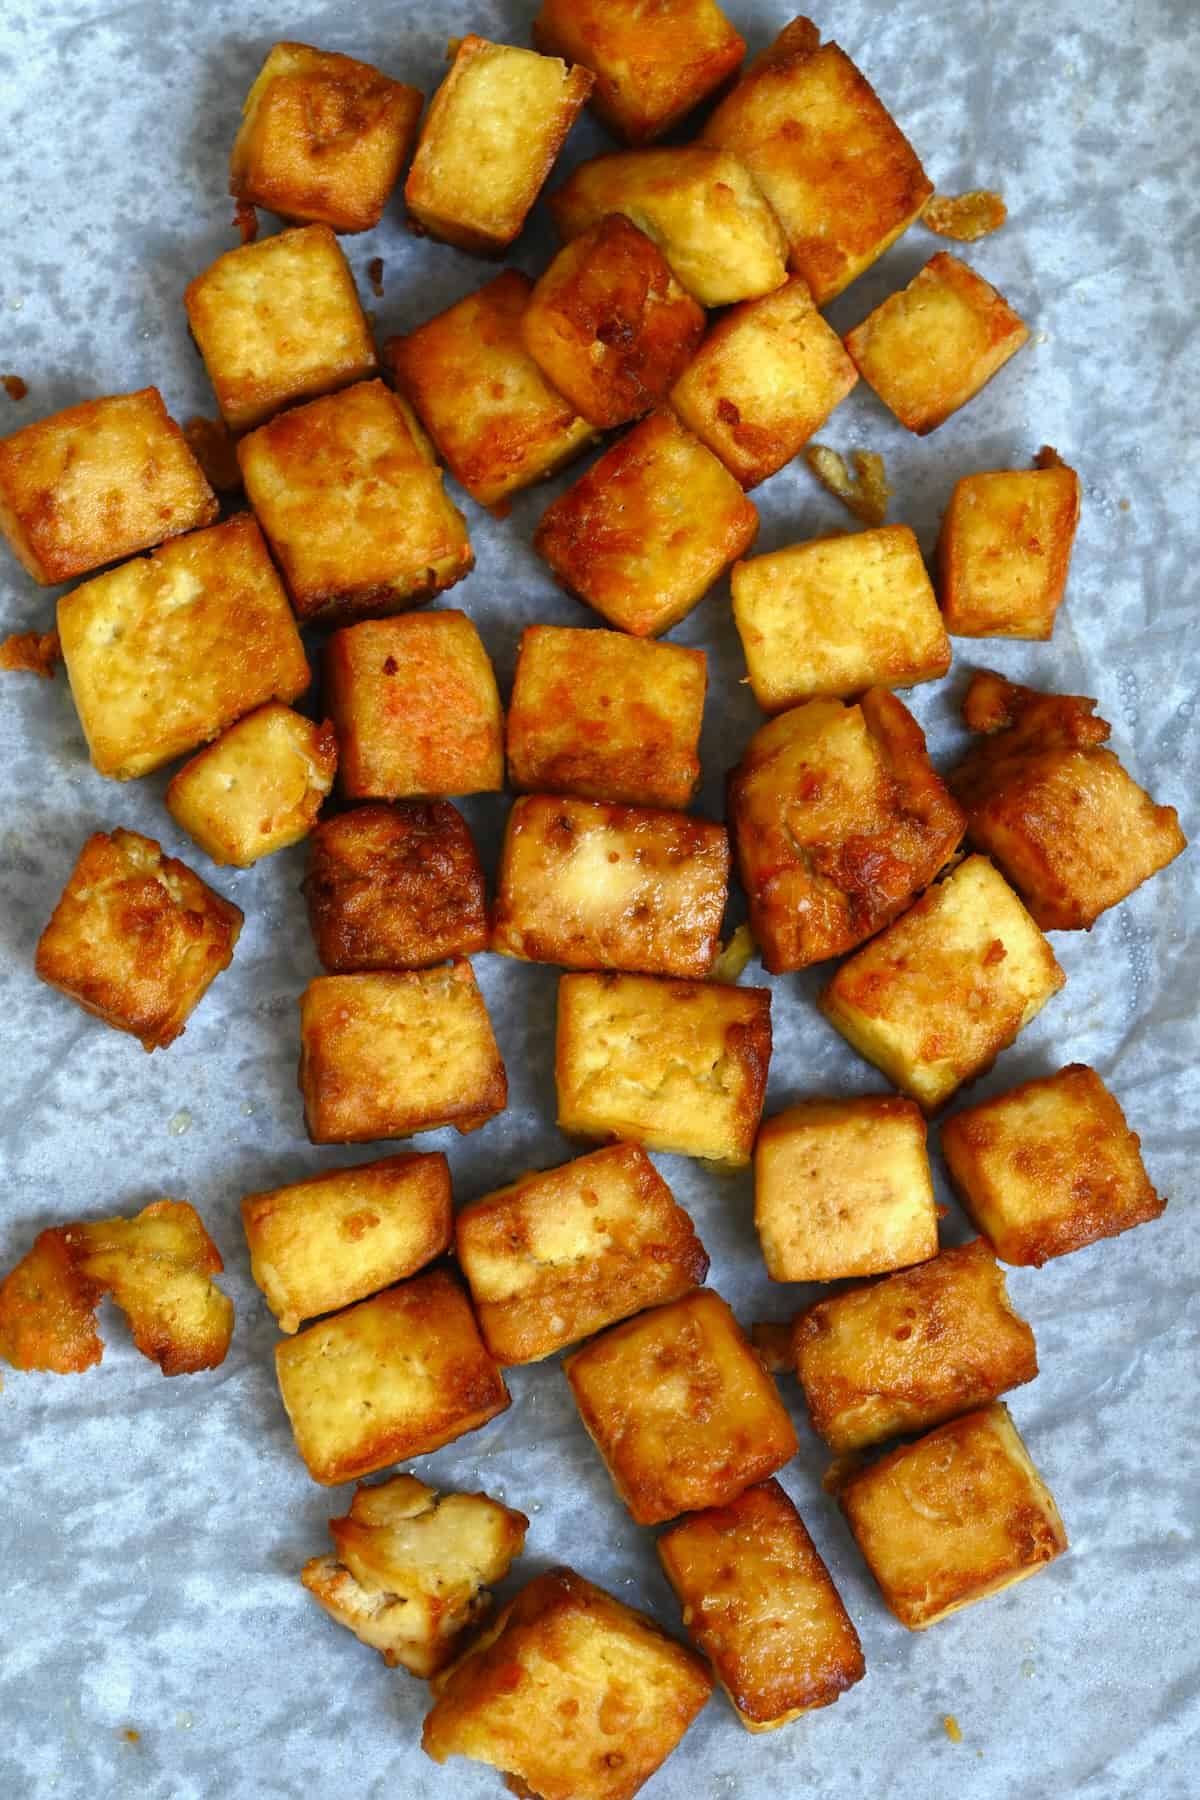
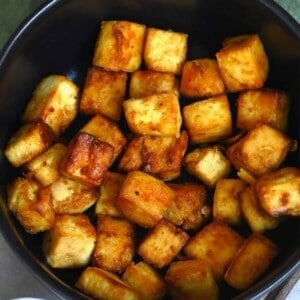
Bake in the oven at 400ºF/200ºC for 25-30 minutes, tossing the oven-roasted tofu halfway. When they are done, the tofu cubes should be crispy and golden brown.
And this is how to cook firm tofu.
What To Eat With Crispy Tofu
What to do with tofu – especially the crispy kind? This versatile snack goes with plenty of things, but these are my favorite ways to incorporate my crispy tofu recipe into other dishes.
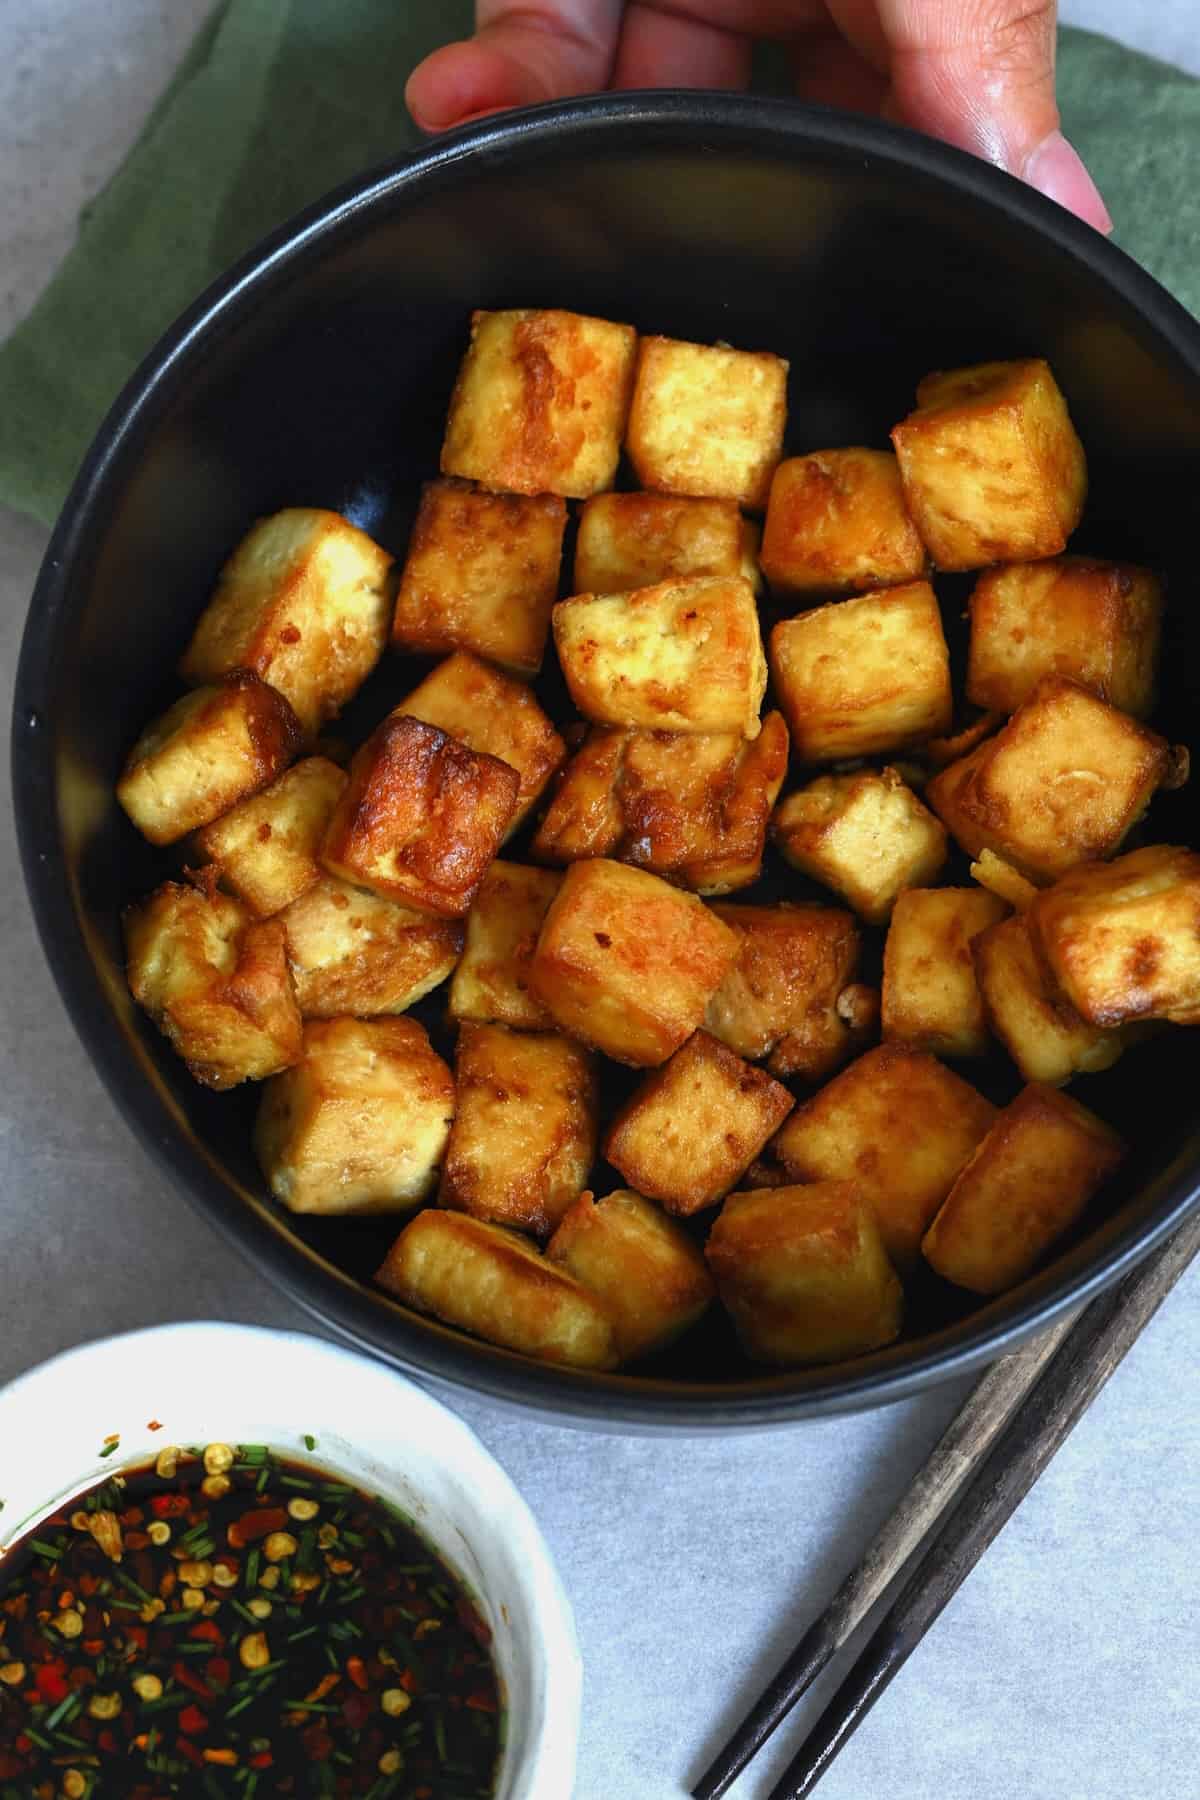
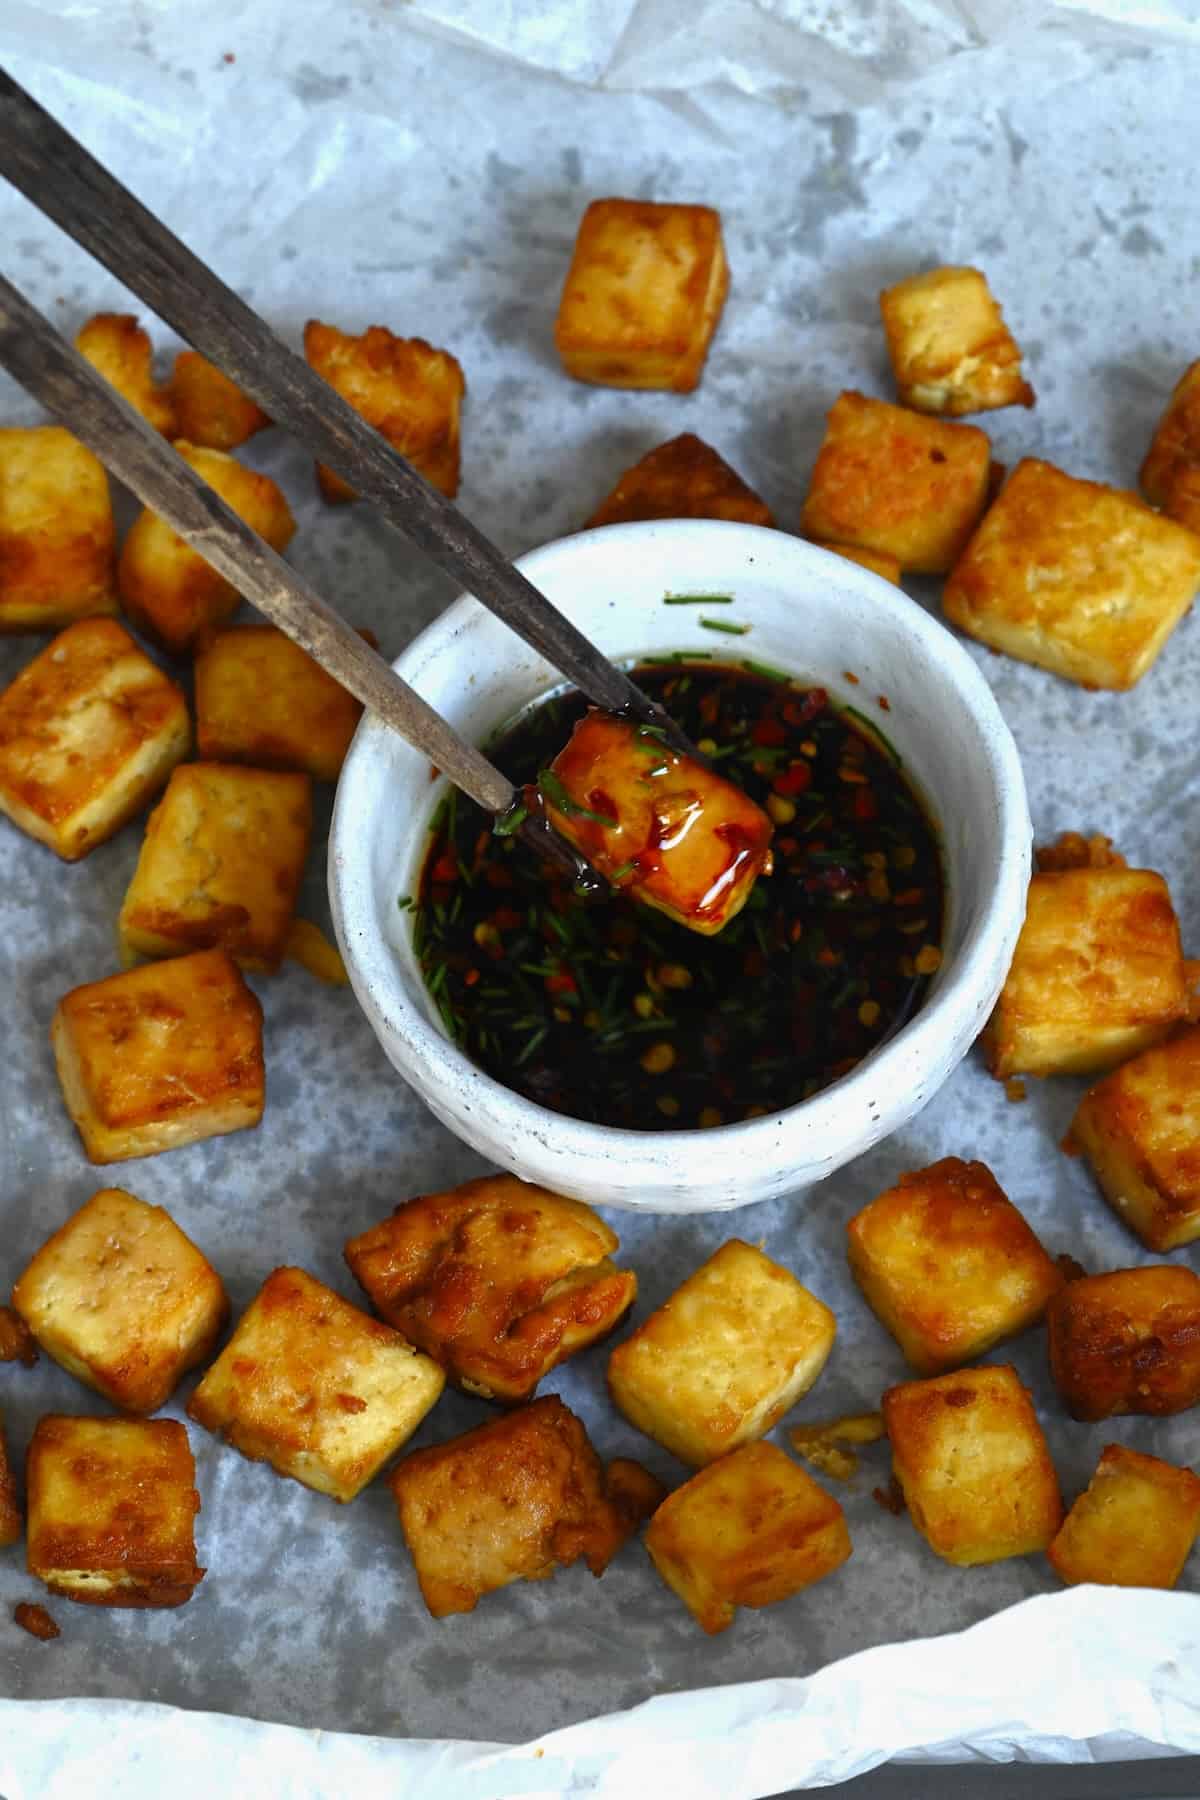
- Sauces and Marinades – once cooked, the tofu will absorb lots of flavor from further marinades and sauces, giving it an even better taste. For this baked tofu recipe, I recommend fusing it with my garlic and chili-infused honey. Or add to it a simple red chili sauce to bring out a little spice – perfect for crispy tofu recipes.
- Currys – tofu is a great plant-based alternative for curries. Simply substitute the chicken/pork/beef with this baked tofu recipe. I love using it in my vegan Thai green Curry, Thai red curry, and that curry house classic – a vegetarian butter chicken.
- Dipping Sauces – crispy tofu recipes are great for just dipping in your favorite sauce. My top sauces for easy tofu recipes are this delicious peanut dipping sauce or this quick and easy dumpling gyoza sauce.
- A source of protein – you can use it as your protein of choice in many other dishes. For example, add to salads or grain bowls. You can also use use it in burritos, tofu tacos, and other wraps.
- Pan fry tofu: add to any veggie stir fry to up your protein intake. For example, turn this Chinese Eggplant into an eggplant tofu stir fry.
Other popular – and very easy – ways include covering your baked tofu with sesame seeds and teriyaki sauce. Or you can even just serve them with ketchup, mayo, and hot sauce – perfect for dipping! It really makes the best snack.
More Tofu Recipes
- Tofu or Paneer Makhani
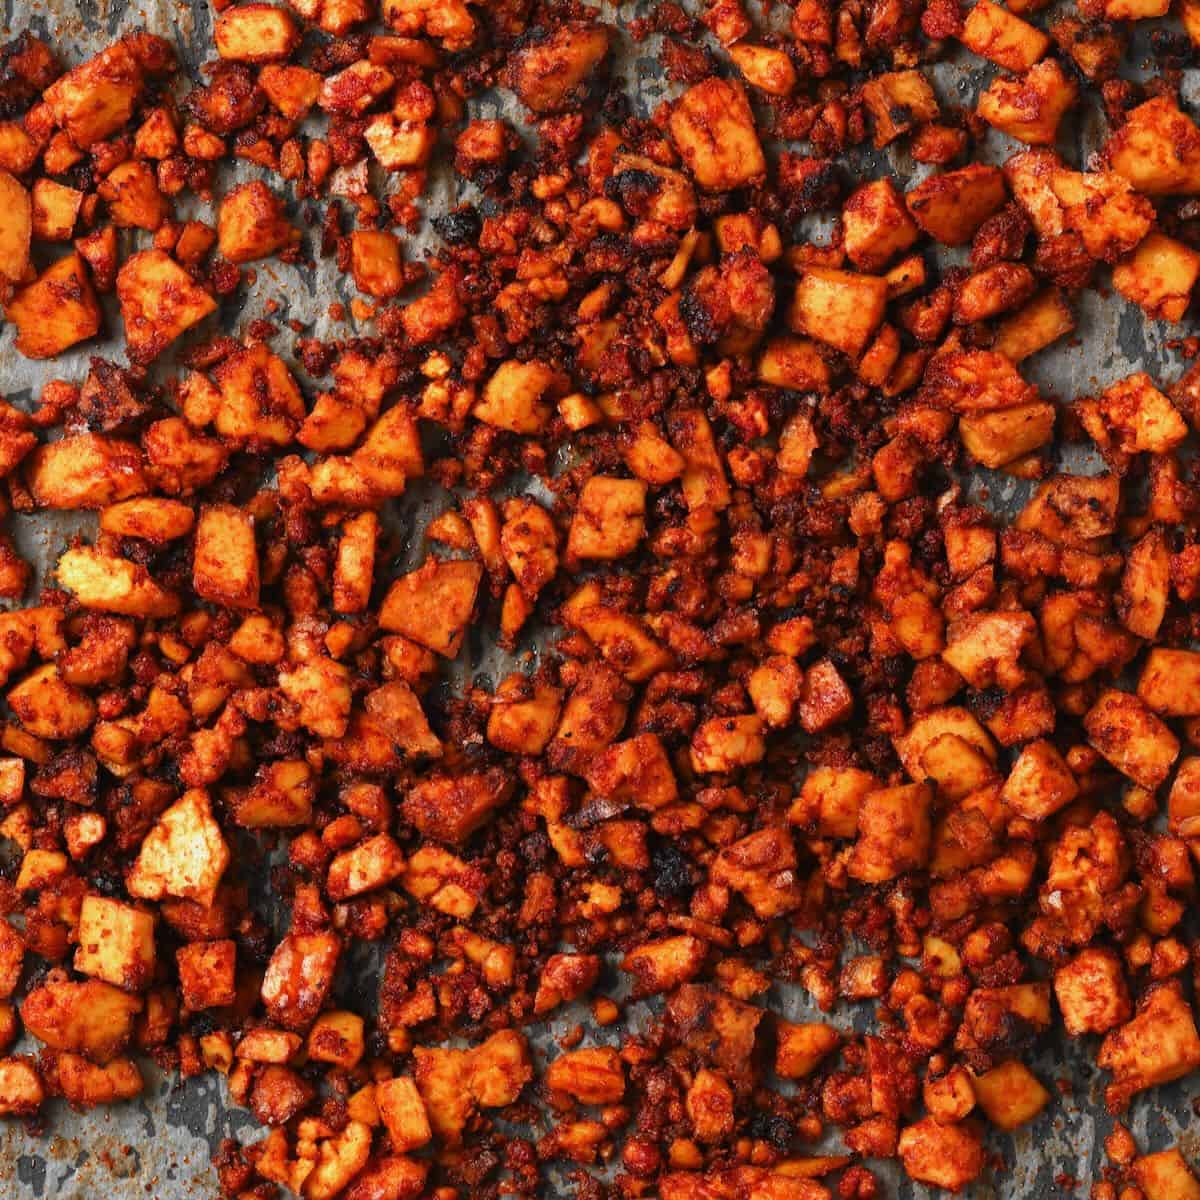
- Vegan Tofu Crumbles
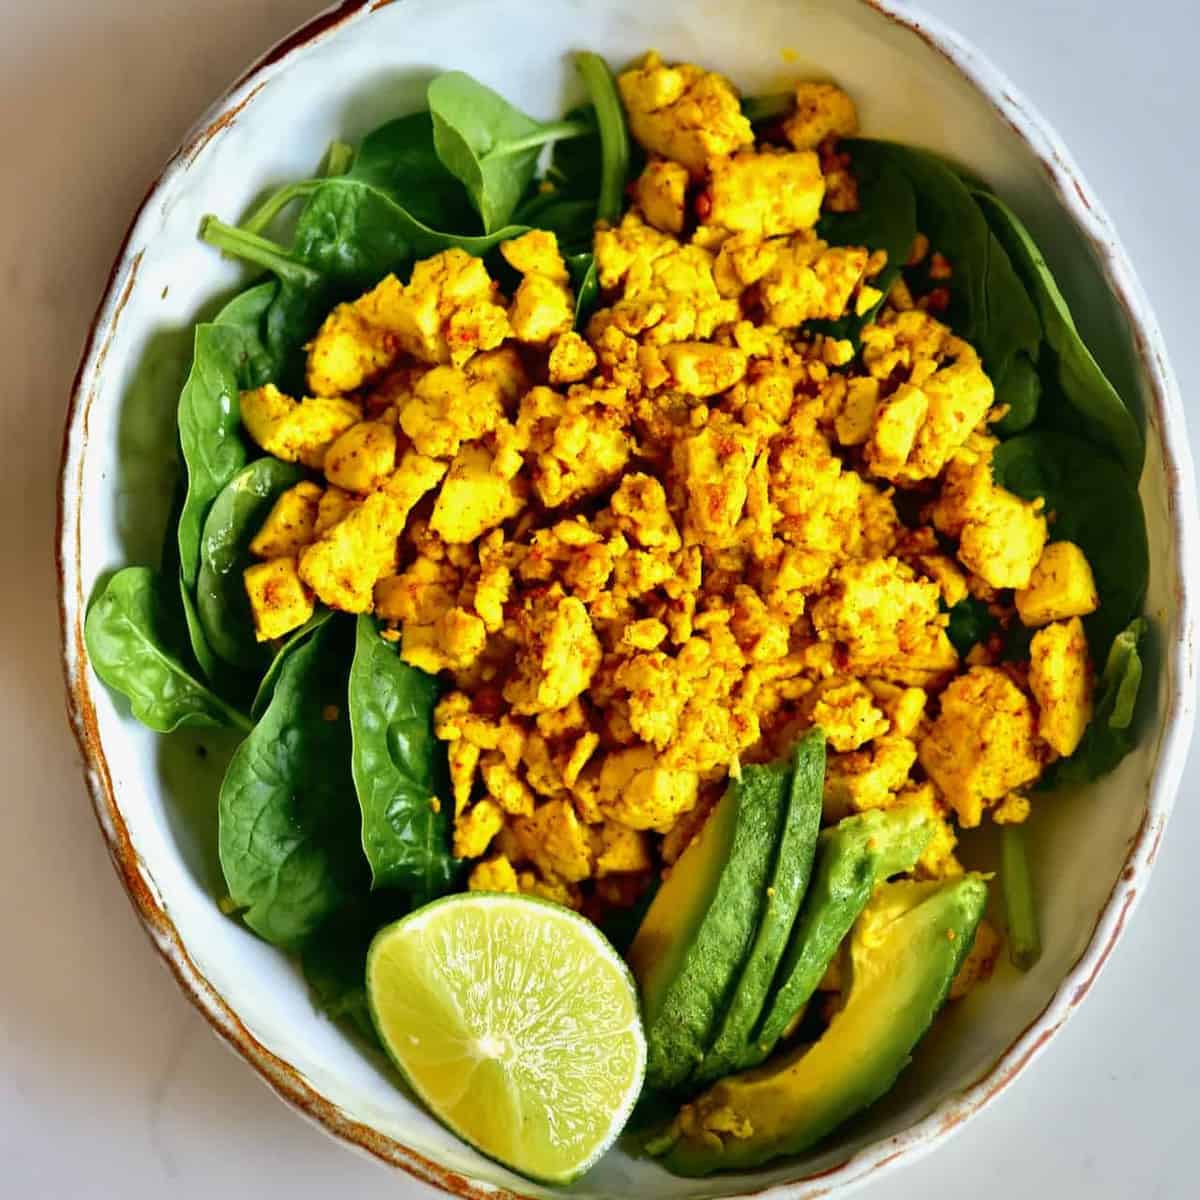
- Vegan Tofu Scramble
- Easy Fried Tofu
- How To Make Tofu at Home – Two Simple Methods

If you try this easy baked tofu recipe, let me know how it goes in the comments below. I’d appreciate a recipe card rating and would love to see your recipe recreations – tag me on Instagram @Alphafoodie!
How To Make Crispy Tofu
Ingredients
- 12 oz tofu 1 block firm or extra-firm
- 1 Tbsp olive oil or sesame oil, coconut oil, etc.
- 1 Tbsp soy sauce or GF tamari/coconut aminos
- 1 Tbsp cornstarch or arrowroot starch
Instructions
- Optionally, freeze and thaw the tofu. Freeze it for 4-6 hours or overnight. Then move it to the refrigerator to thaw during the day in time to press and bake it in the evening.
Prepare The Tofu
- Cut the tofu into small cubes. First, cut it into three slices horizontally. Then, cut it lengthwise into thirds. Finally, cut across into five pieces. (Refer to the images on the blog.)Another way is to cut it into 5 slices and then cut each slice into small cubes.
- Place the tofu cubes on the towel and then fold the towel over them (or use a second one). Place something heavy, like a pan or a second chopping board, over the tofu. Set aside for at least 10 minutes (up to 30 minutes).
Bake The Tofu
- Preheat the oven to 400ºF/200ºC and line a baking sheet with parchment paper.
- Put the drained and pressed tofu cubes in a mixing bowl and add the olive oil, soy sauce, and cornstarch. Toss to make sure the tofu is completely covered.
- Place the cubes in a single layer on the tray. Then bake in the oven at 400ºF/200ºC for 25-30 minutes, tossing the oven-roasted tofu halfway.
Storage Instructions
- To make ahead: once pressed, the tofu can be stored in the fridge in an airtight container for 3-4 days. That way, you can season and bake it as needed throughout the week.Storing: The tofu will lose its crispiness when over time. However, the leftovers can be stored in an airtight container in the fridge for between 4-5 days.To reheat: You can pop it back in the oven till heated through (this should help it crisp up a little more again too). Alternatively, you could reheat them on the stovetop.
Notes
- Use extra-firm tofu: I’ve tried this method with various “firmness” levels, and extra-firm really is the very best option for the crispiest results.
- Freeze your tofu: If you cook tofu often, then you’ve likely heard this tip before. Freezing tofu yields firmer, spongier, chewier tofu that not only tastes better but yields the crispiest results (check the blog post for the freezing method).
- Make sure to press that tofu! And I mean, to within an inch of its life.
- Don’t omit the starch: Cornstarch is an absolute marvel and turns your limp tofu into a crispy tofu dream!
- You can slice your tofu how you please for this method: cubes, triangles, slices, etc. The thinner/smaller the slices, the faster they’ll bake, so be aware and keep an eye on the oven.
- Get creative with the seasonings: feel free to experiment with Italian Seasoning, Za’atar, curry powders, “cheesy” results using nutritional yeast (or cheese), onion & garlic powder, and smoked paprika, etc.
Nutrition
Nutrition information is automatically calculated, so should only be used as an approximation.


