
This post may contain affiliate links. Please read our disclosure policy.


How to make mozzarella cheese at home with just 4 ingredients (plus water) and a bit of patience. This homemade mozzarella cheese is stretchy, smooth, and so much better than store-bought. Plus, read the notes for some troubleshooting top tips!
I’ve done things a bit topsy-turvy with this post, in that I already posted my vegan mozzarella post months ago (usually, it’s the other way around). Now, finally, here is a dairy homemade mozzarella cheese DIY!
While not the easiest of cheese recipes to make at home (though also not terribly difficult), fresh mozzarella cheese – when done correctly- is perfection, so, of course, I spent a long time working on getting this process ‘just right’ before sharing it with you all. With a little practice (and a lot of experimentation), this is the method I use that provides the best results every single time.
I think it’s important to start this post with a slight ‘warning.’ I’ve been making homemade dairy products for a couple of years now (at least), and, as much as I love it, when you first venture into cheesemaking, there can be a bit of a learning curve.
It’s not so much that the process is complicated at all (in fact I love the simplicity of cheesemaking), however, it can be a bit ‘finicky’ when it comes to using just the right amount of curdling agent for what milk you’ve chosen, and practice makes perfect.
Don’t let a first ‘bad batch’ throw you off though – in fact, even ‘failed batches’ are salvageable and able to be used for other purposes (refer to the recipe notes).
Want to save this recipe?
The Ingredients
Fresh Milk (Cow or goat): I prefer fresh, whole raw milk for the absolute best results. However, you can also use skimmed milk (2%, etc.) – though it won’t taste as creamy or rich, and even pasteurized milk. Avoid homogenized or ultra-pasteurized milk as they won’t work.
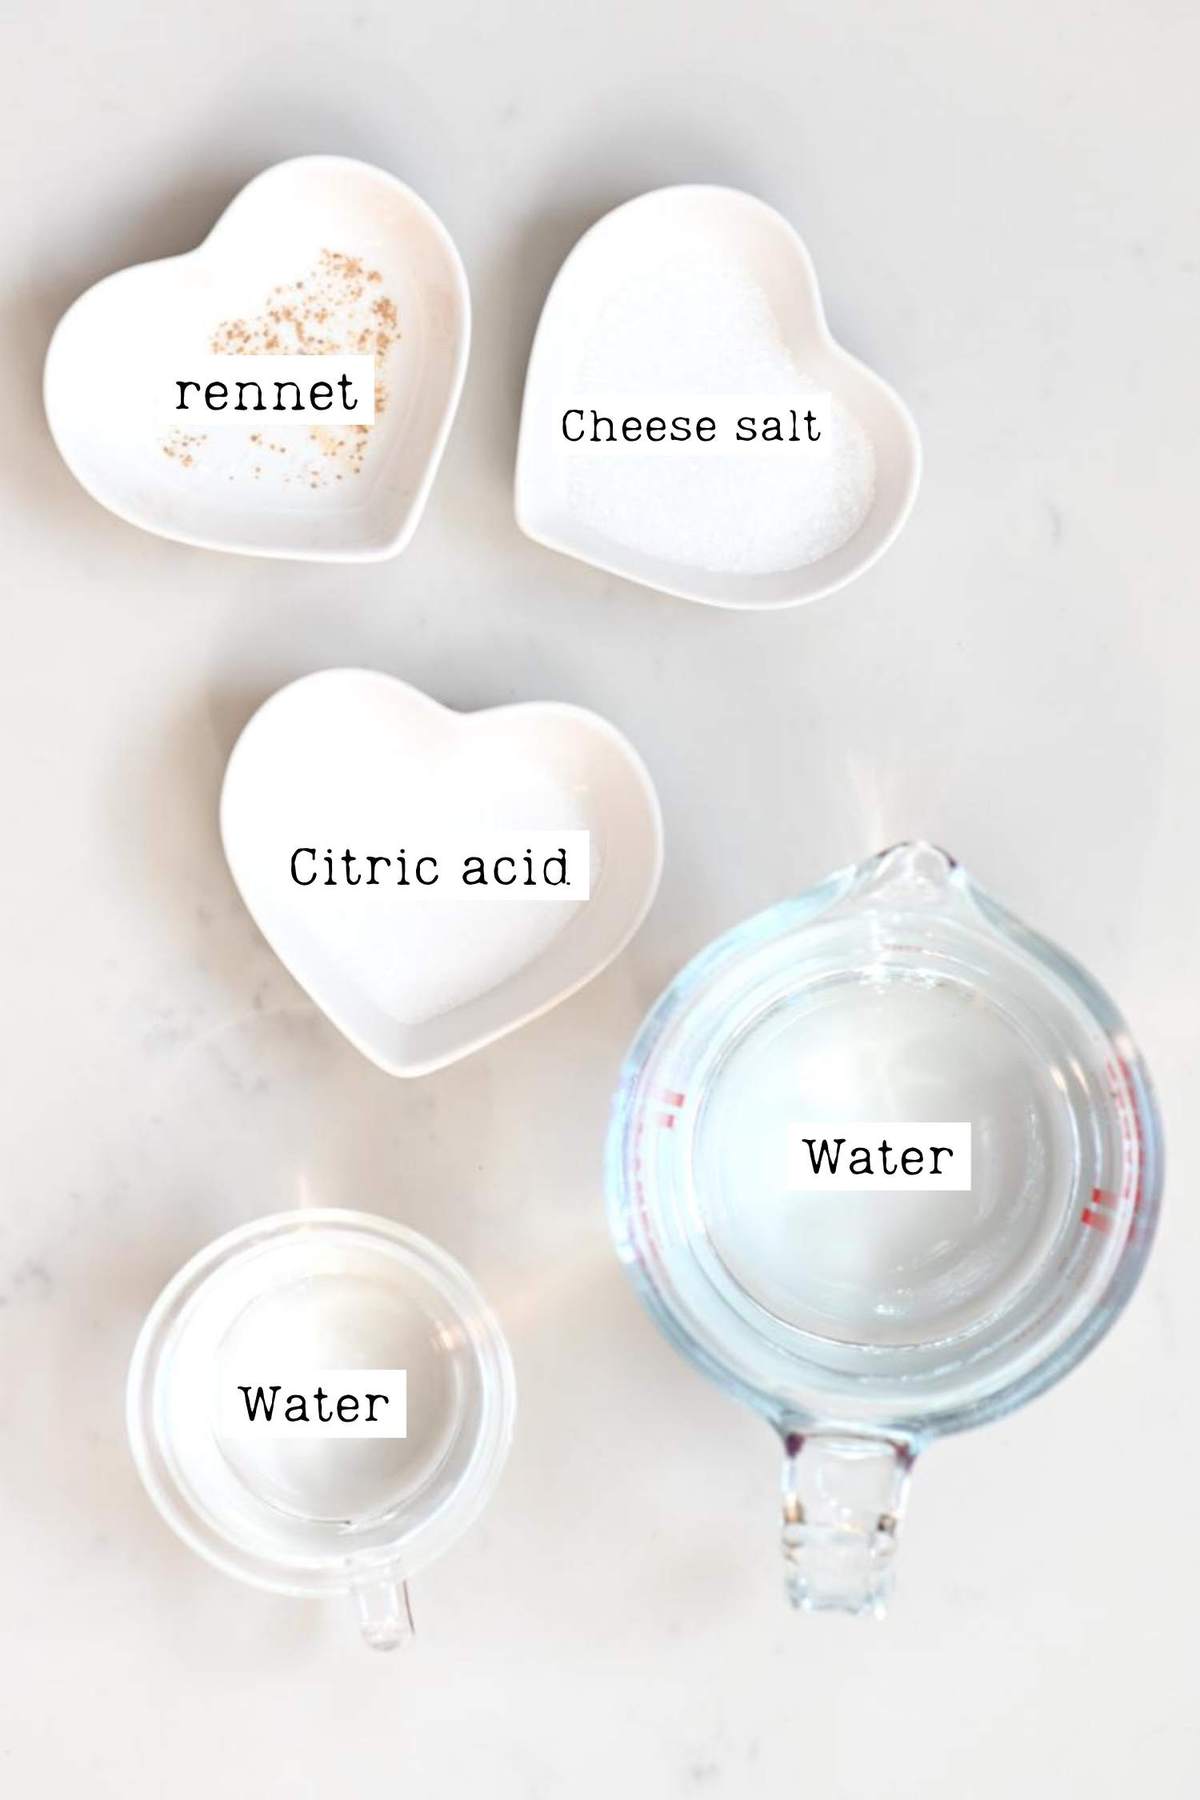
Rennet: You can use rennet tablets or liquid rennet (which allows you to skip a step). For a vegetarian version, you can use vegetable rennet.
Citric Acid: What I’ll be using as my curdling agent. I’ve experimented with other options but have yielded the best, most consistent results with citric acid. This is crucial as too little acidity will affect its ability to stretch and too much will lead to a grainy, lumpy mass.
Cheese Salt (aka Kosher Salt/ non-iodized salt): The lack of iodine means that it won’t inhibit the needed cultures/bacteria within the cheese.
Water: Used to help dissolve the rennet and the citric acid.
The Tools Needed
While there are some general items you’ll need, such as bowls, spoons, and a large pot, there are a few more ‘specialized’ items you’ll need for this DIY including:
A digital thermometer (i.e., an instant-read thermometer) – You may not need this once you’ve had years of cheesemaking experience. However, for beginners, this tool is relatively inexpensive and makes a massive difference in achieving correct results.
Rubber Gloves – For the stretching steps, as the cheese will be HOT. Make sure to use ones that you don’t use for cleaning.
A Large Colander – for draining the cheese curds.
Cheesecloth – This isn’t 100% necessary, but lining your colander with cheesecloth makes for a FAR easies cleanup and is something I never skip.
The Step By Step Instructions
There are essentially three main ‘stages’ to making homemade mozzarella; first, is heating and acidifying the milk, second is curdling the milk to form curds, and finally stretching the curds and forming the mozzarella ball.
Here are the complete steps, though.
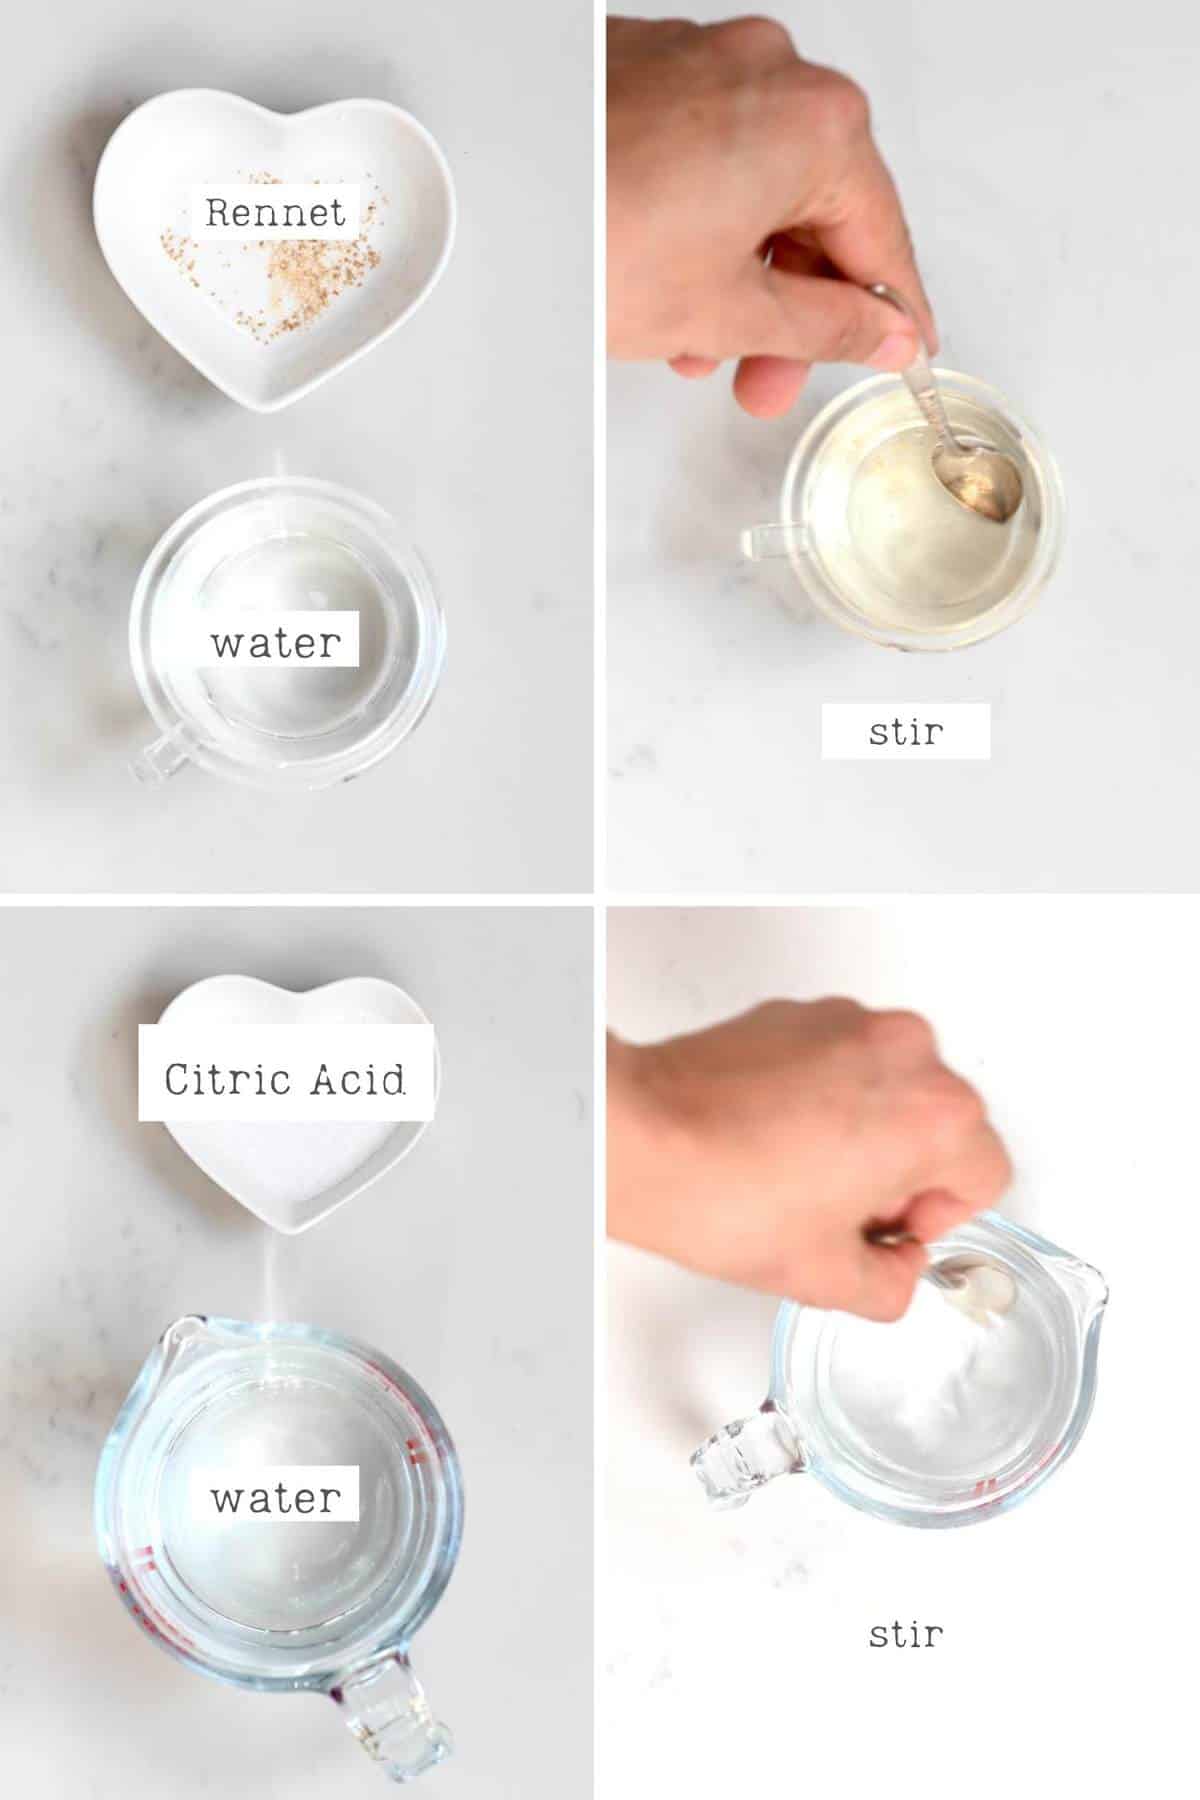
First, prepare the citric acid and the rennet mixture.
In a bowl, mix the citric acid and water and stir until dissolved.
Meanwhile, in a separate bowl, mix the rennet and water and stir well until dissolved.
Next, heat the milk
Pour the milk into a large pot and add the citric acid mix. Warm the mixture over medium heat and stir slowly but continuously until the milk reaches 32ºC/90ºF. Remove from the heat as soon as you reach the required temperature.
Set and Curdle The Milk
Add the rennet mixture to the warm milk and stir a few times slowly to mix well. Then cover the pot and set aside for 5 minutes.
Tip: If you can, stir in an up and down motion rather than swirling. The quicker the milk becomes motionless after the rennet is added and mixed in, the better as otherwise, it may not set correctly if it’s still whirling away. I aim for 15 seconds max of mixing.
After about 5 minutes, the milk should have ‘set’ and be a consistency similar to a thick yogurt or pudding that you can slice through. If you can cut through it nicely in a straight line, you can move to the next step. If not, set aside for another 5 minutes and try again.
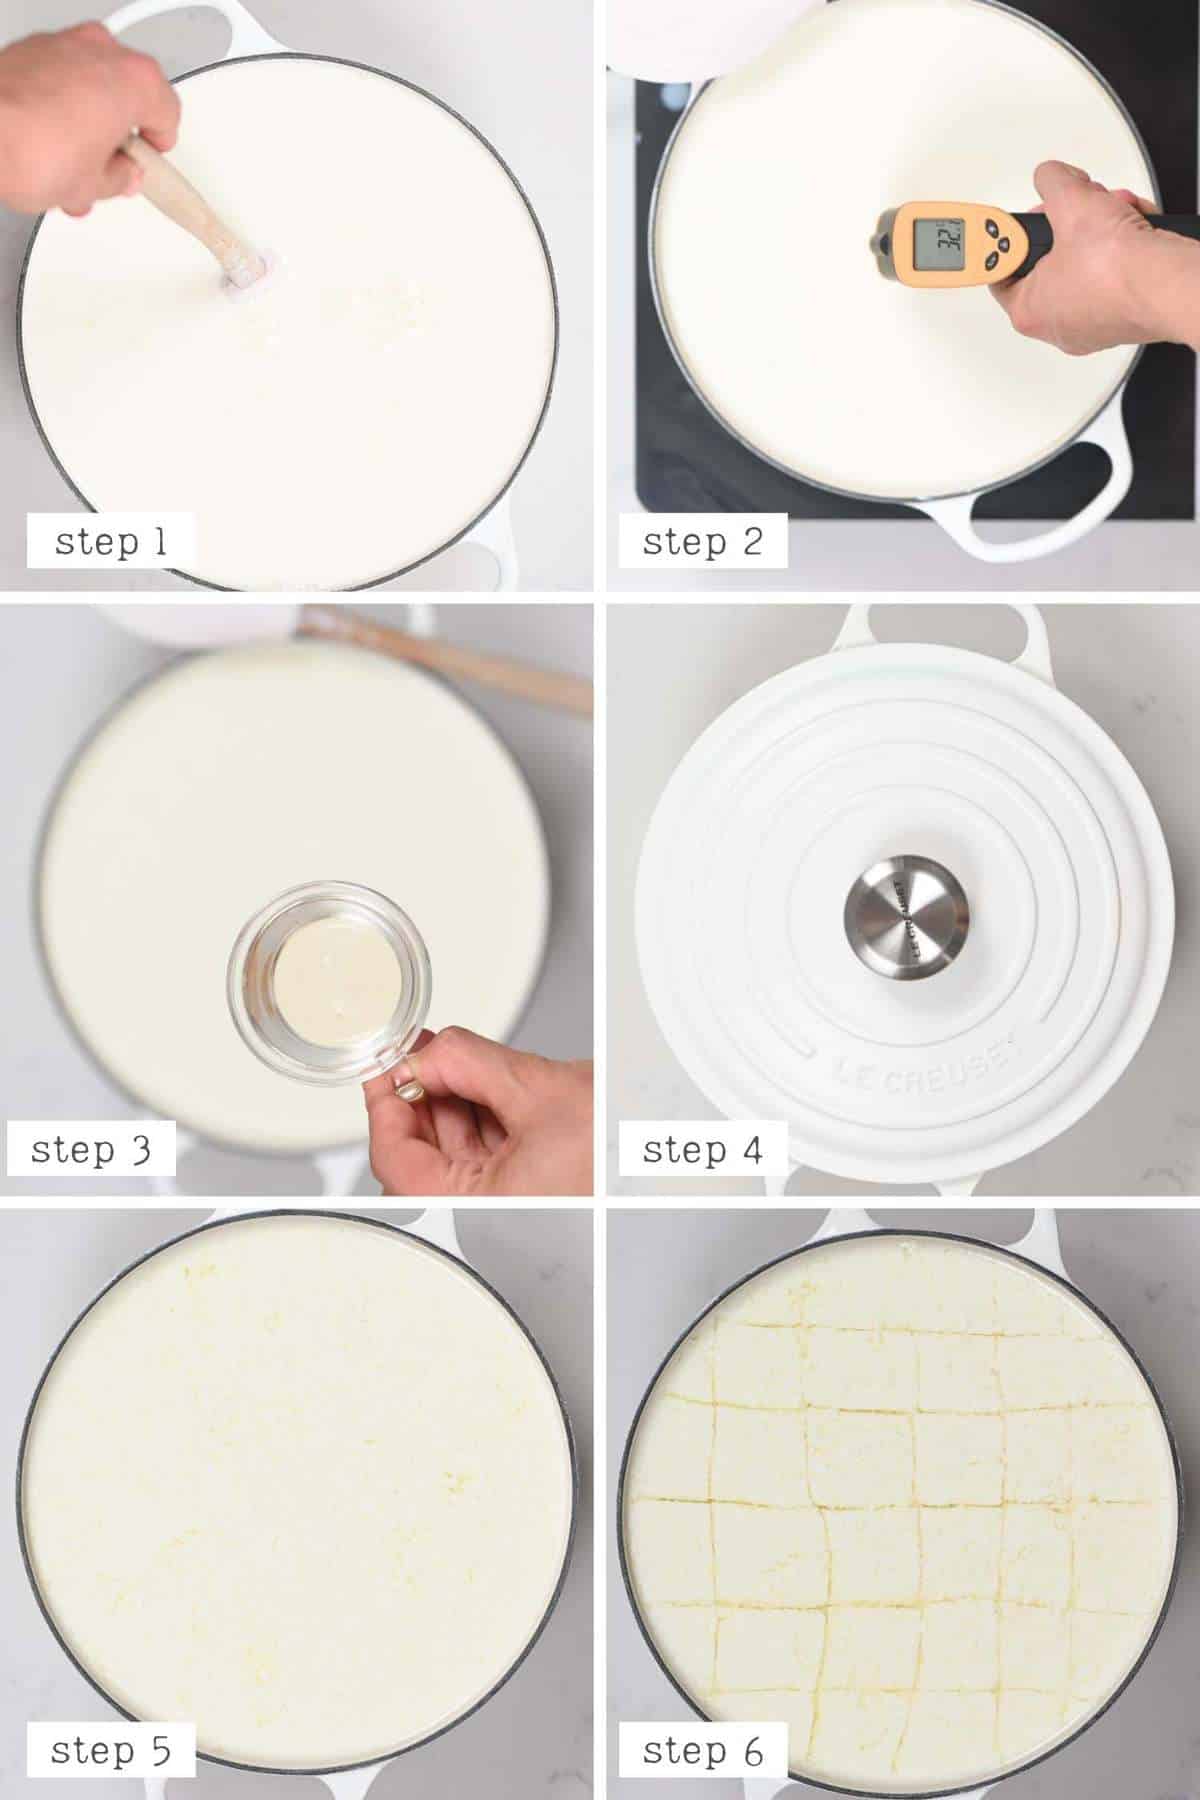
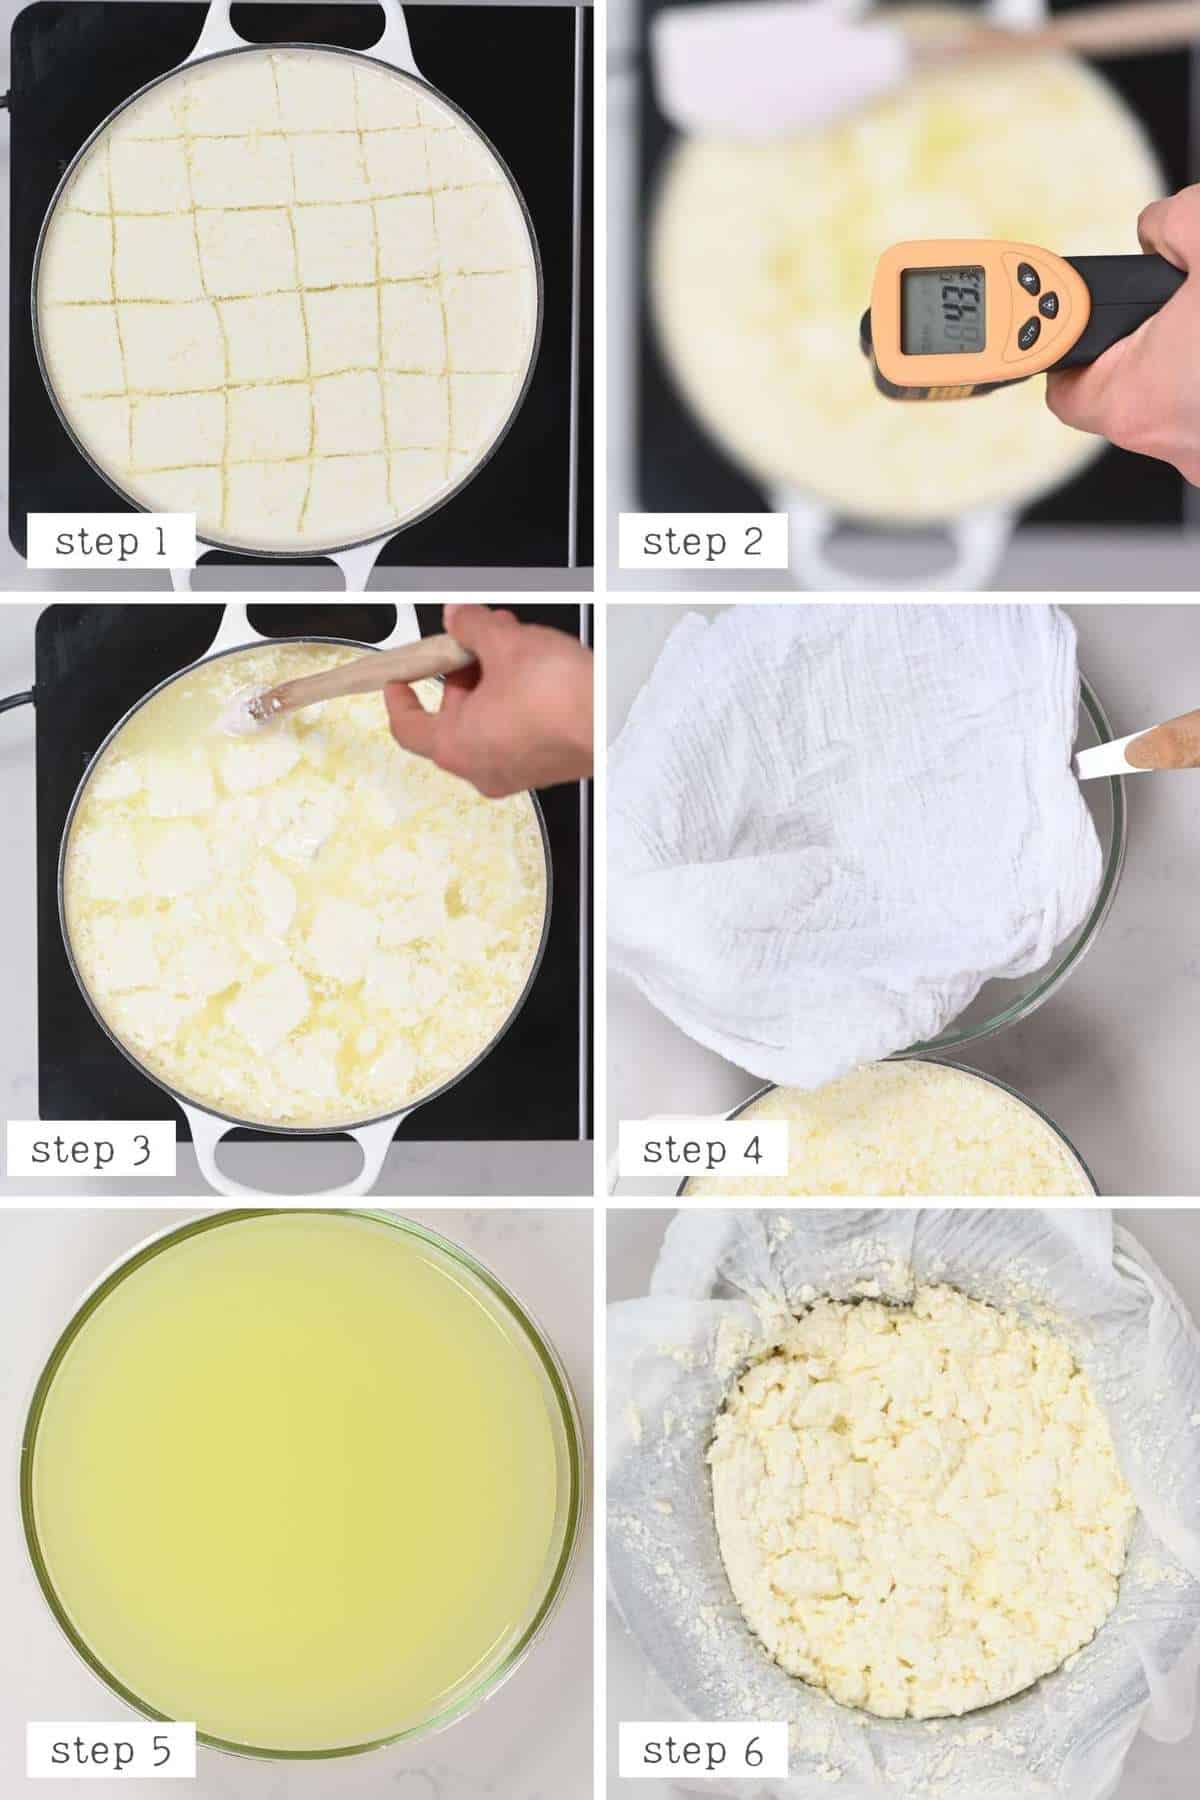
Next, cut the curds into a grid and heat.
It’s best to create a grid pattern through the curds, first slicing one way, then the other. Make sure to cut deep into the cuts, by touching the bottom of the pot.
Then, heat the curds over medium heat and stir very slowly but continuously. Try not to break the curds too much. They only need to reach 41ºC/106ºF, so they will warm up quite quickly (this heating will help the curds to toughen slightly).
Remove the pot from the heat as soon as the required temperature is reached. Continue to stir, slowly, for another 5 minutes. During this time, the curds will begin to separate from the whey.
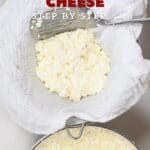
Next, Drain the curds.
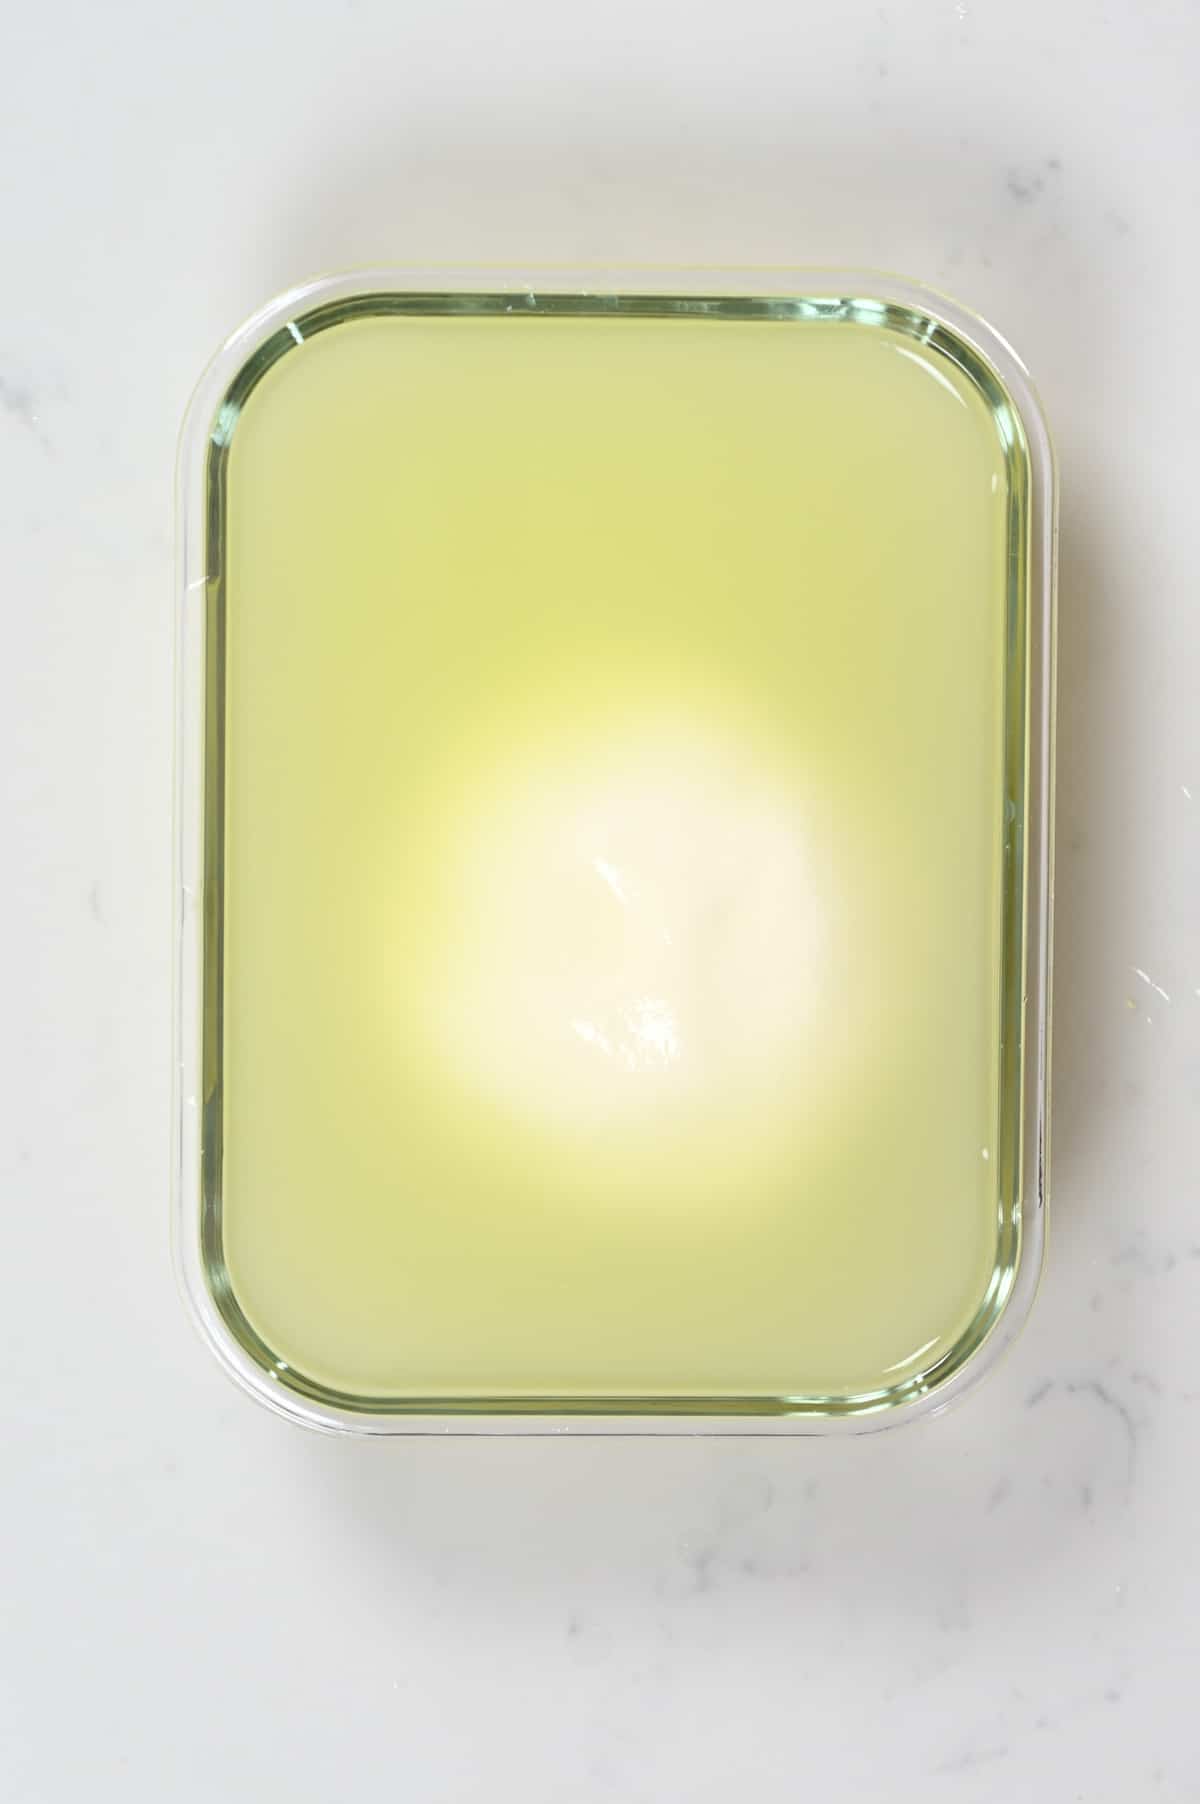
Scoop the cheese curds from the pot with a slotted spoon into a large colander lined with cheesecloth/muslin or a nut milk bag and allow the curds to drain into a bowl (as this whey can be used) for around 5 minutes.
You can either set the whey aside now or use around half of it for the next step.
Stretch and shape the mozzarella
Fill up a large bowl with hot water or heat up the whey liquid (until about 76ºC/170ºF) and place the curds inside. It may be easier to divide the curds in half and do this in two goes.
Note* Using whey instead of water and add a little extra flavor to the cheese.
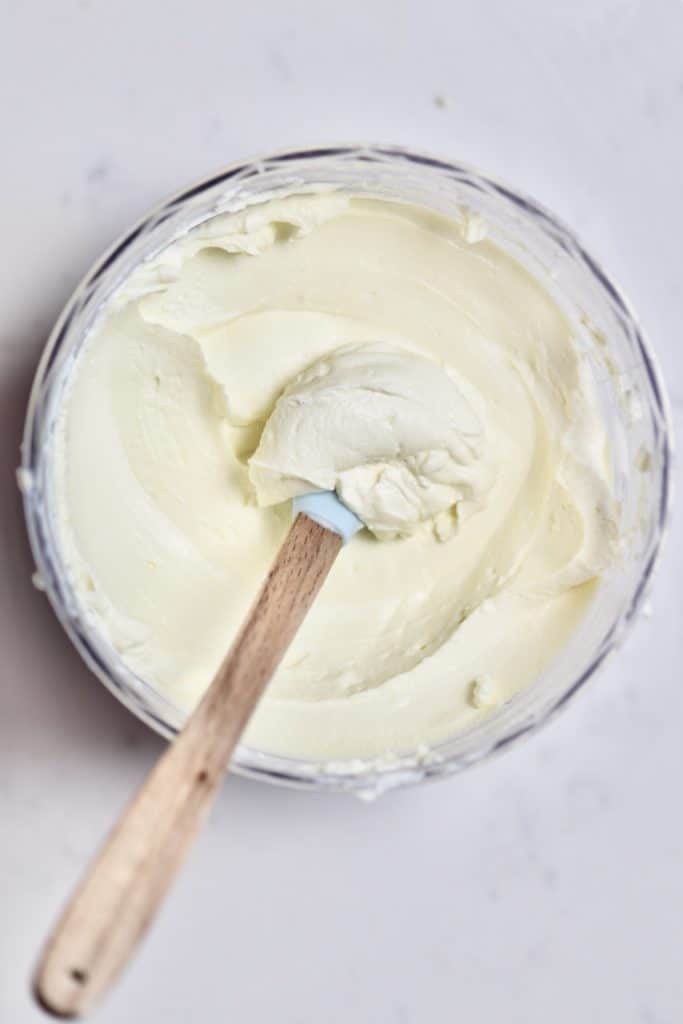
Keep the curds in the hot liquid for a few minutes. This is when the mozzarella is taking shape – the curds should become stretchy, a bit smooshy, and look a little like melted cheese.
Note* You can also use a thermometer to check when the curds are ready to stretch. You’re looking for an internal temperature of 135F in the cheese.
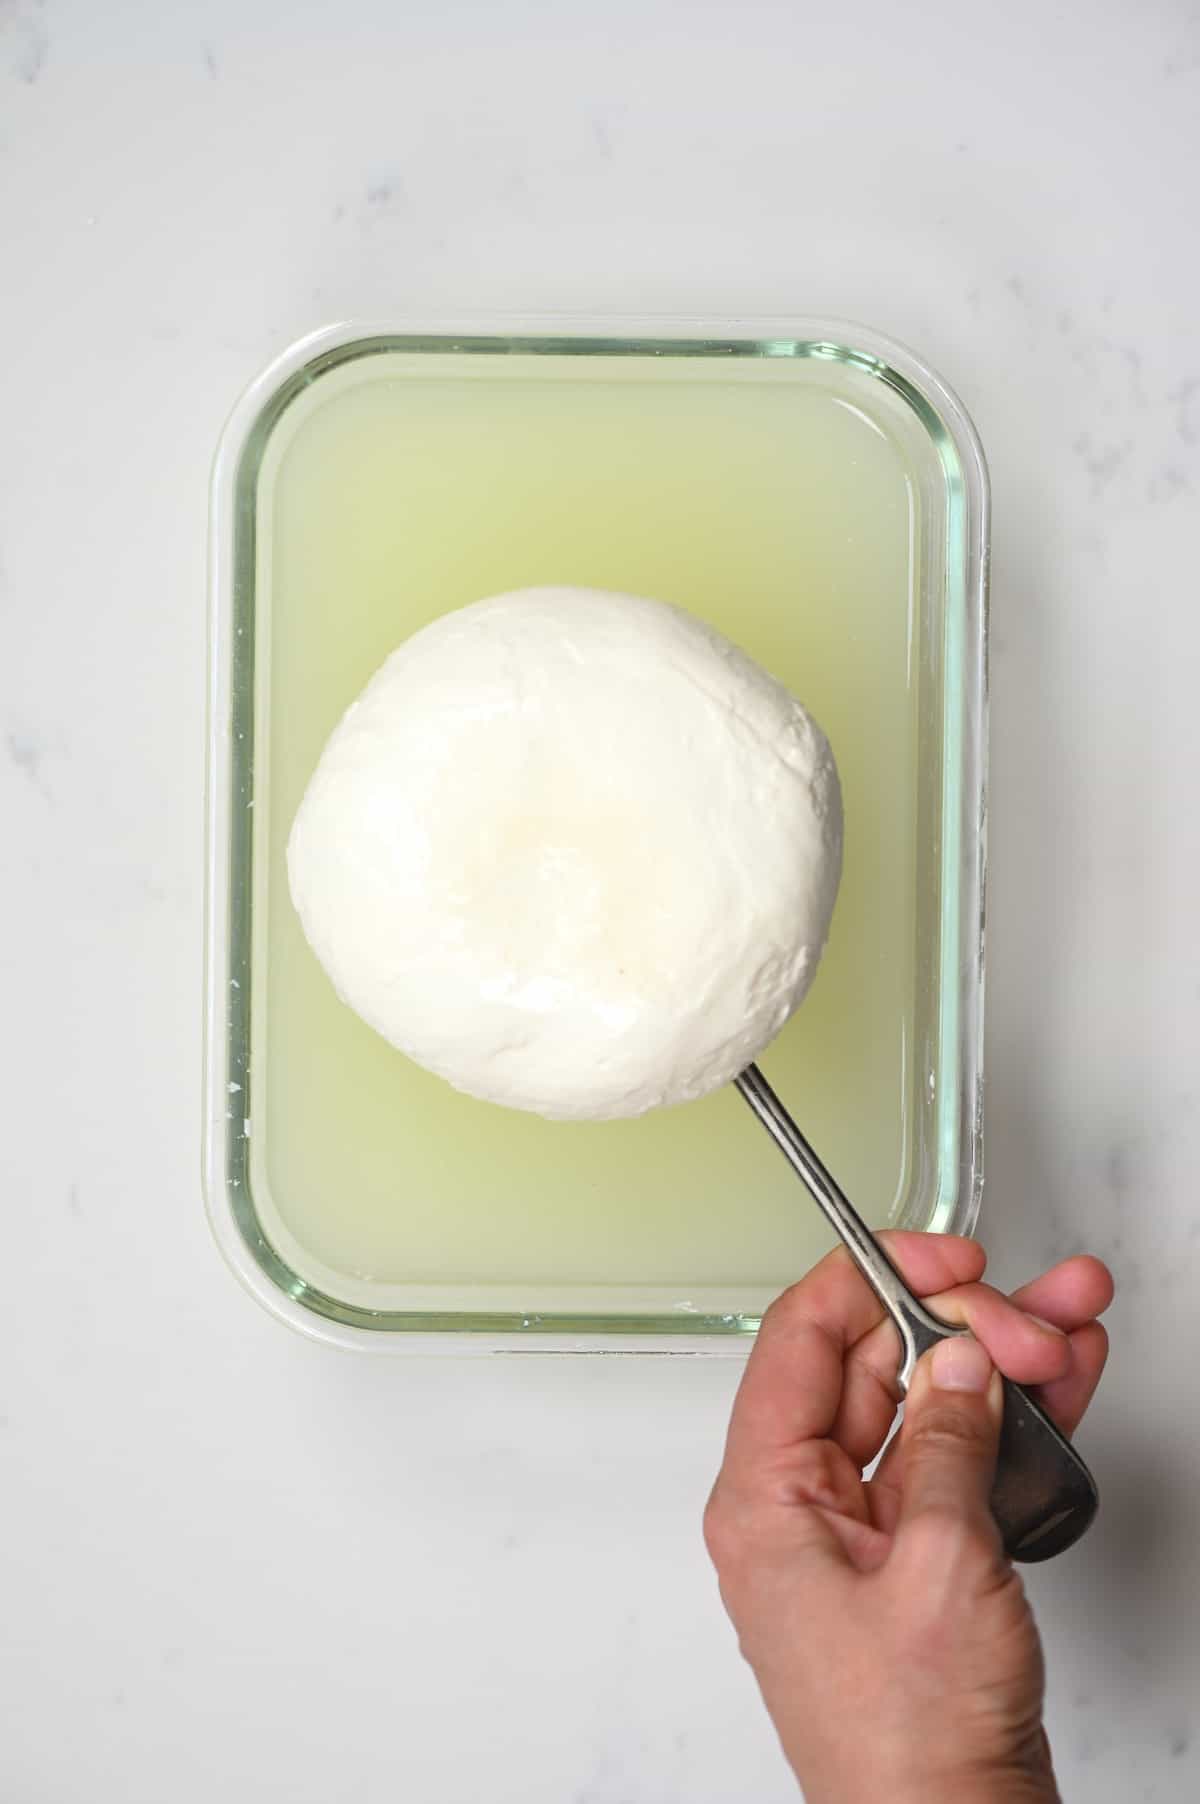
Finally, remove from the hot whey/ water, add some salt and then stretch and fold the curds onto themselves (using gloves), like how you would with taffy. Repeat until they become shiny and firm (usually just a few folds will do like between 3-7- don’t overwork it). Then roll into balls and quickly cool them. (See in the video how I did it.)
If it’s hard to shape into a ball or comes apart while stretching, place back in the hot liquid and allow to heat up a little more to shape into the final, smooth ball.
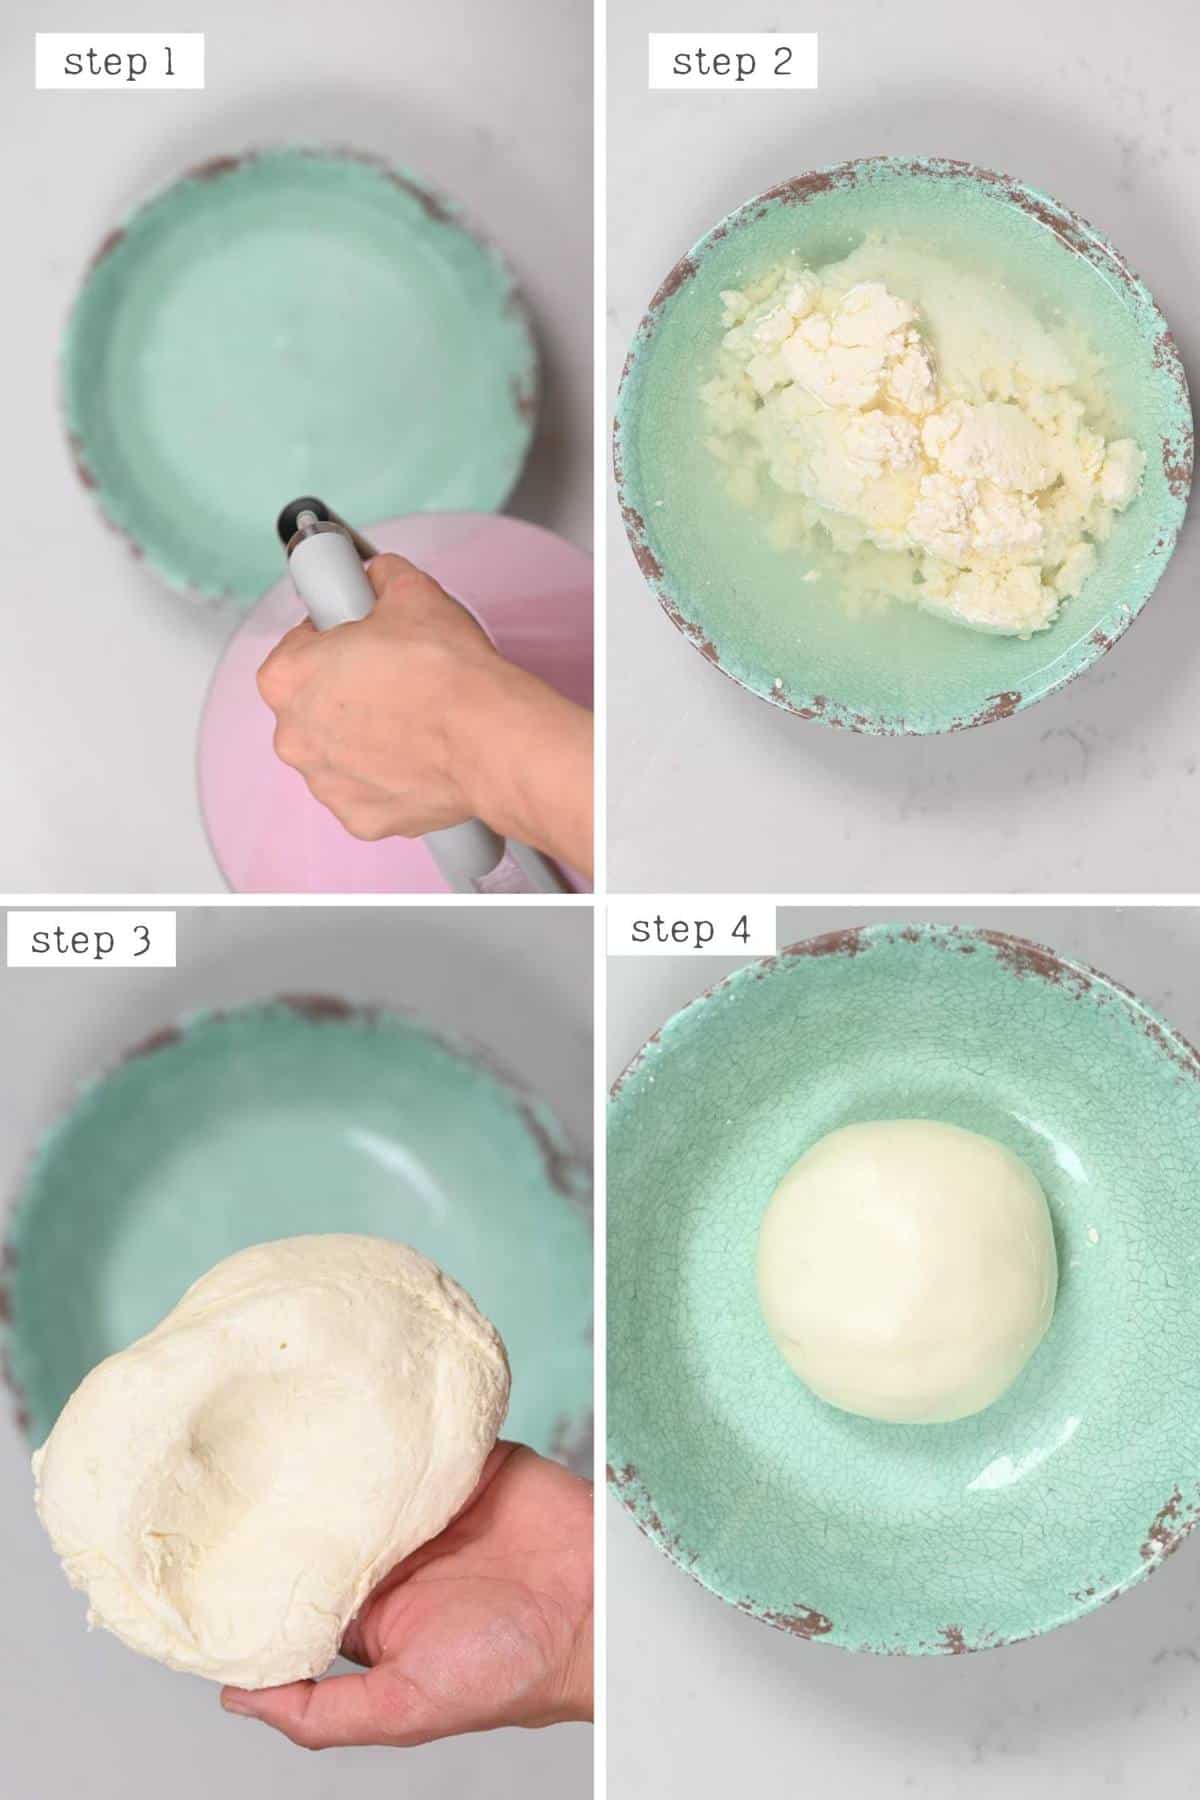
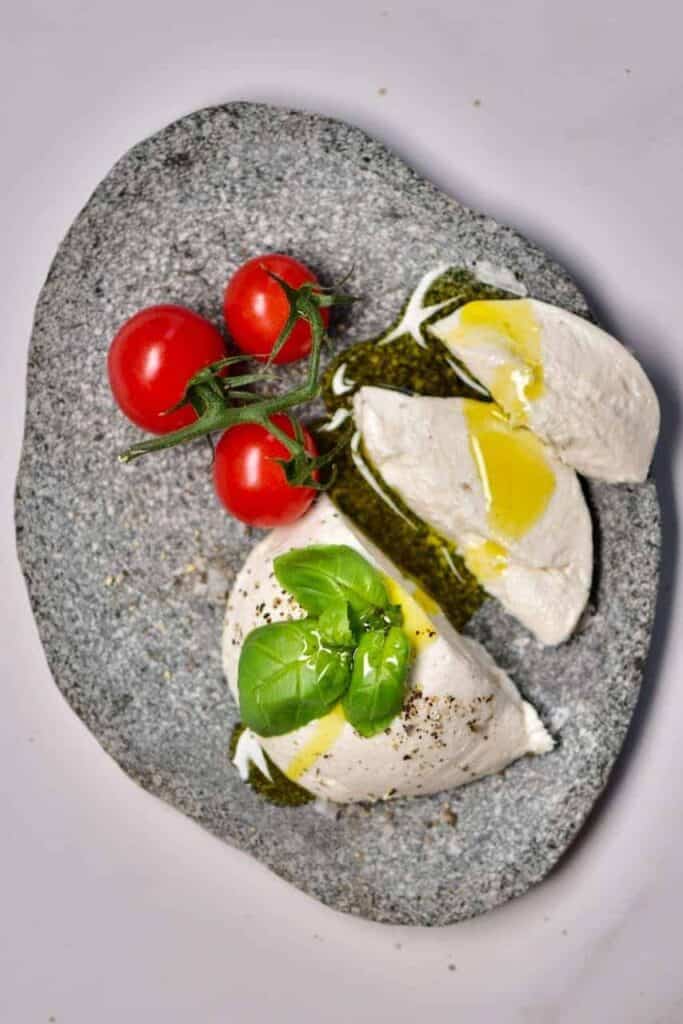
You can also make small mozzarella balls (Bocconcini).
To do a final ‘set’ of your cheese, you can, optionally, place the homemade mozzarella ball into ice water for a few minutes or in room temperature whey for 10-15 minutes (once again, whey will provide better flavor). Then, it’s ready to use.
How To Store:
Serve the fresh mozzarella immediately or store it in the fridge in the whey or a slated brine for up to a week.
You can also freeze the mozzarella for up to six months.
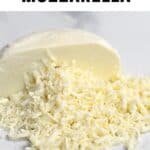
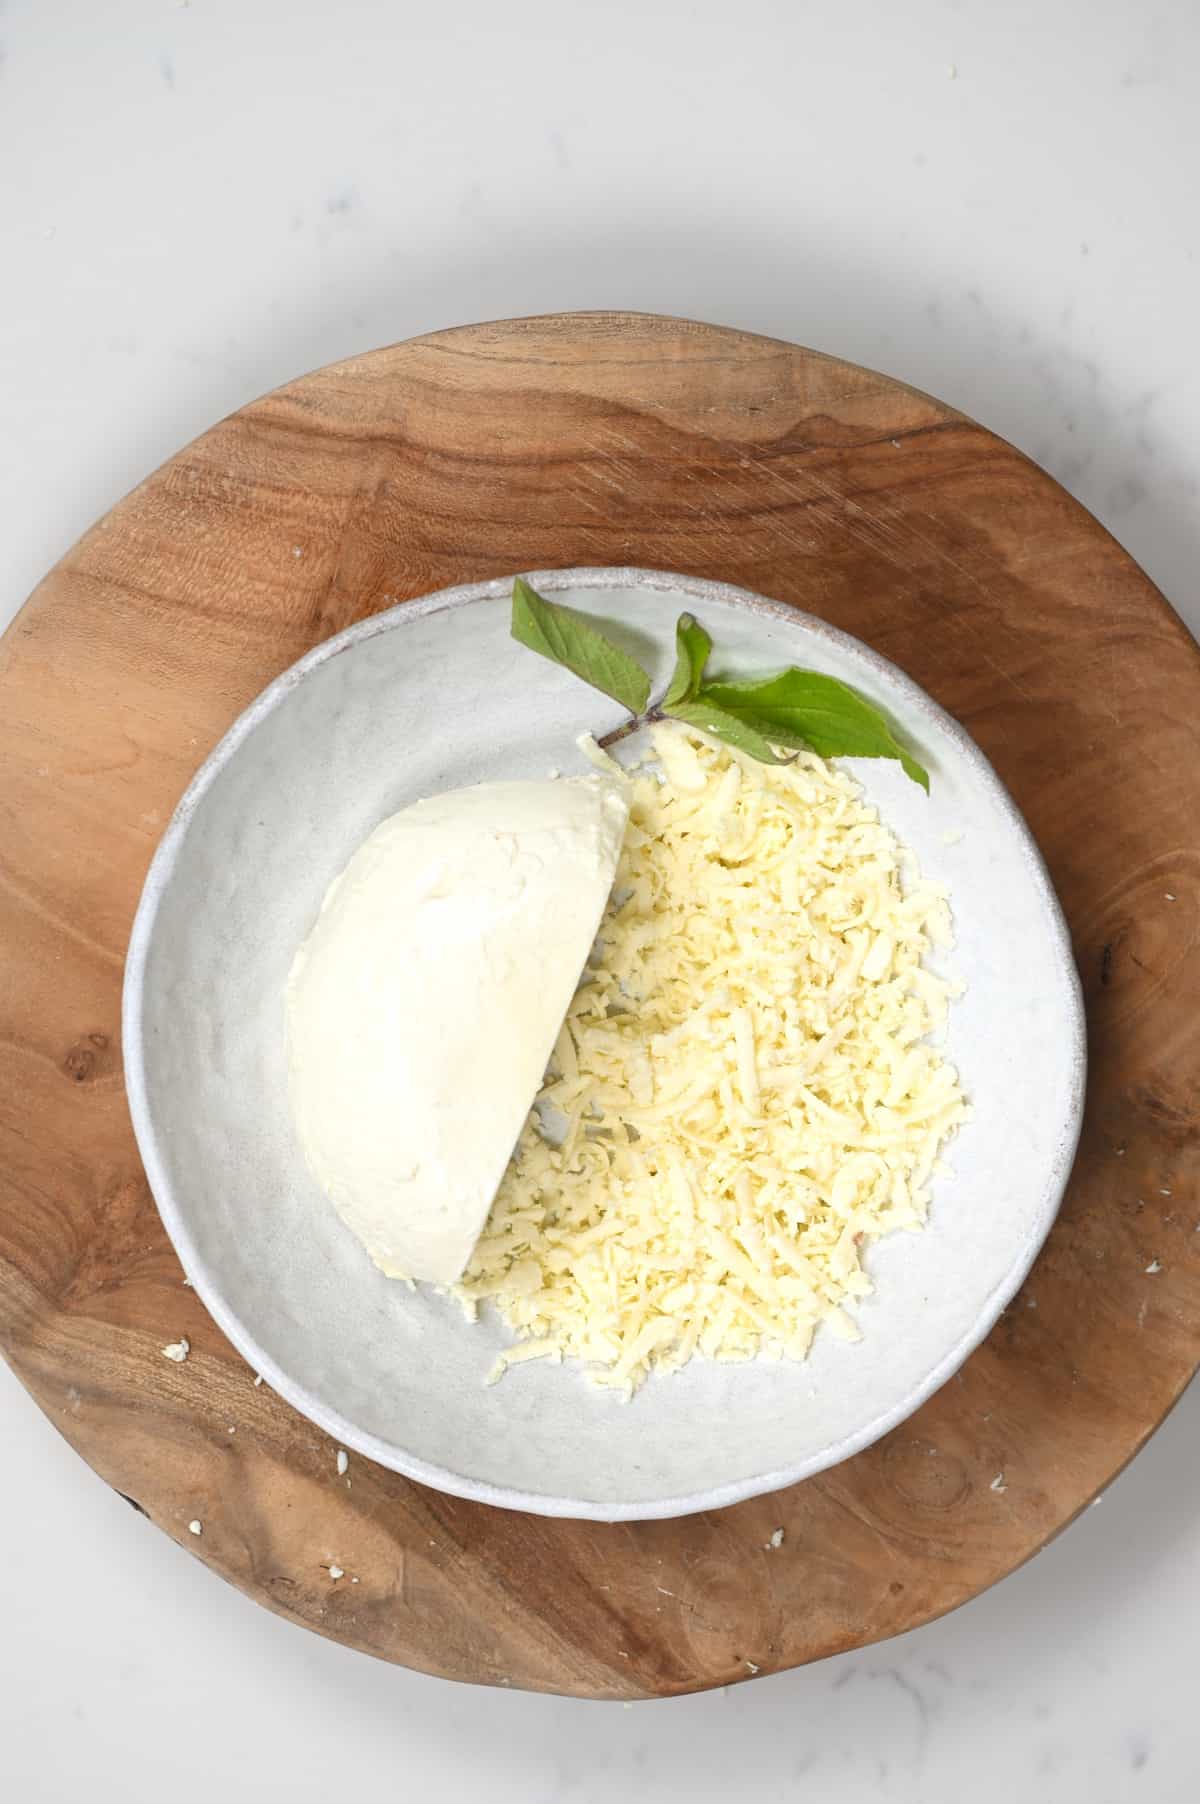
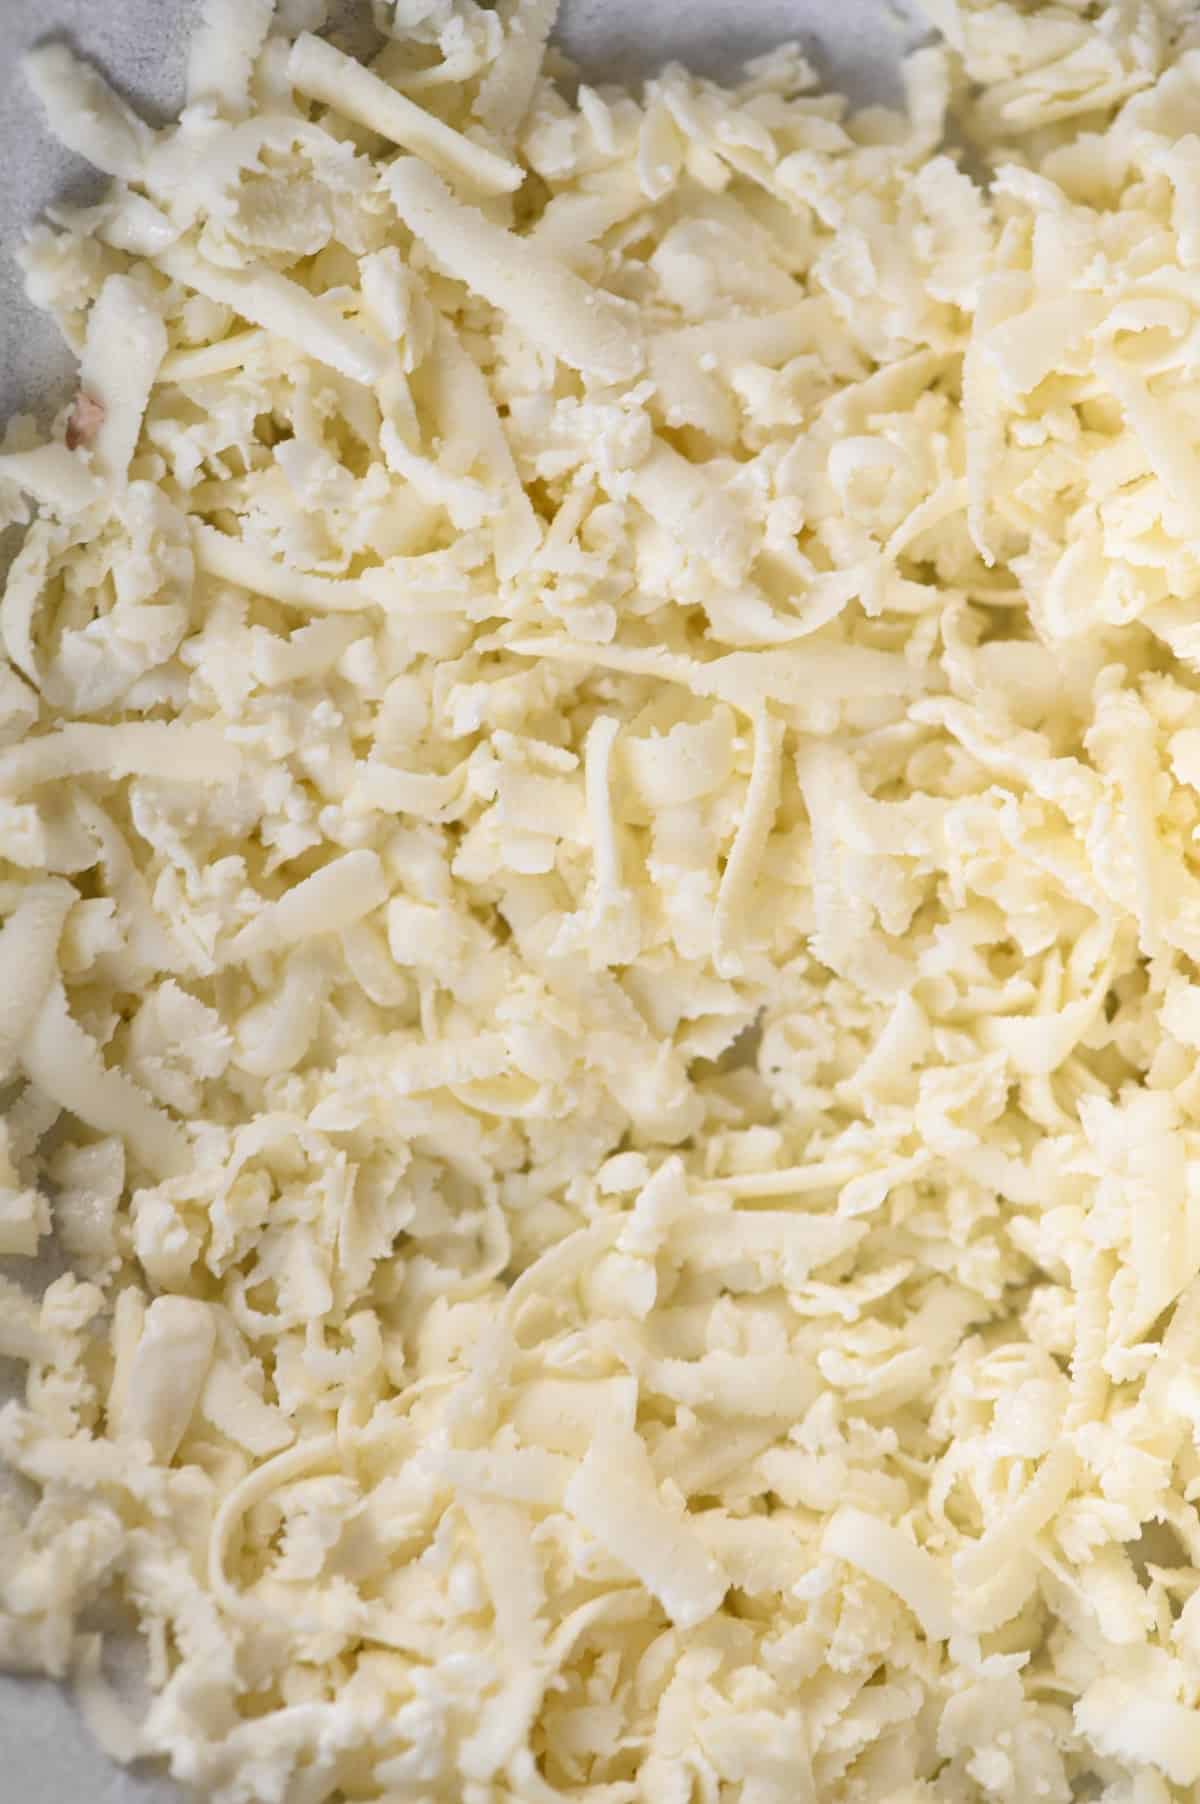
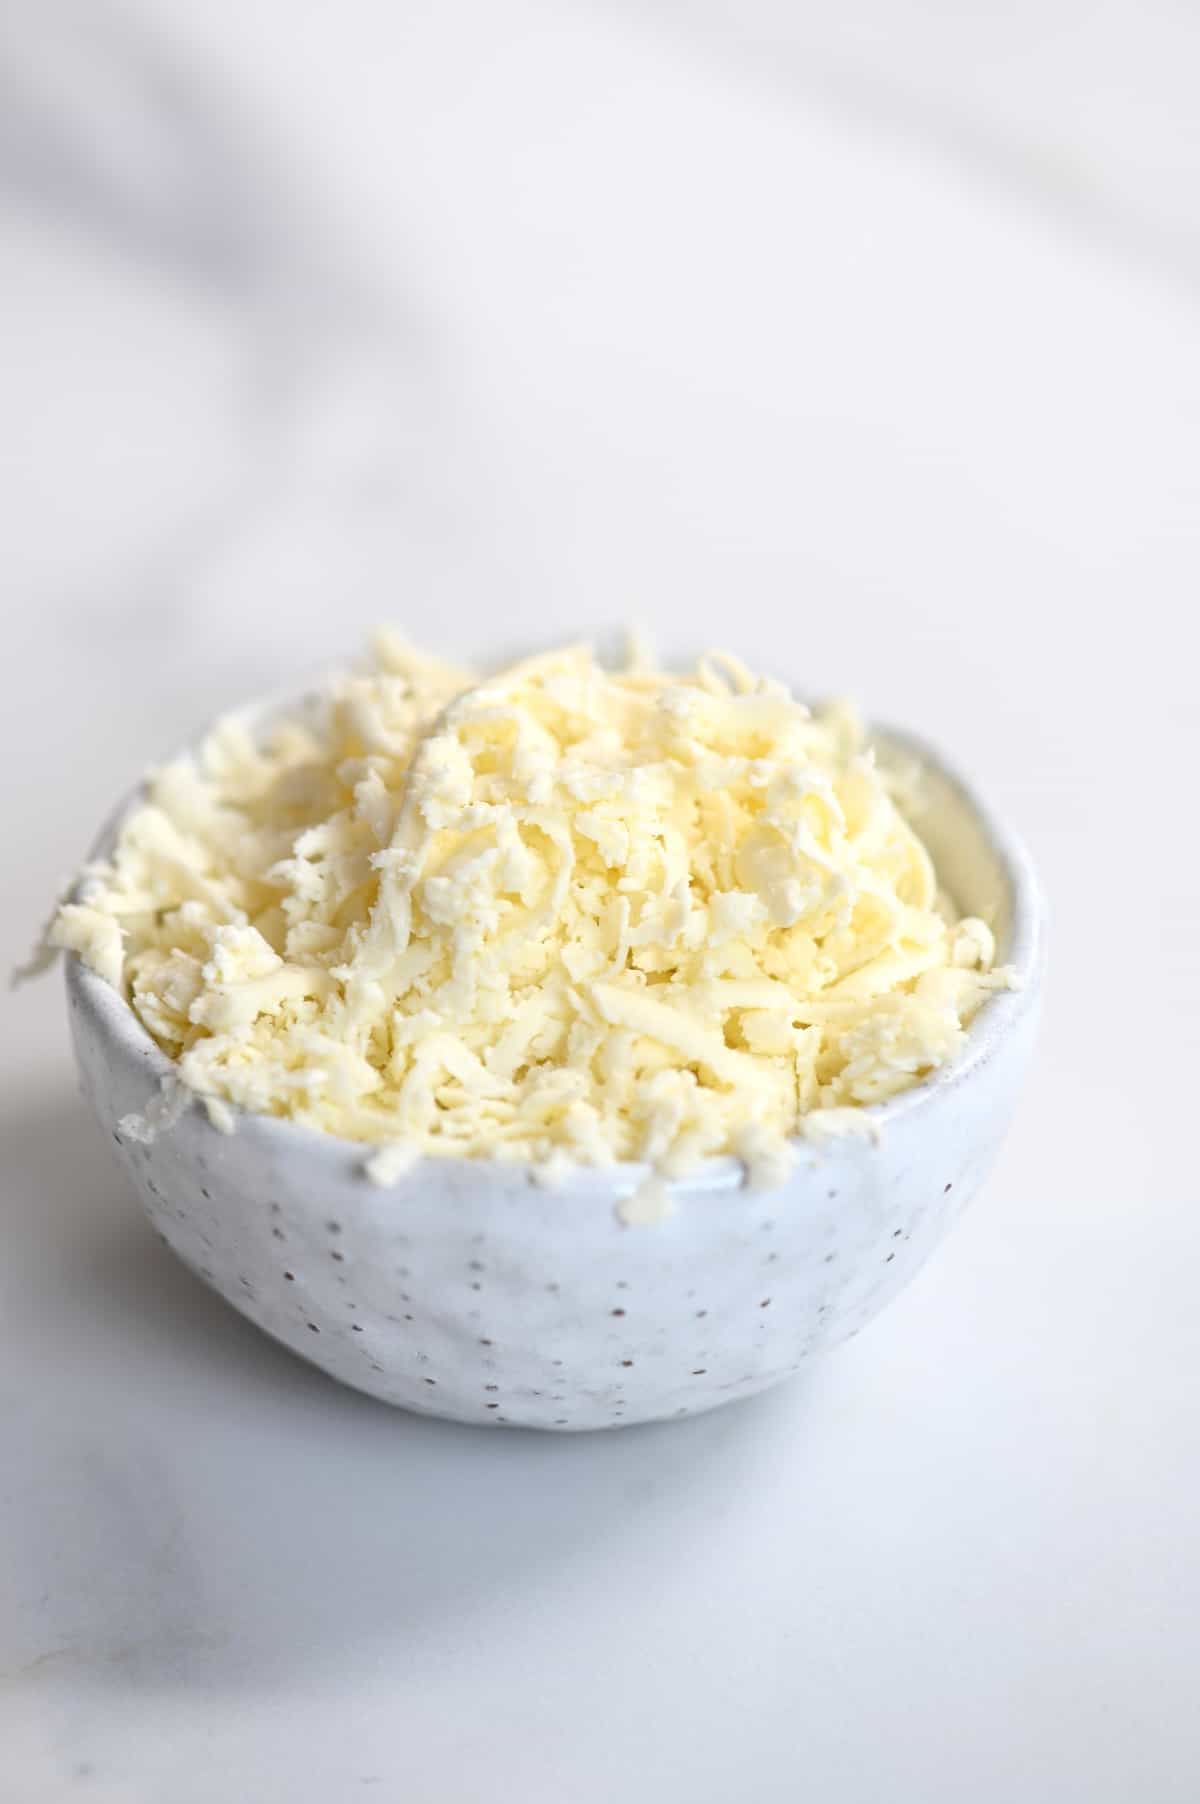
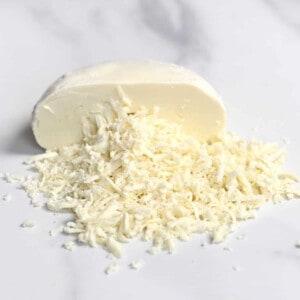
You can also easily grate the mozzarella to top your dishes.
Recipe Notes and FAQs
- If you use goats milk instead of cows, then be even slower and gentler when stirring the milk so as not to disturb the curds too much.
- If your cheese is tough or crumbly, then this is likely down to using too much acidity or heating it incorrectly. However, it can also happen if the curds are broken up too much by rough mixing. Try to reduce the amount of citric acid in the next batch.
- If the cheese is rubbery, then it’s likely that you overworked it during the stretching phase.
- For a softer mozzarella, stop the curds from becoming as firm and work the cheese even less when stretching (literally just a couple of stretches).
- You could add some dried herbs to the cheese, if wanted, during the final shaping stage.
- TOP TIP: A ‘failed’ batch definitely doesn’t necessarily mean waste. Even if the cheese is crumbly and won’t stretch, this can be used within pasta dishes, into cooked dishes, etc.
Related Dairy DIYs

- How to Make Goat Cheese
- Super Easy Homemade Cream Cheese
- Homemade Ricotta Cheese
- DIY How To Make Paneer At Home
- How To Make Butter (ONE ingredient)
- DIY: Homemade Herb Butter (Compound butter)
Dairy-Free DIYs

- Simple Homemade Vegan Cashew Cheese
- Simple Smoky Vegan Cheddar Cheese
- Easy Stretchy Vegan Mozzarella Cheese
- Simple Herby Vegan Feta Cheese
- How To Make Buttermilk Substitute
If you try this homemade mozzarella cheese recipe, then let me know your thoughts and any questions in the comments. Also, feel free to tag me in your recreations @AlphaFoodie.
Mozzarella Cheese
Ingredients
- 1 gallon fresh milk I prefer fresh, whole raw milk for the absolute best results. However, you can also use skimmed milk (2% etc) or pasteurized milk. Avoid homogenized or ultra-pasteurized milk though!
- 1.5 tsp citric acid
- 1 cup water to dissolve the citric acid
- 0.01 ounce rennet liquid or tablet – you can use vegetable rennet for a vegetarian version
- 4 Tbsp water to dissolve the rennet
- Cheese salt aka kosher salt/non-iodied salt.
Instructions
Stage 1 – Prepare the milk
- In a bowl, mix the citric acid and water and stir until dissolved.
- Meanwhile, in aseparate bowl, mix the rennet and water and stir well until dissolved.
- Pour the milk into a large pot and add the citric acid mix. Warm the mixture over medium heat and stir slowly but constantly until the milk reaches 32ºC/90ºF. Remove from the heat as soon as you reach the required temperature.
- Add the rennet mixture to the warm milk and stir a few times slowly to mix well. Then cover the pot and set aside for 5 minutes.*
- After about 5 minutes, the milk should have 'set' and be a consistency similar to a thick yogurt or pudding that you can slice through. If you can cut through it nicely in a straight line, you can move to the next step. If not, set aside for another 5 minutes and try again.
Stage 2 – Prepare the curds
- To cut the curds, It's best to create a grid pattern through the curds, first slicing one way, then the other. Make sure to cut deep into the cuts, by touching the bottom of the pot.
- Then, heat the curds over medium heat and stir very slowly but constantly. Try not to break the curds too much. They only need to reach 41ºC/106ºF so they will warm up quite quickly (this heating will help the curds to toughen slightly).Remove the pot from the heat as soon as the required temperature is reached. Continue to stir, slowly, for another 5 minutes. During this time, the curds will begin to separate from the whey.
- Scoop the cheese curds from the pot with a slotted spoon, into a large colander lined with cheesecloth/muslin or a nut milk bag and allow the curds to drain into a bowl (as this whey can be used) for around 5 minutes.
- You can either set the whey aside now or use around half of it for the next step.
Stage 3 – Shaping the mozzarella
- Fill up a large bowl with hot water or heat up the whey liquid** (until about 76ºC/170ºF) and place the curds inside. It may be easier to divide the curds in half and do this in two go's.Keep the curds in the hot liquid for a few minutes. This is when the mozzarella is taking shape – the curds should become stretchy, a bit smooshy, and look a little like melted cheese***.
- Finally, remove from the hot whey/ water, add some salt and then stretch and fold the curds onto themselves (using gloves), like how you would with taffy. Repeat until they become shiny and firm (usually just a few folds will do like between 3-7- don't overwork it). Then roll into balls and quickly cool them. (See in the video).If it's hard to shape into a ball or comes apart while stretching, place back in the hot liquid and allow to heat up a little more to shape into the final, smooth ball. You can also make small mozzarella balls (Bocconcini).
How To Store
- Serve the fresh mozzarella immediately or store in the fridge in the whey or a salted brine for up to a week.You can also freeze the mozzarella for up to six months.
Video
Notes
- If you use goats milk instead of cows then be even slower and gentler when stirring the milk, so as not to disturb the curds too much.
- If your cheese is tough or crumbly then this is likely down to using too much acidity or heating it incorrectly. However, it can also happen if the curds are broken up too much by rough mixing. Try to reduce the amount of citric acid in the next batch.
- If the cheese is rubbery then it’s likely that you overworked it during the stretching phase.
- For a softer mozzarella, stop the curds from becoming as firm and work the cheese even less when stretching (literally just a couple of stretches).
- You could add some dried herbs to the cheese, if wanted, during the final shaping stage.
- TOP TIP: A ‘failed’ batch definitely doesn’t necessarily mean waste. Even if the cheese is crumbly and won’t stretch, this can be used within pasta dishes, into cooked dishes, etc.
Nutrition
Nutrition information is automatically calculated, so should only be used as an approximation.


When freezing, do you freeze in liquid or just the cheese by itself?
Hi Monica,
To freeze it, it’s best to pat it dry and then wrap it well.
Results were spot on, perfect texture/consistency, could have been saltier. But overall great recipe for a first timer
Glad you liked it, Dianne!
Hello! Does this have to be stored in whey when frozen ? Or just by itself when frozen ?
Hi Makayla,
If you want to freeze it, it’s best to pat it dry and then wrap it well. Don’t freeze it with the whey.