
This post may contain affiliate links. Please read our disclosure policy.
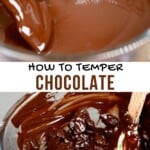
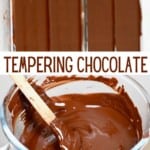


Everything you need to know on how to temper chocolate: what chocolate to use, the chocolate tempering temperatures, tabling, seeding, and sous vide methods with tips, and a bonus microwave method too!
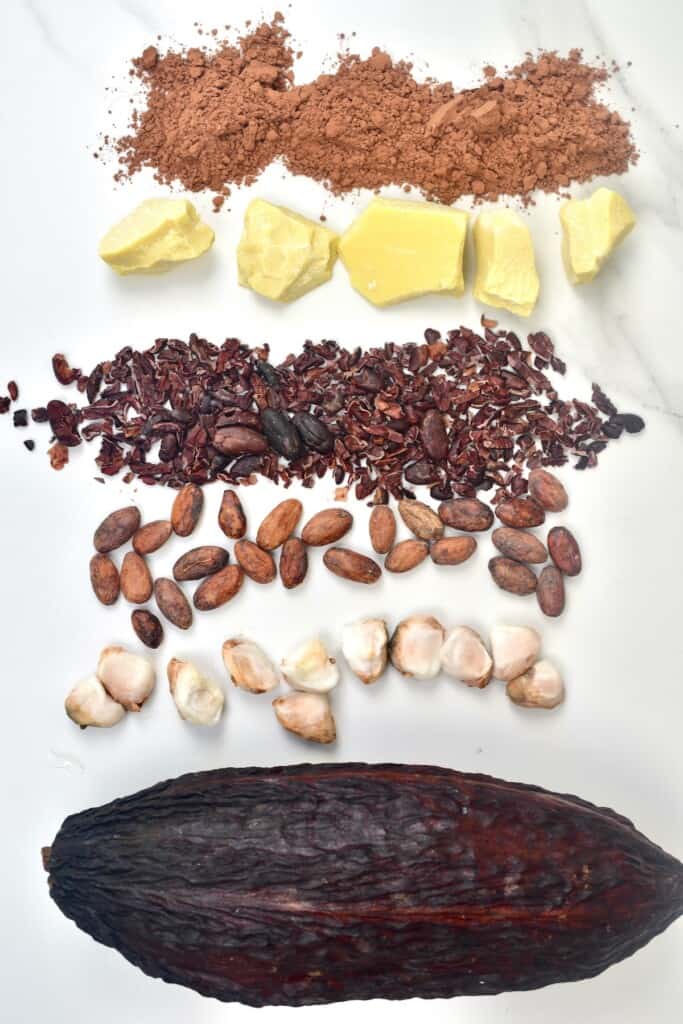
I’ve recently been obsessed with all things cacao – so much so that I’ve taken you through the precise method of making chocolate from bean to bar. I also have recipes on the blog for homemade dark chocolate, milk chocolate, and white chocolate.
I’ve received repeated questions about tempering chocolate. Is it possible to do with these homemade recipes? Why would you want to? So I thought I’d finally answer everyone’s questions in a single post. This is all you need to know on how to temper chocolate and the three main methods to do so: using a marble slab, seeding, and sous vide; and a bonus microwave method thrown in, too!
Want to save this recipe?
What Is Tempered Chocolate?
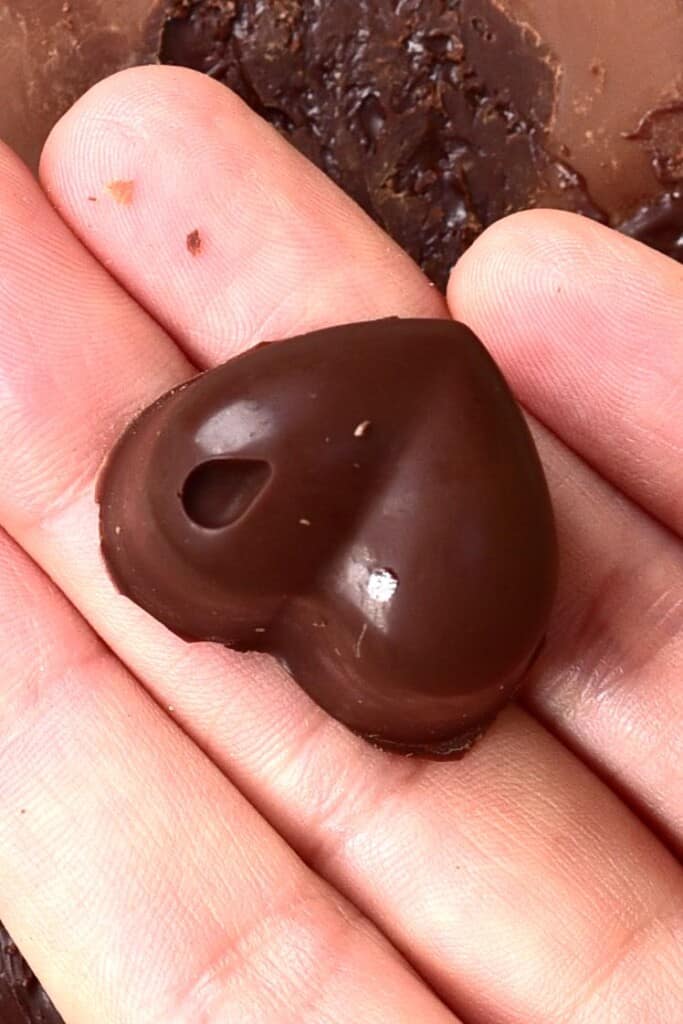
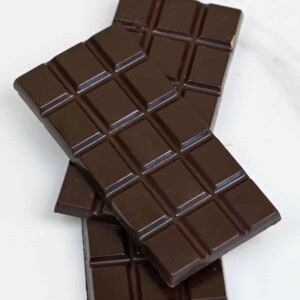
Nearly all of the ‘real’ chocolate (with cocoa butter) that you can buy commercially is tempered. It has a shiny finish, a clear ‘SNAP’ when you break (or bite) it, and generally stays in shape at room temperature. In short, it’s more stable and looks and feels better.
In comparison, untempered chocolate is dull, bends rather than snaps, and is soft and melty. Not to mention that the consistencies are slightly different too, and you risk the chance of ‘bloomed’ chocolate (when your chocolate has patches that are grey/white and looks moldy) – while this is edible (NOT mold), it’s not exactly pleasant.
But what exactly does all that mean?
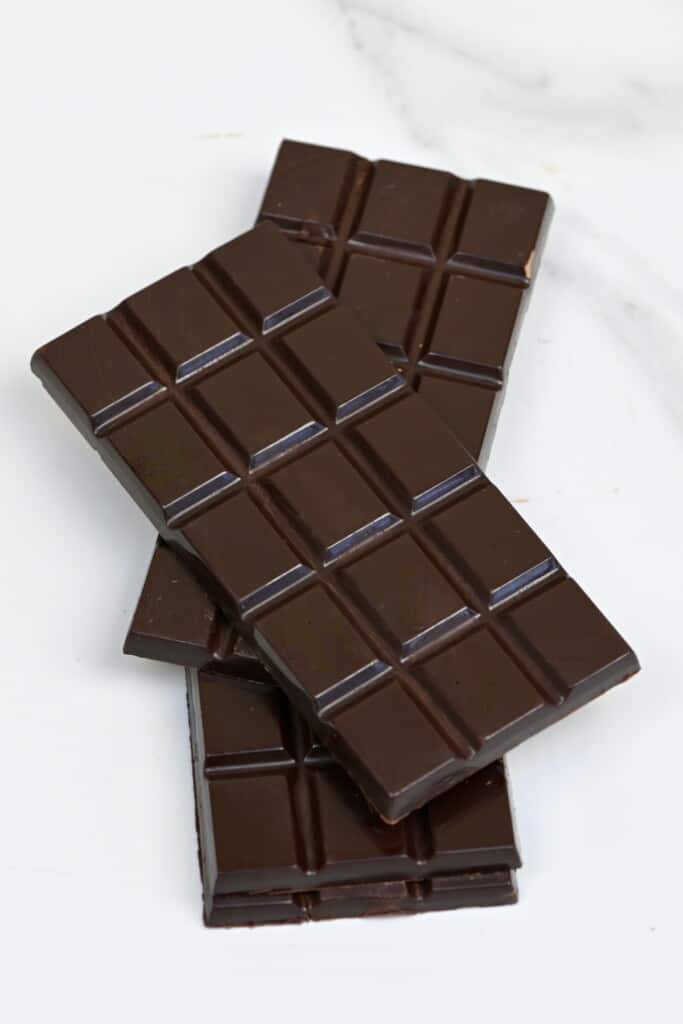
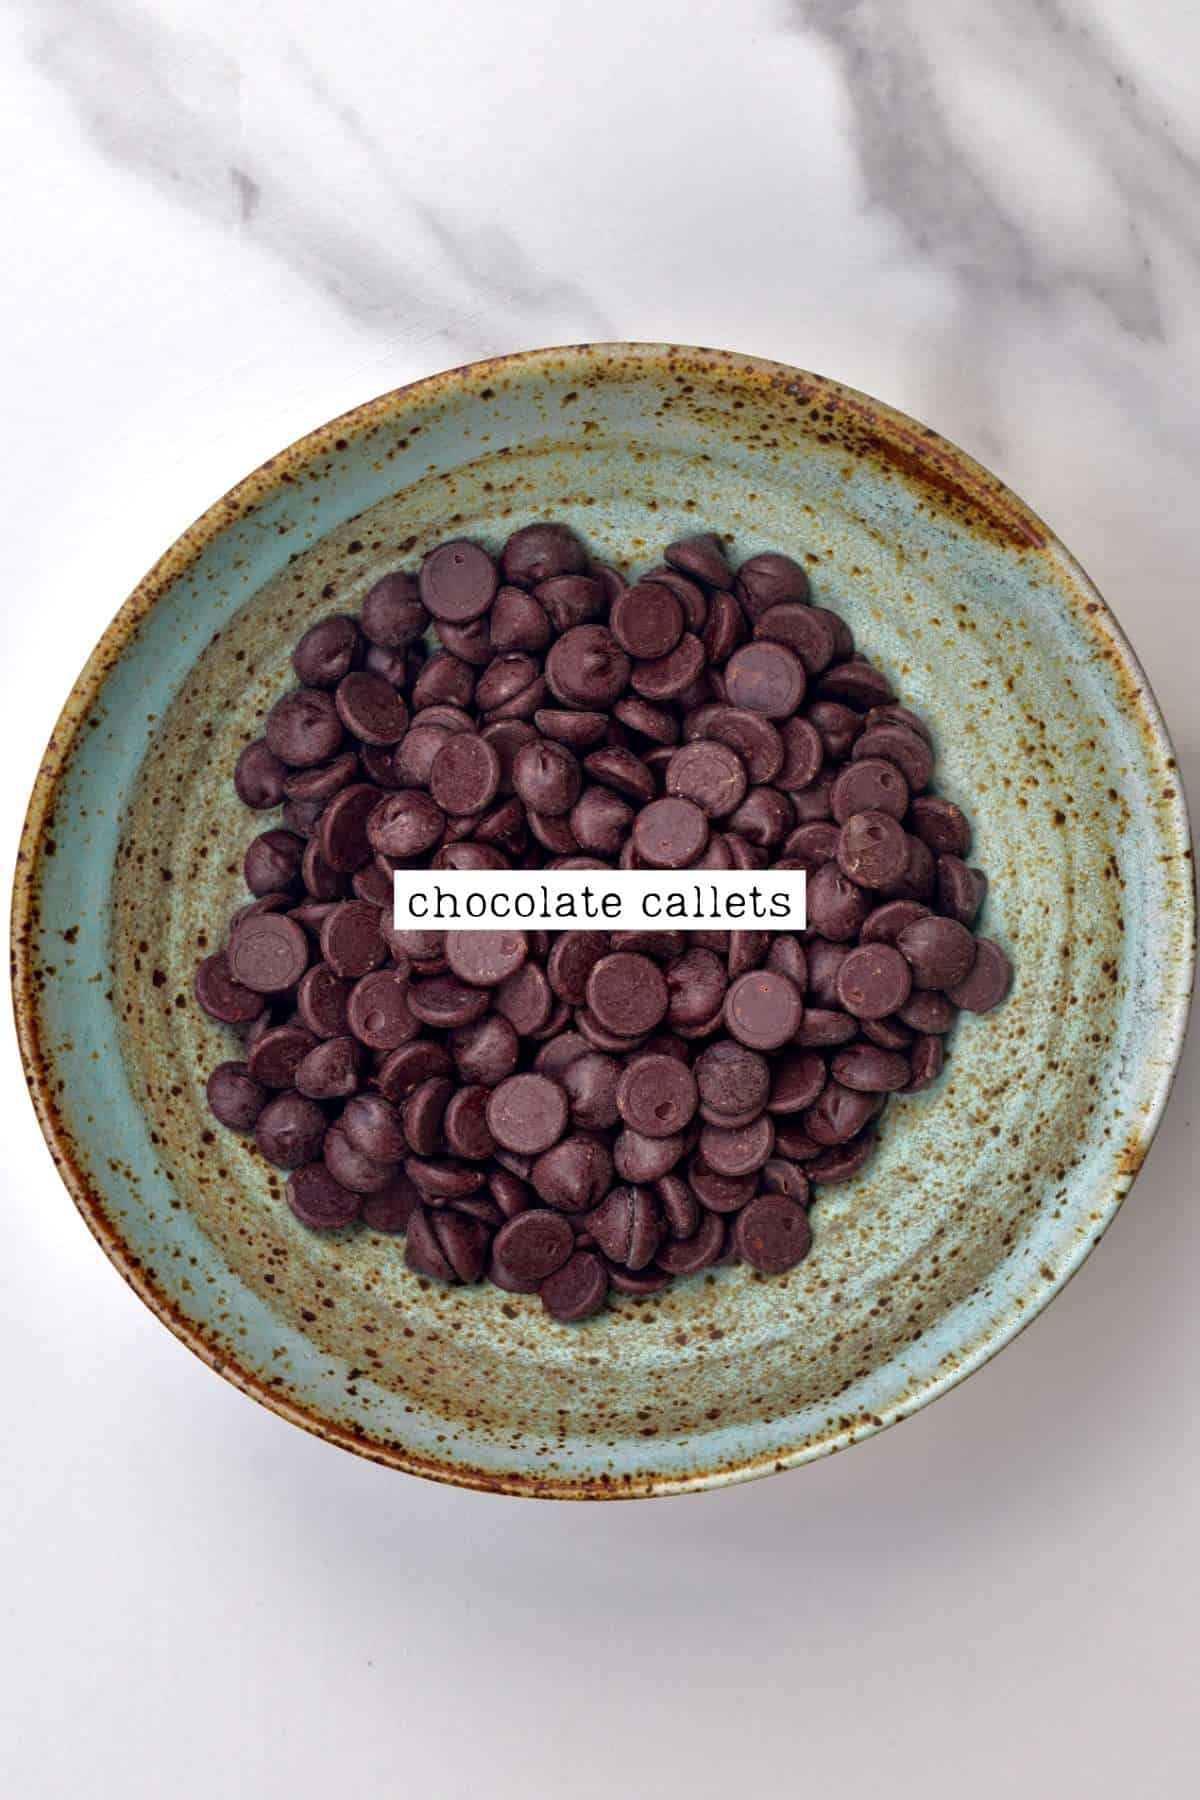
- First of all, the most important thing, any chocolate with cocoa butter in it can be tempered! Whether it’s dark (semi-sweet), milk, or white – as long as it has cacao butter – that is what we’re actually tempering. You can use coverture chocolate wafers (callets) or high-quality chocolate for baking.
- ‘Fake’ (with vegetable fats rather than cocoa butter) or compound chocolate doesn’t need tempering.
- Also, DON’T use chocolate chips containing any extra ingredients specifically there to help them maintain their shape during baking. They won’t melt down smoothly.
Cacao butter is the ingredient within chocolate that melts and is made up of several crystal forms. The act of tempering chocolate is basically controlling the crystal structure, so the correct crystals form. Once tempered, we align the specific crystals into a dense structure – and voila, glossy, shiny, solid chocolate!
So, how do we go about controlling the chocolate crystals?
Through heating and cooling the chocolate slowly to specific temperatures – often agitating the chocolate until it cools to our preferred temperature (this will stop the crystals forming until we reach the temperature they need to form the correct way).
Science speak: Chocolate crystals are made up of six different forms. Form V (5) is the one we’re aiming for. Different crystal structures will form at different temperatures. If the chocolate is cooled too low before tempering, other crystal structures will inhibit the growth of Form V. If you overheat the chocolate, the Form V crystals can’t form – you get the gist.
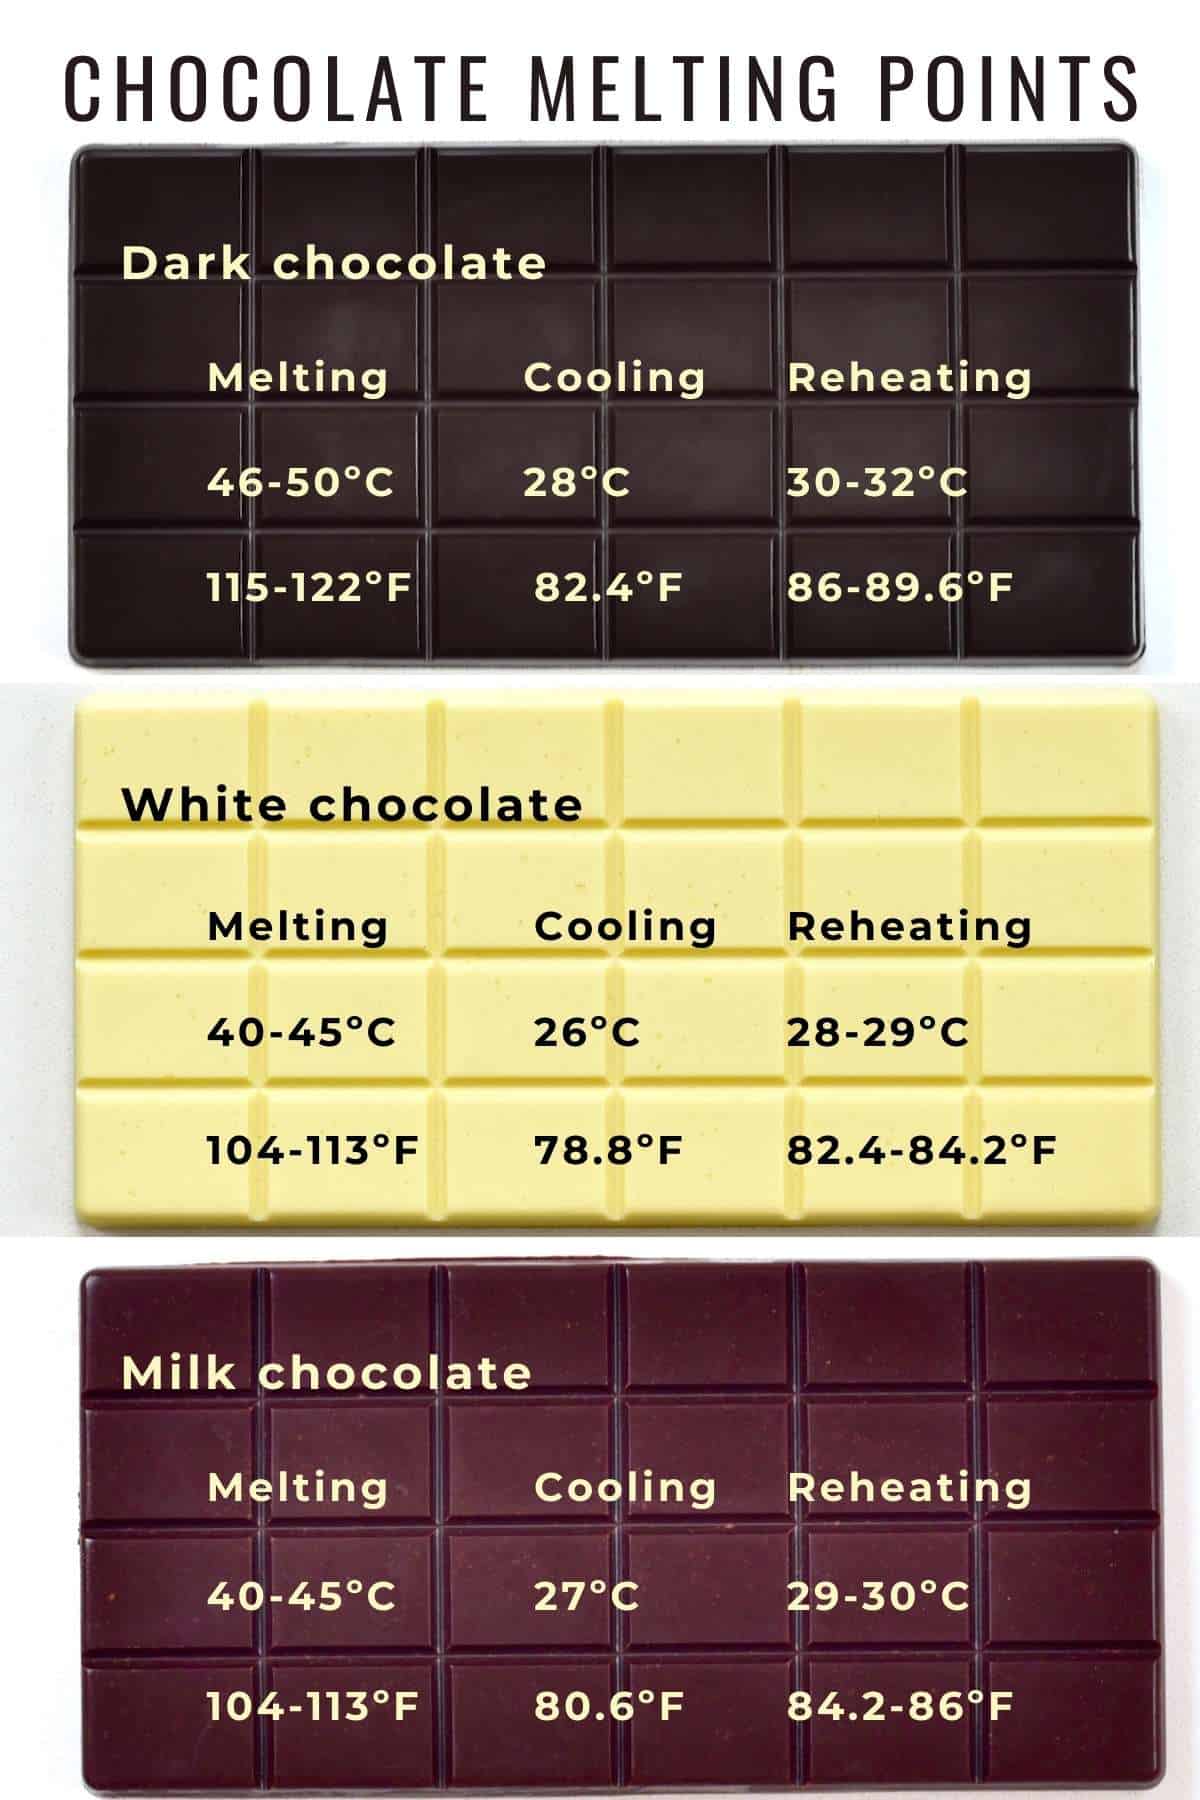
The Chocolate Tempering Temperatures
Different types of chocolate have different minimum and maximum temperatures during the tempering process.
- Dark Chocolate: Melt to 46-50°C (115-122ºF), cool to 28°C (82.4ºF), and reheat to 30-32°C (86-89.6ºF)
- Milk Chocolate & White Chocolate: Melt to 40-45°C (104-113ºF), cool to 26/7°C (79/80.6ºF), and reheat to 28-30°C (82.4-86ºF).
Why three temperatures? While it’s technically possible to temper chocolate by heating it to the higher temperature and then cooling and ‘holding’ it at the final temper temperature, the crystals take a long time to form. Lowering the temperature first helps promote the rapid formations of the correct crystals. Then raising the temperature gets rid of the unwanted crystals while the Form V remains.
The third temperature is the one you MUST stay below to avoid breaking temper! Keep the chocolate at the third temperature (or slightly below) while you work with it.
Why and when do you need tempered chocolate?
If I’m making homemade chocolate for myself, I’ll often skip the tempering, store it in the fridge. However, if you want it to be stable at room temperatures, or plan to use it for truffles, within candy molds, gifting, candies, or decorating, then tempered is best!
Not only does the snap and shine look great, but the temper is critical for having chocolate that stays hard at room temperature (you don’t want to gift melting truffles or have floppy cake decorations).

How To Temper Chocolate (3 Methods)
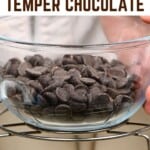
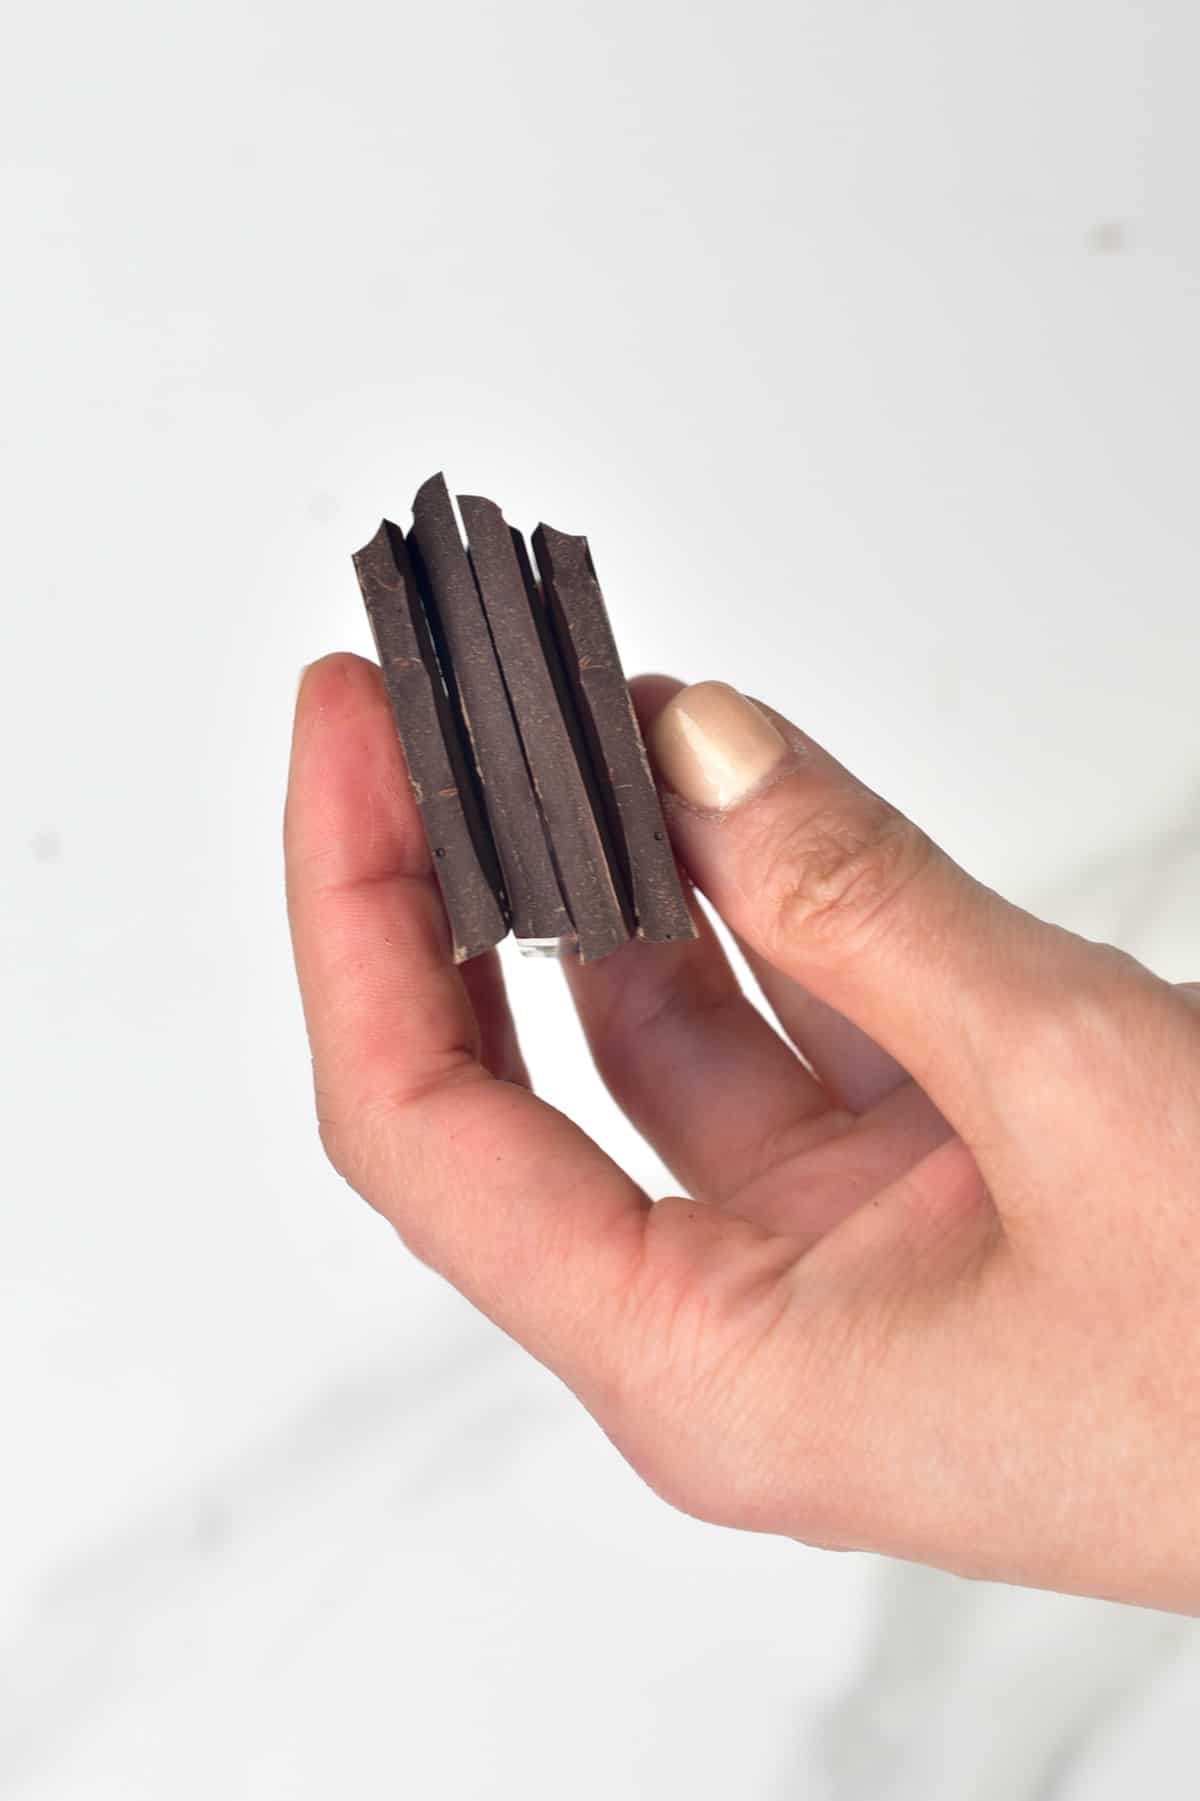
First of all, no matter which method you use. It’s best to make sure that the chocolate is chopped into small pieces. It will melt faster and will be easier to regulate the temperature. When there are lots of bigger and smaller pieces, the smaller melted bits may lose temper by becoming too hot while the larger bits are melting.
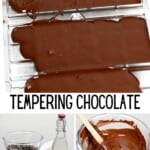
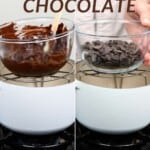
Method One: The Table Tempering Method
This method requires you to use a marble or granite slab (or countertop) and is fairly messy but certainly looks impressive. It’s important to use the correct surface as they don’t retain heat in the same way as many other surfaces – which helps to control the temperature of the chocolate better.

The way this method works is that you quickly agitate the melted chocolate on the cool marble slab, which will cool it down while the agitating stops the wrong crystals from forming until it reaches the wanted temperature.
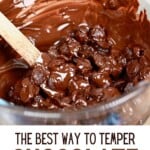
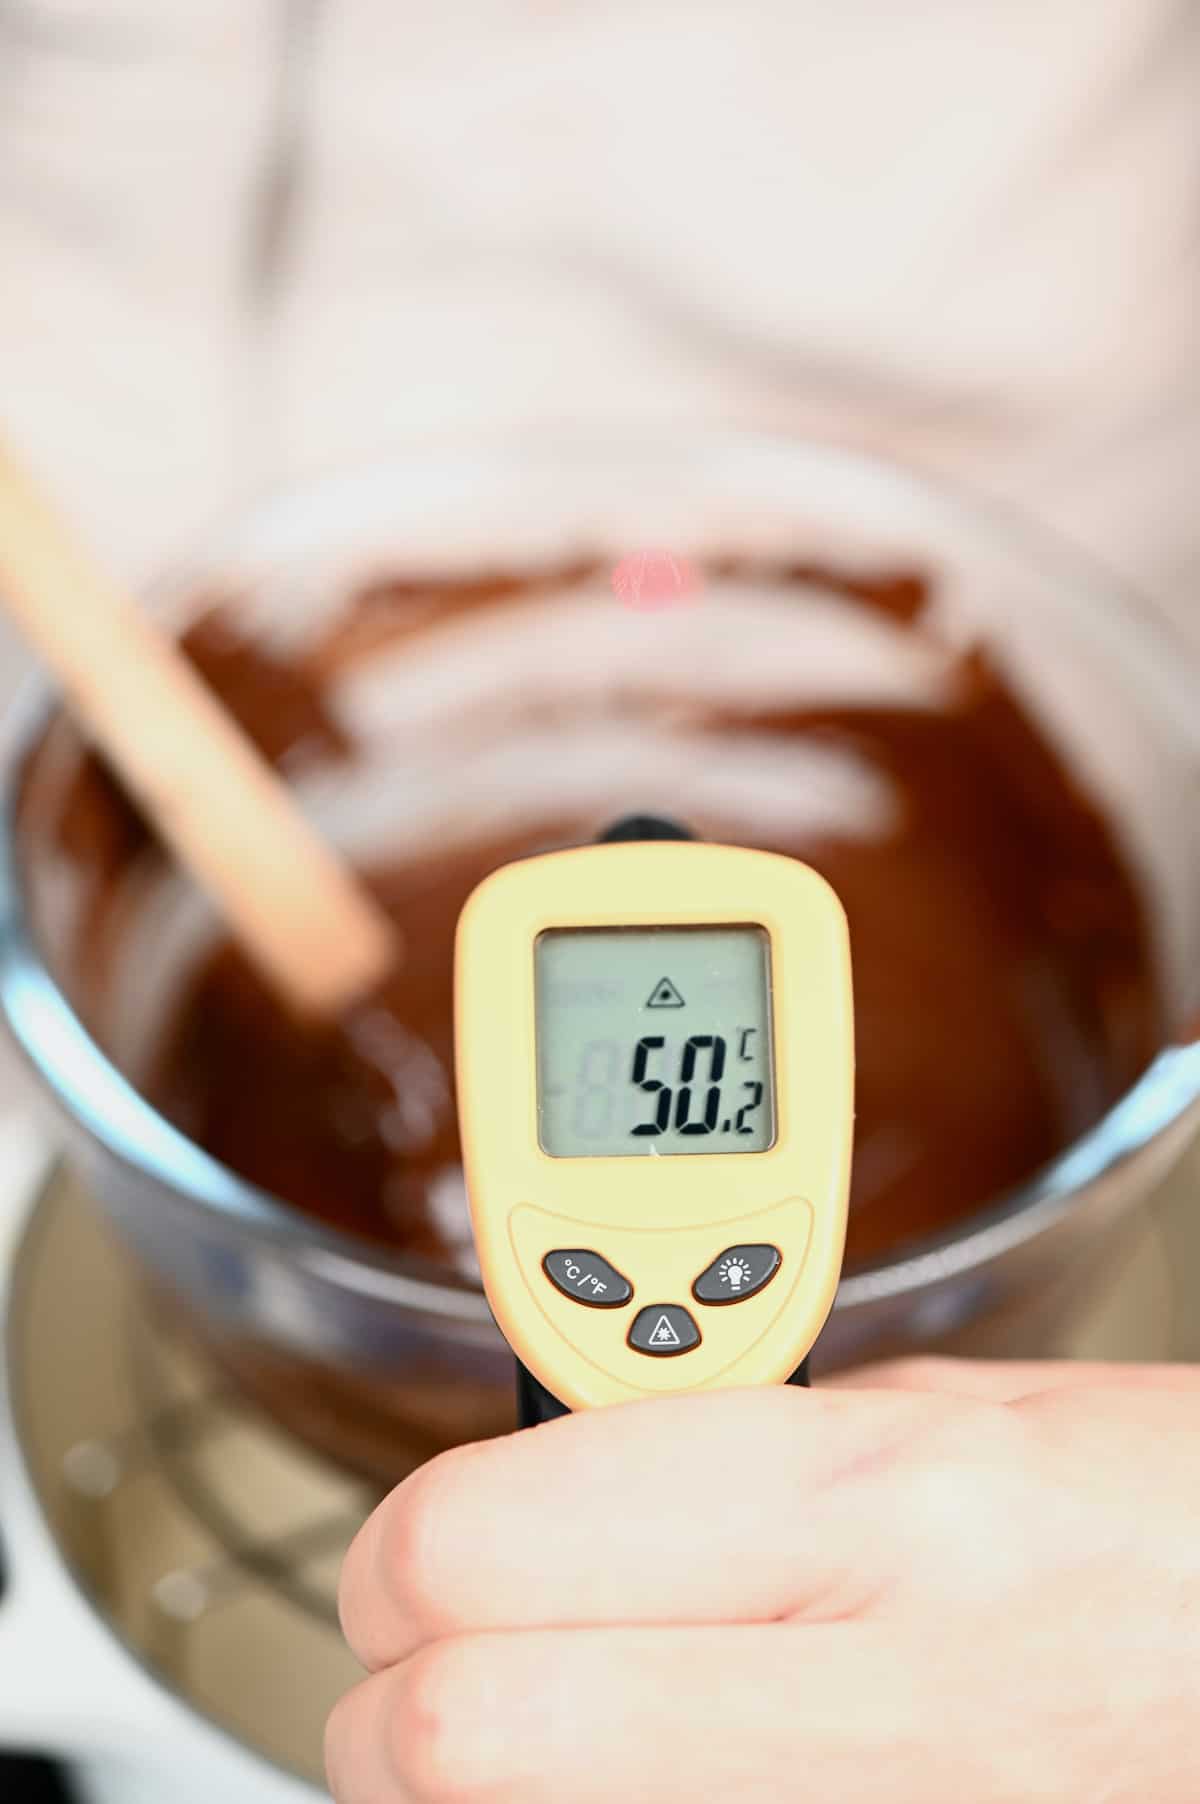
- First, melt the chocolate over a double boiler (a heatproof bowl set over a small pan with a little simmering water. Make sure the water doesn’t touch the bowl at all, or you’ll burn your chocolate) until it reaches 50ºC/122ºF (or 45ºC/113ºF for white and milk chocolate).
- Remove the bowl from the double boiler, making sure to carefully wipe the bottom of it (any steam or water that enters out chocolate at all can cause it to seize!)
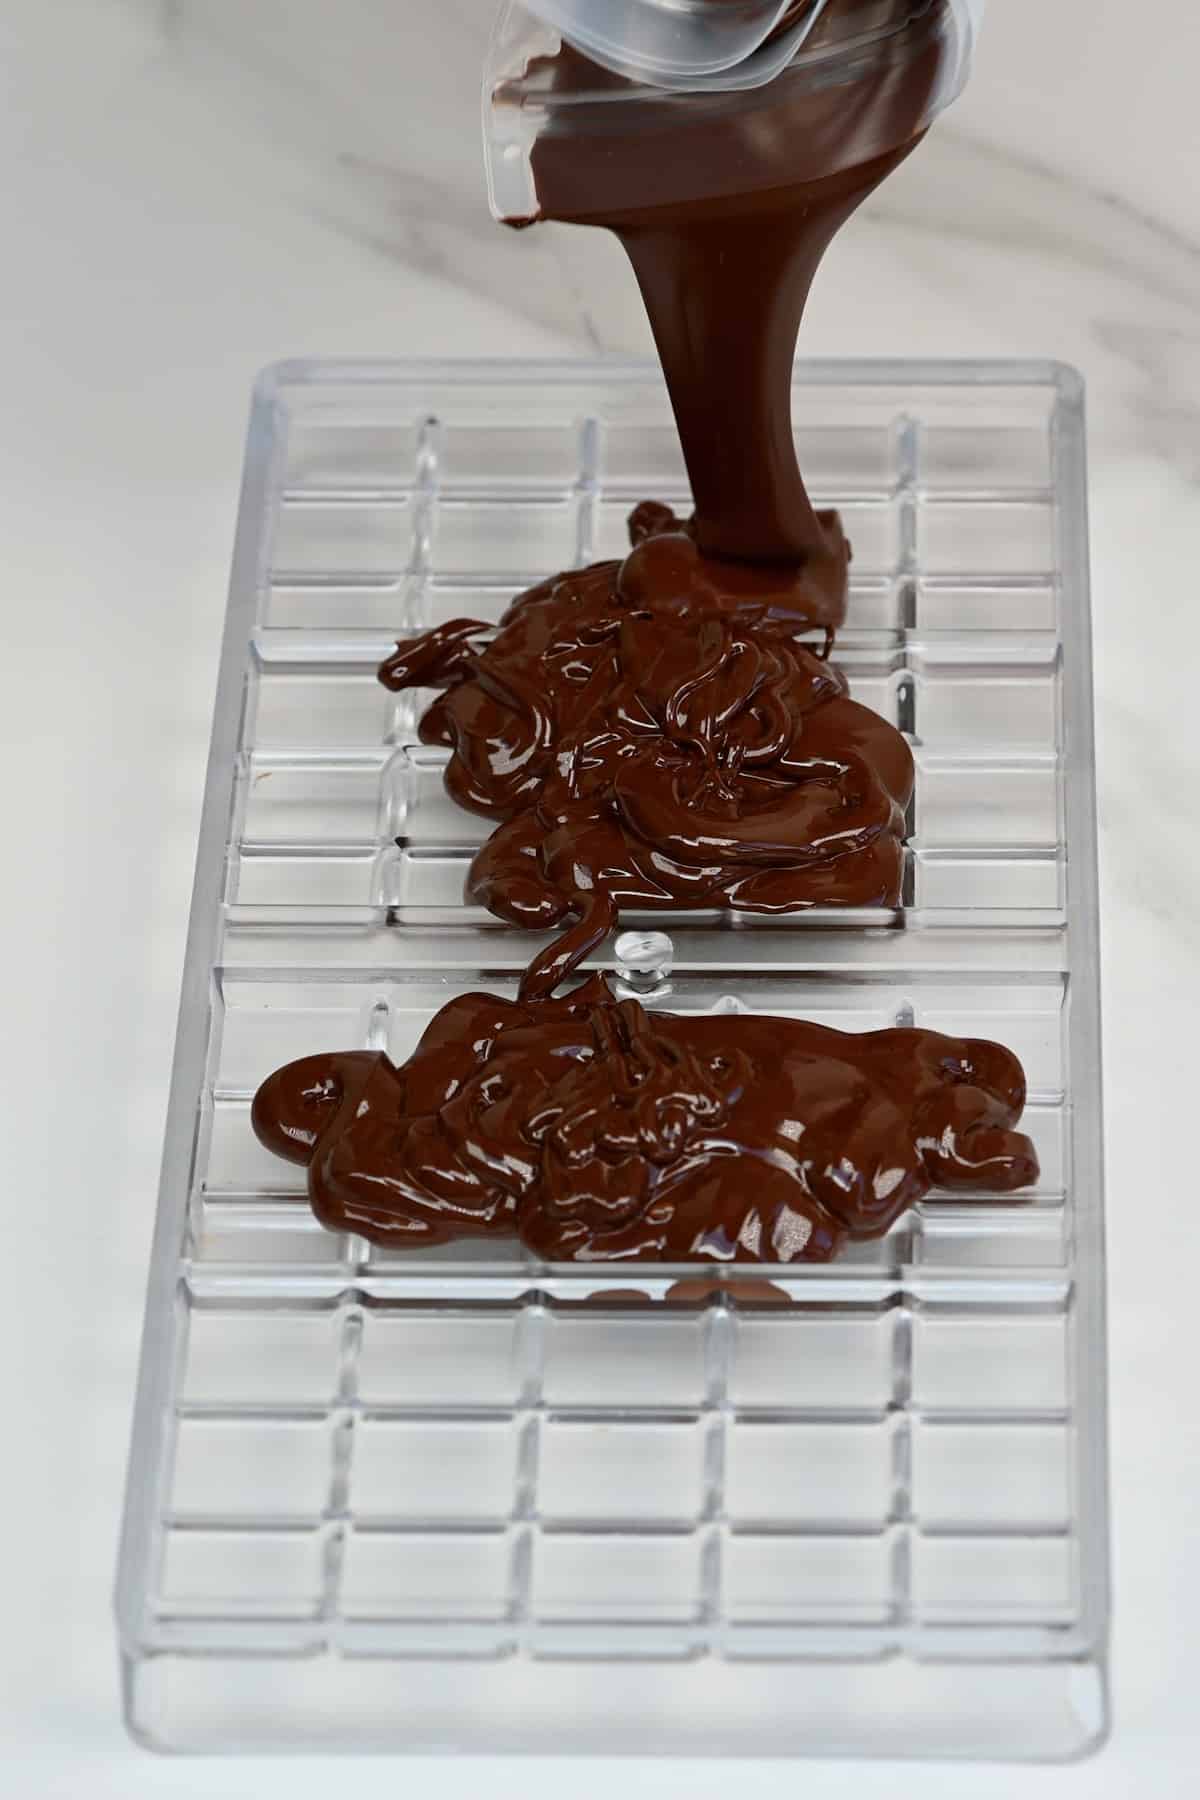
- Pour 2/3 of the chocolate onto the marble slab and return the bowl to the double boiler (with the heat off).
- Use palette knives or bench scrapers, constantly agitate the mixture back and forth; spread it across the table, and then scoop it back in and spread again. This will allow the temperature to drop to 28ºC/82.4ºF (26-27ºC/79-80.6ºF for white or milk chocolate).
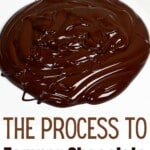
This can take some time but check the temperature once it begins to thicken (don’t stop agitating it too much – it’s critical to stop the crystals from forming until it reaches the temperature we need!). When it’s ready, it should run in ribbons down from your spatula/bench scraper.
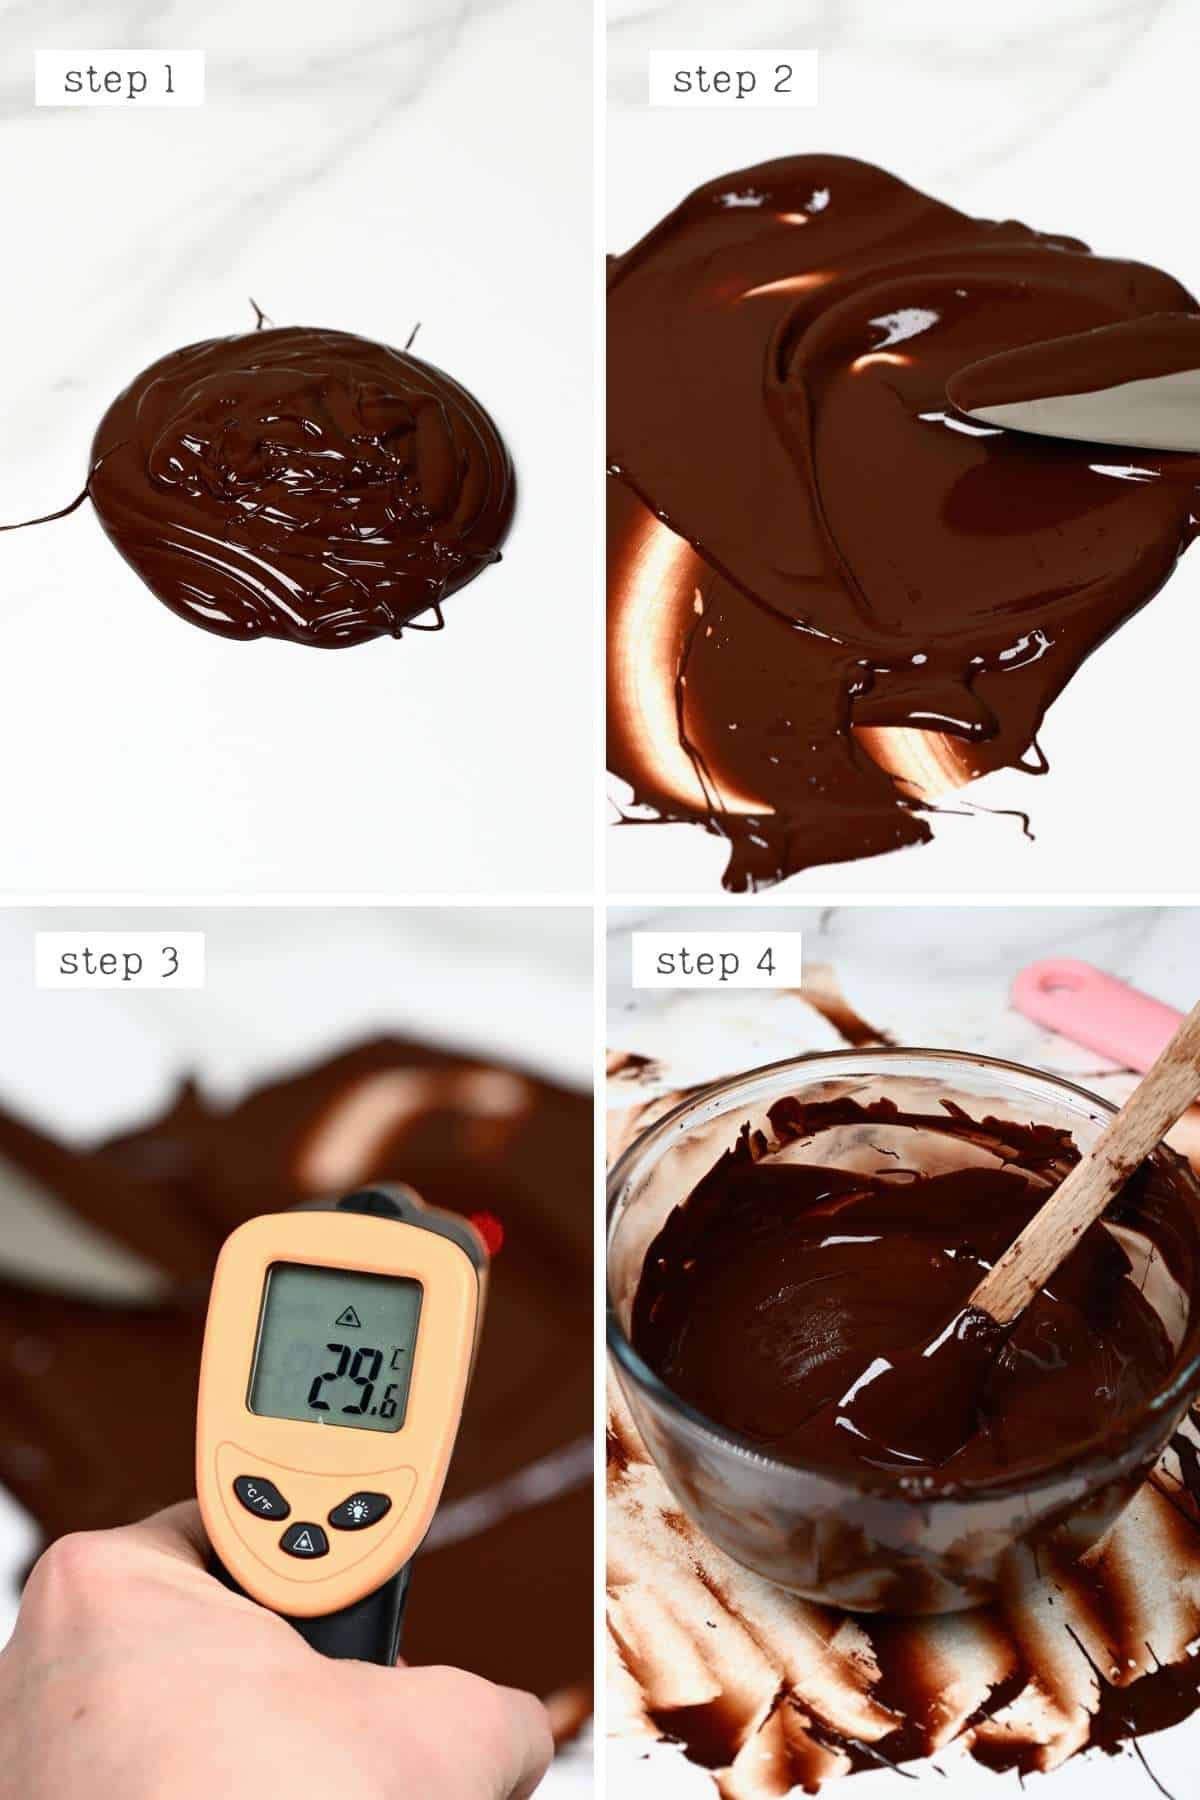
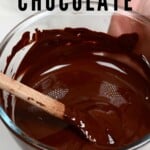
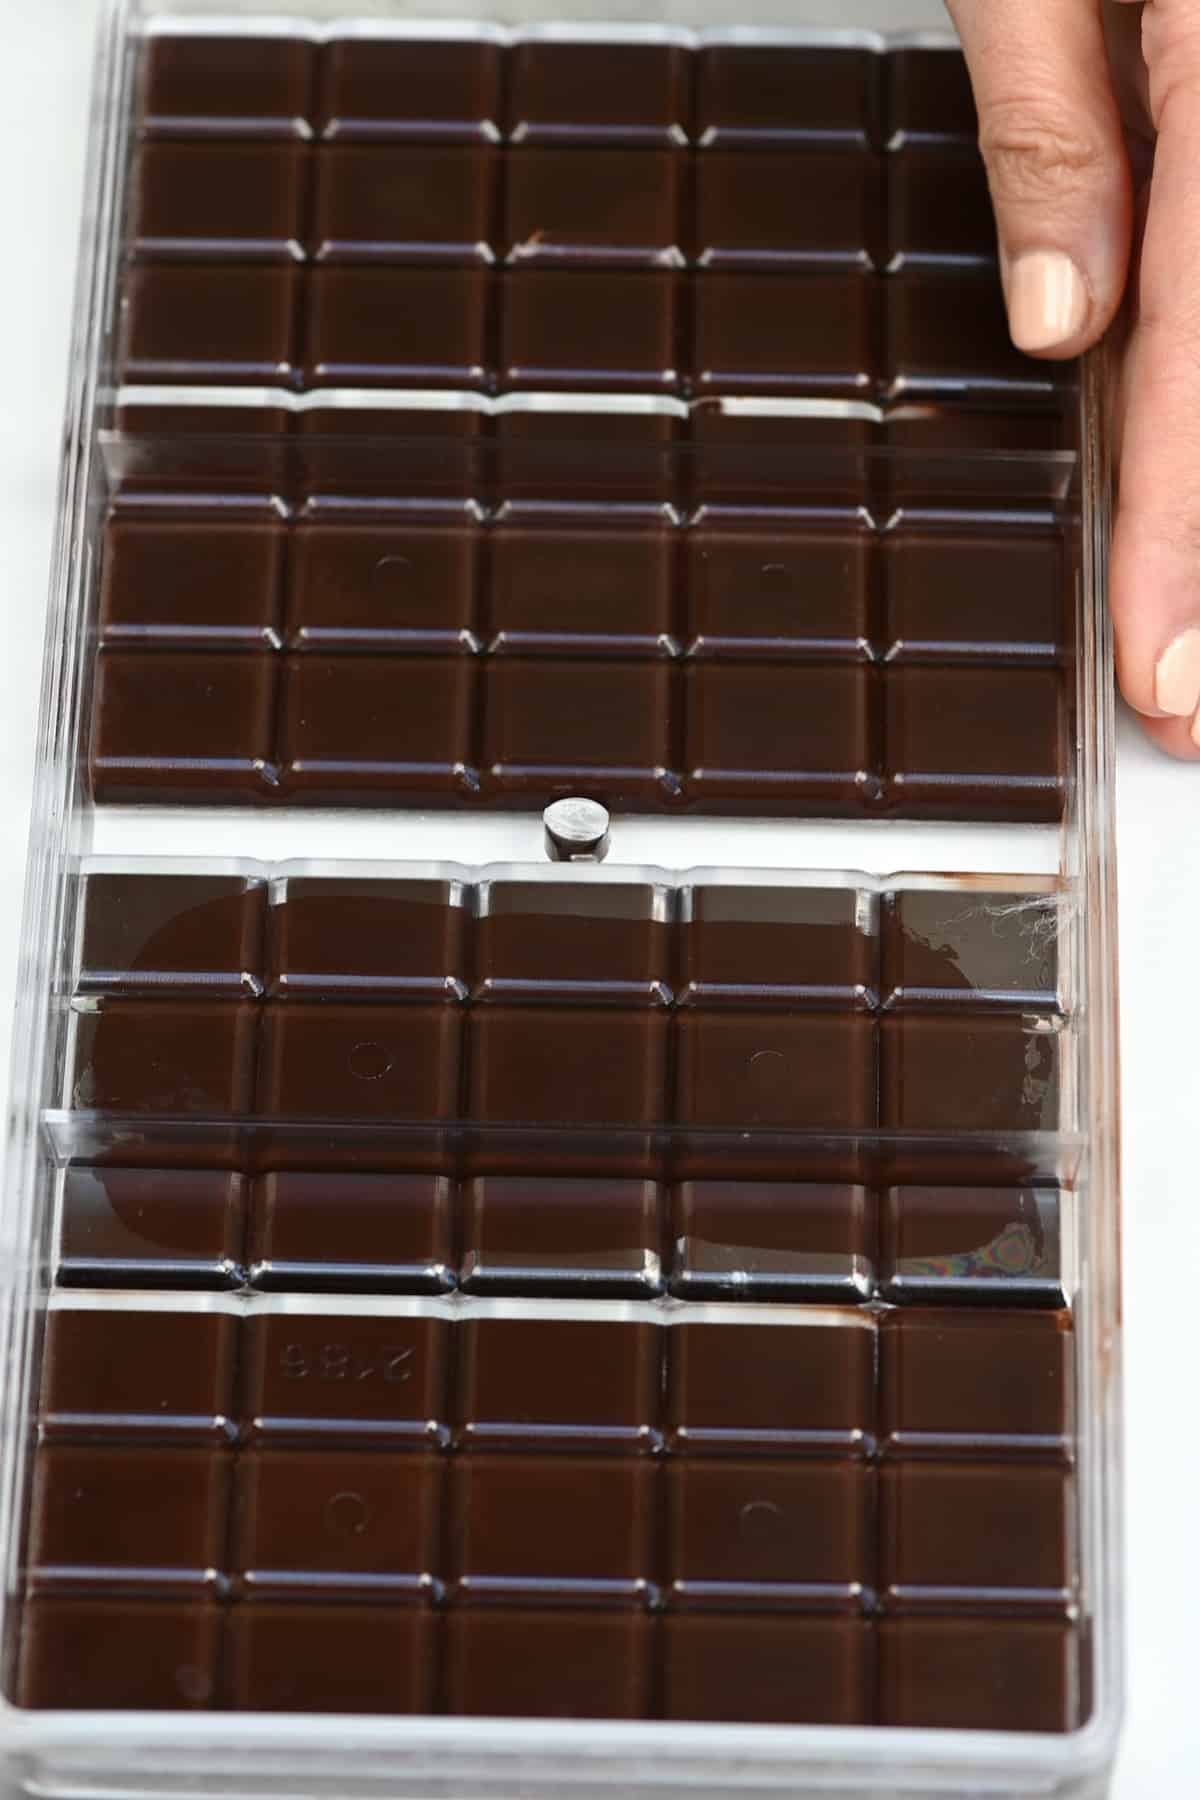
- Once it reaches the temperature, quickly scoop it back into the bowl with the remaining warm melted chocolate, stirring well. The aim is not to go above 32ºC/89.6ºF (28-30ºC/82.4-86ºF for white or milk choc). When it reaches that temperature, it should be smooth in consistency and texture and is ready to use (pour into your molds of choice, etc.)
If needed, you can place the bowl back on the double-boiler to raise the temperature.
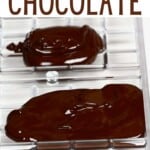
To Test The Temper
Dip the edge of a clean, dry spoon or knife into the chocolate. If it’s correctly tempered, it should set hard quickly at room temperature (3-5 minutes) and without streaking. Alternatively, drop a spoonful onto parchment paper and leave for a few minutes. If it solidifies, releases from the parchment easily, and snaps when broken (rather than sadly bending), then it’s tempered! You can use this testing method for all temper methods!
Method 2: The Seeding Temper Method
This method works by heating a portion of your chocolate and then slowly ‘seeding’ the unmelted chocolate into it, agitating the chocolate constantly.
This method works because the unmelted ‘seed’ chocolate will help cool the melted chocolate AND already has the correct crystal structure we want – and will encourage the cooling chocolate to form the same structure (yay!).
Top Tip: Using a metal bowl will cool down quicker than glass and speed up the process!
- Melt 2/3 of your chocolate over a double boiler, often stirring until it reaches around 50ºC/122ºF (or 45ºC/113ºF for white and milk chocolate). Then remove the bowl from the double boiler. You could also melt the chocolate within a microwave at 15-second intervals until almost melted and around 115ºF.
- Using a clean, dry spatula, gradually add the remaining unmelted chocolate (as chunks or grated/shaved). Stir well until the temperature drops to 28ºC/82.4ºF (26-27ºC/79-80.6ºF for white or milk chocolate).
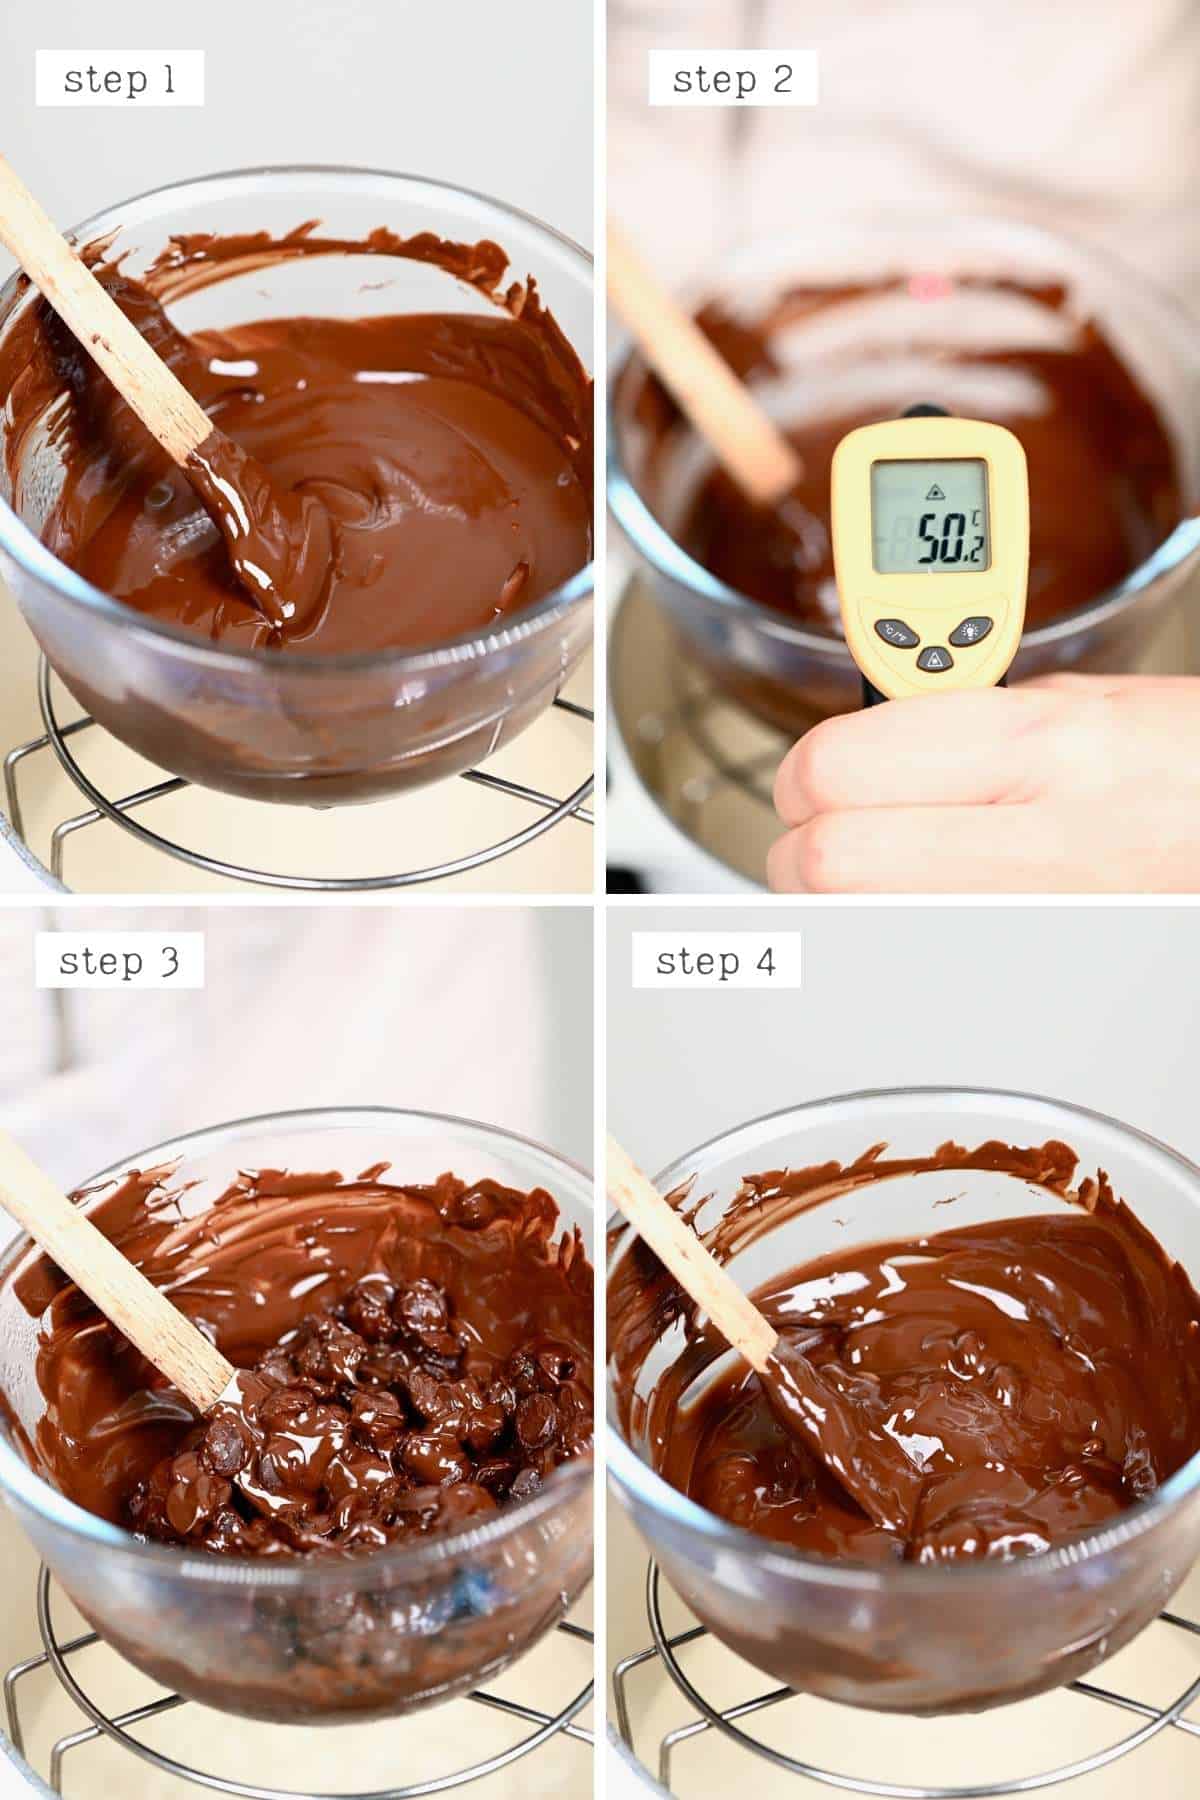
This method can take quite some time; between 10-15 minutes, so be patient. You can place the bowl within a second bowl of cold water. But be VERY careful as even a drop of water in with your chocolate can cause it to seize.
- You can then briefly bring it back up to 30-32ºC/87-89ºF (28-30ºC/82.4-86ºF for white or milk choc) over the double boiler (literally 5-10 seconds) if needing a smoother consistency. Then it’s ready to use!
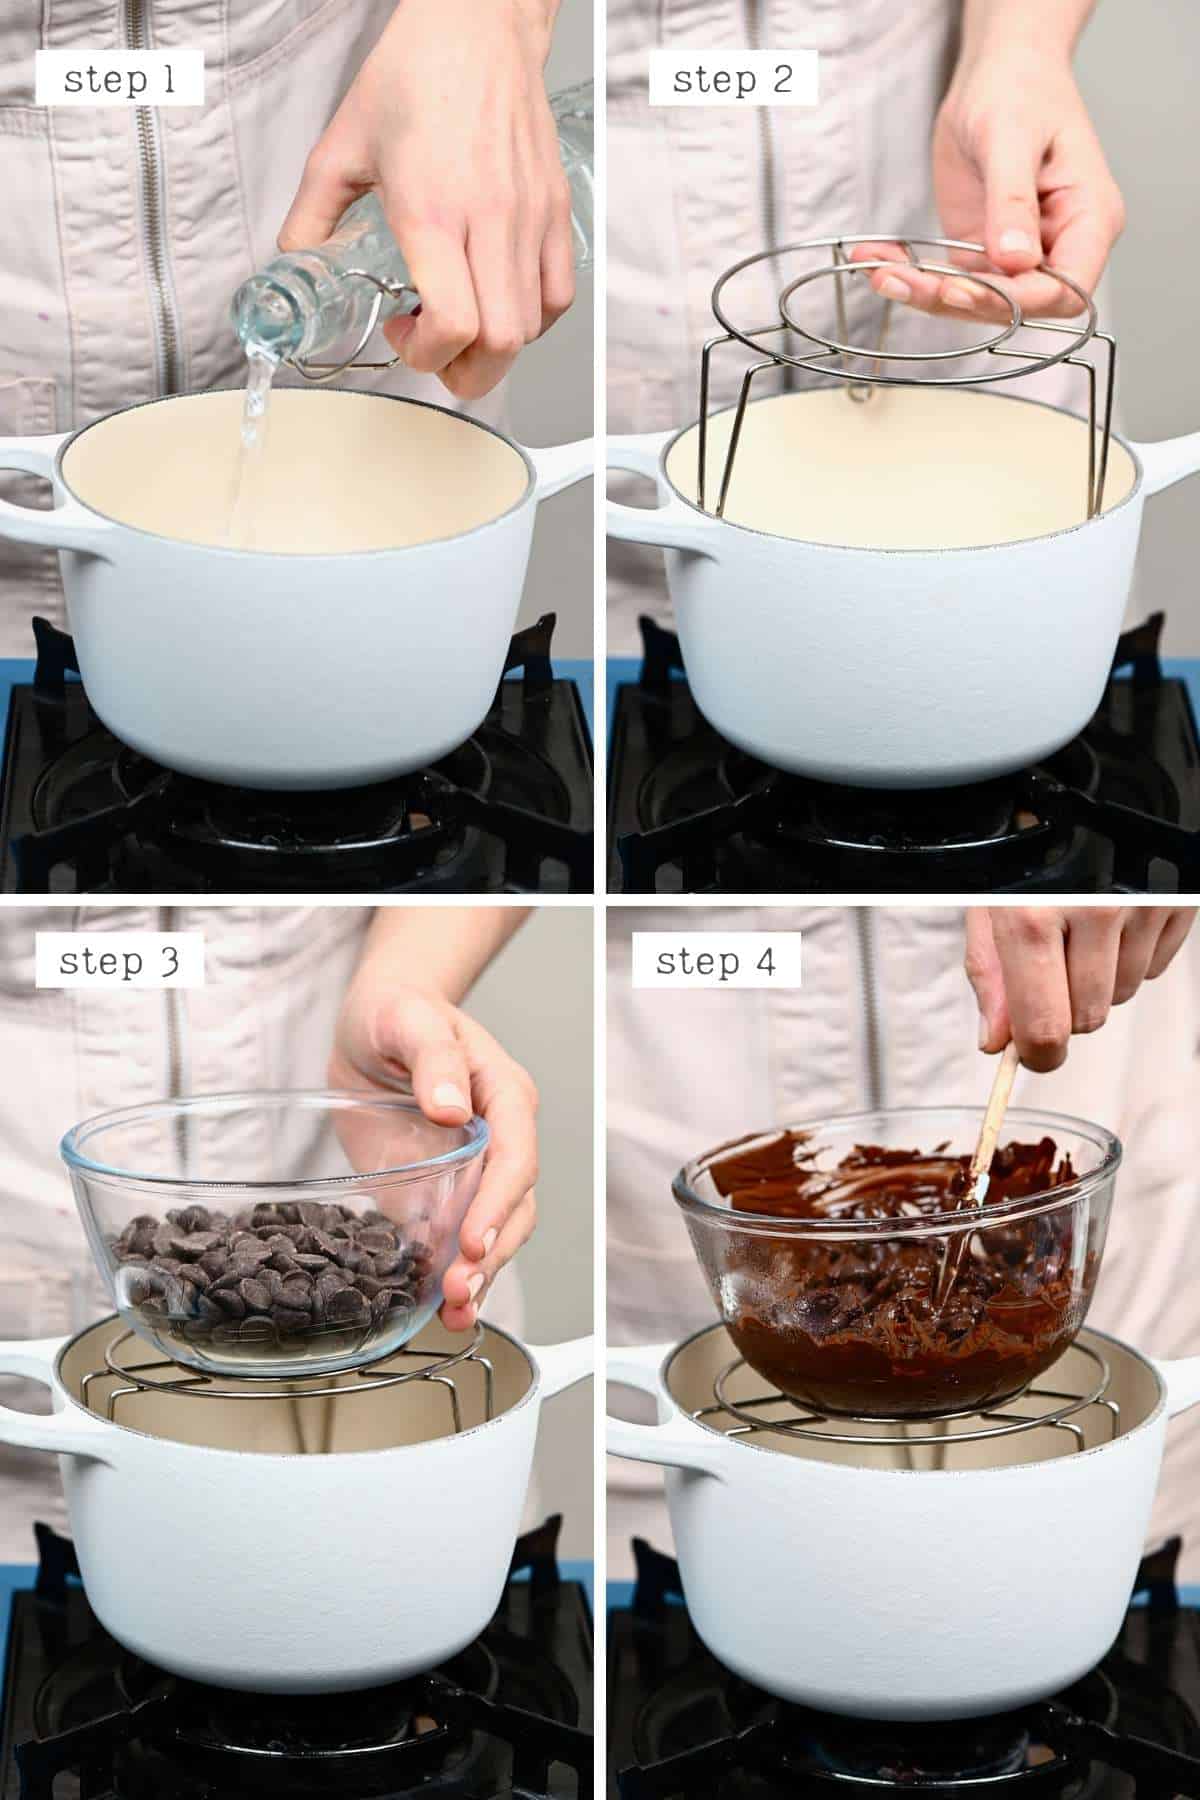
Method 3: Sous-Vide Tempering Method
This is probably the most precise method. All of the chocolate is evenly exposed to the correct temperature, the change in temperature is slow, and it’s fairly mess-free. You can even save any chocolate that you don’t use in the bag to re-use at another time. The main struggle is making sure to keep ALL WATER away from the chocolate, so it doesn’t seize. So I make sure to seal the bag really well. Sometimes, I even double-bag.
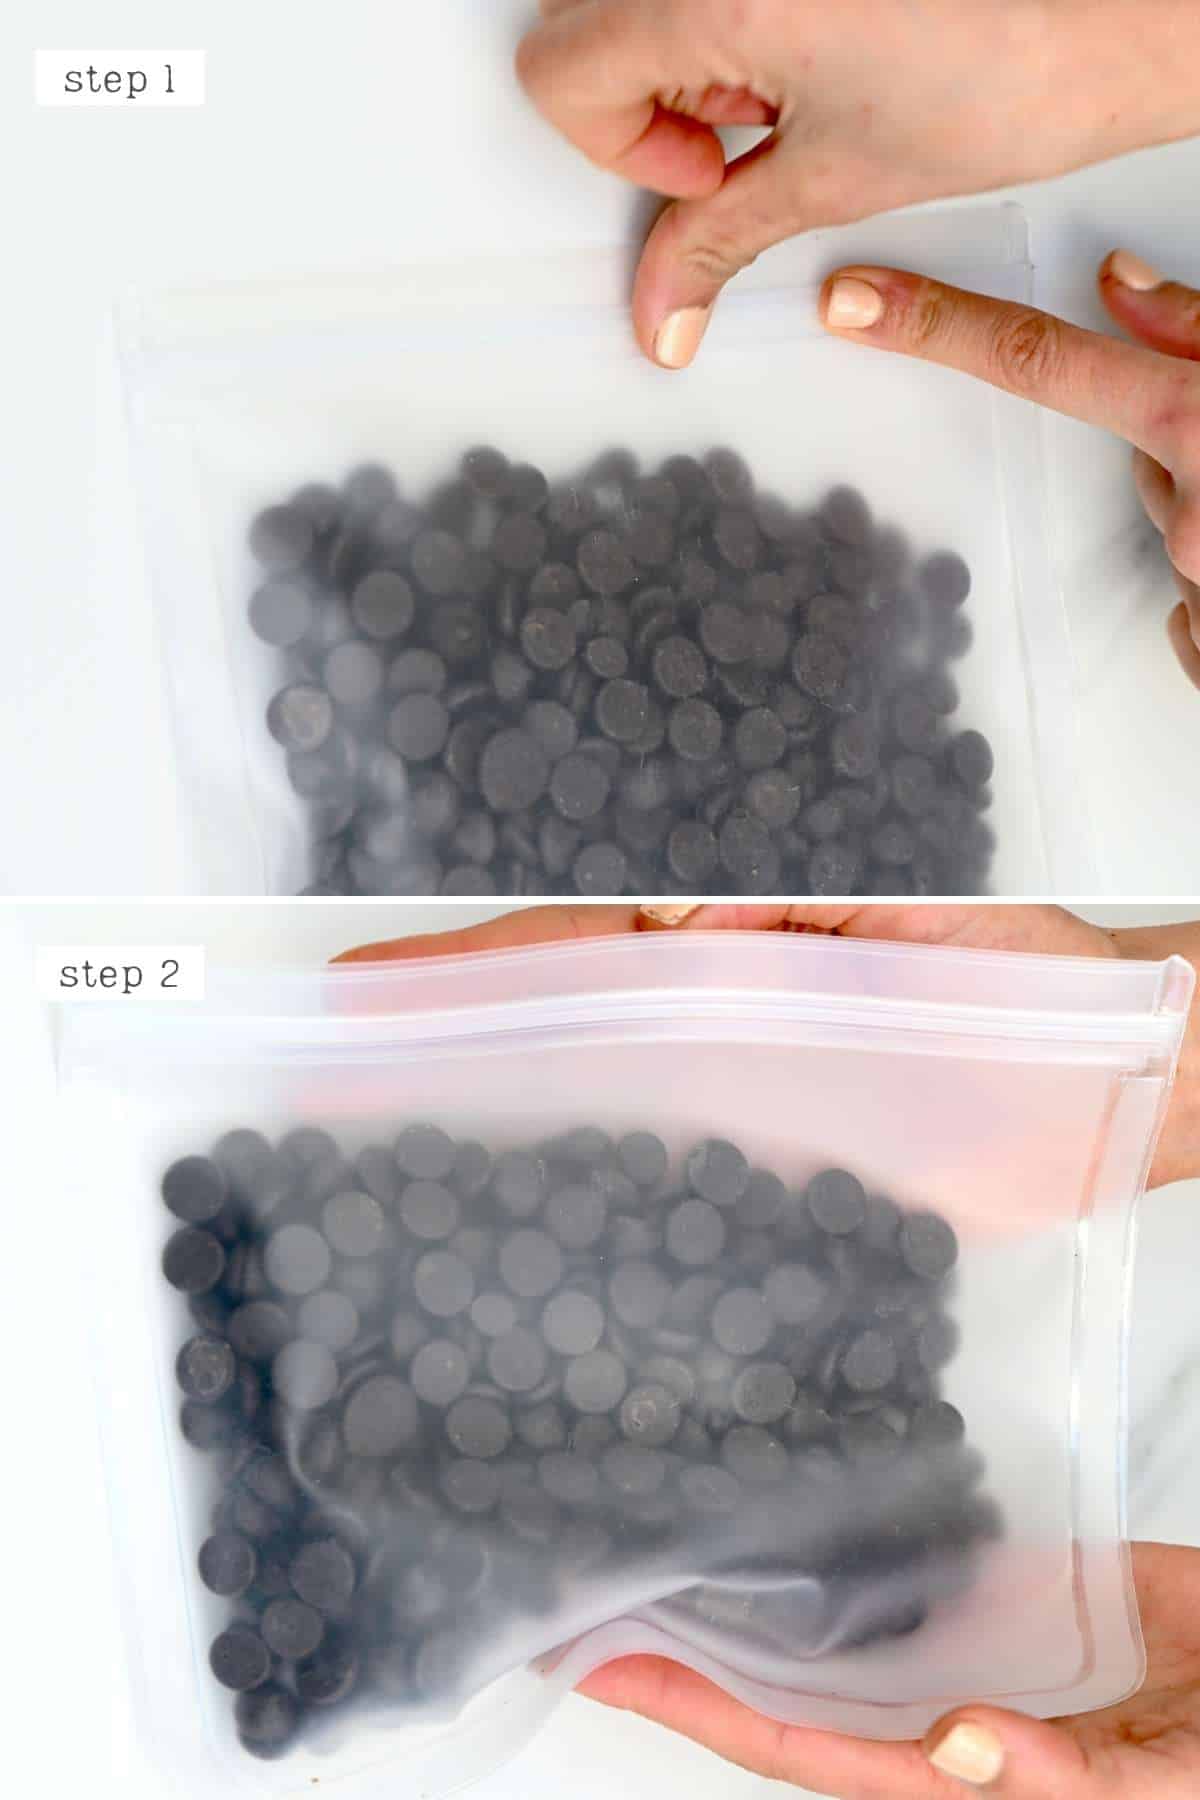
- Heat the water to 50ºC/122ºF for dark chocolate (or 45ºC/113ºF for white and milk chocolate) using the sous-vide cooker tool.
- Place all of the chocolate into a waterproof bag. I used a reusable silicone bag. You could alternatively use a vacuum seal bag (often used with the sous vide method).
- Place the bag in the water until the chocolate is melted (this won’t take long at all). Then reduce the water temperature to 27-28ºC/80-82ºF (or 26ºC/79ºF for milk/white chocolate) – you can speed up this process by adding ice-cubes to the water.
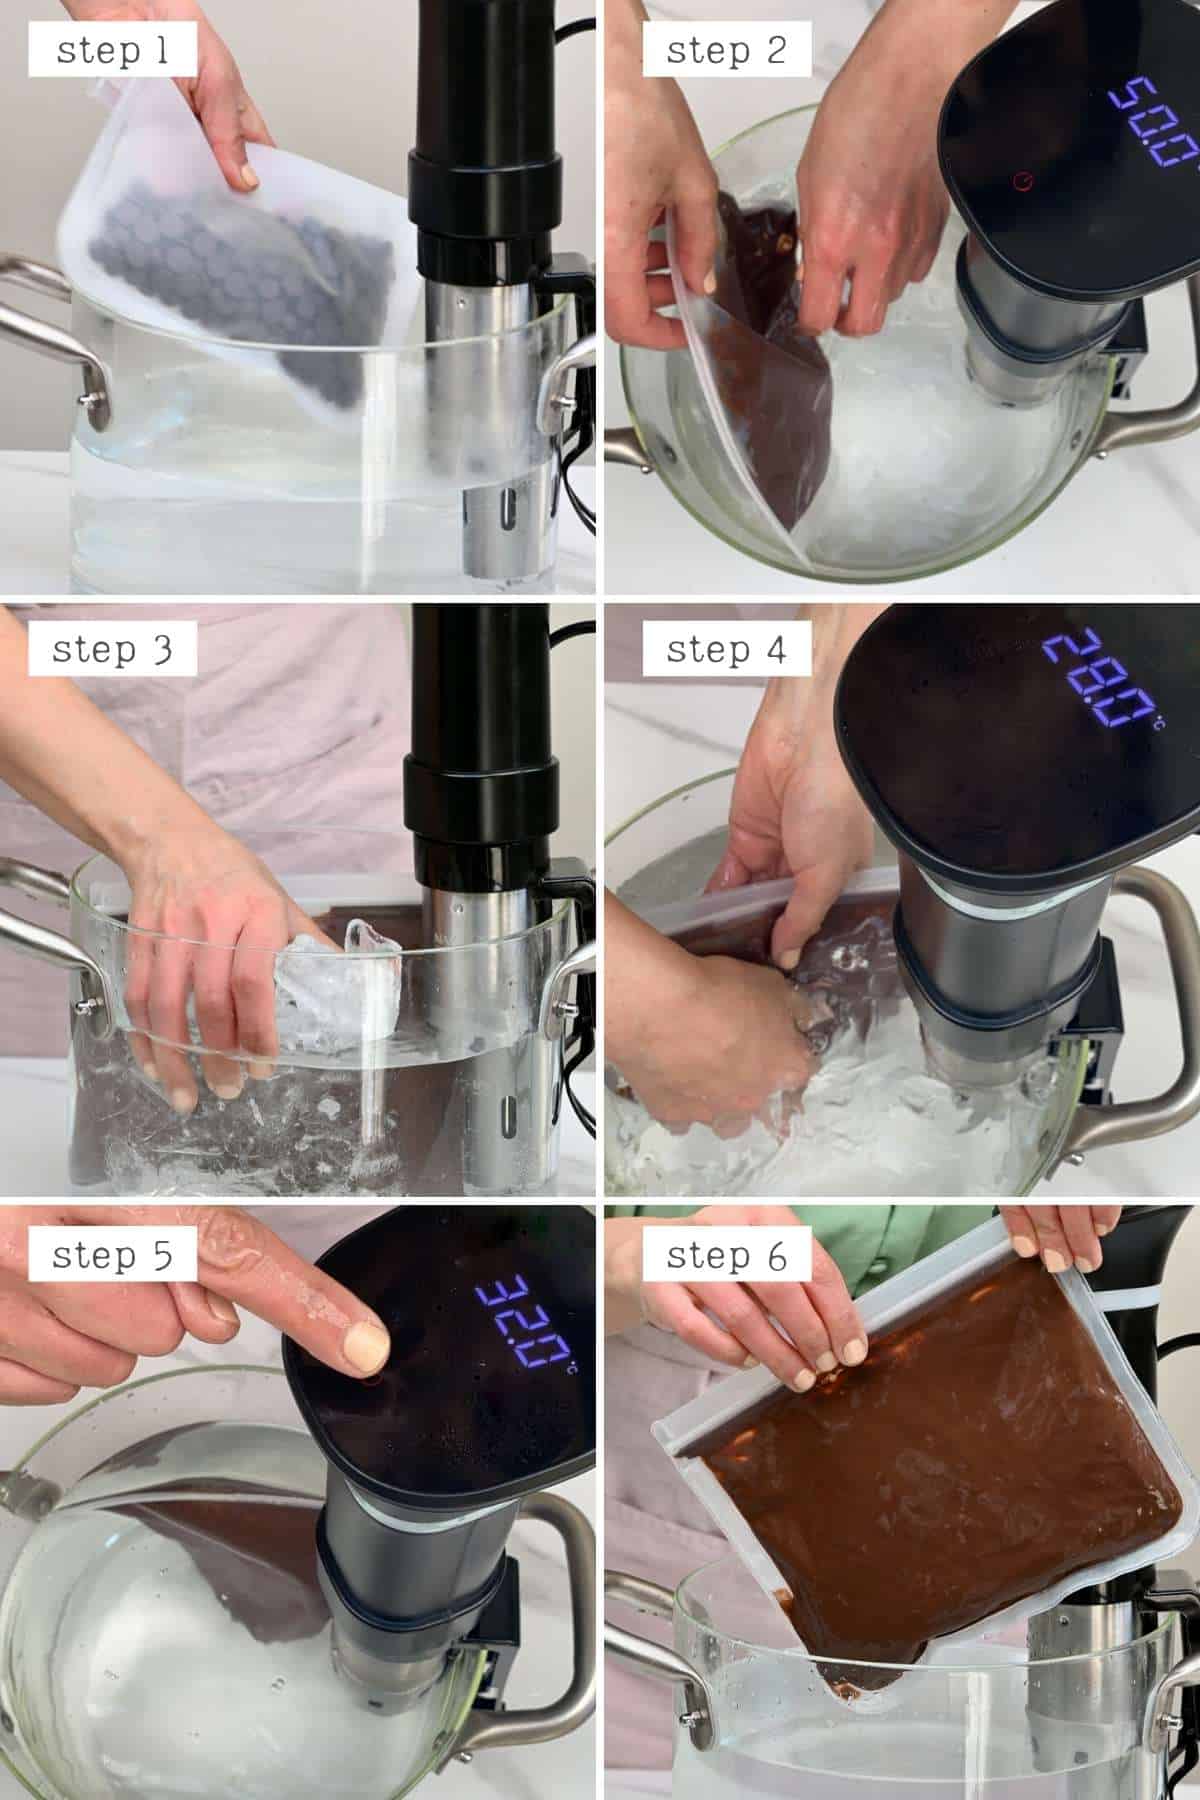
During this process, similarly to the previous methods, it can be a good idea to agitate the chocolate. I suggest removing the bag from the water every minute, squeezing it lightly a few times to agitate the melted chocolate. Then placing back in the water. Repeat this every minute until the water reaches the correct temperature. Then hold the temperature there for 2 minutes, agitating once per minute.
I’ve had success not agitating it, but it’s best to do it to stop the wrong crystal forms building until it reaches the temperature we want.
- Finally, bring the temperature back up to 32ºC/89ºF (30ºC/86ºF for milk/white) and allow it to sit there for a few minutes. Agitate it a couple of times in the first two minutes.
- Remove the bag from the water, wipe off the bag thoroughly and then use your tempered chocolate as you please.
Note: You can easily keep the chocolate at temper by leaving the chocolate in the heated water bath for several hours. Great for larger chocolate projects.
BONUS METHOD: Temper with a microwave
Okay, this is a bit of a ‘cheat’ method as the point is actually to keep the chocolate in its temper. Most chocolate chips and bars you buy will be tempered. As long as you don’t take the chocolate above the temperature that will break temper, then no other fiddling is necessary.
This is best done in the microwave because the double boiler method can quickly overheat the chocolate. Whereas heating the chocolate in short spurts in the microwave has more control.
Top tip: Use a bowl/container that doesn’t retain heat for this method – like a microwave-safe silicone bowl. Glass bowls hold on to heat a lot, so it can cause overheating.
- Place your chocolate in the bowl – either finely chopped, or you can use callets.
- First, microwave for 20 seconds – then give it a good stir with a silicone spatula.
- Repeat this process, microwaving the chocolate for 10 seconds at a time, stirring well in-between (to help the chocolate melt evenly). Once it’s 3/4 melted, you usually don’t need to microwave it anymore. Stir it to encourage the remaining bits to melt. This will help to keep it from overheating.
It’s always best to check the temperature of the melted chocolate with a thermometer to make sure you don’t break temper. Also, make sure it doesn’t go above 89ºF/32ºC (or 86ºF/30ºC for milk/white choc) while you work with the chocolate.
Bonus Bonus Method
Another method for tempering chocolate that I have yet to try: using cocoa butter beta crystals. This method is a little pricy, but it’s meant to be pretty foolproof. It also doesn’t require bringing the cooled chocolate back up to a higher temperature.
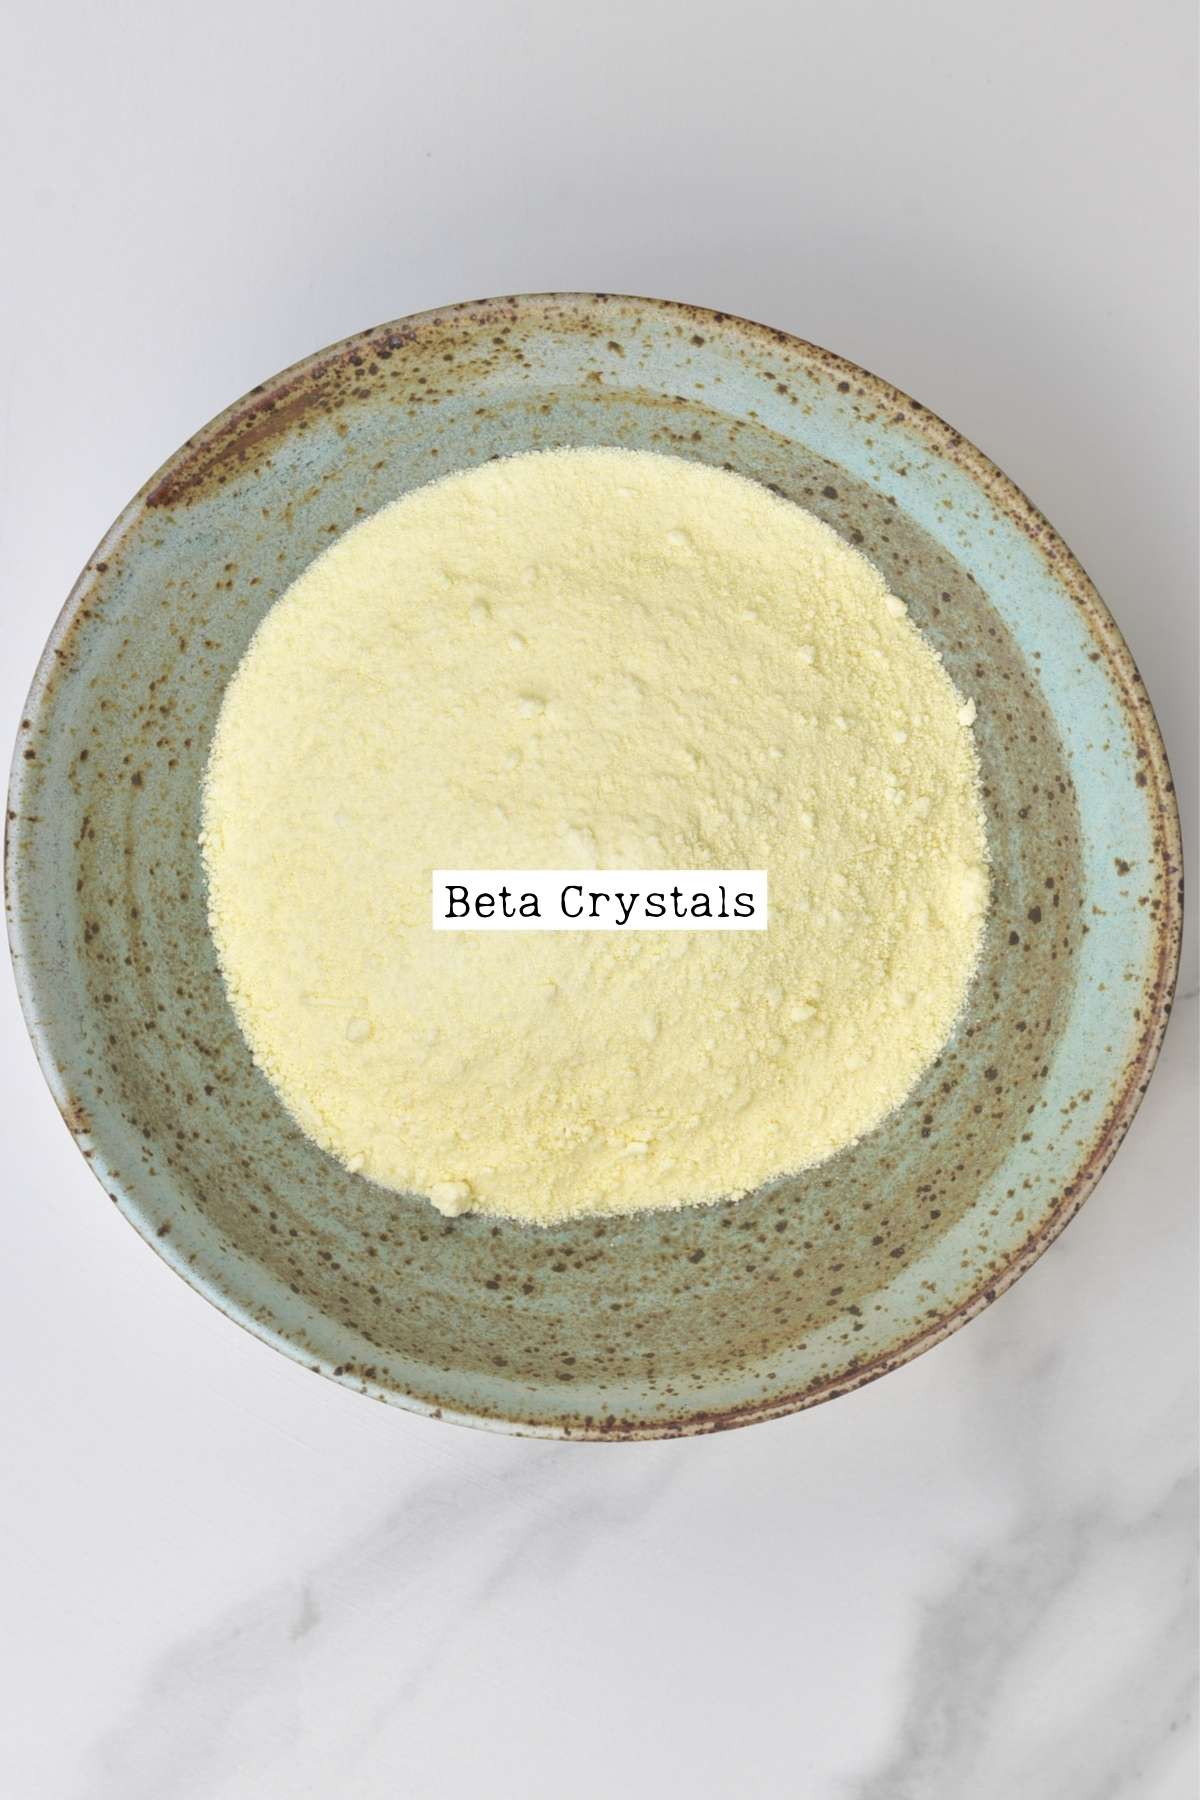
You simply follow the seeding method but after adding the final seed chocolate, add 1% beta crystals to the chocolate. This will encourage the formation of the correct crystals.
FAQs
If the chocolate starts to solidify after tempering it, while you’re still working, you can heat it for slightly longer (just 5 seconds at a time over the double boiler or in the microwave) but be careful not to go above the temperatures that will break the temper.
Top Tip: Once the chocolate reaches temper, you can keep it warm while dipping/using it by placing the bowl over an electric heating pad.
Gently stirring the chocolate often will also help to keep the chocolate fluid for longer and prevent streaking. Once it’s completely cooled and solidified, you’ll need to re-temper it.
If you break the temper of your chocolate, you can re-temper it with the seeding or tabling method.
The simple answer is – I wouldn’t risk it. This entire process is all about getting the ingredient to specific temperatures, so doing so without a thermometer is asking for a disaster.
You can use a candy thermometer though instant-read thermometers are best, and infrared thermometers are pricey but used a lot by professional chocolatiers.
Unfortunately, seized chocolate will no longer temper. However, it can still be ‘saved’ and used as a sauce, to dip fruits/cookies, within ganache, or even within baked recipes that call for melted chocolate (brownies, cakes, etc.)
To do this, add a little more water or fat (vegetable shortening or cocoa butter should work), 1 tsp at a time, and stir vigorously. Eventually, the chocolate will loosen and become liquid once more.
And yes, I know being told to ADD water to the seized chocolate seems counterintuitive. However, the % of water used is important – so once you add enough, the chocolate will smooth out once more.
Tempering Chocolate Top Tips and Notes
- I am not a professional chocolatier – all of the above information was gathered through research and LOTS of kitchen experimentation!
- When adding in any flavorings or add-ins to chocolate MAKE SURE they aren’t water-based. Use oil-based flavorings rather than extracts, etc. Even a single drop of water can cause the chocolate to seize.
- If your chocolate has bloomed, you should still be able to temper it and get rid of the bloom. However, if it arrives to you bloomed, I would return it as it shows improper storing of the chocolate.
- If you want your chocolate to be particularly fluid while melted, you can buy chocolate specifically formulated to be fluid (couverture chocolate). This contains higher cocoa butter levels for a more liquid consistency. Certain brands, like Callebaut, list the fluidity level on their website.
- If you over-cool the chocolate during the cooling phase, this can encourage other crystal forms to grow and inhibit the form V ones. If this happens, reheat the chocolate to the highest temperature and start the process again.
- I suggest using a minimum of 10 oz (300 g) of chocolate when tempering. Unless you’re using the sous vide method, in which case, there isn’t a minimum.
Related Chocolate Recipes and DIYs
If you try any of these methods for tempering chocolate, I’d love to hear your thoughts/questions below. Also, I’d really appreciate a recipe card rating below, and feel free to tag me in your recipe recreations on Instagram @Alphafoodie!
How to Temper Chocolate (3 methods)
Ingredients
- 10 oz Chocolate Couverture (Callets) or high quality chocolate for baking
If using beta crystals method
- 0.10 oz Mycryo Cocoa Butter Powder
Instructions
METHOD ONE: THE TABLE TEMPERING METHOD
- This method requires you to use a marble or granite slab (or countertop) and is fairly messy but certainly looks impressive. It’s important to use the correct surface as they don’t retain heat in the same way as many other surfaces – which helps to control the temperature of the chocolate better.The way this method works is that you quickly agitate the melted chocolate on the cool marble slab, which will cool it down while the agitating stops the wrong crystals from forming until it reaches the wanted temperature.
- Melt the chocolate over a double boiler (a heatproof bowl set over a small pan with a little simmering water. Make sure the water doesn’t touch the bowl at all, or you’ll burn your chocolate) until it reaches 50ºC/122ºF (or 45ºC/113ºF for white and milk chocolate).
- Remove the bowl from the double boiler, making sure to carefully wipe the bottom of it (any steam or water that enters out chocolate at all can cause it to seize!)
- Pour 2/3 of the chocolate onto the marble slab and return the bowl to the double boiler (with the heat off).
- Use palette knives or bench scrapers, constantly agitate the mixture back and forth; spread it across the table, and then scoop it back in and spread again. This will allow the temperature to drop to 28ºC/82.4ºF (26-27ºC/79-80.6ºF for white or milk chocolate).This can take some time but check the temperature once it begins to thicken (don’t stop agitating it too much – it’s critical to stop the crystals from forming until it reaches the temperature we need!). When it’s ready, it should run in ribbons down from your spatula/bench scraper.
- Once it reaches the temperature, quickly scoop it back into the bowl with the remaining warm melted chocolate, stirring well. The aim is not to go above 32ºC/89.6ºF (28-30ºC/82.4-86ºF for white or milk choc). When it reaches that temperature, it should be smooth in consistency and texture and is ready to use (pour into your molds of choice, etc.)
METHOD 2: THE SEEDING TEMPER METHOD
- Melt 2/3 of your chocolate over a double boiler, often stirring until it reaches around 50ºC/122ºF (or 45ºC/113ºF for white and milk chocolate). Then remove the bowl from the double boiler. You could also melt the chocolate within a microwave at 15-second intervals until almost melted and around 115ºF.
- Using a clean, dry spatula, gradually add the remaining unmelted chocolate (as chunks or grated/shaved). Stir well until the temperature drops to 28ºC/82.4ºF (26-27ºC/79-80.6ºF for white or milk chocolate).This method can take quite some time; between 10-15 minutes, so be patient. You can place the bowl within a second bowl of cold water. But be VERY careful as even a drop of water in with your chocolate can cause it to seize.
- You can then briefly bring it back up to 30-32ºC/87-89ºF 28-30ºC/82.4-86ºF for white or milk choc) over the double boiler (literally 5-10 seconds) if needing a smoother consistency. Then it’s ready to use!
METHOD 3: SOUS-VIDE TEMPERING METHOD
- This is definitely the most precise method (in my opinion). All of the chocolate is evenly exposed to the correct temperature, the change in temperature is slow, and it’s fairly mess-free. You can even save any chocolate that you don’t use in the bag to re-use at another time. The main struggle is making sure to keep ALL WATER away from the chocolate, so it doesn’t seize.
- Heat the water to 50ºC/122ºF for dark chocolate (or 45ºC/113ºF for milk/white chocolate) using the sous-vide cooker tool.
- Place all of the chocolate into a waterproof bag. I used a reusable silicone bag and double-bagged. You could alternatively use a vacuum seal bag (often used with the sous vide method).
- Place the bag in the water until the chocolate is melted (this won’t take long at all). Then reduce the water temperature to 27-28ºC/80-82ºF (or 26ºC/79ºF for milk/white chocolate) – you can speed up this process by adding ice-cubes to the water. During this process, similarly to the previous methods, it can be a good idea to agitate the chocolate. I suggest removing the bag from the water every minute, squeezing it lightly a few times to agitate the melted chocolate. Then placing back in the water. Repeat this every minute until the water reaches the correct temperature. Then hold the temperature there for 2 minutes, agitating once per minute.I’ve had success not agitating it, but it’s best to do it to stop the wrong crystal forms building until it reaches the temperature we want.
- Bring the temperature back up to 32ºC/89ºF (30ºC/86ºF for milk/white) and allow it to sit there for a few minutes. Agitate it a couple of times in the first two minutes.
- Remove the bag from the water, wipe off the bag thoroughly and then use your tempered chocolate as you please.Note: You can easily keep the chocolate at temper by leaving the chocolate in the heated water bath for several hours. Great for larger chocolate projects.
BONUS METHOD: TEMPER WITH A MICROWAVE
- Place your chocolate in the bowl – either finely chopped, or you can use callets.
- Microwave for 20 seconds – then give it a good stir with a silicone spatula.
- Repeat this process, microwaving the chocolate for 10 seconds at a time, stirring well in-between (to help the chocolate melt evenly). Once it’s 3/4 melted, you usually don’t need to microwave it anymore. Stir it to encourage the remaining bits to melt. This will help to keep it from overheating.This method usually doesn’t require a thermometer – but to make sure you don’t break temper, feel free to check the temperature. Make sure it doesn’t go above 32ºC/89ºF (or 30ºC/86ºF for milk/white choc).
Notes
- Dark Chocolate: Melt to 46-50°C (115-122ºF), cool to 28°C (82.4ºF), and reheat to 30-32°C (86-89.6ºF)
- Milk Chocolate & White Chocolate: Melt to 40-45°C (104-113ºF), cool to 26/7°C (79/80.6ºF), and reheat to 28-30°C (82.4-86ºF).
- I am not a professional chocolatier – all of the above information was gathered through research and LOTS of kitchen experimentation!
- When adding in any flavorings or add-ins to chocolate MAKE SURE they aren’t water-based. Use oil-based flavorings rather than extracts, etc. Even a single drop of water can cause the chocolate to seize.
- If your chocolate has bloomed, you should still be able to temper it and get rid of the bloom. However, if it arrives to you bloomed, I would return it as it shows improper storing of the chocolate.
- If you want your chocolate to be particularly fluid while melted, you can buy chocolate specifically formulated to be fluid (couverture chocolate). This contains higher cocoa butter levels for a more liquid consistency. Certain brands, like Callebaut, list the fluidity level on their website.
- If you over-cool the chocolate during the cooling phase, this can encourage other crystal forms to grow and inhibit the form V ones. If this happens, reheat the chocolate to the highest temperature and start the process again.
- I suggest using a minimum of 10 oz (300 g) of chocolate when tempering. Unless you’re using the sous vide method, in which case, there isn’t a minimum.
Read the blog post for answers to more FAQs and extra notes on how to temper chocolate!


AMAZING amount of information, thank you for sharing all of this with us. Excellent job!!!
Thank you so much for your comment, Ninetta!
Thank you so much for this really detailed description, I’m so excited to give this a try! One thing I’m curious about is coloring the homemade tempered white chocolate. Do you have any tips on how to color chocolate successfully without it seizing?
Hi Makenna,
You need to use oil-based food coloring and I recommend adding it gradually, start with just a few drops. Let me know if you give it a try.
Keeping with the never let get out of temper concept. Can I just use my sous vide and set it to 88 for dark and 86 for milk ?
It’s more accurate the the microwave. And if it takes a long time to melt it does it on its own. I could put in in over night I necessary.
It seems like a fool proof solution for anyone with a sous vide.
What am I missing ?
Hi Richard,
Of course, if you have a sous vide, that’s the most precise method. I have all the details on how to proceed with a sous vide here on the post. You first need to heat it to 122ºF (for dark chocolate), reduce it to 80-82ºF, and finally bring it back up to 89ºF.
Can this be done with cacao powder instead of melting chocolate?
Thank you
Hi Sheri,
You can use cacao powder to make your own chocolate. The cacao powder is added to melted cacao butter and once they are mixed together, you can start the tempering steps. For more details about how to make chocolate, please check my post here https://www.alphafoodie.com/how-to-make-healthy-dark-chocolate/
I hope this helps.
Hi thank you! So with the homemade chocolate do I have to let it set first in the fridge and then melt it again? Please explain that part for me.
Hi Buhle,
You don’t have to let it set before tempering. Please follow the instructions under the recipe.
I explain it in detail on the blog, I hope it helps.
I like the way you explain to How to temper chocolate , I did watch dozens of videos on YouTube , but was waste of time . Very clear explanation, didactic , I did use your system and get a very good results at first try. Thank you.
Thank you so much for your comment, Arthur. Glad you found it helpful 🙂
For not being a professional, you certainly sound like one. It’s wonderful the way you explain your methods. Usually there’s not as much information and detail conveyed from the author or at least not in a way that I find helpful. Anyway thanks for the lesson. It helped tremendously!!
Thank you so much for your comment, Heidi. A lot of research and testing were done in order to make this post as complete as possible. Glad it could help 🙂
Excellent explanation and information presentation. I appreciate the attention to necessary detail.
Thank you so much for your comment, Jay!
Hi. Thanks for all the great recipes and tips. I’ve followed your cocoa butter recipe for homemade chocolate. Will these methods for tempering work on that as well?
Hi Ani,
Yes, it will work for the homemade chocolate.
HI Samira,
I’m very new to making chocolatea, if I try the cocoa butter with cocoa and sweetner recipe you posted, how should I temper that chocolate. Do I have to make the chocolate first and then melt it again to temper it.
Would appreciate your help
Hi Trev,
As soon as the chocolate is ready, and before you pour it into a mold, you can temper it.