
This post may contain affiliate links. Please read our disclosure policy.

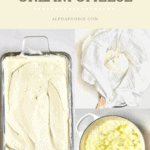


How to make delicious, soft homemade Cream Cheese using a super-simple method and 3 ingredients you probably already have in your kitchen
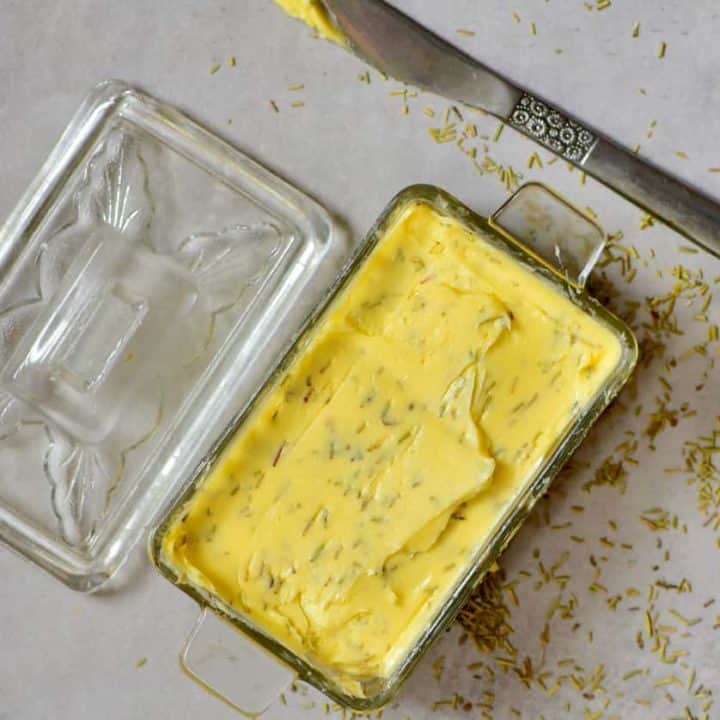
If I’d know how simple it was to make DIY cream cheese, I would have been making it months (if not years!) ago. Somehow I’ve managed to go through DIY’s for DIY Homemade Ricotta Cheese and DIY: Homemade Herb Butter ( Compound butter) without trying this simple cream cheese method, which is actually a bit of in-between method of both of them.
In fact, I’m still being surprised at just how many ingredients you can make/get from a single dairy product. Cream cheese, cheese, butter, buttermilk, whey and more.
Smooth and creamy soft cheese only requires three ingredients, that you probably already have; Whole Milk, Lemon Juice and Salt. It can also be customised in any way you’d like – with herbs, pepper, sweet chilli, etc or used for a variety of sweet or savoury purposes.
You are able to experiment with the milk used as well: Combining milk and cream in equal parts instead of just using milk, or even using heavy cream alone. Obviously the more cream you use, the richer and ‘creamier’ your final product. However, it would also up the fat levels.
I thought I’d keep things super simple for the first time trying homemade cream cheese and I loved it so much that I didn’t feel the need to complicate or change the recipe in any way.
I have seen recipes for cream cheese using liquid rennet, a cheese culture/starter and more potentially confusing and unobtainable ingredients and that is definitely not ‘my jam’. This is a recipe anyone can do and then can go crazy experimenting with, if desired.
Why make your own cream cheese?
I know that’s probably a question that some of you are asking, and I actually have the perfect answer. Because homemade cream cheese is SO much better – and I’m not just saying that.
I’m not just talking about taste and texture either. Now, obviously I haven’t tried EVERY cream cheese out there – but last time I was at the store I decided to have a look at the ingredients list of some of the biggest brands of cream cheese here in the UK.
What I found was ‘E’ ingredients, gums and thickeners including the controversial carrageenan! Homemade cream cheese simply uses lemon juice, milk and salt and is still wonderfully smooth and creamy.
How to Make Cream Cheese:
As I said above, the method for making cream cheese is actually very similar to making ricotta; Heat your milk, add a coagulant, leave to curdle, drain and blend!
Okay, there’s a little more to it than that, but you get the gist.
What’s needed:
- full-fat milk – it’s important to use full-fat milk because of its fat content.
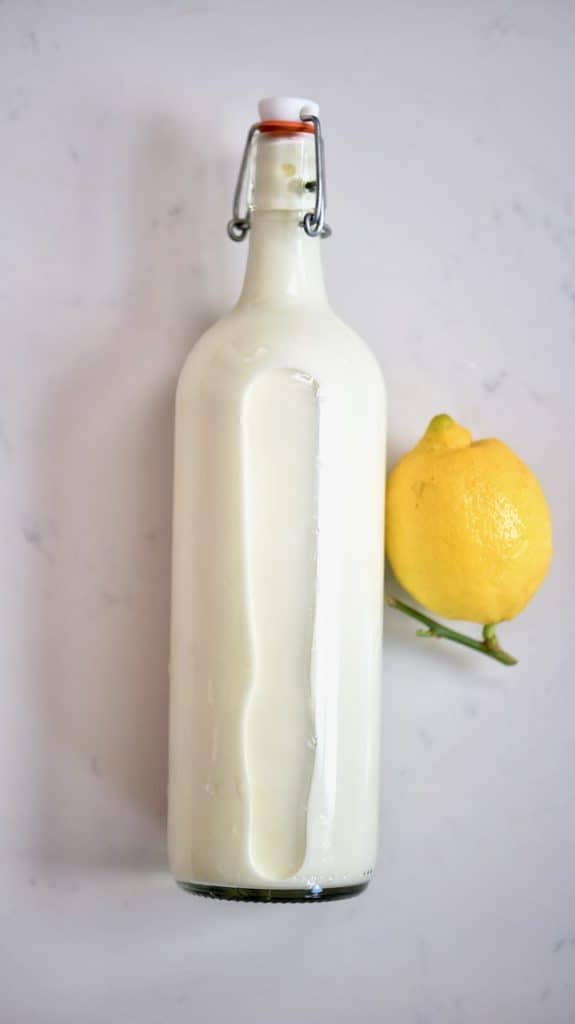
- lemon
- salt
- optional add-ons – dried herbs, garlic powder, dried chillies
Note* You could alternatively use half whole milk and half heavy cream OR completely use whole cream for soft cheese that is richer/creamier (but with a higher fat content)
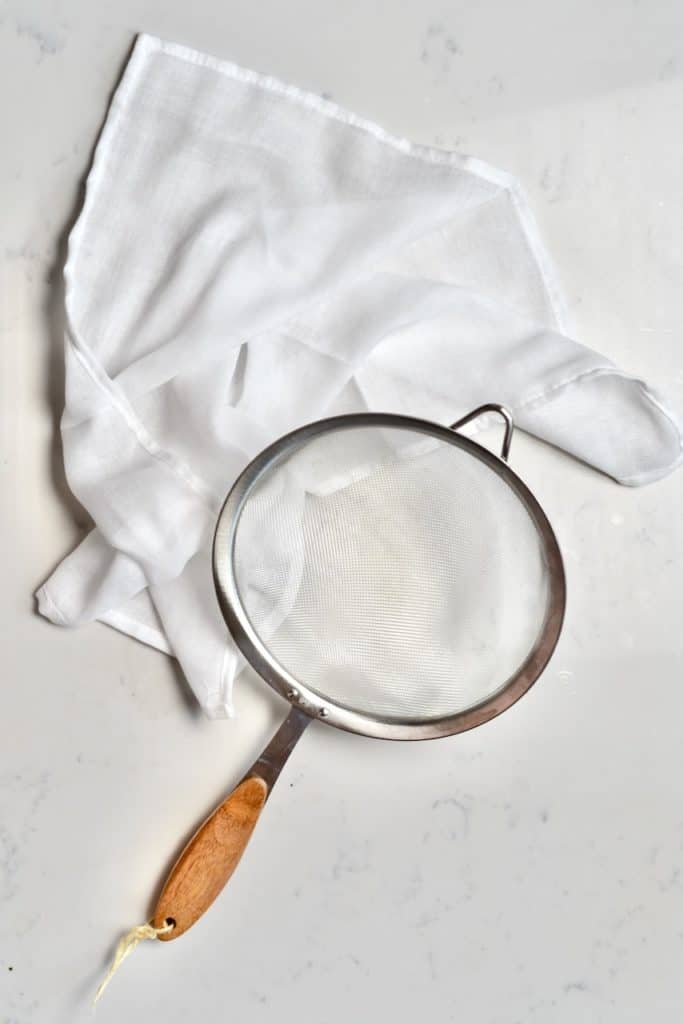
You will also need a cheesecloth or a fine-mesh sieve
The Steps:
Begin by pouring the milk in a saucepan. Heat the milk and bring it to boil over medium-high heat.
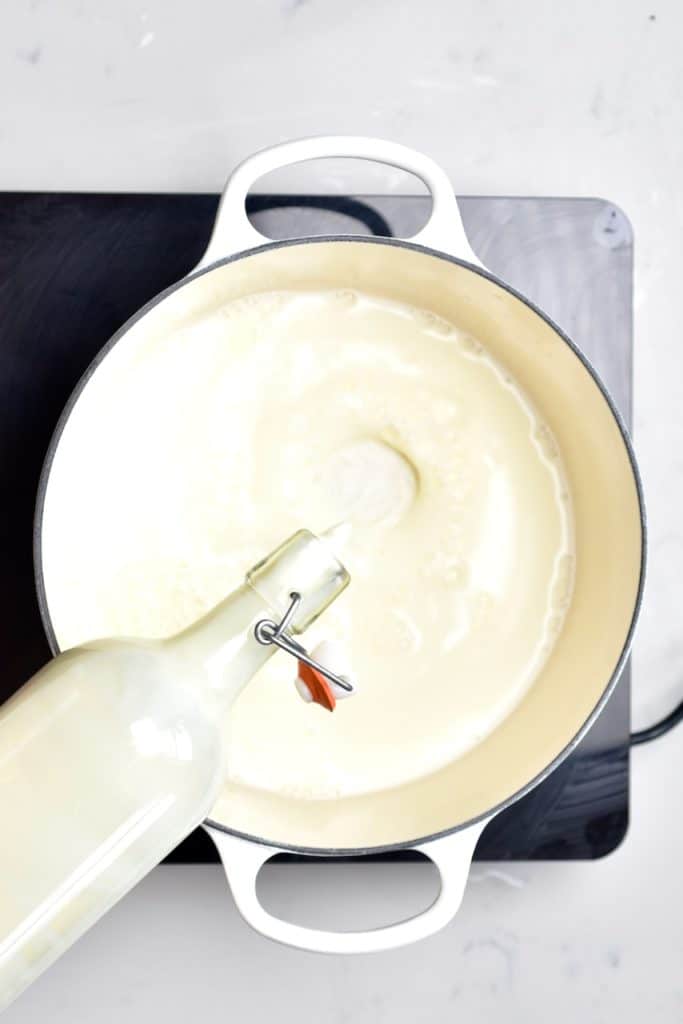
As soon as it boils, add the lemon juice and then turn off the heat.
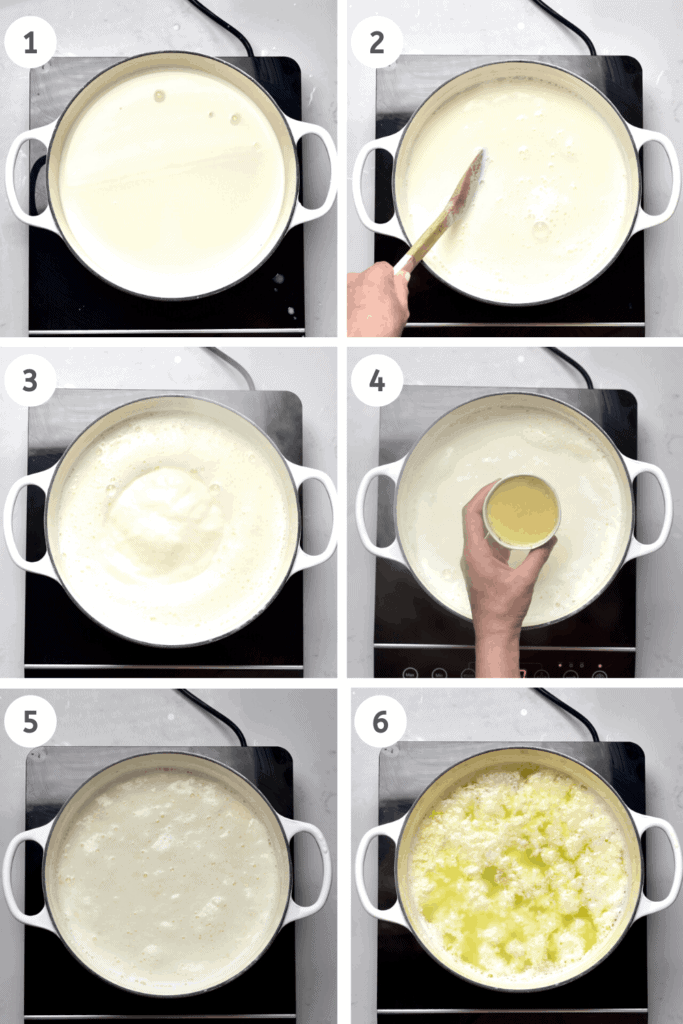
Set aside for a few minutes while the milk curdles. You’ll notice curds forming and a yellow-ish liquid being left behind.
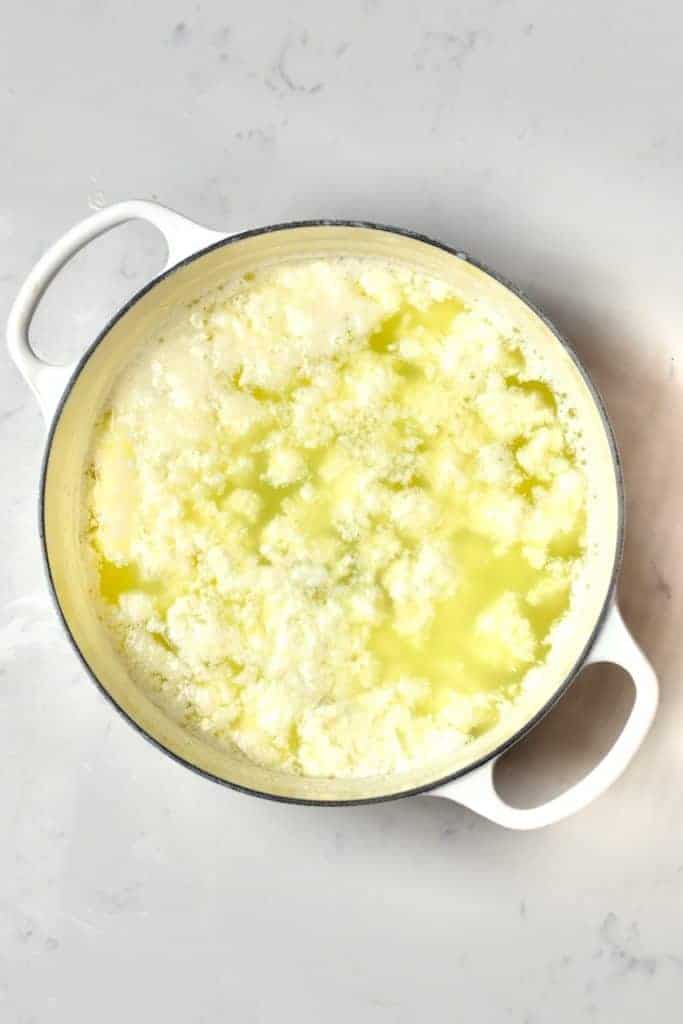
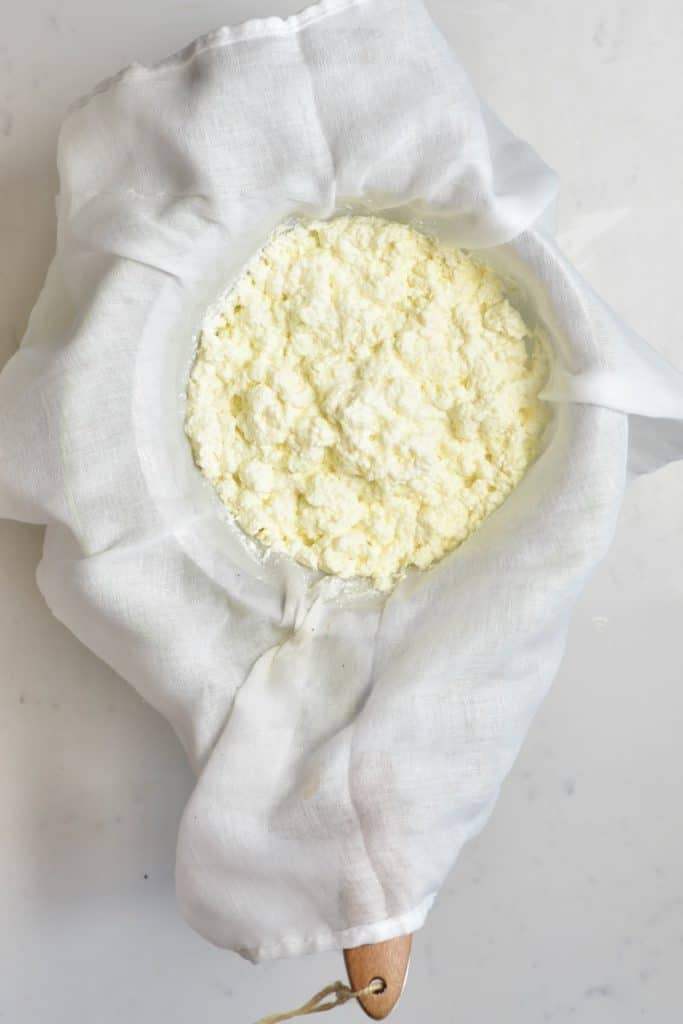
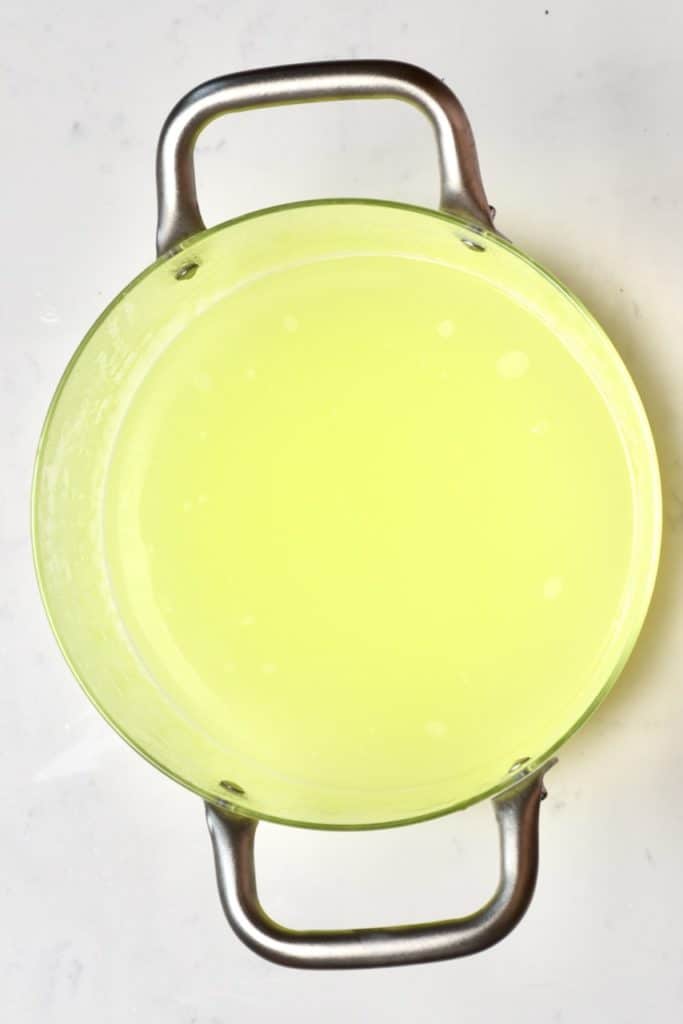
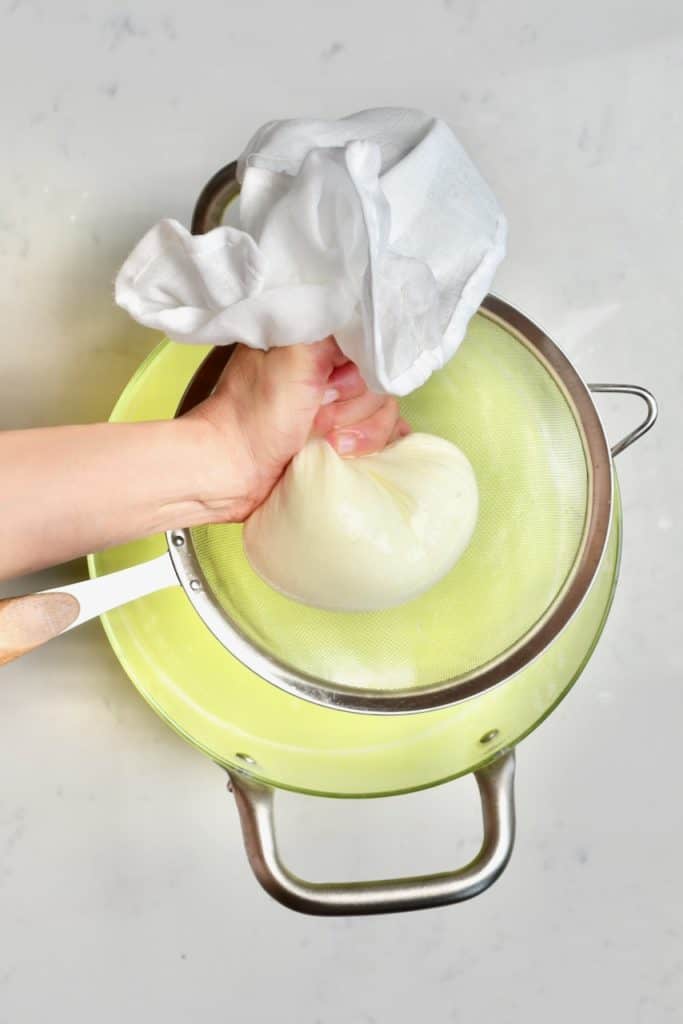
Within a few minutes, all of your curds should have formed. Pour the curdled milk through a cheesecloth and a sieve to strain all the liquid whey.
Alternatively, you can use a slotted spoon to scoop out all the curdles, while leaving the liquid whey in the pot.
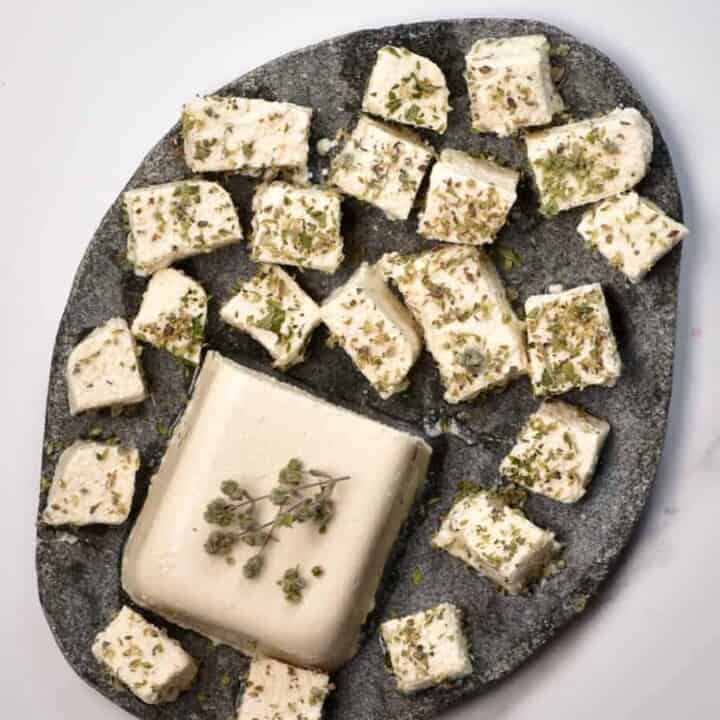
Note* This leftover whey can then be used in a variety of ways. I’ve talked about this more in my DIY How To Make Paneer At Home post.
Rinse the curdled milk with cold water by pouring the water over the sieve. This will help to get rid of any extra whey, clinging to the curds.
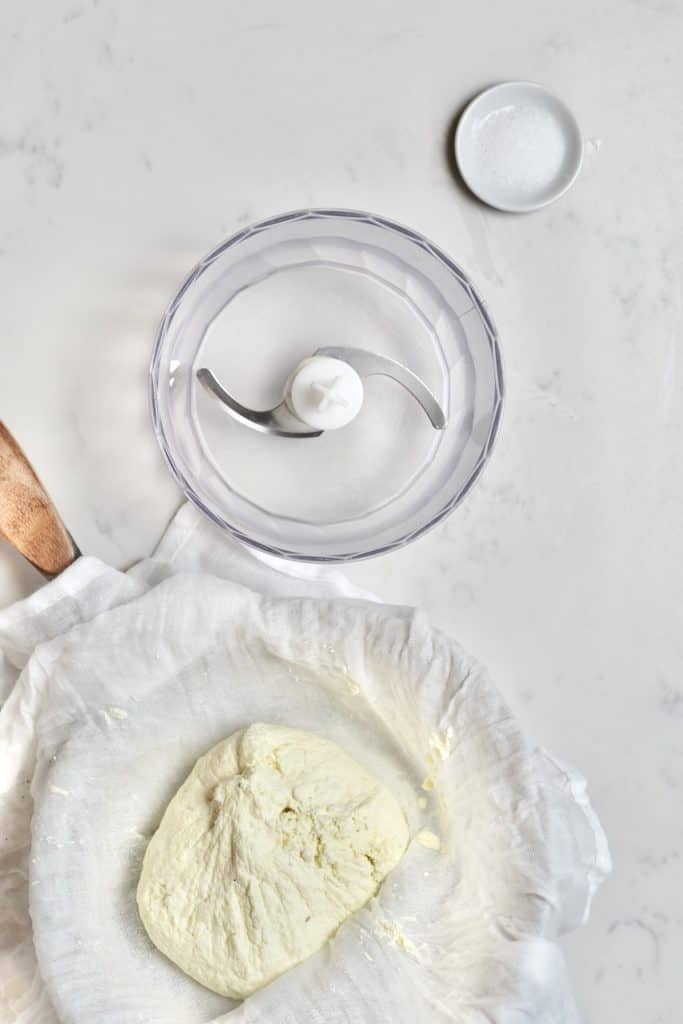
Squeeze the curdled milk as much as possible to drain any last drop of the liquid whey.
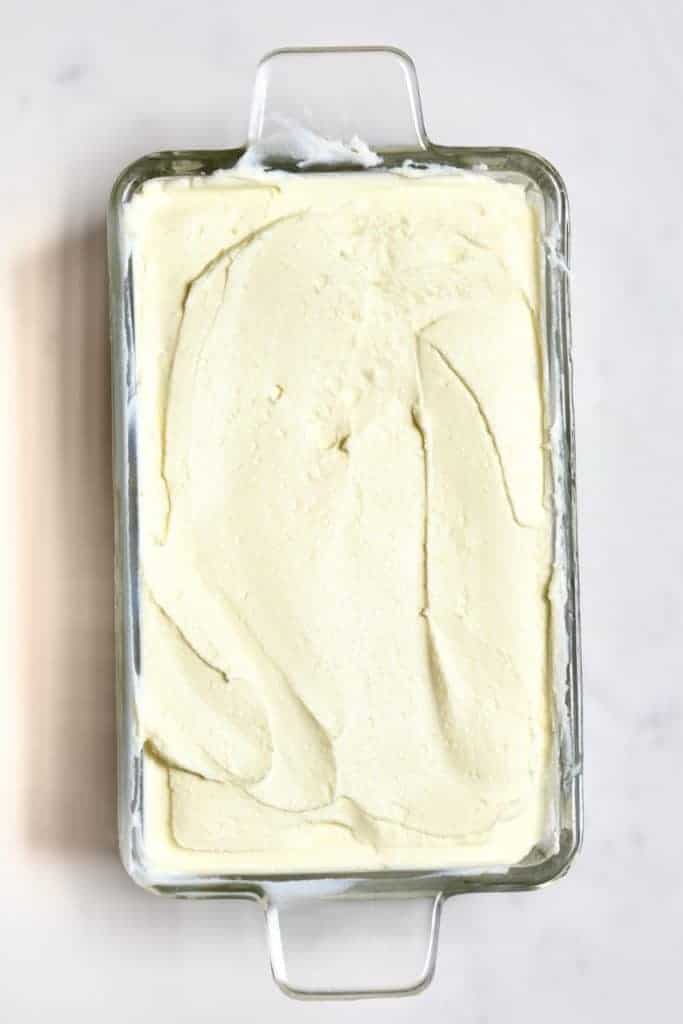
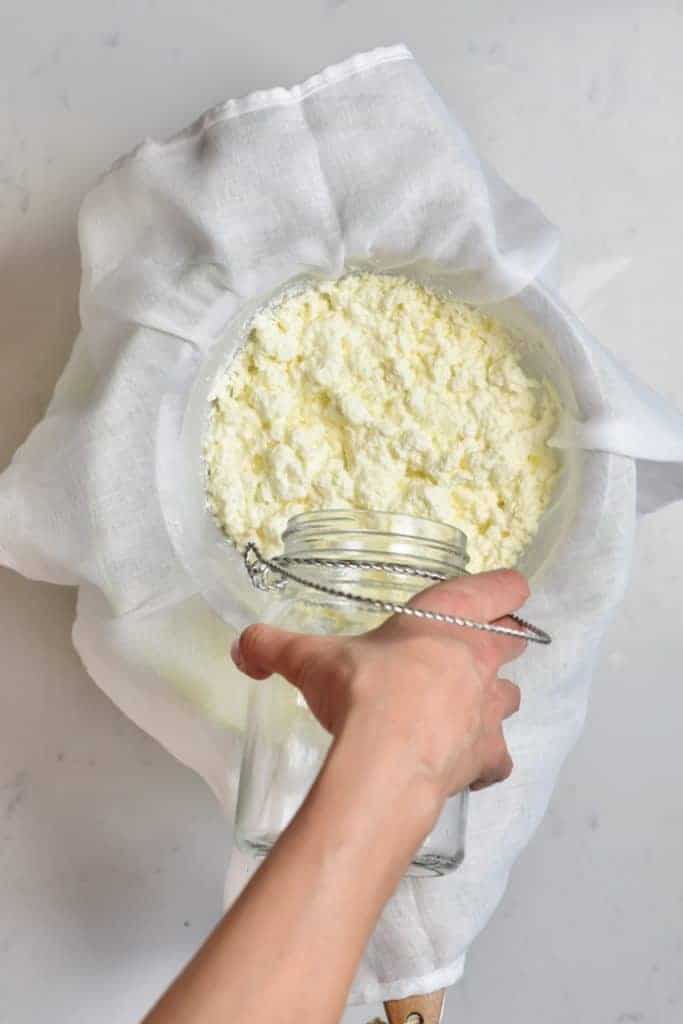
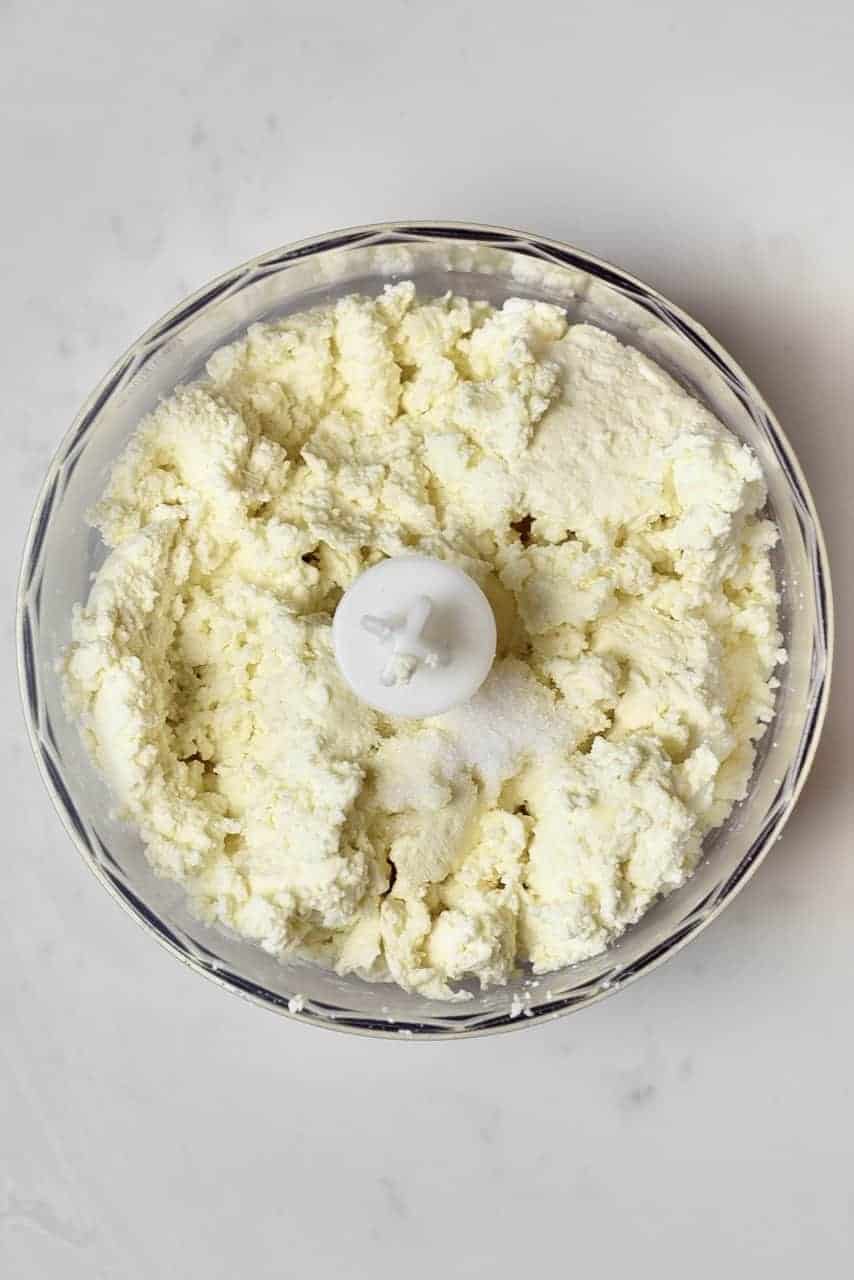
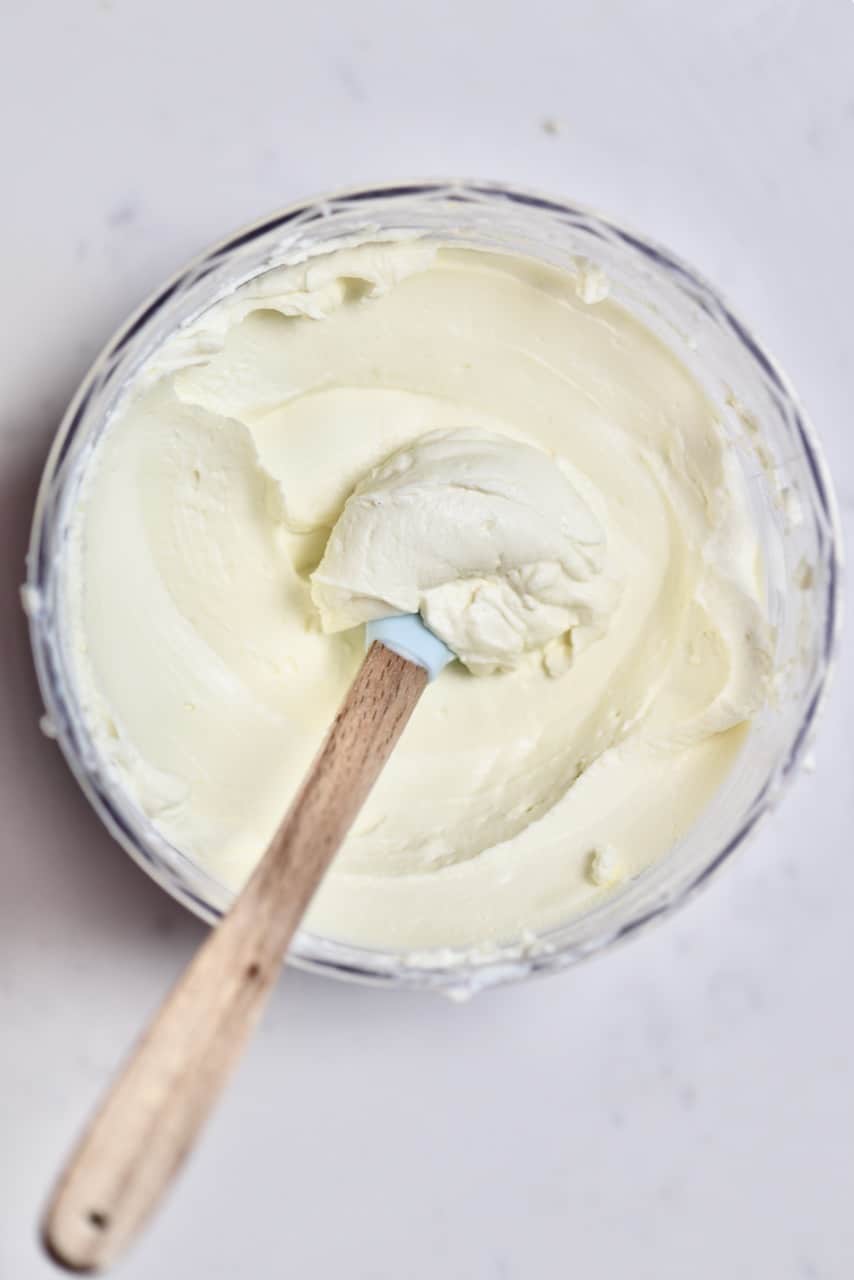
Put the strained milk into a food processor/blender and add the salt.
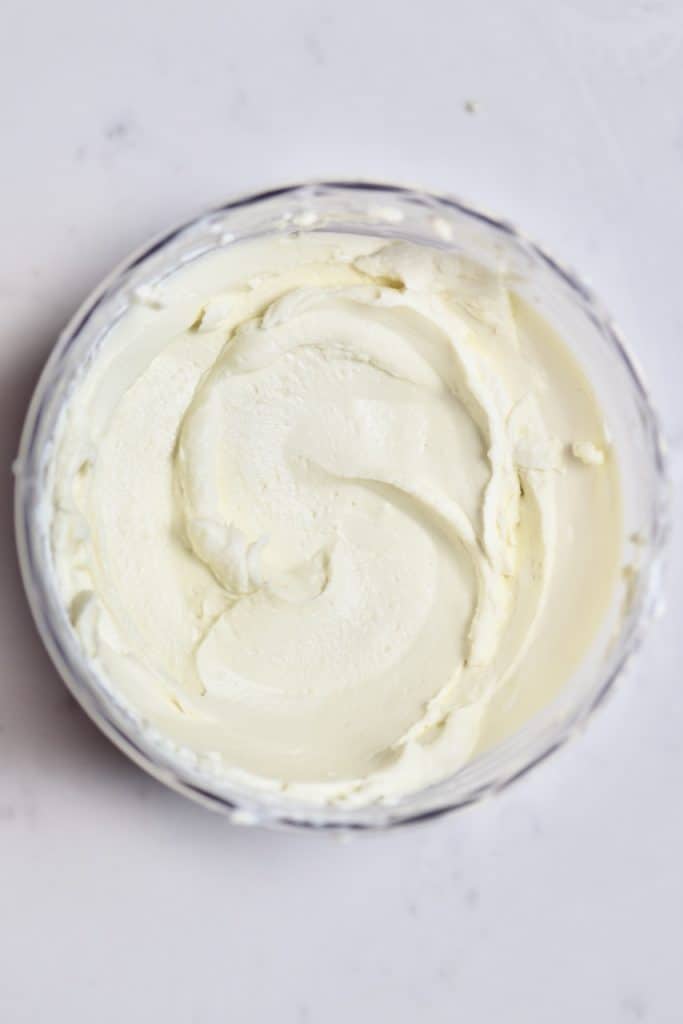
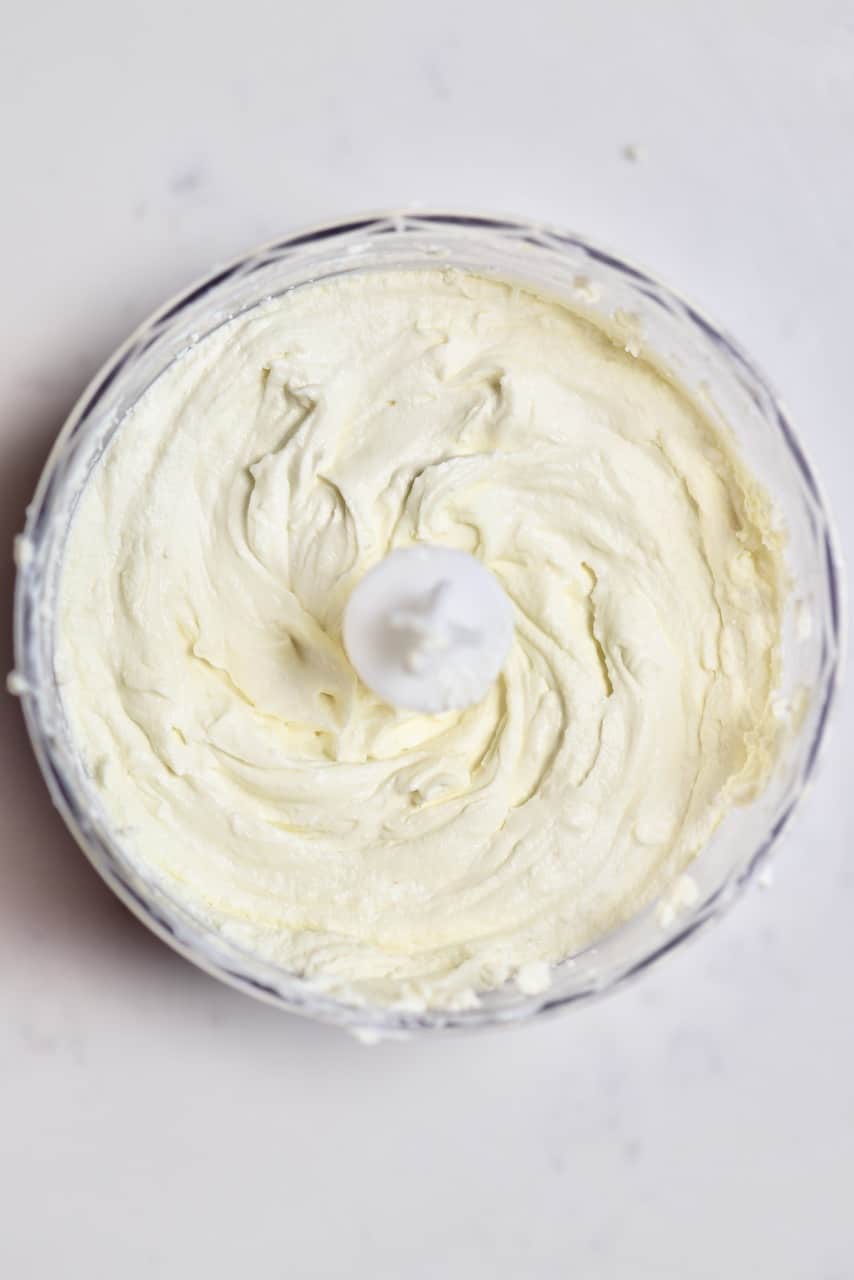
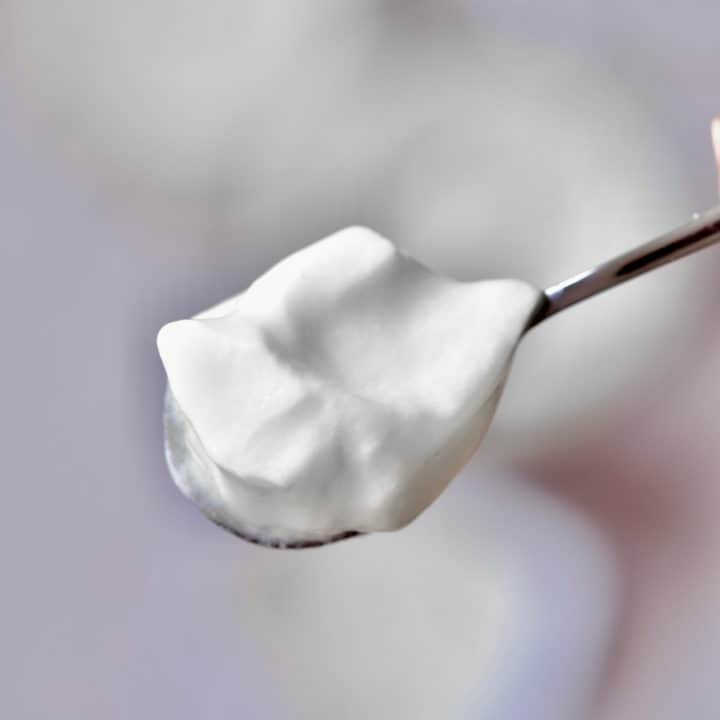
Within 1-2 minutes (this may vary, depending on how powerful your machine is) you’ll have a light and fluffy cream cheese.
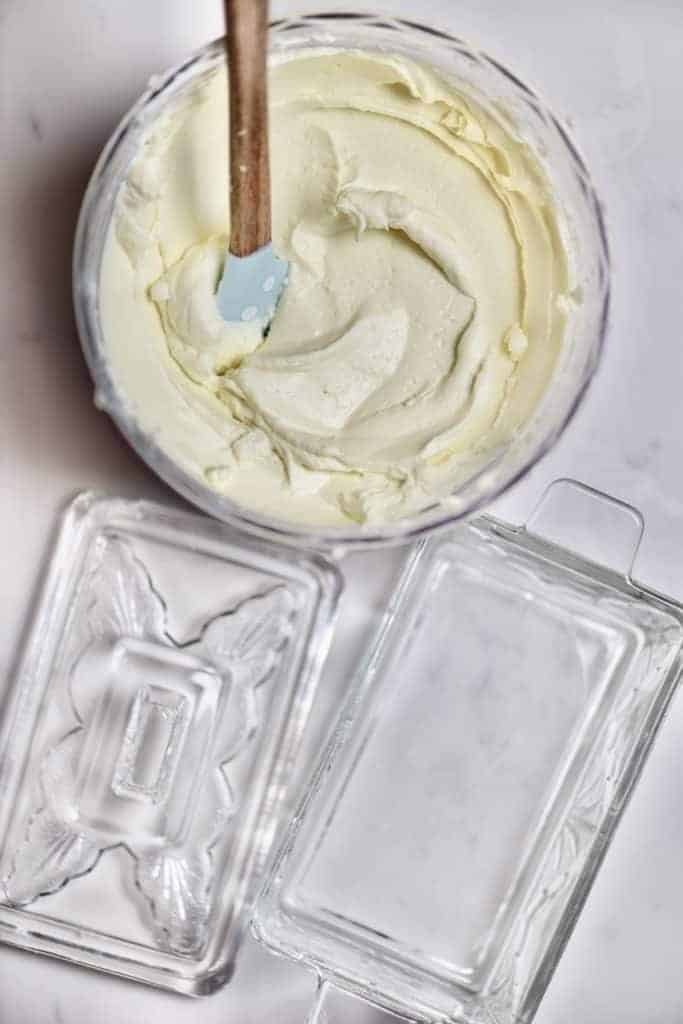
If you want to add any additional herbs/flavourings, then do that now too. Be warned though as certain additional ingredients will affect the shelf-life of the cheese. I like dried herbs and garlic powder as natural flavourings that don’t affect the shelf life too much.
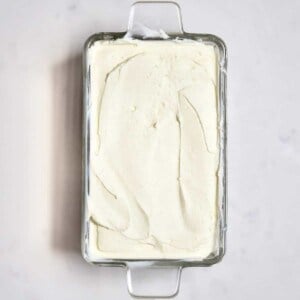
Store the cream cheese in an air-tight container in the fridge for up to 7 days. You can freeze cream cheese, but the texture upon thawing is more crumbly and is best used when you’re cooking it into something like a dip or sauce.
How to eat it?
Once your cheese is ready, then it can be used the same way you would with the store-bought version:
- Spread over a bagel, toast or sandwich
- Added to pasta and other sauces for a delicious creamy twist.
- Blended into a delicious cream cheese frosting (like for this gluten-free banana bread or a carrot cake) or for a cheesecake
- It’s delicious when added to soups and dips, too – like this Moutabal Aubergine Dip
- Spread in pastries, like this Ricotta & Spinach pie
- As a filling or topping for french toast and pancakes (served along with a berry compote)
And a bazillion (the technical term, of course) other ways.
The Homemade Cream Cheese Recipe:
Simple Creamy Homemade Cream Cheese
Equipment
Ingredients
- 8 cups full-fat milk (whole milk) - best raw or pasteurized, but not UHT
- 5 Tbsp lemon juice or 1 large lemon
- 1/2 tsp salt or more to taste
Optional Flavoring Add-ons
- pinch of dried herbs garlic powder, dried chillies, etc
Instructions
- Begin by pouring the milk in a saucepan. Heat the milk and bring it to boil over medium-high heat.
- As soon as it boils, add the lemon juice and then turn off the heat.
- Set aside for a few minutes while the milk curdles. You'll notice curds forming and a yellow-ish liquid being left behind.
- Within a few minutes, all of your curds should have formed. Pour the curdled milk through a cheesecloth and a sieve to strain all the liquid whey. Alternatively, you can use a slotted spoon to scoop out all the curdles, while leaving the liquid whey* in the pot.
- Rinse the curds with cold water. This will help to get rid of any extra whey, clinging to the curds.
- Squeeze the curdled milk as much as possible to drain any last drop of the liquid whey.
- Put the strained milk into a food processor/blender and add the salt. Within 1-2 minutes ( this may vary depending on how powerful your machine is) you'll have a light and fluffy cream cheese.
- If you want to add any additional herbs/flavourings then do that now too. Be warned though as certain additional ingredients will affect the shelf-life of the cheese. I like dried herbs and garlic powder as natural flavourings that don't affect the shelf life too much.
Store the cream cheese in an air-tight container in the fridge for up to 7 days. You can freeze cream cheese, but the texture upon thawing is more crumbly and is best used where you're cooking it into something like a dip or sauce.
Video
Notes
- The leftover whey can then be used in a variety of ways. I've talked about this more in my DIY How To Make Paneer At Home post.
- Instead of just whole milk, you could use a 1:1 ration of whole milk and heavy cream or even JUST heavy cream for creamier cheese. However, this will also affect the fat content.
Nutrition
Nutrition information is automatically calculated, so should only be used as an approximation.
Other DIY recipes You May Be Interested In:
If it’s DIY’s you’re looking for, then it’s DIY’s you’ve found. I’ve practically got them coming out of my ears. Here is a list of other dairy-based DIYs you may like though.


- DIY Homemade Ricotta Cheese
- Simple Rainbow Goat Cheese Rolls
- DIY How To Make Paneer At Home
- DIY: Homemade Herb Butter ( Compound butter)
- HOW-TO: DIY HOMEMADE NATURAL YOGURT
Vegan Options:


If you’re dairy-free or vegan (or just curious), then you might like these DIYs instead.


Can you use a hand mixer?
Hi Brittany,
Yes, you can use a hand mixer to whip it and make it smoother.
Hi, thank you for sharing this easy recipe! Would definitely give this a try. May I know the yield of this recipe?
Thanks, Sam.
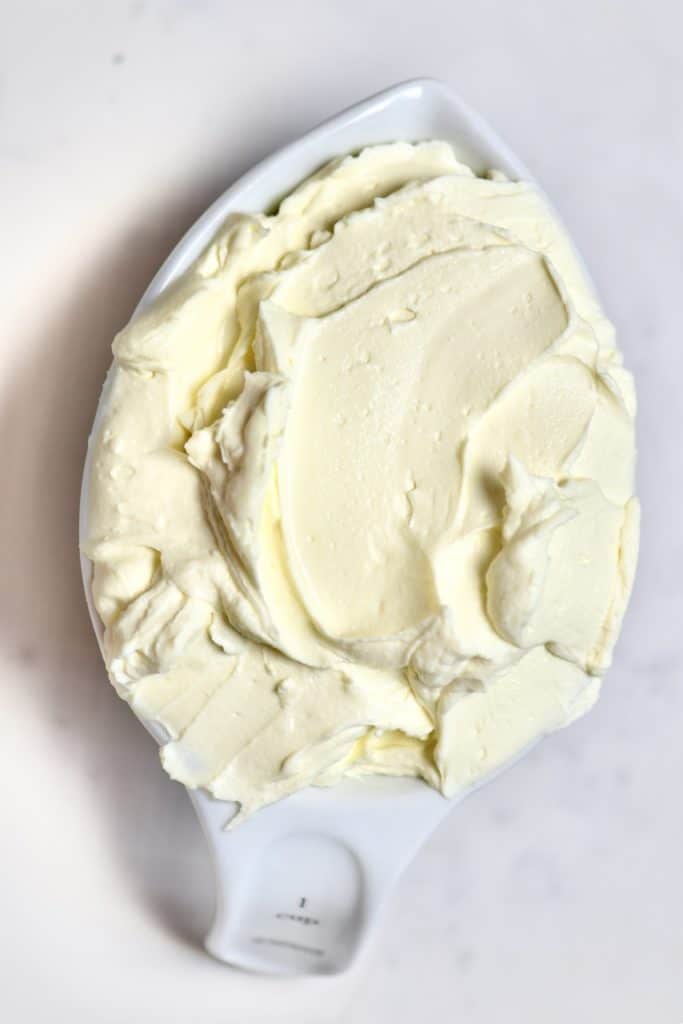
It yields about 1 cup of cream cheese.
Great recipe, but it must be in detail, like milk 1 liter Lemon 1 tablespoon and salt 1 team spoon but missed in whole recipe. Any how good way to explain light and happy with some tips. Good
Thanks, Fakhar.
The detailed ingredients with measurements both in cups and liters/ml are in the recipe card here on the blog. 🙂
Instead of a food processor or blender can i whisk by hand instead?
Hi Steph,
Yes, you can.
Easy and “fast”
Glad you liked it!
Will raw milk straight from the cow work? Thank you. Can’t wait to try!
Hi Brenda.
That should work – you will heat the milk and bring to boil so this process will remove any unwanted bacteria. Let me know how it goes if you give it a try.
Can you cut this re pie in half?
Hi Ali,
You could cut it in half but please keep in mind that 8 cups of milk yields about 1 cup of cream, so it sould make even less if you cut it in half. I hope this helps.
How long does this keep for? And can you give recommendations for storage?
Hi Kiera,
It’s best to store the cream cheese in an air-tight container in the fridge for up to 7 days.
I tried with heavy cream but it didn’t curls, why?
Hi Alice,
A number of things could have gone wrong and it’s hard for me to troubleshoot. If you followed my recipe step by step, the only thing that makes sense is that it could have been the type of cream you used. If you make it again, perhaps try making it with full-fat milk (not UHT) first and see how it turns out. I hope this helps 🙂
Heavy cream is usually Ultra-pasteurized.
This will not work.
Make sure you read the carton and the product does NOT say “ultra-pasteurized”.
Thanks for the tip, Tanner. Indeed, it should not be “ultra-pasteurized”. Best is raw.
I wonder would this work using whole fat lactose free milk? I have one kid that is lactose intolerant and one kid with a tree nut allergy so any nut base is out of the question.
Hi Violet,
Yes, you can use whole-fat lactose-free milk if it’s not UHT. Let me know if you gave it a try!