This post may contain affiliate links. Please read our disclosure policy.
How to brine chicken for the most perfectly succulent and juicy roast chicken you’ve ever had! This chicken brine recipe is simple to follow, requires minimal effort, and simultaneously draws out the flavor in the meat while locking in the moisture for roasting, grilling, smoking, frying, etc.
In my attempt to achieve the most tender, juicy chicken, I’ve tried it all. I’ve foil-baked, marinated, and brined chicken (among other methods) over and over again. Now, I can confidently state that learning how to brine chicken is a kitchen must-know.
This best brine for chicken recipe requires just 3 base ingredients, with optional extras to infuse your meat with more flavor. It requires minimal effort on your part, too, just time set aside to leave the bird to brine. Best of all, you’re guaranteed perfectly juicy tender chicken every single time!
What’s in This Post
Watch how to make it
What does brining chicken do
Brine is a simple solution of salt and water (in this case, about 4-6% salt). When brining a chicken, it’s a low-fuss way to guarantee super moist chicken.
How? As the chicken soaks in the brine liquid, the salt dissolves proteins in the meat. This allows the meat to retain up to 40% more moisture while it cooks.
As a bonus, you can add extra ingredients to the brine to help infuse the meat with added flavor. Unlike marinating, the WHOLE chicken will infuse with flavor, too.
Note there are two methods of brining: dry brining and wet brining. The first is essentially a salt rub, but it works similarly, just with even crispier skin.
Brining vs. marinating chicken
Marinating aims to help flavor the chicken, often also tenderizing the meat with an added acidic ingredient. In comparison, brining chicken adds subtle flavor, with the salt helping to draw out the flavors in the meat. But it is primarily used to add moisture to the meat, locking it in with the salt.
Is it better to brine or marinate chicken? can you do both?
Short answer: If you have time, do both! Long answer:
Brining is particularly good for lean pieces of chicken, like chicken breasts. Especially if you’re cooking them using methods that can dry the meat, like grilling or roasting without foil. It’s also great for a whole chicken to ensure none of the meat ends up dry, no matter the cooking method.
Marinating works best for the fattier parts of the meat, which maintain their moisture better, like chicken thighs. You can also include an acidic ingredient in the marinade to help tenderize the meat.
Chicken brine ingredients
A basic brine for whole chicken requires just three ingredients.
- Chicken: Choose the size of the chicken based on your needs. For example, if you will air fryer it, make sure it fits in the basket. I like to use one between 3-5 lbs in size (fresh or frozen, though I prefer fresh when possible).
- Salt: Use kosher salt, NOT table salt, for this recipe. Otherwise, it will be far too salty.
- Water: Regular water is fine.
Did you know you can also use this wet brine method for other meats, like pork, tenderloin, or a small turkey?
How to season the chicken brine
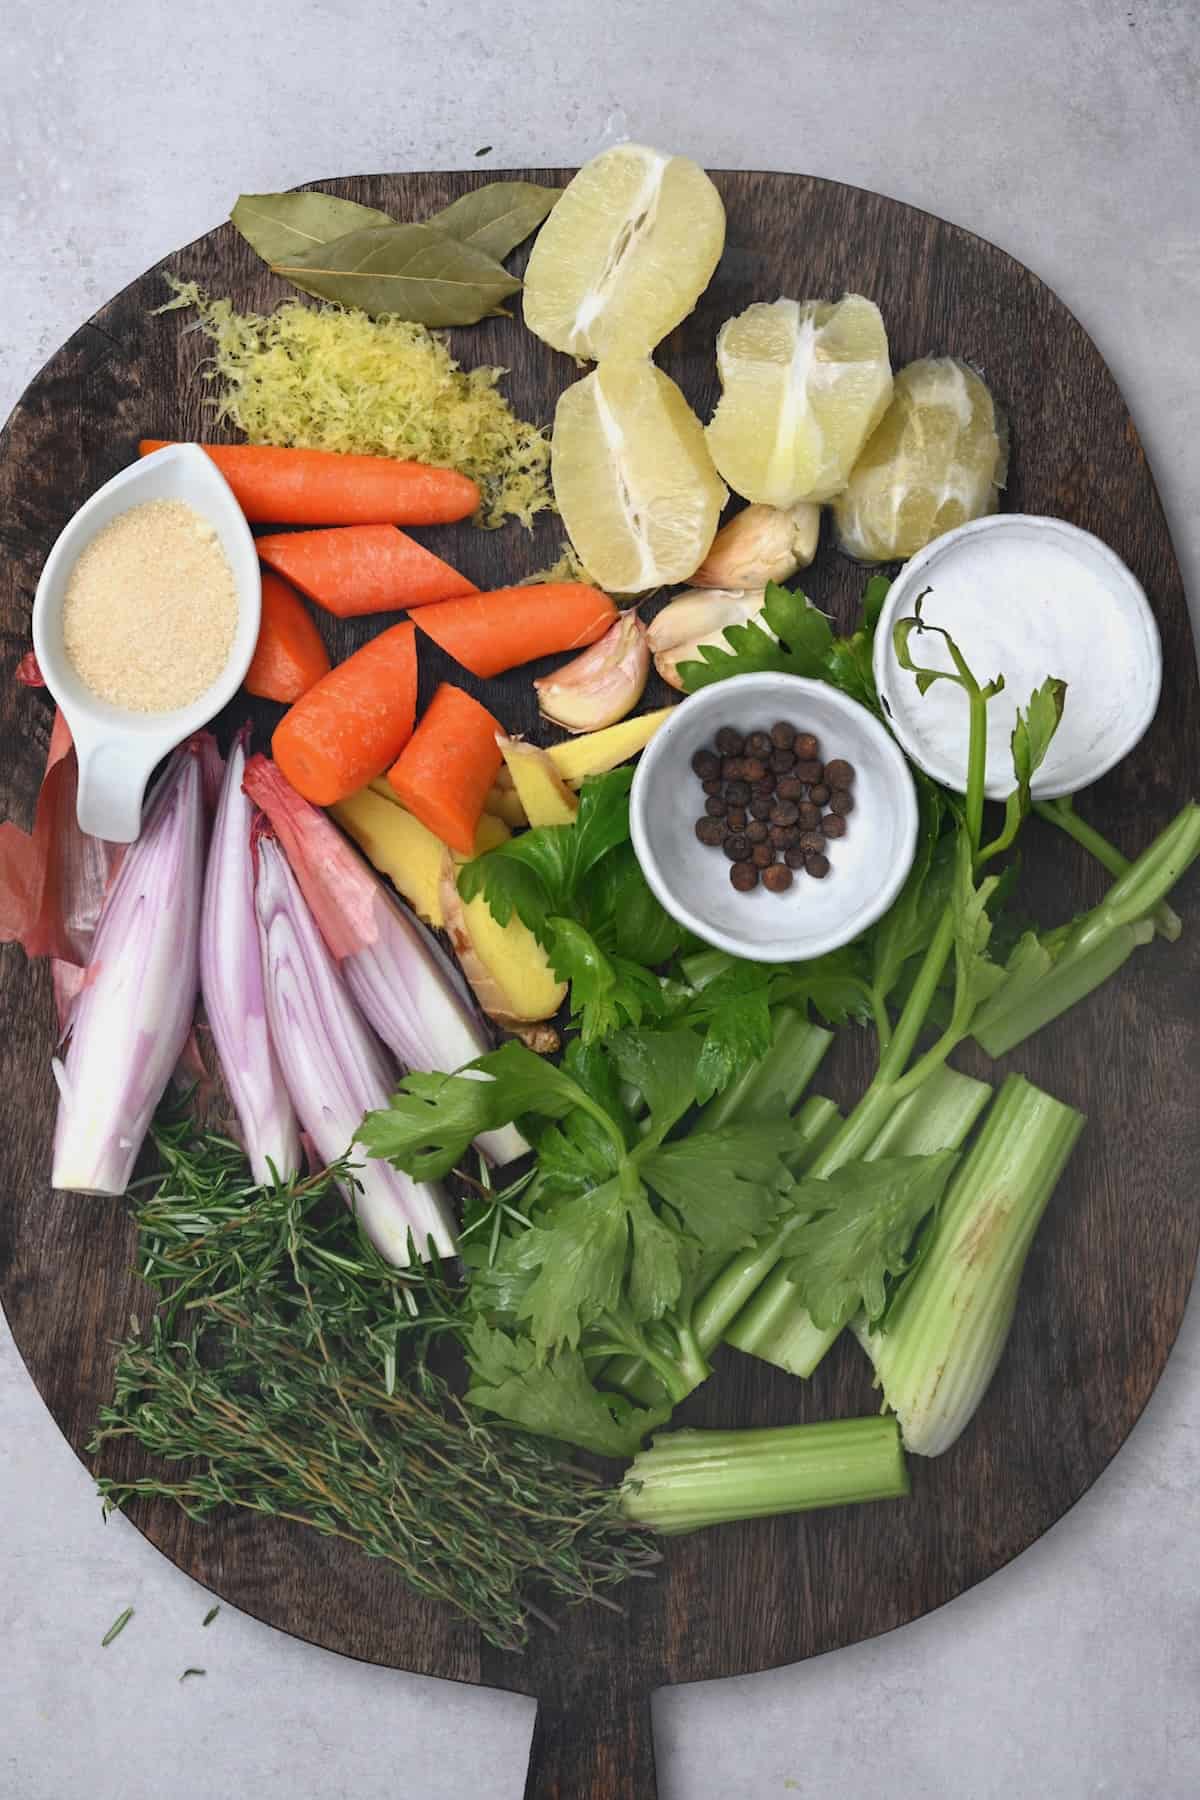
If you want to infuse this brine chicken recipe with additional flavor, here is what you could add for the best chicken brine:
- Brown sugar (or honey) – for a touch of sweetness to balance the saltiness,
- Carrots,
- Shallots (or onion),
- Garlic,
- Ginger,
- Celery,
- Lemons (or oranges),
- Whole peppercorns,
- Bay leaves,
- Fresh herbs (thyme, rosemary – it’s best to use fresh as they’re more flavorful).
If you want to make a simple combination, use just garlic, lemons, peppercorns, sugar, bay leaves, and herbs. For more umami flavor, replace a portion of the salt with soy sauce. For spice, add some dried chilies, etc.
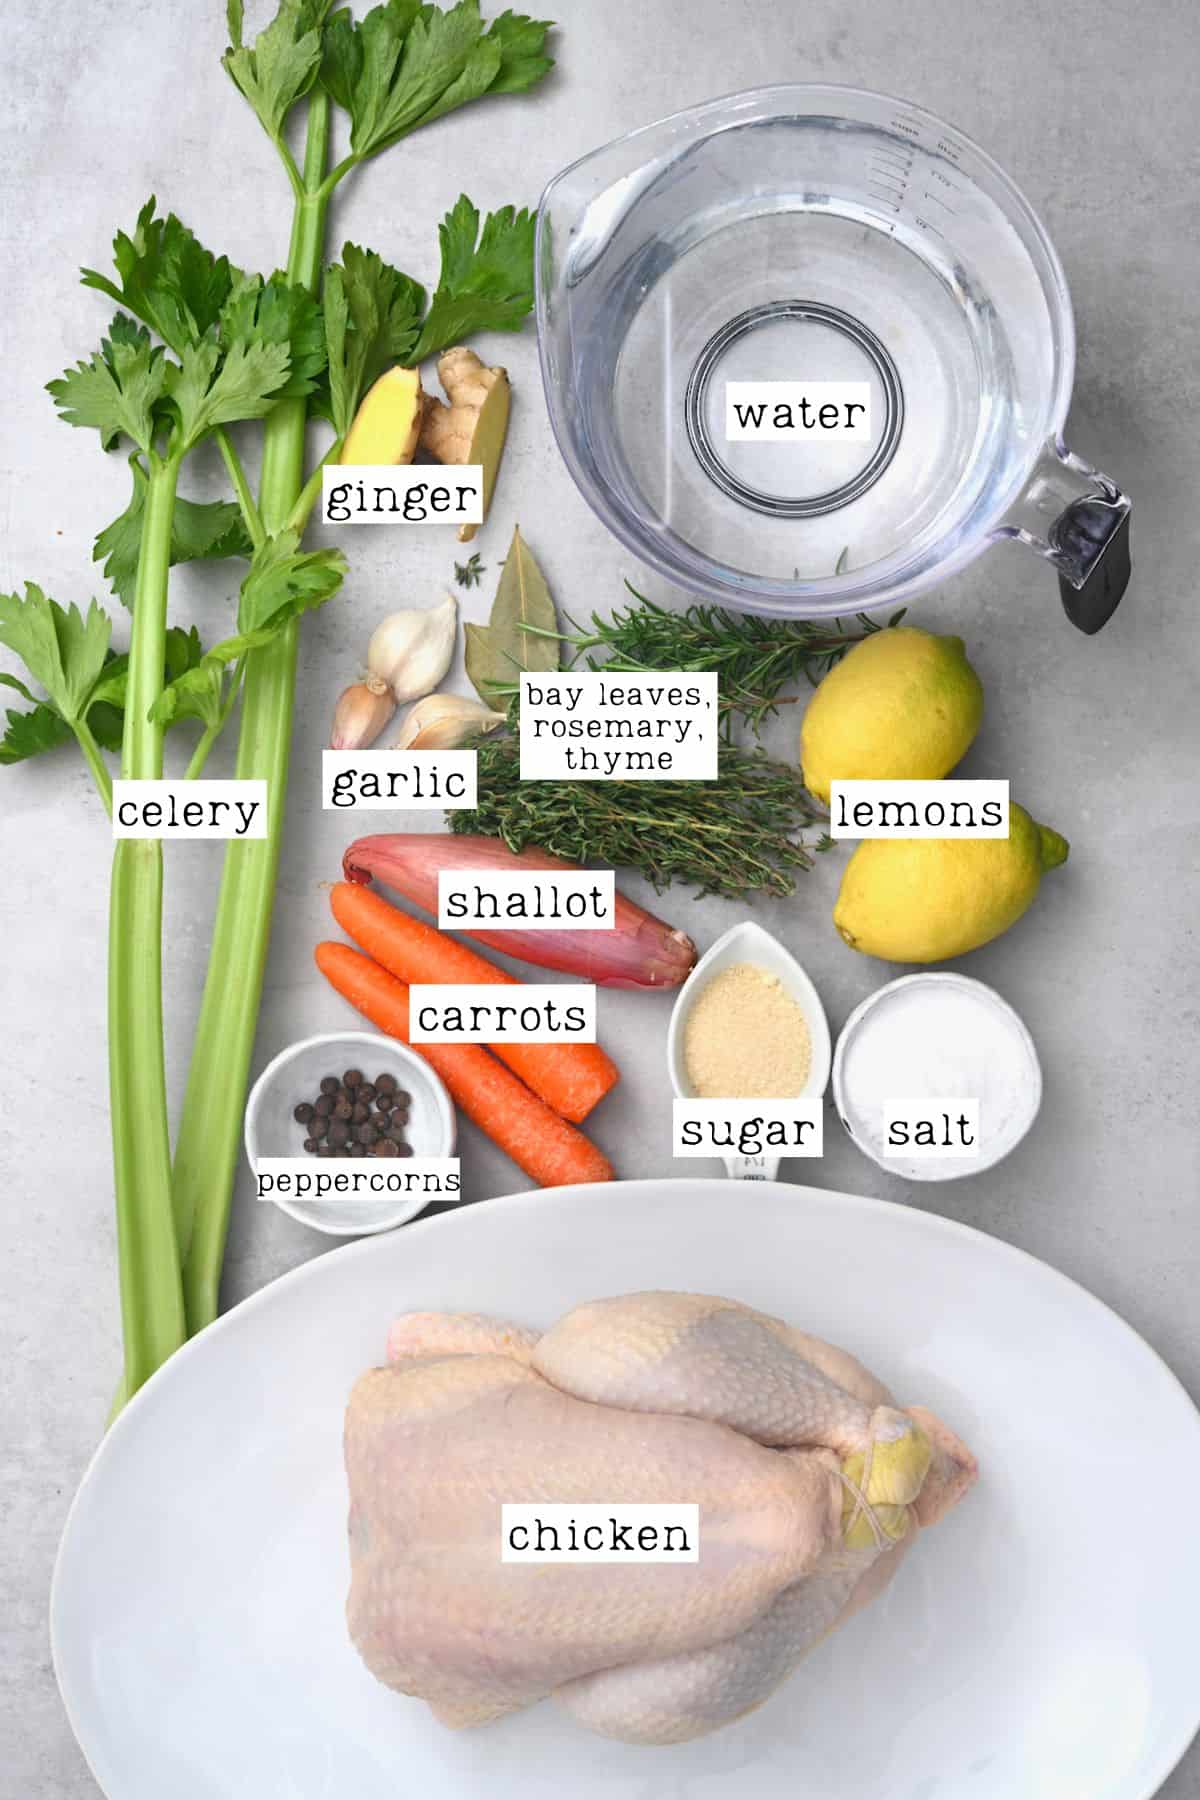
For this overnight chicken brine, I used all the above to make a flavorful brine whole chicken with no need for further marinating. If you’d like to marinate the meat, cut back on add-ins or rely on the simple water-salt brine.
How to brine chicken
First, select a pot/dish large enough to fit the chicken (and in your fridge).
If you’re making a whole chicken brine, you may need to shuffle around fridge shelves to make it fit.
Then, prepare any ingredients you plan to add to the brine. Zest the lemons, removing the bitter white pith (to discard), then chop the remaining lemons in half. Also, rinse and roughly chop the carrot, ginger, shallot, celery, and garlic (or smash garlic).
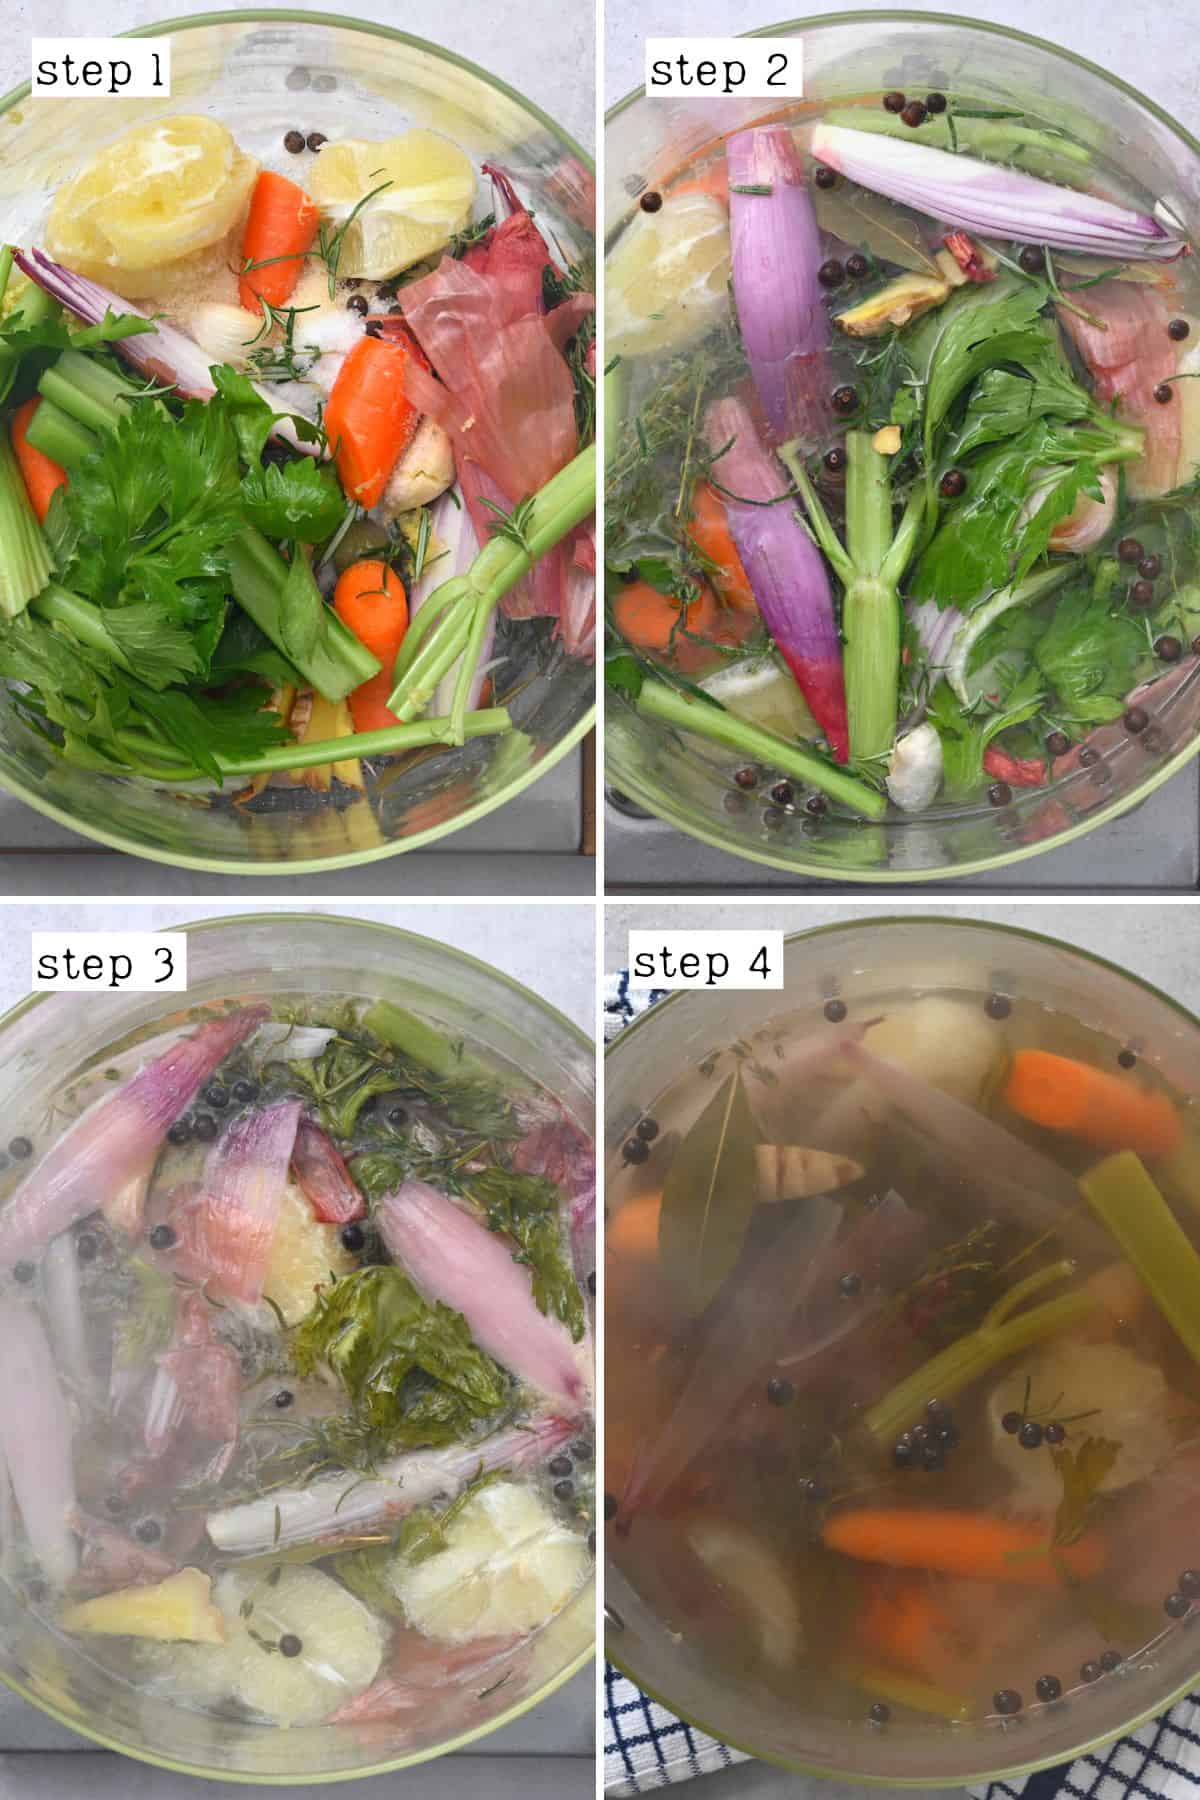
To prepare the brine mixture, combine half the water and all the brine ingredients in a large pot. Bring the mixture to a boil. Stir often until the salt and sugar dissolve.
Once boiling, reduce the heat to allow the mixture to simmer for 15-20 minutes. This will infuse the brine with the various flavors.
Then, remove the saucepan from the heat and leave it to cool down entirely. To help it cool down, transfer it to the pot you’ll be brining in. Pour the remaining water (ice cold).
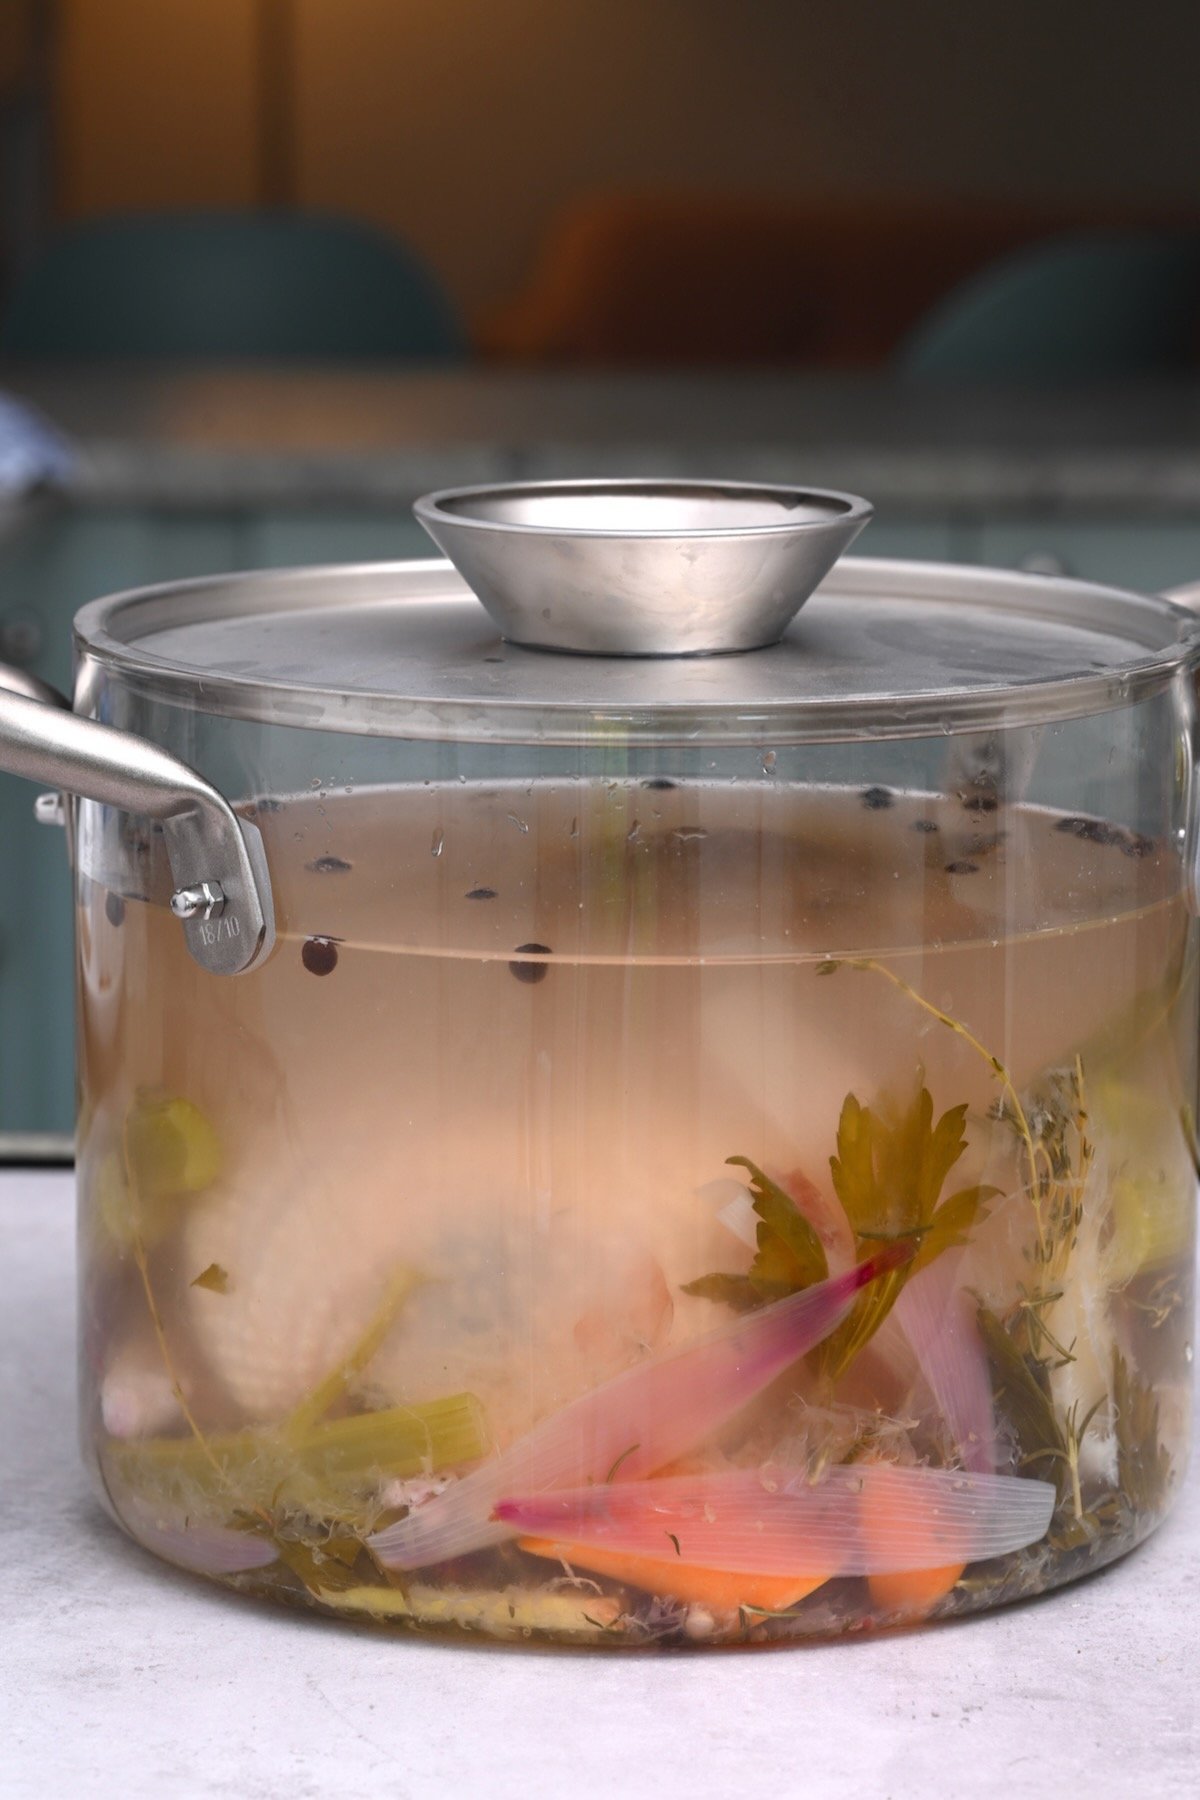
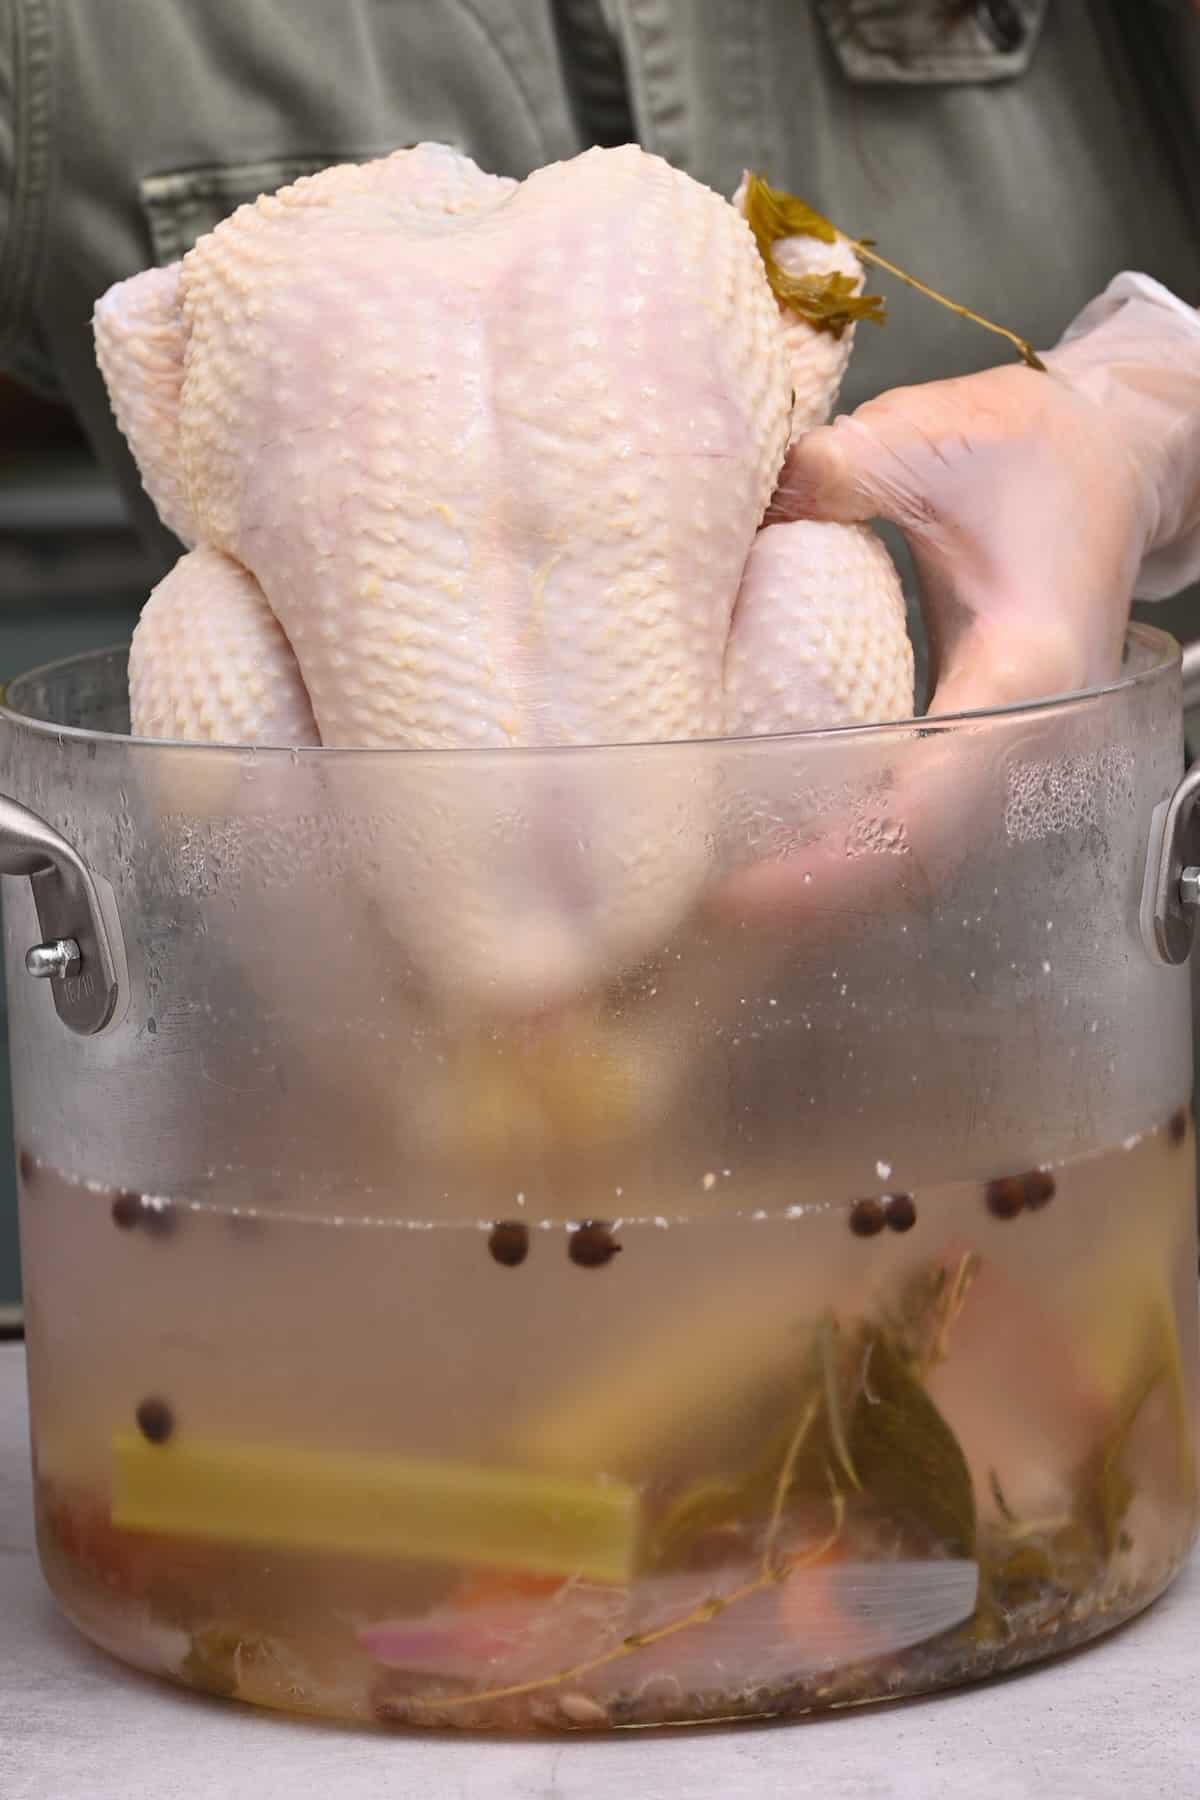
Once cooled (make sure the brine is not warm at all), place the chicken breast side down in the pot. Ensure it’s fully submerged – add more water if necessary. Then cover the pot and transfer it to the fridge.
How long to brine chicken?
For the best results, leave the raw chicken to brine in the saline solution for 12 hours (minimum for whole chicken). Or between 18-24 hours for optimal results (but no longer than 24hrs). Discard the brine after using it.
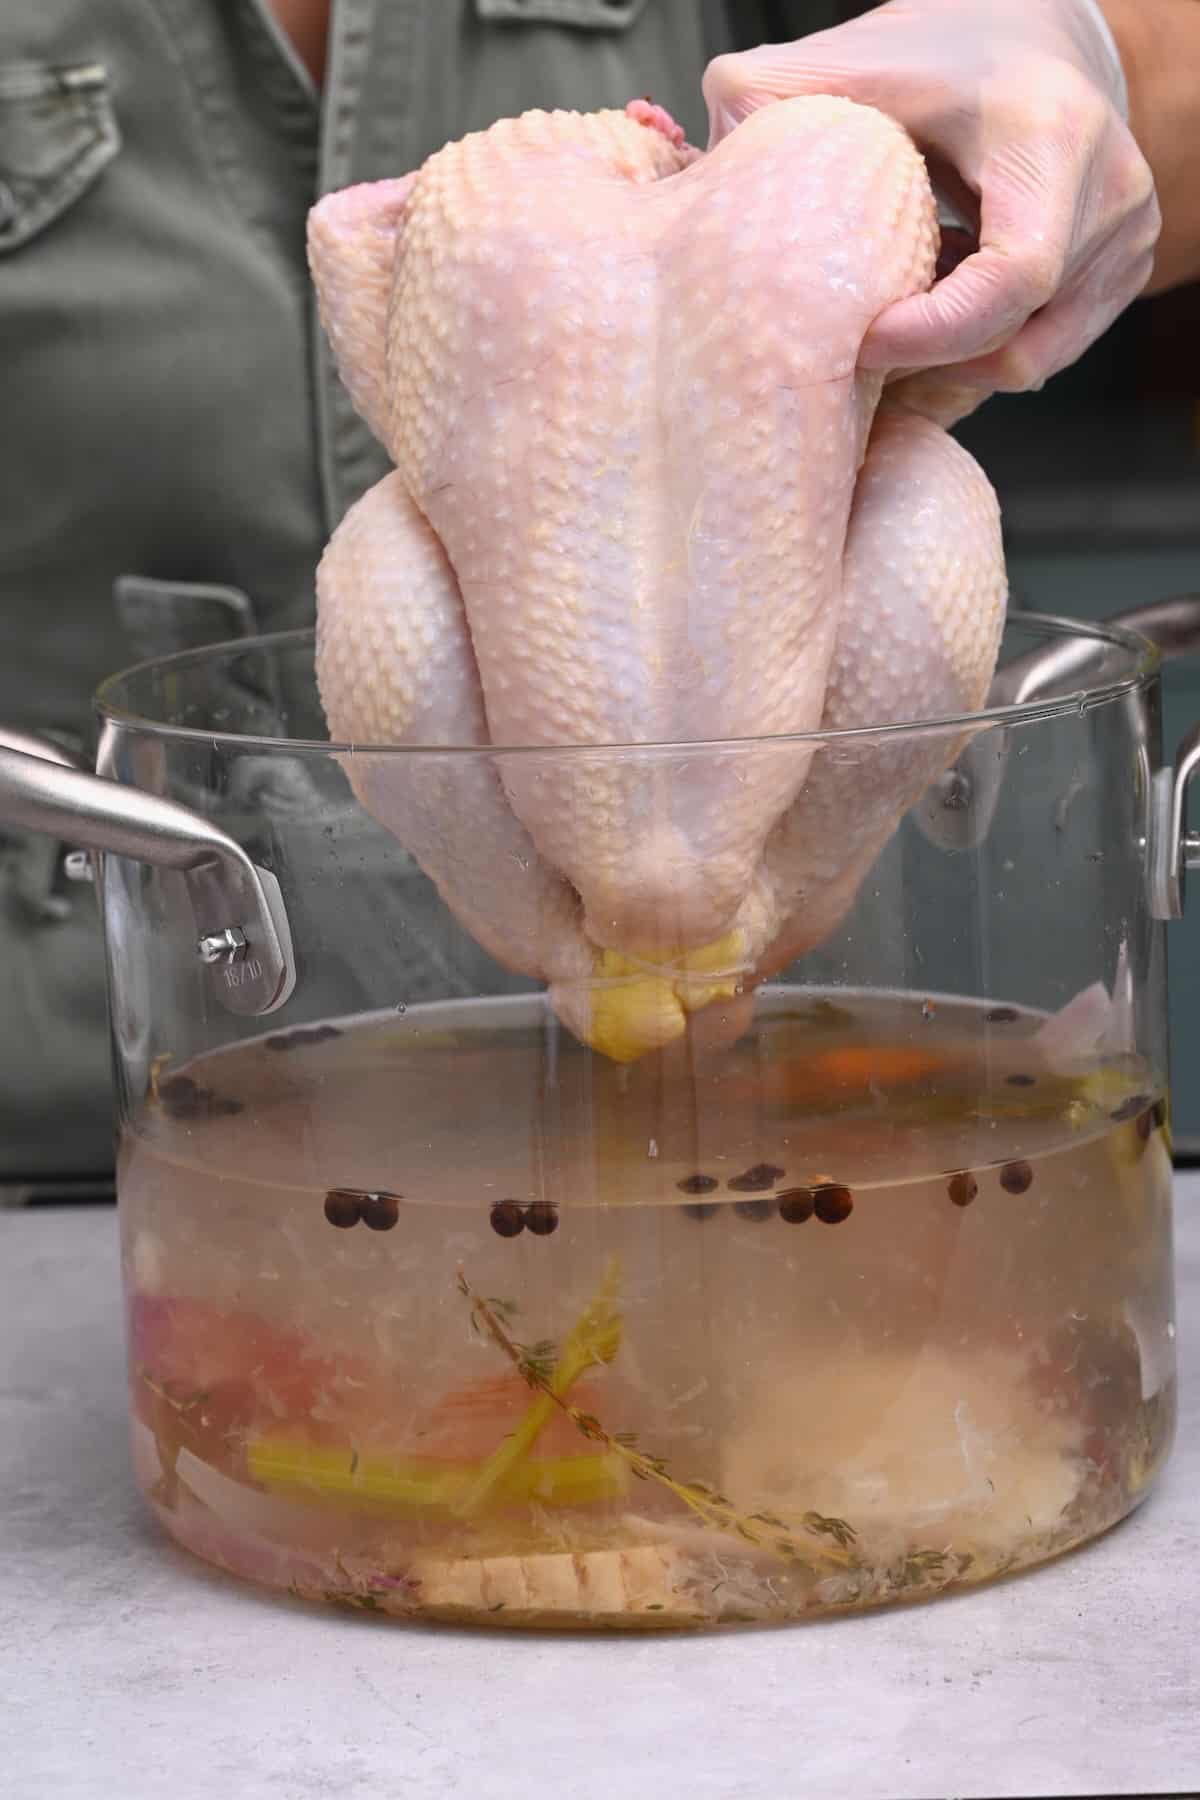
And these are the steps for brining chicken for roasting.
As a general rule, brine the chicken for at least one hour per pound of meat. If you plan to brine and marinate the meat, I recommend brining it for the minimum time. Then you can leave it to marinate afterward.
Should you rinse chicken after brining It?
Usually, I’m opposed to rinsing chicken, as it can cause bacteria to spread across your kitchen. However, if you want to remove excess sodium from the brined whole chicken before cooking it, carefully rinse it inside and out with cold water. Though, in general, it’s best to leave it.
How to dry chicken after brining
Use paper towels to thoroughly pat it dry (important if you want crispy skin).
How to roast a brined chicken?
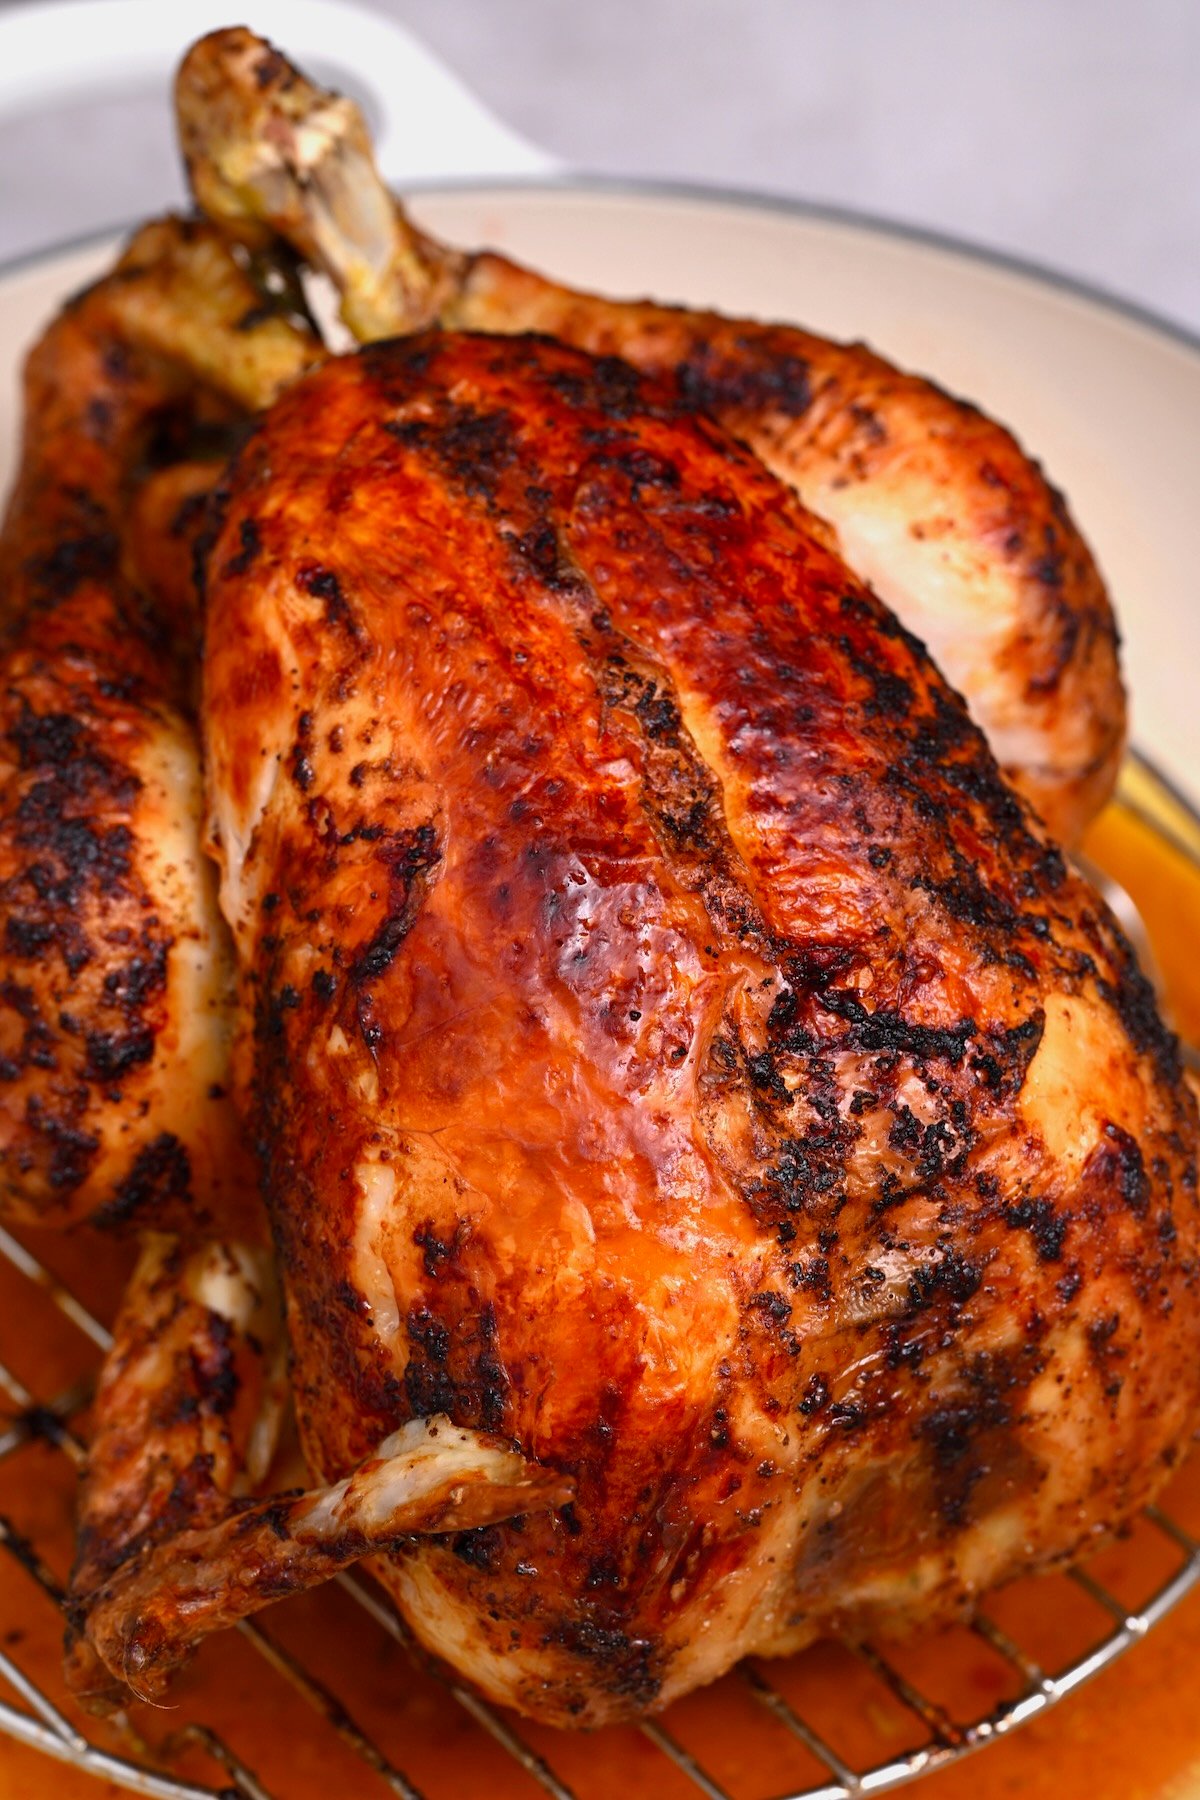
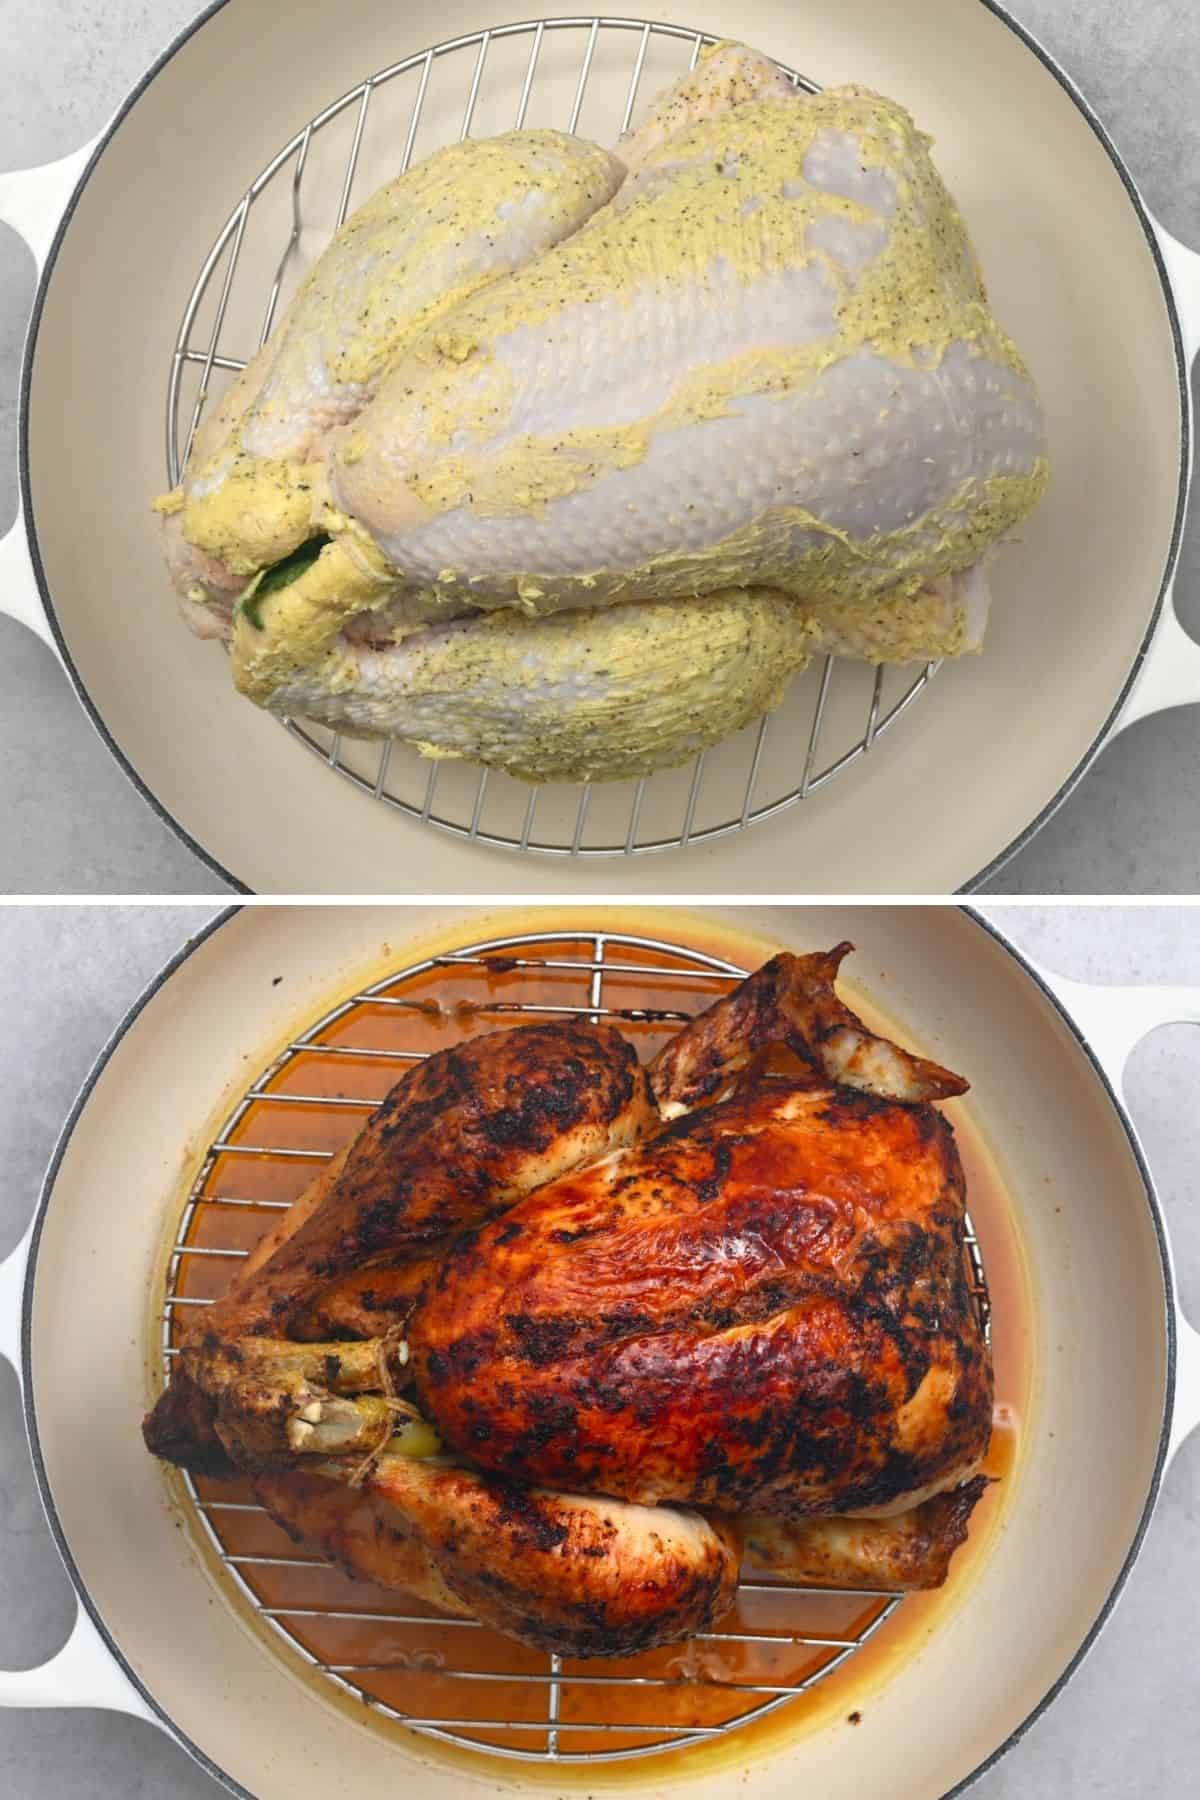
For a simple seasoning, brush the meat with softened or melted butter. Sprinkle it with either lemon pepper or poultry seasoning. Alternatively, brush it lightly with oil (for extra crispy skin).
You can optionally also stuff the chicken cavity with carrots, celery, and shallots.
How long to roast a brined chicken
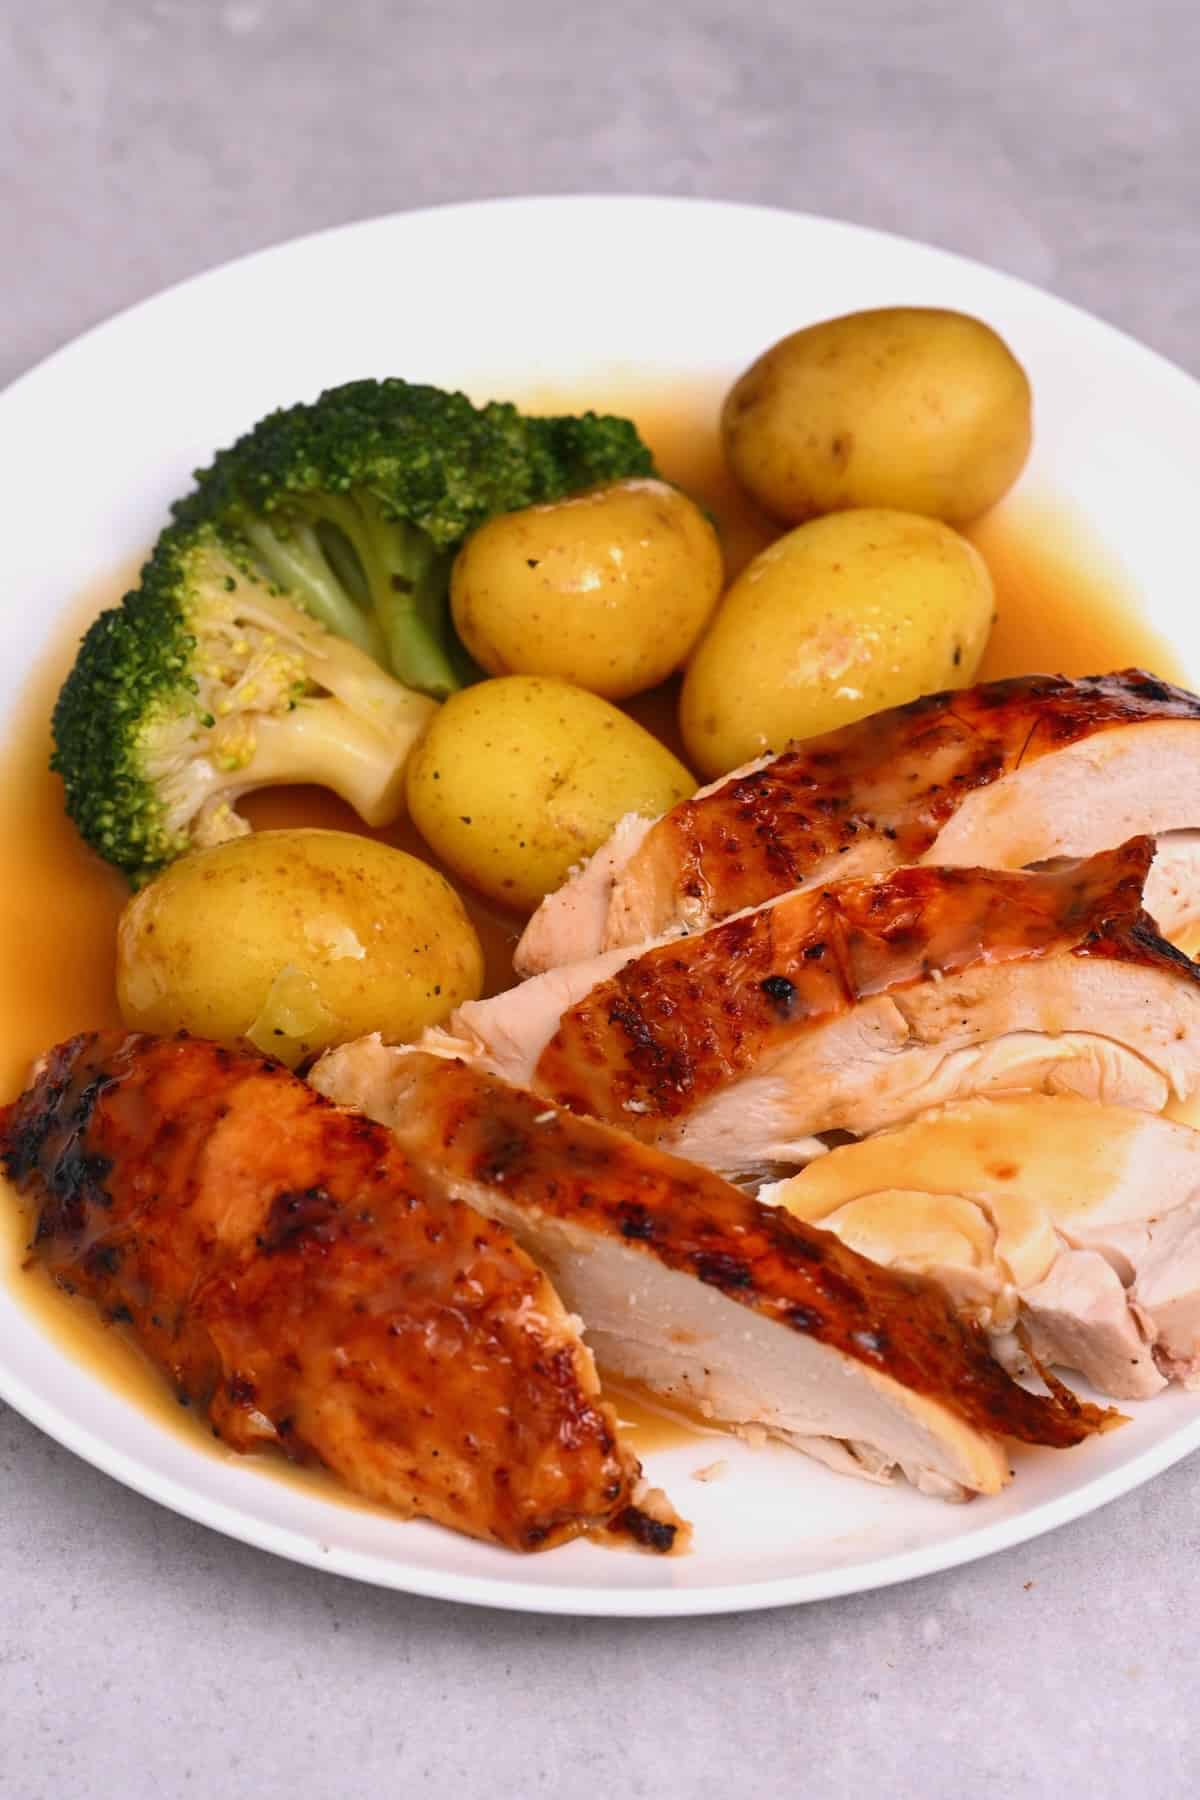
Transfer the chicken to a large, high-sided baking dish or roasting pan. Cook it in a preheated oven at 350ºF/180ºC for 50-60 minutes. Or until a meat thermometer inserted into the thickest part of the meat (avoiding bones) reads 165ºF/74ºC.
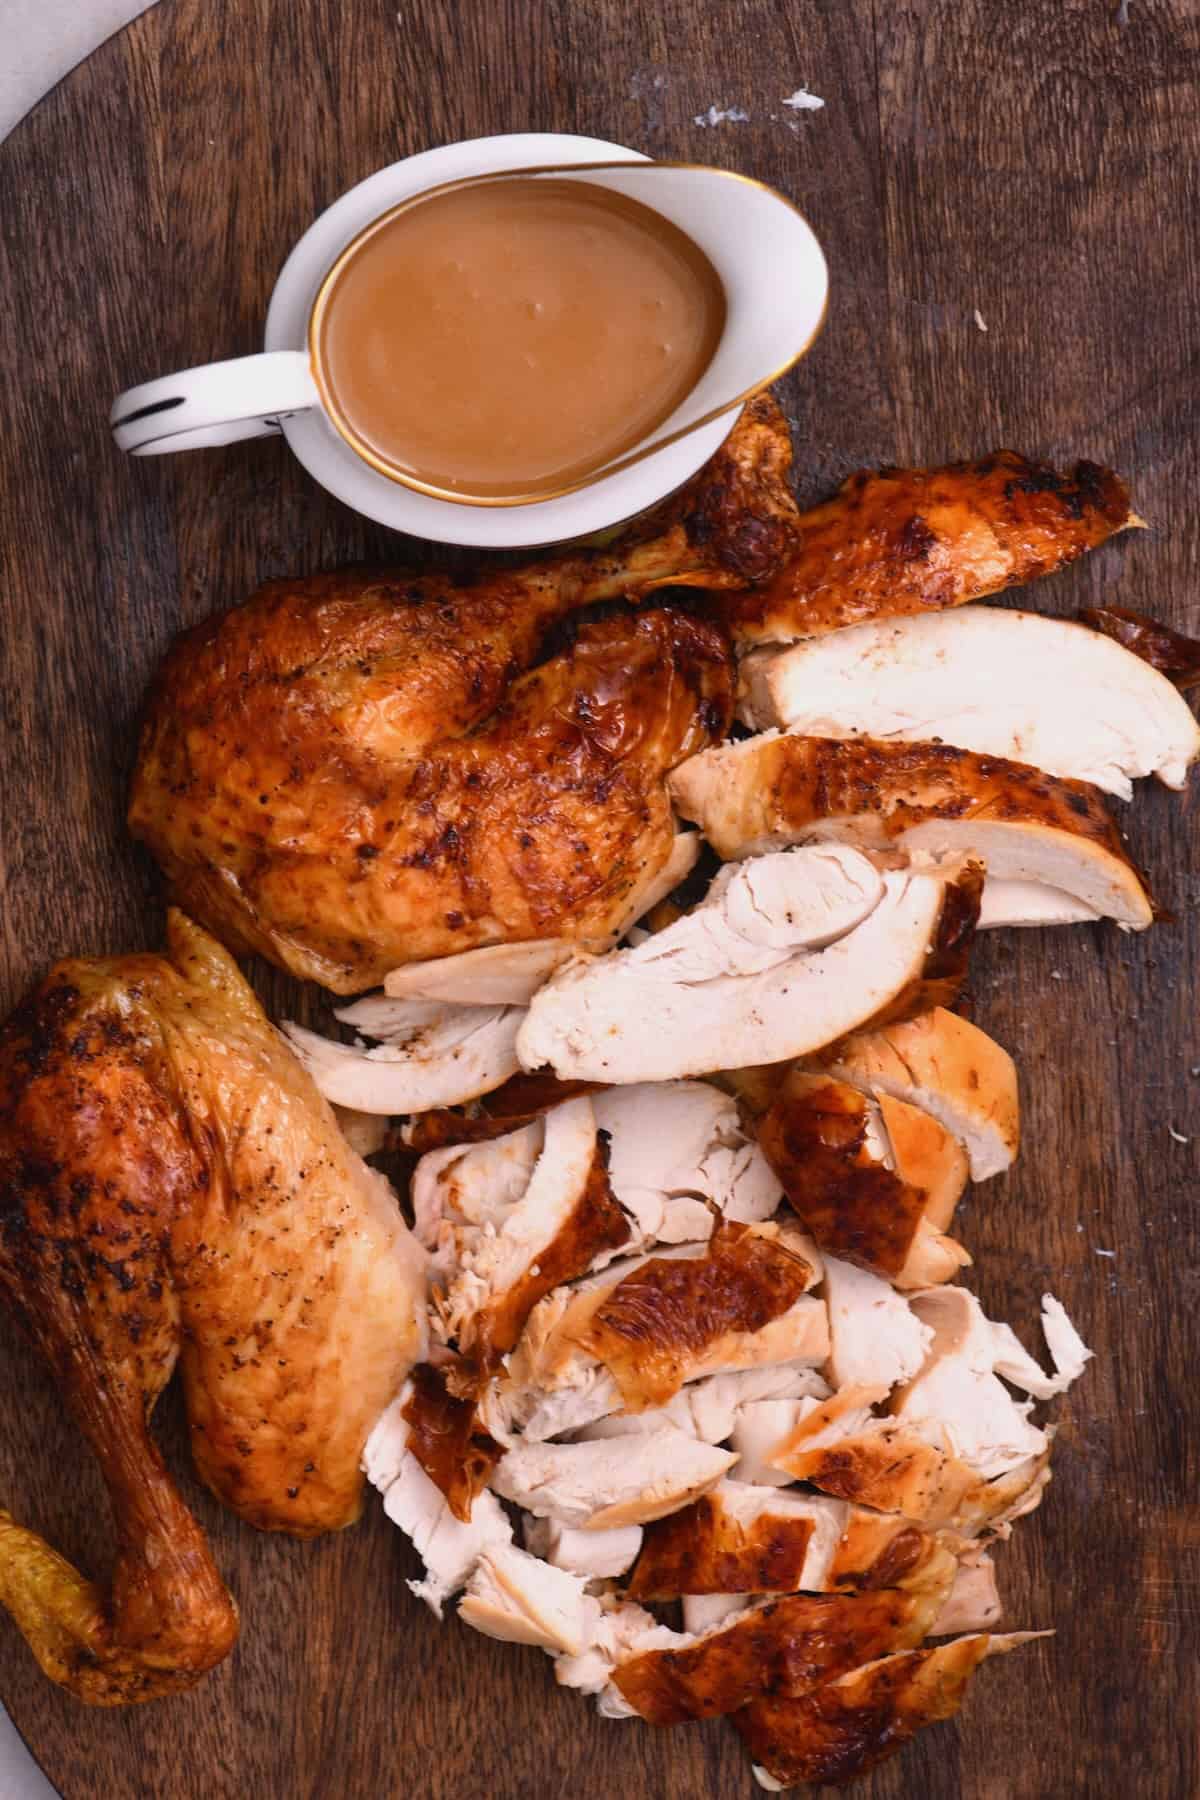
Remove the baked brined chicken from the oven. Allow it to rest for 10- 15 minutes for all the juices to settle and redistribute. Then, carve (more tips here) and enjoy!
Check out my air fryer whole chicken post for my top serving recommendations. I’m a big fan of chicken with mashed potato or potatoes au gratin, roasted veggies, and gravy!
How else to cook brined chicken
- Perfect Oven Baked Chicken Breast
- Crispy Fried Chicken Breast
- Simple Whole Roasted Chicken and Vegetables
- Air fryer whole chicken
FAQs
Yes, brining meat can help it to cook faster. But it depends on how long you’ve brined it for, the size of the bird, etc.
I’d say it takes about 15-20% faster, though. For the best results, always use a meat thermometer to check the internal temperature. So you can ensure the poultry is safely cooked.
You can keep the brined chicken in an airtight container in the refrigerator for up to 2 days before cooking it. You can even leave it to marinate first.
Brining will introduce more salt into the chicken, but it’s only over-brining it that should make it “too salty.”
I don’t recommend leaving the chicken in the saline solution for too long. This can lead to mushy, chewy meat that’s way too salty.
Never brine or marinate chicken in warm liquids, as it can cause unsafe bacteria growth. It must be room temperature or cold.
For food safety reasons, keep the chicken refrigerated during the brining process.
First, pat it thoroughly dry after brining the meat. Then, if you have time, place it back in the fridge overnight or for around 24 hours. This draws moisture from the top of the chicken, meaning crispier skin!
Don’t leave it too long, though, or you’ll start losing moisture from the meat itself, too.
More chicken recipes
- Crispy Chicken Sandwich
- Crispy Air Fryer Chicken Wings
- How to Boil Chicken Breasts (Smell Free Method!)
- Crispy Air Fryer Chicken Thighs 2 Ways
- Easy Chicken Piccata Recipe
If you try this brined baked chicken (brine recipe for chicken), let me know how it goes in the comments below. I’d appreciate a recipe card rating and would love to see your recipe recreations – tag me on Instagram @Alphafoodie!
Chicken Brine Recipe (For Perfectly Juicy Chicken)
Ingredients
- 4.4 lb whole chicken
- 1.6 oz salt 1/3 cup kosher salt (not table salt)
- 16 cups water divided
Optional For The Brine
- 5.9 oz celery 2 sticks
- 4.5 oz carrots 2 medium
- 3.9 oz shallot or onion, 1 large
- 1.1 oz ginger 1 large piece
- 0.8 oz garlic 4 cloves
- 2 lemons zested and white part removed from the segments
- 1.3 oz sugar 3 Tbsp
- 0.3 oz thyme handful
- 0.2 oz rosemary few sprigs
- 0.2 oz whole black peppercorns or whole allspice; 1 Tbsp
- 3 bay leaves
Instructions
- Select a pot/dish large enough to fit the chicken (and in your fridge). If you're brining a whole chicken, you may need to shuffle around fridge shelves to make it fit.
- Prepare any ingredients you plan to add to the brine. Zest the lemons, removing the bitter white pith (to discard), then chop the remaining lemons in half. Also, rinse and roughly chop the carrot, ginger, shallot, celery, and garlic.
- To prepare the brine mixture, combine half the water and all the brine ingredients in a large saucepan and bring the mixture to a boil, stirring often until the salt and sugar dissolve.
- Once boiling, reduce the heat to allow the mixture to simmer for 15-20 minutes. This will infuse the brine with the various ingredients.
- Remove the mixture from the heat and leave it to cool down entirely. To help it cool down, pour in the remaining water (ice cold).
- Once cooled (make sure the brine is not warm at all) place the chicken breast-side down in the pot, ensuring it's fully submerged (add more water if necessary). Then cover the pot and transfer it to the fridge.
Brine the Chicken
- For the best results, leave the chicken to brine in the saline solution for 12 hours (minimum for whole chicken) or between 18-24 hours for optimal results (but no longer than 24hrs). Discard the brine after using it.As a general rule, brine the chicken for at least one hour per pound of meat. If you plan to brine and marinate the meat, I recommend brining it for the minimum time, so you can leave it to marinate afterward.
Rinse the Chicken
- If you want to remove excess sodium from the brined whole chicken before cooking it, carefully rinse it inside and out with cold water. Though, in general, there's no need to rinse it.
- Use paper towels to thoroughly pat the meat dry (important if you want crispy skin).
- Below is my recommended method for cooking the brined chicken, but you can also use an air fryer, fry it, etc.
Roast the Brined Chicken
- For a simple seasoning, brush the meat with softened butter and sprinkle it with either lemon pepper or poultry seasonings. Alternatively, brush it lightly with oil (for extra crispy skin).You can optionally also stuff the chicken cavity with carrots, celery, and shallots.
- Transfer the chicken to a large, high-sided roasting pan and cook it in a preheated oven at 350ºF/180ºC for 50-60 minutes, or until a meat thermometer inserted into the thickest part of the meat (avoiding bones) reads 165ºF/74ºC.
- Remove the meat from the oven and allow it to rest for 10-15 minutes for all the juices to settle and redistribute. Then, carve and enjoy!
Storage Instructions
- You can store any cooled chicken (within 2 hours of cooking) in an airtight container in the fridge for 3-4 days or in the freezer for up to 3 months.
Video
Notes
- Make ahead brine: You can prepare it up to 2 weeks in advance, storing it in an airtight container in the fridge.
- For large chickens: You may find it easier to use a brining bag rather than search for a pot large enough.
- Experiment with flavorings: Swap out the herbs, veggies, etc., for different flavors.
- Leave the brine to cool: For food safety reasons, only put the chicken in the liquid once it’s completely cooled.
- The cooking time varies: Based on the size of the chicken, how long you brined the meat, and your oven. Use a meat thermometer to ensure it’s properly cooked (checking for an internal temperature of 165ºF/74ºC).
- Leave it to rest for 10 minutes: If you don’t, you’ll lose lots of that moisture you’ve worked to maintain.
- Save the drippings: To make a delicious (and quick) chicken gravy!
- Alternative brine ingredients: If you want to make a simple combination, use just garlic, lemons, peppercorns, sugar, bay leaves, and herbs. For more umami flavor, replace a portion of the salt with soy sauce (tamari if you’re gluten-free). For spice, add some dried chilies, etc.
Nutrition
Nutrition information is automatically calculated, so should only be used as an approximation.


