This post may contain affiliate links. Please read our disclosure policy.
How to blanch almonds in just five minutes, with a super simple process – ready to save for later, eat as is or even turn into almond flour.

While it’s true that blanched almonds can be bought in stores, blanching almonds at home is a simple process that anyone can learn. There’s no need to turn to store-bought options ever again. Plus, doing this at home often works out far more cost-efficient, too.
When recipes call for blanched almonds, your first instinct may be to buy a bag. However, this is 100% unnecessary and a very simple at-home process. Much simpler than you’d think, in fact.
Want to save this recipe?
What are blanched almonds?
Just in case you’ve stumbled upon this blog post wondering what exactly blanched almonds are. Well, blanching almonds is a process to help you remove the skins of the almonds. The resulting nuts can be used in a variety of ways, including various recipes, as well as to make almond flour.

If you’re asking yourself what is blanched almond flour, well, it is basically the process of grinding the blanched almonds down into a fine powder. This flour is then naturally gluten-free, paleo, keto, whole30, and high-fiber. Not to mention high-protein and containing a variety of vitamins, minerals, and even antioxidants.
Almond flour is used within a variety of baked goods – including french macarons, cakes, pies, tarts, cookies, brownies, etc. I talk more about baking with almond flour on how to make almond flour post. Meanwhile, here is a simple DIY for unblanched almond flour, too (i.e., almond meal).
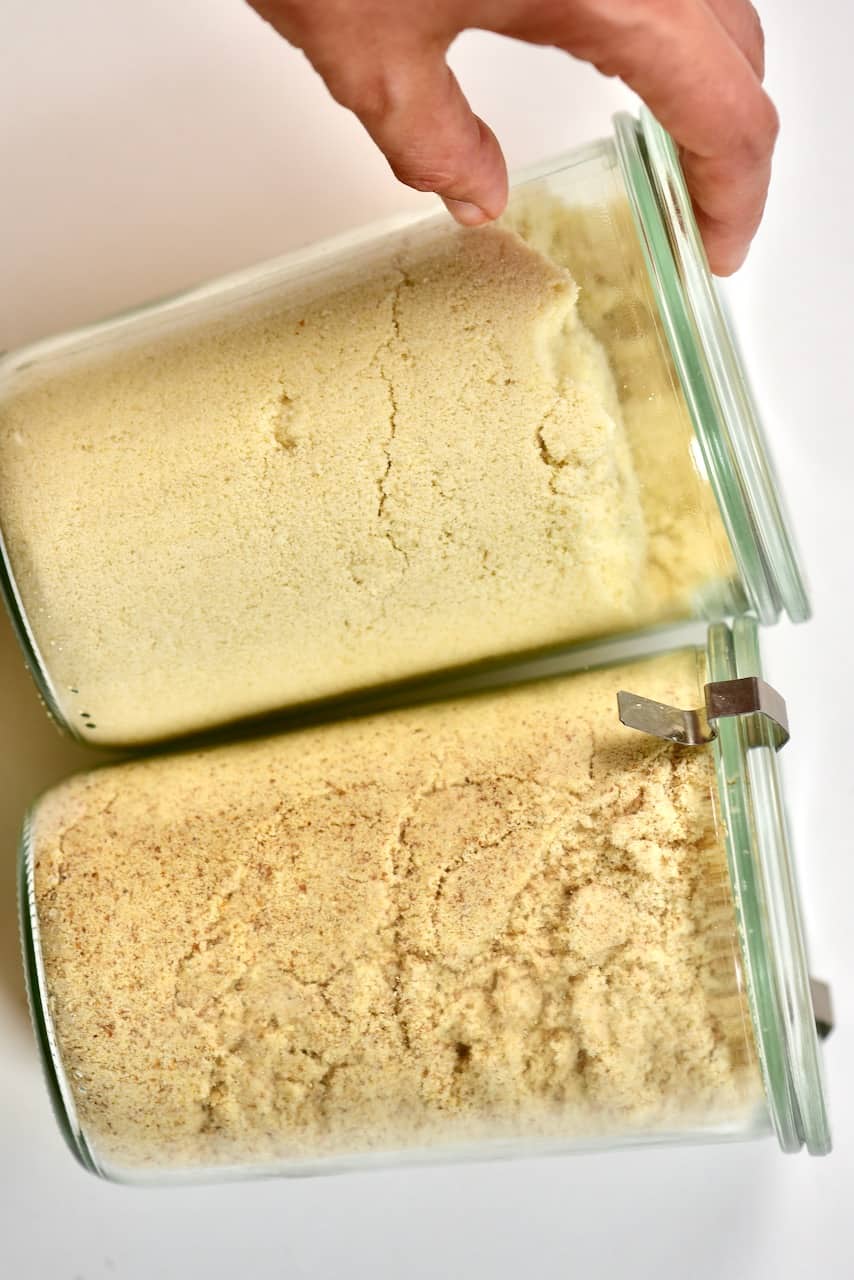
How to blanch almonds
I’m not sure about you, but when I first thought about the process it would take to remove almond skins, I definitely built it up in my mind to be far more complicated than it is. With almond skin not being loose, like peanuts or chickpeas, I just assumed this would be a process that’s impossible to do at home. However, that simply isn’t the case.
The method for blanching almonds is so simple but it’s just SO handy. The process is made up of only four steps:
- Boil water in a small pan

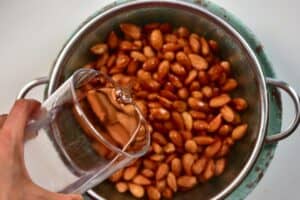
- Add the almonds to the pot of water and heat for 1 minute
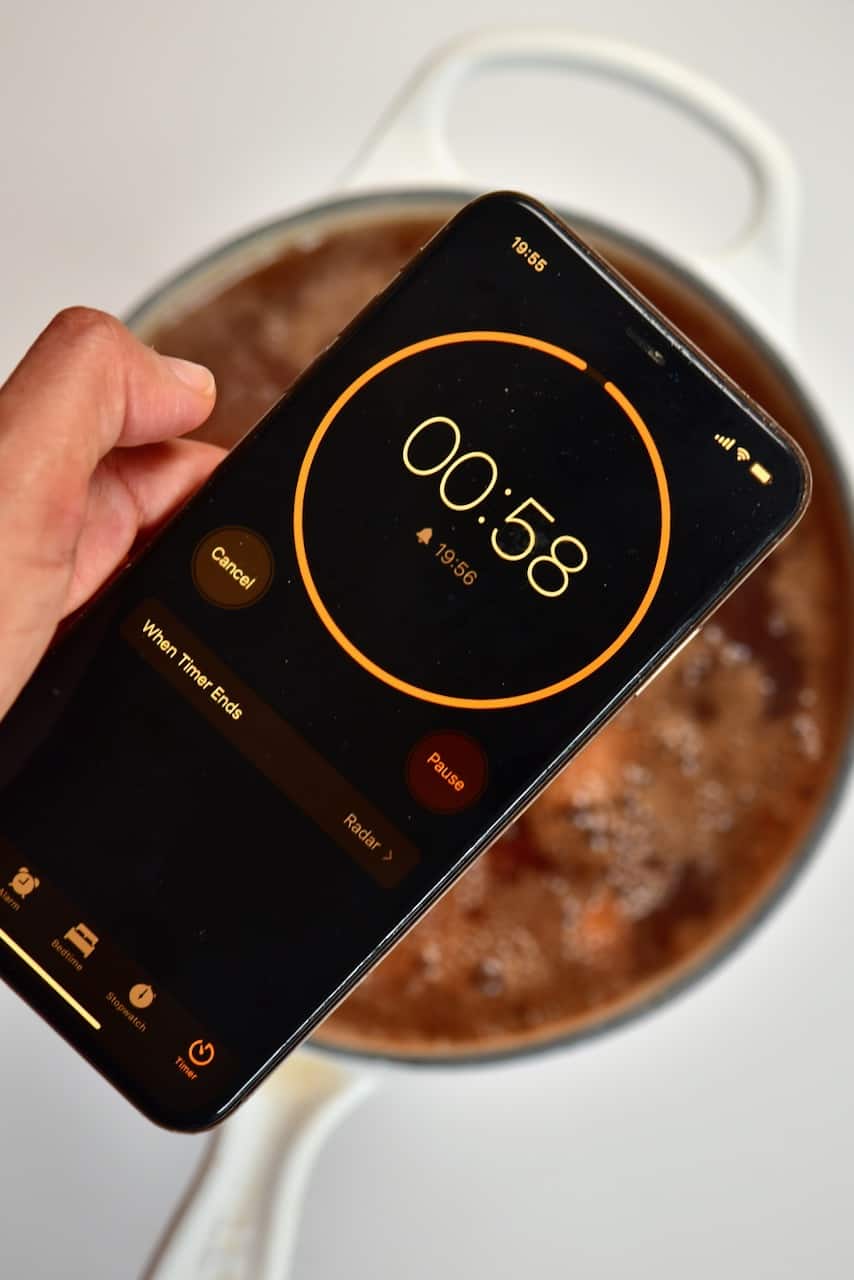
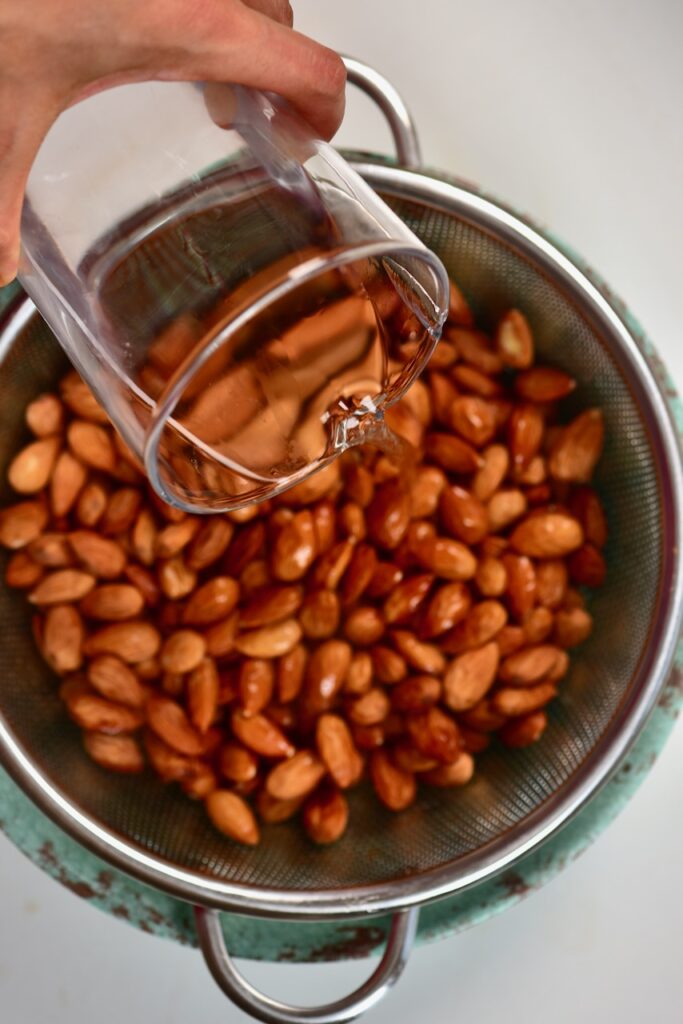
- Remove from heat, drain the hot water and rinse almonds with cold water
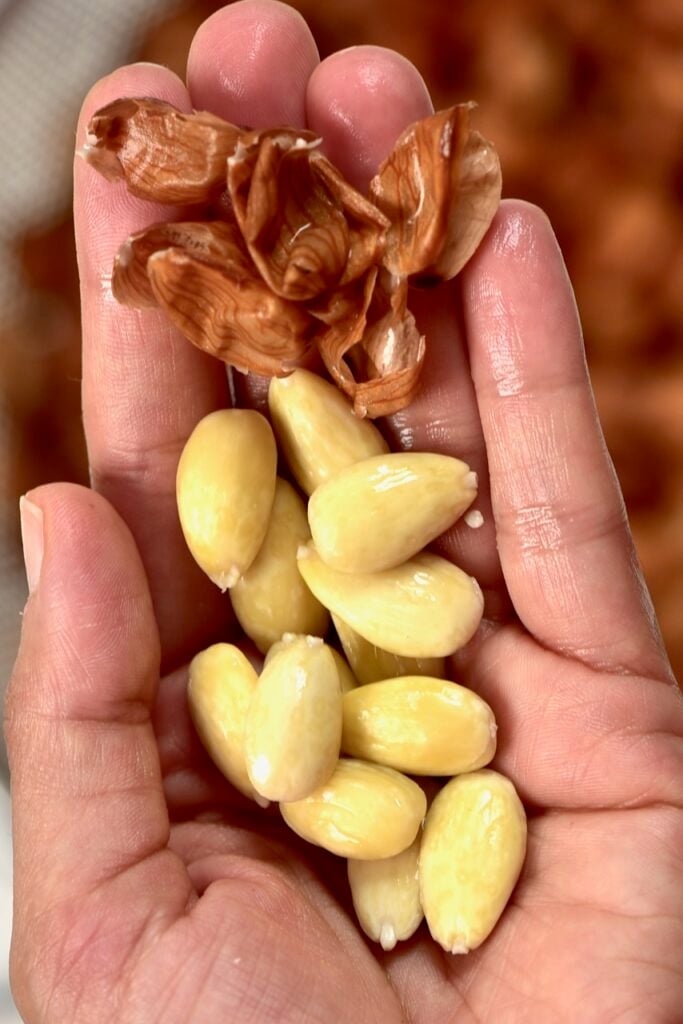
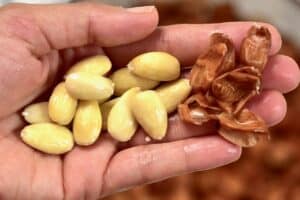
- Remove the skins
Okay, there’s just a little bit more to it than that. You can read the full instructions and recipe notes in the recipe card below. As I mentioned above, the blanched almonds can then be finely ground in a blender/food processor into flour. The flour is a wonderful option for gluten-free baking – in fact, I have a whole variety of recipe options on my almond flour post.
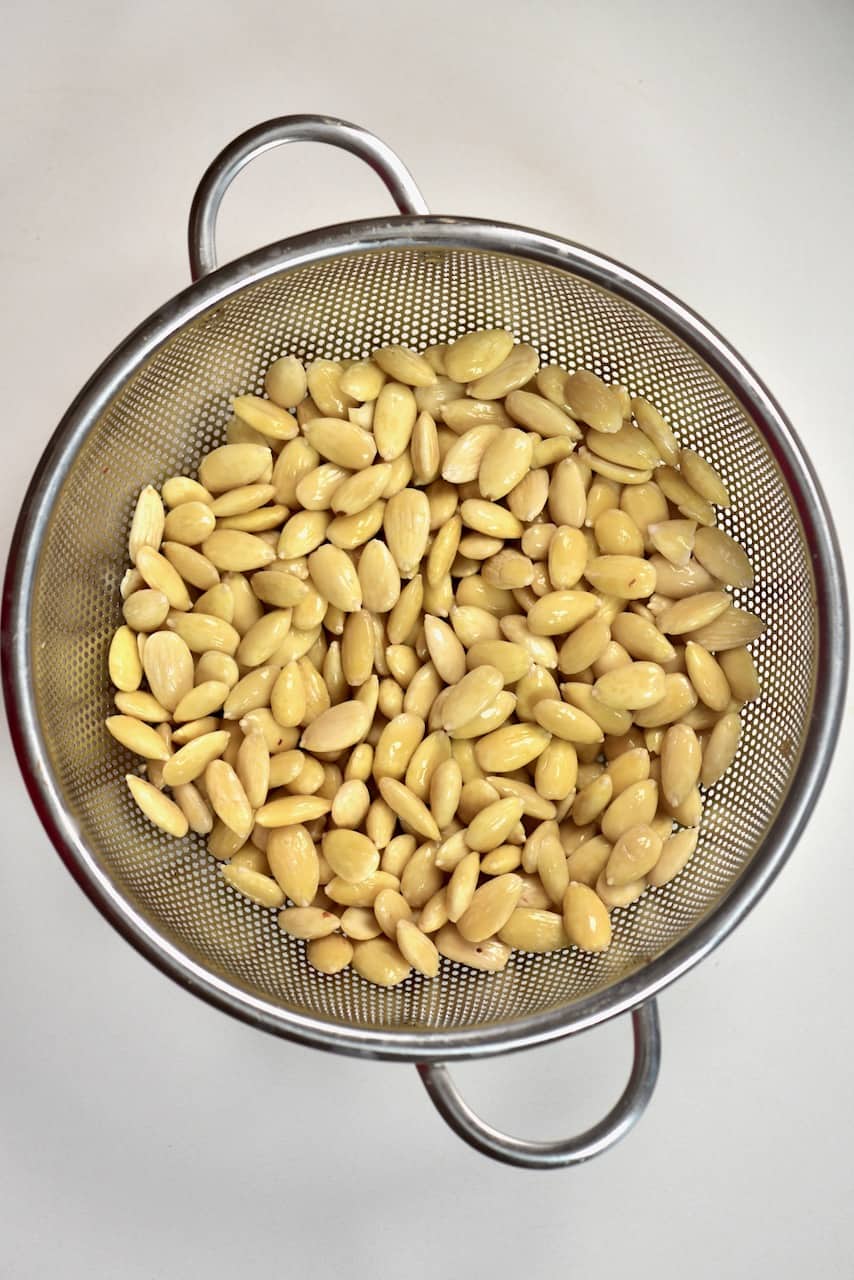
However, flour isn’t the only reason why you might want these. For example, the nuts can be chopped, grated, fried, browned, and even used as a garnish.
These blanched almonds are also great for making Instant Almond Milk!
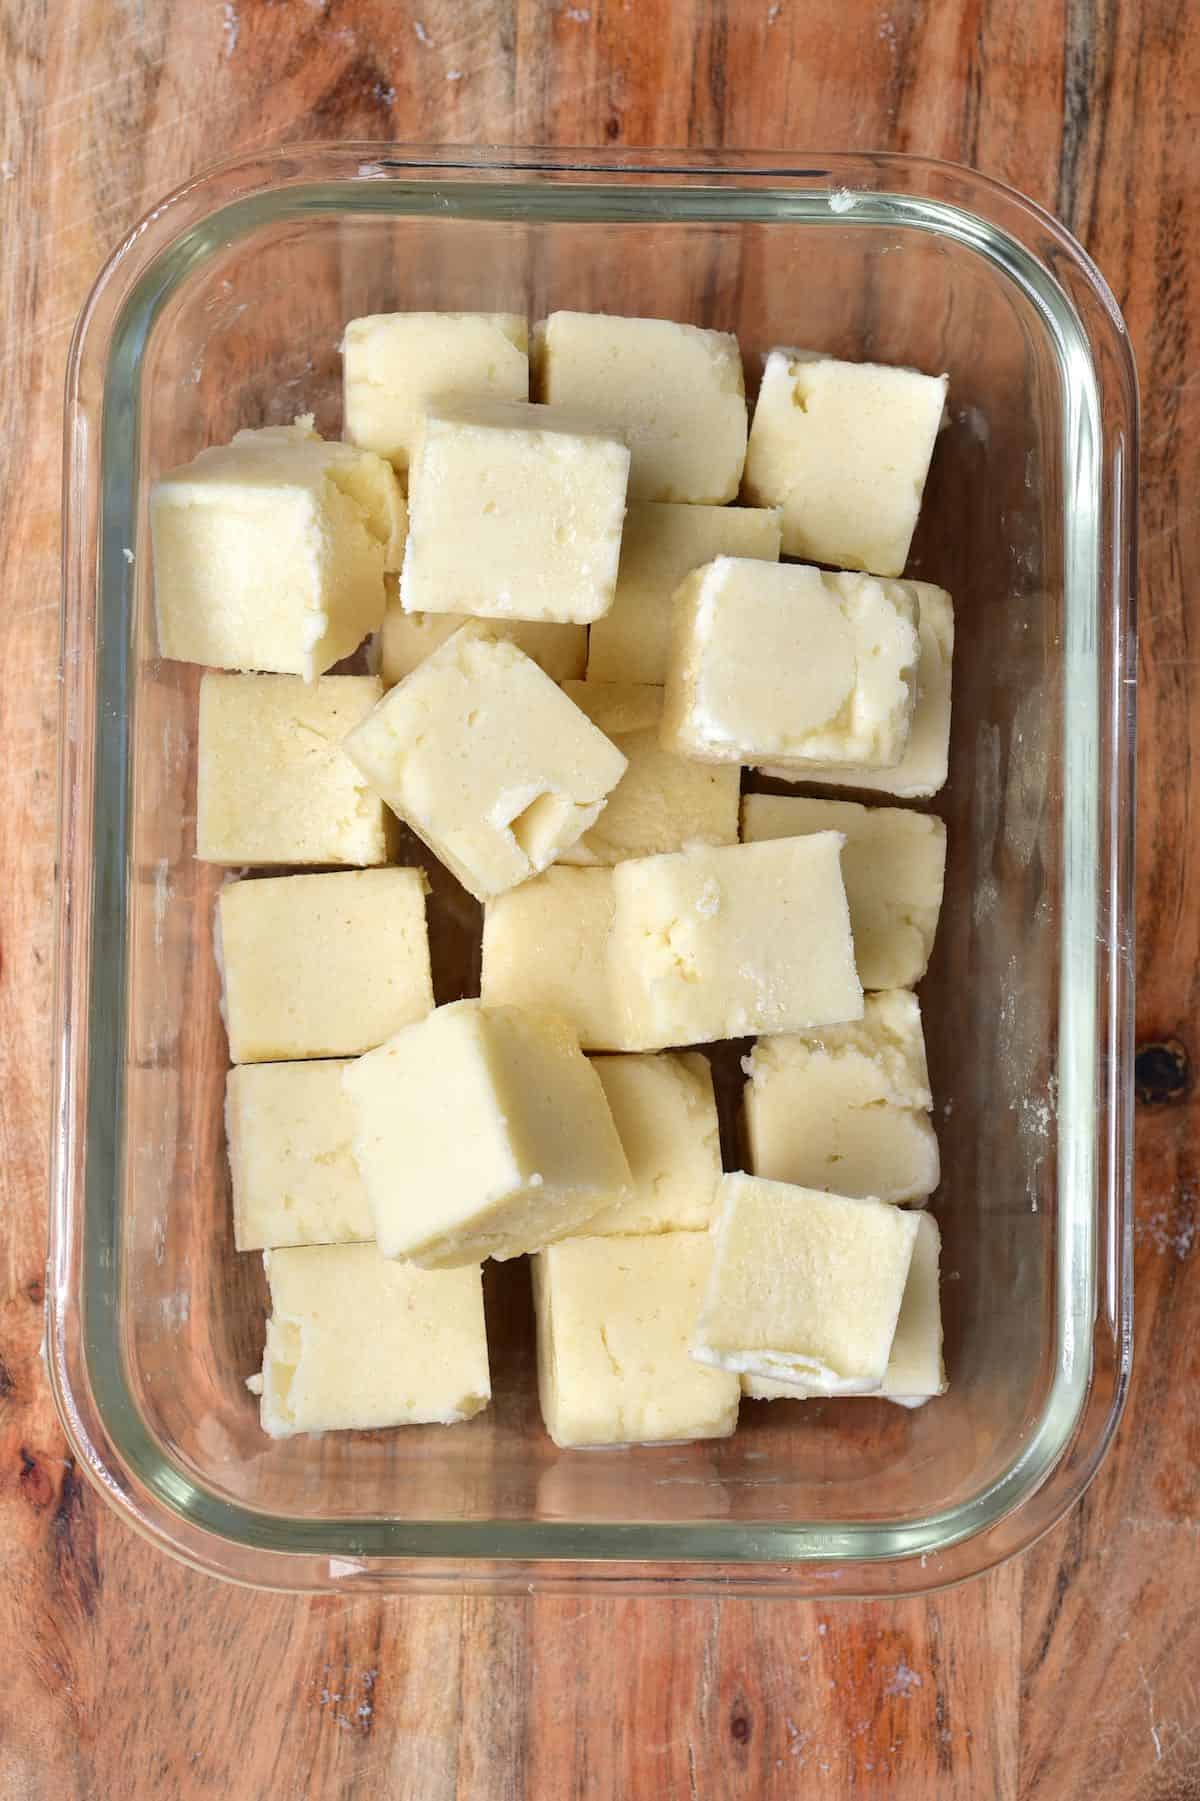
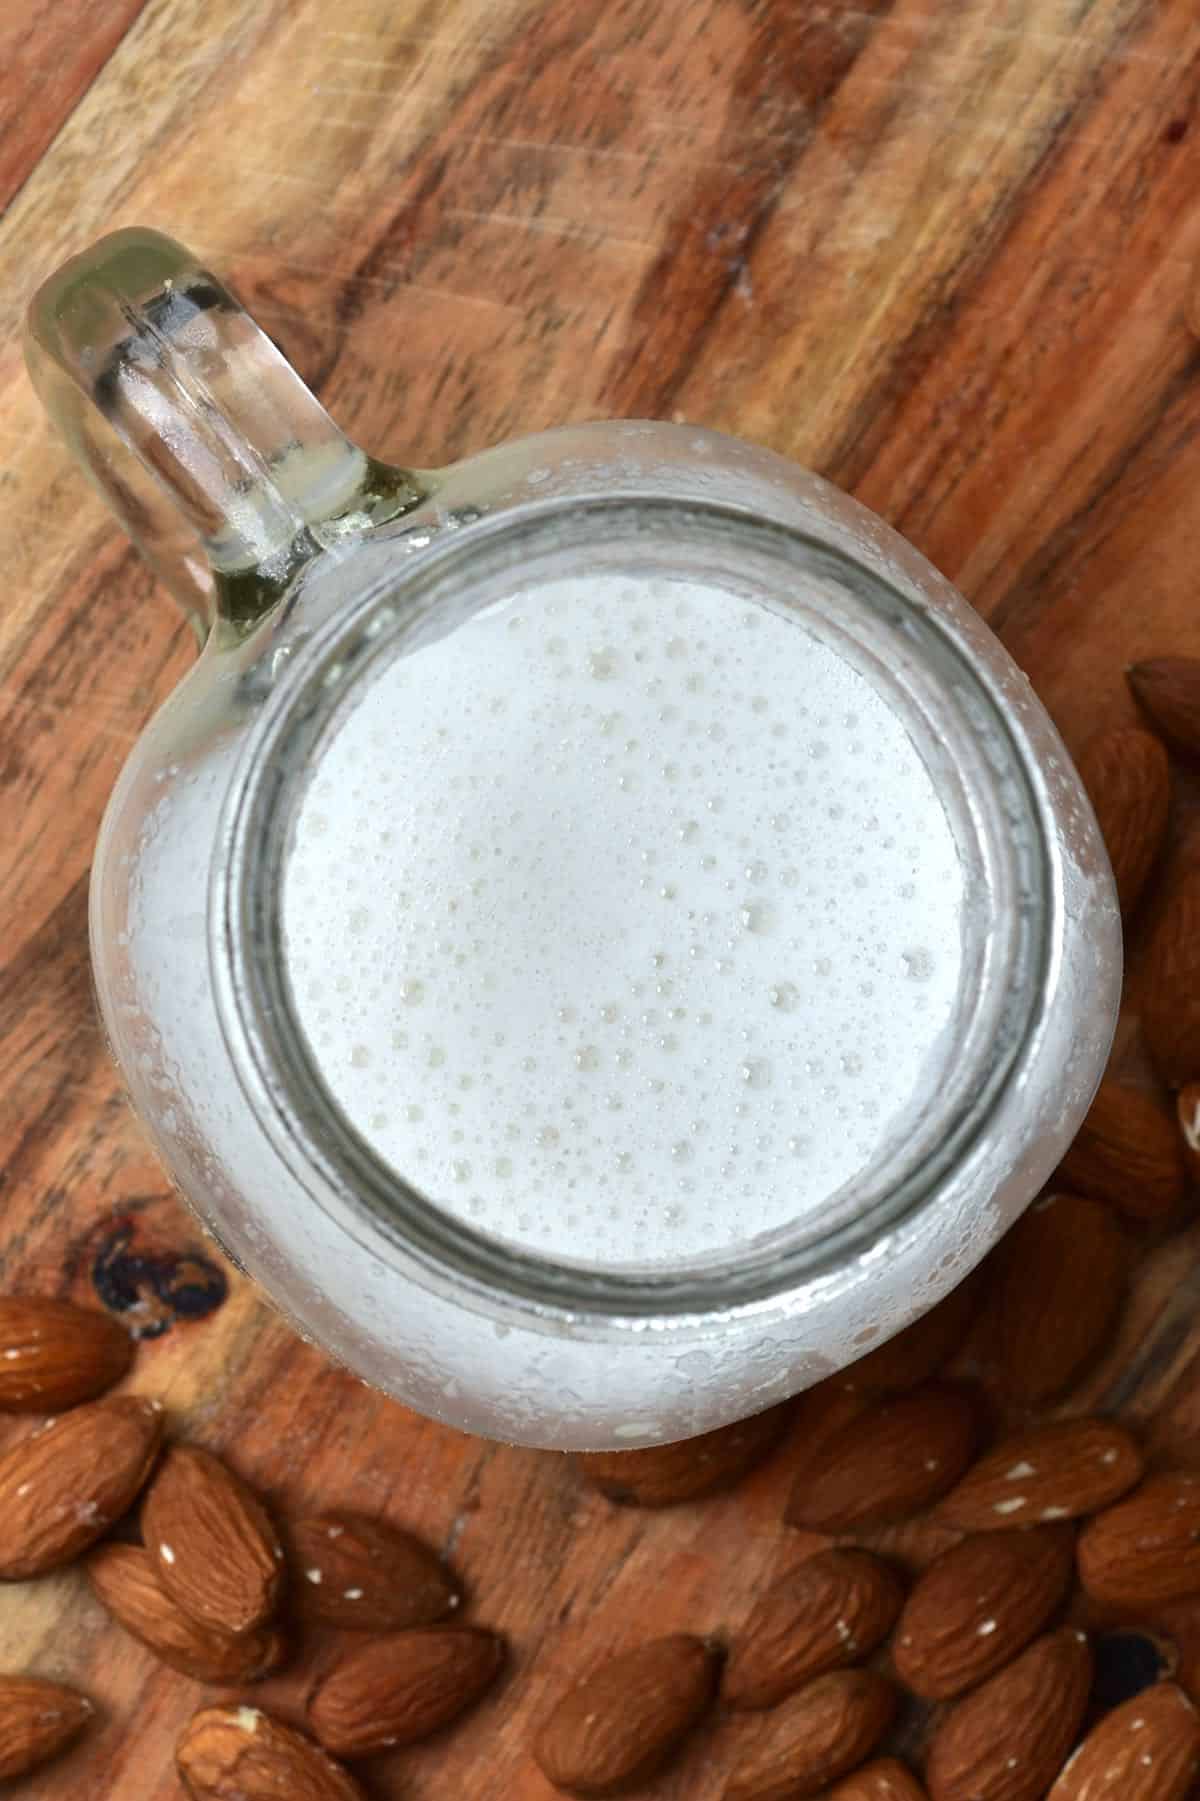
Tip * It’s worth noting that there is a second blanching method too; the ‘overnight soak.’ This method is precisely what it sounds like – soaking the almonds in cold water overnight. Come morning, and the skins are usually easily peelable (however, it will take longer to dry out the almonds).
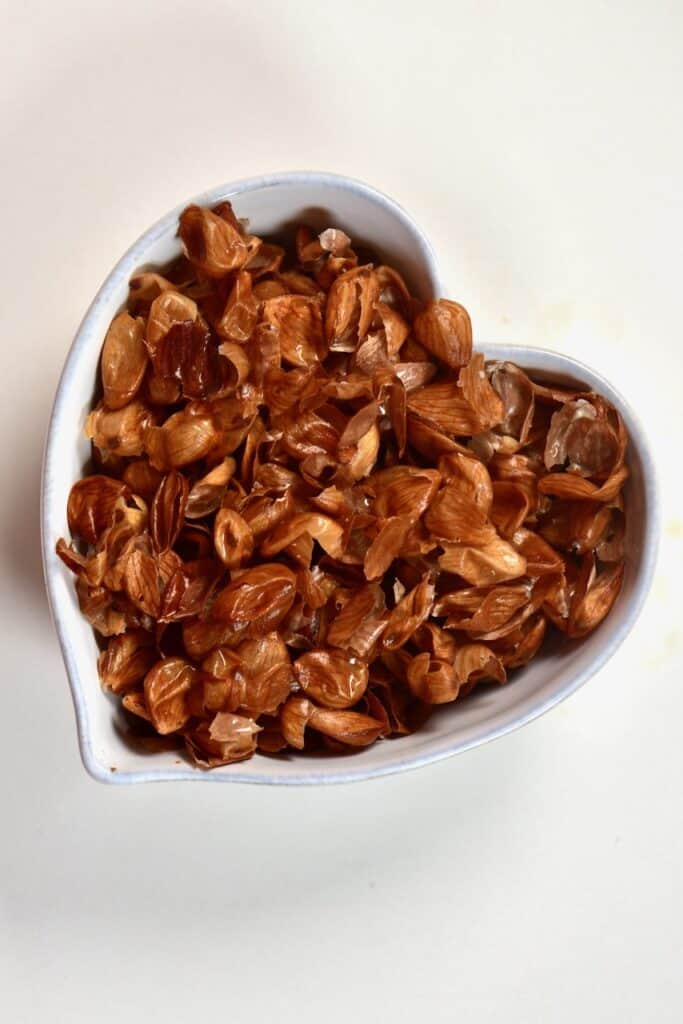
What to do with the almond skins
I’m trying my best to be mindful of what I waste – to reduce unnecessary waste. Luckily, almond skins are perfectly edible and easy to avoid ending up in the bin. I simply leave them to dry out on the countertop and then add them to my morning smoothies, porridge, or overnight oats. I’ll also sometimes blend them into dips, for additional fiber.
If you have any questions, leave a comment below Also, I love seeing your recreations so feel free to tag me on Instagram @AlphaFoodie.
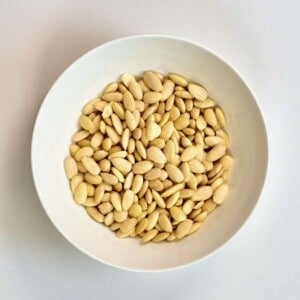
How To Blanch Almonds
Equipment
- Pot
Ingredients
- 5 oz almonds or as much as wanted
Instructions
- Bring water to a boil in a small-medium saucepan.

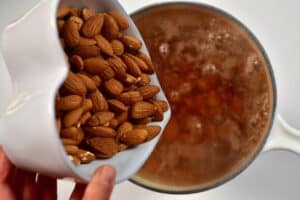
- One boiled carefully transfer your almonds into the water and allow them to boil for exactly one minute *

- Drain the almonds immediately and rinse them with cold water for a few seconds. This will allow them to coll down quickly so you can move onto the next step pronto. However, don't rinse them for too long as the skins will become harder to peel, the colder the almonds become.

- Time to remove the skins, which should now be super simple to do. Simple pinch the almond in your hand and squeeze slightly, to remove the skin. Just be careful as these can be slippery – so keep one hand in front of the other, to stop the almond jumping across the table-top.

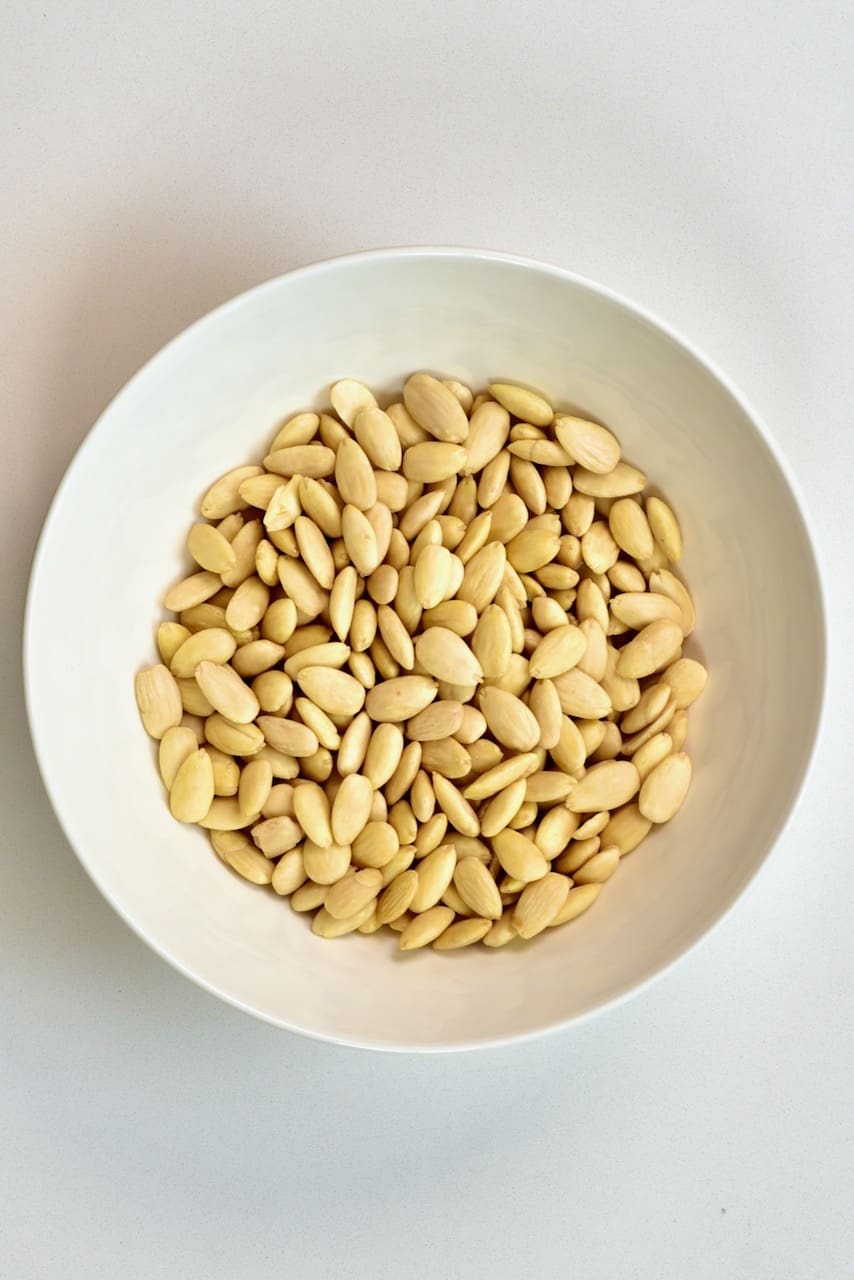
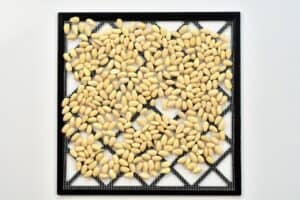
- Voila! The blanched almonds are ready. They will still be ever so slightly wet at this point so allow them to dry on the counter for 4-6 hours or pop them in the oven at around 100ºC/210ºF for between 10-15 minutes, until completely dry.

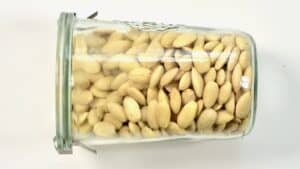
- The dried almonds are now ready to use, be ground up into almond flour or stored in a glass container.

Video
Notes
Nutrition
Nutrition information is automatically calculated, so should only be used as an approximation.



Just made this today (opt 3)! It’s great to have such a long shelf life but admittedly I’m not a huge fan of the grainy texture of almond milk so I’ll probably end up using the cubes for smoothies.
Thank you for the great suggestion 🙂
Thank you for your comment, Subadra. If you make the frozen almond butter cubes, you can add a bit of water when making the butter and it will become very smooth. I hope this helps.
Hey , thanks for this, i love how you make everything simple
Thank you so much for your comment, Neha. I hope you gave this recipe a try.
Hello! I could skip the blanching part if the almonds have been soaked overnight ? Thanks for sharing.
Hi Mai La,
Yes, you can skip blacking them. If you want to achieve really white and smooth almond butter, then it’s better to peel the almonds and blanching helps with that. You can also try to peel them after soaking – the skin might be loose enough.
I’ve always wanted to know how to blanch almonds. Thank you for this recipe.
Thank you for your comment, Patricia.
I always learn so much from you Samira! Thanks for doing this!
Hello,
Just want to thank you Dear.
Also I follow you on Instagram and enjoy of your videos ang recipes.
Thank you so much for your comment, Mina!