This post may contain affiliate links. Please read our disclosure policy.
A simple DIY for homemade turmeric powder using either an oven, dehydrator, or even the sun – So you’ll never run out again!
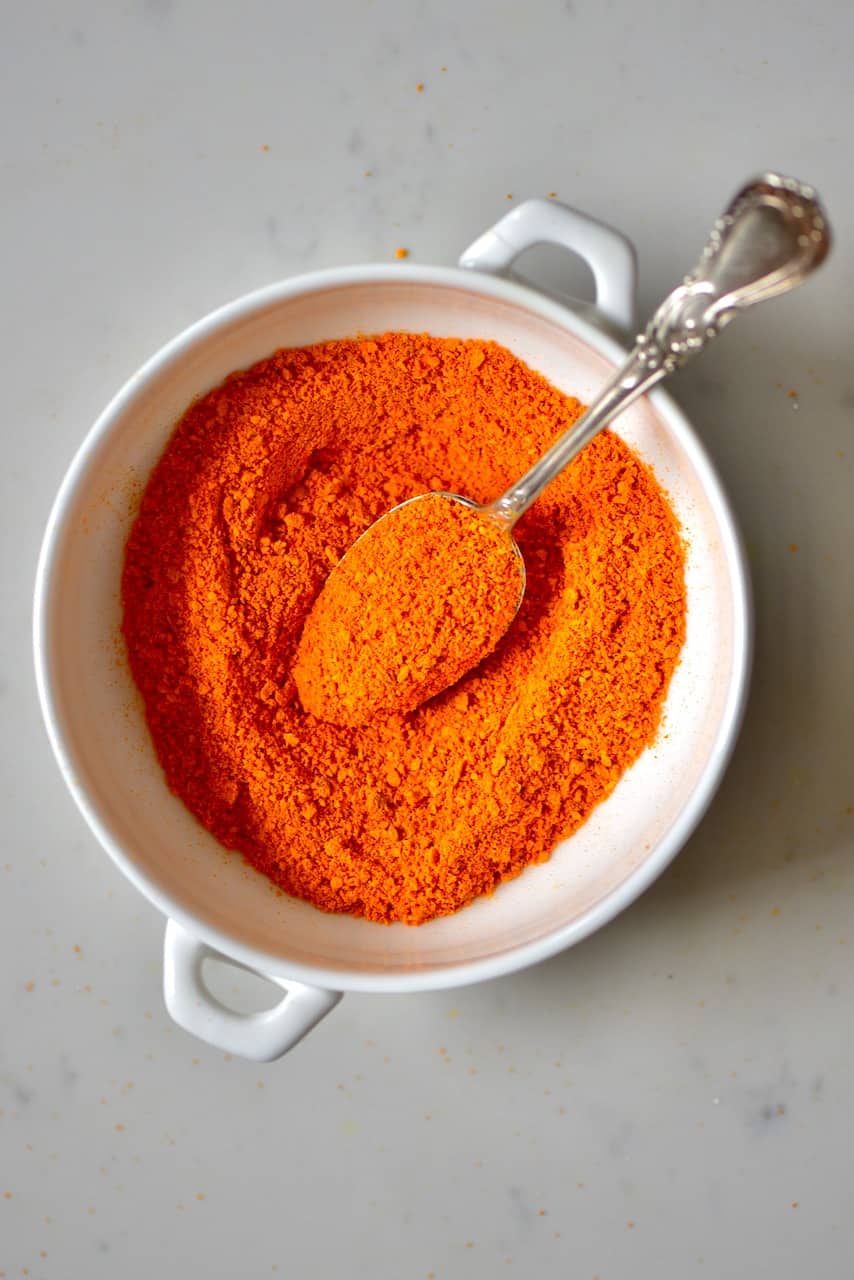
You’ll probably have noticed that I absolutely love using turmeric in my recipes – with its gorgeous color, why wouldn’t I? In fact, since starting to take my daily Turmeric and Ginger Energy Shots (juicer recipe), I now use turmeric every single day, and learning how to make turmeric powder at home is a great way to make sure I always have some on hand.
Want to save this recipe?
Why Make Homemade Turmeric Powder?
Whether you just like DIYs and making things at home, or you just don’t have a reliable local source of fresh turmeric, making this homemade turmeric power is a great way to have a constant supply – so you never have to miss out on your daily shot (or for any other recipes).
In fact, once made, this powder can be stored for up to a year to use so the shelf life beats fresh turmeric by miles. Plus, I love knowing the exact conditions that this ingredient was made in and its origin – which is something you won’t get with store-bought varieties. Not to mention that the color is far more vibrant, and the taste far superior to any store-bought variety I’ve ever owned.
Turmeric powder is so popular because of the curcumin inside the root. However, the raw curcumin isn’t easily absorbed into our bodies and needs to be mixed with other ingredients to improve its bioavailability.
My personal favorite combination is turmeric and black pepper as it often doesn’t affect the taste of your dish but there is tons of research out there to prove its positive effect. However, I’ve also read that combining turmeric with healthy fats such as olive oil or coconut oil can also increase the bioavailability, too.
It’s also worth noting how heat can affect the powder – with a little (under 15 minutes) actually improving its absorption levels but too much, for a prolonged period of time can actually have a negative impact.
How To Make Turmeric Powder
Within this post, I’m discussing how to make homemade turmeric powder with multiple methods. These include oven-drying, with a dehydrator, or even air-drying (if you’re very patient).
All of the methods have their own pro’s and cons, for example:
Oven Drying: This takes the least amount of time but also adds the highest heat to the process.
Dehydrator: This method obviously requires you to have a dehydrator, which many don’t. However, it’s a lower heat and only takes a couple of extra hours than the oven method.
Air-drying: This method requires a lot of patience and good weather. This is best done in a warm, well-ventilated area protected from flies. This method can take up to 14 days though to fully dry (or longer depending on the heat/weather).
The Methods
Needed:

Fresh Turmeric root/rhizomes – use as much as you want. I used about 400 grams of turmeric root (unpeeled) and it yielded about 50 grams of dry powder (over two months of daily turmeric shots or more for cooking purposes)
Steps:
Start by cleaning and peeling the turmeric root.

Note: I recommend wearing gloves as turmeric will stain your hands. You can also place an old towel or a baking sheet to work on, to protect your surfaces.
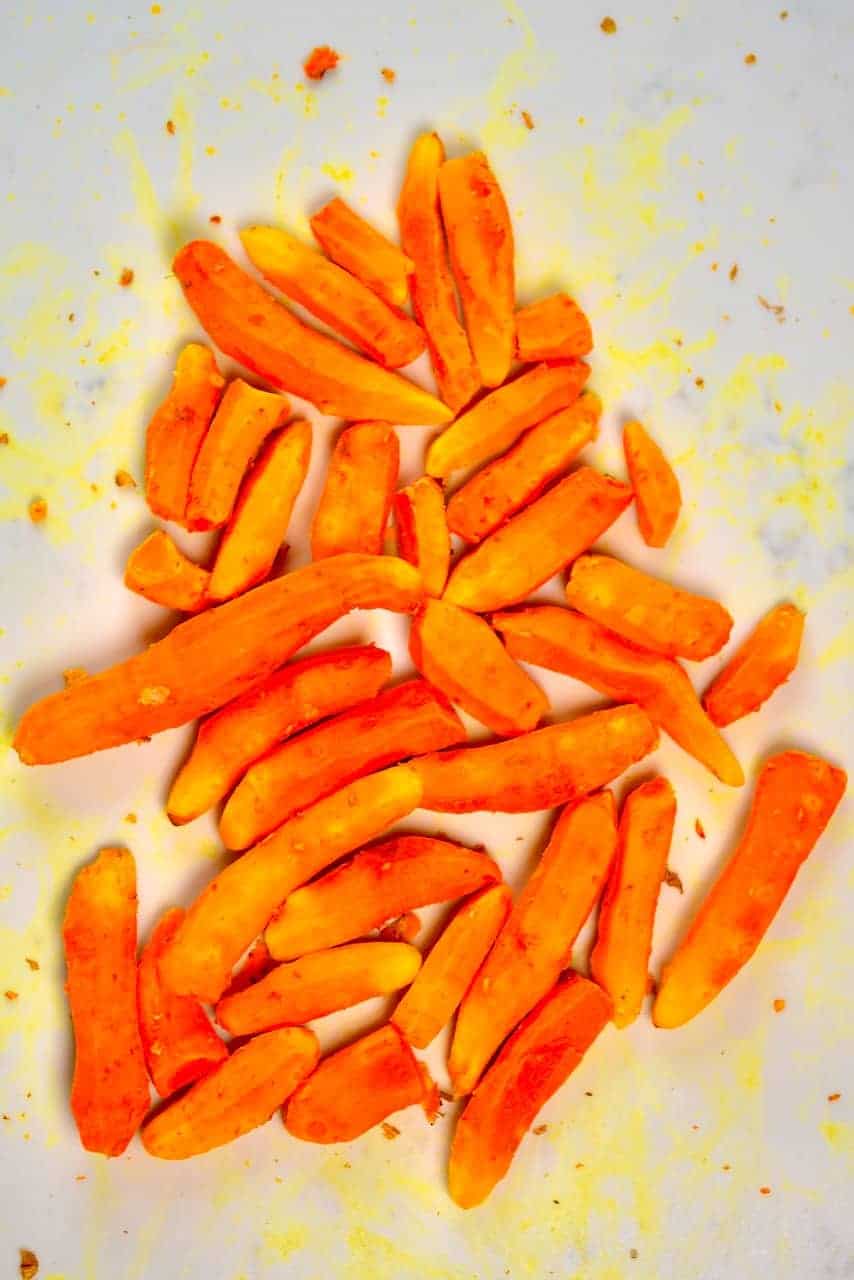
After you’ve peeled the turmeric roots, cut them into thin equal slices or use a vegetable peeler and “peel” the slices. The thinner the piece, the quicker the drying process.
Note* The peels don’t taste of much and can be added to smoothies or grated and added into cooking for extra fiber and nutrients.
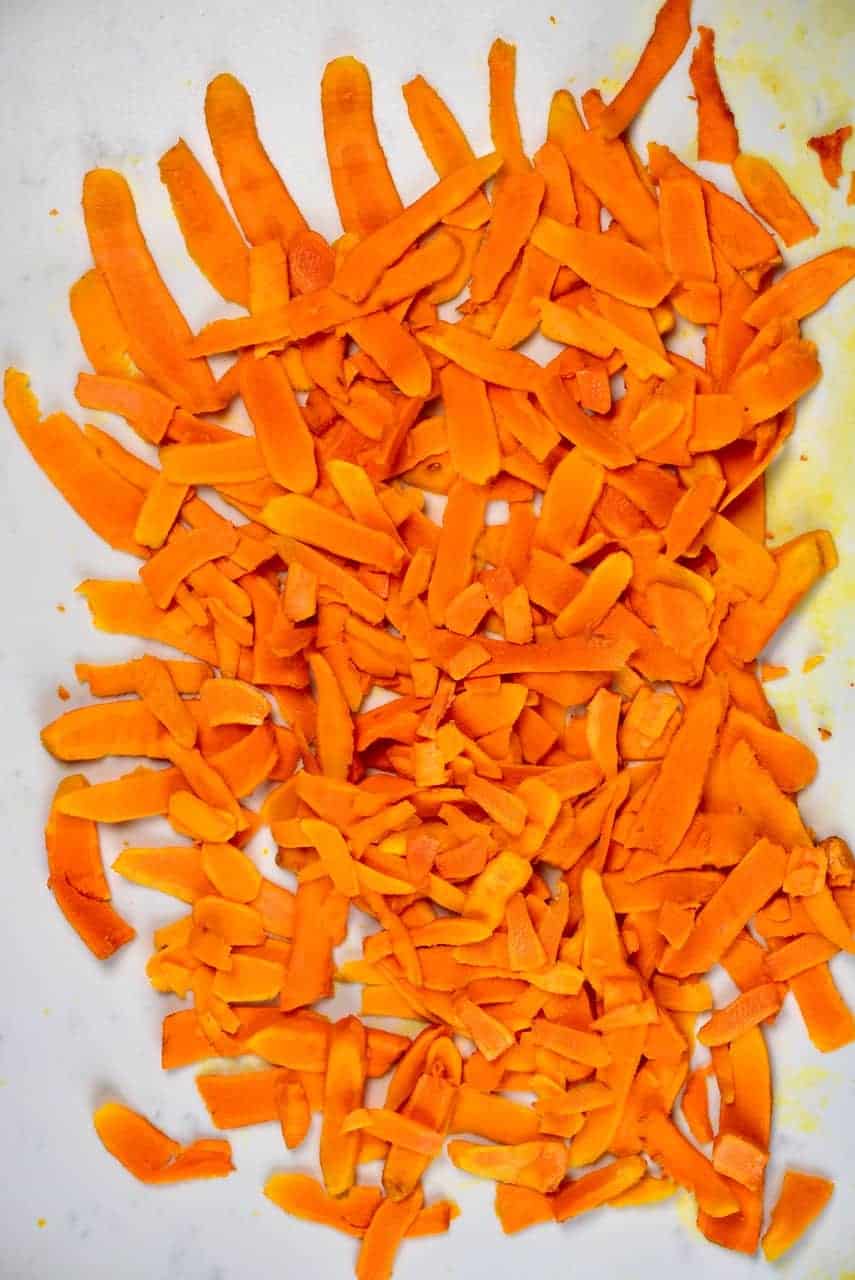
Arrange the slices on a baking tray lined with baking paper. The pieces can touch but make sure they don’t overlap. I’ve arranged them on a dehydrator tray to use in a dehydrator.
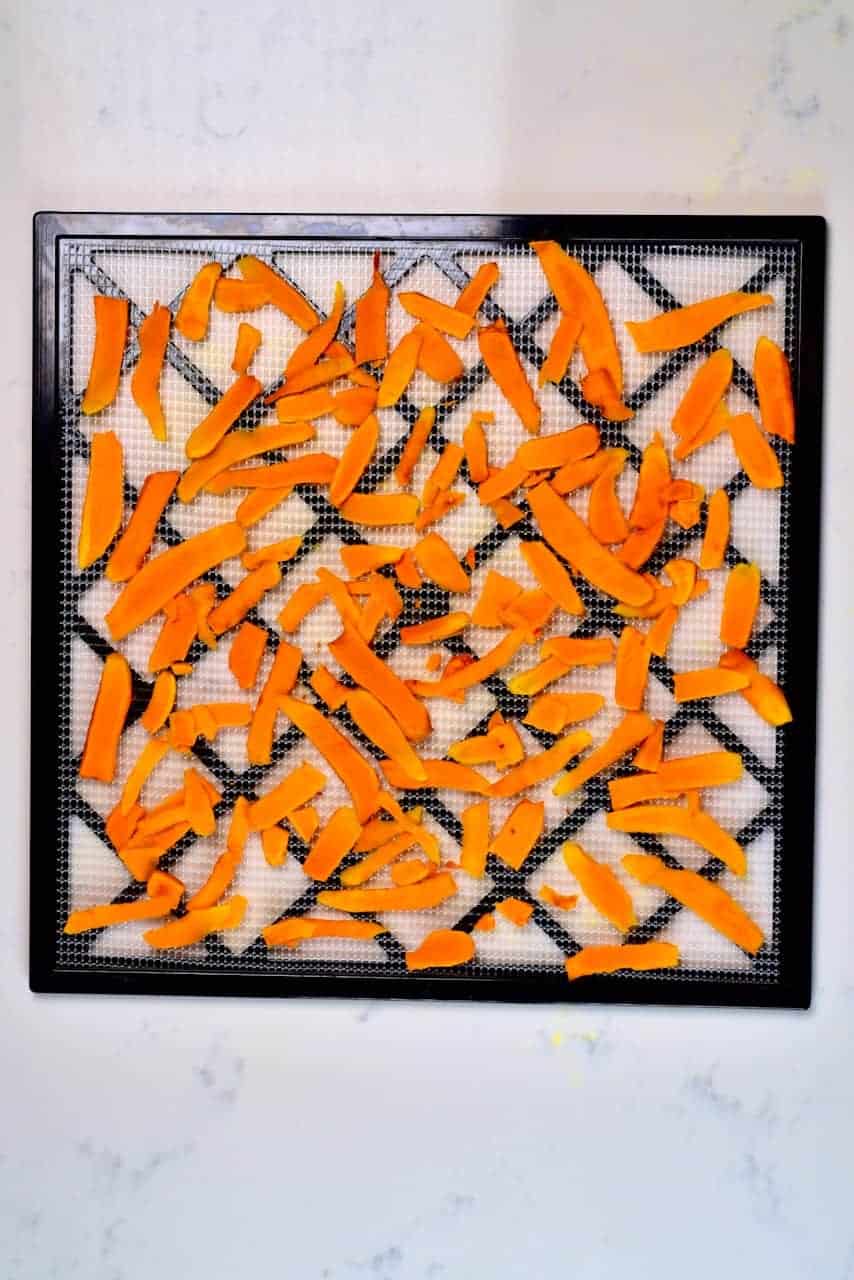
Bake in the oven at 100ºC for about 2 hours. Check on the dryness in about 1.5 hours – depending on the thickness and water content, as well as your oven, the turmeric might need less or more time.
I used a dehydrator and dehydrated the turmeric at 40ºC for about 4-5 hours.

You could also dry them in a well-ventilated spot but this could take up to 14 days depending on where you live and the humidity of your area and in your house.
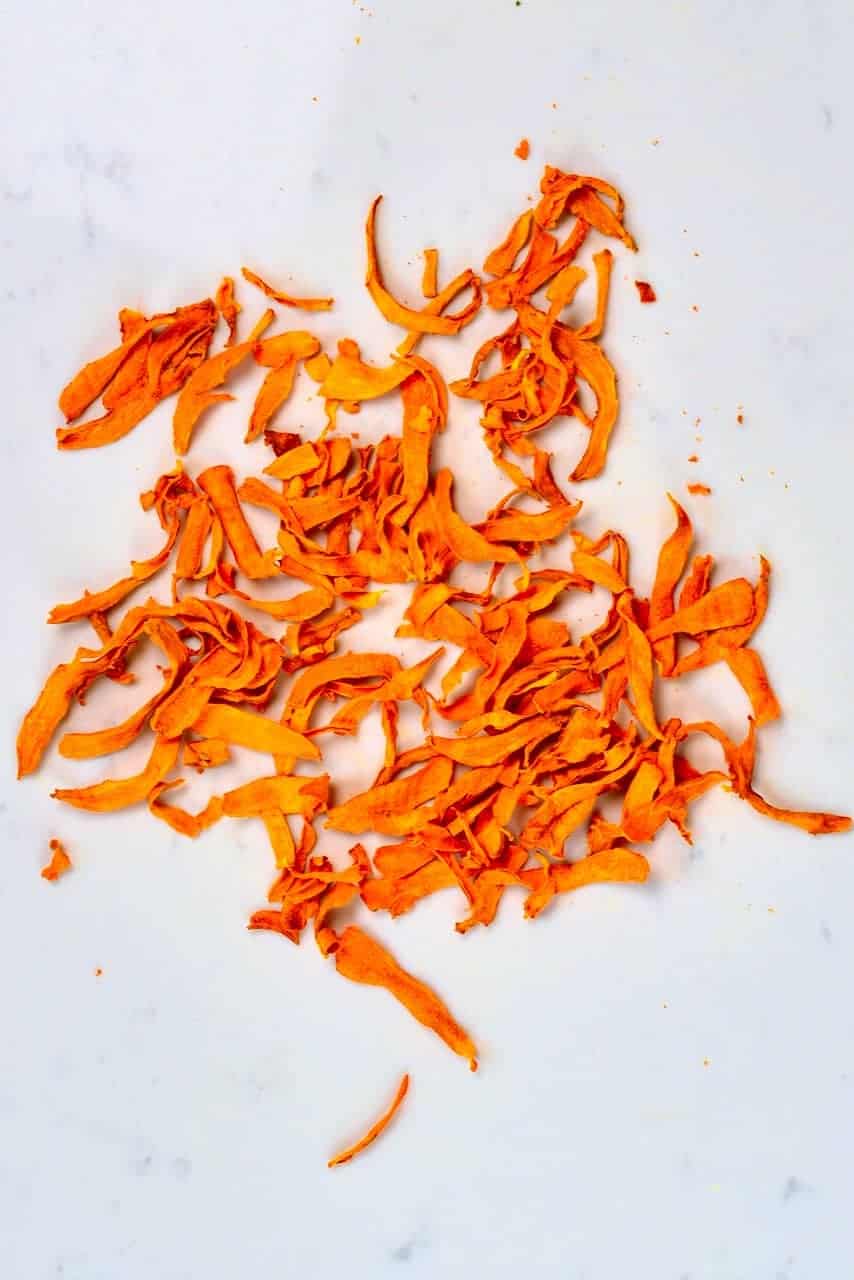
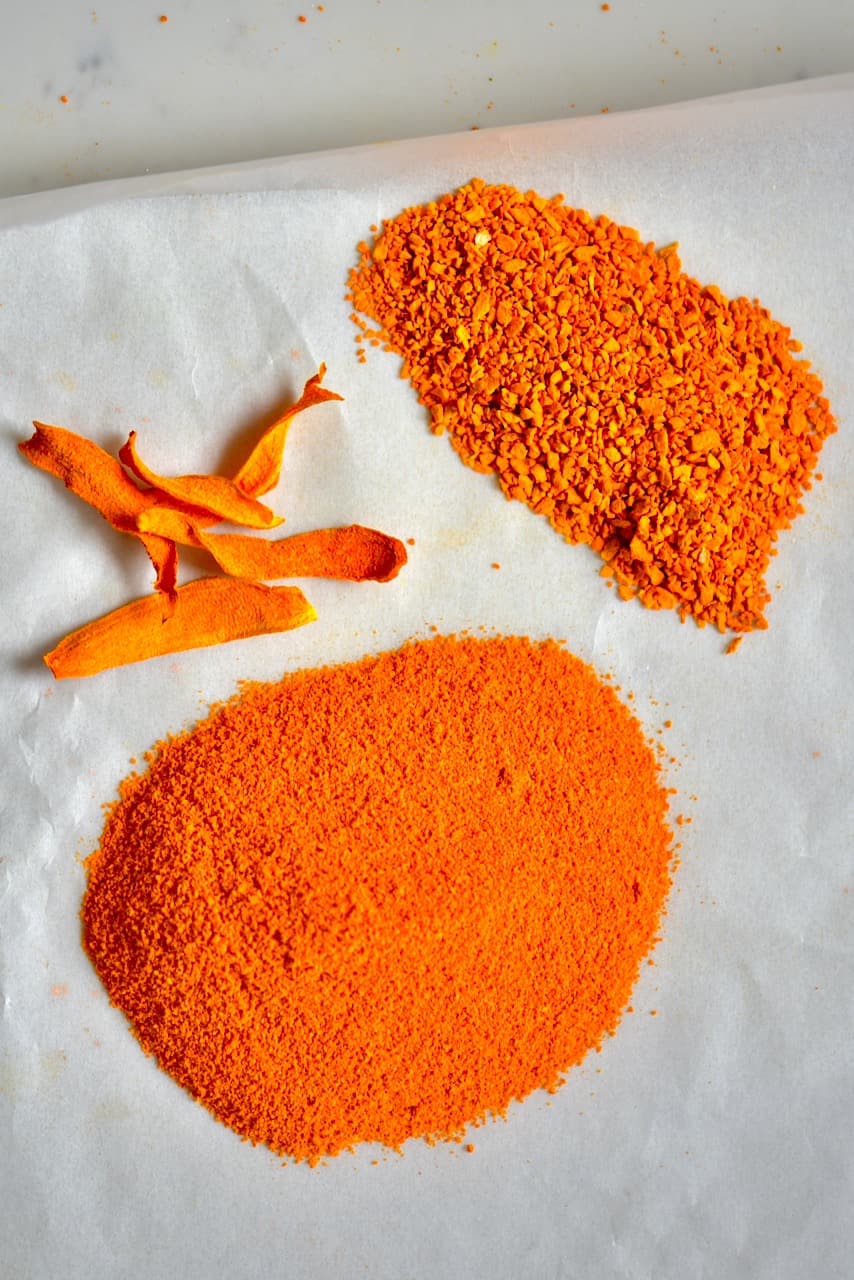
The turmeric is ready when it’s crunchy dry. The dried slices will also have shrunk in size. To check if they are completely dry, you can snap a piece in half. If it’s bendy rather than a clean snap, then it’s not ready yet.
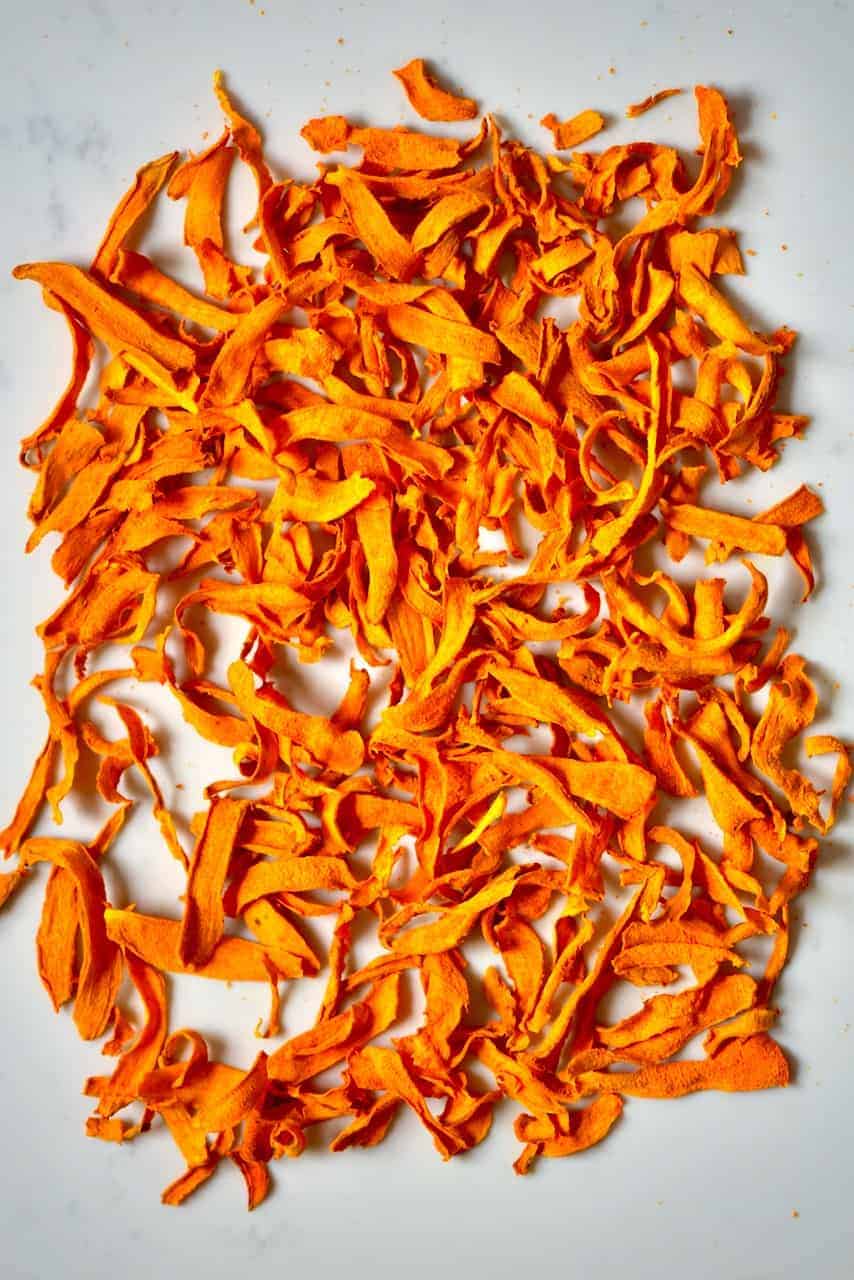
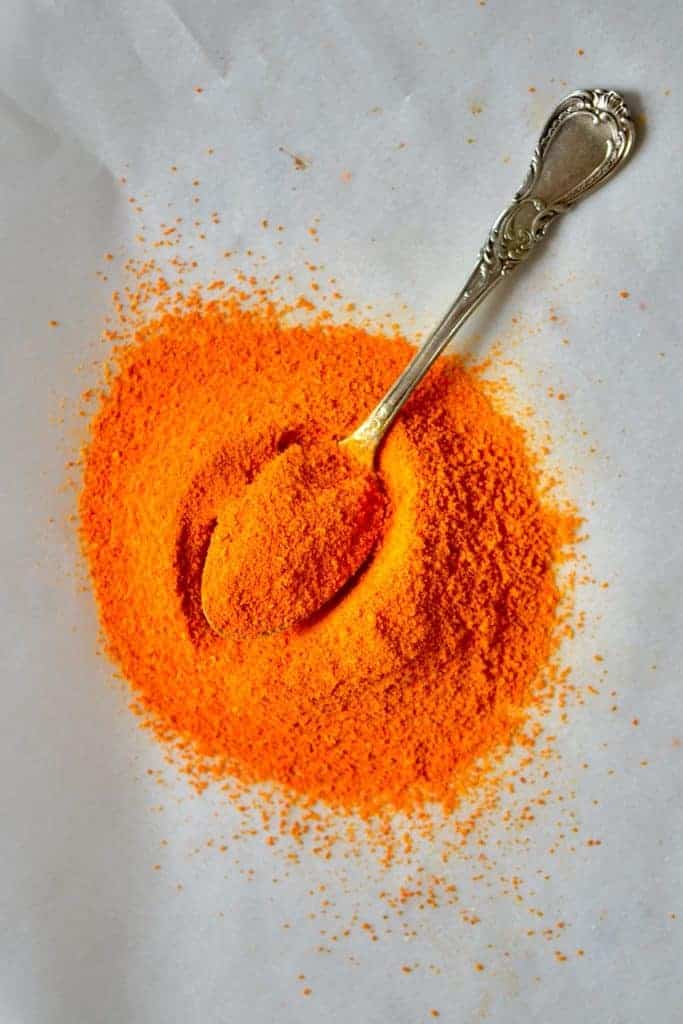
Once you are done baking/dehydrating the turmeric, add the slices to a food processor or a grinder and grind them to a fine powder.
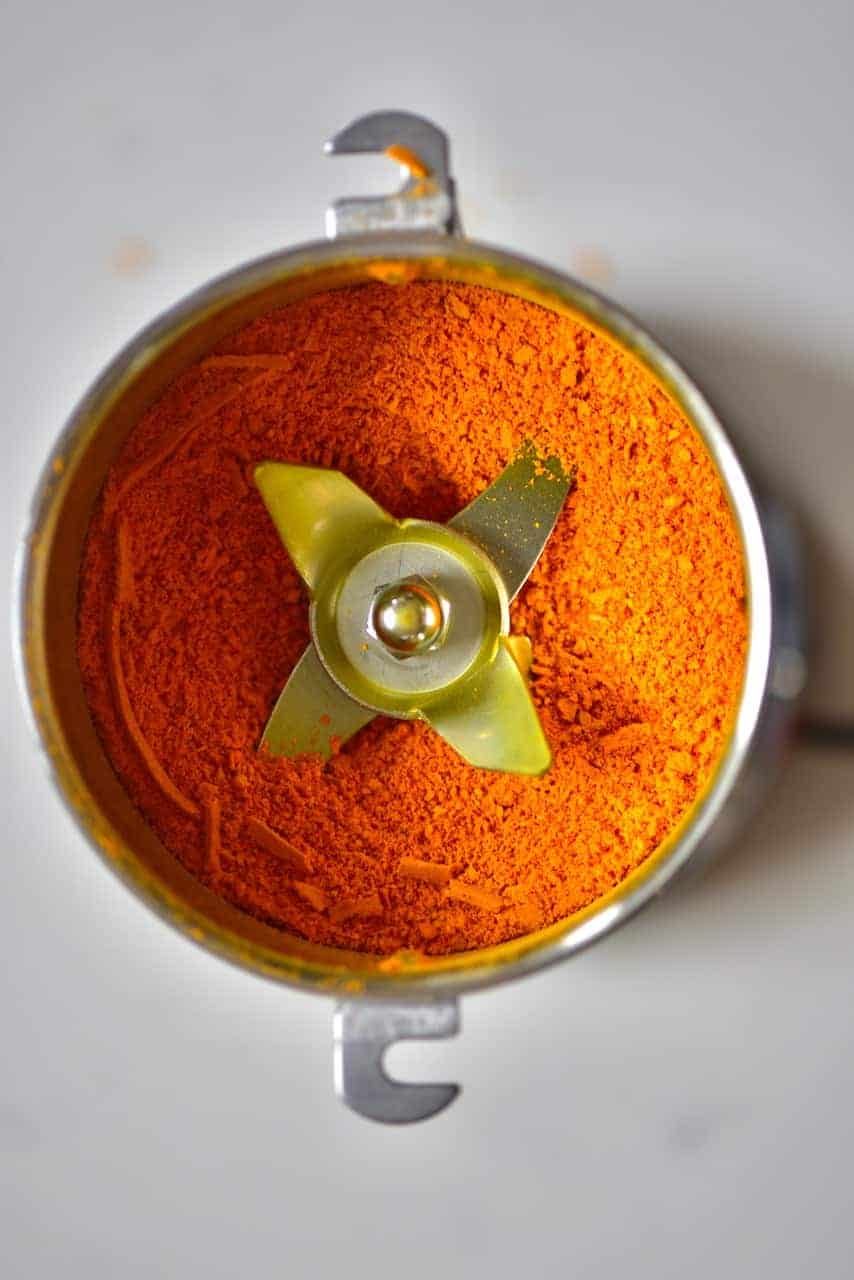
Note: it’s possible that the turmeric might stain your food processor.
Sift the powder through a sieve to collect bigger chunks, which will need to be ground again.
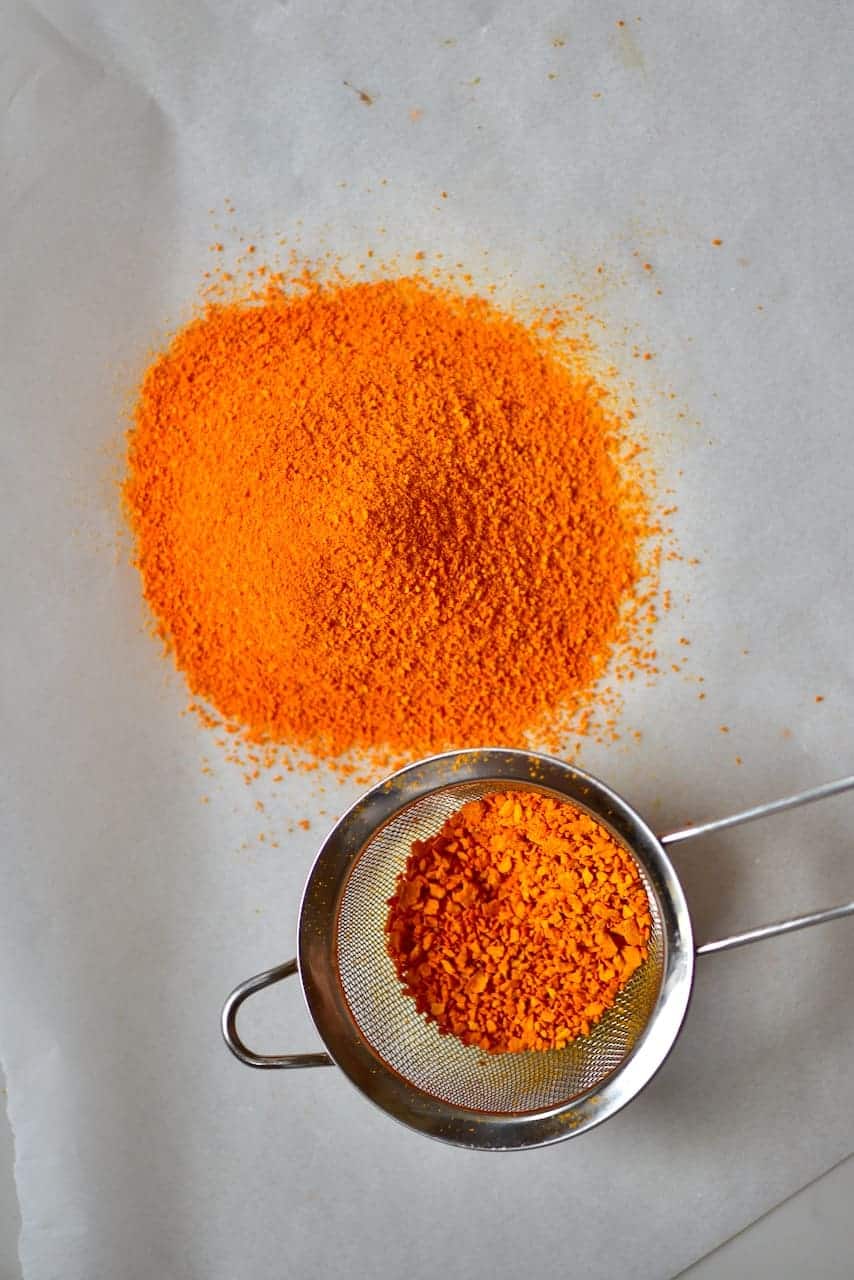
Store in an air-tight glass container in a dark, dry place. The properly dried powdered turmeric can be stored and used for a year.
Turmeric Powder Recipes You Might Like
Turmeric powder is a spice that can easily be added to a variety of dishes, from curries and soups to sweet dishes and drinks. It is commonly used to make a turmeric ‘tea’ too. However, here are a few of my favorite uses.
I already mentioned this Ginger Turmeric Energy Shots (juicer recipe), that I’m obsessed with. While I use fresh turmeric for this juice, you can sub this for 1/2 tsp of powder per turmeric shot for a wonderful turmeric powder shot recipe.
If you have any questions, leave a comment below Also, I love seeing your recreations so feel free to tag me on Instagram @AlphaFoodie.
How to Make Turmeric Powder at Home
Equipment
- Vegetable peeler (potato peeler)
- Baking tray
Ingredients
- 14 oz turmeric roots/rhizomes unpeeled turmeric
This will yield about 1.8 oz/50 gr of dry turmeric powder
Instructions
- Clean and peel the turmeric root.*
- Cut the turmeric roots into thin equal slices or use a vegetable peeler and "peel" the slices. The thinner the piece, the quicker the drying process.
- Arrange the slices on a baking tray lined with baking paper (or on a dehydrator tray if using a dehydrator). The pieces can touch but make sure they don’t overlap.
- Bake in the oven at 100ºC for about 2 hours. Check on the dryness in about 1.5 hours – depending on the thickness and water content, as well as your oven, the turmeric might need less or more time.
If using a dehedrator, dehydrate the turmeric at 40ºC for about 4-5 hours.
You could also dry them in a well-ventilated spot but this could take up to 14 days depending on where you live and the humidity of your area and in your house.
The turmeric is ready when it’s crunchy dry. The dried slices will also have shrunk in size. To check if they are completely dry, you can snap a piece in half. If it’s bendy rather than a clean snap, then it’s not ready yet. - Once you are done baking/dehydrating the turmeric, add the slices to a food processor or a grinder and grind them to a fine powder.
- Sift the powder through a sieve to collect bigger chunks, which will need to be ground again.
- Store in an air-tight glass container in a dark, dry place. The properly dried powdered turmeric can be stored and used for a year.


I’ve started grinding all my spices and even with shop bought dried root, a big improvement in flavour. Unfortunately I have destroyed two blade grinders by the impact of the rock hard pieces impacting the plastic. I’m about to buy another grinder. Any tips on preventing further breakages? Burr grinder or blade type?
Hi Tim,
I recommend a stronger grinder with metal blades. Similar to the one linked on the recipe card or my shop page –
I hope this helps.
Greets!
Turmeric came out SO AWESOME! Thanks!
Would this process work the same for ginger root?
Happy you liked it! Yes, it would work with ginger root too – I have a dedicated post for how to make ginger powder with lots of tips https://www.alphafoodie.com/how-to-make-ginger-powder-two-methods/
Don’t use a peeler – scrape the skin off with a teaspoon the same as you would ginger root. Far less waste.
Great tip! Thank you, David.