
This post may contain affiliate links. Please read our disclosure policy.
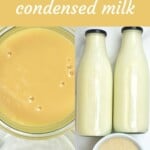


This easy homemade condensed milk only has 2 ingredients and is super easy to make. It’s also gluten-free, ultra-creamy, and thick, and can be used in so many different recipes! I also include vegan/dairy-free as well as sugar alternative options!
This homemade condensed milk recipe is amazing! I’ve been meaning to share it with you for a while now because it’s such a versatile staple in my kitchen! It’s also incredibly simple to make. There are only 2 ingredients in this homemade condensed milk, which I’m almost certain you probably already have in your pantry: sugar and milk! I’ve also included a dairy-free option for a vegan version!
Want to save this recipe?
What exactly is condensed milk?
Generally speaking, condensed milk is a combination of milk and sugar that is slow-cooked. As a result, a lot of water is removed without scalding the milk. It’s rich, thick, and sweet. It is also naturally gluten-free and found in many different cuisines around the world.
Why make homemade condensed milk?
Many store-bought products tend to have processed ingredients in them, most of which are not healthy. However, as with any homemade recipe, the greatest advantage is that you have complete control over what you use. To me, homemade is always best! If you’ve never made your own condensed milk before, now’s the time to try it! Don’t be intimidated – it’s really simple!
You can enjoy this homemade condensed milk in a variety of recipes! My personal favorite is using it for homemade caramel fudge! You can also use it in coffee, like this mushroom coffee or an iced matcha green tea latte, and in dessert recipes such as Vietnamese avocado shake, mango sago dessert, or Mexican horchata. So, the sky’s the limit, really, as far as how to use condensed milk!
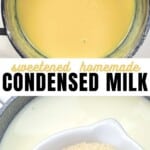
The ingredients

- Milk: I used full-fat dairy milk, but you can use low-fat milk. You can even use your favorite dairy-free milk if you prefer.
- Sugar: I used cane sugar, but you can also use white sugar or brown sugar.
Note: I think brown sugar will give a deeper color with a slight caramel flavor (because of the molasses). However, if you want the taste of traditional condensed milk, then it’s best to just use granulated white sugar.
Sweetener options
Instead of cane sugar, you could use the following sweeteners:
- Coconut sugar
- Maple syrup
- Honey
- Agave
Keep in mind, though, that the flavor and color of the condensed milk may be slightly different, depending on which sweetener you use. Also, keep in mind that the sweetener needs to be able to caramelize, so substitutes like xylitol will not work for this recipe.
How to make condensed milk
Here’s how to make homemade condensed milk in 4 super simple steps!
First, combine the milk and the sugar in a saucepan. Gently bring the mixture to an almost-boil, stirring continuously to help the sugar dissolve. Stirring frequently will also help to avoid any lumps from forming.
Then reduce the heat and simmer for about 35-45 minutes. There’s no need to stir anymore.
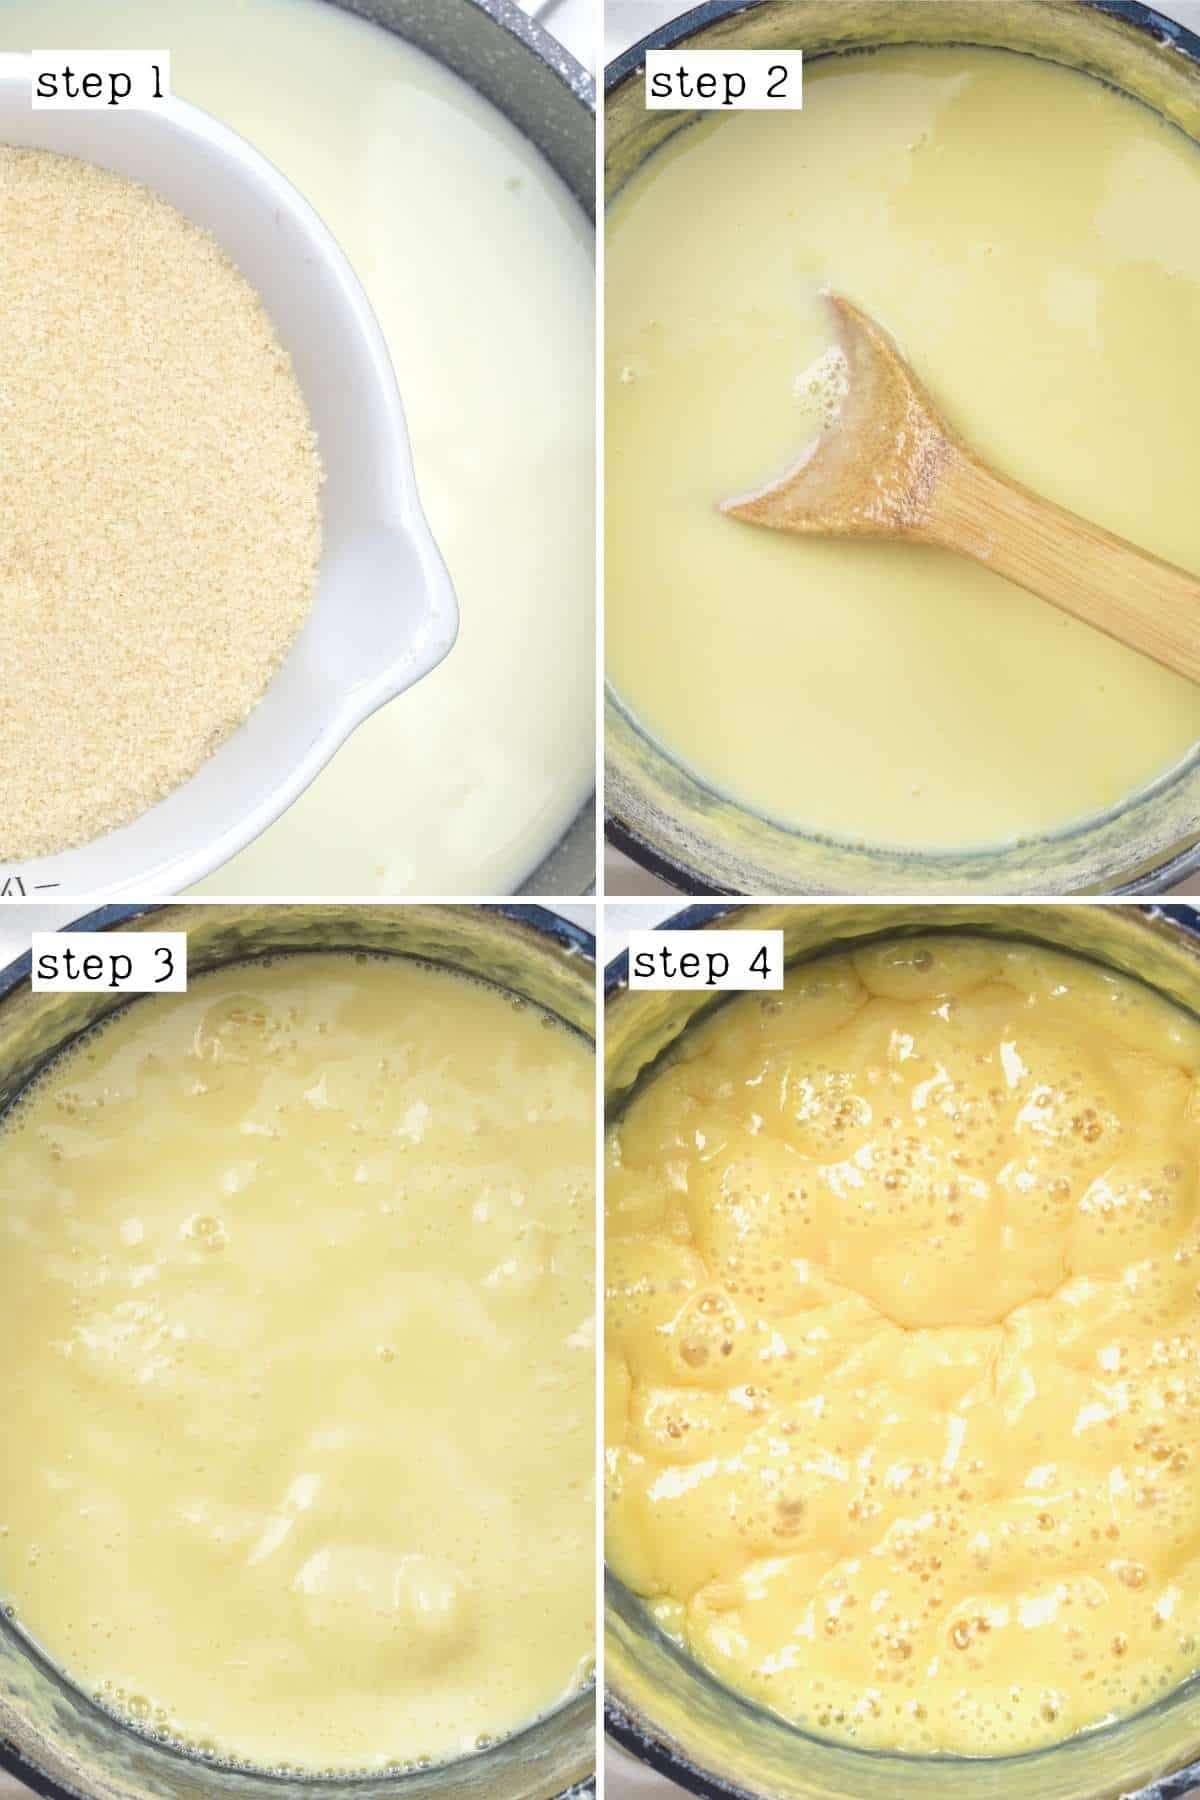
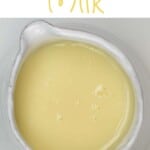
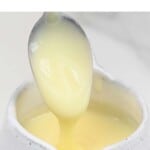
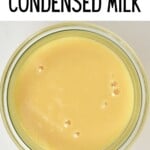
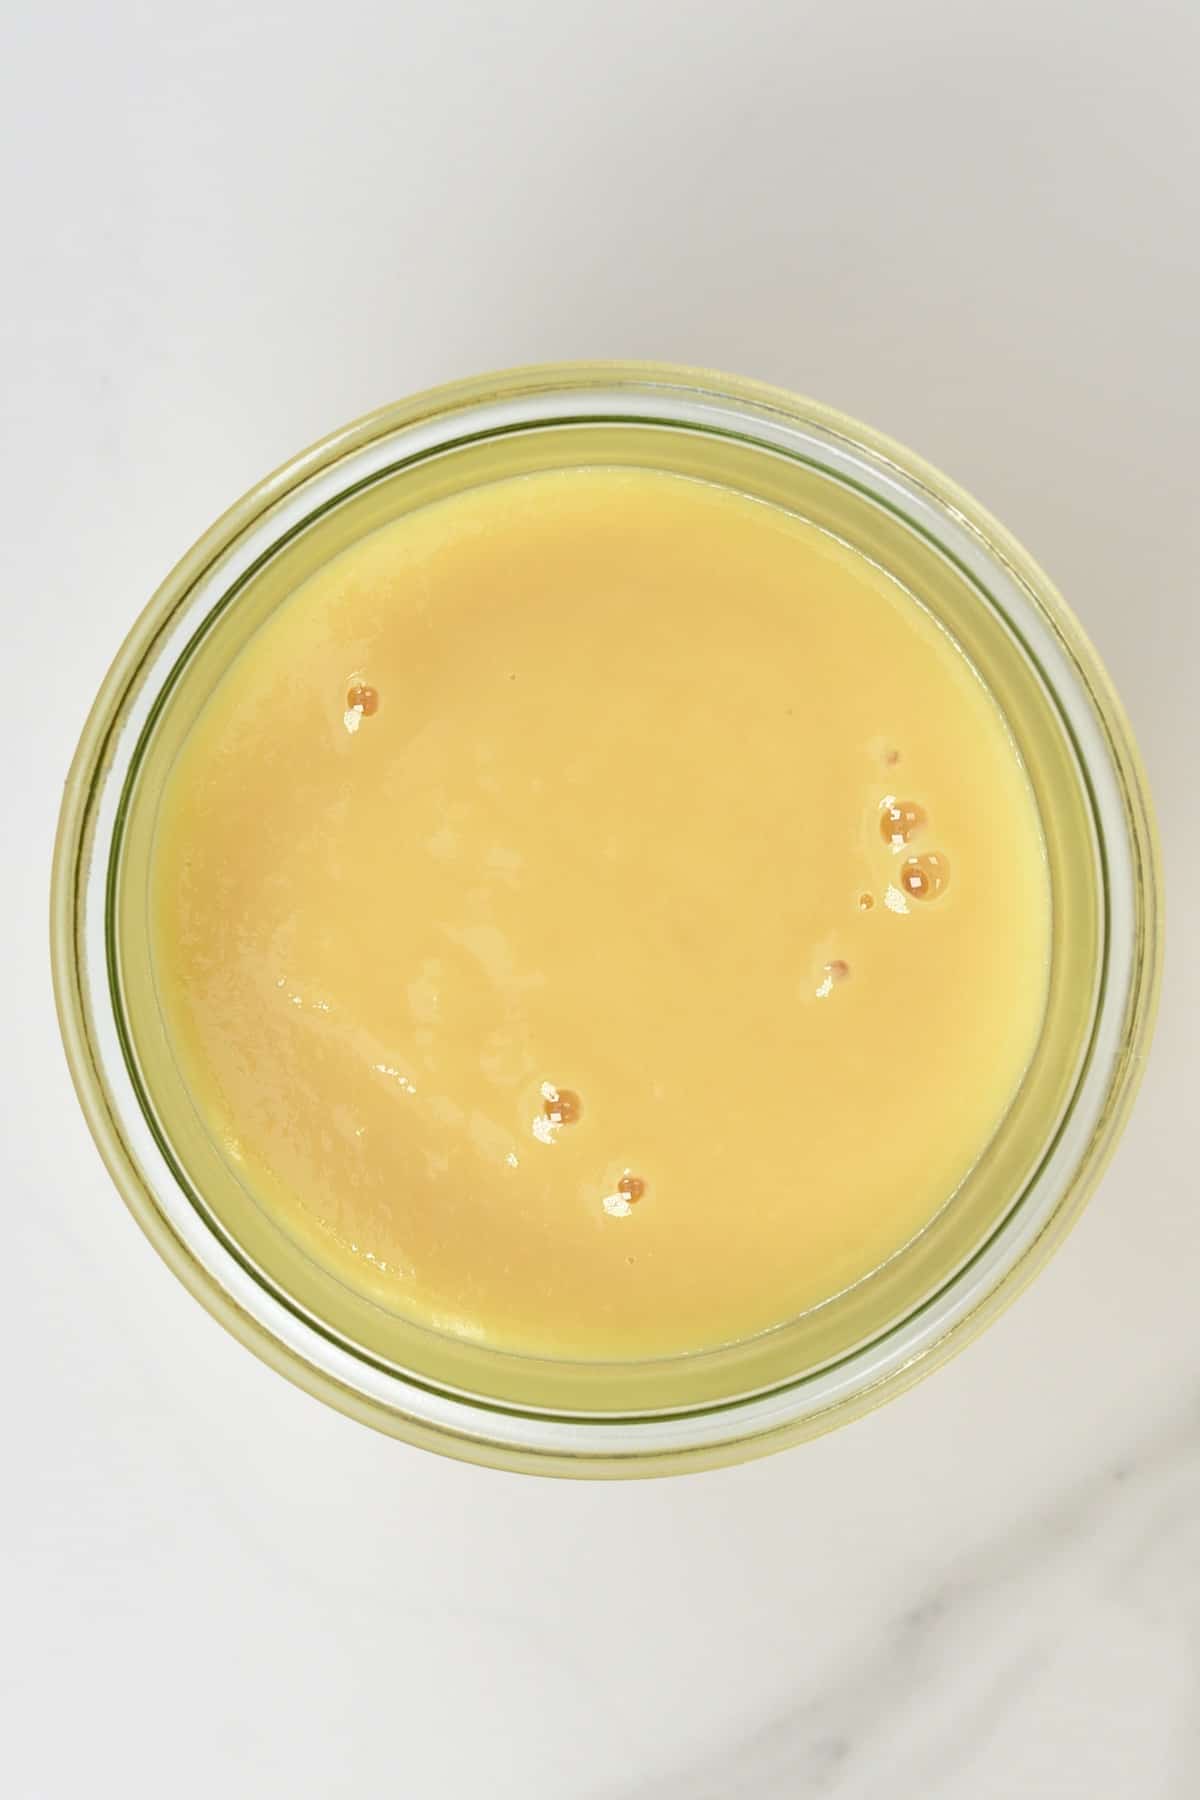
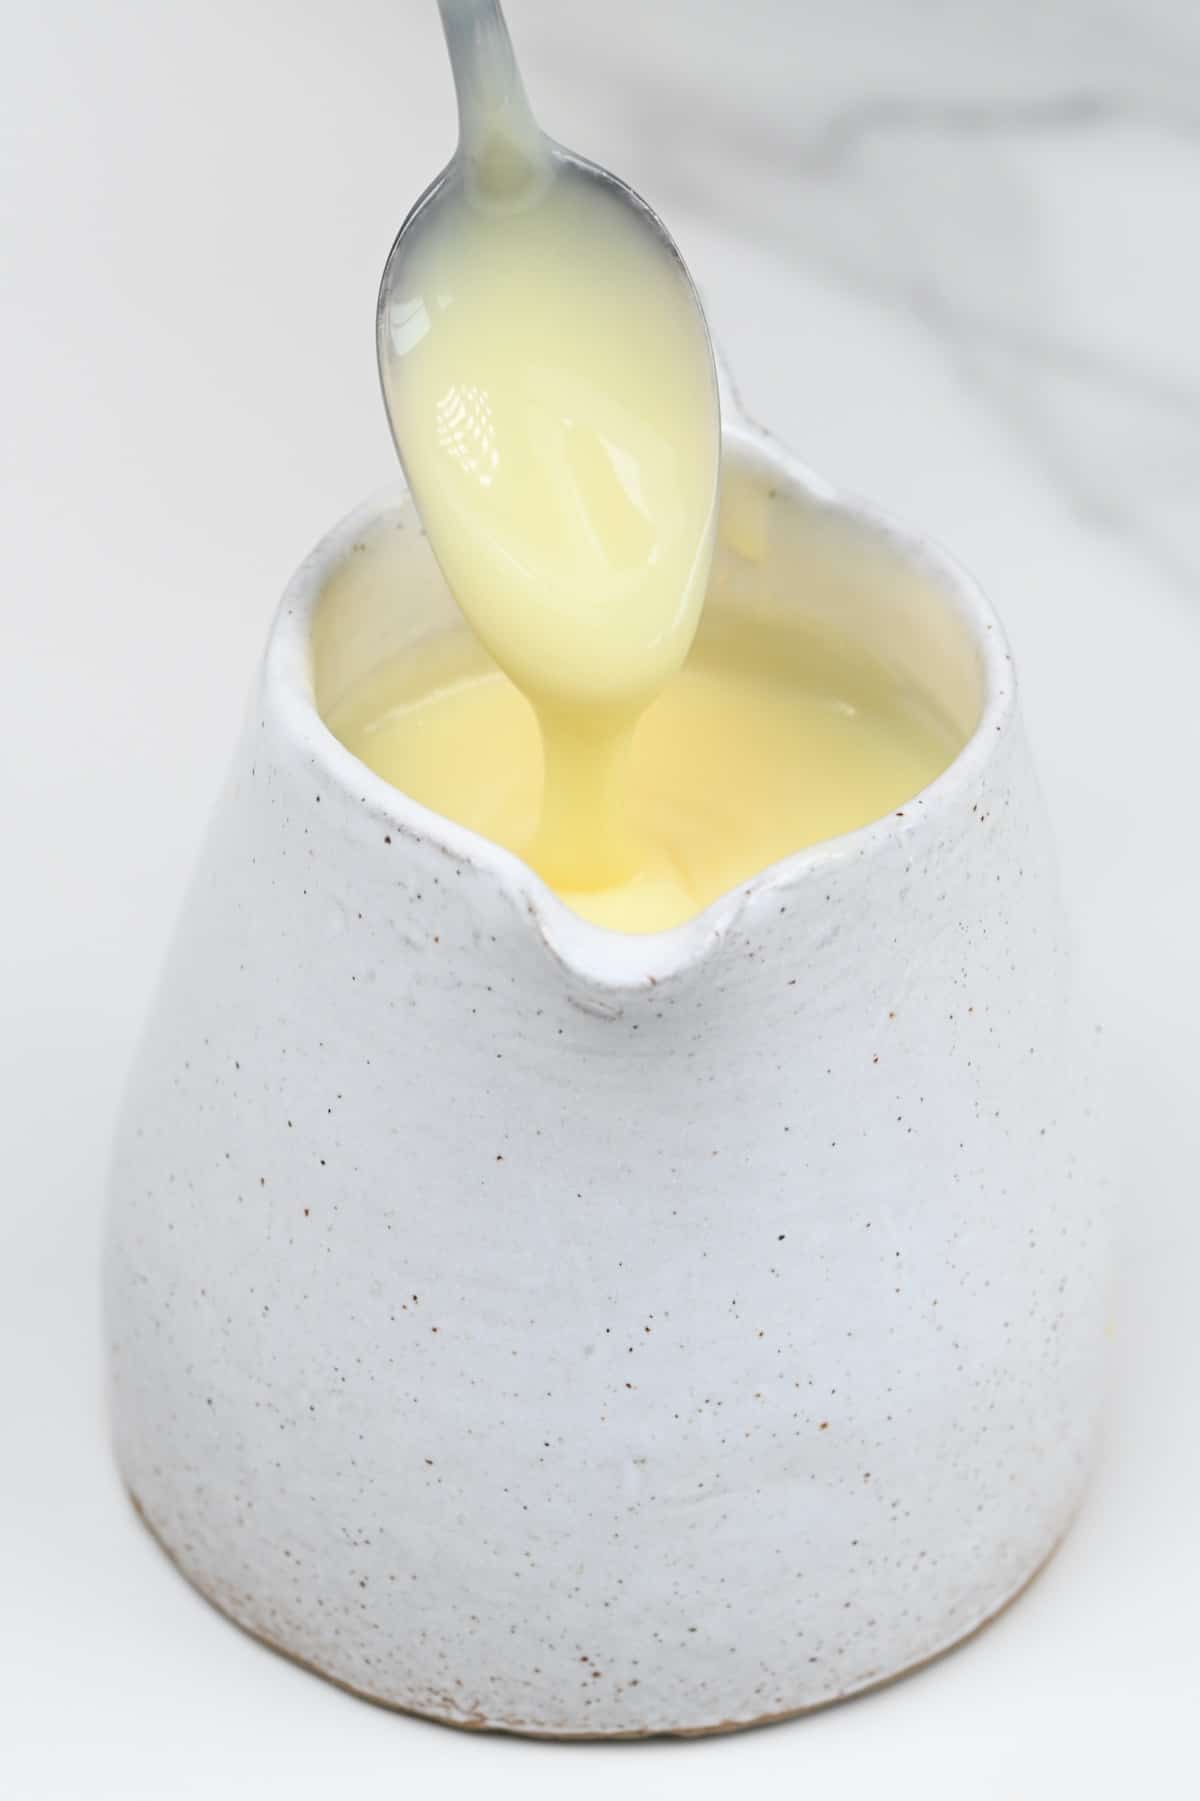
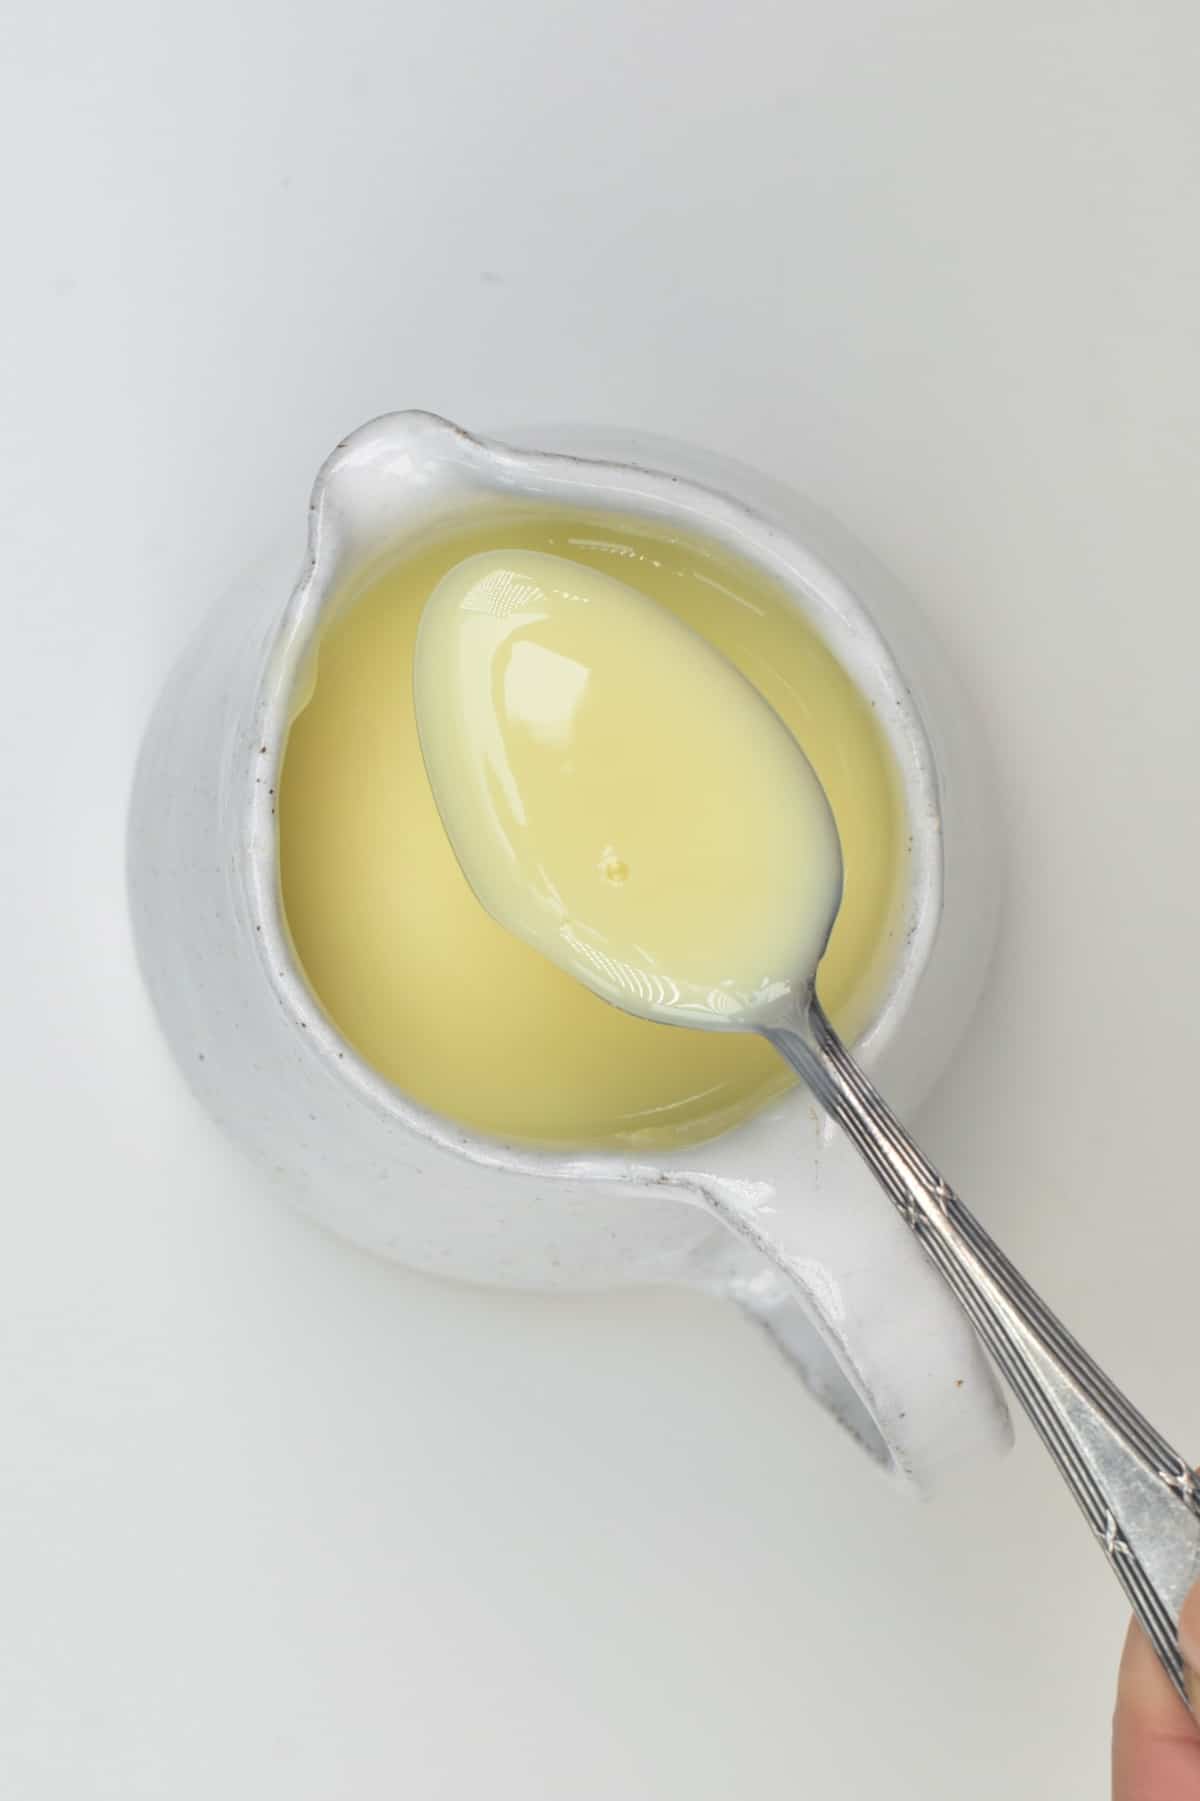
You’ll know it’s ready when the mixture has reduced by around half and has slightly darkened in color. It will also be of a thicker consistency – you should have thick syrupy milk.
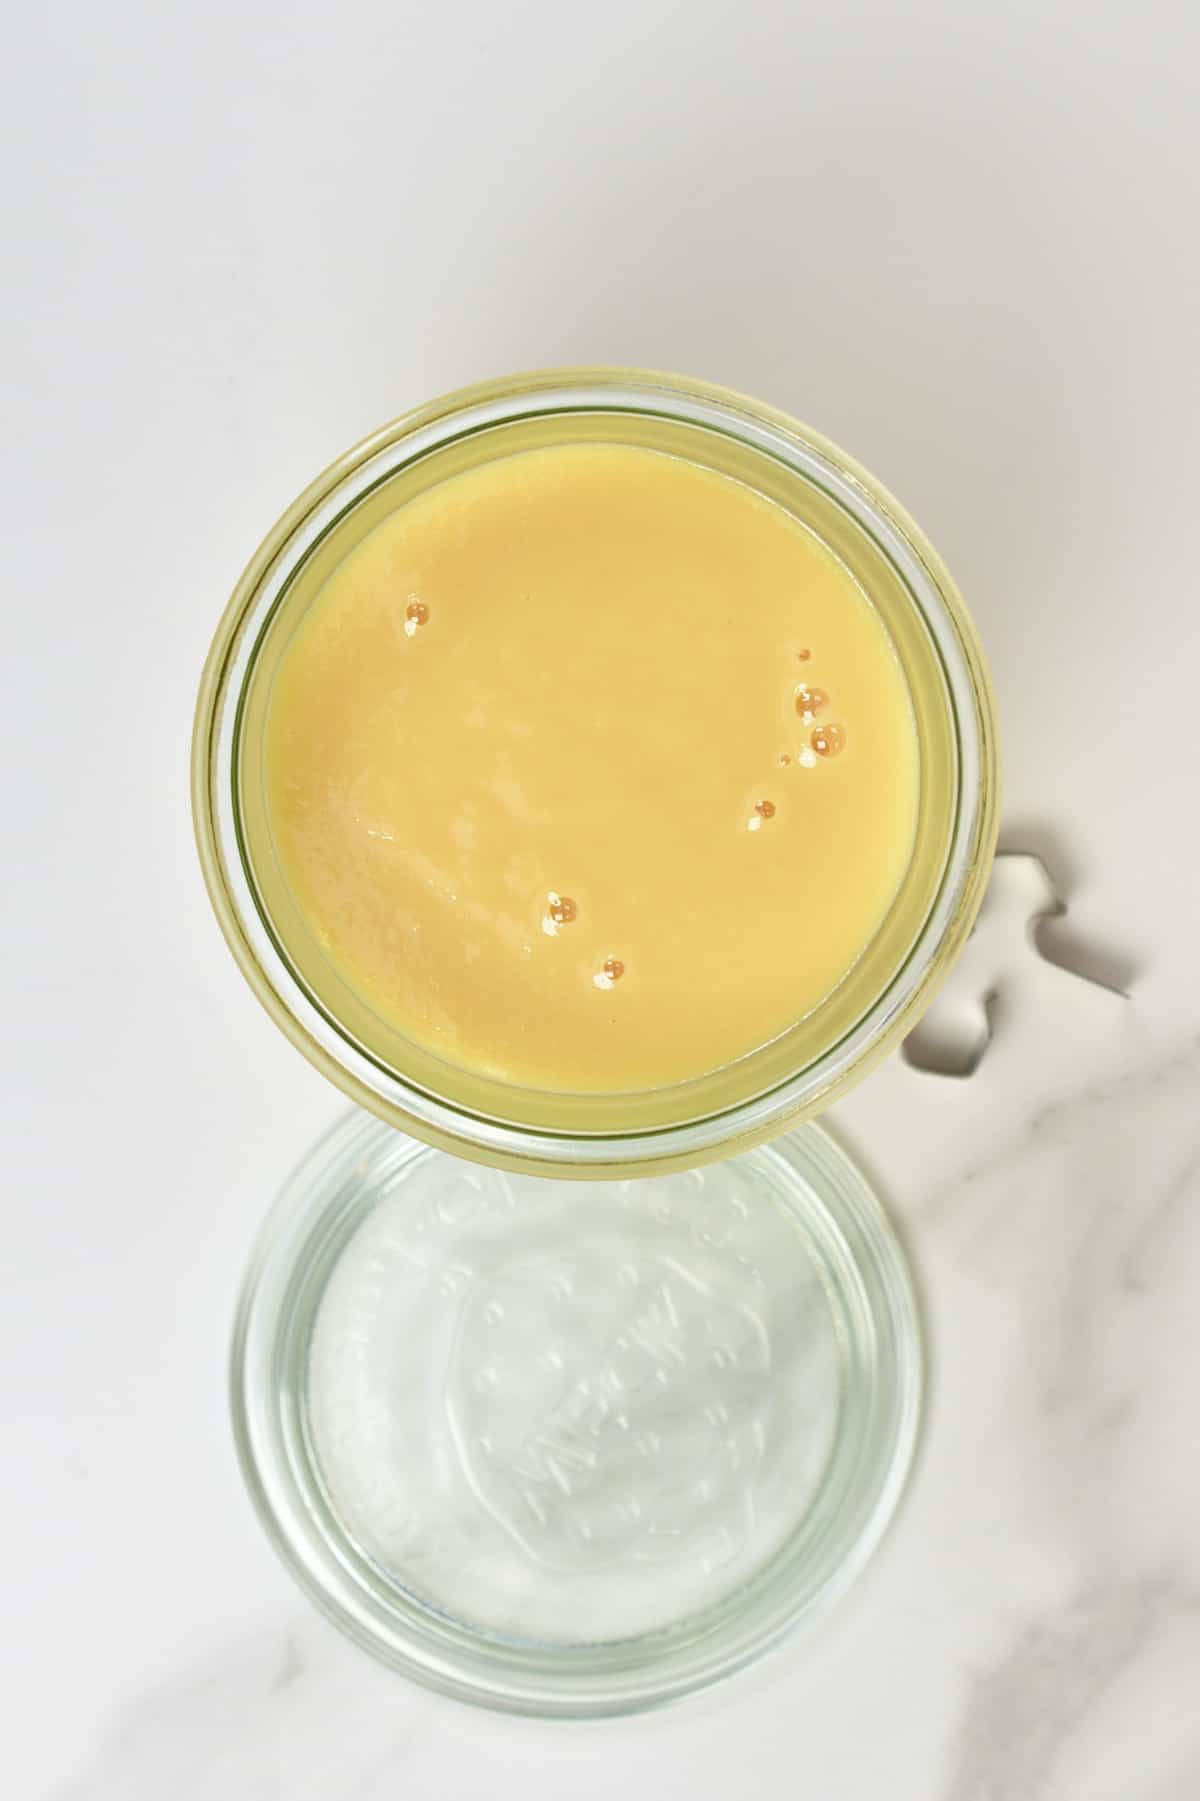
Let the condensed milk cool completely at room temperature. Then transfer it to an airtight glass container.
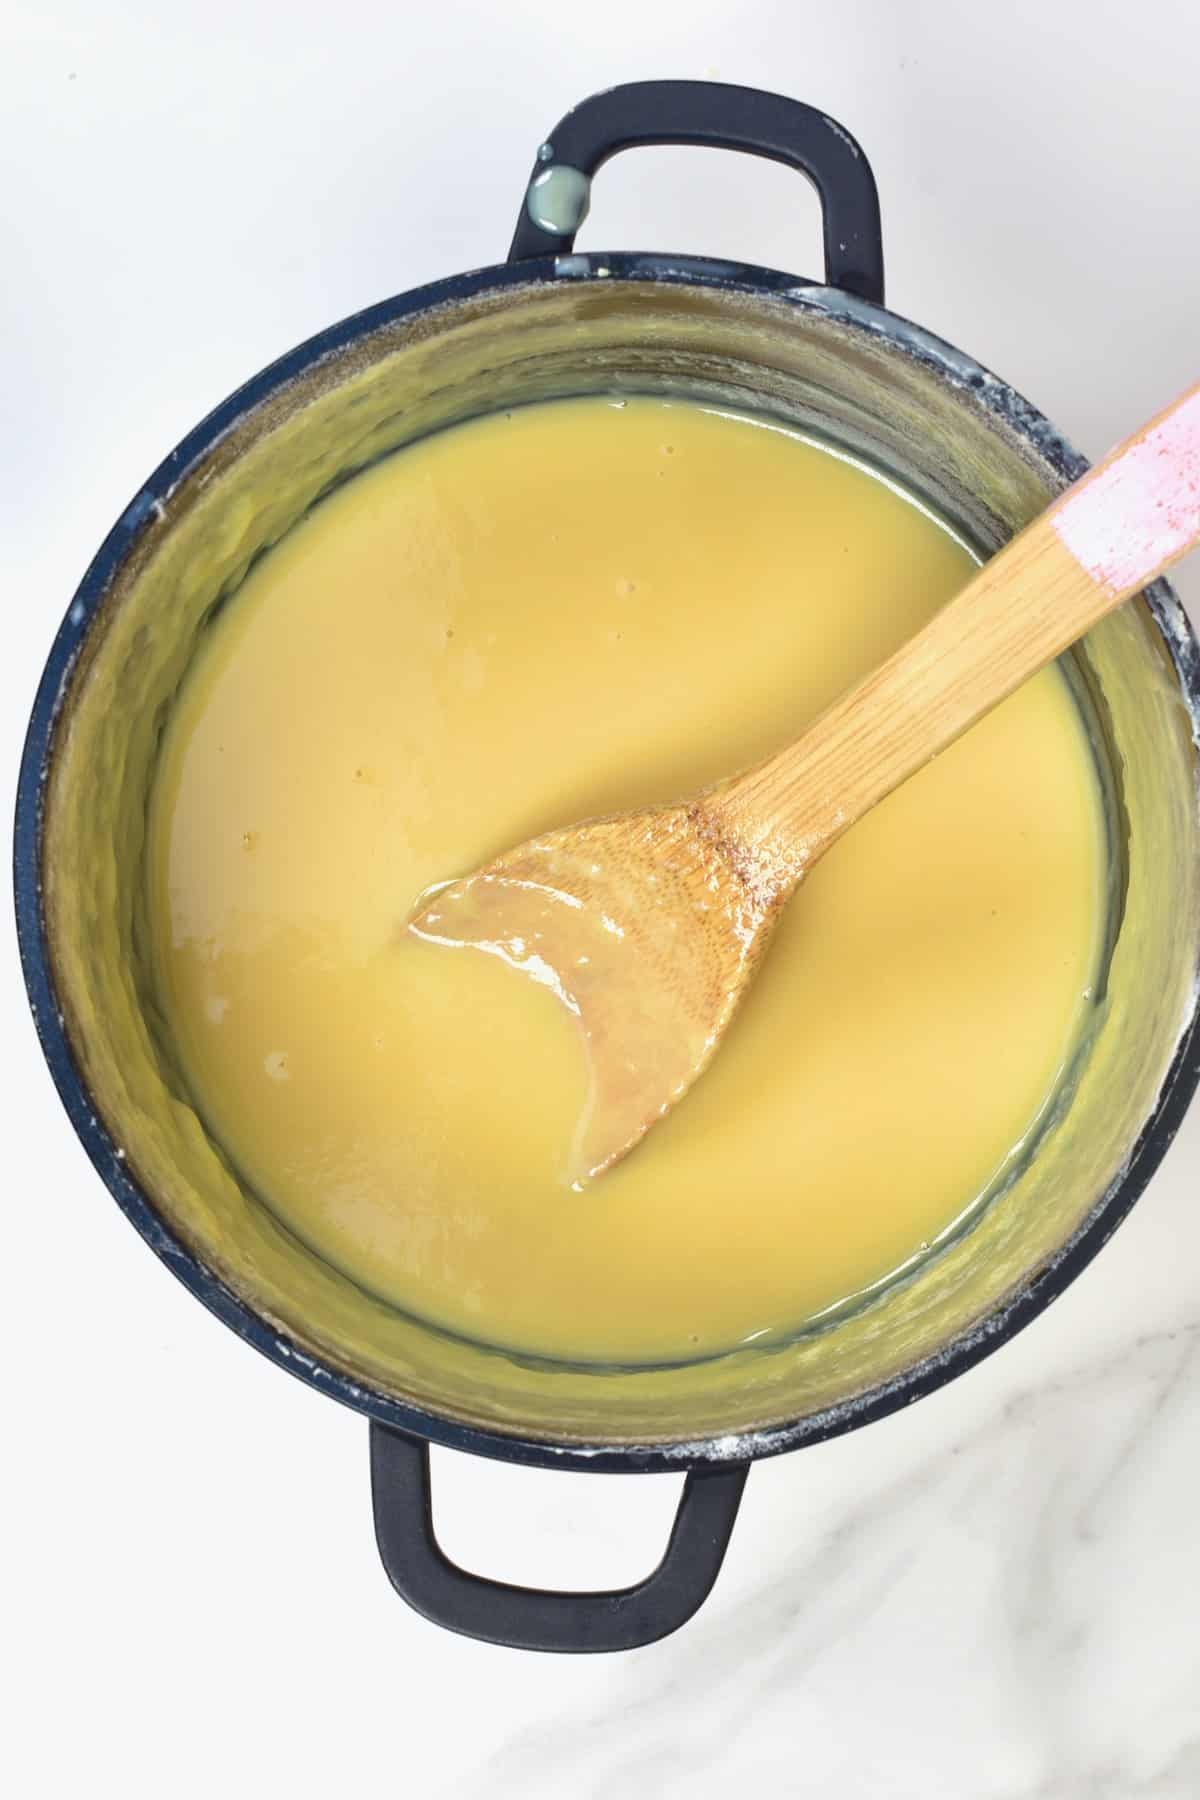
Note: the condensed milk will thicken further once it is placed in the fridge.
How to store
Fridge: Homemade condensed milk can be stored In the fridge for up to about a week.
Freezer: You could also freeze it for about 3 months. Just bring it to room temperature before using or thaw in the refrigerator overnight. If needed, whisk to a smooth consistency.
How to use
As I mentioned above, this homemade condensed milk can be used to make fudge and caramels and can be used instead of milk or creamer in coffee and tea drinks (hot or iced). You can also use it in baking when making cookies, custards, puddings (like this Egyptian Bread Pudding), pies. Furthermore, you can use it for homemade ice cream recipes (like for this peach ice cream).
These are just a few options. Let me know in the comments below what your favorite ways to use condensed milk are.
FAQs
I think full-fat coconut milk is an excellent vegan and dairy-free choice for condensed milk. I’ve already shared the steps on how to make coconut condensed milk. Alternatively, you can use your favorite nut milk.
If your condensed milk is rather runny, it means you didn’t reduce the water content enough. Put it back on the heat and keep cooking it down over medium until it thickens more.
You sure can. You can convert evaporated milk into condensed milk. All you need to do is add sugar to it while heating in a pan. Stir to allow the sugar to dissolve. Voila!
Recipe notes
- Simmering on low heat is very important so that the milk doesn’t curdle.
- Using full-fat milk gives the condensed milk a nice thick consistency, just like store-bought.
- You can add some vanilla extract for a sweeter flavor if you want. You could also make this condensed milk exotic by adding some rose extract!
- You can also add some butter (unsalted or even salted). It will make the condensed milk so rich and silky and will enhance the flavor.
Other milk recipes
- Homemade coconut condensed milk
- How to Make Almond Milk in 2 Minutes
- Bantha Milk-Sweet Coconut Blue Milk
- Simple Oat Milk Creamer (Oat Cream)
- Silky Ginger Milk Pudding (Ginger Curd)
- Healthy Blueberry Milkshake
- Homemade Powdered Milk
If you try this homemade condensed milk recipe, I’d love to hear your thoughts/questions below. Also, I’d really appreciate a recipe card rating below, and feel free to tag me in your recipe recreations on Instagram @Alphafoodie!

Homemade Condensed Milk
Ingredients
- 4 cups milk full-fat whole milk
- 1¼ cups sugar white, cane, brown
Instructions
- Combine the milk and the sugar in a saucepan. Gently bring the mixture to an almost-boil, stirring continuously to help the sugar dissolve.
- Reduce the heat and simmer for about 35-40 minutes. There's no need to stir anymore.
- You’ll know it’s ready when the mixture has reduced by around half and has slightly darkened in color. It will also be of a thicker consistency – it will become thick syrupy milk.
- Let the condensed milk cool completely at room temperature. Then transfer it to an airtight glass container. Note: the condensed milk will thicken further once it is placed in the fridge.
How to Store
- Fridge: Homemade condensed milk can be stored In the fridge for up to about a week.Freezer: You could also freeze it for about 3 months. Just bring it to room temperature before using or thaw in the refrigerator overnight. If needed, whisk to a smooth consistency.
Notes
- Simmering on low heat is very important so that the milk doesn’t curdle.
- Using full-fat milk gives the condensed milk a nice thick consistency, just like store-bought.
- You can add some vanilla extract for a sweeter flavor if you want. You could also make this condensed milk exotic by adding some rose extract!
- You can also add some butter (unsalted or even salted). It will make the condensed milk so rich and silky and will enhance the flavor.
- You can make an excellent vegan and dairy-free version with full-fat coconut milk. I’ve already shared the steps on how to make coconut condensed milk. Alternatively, you can use your favorite nut milk.
- Instead of cane sugar, you could use the following sweeteners: coconut sugar, maple syrup, honey, agave. Keep in mind, though, that the flavor and color of the condensed milk may be slightly different, depending on which sweetener you use. Also, keep in mind that the sweetener needs to be able to caramelize, so substitutes like xylitol will not work for this recipe.
Nutrition
Nutrition information is automatically calculated, so should only be used as an approximation.


if i were to add in butter, vanilla, rose extract… which moment is the best to add them in?
Hi Caroline,
It’s best to add butter, vanilla, or extracts towards the end of cooking, once the mixture has thickened. This helps preserve their flavor and prevents any separation.
Wasted brown sugar, it just separated and curdled.
Hi Burt! Sorry the brown sugar version separated and curdled on you. 😊 That usually comes down to the heat being a touch too high or the mixture boiling rather than gently simmering, which can cause the milk to split. Keeping it on a low, steady simmer and stirring often should give you a smooth result next time. Thanks for letting me know.
Thank you for this recipe, i did it! the images were helpful!
Hey Loren! That’s wonderful to hear! I’m so glad you found the recipe and images helpful. Thanks for trying it, and I hope you enjoy using your homemade condensed milk, hope you’ve had a great weekend
Keep up the fantastic work and continue to inspire us all!
Hi Lucilla! Thanks for your sweet comment! I’m so glad you found the recipe helpful. Hope you’re having a great day!
I made a sugar-free version of the recipe using granulated allulose, vanilla and butter with whipping cream. Was able to simmer to same caramelly taste and thicker consistency to use with some sugar-free fudge.
Thanks for sharing, Robert!
Thank you for the photos!! I stopped on step 3 off another recipe for fear of scalding, only to have it too thin
Glad the photos were helpful. 🙂
I just made the condensed milk! It’s cooling now.
Thank you so much! I love your food blog, especially the diy stuff!!
Thank you so much for your comment! So happy you are enjoying the DIY recipes 🙂