
This post may contain affiliate links. Please read our disclosure policy.


How to cut chicken wings into a drumette, wingette, and wing tip for all your favorite chicken wing recipes.
While it’s possible to purchase cut chicken wings separated into wingettes and drumettes already, that’s not always the case. It also works out more costly to do so, which is why learning how to separate chicken wings is a quick and easy kitchen how-to worth knowing! Especially since all it requires is a few minutes and a sharp knife!
Want to save this recipe?
What are chicken wings
To put it simply, they are the wings of a chicken (who would have guessed?!). A whole wing goes right from the joint that connects the wing to the rest of the chicken, through to the wing tip.
What are the parts of a chicken wing
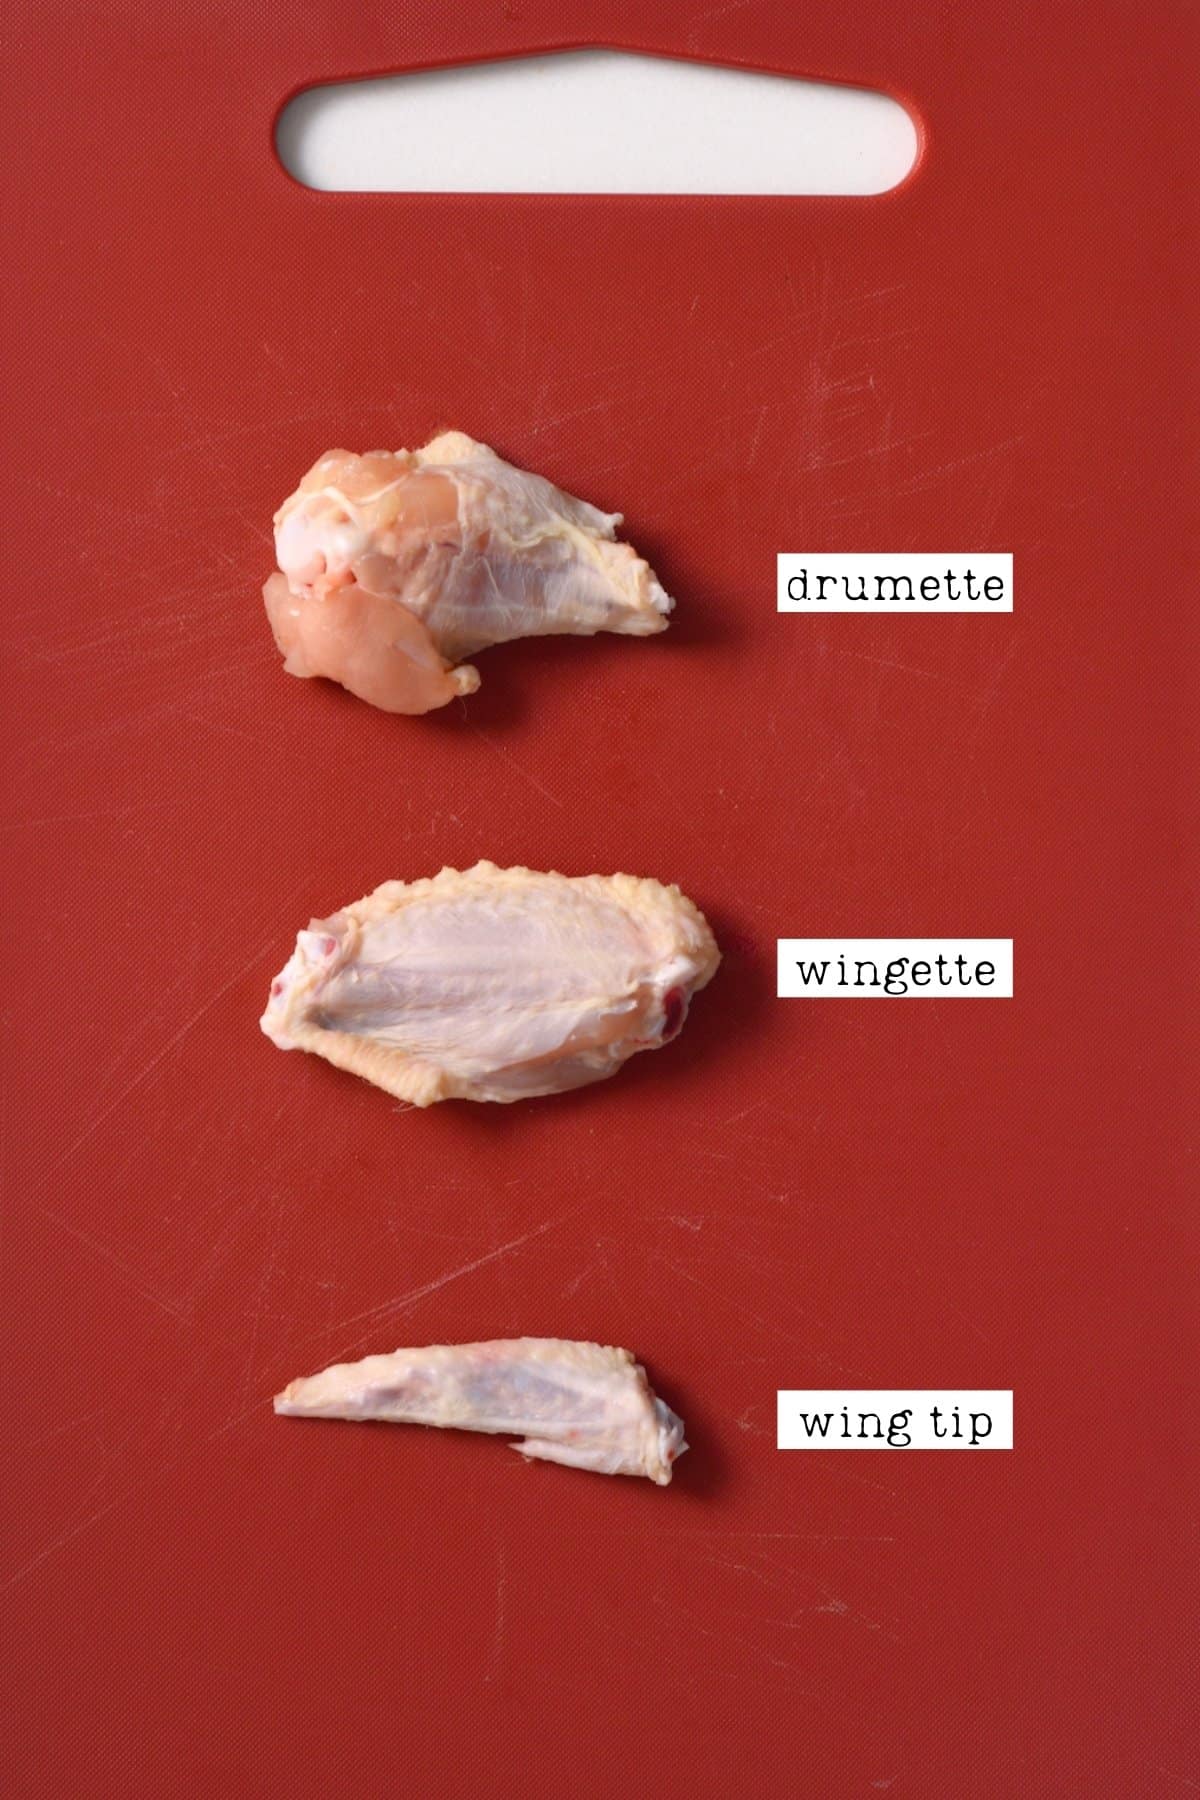
The key to learning how to break down chicken wings is to pay attention to where to make the cuts. Other than that, the process is super simple. To learn where to cut up wings, we first need to look at the three chicken wing sections of a whole chicken wing.
Drumette
As the name suggests, the wing drumette looks like a small chicken drumstick and is the meatiest part of the wing at its base (this attaches the wing to the rest of the chicken). In terms of meat, wing drumettes are primarily dark meat but are similar in texture to white meat and slightly juicier than wingettes.
Wingette
The wing wingette (also called a “flap” or “flat wing”) is what you likely think of when you think of a big pile of wings from any restaurant. This section is thinner and has two bones running through the middle of it, with meat surrounding them. As they’re thinner, these pieces crisp up more than drumettes, though they contain less meat overall.
So what are wingettes vs. wings?
A wing is technically all three chicken wing parts combined. A wingette is just the middle section of the chicken wing pieces.
Wing Tip
The wing tip/wingtip (also called a “flapper”) is the bony tip of the wing and contains very little meat or edible matter other than skin, so it is usually separated from the wingette when you prep chicken wings. However, there’s no need to discard them immediately, as you can still use these to make chicken stock/broth.
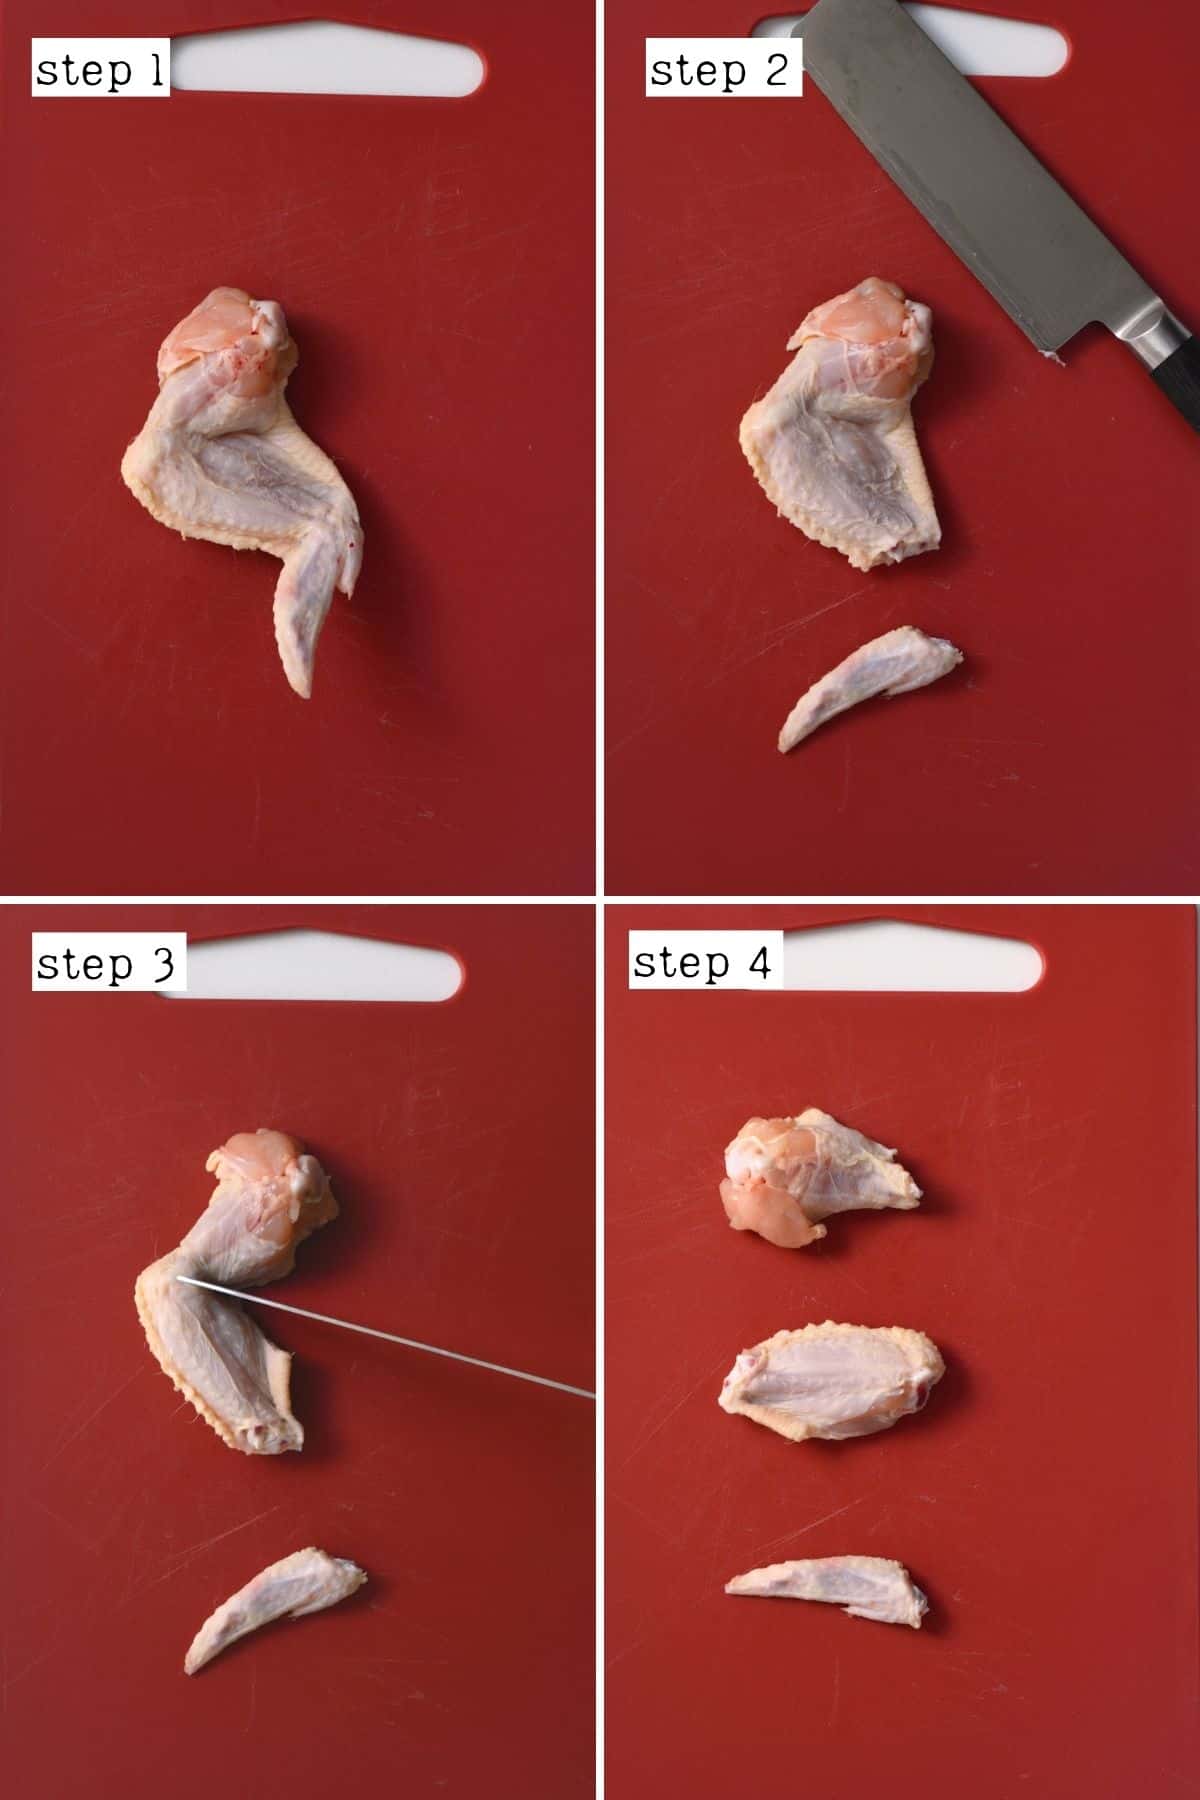
How to cut whole chicken wings
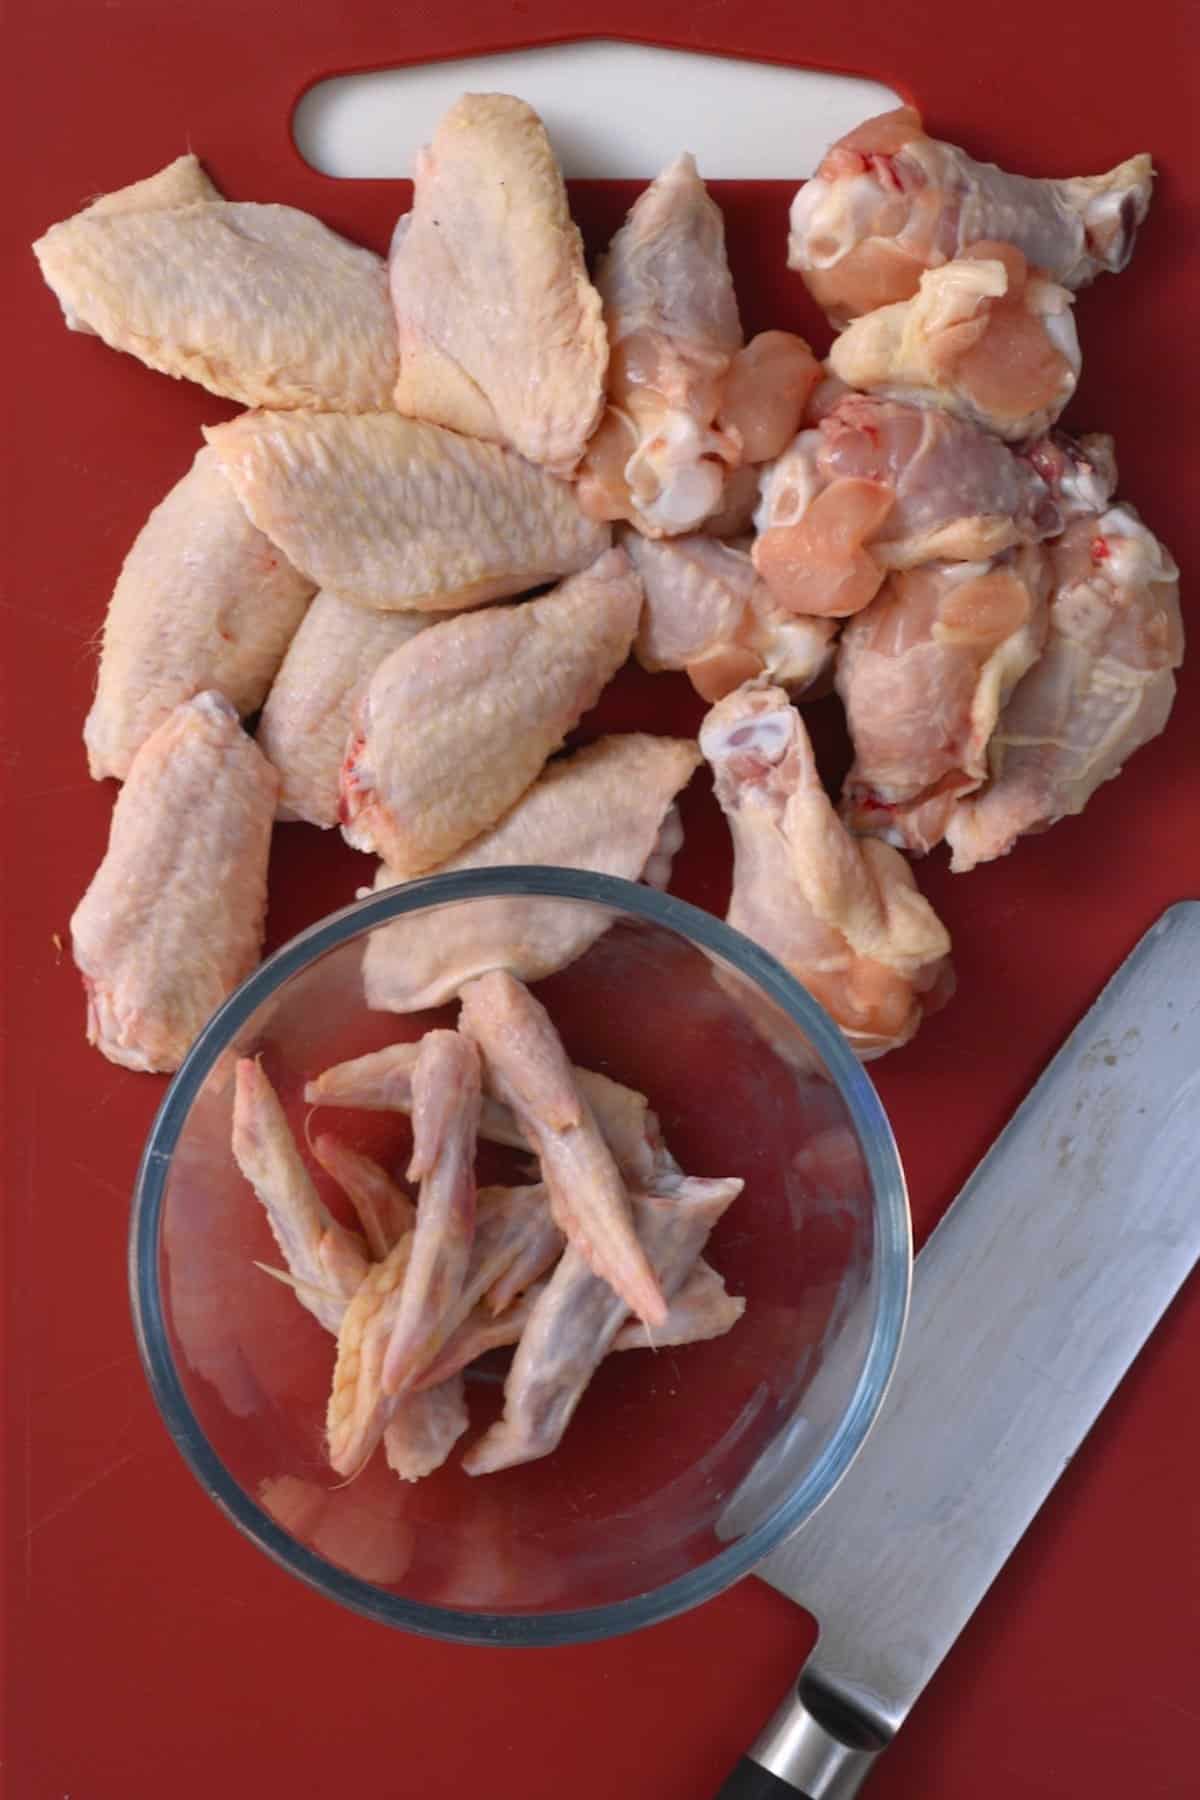
As I’ve already said, knowing where to cut is the key to learning how to prepare chicken wings. Luckily, the three sections of the wings are pretty easy to tell apart, making learning how to split chicken wings quick and low-effort as long as you use a sharp chef knife (or kitchen scissors). Here’s the perfect way to do so.
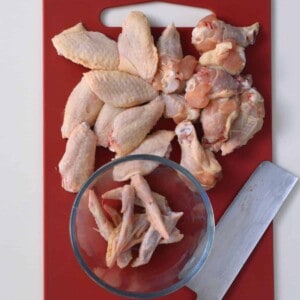
- First, pat the chicken wings dry if they’re slippery at all. Then, place the chicken wing skin-side down (stretched out) on your cutting board so you can see the various joints in the wing – they look like a bump/ball. You should also be able to feel the ridge between them with your fingers. Wear gloves if preferred.
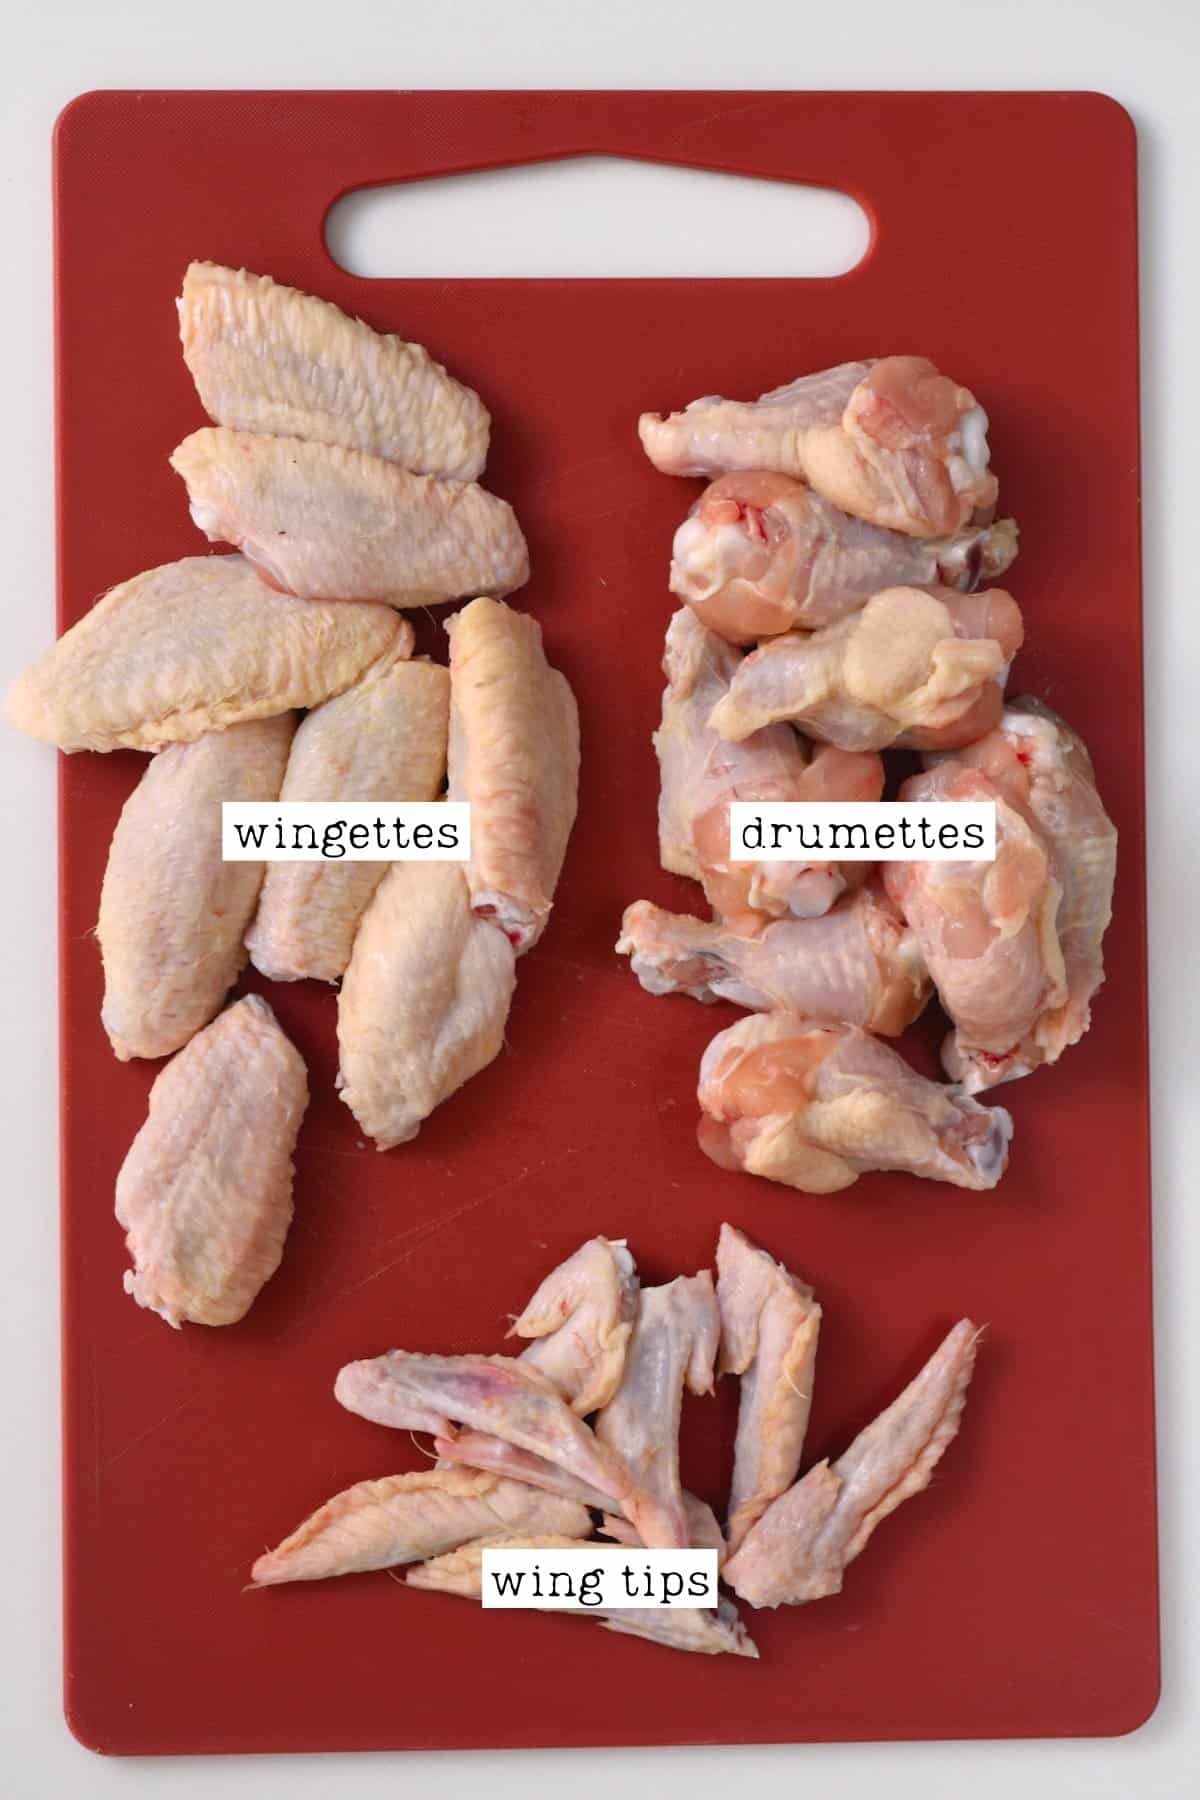
- To separate the tip, locate the ridge between the tip and wingette, place the knife along the ridge, and cut to separate the two pieces.
Make sure to place the knife over the cartilage (the ridge), not the bone. That way, there should be little resistance when cutting chicken wings. If there is some, give the knife a wiggle to find where there’s less resistance, keeping a grip on the wing.
Save the wing tips in the freezer to make chicken stock/chicken broth, or add them to other broths for more flavor.
- To then separate the drumette from the wingette, find the high ridge between the drumette and wingette part of the wing and place your knife alongside that, running parallel to the shape of the drumette. Then, use your knife to cut through it with little resistance. You can use the chicken portions immediately or save them for later.
If you’re a beginner at cutting wings, you could pull the joints backward until they “pop” (aka dislocating the joint) and slice in the loose spot.
FAQs
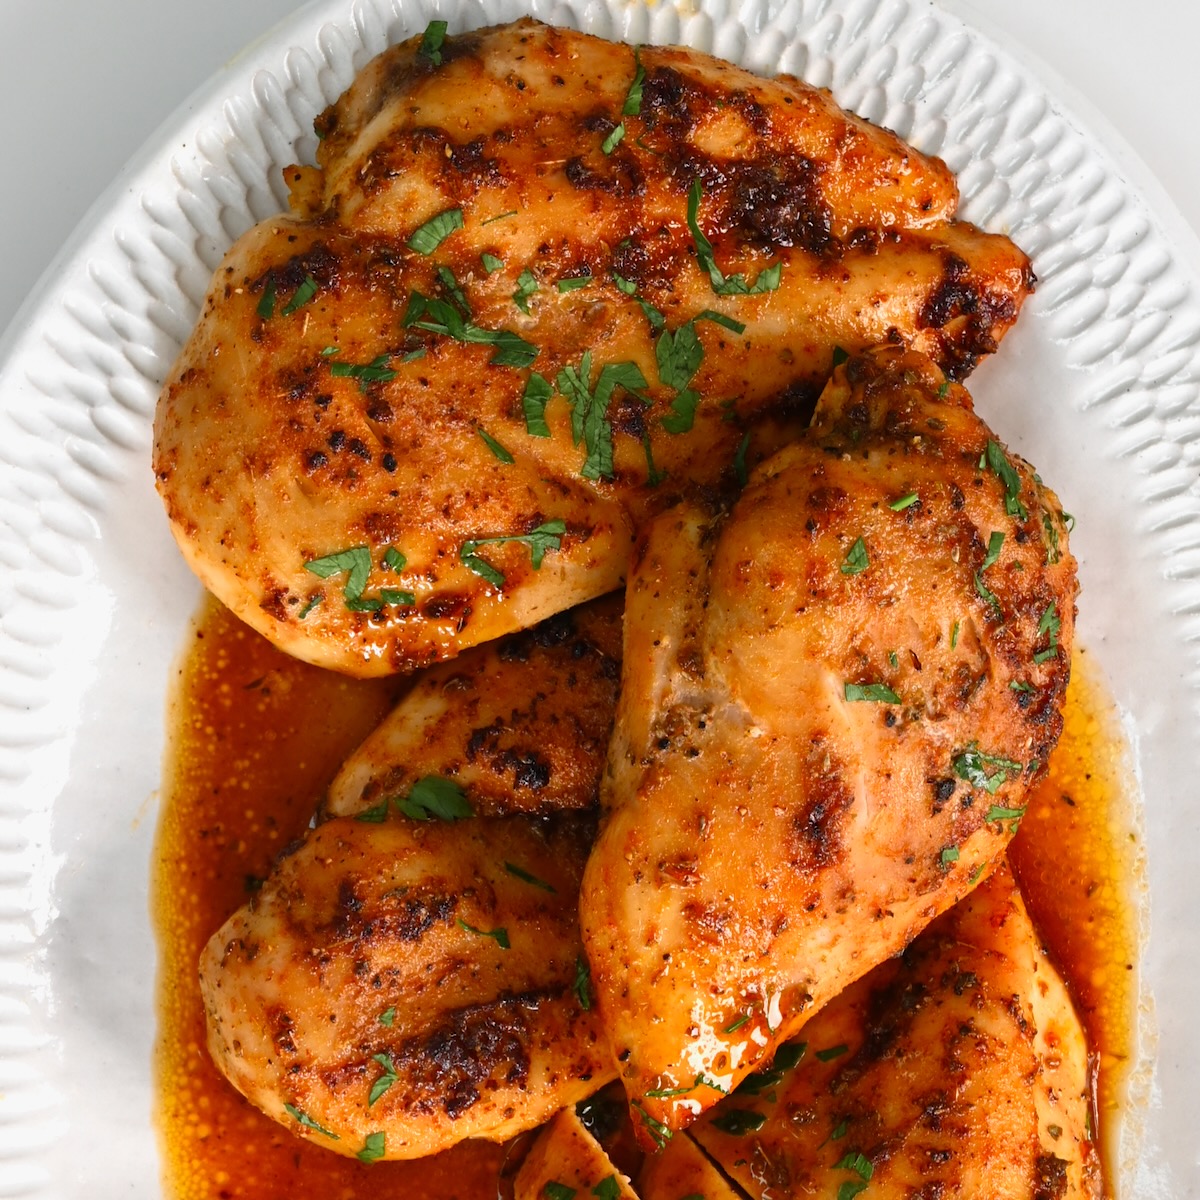
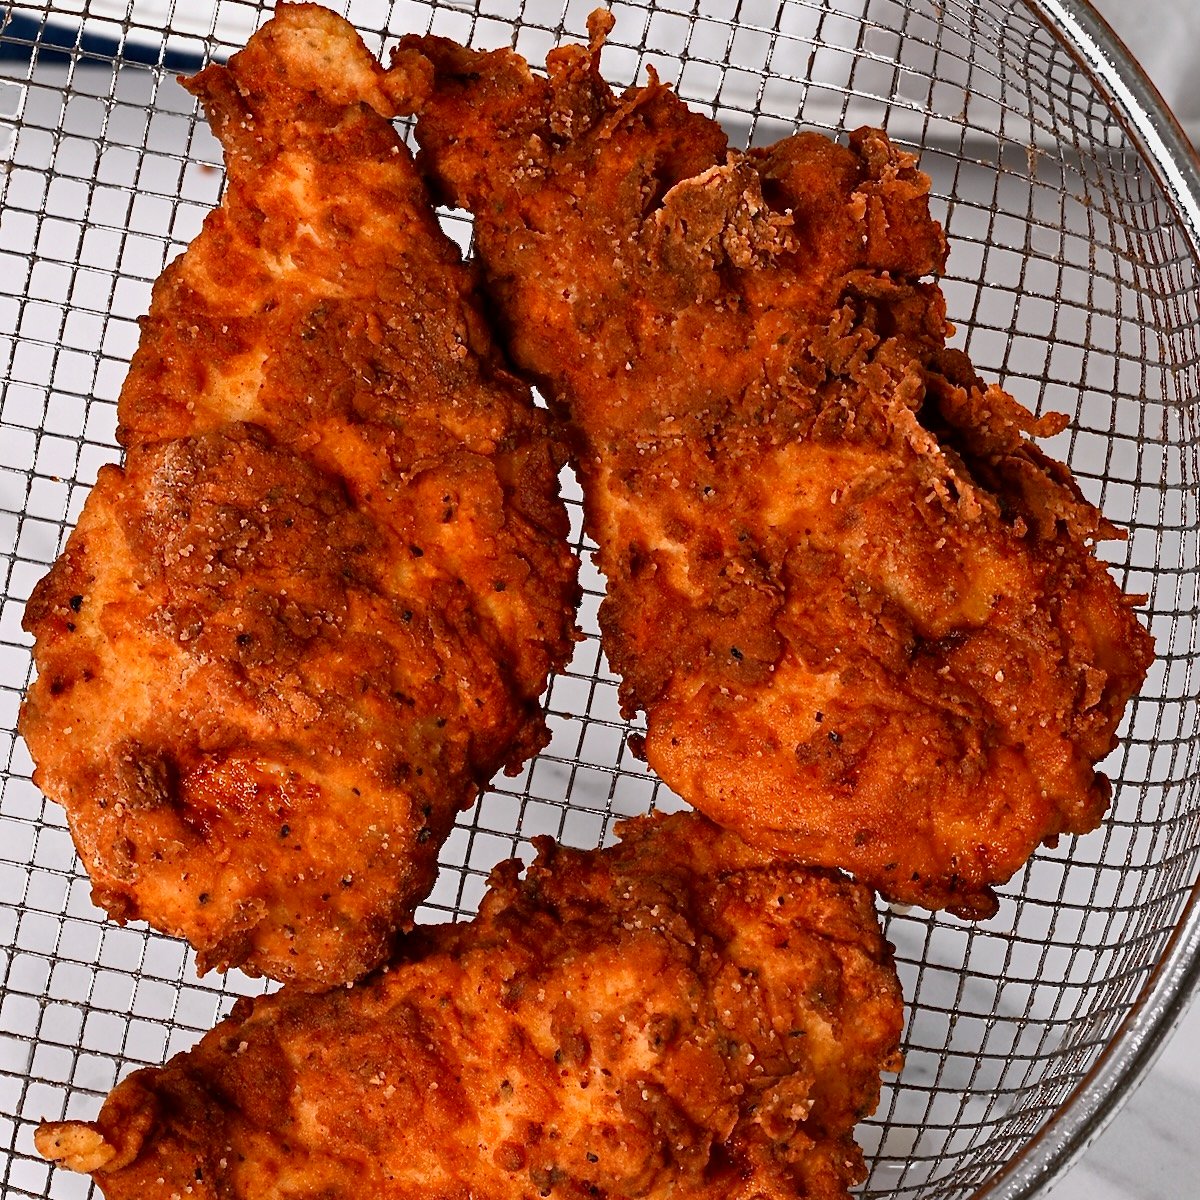
I love using my homemade chicken seasoning (dry rub), which is a combination of garlic powder, onion powder, chili powder, cumin, dried thyme, ground mustard seeds, dried basil, dried rosemary, ground black pepper, salt, paprika, and brown sugar. Alternatively, my current favorite option is making Buffalo air fryer wings with hot sauce!
You can cook chicken wings in several ways, including in the oven, deep-fried, air-fried, or in Instant Pot. While deep-fried wings are dee crispiest, they need a ton of oil.
I peve air-fried chicken wings for achieving crispy skin but with minimal oil. Baked wings will yield the least crispy results.
There’s no need to remove the wings’ skin before cooking them (or after unless preferred).
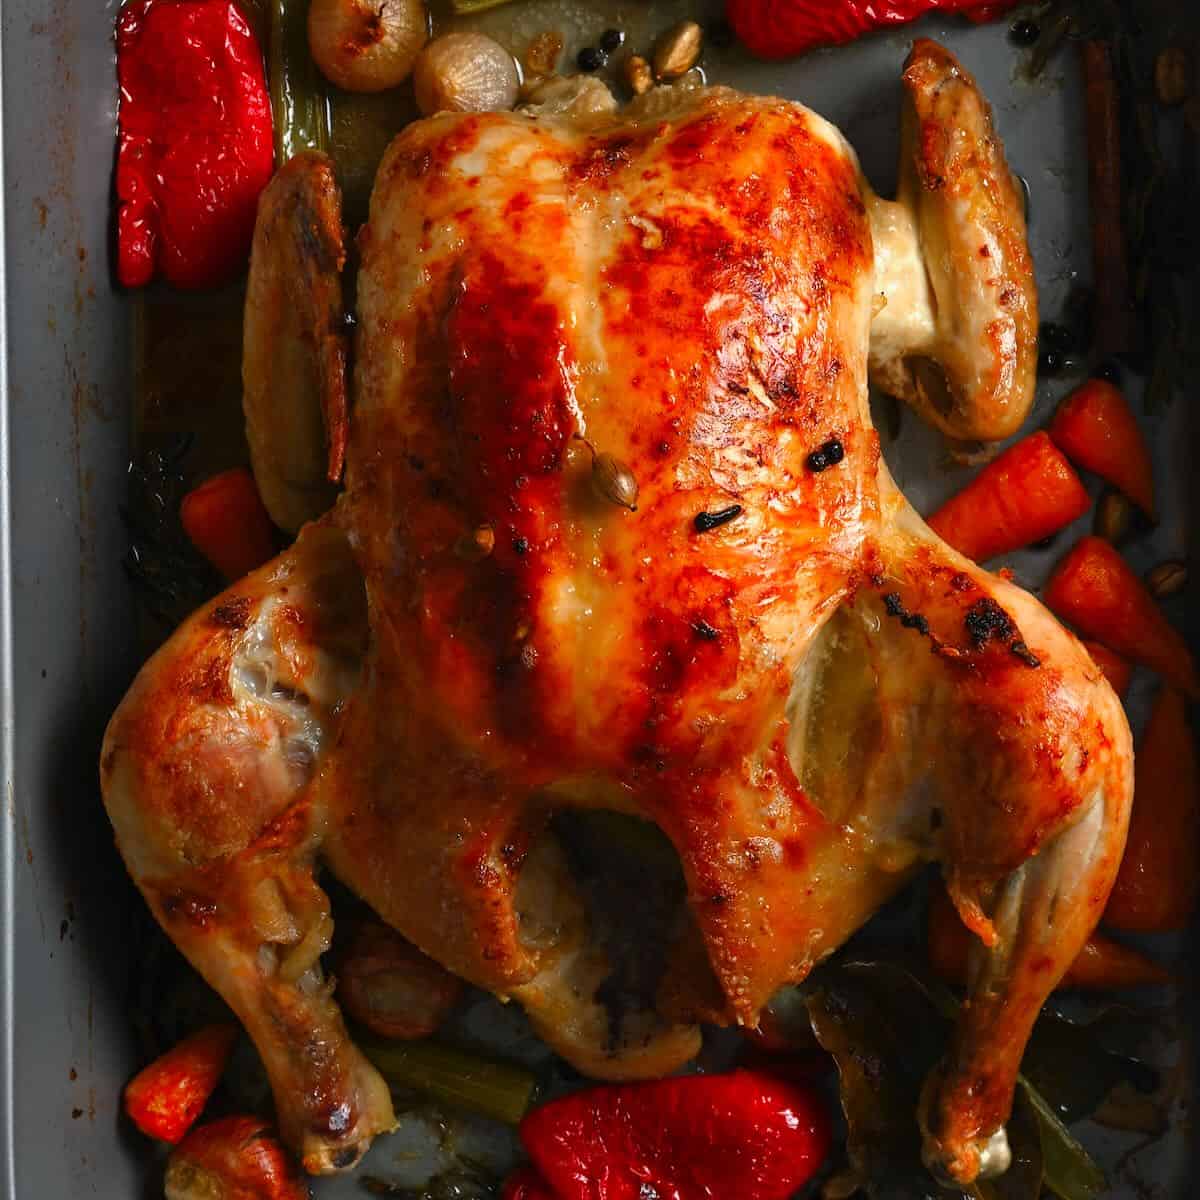
You can cook whole chicken wings. They’re just more awkward to eat.
Spread the chicken across a lined baking sheet, ensuring the wings aren’t touching, and freeze until solid (about 2-3 hours). You can then transfer them to a Ziplock bag or freezer-safe container.
Raw meat will maintain its quality better/longer when frozen due to the additional moisture in the meat.
Freezing cooked chicken follows the same process as raw. Start by flash-freezing them, not touching, on a baking tray, and then transfer them to a Ziplock/container. Freeze them within 2 hours of cooking them.
Whether you freeze cooked or raw chicken wings, I recommend storing chicken in the freezer for 6 months for optimal quality, up to 1 year.
While, technically, when kept at 32ºF/0ºC, chicken will keep indefinitely, I aim to use mine within 6-9 months.
More Recipes With Chicken
- Perfect Oven Baked Chicken Breast
- Whole Roasted Chicken – Air Fryer or Oven
- Crispy Fried Chicken Breast
- Chicken and Rice Soup
- Chicken Shawarma
- Grilled Chicken – Shish Tawook
If you try this easy method for how to cut full chicken wings, I’d love to hear your thoughts/questions below. Also, I’d appreciate a recipe card rating below, and feel free to tag me in your recipe recreations on Instagram @Alphafoodie!
How to Cut Chicken Wings
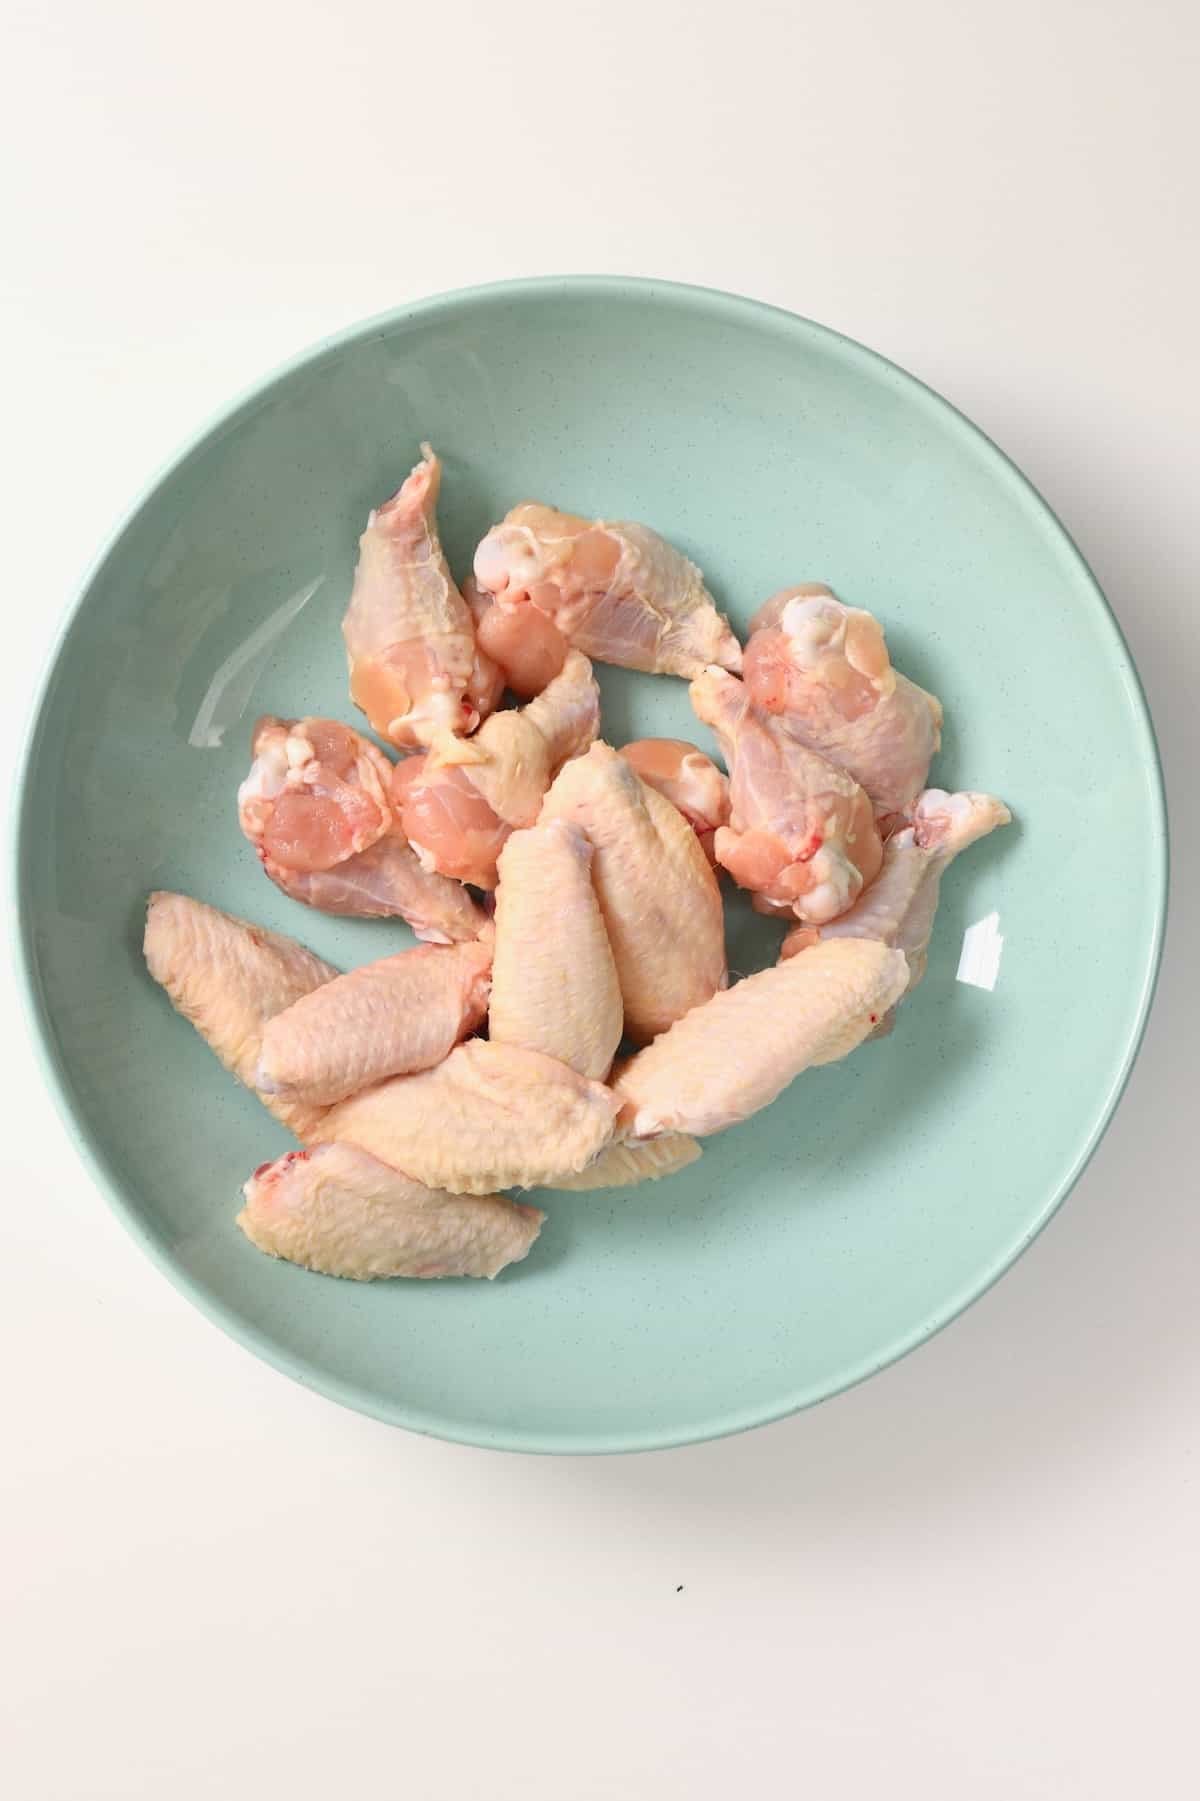
Ingredients
- 2 lb chicken wings
Instructions
- Pat the chicken wings dry if they're slippery at all.
- Place the chicken wing skin-side down (stretched out) on your cutting board so you can see the various joints in the wing – they look like a bump/ball. You should also be able to feel the ridge between them with your fingers (wear gloves if preferred).
- To separate the tip, locate the ridge between the tip and wingette, place the knife along the ridge, and cut to separate the two pieces.Make sure to place the knife over the cartilage (the ridge), not the bone. That way, there should be little resistance when cutting chicken wings. If there is some, give the knife a wiggle to find where there's less resistance, keeping a grip on the wing.
- To separate the drumette from the wingette, find the ridge between the drumette and wingette part of the wing and place your knife alongside that, running parallel to the shape of the drumette. Then, use your knife to cut through it with little resistance.You can use the chicken portions immediately or save them for later.
Storage Instructions
- Once cut, place the sectioned chicken wings into a large Ziplock or airtight container and store them back in the fridge. Refer to the original packaging for their use-by date.Once cooked, it's best to store the chicken for 3-4 days in an airtight container in the fridge.
Notes
- Save the wing tips in the freezer to make chicken stock, or add them to other broths for more flavor.
- If you’re a beginner at cutting wings, you could pull the joints backward until they “pop” (aka dislocating the joint) and slice in the loose spot.
Nutrition
Nutrition information is automatically calculated, so should only be used as an approximation.


