
This post may contain affiliate links. Please read our disclosure policy.

Drying herbs at home is an easy, budget-friendly way to extend the shelf life of your food – and this is my fool-proof guide to getting perfect dried chives.
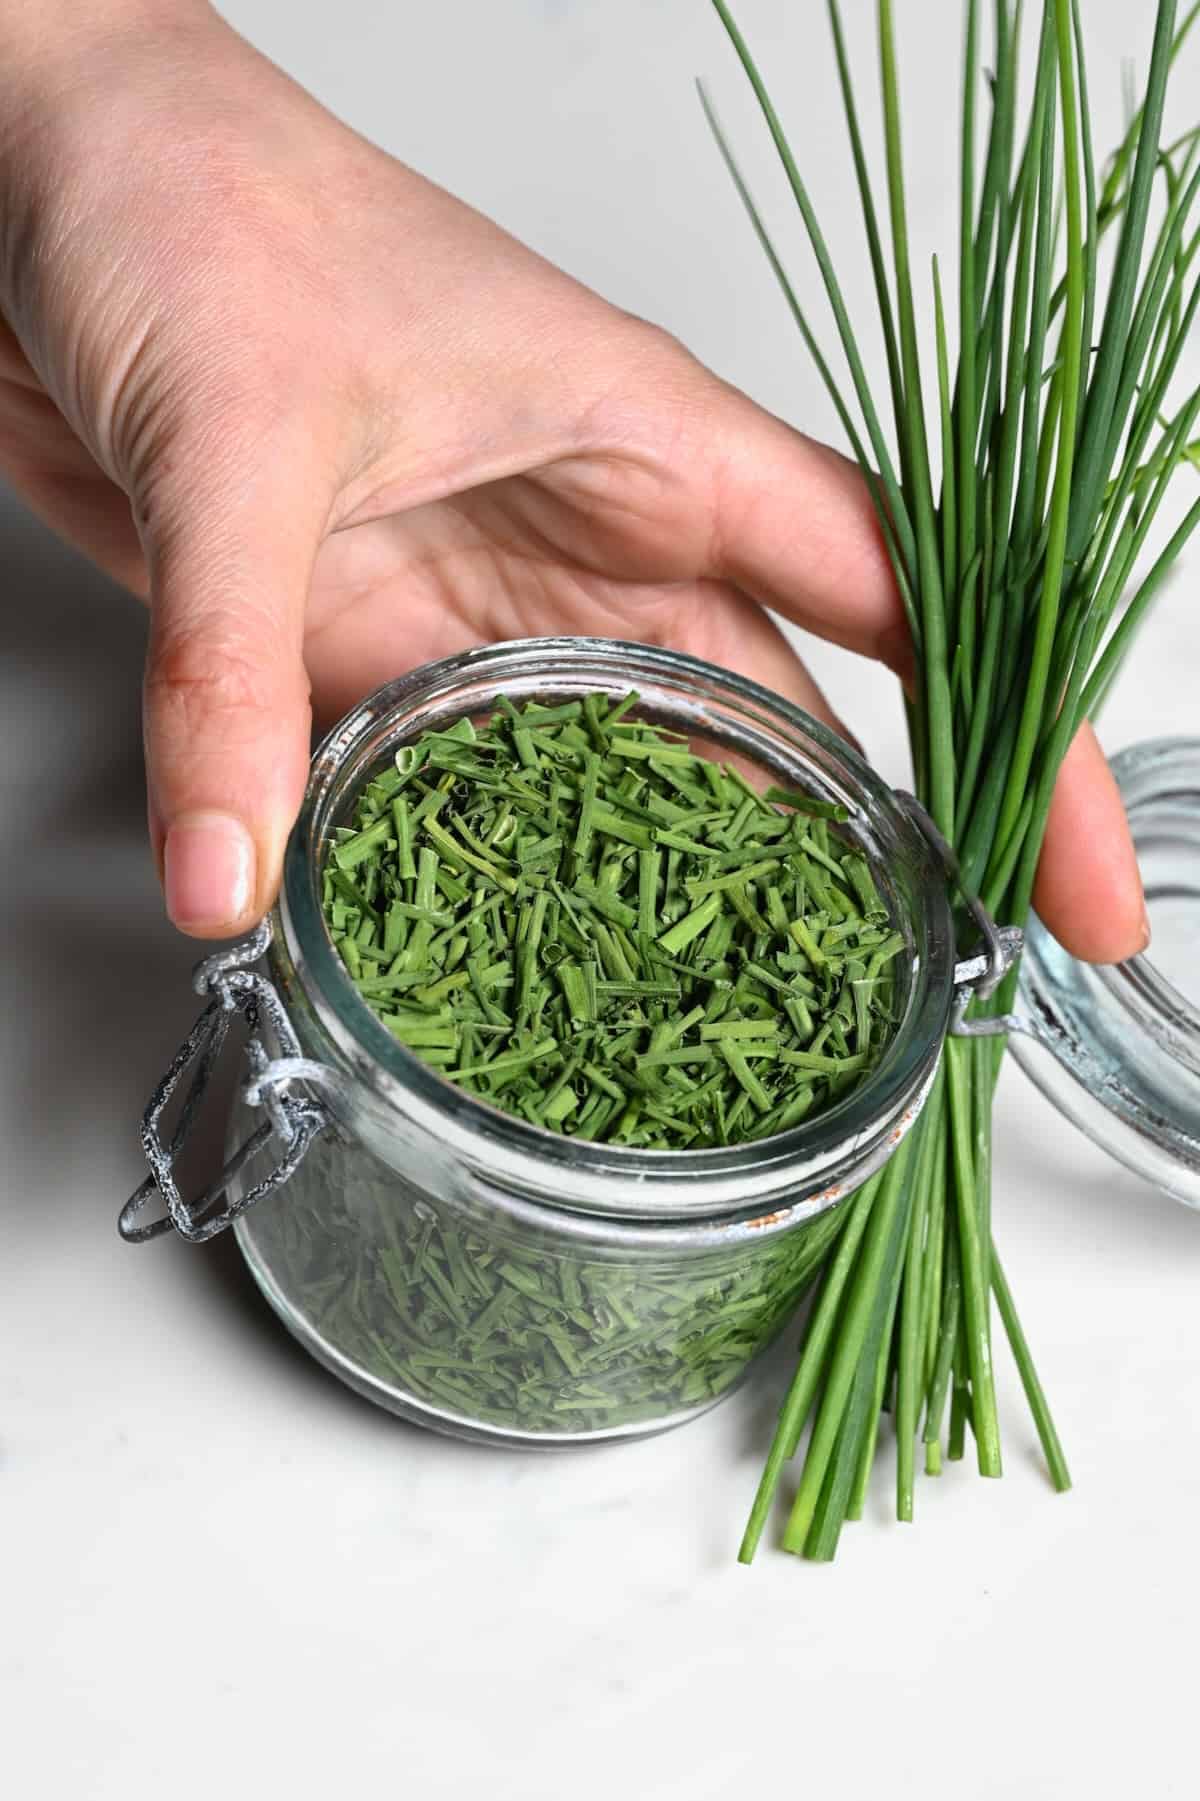
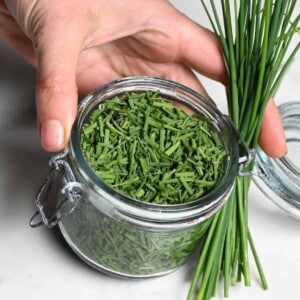
Chives dry beautifully at home and keep their bright color and oniony flavor for months. They’re easy to prep, quick to dry, and perfect for sprinkling over eggs, potatoes, dips, and more. Here’s how to dry them using the method that works best for me.
Want to save this recipe?
How to Dry Chives
There are three methods for drying chives. You can use any variety of chives you prefer. There isn’t much difference when it comes to the popular garlic chives vs chives for drying – but if you want a stronger taste, go for garlic chives.
So, let’s learn how to dry chives.
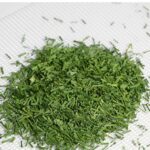
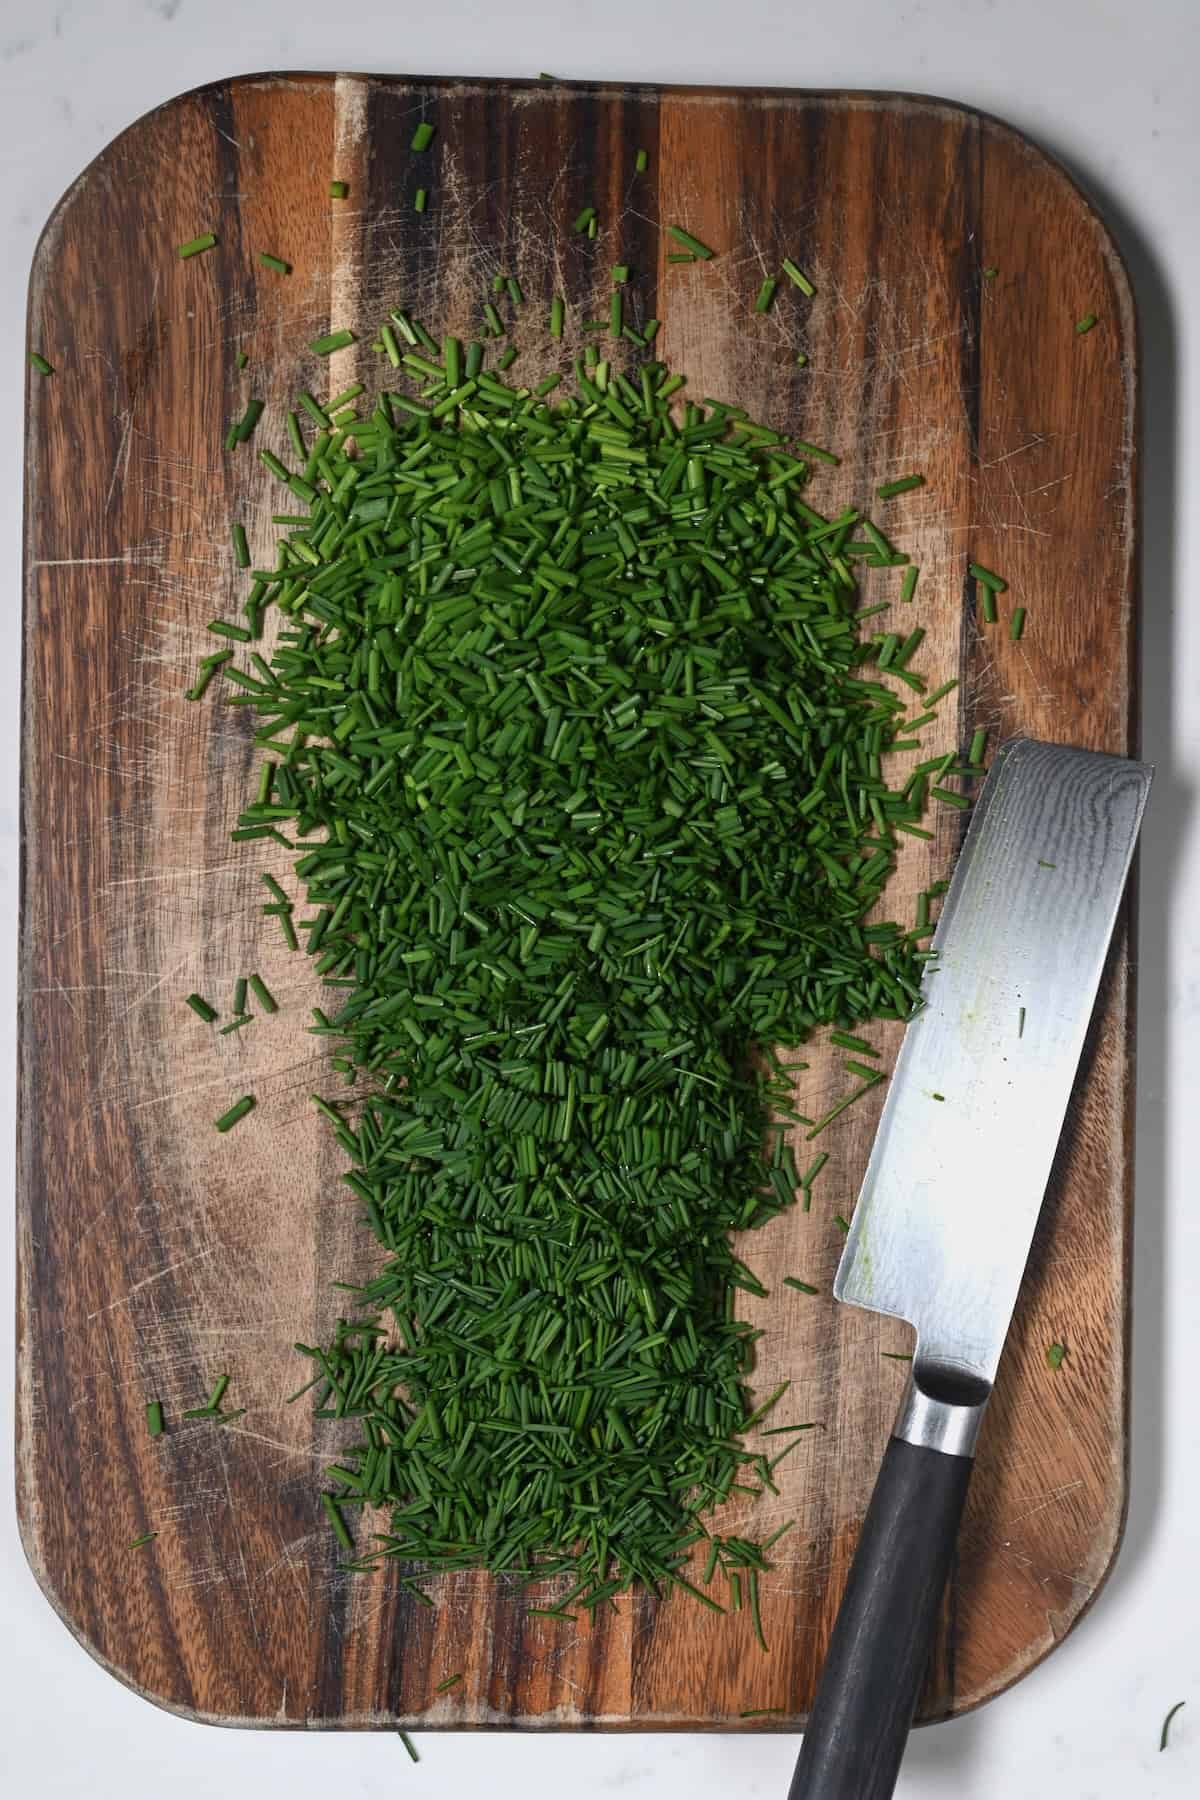
To start, rinse your fresh chives to be dried and pat dry. Cut the chives into even pieces (unless you’re air drying).
In a Dehydrator
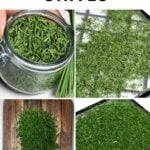
To dehydrate chives in a dehydrator, place the pieces on the dehydrator tray in a single layer. As they’re small pieces, you’ll want to use a sheet on the tray or place one on the bottom of the dehydrator. Some of them might fall through the cracks because of the circulation of the air.
Dry them at 105ºF/40ºC for around 3-5 hours or longer. You want to wait until the dry chives crackle and crumble easily.

In the Oven
For drying chives in the oven, line a baking sheet with parchment paper. Then dry chives in a single layer on the tray.
Turn the oven to the lowest temperature. Many ovens now have dehydrating features, so set it at 125ºF/52ºC or if possible 105ºF/40ºC. Dry for 3-5 hours.
If your oven doesn’t go that low, set it at 170ºF/75ºC, then keep the door open with a wooden spoon to allow air circulation. Dry for 2-3 hours. They should be easy to crumble.
In the Microwave
To dry chives in the microwave, place your chopped chives between two paper towels. Microwave for 30 seconds at medium to high power. Check on them and remove any that are dried. Repeat the cycle until all pieces are brittle and crumbly dry.
Air Drying
Air drying is the best way how to dry chives without using any appliances. Collect the chives in a loose bundle – don’t chop them! – and tie the stems at the bottom with twine or a rubber band.
Hang them upside down in a warm, dry place. You can loosely wrap a mesh or paper bag around them to protect them.
Air-drying chives will take anywhere from 8 hours to a full week to dry completely, depending on your climate and how hydrated the chives are.
How to Use Dried Chives
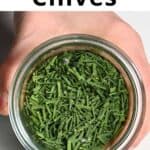
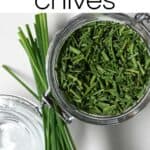
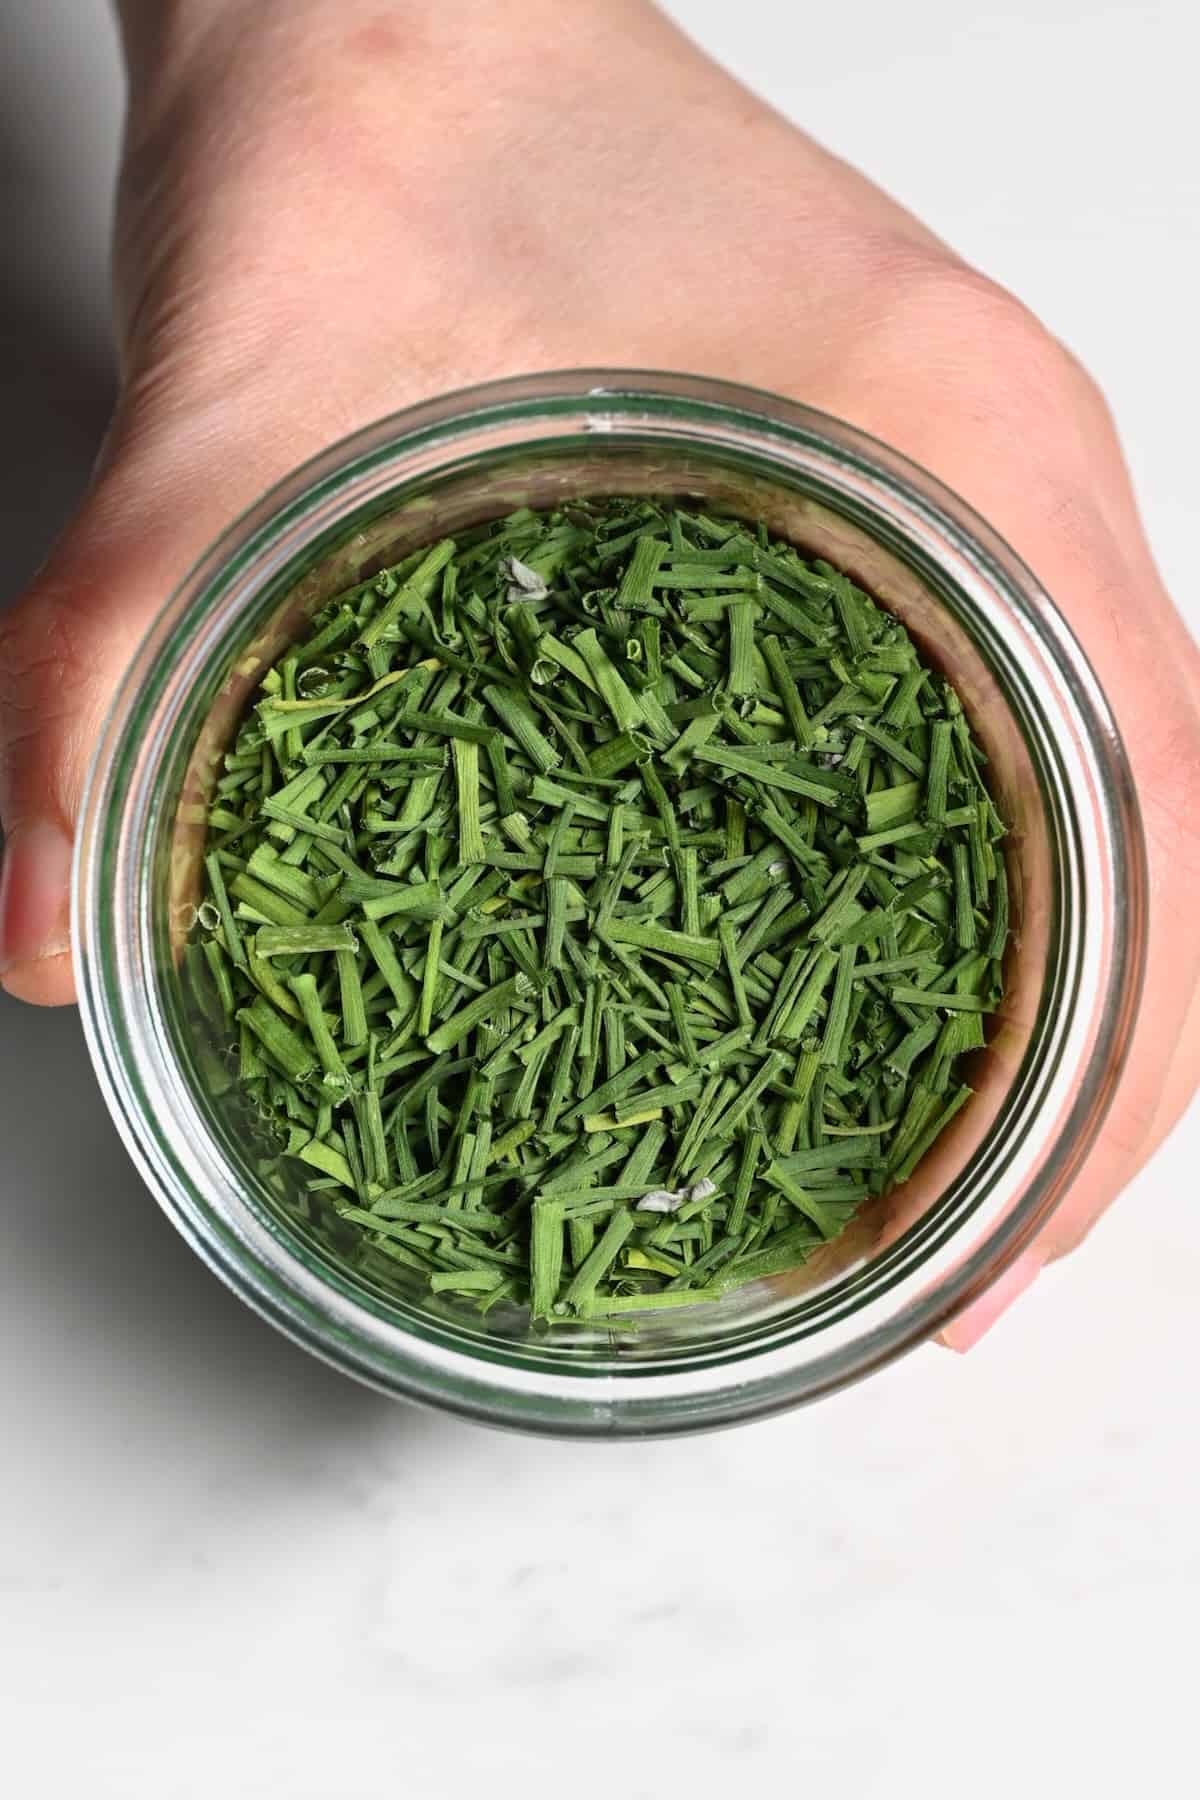
Store the dried chives in a cool dry place in a glass or mason jar. Then used them in your favorite recipes:
- Sprinkle over a bowl of mashed potatoes or top with sour cream over my baked potatoes,
- Mix into a sour cream dip, sauces, or herb/chive butter,
- Use to garnish an omelet or scrambled eggs,
- Use as a garnish for salads or soups that need a boost of flavor.
How to Rehydrate Dried Chives
Put the dried chives in a bowl of warm water and let them sit for 10-15 minutes.
FAQs
For 1 tablespoon of fresh chives, substitute 1 teaspoon of dried chives.
Chinese chives have flowers, which can be tossed in a salad or used as a garnish. Separate the chive blossoms from the chive leaves and dry them separately – flowers need more time to dry out.
Fresh chives, fresh scallions, and garlic.
More Drying Tutorials
- How to Dry Green Onions
- How To Dry Mushrooms
- 3 Methods To Dry Thyme
- How to Dry Sage Leaves (4 Methods)
- How to Dry Parsley
If you try any of these methods for how to dehydrate chives, let me know how it goes in the comments below. I’d appreciate a recipe card rating and would love to see your recipe recreations – tag me on Instagram @Alphafoodie!
How to Dry Chives
Equipment
- Dehydrator or oven or microwave
Ingredients
- 3.5 oz chives or as much as needed
This will yield about 0.35oz/10 g of dried chives
Instructions
- Rinse your fresh chives and pat them dry well to remove as much moisture as possible.
- Cut the chives into even pieces (unless you’re air drying) using a sharp knife or kitchen scissors.
Using a Dehydrator
- Place the pieces on the tray in a single layer. As they're small pieces, you'll want to use a sheet on the tray or place one on the bottom of the dehydrator. Some of them might fall through the cracks because of the circulation of the air.
- Dry them at 105ºF/40ºC for around 3-5 hours or longer. You want to wait until the dry chives crackle.
In the Oven
- Line a baking sheet with parchment paper. Then place the chives in a single layer on the tray.
- Turn the oven to the lowest temperature. Many ovens now have dehydrating features, so set it at 125ºF/52ºC or if possible 105ºF/40ºC. Dry for 3-5 hours. If your oven doesn't go that low, set it at 170ºF/75ºC, then keep the door open with a wooden spoon. Dry for 2-3 hours.
In the Microwave
- Place your chopped chives between two paper towels. Microwave for 30 seconds at medium to high power. Check on them and remove any that are dried. Repeat the cycle until all pieces are brittle and crumbly dry.
Air Drying
- Collect the chives in a bunch – don't chop them! – and tie the stems at the bottom. You can loosely wrap a mesh or paper bag around them to protect them.
- Hang them upside down in a warm, dry place. Air-drying chives will take anywhere from 8 hours to a full week to dry completely, depending on your climate and how hydrated the chives are.
Notes
Nutrition
Nutrition information is automatically calculated, so should only be used as an approximation.


Took longer than I expected, but I’m just learning. My next batch I’m going to cut up smaller.
Thank you so much for your comment, Michele! Cutting them smaller should help dehydrate them faster indeed. 🙂
I have an herb garden and always grow chives. Last year I dried them using my Instant Pot Air Fryer lid and the flavor was unreal. Better than fresh. Now I have a stand alone air fryer, but you can’t set it for as low as temp. I’ll try your oven method. Thanks for writing about this!
Thanks for your comment, Patty. The fresh chives from your herb garden must be amazing! Let me know how it goes when you give this a try 🙂