
This post may contain affiliate links. Please read our disclosure policy.


This blog post covers not only how to grow wheatgrass at home with and without soil (which is ridiculously simple to do!), but also some of its suggested uses!
My introduction to Wheatgrass was seeing it on a TV show growing up as the go-to for a morning ‘shot of health’. But in terms of money, a daily shot of Wheatgrass bought from your local juice shop is sure to add up. Now, this post will show you how to grow Wheatgrass at home to save your pennies.
Want to save this recipe?
What is Wheatgrass?
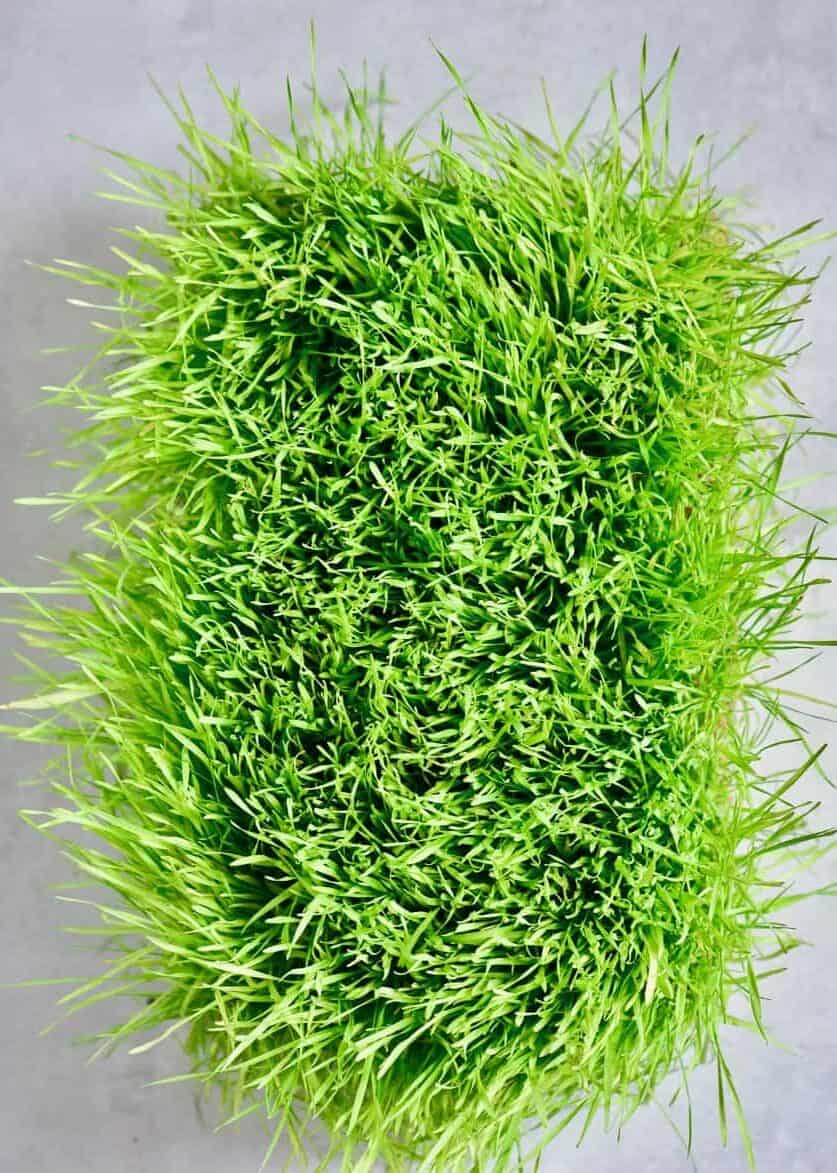
Starting off with something super simple. What is Wheatgrass? It is the first grass of wheat grains, harvested before it reaches full size (usually 7-10 days after sprouting).
How to use Wheatgrass
While Wheatgrass can be bought as a powder or supplement, I will be focusing on uses from homegrown Wheatgrass. Specifically, the most obvious being for your own wheatgrass shots (blog post coming soon!) However, Wheatgrass can also be used to supercharge other juices, smoothies, various other beverages, as well as salad dressings etc.
Super Tip: Wheatgrass has a strong, grassy flavor, so if you’re new to it, start with a small amount and adjust to taste. You can begin by incorporating a 1/2 shot (30ml) into your diet to start with and adjusting the amount over time.
Surprisingly, fresh wheatgrass juice isn’t just for drinking. You can also include wheatgrass juice in your bath, massage it into the scalp (then rinse), or apply it topically to soothe bites and scratches.
I haven’t had the chance to use it for any non-food related reasons as of yet. If you have, please let me know what for and if it worked, in the comments below!
How to Grow Wheatgrass at home
Hopefully, I’ve officially convinced you to add this powerhouse to your diet. With that in mind, let’s get into the details of how to grow Wheatgrass at home, with and without soil.
It’s also worth noting. Once you’ve cut the Wheatgrass, you can allow it to grow a second time for more wheatgrass juice. However, after that, I would suggest growing a new batch.
What’s needed
- Organic wheatgrass seeds
- water
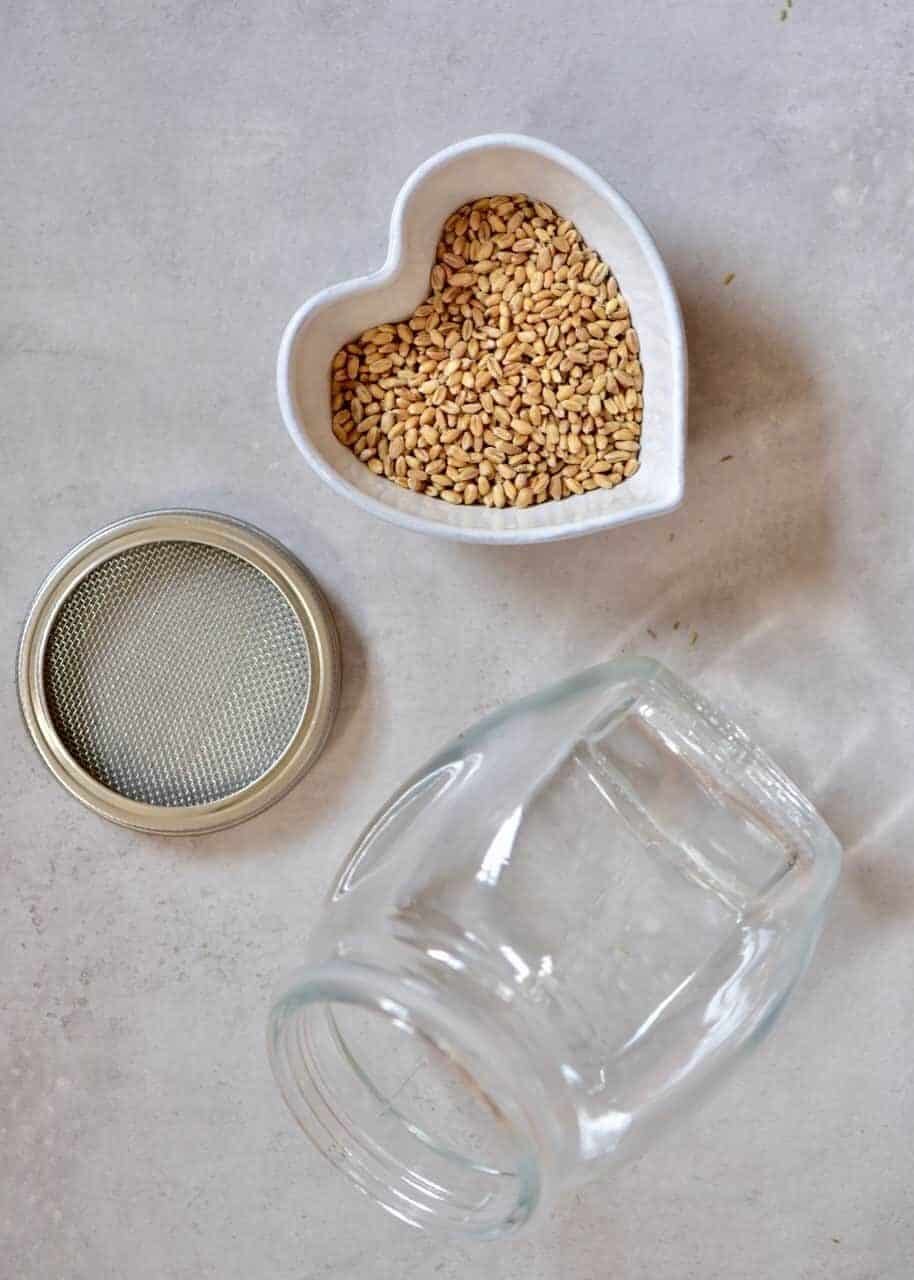
- Sprouting container/glass jar
- Tray
- Soil (if using the Method with soil)
First – sprout the seeds
These first steps are used for both the soil & soilless version.
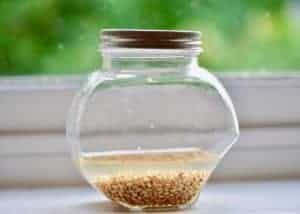
Rinse the seeds then put in a sprouting container and cover with a mesh. Add 1 cup of water and soak for 8 hours.
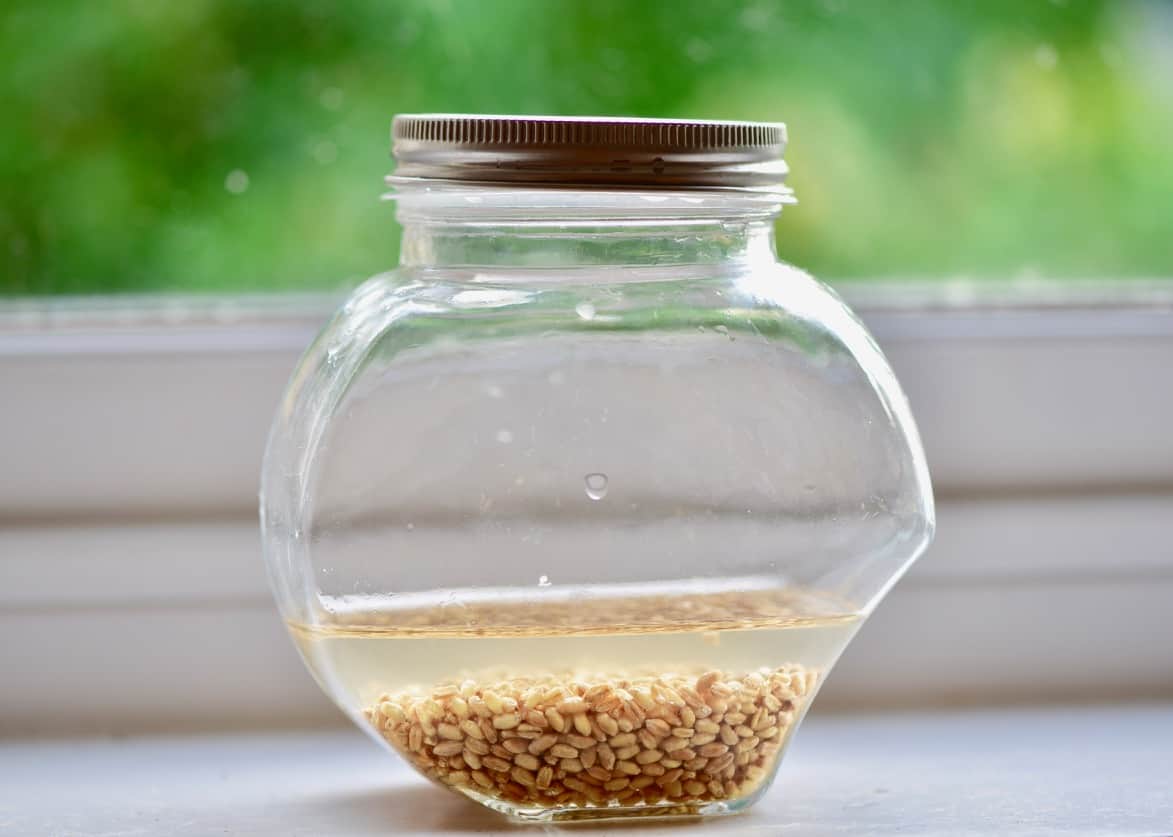
Drain and rinse well.
Fill the container with water, invert it and let the water drain through the mesh. Leave it upside down.
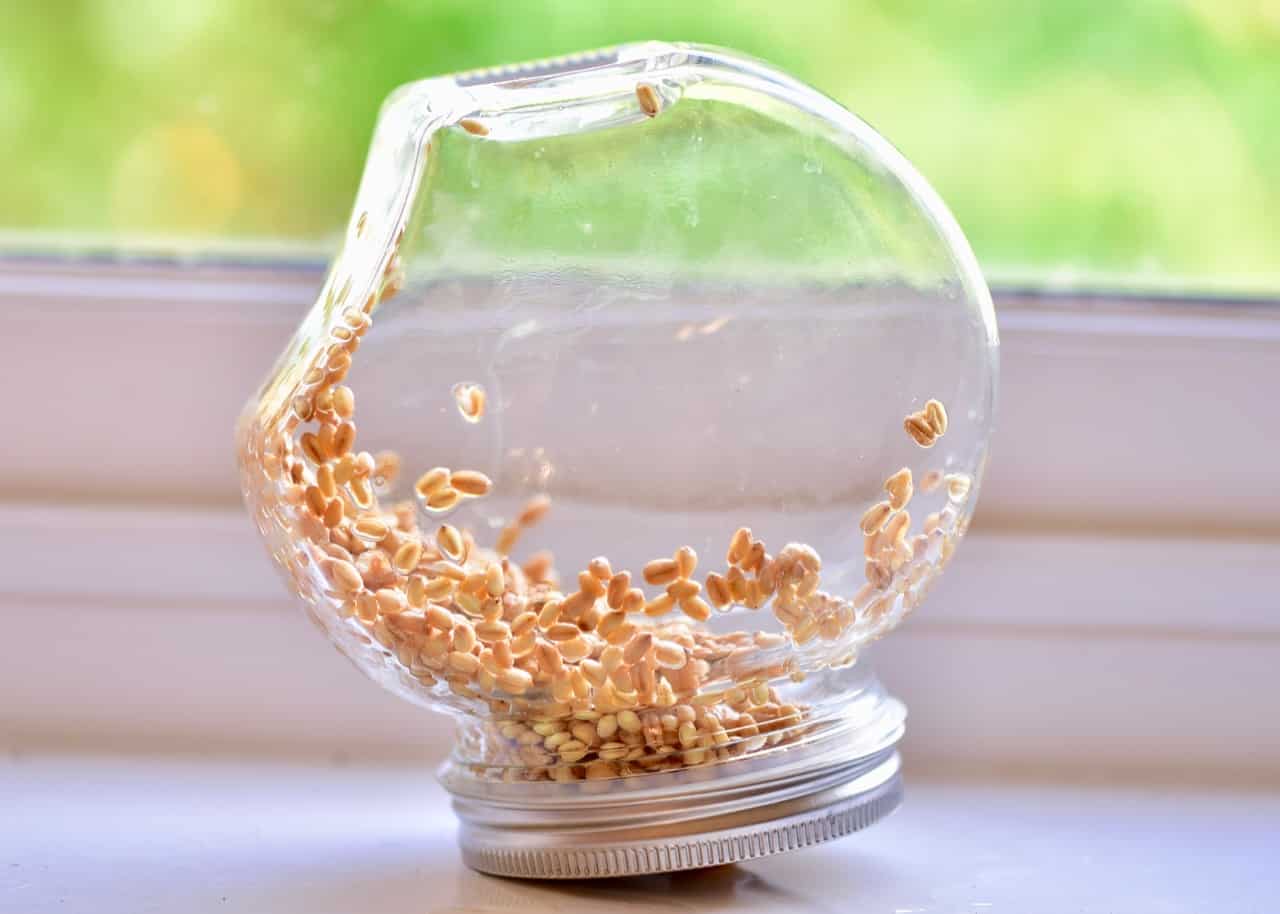
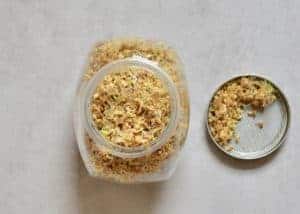
Rinse the seeds 2-3 times a day for 2-3 days. Tiny sprouts form within 2-3 days.
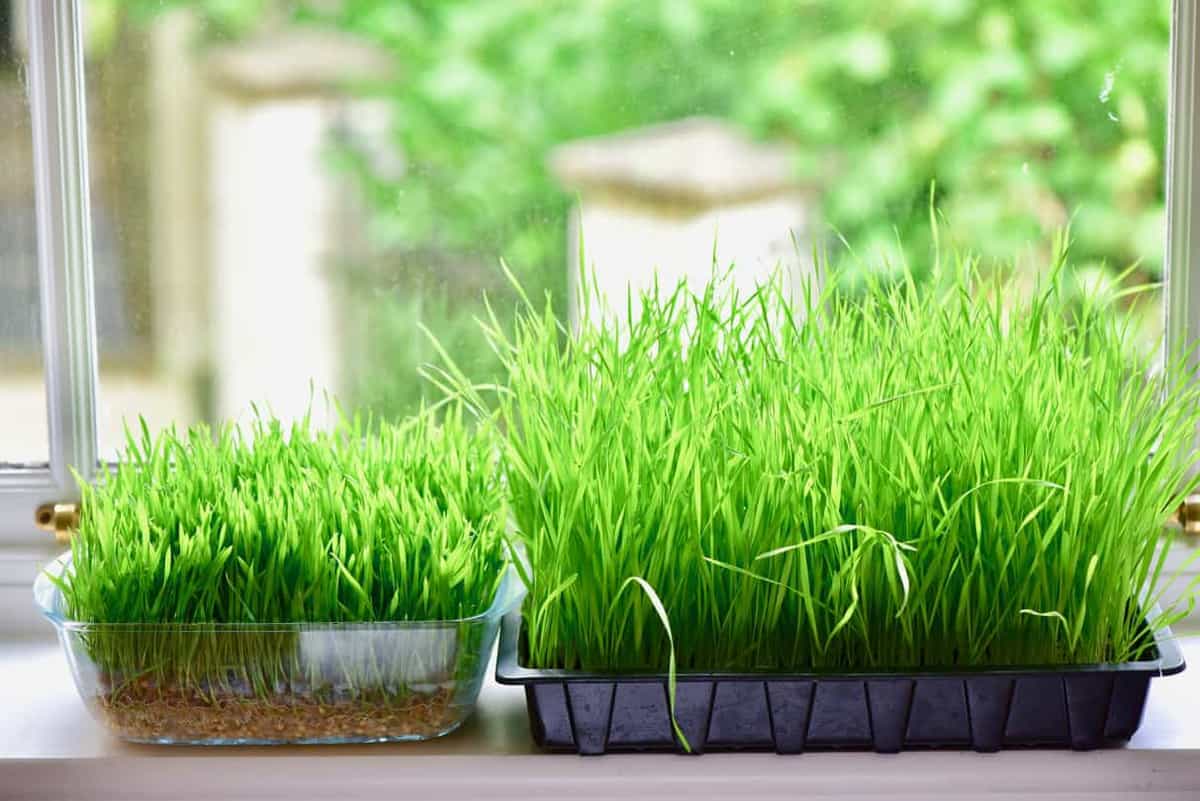
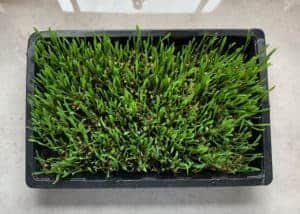
How To grow Wheatgrass with soil
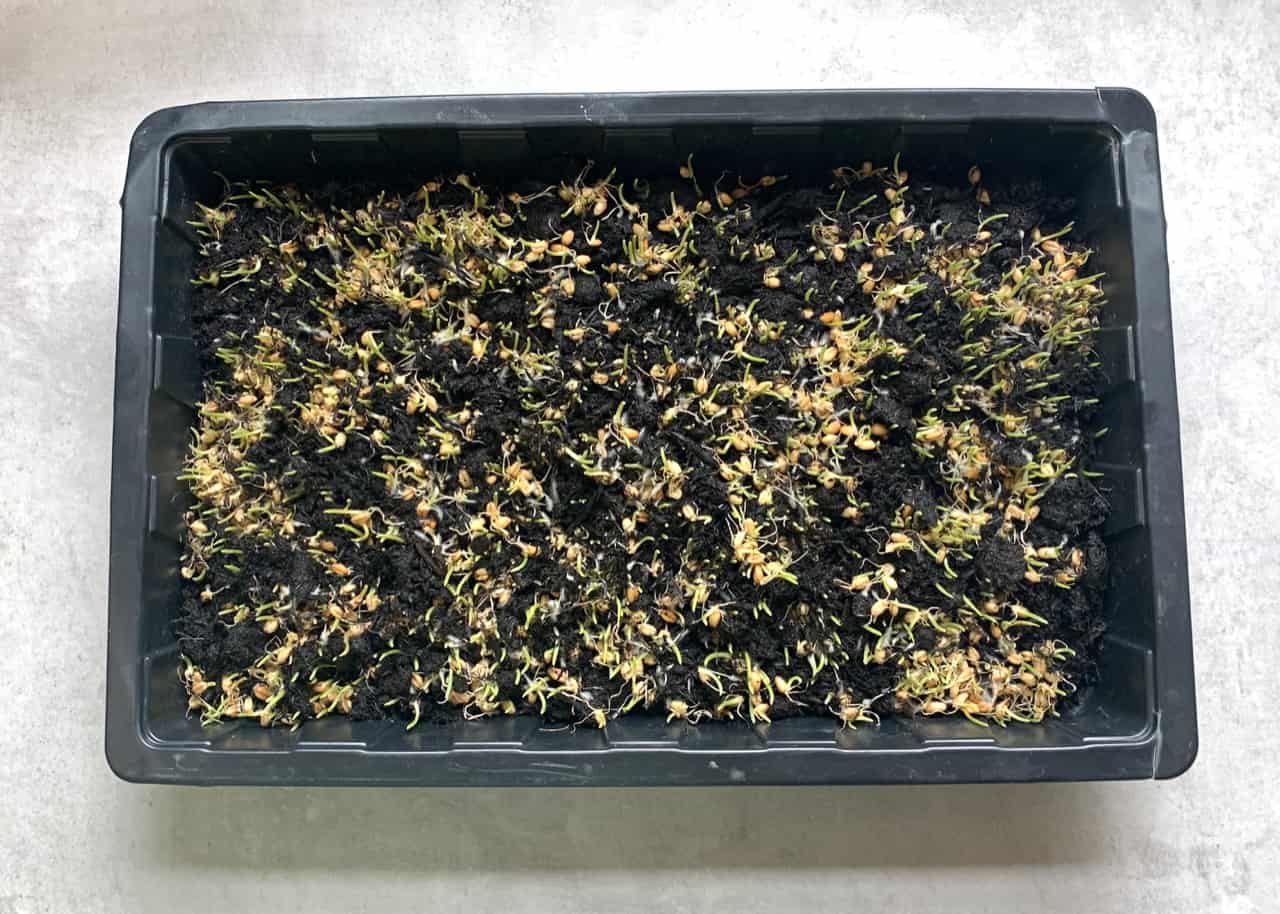
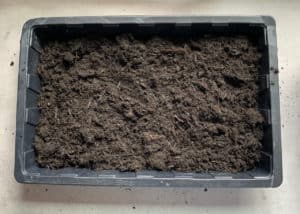
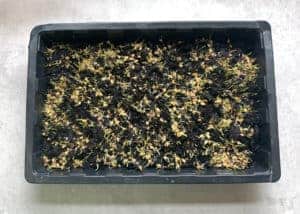
When the sprouts appear, it’s time to plant. Add 1 inch (2.5 cm) organic compost/ planting soil to a tray (with holes at the bottom) and water it. Sprinkle the seeds across the soil.
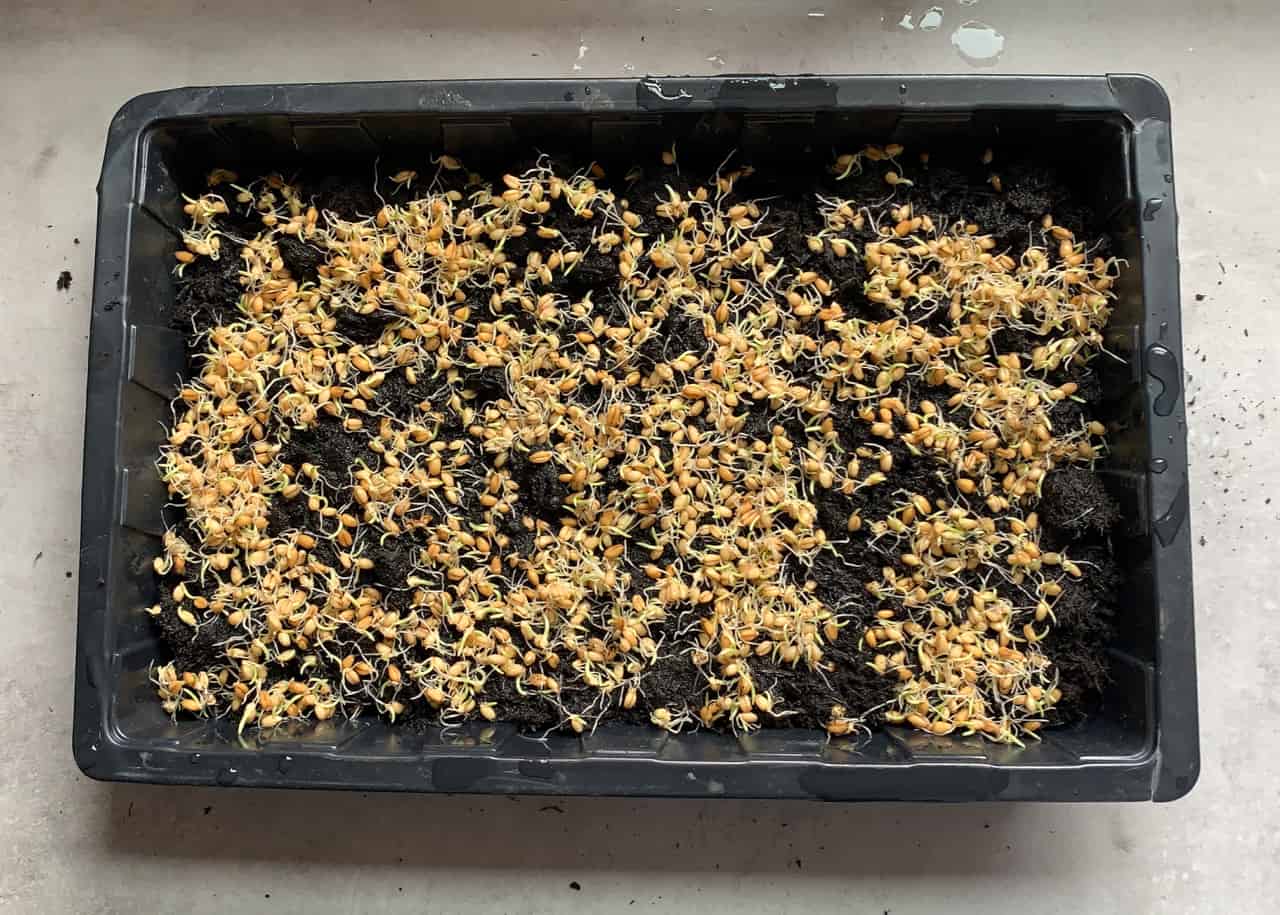
Cover the tray with a lid or a newspaper. The darkness will help it grow. Spray it with water daily.
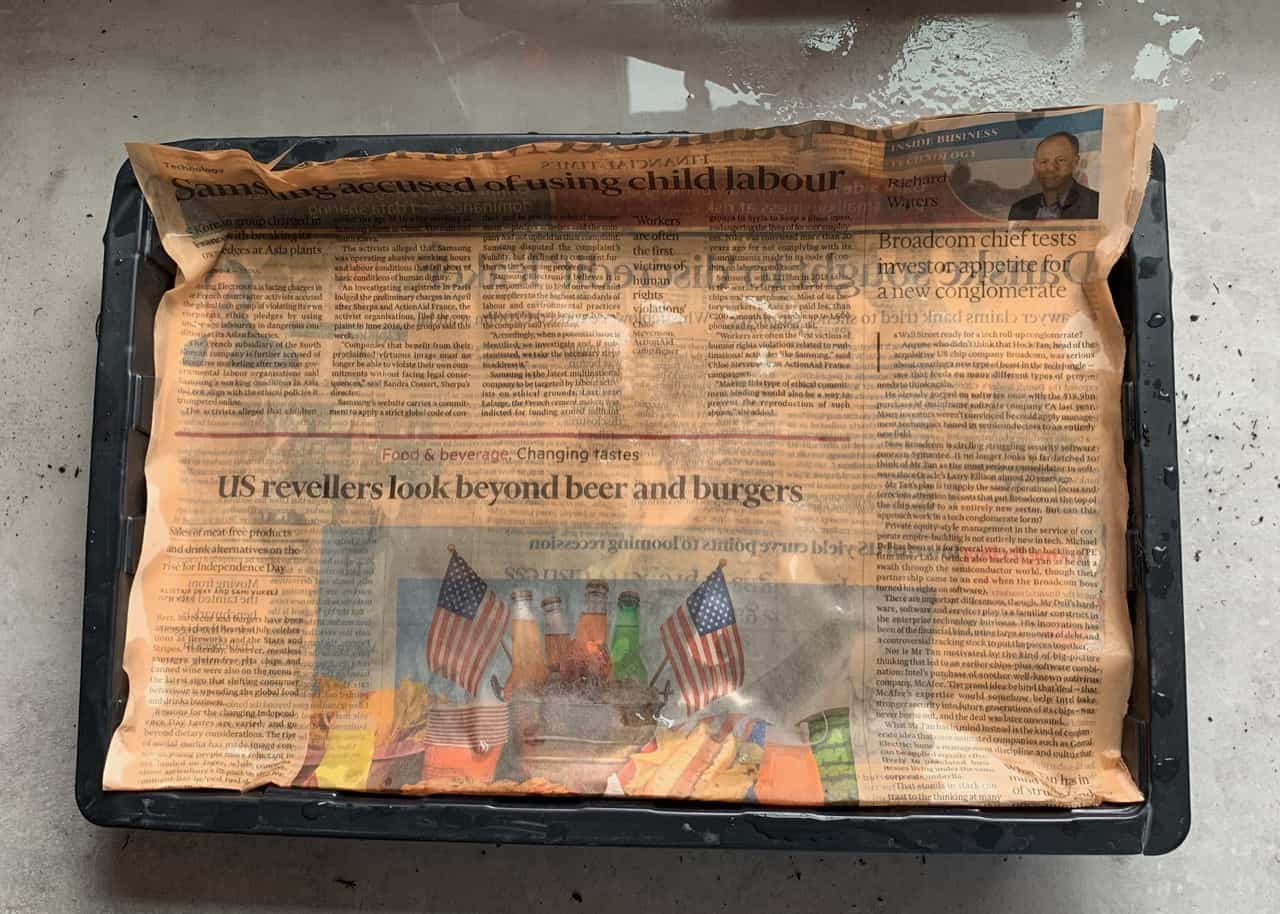
Remove the lid/newspaper when the grass reaches about 1-2 inches (2.5-5 cm) and continue to water daily.
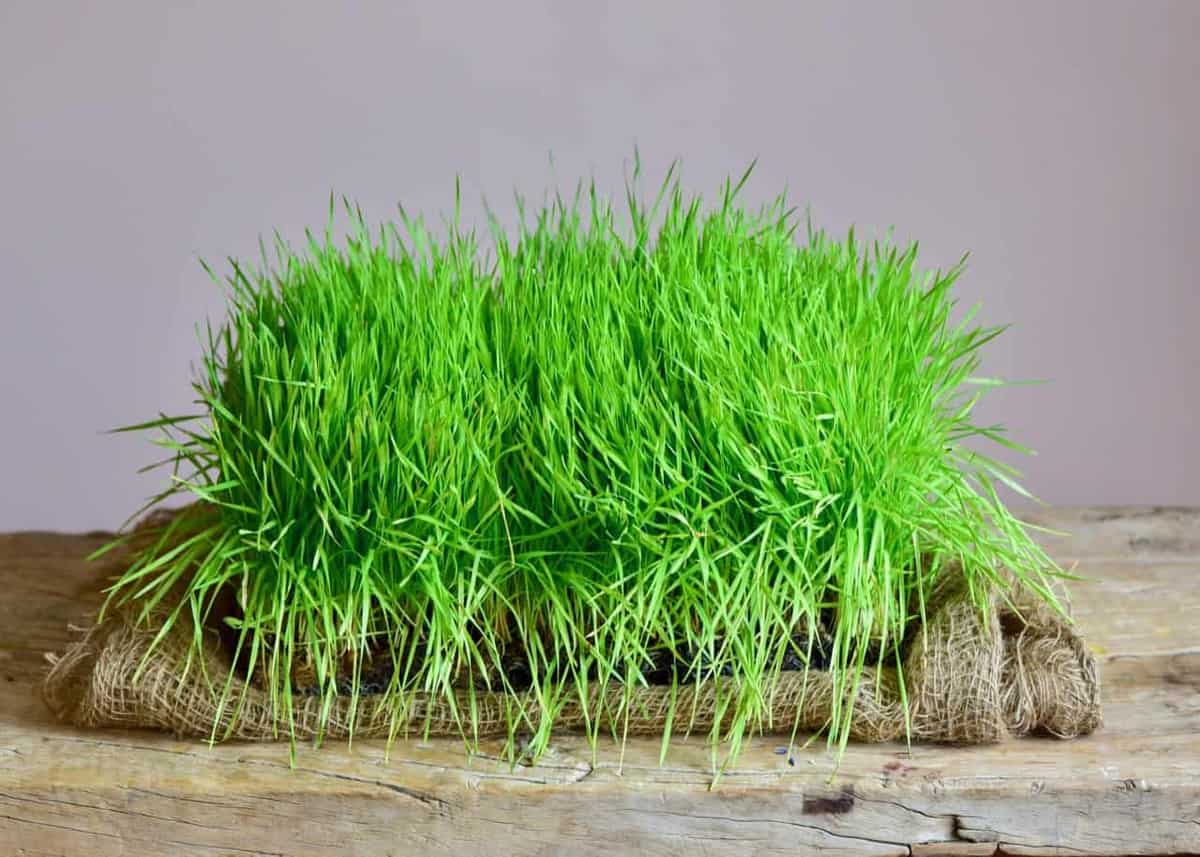
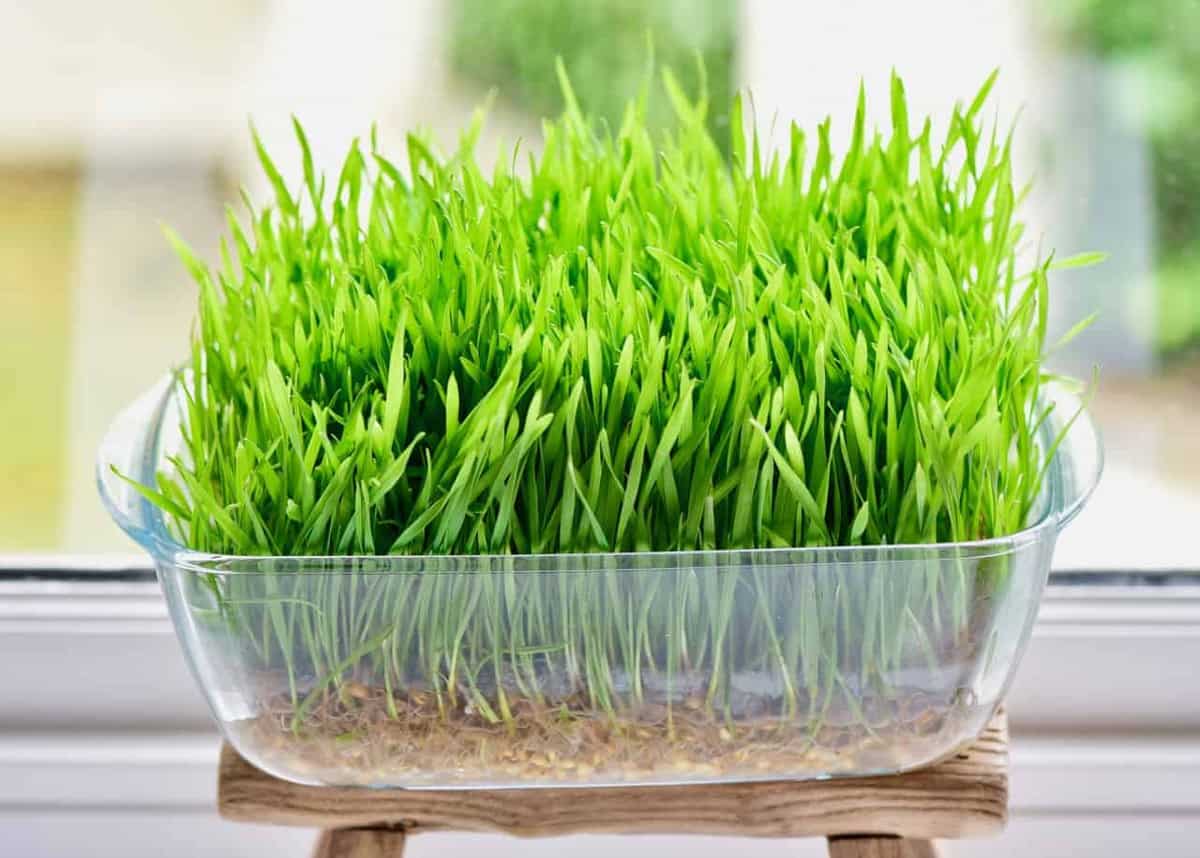
You can harvest when the grass reaches about 5 inches (12 cm). Simply cut the grass close to the root.


How to Grow Wheatgrass Without Soil
Growing wheatgrass without soil is the cheaper, prettier option. However, without the nutrients given to the plant by a good quality organic compost, the plant itself will also grow to have fewer nutrients. It is also more hands-on, in terms of the growth process.
That’s not to say that it’s pointless to use this method for juicing. However, it’s just something worth noting if you want to take advantage of the maximum amount of nutrients that you can.
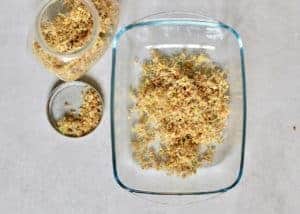
Growing Wheatgrass without soil is fairly similar to the first method. First you need to use the exact same method for sprouting the wheat.
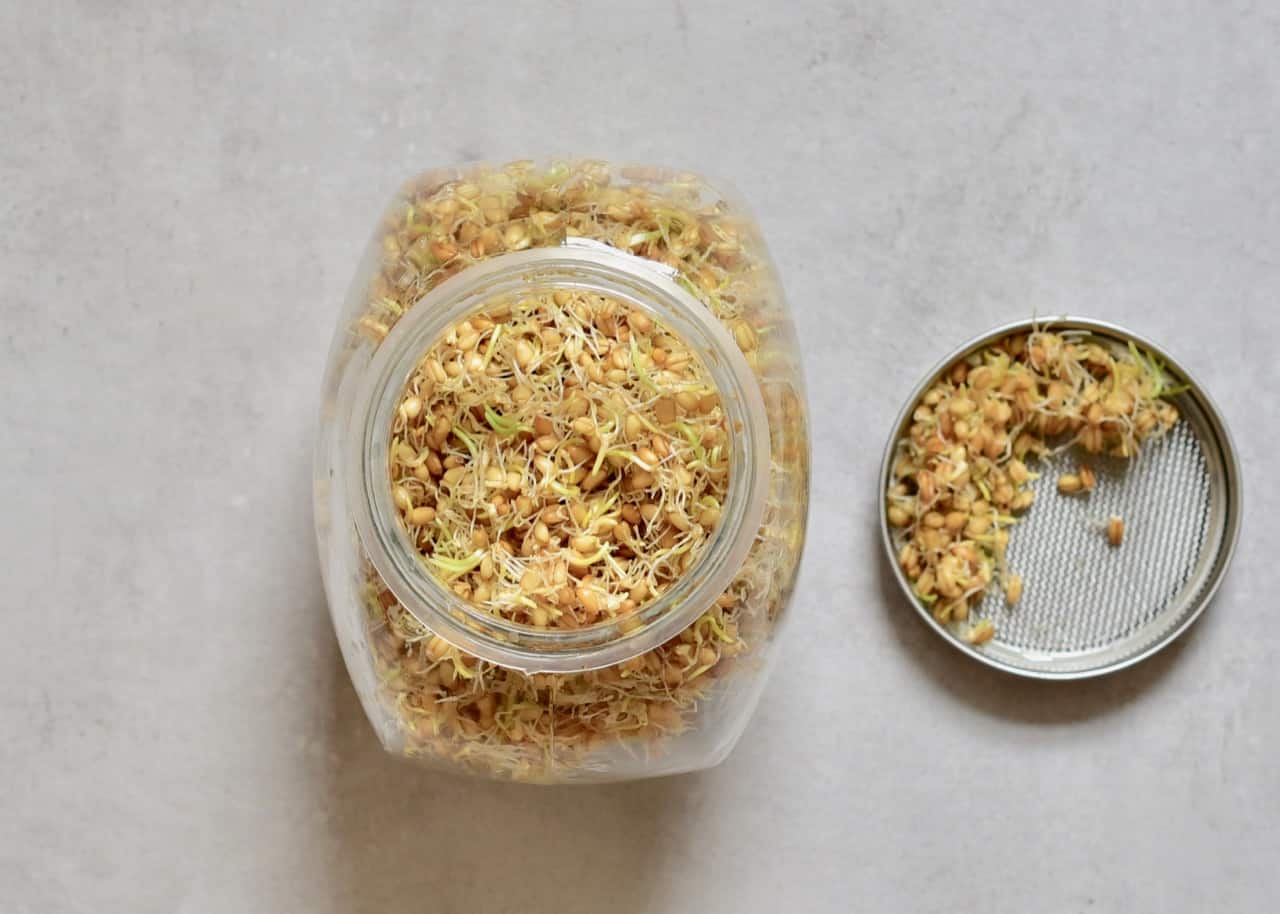
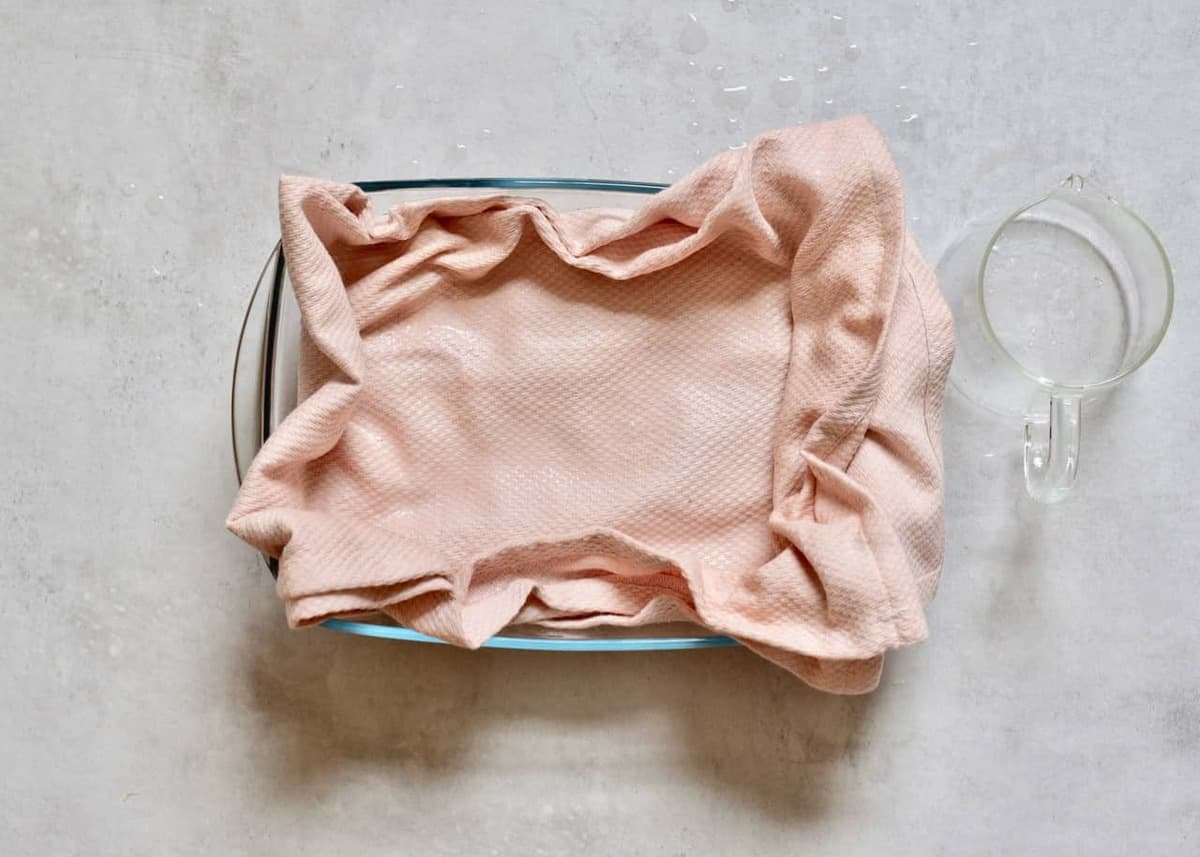
This point is now where the method differs. For soilless wheatgrass, you then spread out your seeds across the bottom of the container and cover with water.
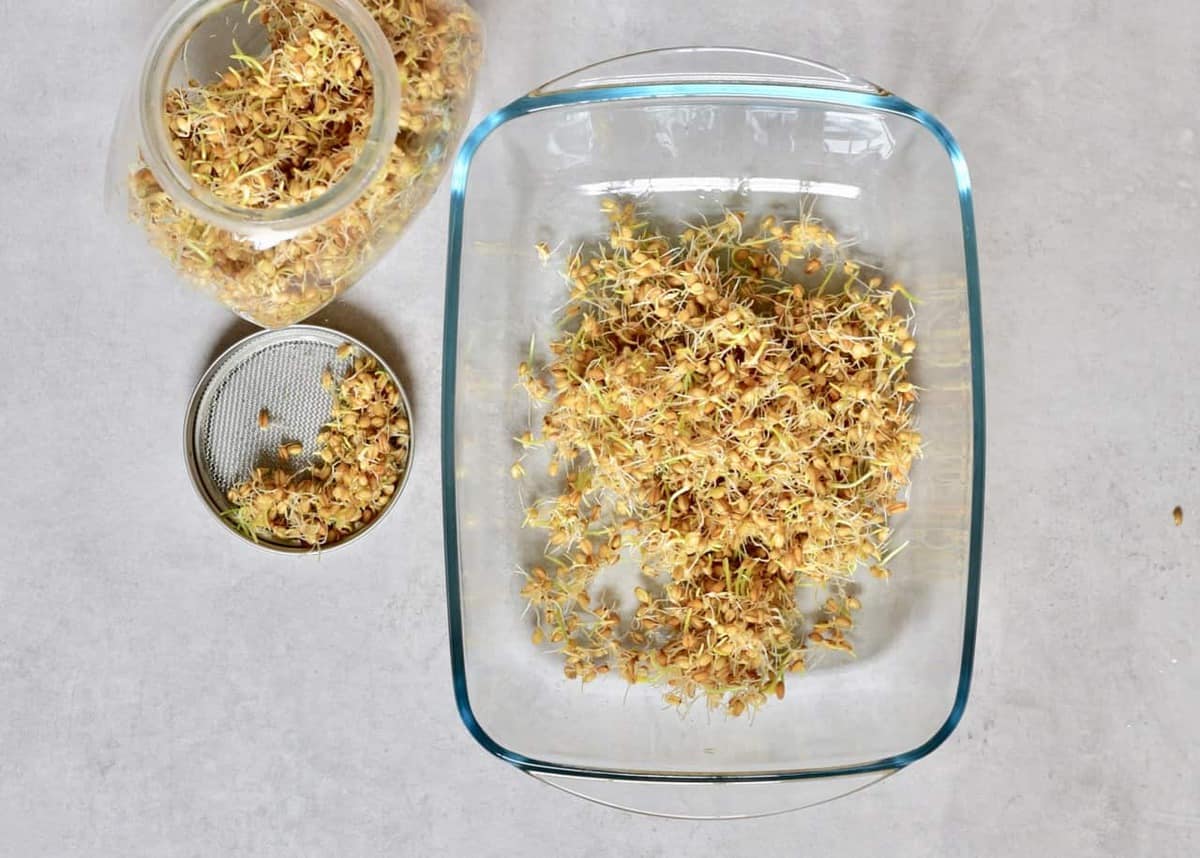
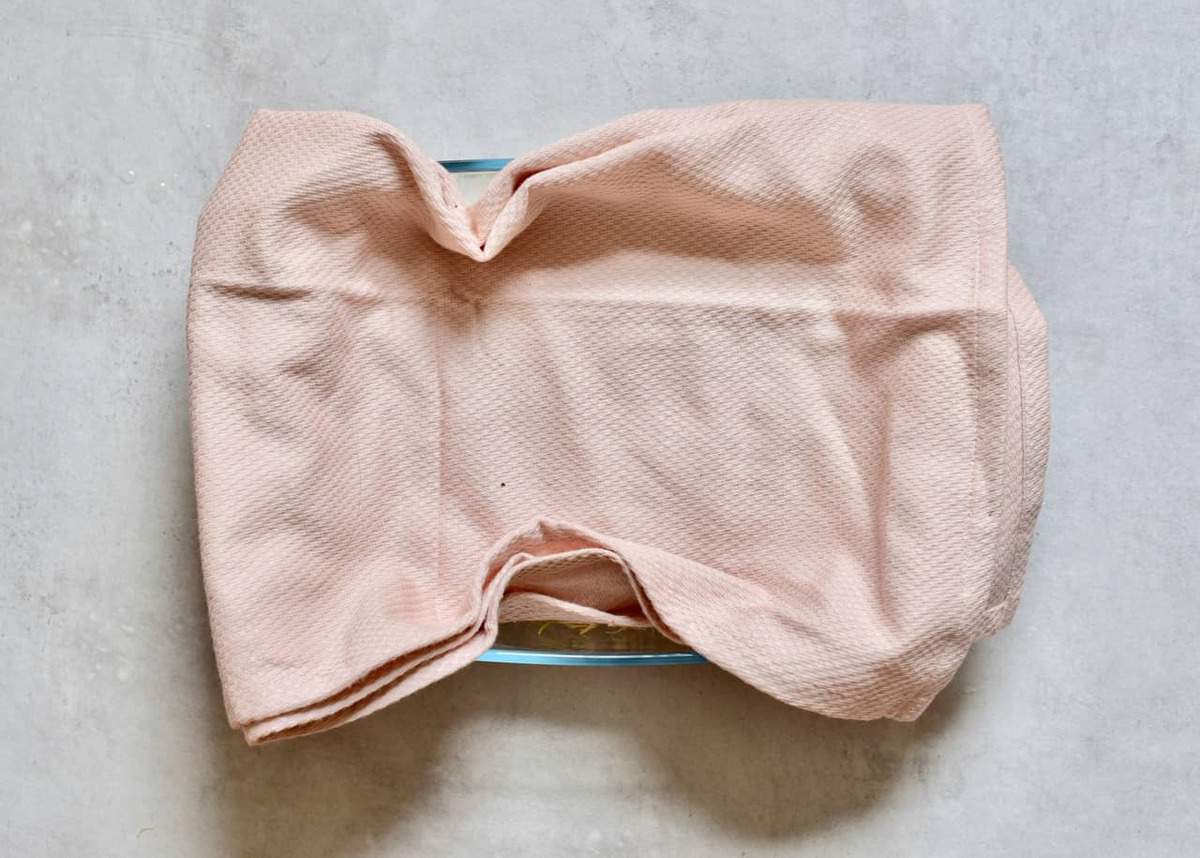
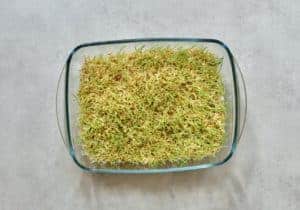
I then covered the container with a cloth for the first night to create a warmer, darker area for them to grow.
You then simply repeat the process of rinsing and draining the seeds a couple of times a day (this is an important step to help you avoid mould!!).
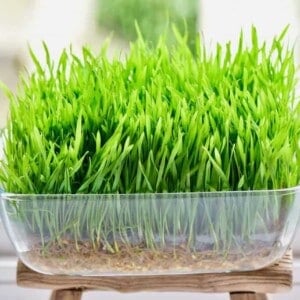
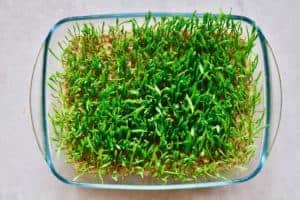
Within a few days the shoots will have started to grow. By day 8/9, they are ready to harvest.
Tip* Keep the container well ventilated to avoid the growth of mould and remember to rinse and drain the seeds a couple of times a day too.

Tip: I have heard of another way, by layering wet kitchen towel on the bottom of your dish , then your seeds and a piece of clingfilm on top. This creates a ‘greenhouse’ like effect for the first few days, while they begin to grow. I haven’t tested this method though and not sure if it would increase the risk of mould. If anyone has had success with this method, please let me know in the comments below.
What next?
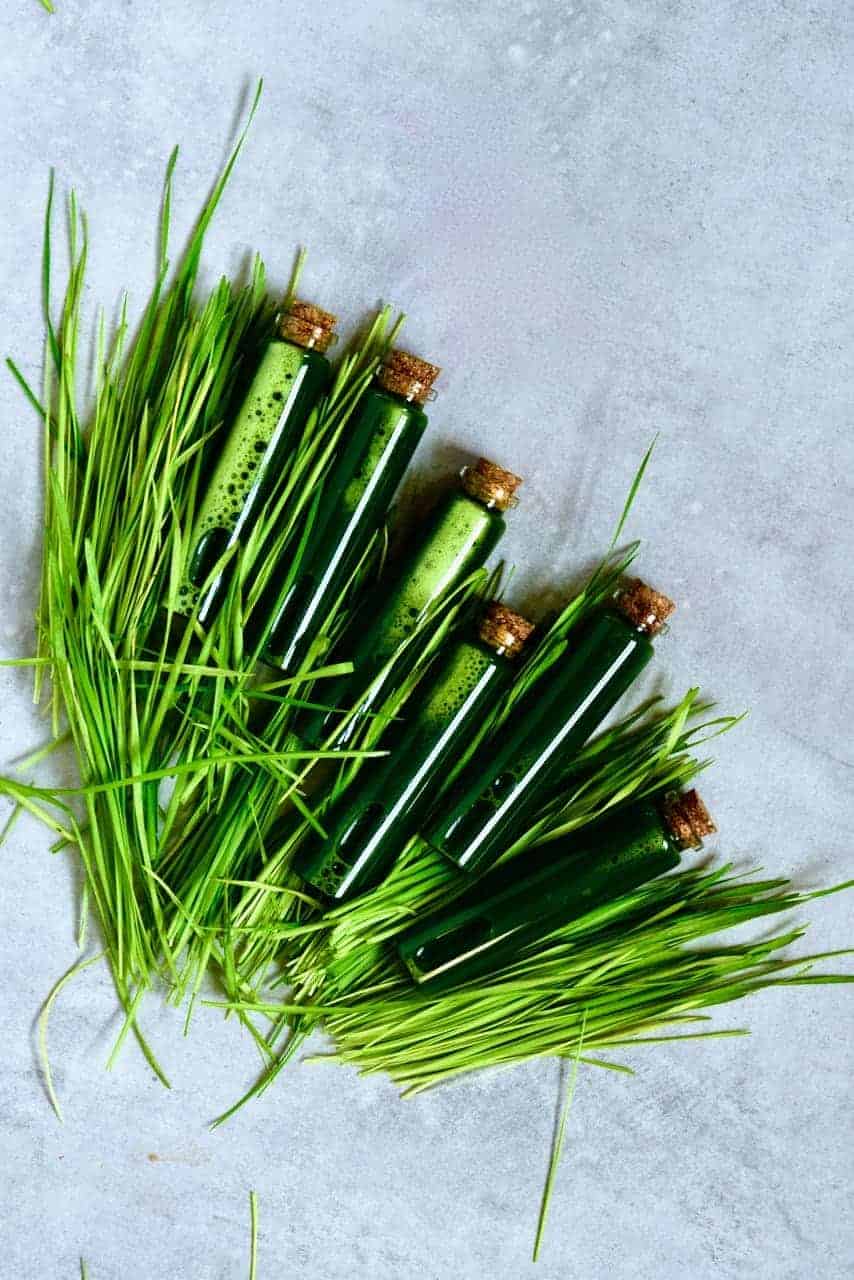
You can then use the freshly harvested wheatgrass to juice immediately and consume. The fresh juice can also be kept in the fridge for up to a week (although, it will lose nutritional value over time!). Alternatively, you can freeze portions of 3tBsp juice in a large ice-cube tray.
I go into details as well as explain how to make your own wheatgrass juice in this blog post – How to make Wheatgrass Shots and Juice.
Note: Wheatgrass is susceptible to mould when you’re growing it at home, so take notice of any changes. If there are any signs of spoilage or the juice is suddenly more bitter, then have caution and don’t drink it! (the wheatgrass roots are ‘feathery’, so don’t mistake this for mould).
Plus, if you’re looking for any other DIY inspiration then I have lots to choose from. From How to make Coconut Butter, to Homemade Oat Milk (that isn’t slimy) or even DIY Homemade Vegan Nutella. In fact, I have quite a few homemade milks, cheeses, baking ingredients and more.
If you give this DIY a go then please let me know in the comments below! Also, I love to see your creations so feel free to tag me @AlphaFoodie.
How To Grow Wheatgrass At Home (With & Without Soil)
Equipment
- Sprouting jar or regular glass jar
Ingredients
- 1-3 tBsp organic wheatgrass seeds
- water
- soil
Instructions
Sprouting the seeds
- Rinse the seeds then put in a sprouting container and cover with a mesh. Add 1 cup of water and soak for 8 hours.

- Drain and rinse well. Then fill the container with water, invert it and let the water drain through the mesh. Leave it upside down.
- Rinse the seeds 2-3 times a day for 2-3 days. Tiny sprouts form within 2-3 days.Next – choose one of the methods below.

Method 1 – Using soil
- Add 1 inch (2.5 cm) organic compost/planting soil to a baking sheet or tray (with holes at the bottom) and water it. Sprinkle the sprouted seeds across the soil.
- Cover the tray with a lid or a newspaper. The darkness will help it grow. Spray it with water daily.
- Remove the lid/newspaper when the grass reaches about 1-2 inches (2.5-5 cm) and continue to water daily.
- You can harvest when the grass reaches about 5 inches (12 cm). Simply cut the grass close to the root.

Method 2 – No soil*
- Spread out the spouted seeds across the bottom of the container and cover with water.
- Cover the container with a cloth for the first night to create a warmer, darker area for them to grow.
- Repeat the process of rinsing and draining the seeds a couple of times a day (this is an important step to help you avoid mould!!). Within a few days the shoots will have started to grow.

- By day 8/9, they are ready to harvest.


Video
Notes


Where to purchase wheat grass seeds
Hi Janie,
Wheatgrass seeds are usually available online, at health food stores, or in garden centers. I hope this helps.
From where I can get wheatgrass?
Does animal eat this grass?
Hi there,
You can buy wheatgrass seeds online or in health food stores. Wheatgrass is also known as “cat grass” and is safe for both cats and dogs. I hope that helps.