
This post may contain affiliate links. Please read our disclosure policy.
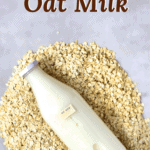
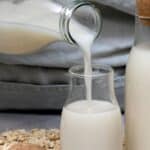
With just a couple of pantry-friendly ingredients, you can make your own delicious homemade oat milk with creamy, rich results every time.
Making oat milk isn’t as daunting as it might sound it’s surprisingly easy! Being one of the most popular dairy-free milk varieties, my DIY oat milk gets a little sweetness from maple syrup and vanilla extract and makes a perfect substitution for dairy milk in baking, for breakfast, or even just in your cup of coffee.
I’ve spent a long time perfecting my oat milk recipe so it doesn’t turn out slimy, has a deliciously creamy taste, and is quick and easy to make.
Want to save this recipe?
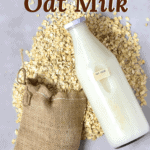
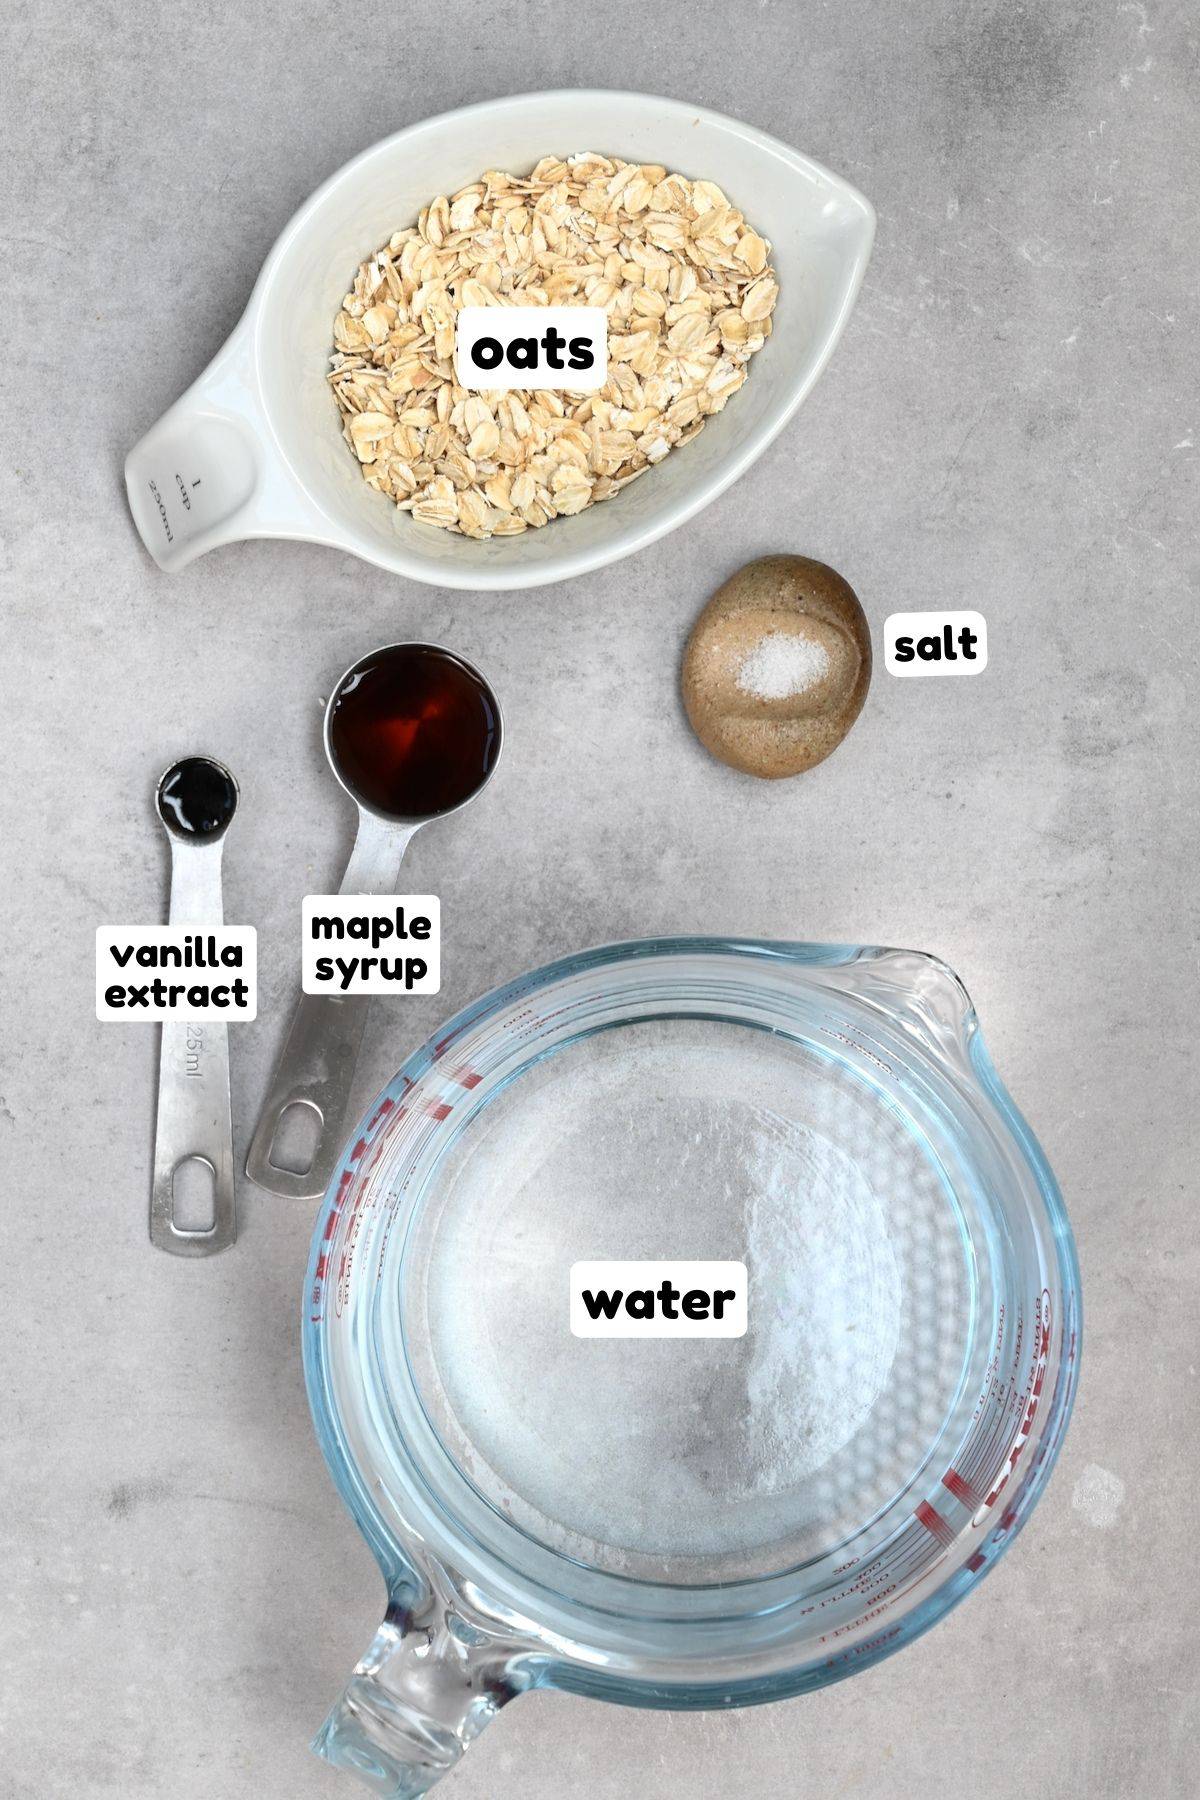
Oat Milk Ingredients
- Rolled Oats: I prefer to use organic oats, but you can use any you have to hand, including steel-cut oats and certified gluten-free oats.
- Cold Water: It should be ice cold.
- Salt: Just a pinch of salt will bring out the sweetness in the milk.
- Maple Syrup (Optional): I like to add this as a sweetener, though you can substitute it with honey (either ordinary or vegan) or agave nectar.
- Vanilla Extract (Optional): I also use this for flavor, though you can adjust the amounts based on your taste.
Flavored oat milk
You can flavor your oat milk – just add your desired flavoring either when blending or when ready to drink. These are some of my favorite options:
- Vanilla
- Maple Syrup – or your favorite sweetener. Medjool dates can also work great here if you prefer.
- Cocoa – cocoa powder will make a delicious chocolate oat milk – great for kids!
- Strawberry or your favorite berries.
- Coffee.
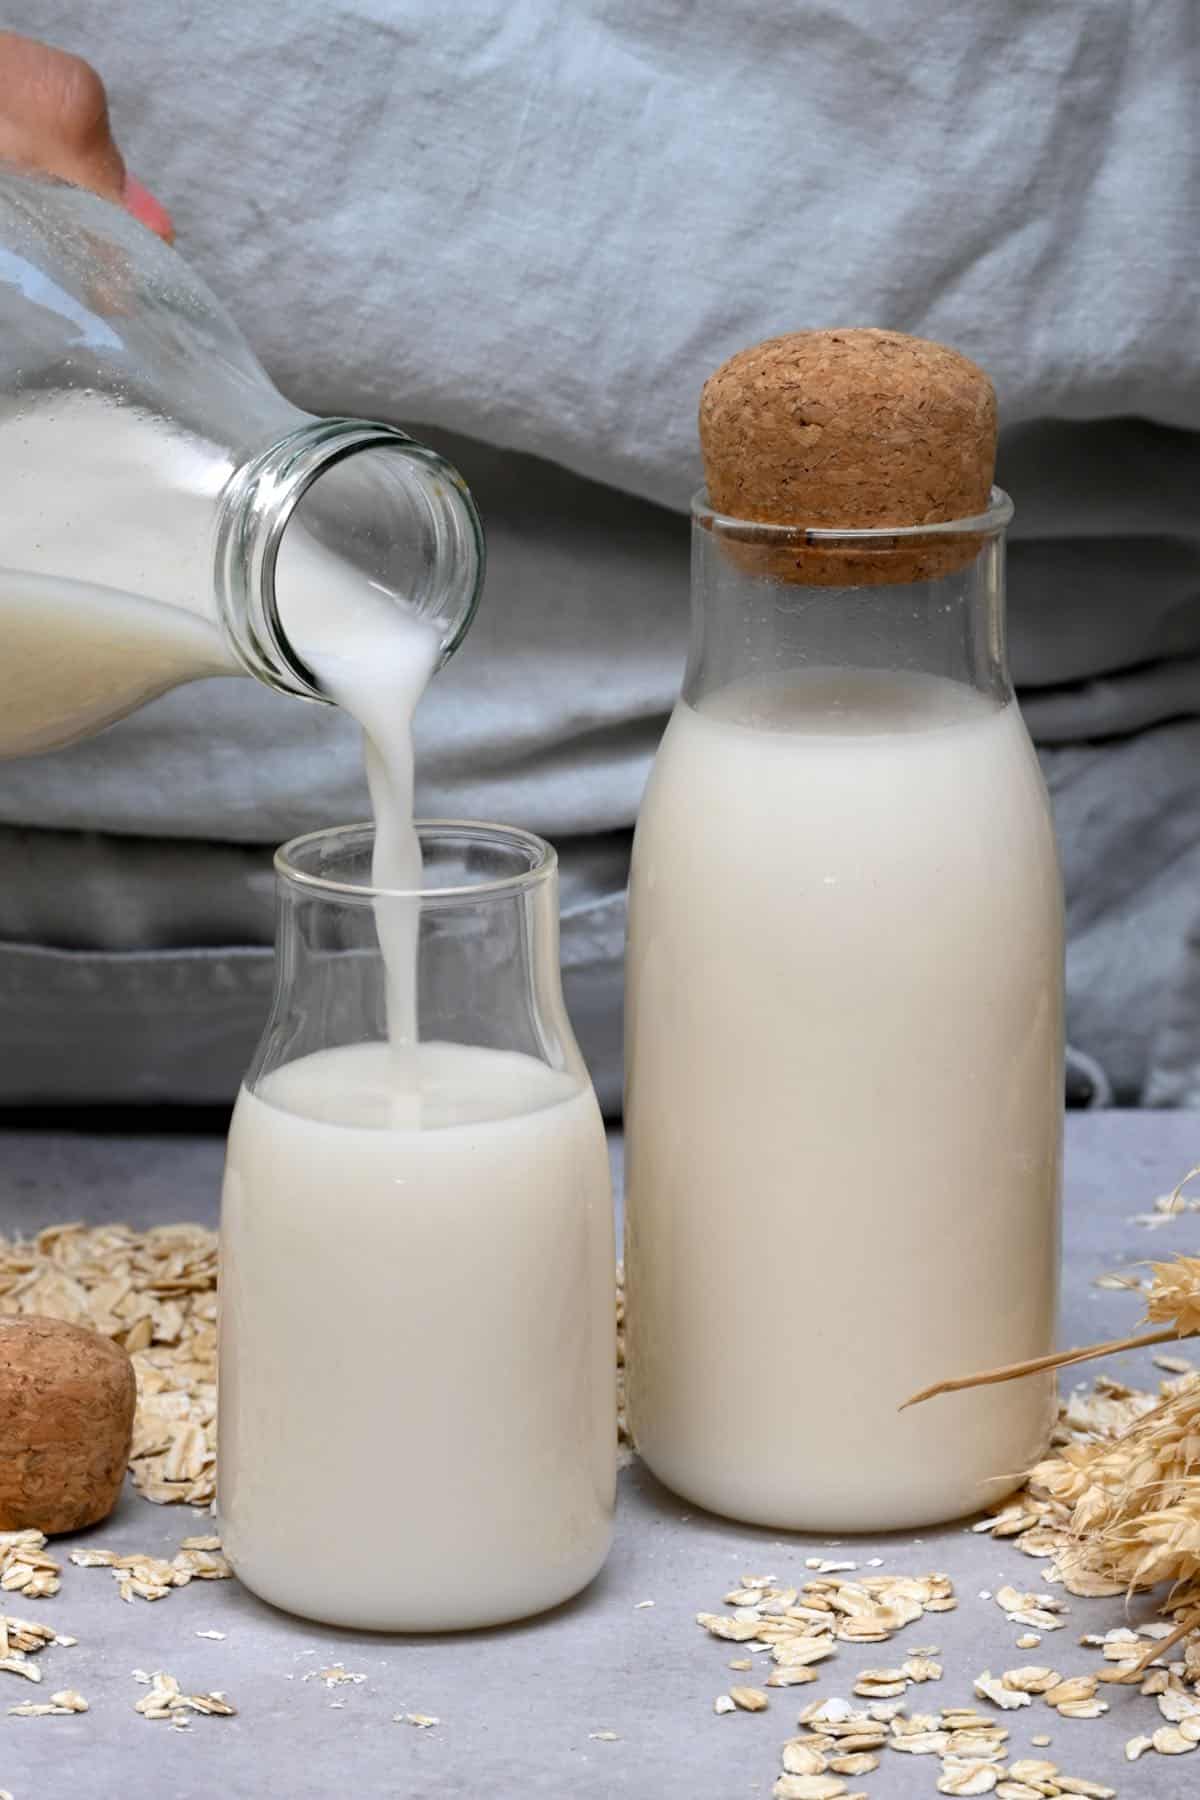
How to make oat milk
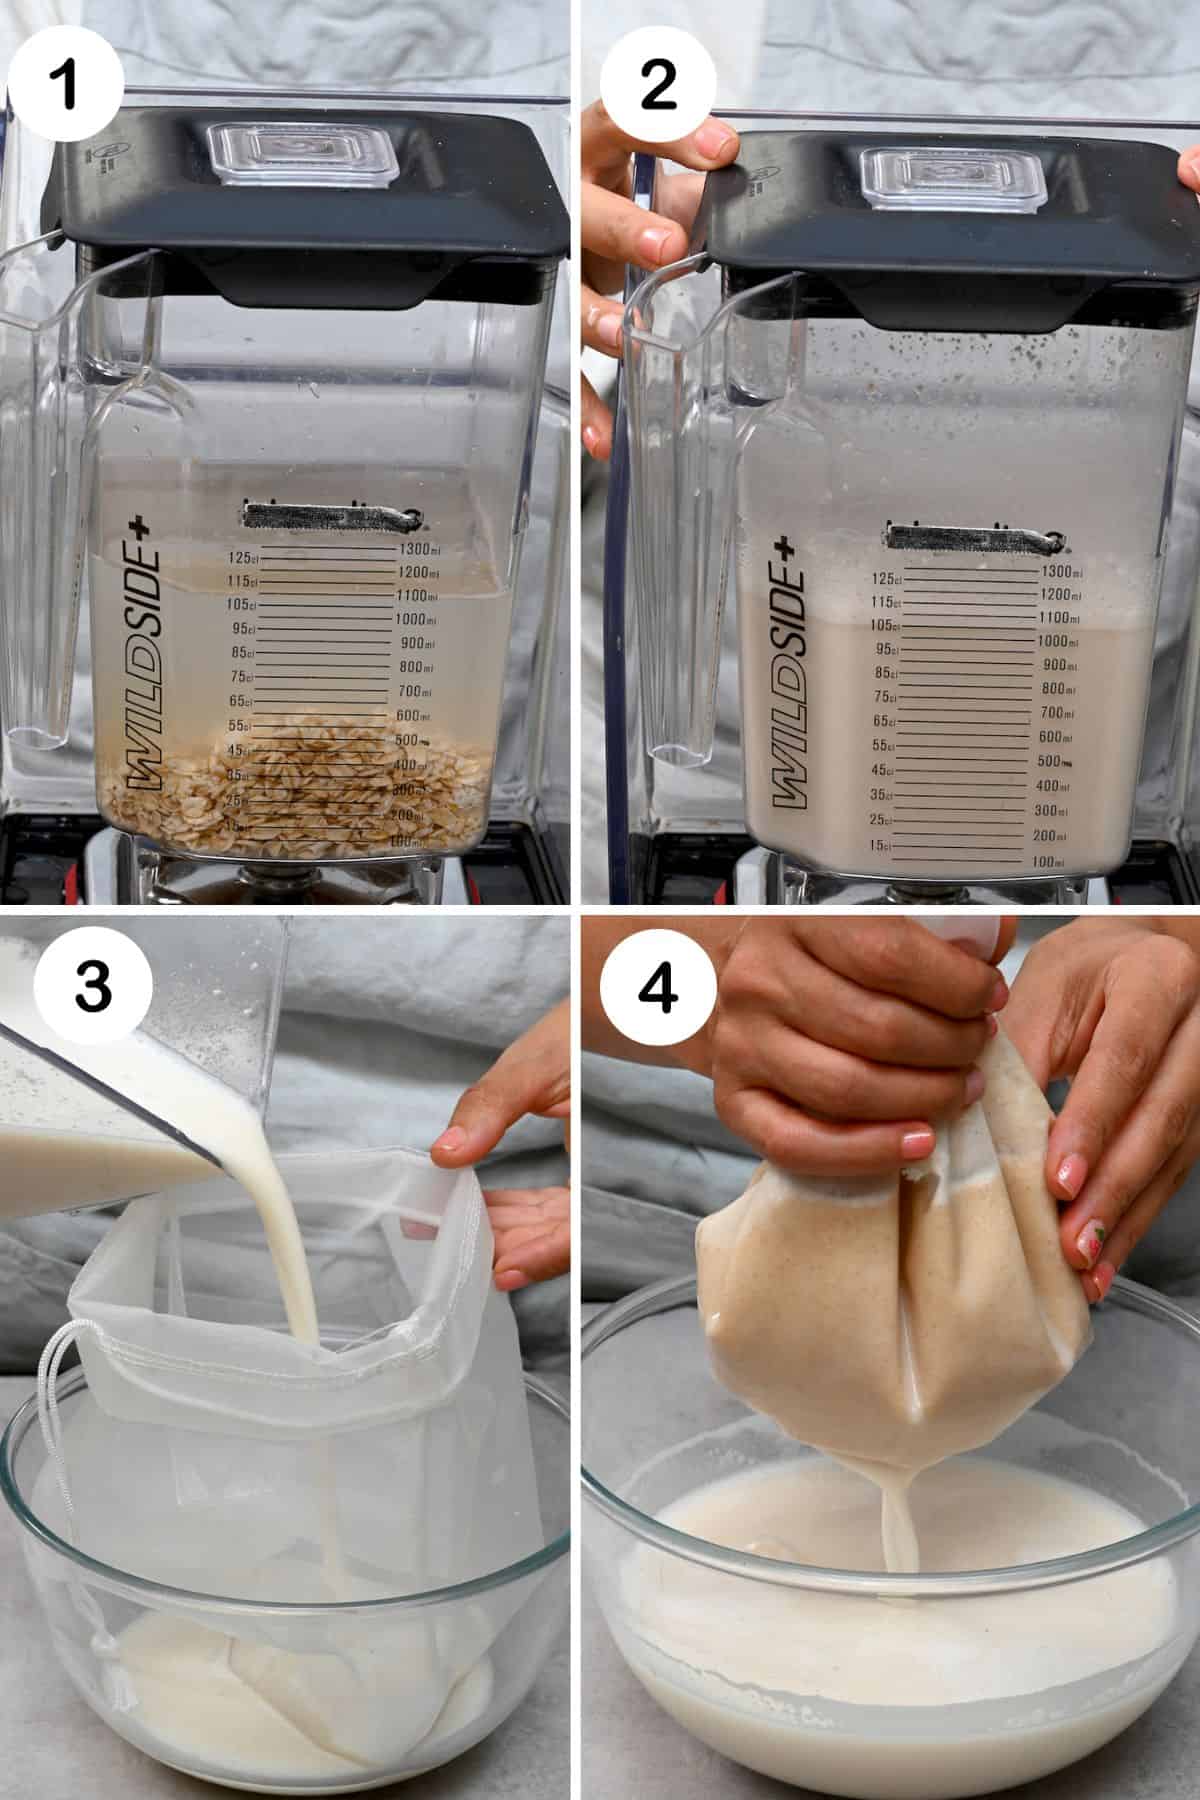
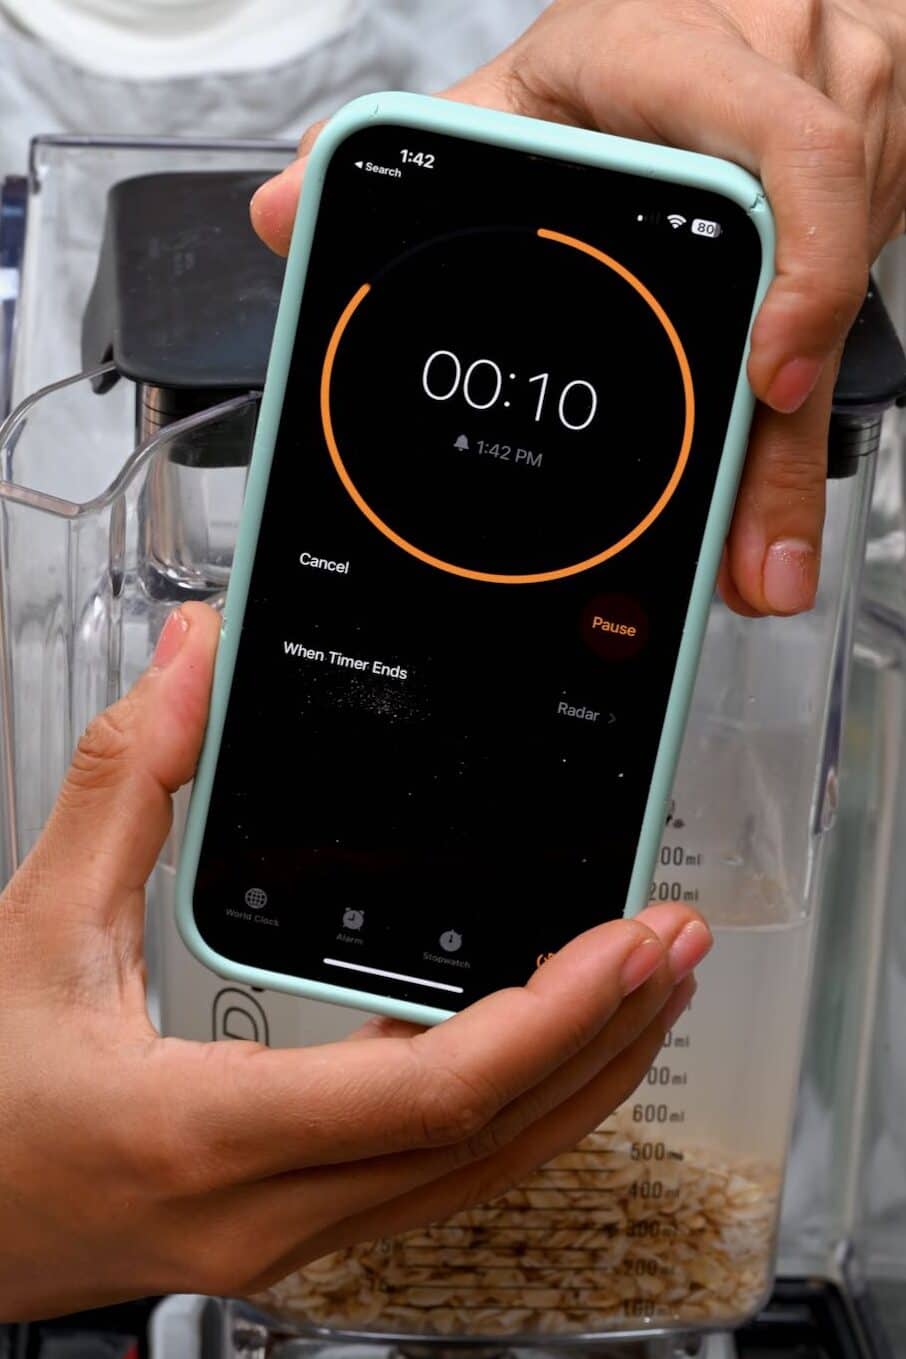
Add your rolled oats, water, salt, vanilla extract, and maple syrup (if using) to a high-speed blender and blend for 10 seconds (15-20 seconds if you’re not using a high-speed blender).
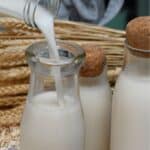
Once the oats have been fully blended, pour the mixture into a nut milk bag or a fine mesh strainer lined with a few layers of cheesecloth. I recommend having the bag in a bowl already before you pour the oat mix in.
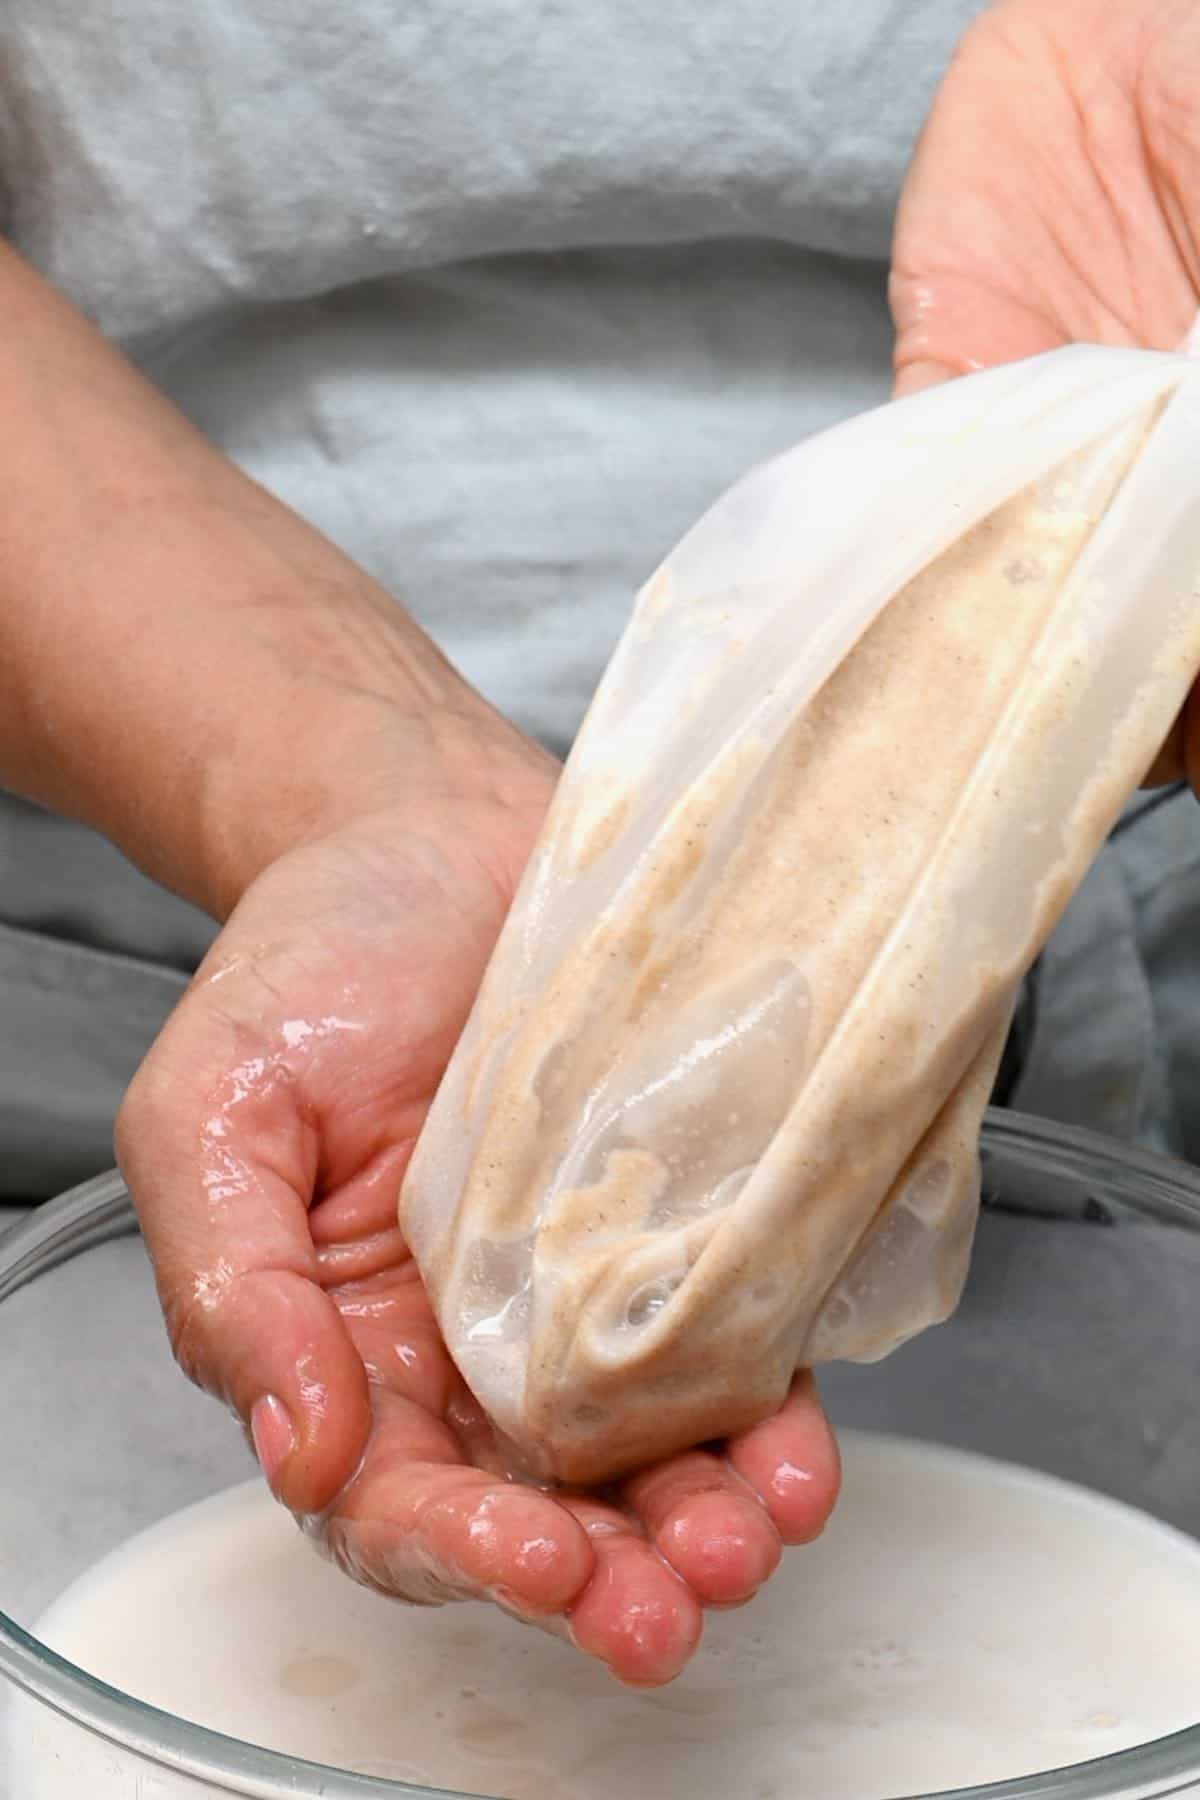
Using your hands, strain the milk through. You should have a thin liquid with no lumps or extra mix in it and the pulp still in the bag. For super-smooth milk, strain the oat milk twice.
Top tips to avoid slimy oat milk
If you want to make your own oat milk – you don’t want a slimy result! These are my top tips for getting perfect oat milk every time:
- Use Dry Oats: Your oats should be completely dry when you add them to the blender. If they’re wet, they won’t soak up as much of the liquid and will give the milk an unpleasant texture.
- Don’t Over Blend: High-speed blenders work quickly, so you don’t need more than 10 seconds to get the right texture. Over-blending causes heat and friction, which changes the overall composition of the oat milk – making it slimy.
- Don’t Over-Squeeze: The trick when straining is to handle the oat milk as little as possible. Too much squeezing causes more of the starch compounds from the oats to end up in your milk, which results in a slimy thick texture.
- Double-Straining: Straining the oat milk mix twice in the bag will remove any extra pulp and starch that could make the milk slimy.
How to use oat milk
- Use as an alternative to creamer or milk in coffee – try it in a matcha green latte or TikTok favorite, a Dalgona latte. You can also use it to make homemade chocolate milk.
- Substitute in vegan baking and add to my favorite chocolate chip cookies or my healthier chocolate digestives.
- Use for breakfast favorites – this milk is great for chia seed pudding, overnight oats, and smoothie bowls.
What to do with the leftover oat pulp
The leftover pulp can also be used in a variety of ways – and it’s easy to make this recipe completely no waste. Use the pulp for:
- Breakfast dishes, especially overnight oats, muesli, oatmeal, and chia seed pudding.
- Use in baking for extra fiber – it works great for chocolate chip cookies, fudgy brownies, and muffins.
- Add to smoothies for fiber and protein.
- Use around the house – you can use it to make face masks, body masks, and compost.
Can you heat oat milk?
Yes – but it’s best to do it slowly. Heat it gently over low to medium heat and stir it until it’s reached your desired temperature. Just be careful to not overheat, as it can thicken and get a strange taste if it’s heated too fast.
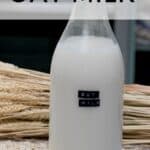
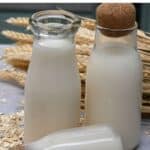
How long does homemade oat milk last
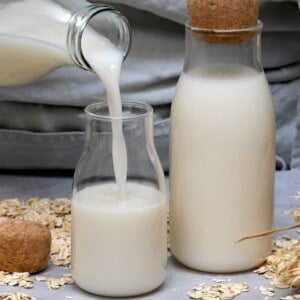
Once it is ready, transfer it into pre-sterilized containers or glass jars. Stored in the refrigerator, the homemade milk should be kept for up to 4-5 days. If you decide to use extra flavorings in your oat milk, this can affect the shelf life, so keep an eye on it after a few days.
More homemade plant-based milk recipes
If you try this oat milk recipe, let me know how it goes in the comments below. I’d appreciate a recipe card rating and would love to see your recipe recreations – tag me on Instagram @Alphafoodie!
How To Make Oat Milk
Equipment
Ingredients
- 3/4 cup rolled oats use organic and/or gluten-free if needed
- 4 cups water ice cold
- 1/8 tsp salt
- 1 Tbsp maple syrup optional, or sweetener of choice
- 1/4 tsp vanilla extract optional
Instructions
- Add all the ingredients into a high-speed blender and blend for 10 seconds (15-20 seconds if you're not using a high-speed blender).
- Pour the mixture through a nut milk bag or a fine-mesh strainer lined with several layers of cheesecloth (don't over squeeze!).Optional: Strain twice for super-smooth milk.
- Enjoy immediately or transfer to a sterilized bottle.
How To Store
- Fridge: Once bottled, store it in the fridge for 4-5 days, shaking it well between each use. When it's bad, it will start to smell and taste sour/off.Freezer: It will freeze for up to 3 months. However, upon thawing, it may be a little gritty and require re-blending for a few seconds and/or re-straining.
Video
Notes
- Use Dry Oats: Your oats should be completely dry when you add them to the blender. If they’re wet, they won’t soak up as much of the liquid and will give the milk an unpleasant texture.
- Don’t Over Blend: High-speed blenders work quickly, so you don’t need more than 10 seconds to get the right texture. Over-blending causes heat and friction, which changes the overall composition of the oat milk – making it slimy.
- Don’t Over-Squeeze: The trick when straining is to handle the oat milk as little as possible. Too much squeezing causes more of the starch compounds from the oats to end up in your milk, which results in a slimy thick texture.
- Double-Straining: Straining the oat mix twice in the bag will remove any extra pulp and starch that could make the milk slimy.
- Flavor Options: Add your desired flavoring when blending or when ready to drink. Here are some of my favorite options:
- Vanilla
- Maple Syrup or your favorite sweetener. Medjool dates can also work great here if you prefer.
- Cocoa to make chocolate milk.
- Strawberries or other berries.
Nutrition
Nutrition information is automatically calculated, so should only be used as an approximation.


Hi , I love your oat milk recipe but it was previous 1/2 cup oats & about 15 cashews
Did you change the recipe and should I be following the current one now?
Thank you for responding
Hey Diane! Yes, I did update the recipe! The previous version used ½ cup oats and about 15 cashews, but the current version is ¾ cup oats to 4 cups water for a more oaty flavor. If you liked the cashew version, you can still add them to this updated recipe for extra creaminess. Both versions work, so feel free to use whichever you prefer!
Just wondering because it’s not clarified here, should the water you blend with be cold, warm, or hot? I think this also could make a big difference in the sliminess but it’s not addressed. Another question, if I want to steam this milk for a latte or something will it retain its original texture or will it get slimier?
Hi Kyle,
It’s best to use cold water to blend the oats. Then you should be able to warm it up for your latte as usual.
Followed your recipe to a T… came out perfectly! And the color and consistency is just as you pictured. Thank you so much! Buying an organic version without stabilizers is so expensive! This is amazing!
Thank you so much for your comment, Noelle. Glad to hear you are enjoying the recipe 🙂
I’d like to try oat milk, I just bought a 40oz plant milk maker. Any tips for using the machine version?
Hi Jackie,
Not sure which machine you have exactly. If it allows you to just blend the oats with the water and stop the process quickly, that would be best – they don’t need to be blended too long.
I will give this a try. Though the headline reads ‘two-ingredient Oatmilk” it is in truth four ingredients. Perhaps you could be straight about that up front.
Thanks for your comment, Stacie. You only need oats and water to make the milk. Optionally and not necessarily, you can add a pinch of salt or cashews.
Can I use this recipe for making hot lattes? (Without it tasting slimy?)
Hi Jen,
You sure can, if you follow the steps of this recipe correctly.
I have discovered the solution for slimy oat milk that requires no extra ingredients. Oat milk is slimy because there is starch in the oats. Starch is not soluble in water, it absorbs the water and makes the slimy texture. Starch is a chain of sugar molecules, but if you break those chains into smaller chains they are soluble in water. This is called dextrin. So if you can convert the starch into dextrin you will not have slimy oat milk. The way you do this is to bake the oats at 275 for 60 minutes. I first ground the oats to flour which makes smoother and creamer oat milk, and then bake them. The resulting milk has a tan color, as that is the color of dextrin, but it is not at all slimy.
Thank you for the information, Sean. I will have to try this myself. 🙂
Amazing
Wonder how many cashews do I add to the receipt?? I didn’t see any count for that though, thanks so much for sharing!!!
Hi Maria,
You need about 1 oz (15 cashews or so). I hope this helps.
Hi I’m late to the game thank goodness the recipe is timeless!!!
I made my 1st batch and it came out great with the nutramilk!! In my household we usually go through 2-3 cartons of the store bought stuff. (yes alot of smoothies and recipes) I will not buy another carton for the rest of my life LOL!!
One question…what are the exact steps in the nutramilk? do you use the mix setting also then dispense? or just butter then dispense? OK that’s more than 1 question.
Thanks!!
Hey Paul! So awesome to hear you loved the recipe! For the Nutramilk, just use the butter setting and then dispense it. No need to mess with the mix setting unless you wanna blend it a bit more. Hope that helps!