This post may contain affiliate links. Please read our disclosure policy.
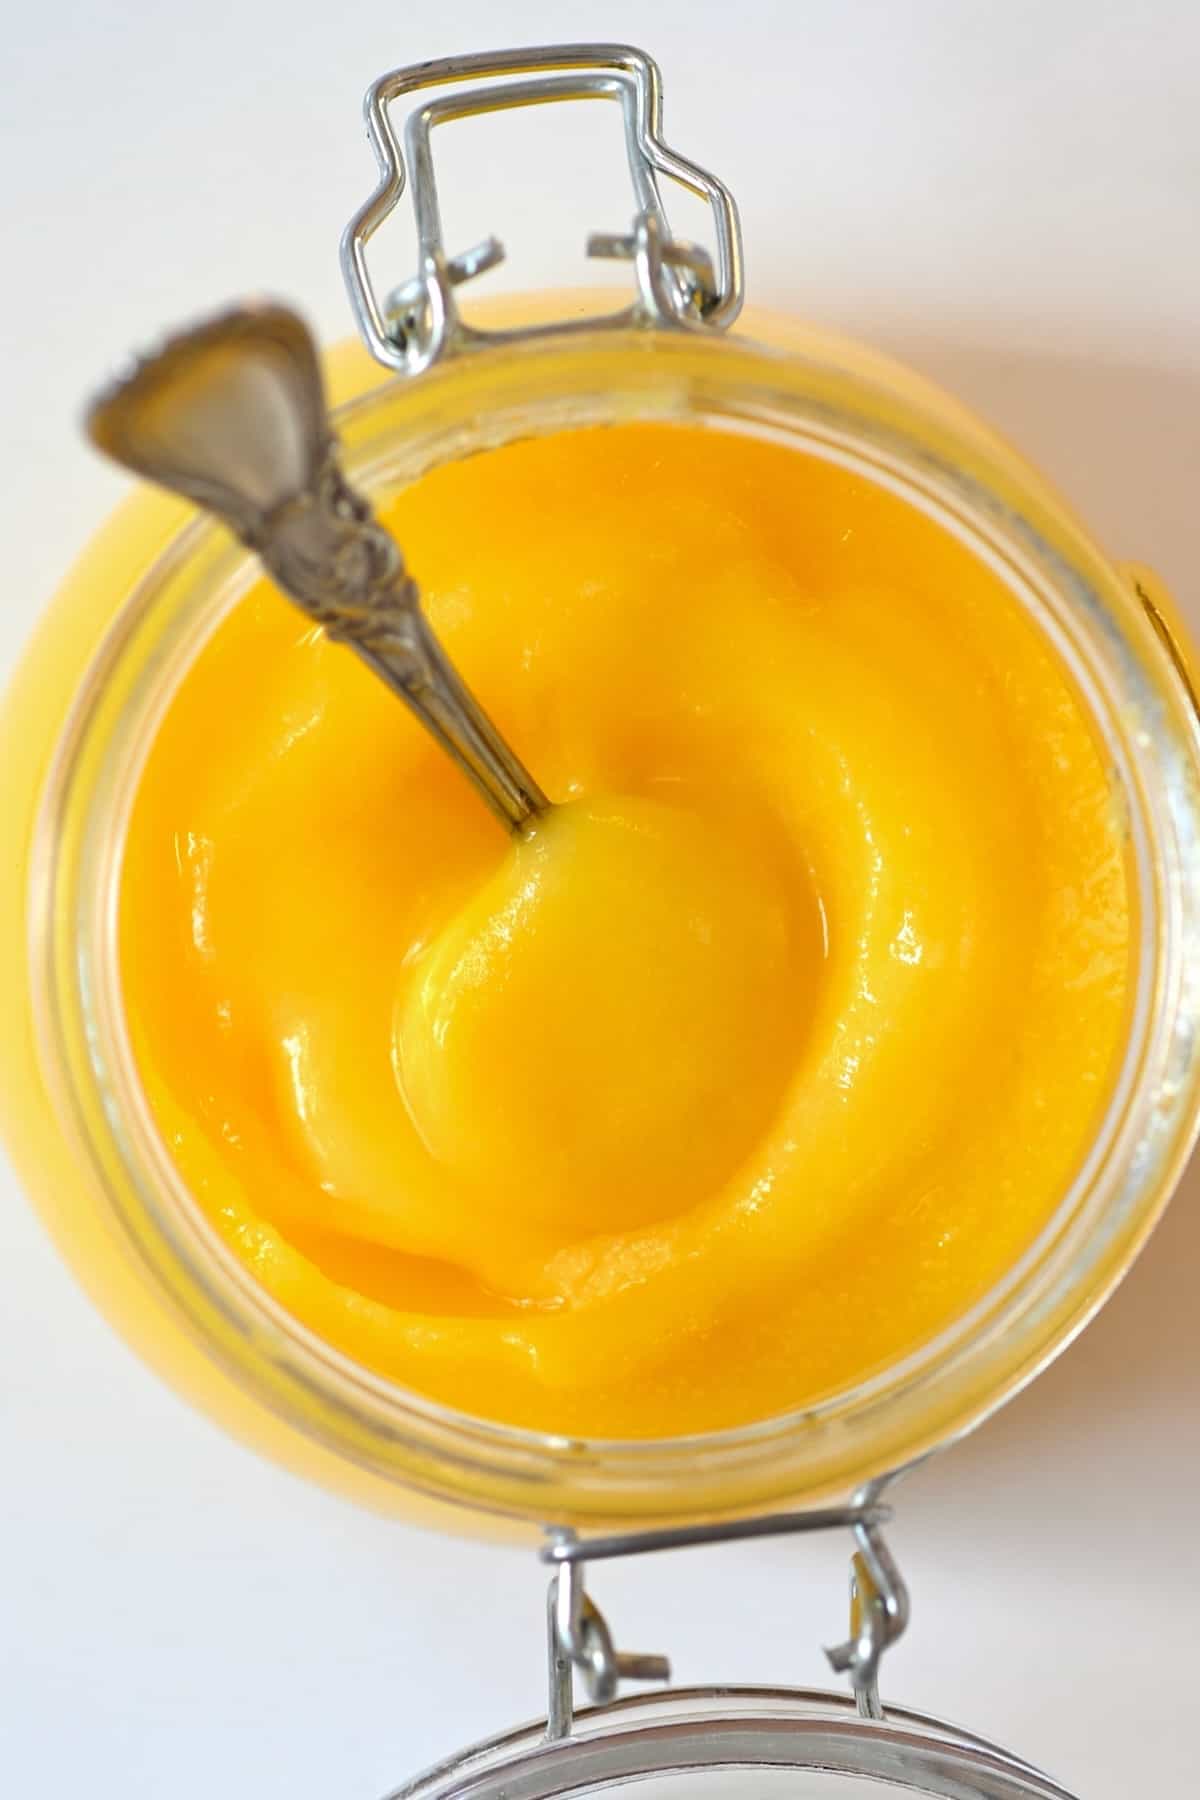
How to make ghee with just one ingredient in 30 minutes. Homemade ghee is far more cost-effective than buying it and is shelf-stable, super flavorful, and a high-heat pure cooking fat even dairy-sensitive eaters can enjoy!
Want to save this recipe?
What Is Ghee and How Is It Different from Butter?
Ghee, also referred to as “liquid gold,” is a type of nutty-flavored clarified butter that dates back 5000 years in Hindu culture. It was traditionally made with raw bovine milk or cultured butter/cream. It has been used for sweet and savory traditional Indian cooking (like biryani, spread over naan, or sweets like halwa). It’s also used in a ritual offering during prayers and in Ayurvedic medicinal practices.
So, what is the difference between ghee and butter? Well, ghee is made by simmering butter gently until all the water is cooked off. At the same time, the milk proteins (“solids”) separate from the fats and settle into the bottom of the pan. Then those solids toast and caramelize, to add a nutty aroma to the liquid.
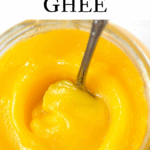
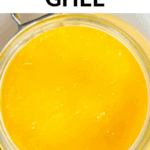
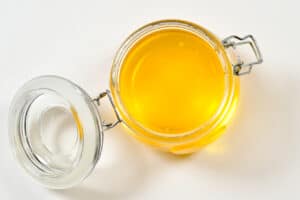
After straining the mixture, the golden liquid you’re left with is pure fat, aka ghee!
At this point, it no longer contains lactose and casein (except in trace amounts). This makes it an allergen-friendly fat that even those with dairy sensitivities can enjoy.
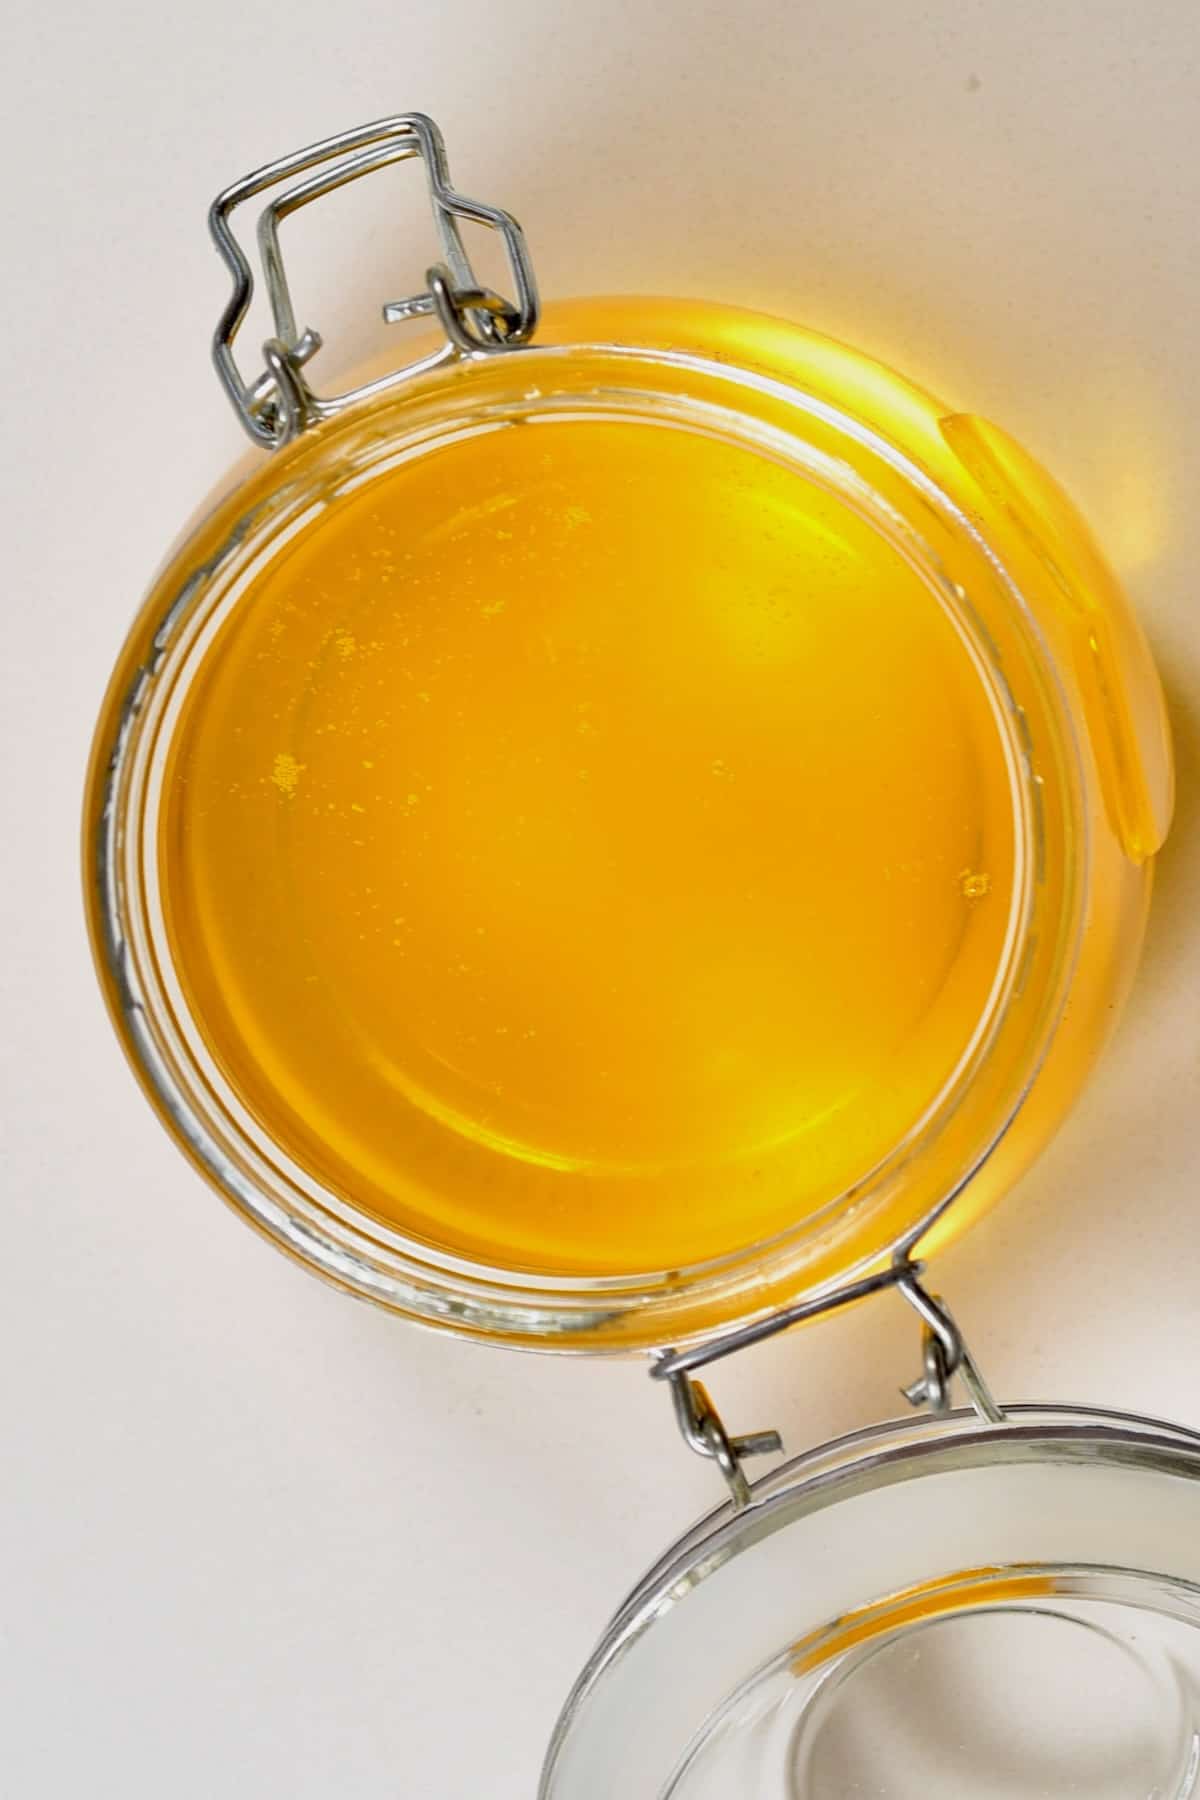
It also has a far higher smoke point (as the water has been removed) than butter and many cooking oils. Its spoke point is at around 465ºF (240ºC) vs. butter’s 350ºF (175ºC). This makes it a super versatile cooking fat. It’s also shelf-stable and lasts months without refrigeration.
Is Ghee the Same as Clarified Butter?
While it is a type of clarified butter, the latter refers to the butter once the water has evaporated, separating the fat from the milk solids. Ghee simmers the butter further until the milk solids start caramelizing. This produces a more aromatic, nutty flavor.
Clarified butter is more often used in Western cuisine. And the other, as I mentioned above, is popular in Indian and South Asian cuisines.
What Is Ghee Made of?
The only ingredient you need to make this homemade ghee recipe is high-quality unsalted butter: store-bought or homemade. However, you can use salted if it’s all you have.
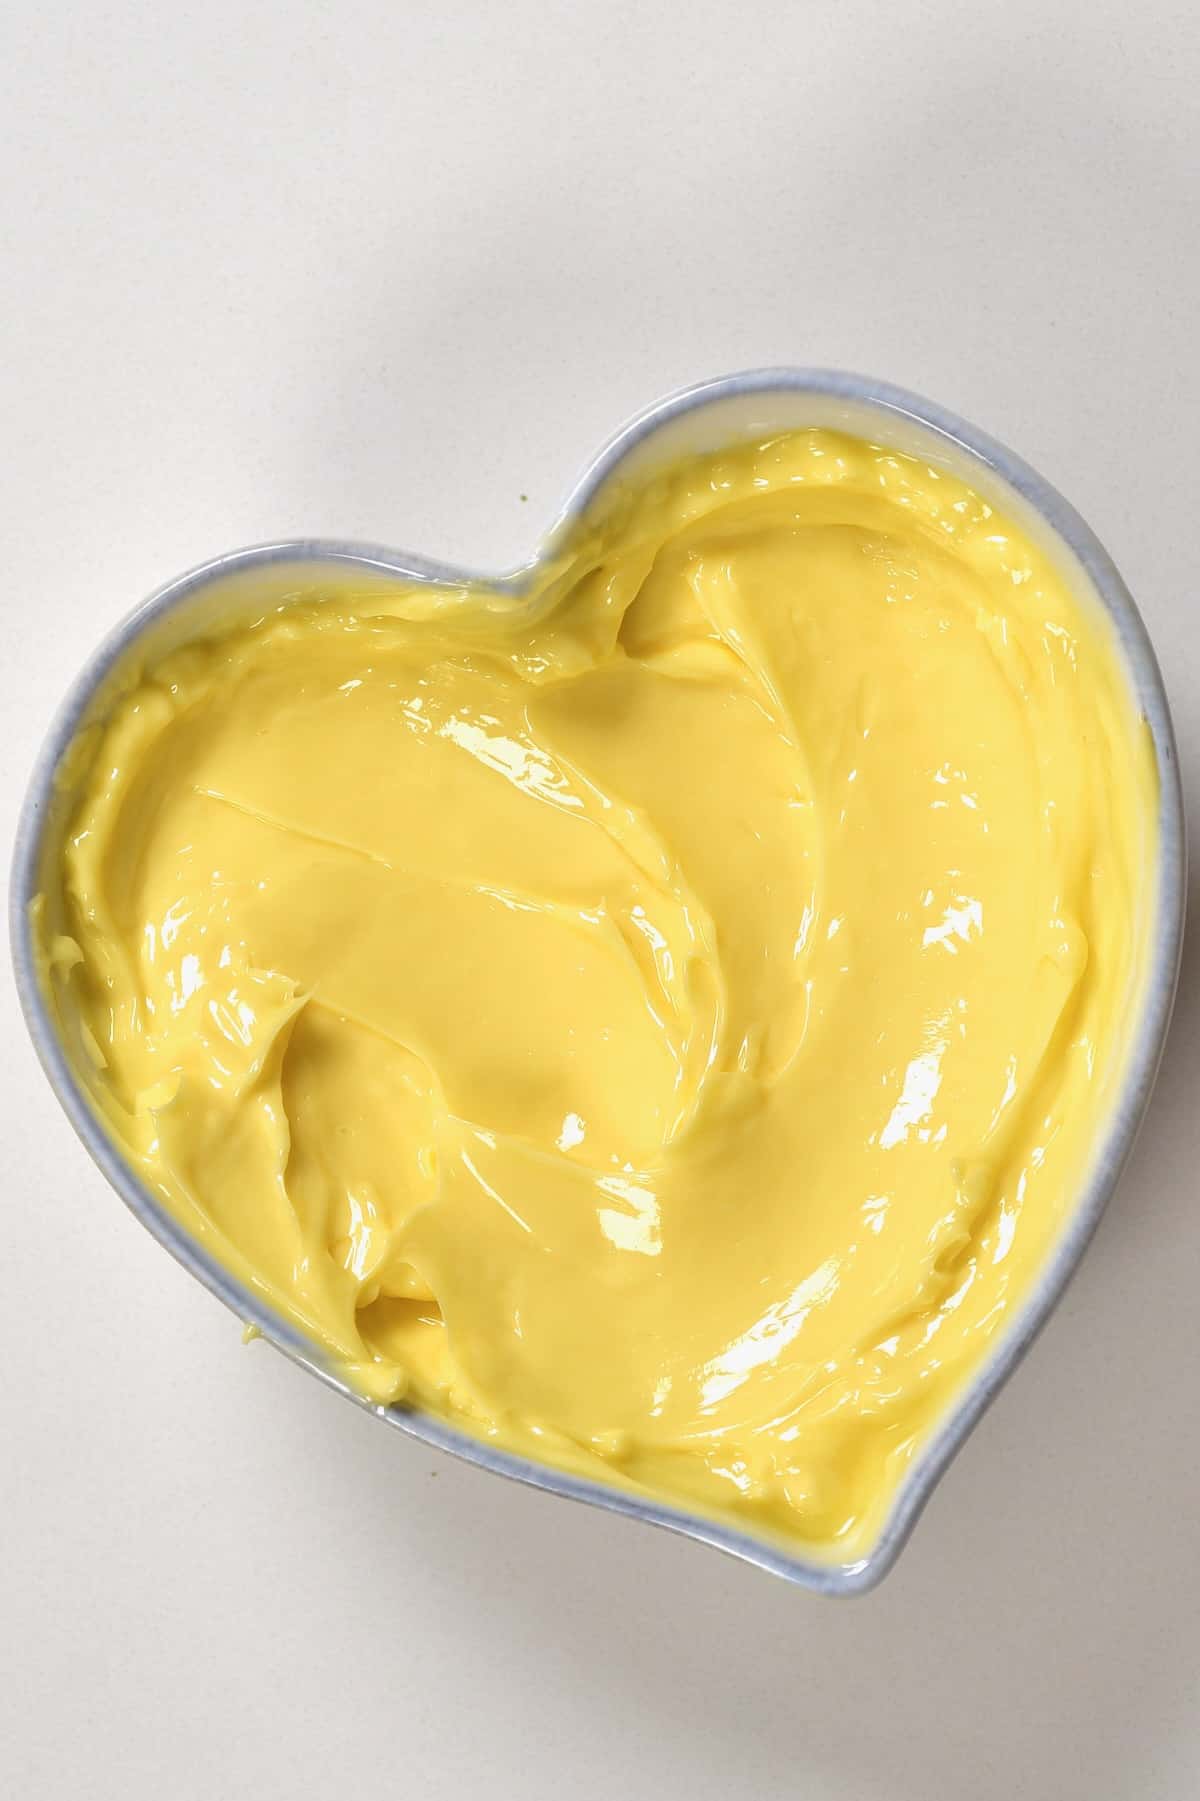
I prefer to use organic butter made from grass-fed cows when possible (store-bought or homemade) to make the best ghee. This contains more micronutrients and immune-boosting fatty acids. However, any brand will do.
How to Make Ghee
There are just four steps to making ghee butter: heat, skim, strain, and store! The entire process takes around 25-30 minutes. Here’s how to make ghee from butter:
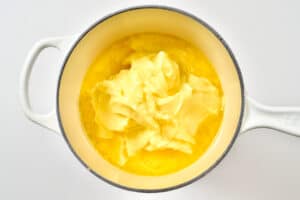
First, transfer the butter to a heavy-bottomed pan and melt it over medium-low heat.
As it melts, it will separate into three layers – top foam, middle yellow fat, and bottom milk solids. It’s the middle layer that we need.
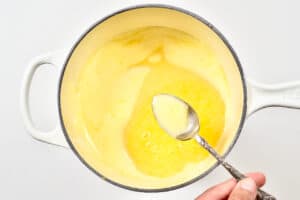
Using a skimmer/spoon, skim the foam from the top of the melted butter as it appears. Any remaining foam will eventually turn to clear bubbles as the middle layer becomes translucent.
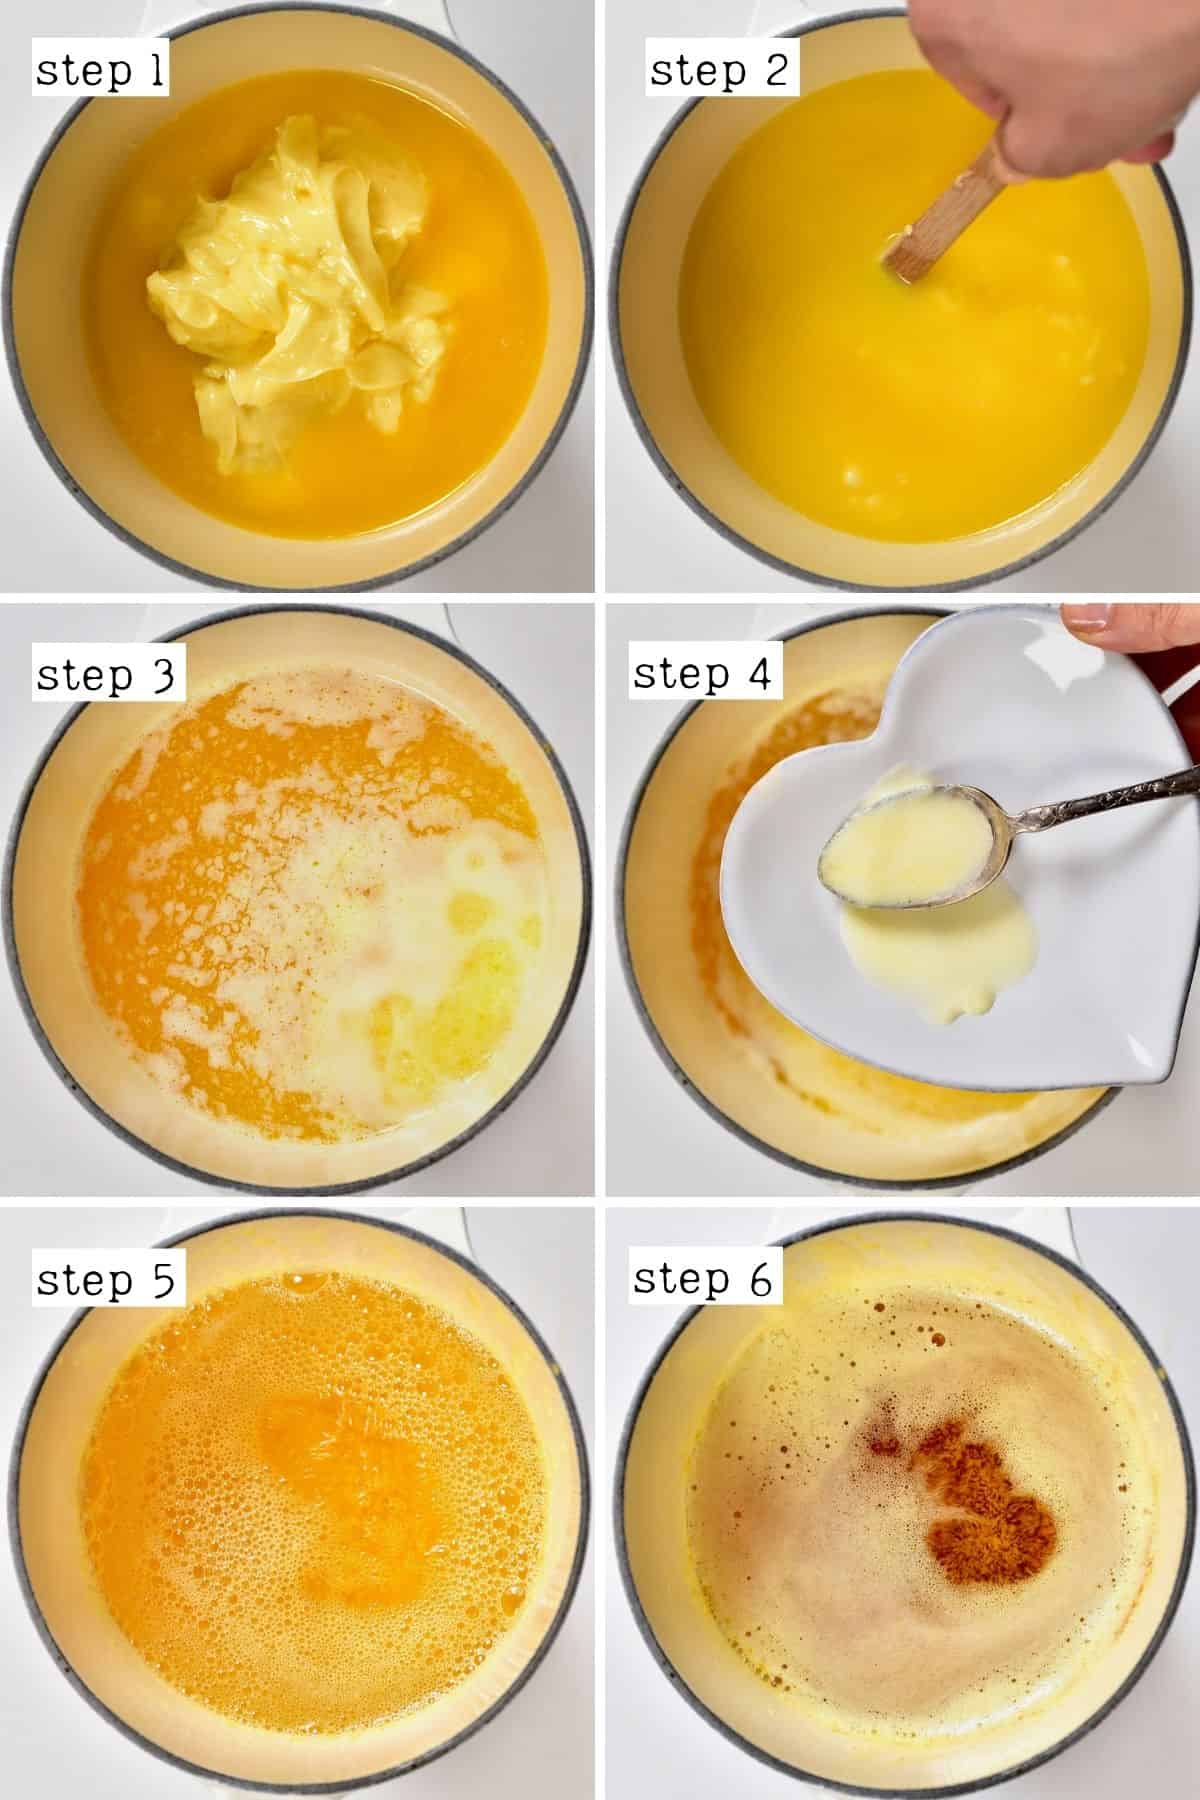
If you strain the mixture now, you have clarified butter.
Continue to simmer the melted butter over the lowest heat until the milk solids at the bottom turn lightly brown and caramelize. But be careful not to let them burn. Once ready, there will be a lovely nutty aroma and flavor.
This is technically brown butter and can be used now, milk solids and all.
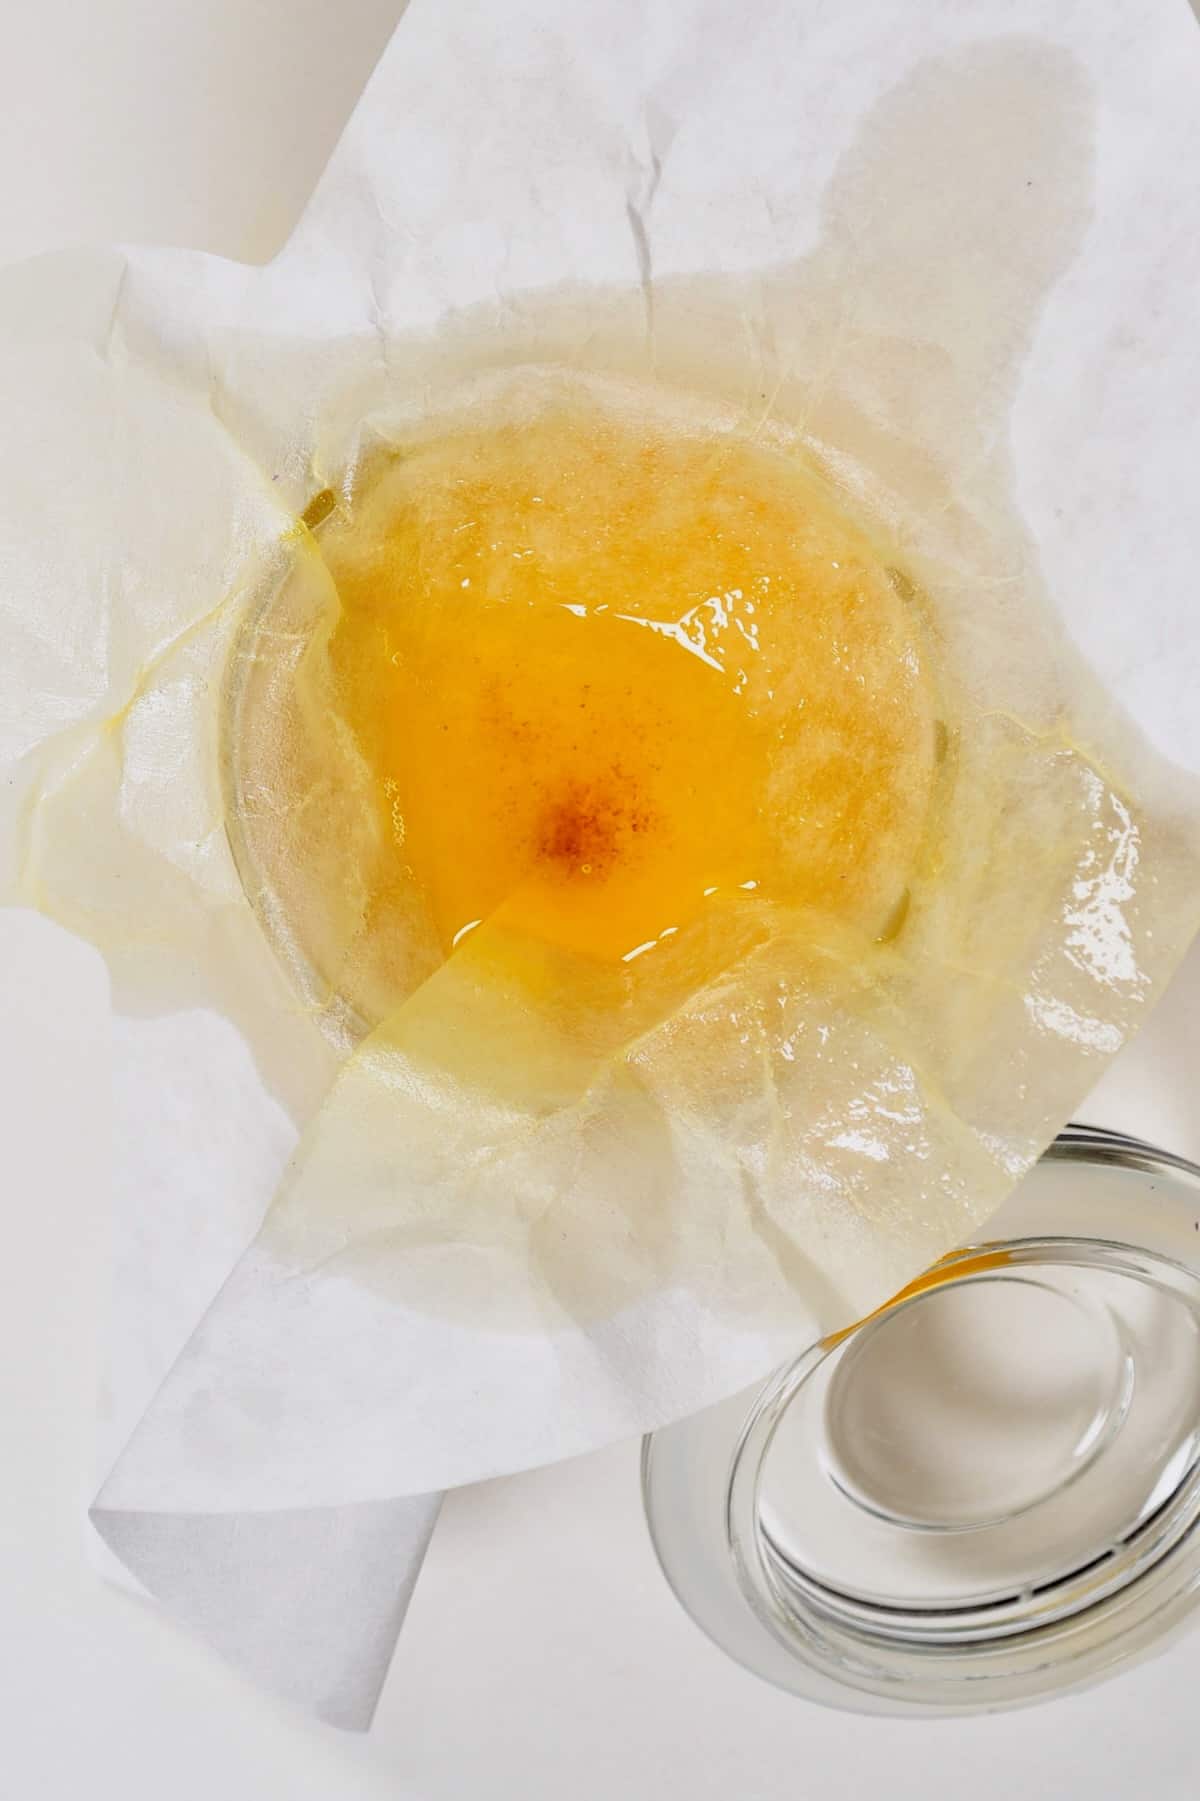
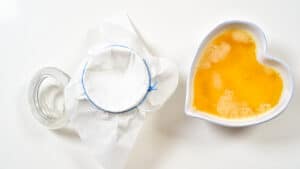
Finally, remove the butter mixture from the heat and allow it to cool for 5 minutes. Then carefully strain it into a jar. You can use a fine-mesh strainer, coffee filter, nut milk bag, or several layers of cheesecloth. This will remove the butter solids, leaving you with ghee, aka liquid gold!
What Is Ghee Used for?
Because of its high smoke point, there are plenty of options for how to use ghee butter. It’s particularly great for high-heat sautéing, stir-frying, and frying. However, it is also great for adding buttery richness to:
- Indian cuisine, like curries, rice, etc. I.e., tarka dal or chana masala,
- Indian desserts, like halwa and laddu.
- You can also smear it over roti, naan, dosa, chapati, paratha, etc.,
- Brush over mashed potatoes and baked potatoes,
- Drizzle over soups for silky richness,
- Drizzle over roasted vegetables – like corn on the cob, brussel sprouts, etc.,
- Add to hot drinks like bullet coffee, hot chocolate, and Golden Milk,
- Use as a popcorn topping,
- To cook scrambled eggs and omelets,
- For s decadent hollandaise sauce.
You can also replace it as butter in your favorite recipes, experimenting to find out what works for you.
Does Ghee Go Bad?
It can go bad over time but when stored properly, it has a long shelf life.
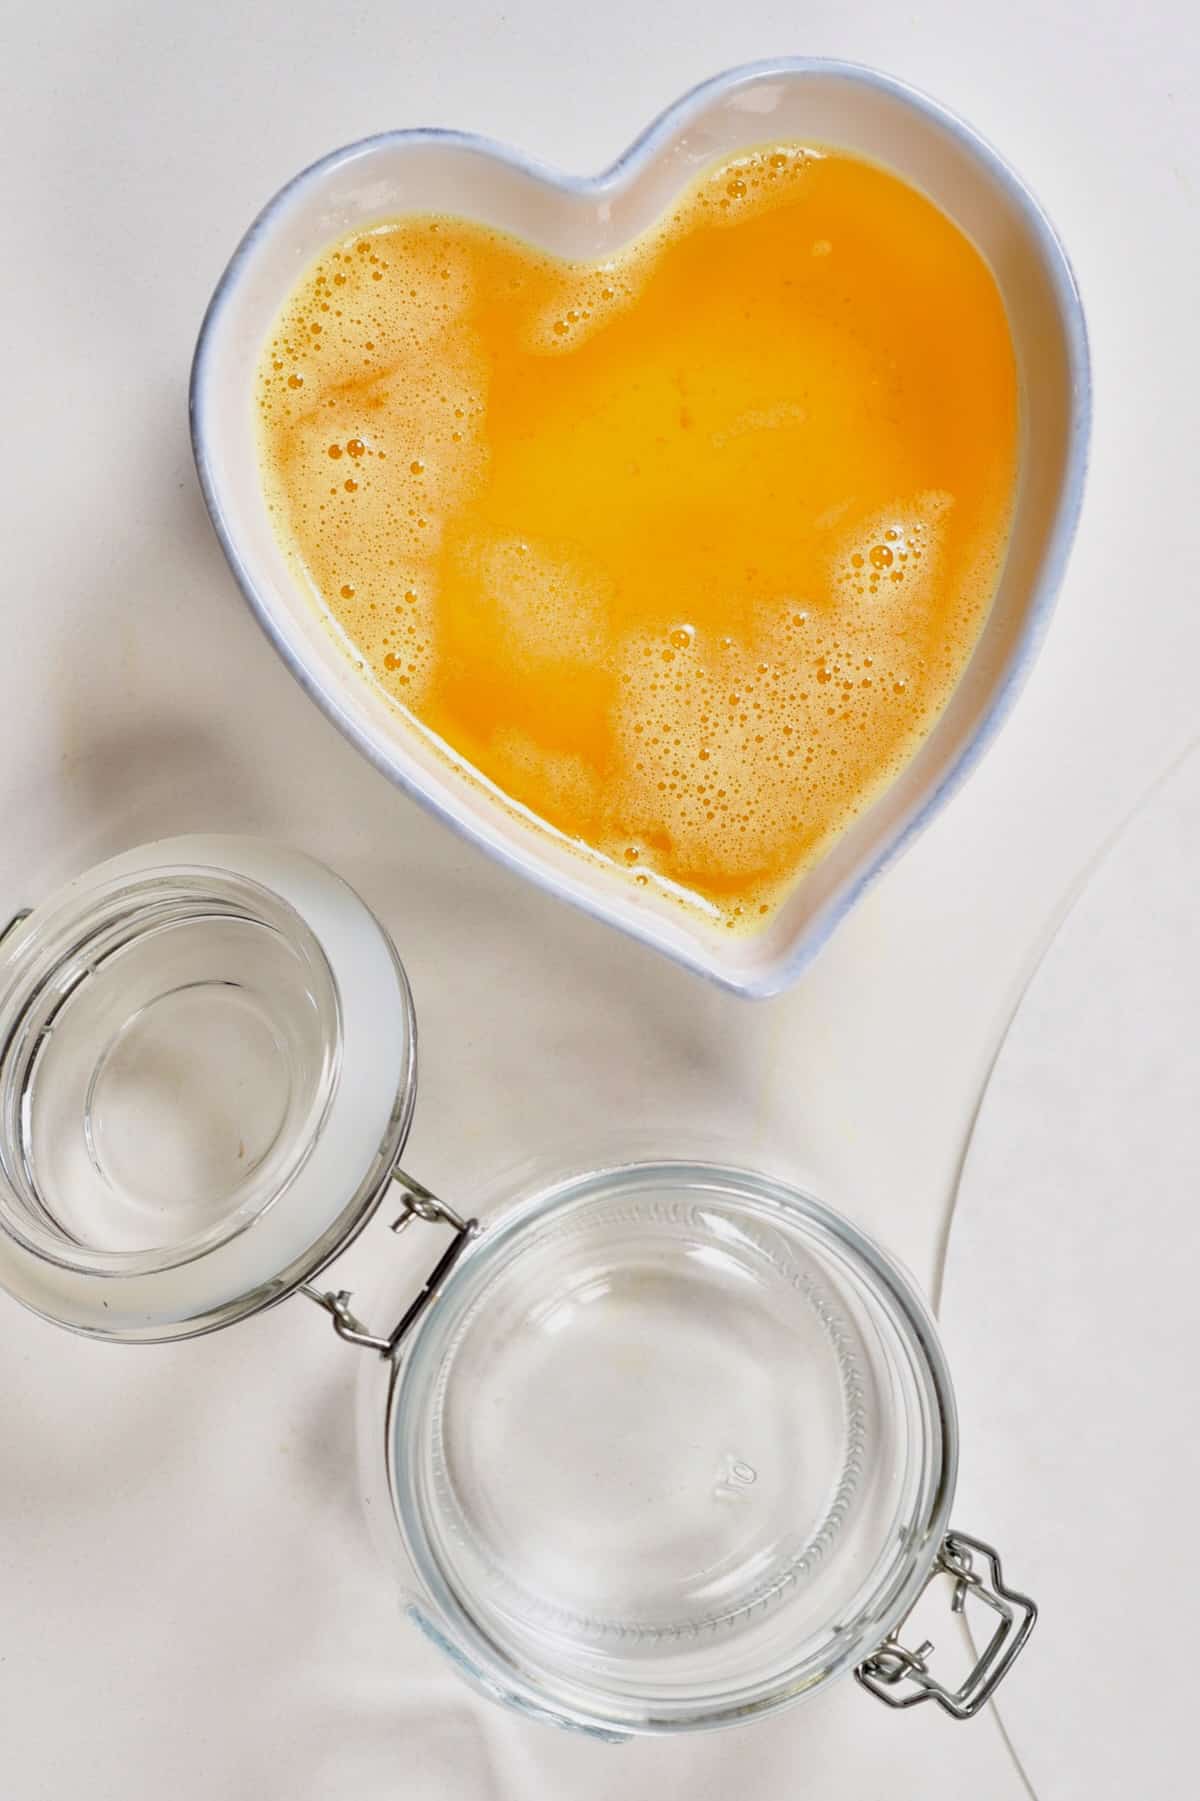
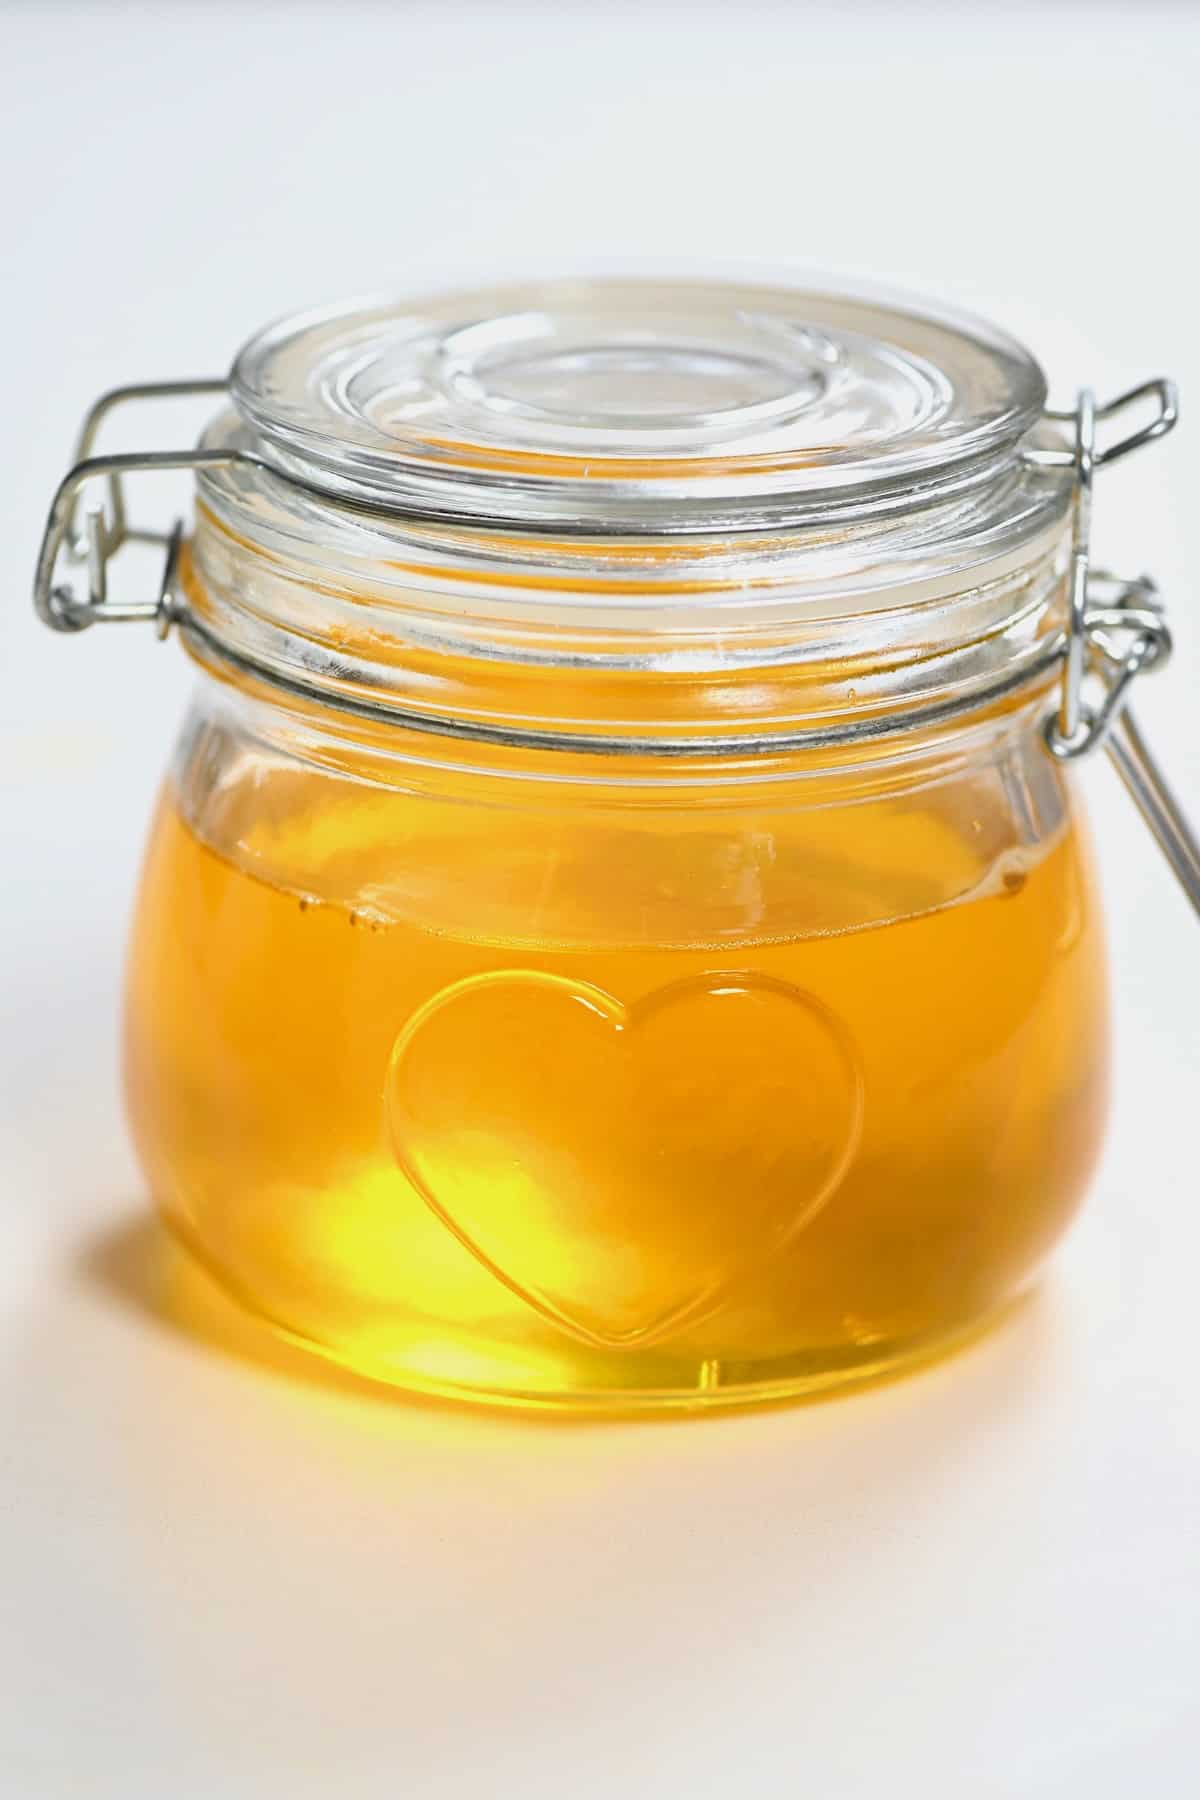
To store it properly, once it’s fully strained and cooled, place it in a sterilized glass jar. Keep the jar in a cool, dark location away from moisture for up to 3 months. Or store it in the refrigerator for up to 12 months.
If frozen, it can last indefinitely. Though I’ve kept it for 2 years at the most. Make sure to always use moisture-free, clean utensils when scooping ghee from the jar.
If it starts smelling slightly “off,” you can often still “save” it by scraping off the top layer. Then transfer the remaining amount to the fridge/freezer.
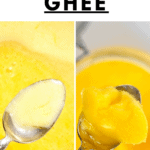
Like coconut oil, ghee is solid when chilled but melts to a liquid above room temperature.
FAQs
Ghee is a product derived directly from butter and is composed entirely of fat, over 60% of which are saturated fats. So, while this natural food has a long history of medicinal uses, its nutritional profiles are almost identical. But because ghee contains no lactose and casein, it is better for those with lactose intolerance.
It contains trace amounts of casein, but usually not enough to bother those who are sensitive to dairy.
Add the butter to your slow cooker. Then cook it over HIGH for 2-4 hours or LOW for 4-6 hours, with the lid OFF. You’ll have to monitor it occasionally to stop cooking it at the right point.
Use the sauté function. Make sure to monitor it closely, removing the pot from the IP when ready, to stop it from burning. The method itself is very similar to the stovetop, though.
Several things affect its flavor, including the milk fat flavor, the butter’s ripening, and the clarification temperature. I.e., lower temperatures for a milder flavor. In general, it has a strong buttery flavor with nutty, butterscotch undertones.
If you like the taste, then use them. For example, add them to cooked rice, mashed potato, spreads, creamy sauces, sweet barfi, kaju katli, etc.
It is a type of clarified butter, but not the same. When exploring ghee vs clarified butter, ghee takes the clarification process one step further. This extra step starts to caramelize the milk solids to infuse the fat with a nutty flavor.
More Indian Recipes
If you try this ghee recipe, let me know how it goes in the comments below. I’d appreciate a recipe card rating and would love to see your recipe recreations – tag me on Instagram @Alphafoodie!
How To Make Ghee
Equipment
- Pot
- Airtight jar for storing
Ingredients
- 16 oz unsalted butter 2 cups/4 sticks – I like using organic, grass-fed, but any will do; you can use salted butter too if it's all you have.
Instructions
- Transfer the butter to a heavy-bottomed pan and melt it over medium-low heat.As it melts, it will separate into three layers – top foam, middle yellow fat, and bottom milk solids. It's the middle layer that we need.
- Using a skimmer/spoon, skim the foam from the top of the melted butter as it appears. Any remaining foam will eventually turn to clear bubbles as the middle layer becomes translucent.If you strain the mixture now, you have clarified butter.
- Continue to simmer the melted butter over the lowest heat until the milk solids at the bottom turn lightly brown and caramelize (but be careful not to let them burn), and there is a lovely nutty aroma and flavor.This is technically brown butter and can be used now, milk solids and all.
- When ready, remove the butter mixture from the heat and allow it to cool for 5 minutes. Carefully strain it into a jar through a fine-mesh strainer, coffee filter, nut milk bag, or several layers of cheesecloth. This will remove the butter solids, leaving you with ghee.
Storage Instructions
- Once cooled, store in a sterilized glass jar in a cool, dark location away from moisture for up to 3 months or in the refrigerator for up to 12 months. If frozen, it will last indefinitely. Make sure to always use moisture-free, clean utensils in the jar.
Video
Notes
- The yield: You will lose around 20% volume when clarifying and straining the butter. I obtained 13 oz of ghee from 16 oz of butter.
- Use a heavy bottom pan to ensure the mixture is evenly heated to avoid burning the milk solids. Also, use a large enough pan. Otherwise, the cooking time will increase.
- To flavor: You can infuse it with flavors while it simmers, like garlic, turmeric, dried chilies, curry leaves, etc. Add them at the end, simmering until crisp.
- Cooking time will vary based on how much butter you’re using.
- Don’t overcook it. Turn off the heat when the milk solids are a light golden color. The residual heat will continue to cook them for a few minutes.
Nutrition
Nutrition information is automatically calculated, so should only be used as an approximation.







What is the reasoning for skimming? Is it absolutely necessary?
This is important to remove the milk solids.
Fantastic and easy recipe for ghee. I use a spoon with a sharp edge to skim off the foam, wait for it to cool and then place a nut bag over a jar. Once the ghee has cooled a bit, I pour it into the nut bag placed over the jar, and voila! Who knew it was this easy? Thanks for the great recipe.
Thank you so much for sharing your experience, Kat. Glad you gave this recipe a try 🙂
This is very good. I found your recipe to be spot on. I’ve made Ghee many times and have even burned a batch by trying to speed up the process. What I’ve established and it works for me is; heating my butter to 110 degrees Celsius or about 240 degrees Fahrenheit and then maintaining that temperature the entire time.
Thanks for your comment, Dennis. This is good to know. 🙂
I have made ghee several times and absolutely love it. Here are some things I have learned from trial and error.
Keep the heat on the lowest setting. You don’t need to stir it but just let it slowly melt and bubble on a low simmer.
Once foam begins, wait a few minutes and then start skimming. I find that a fine mesh ladel/skimmer works best for this part. Keep this in a bowl and you can use it later as you pointed out in your post. Continue skimming every couple of minutes until you see the brown bits and it’s clear.
I find straining through a coffee filter works best. I don’t like to use single-use items but this is an exception I make because it works so perfectly.
I prefer to refrigerate overnight the room temp ghee and then bring it out to the counter the next day. It gives a lovely consistency (as long as it’s not in the heat of summer).