
This post may contain affiliate links. Please read our disclosure policy.
How to make powdered milk at home from fresh milk – using just a large saucepan and fresh milk.
Making homemade powdered milk is not only a simple process, but it can also extend the life of milk nearing its use-by date by months (if not years), as well as keep your dairy supply going for longer. So if you find yourself in the situation where you have lots of milk and no way to possibly use it before it sours, then making milk powder can be a great way to reduce waste and prolong your dairy.
I recently did this DIY for homemade Coconut Condensed Milk and was curious about what would happen if I just continued to leave milk on the heat after it’s reached ‘condensed’ levels – the answer is a thick milk paste that can be turned into milk powder.
I don’t drink a lot of dairy milk, however, for the times that I do – I will sometimes struggle to finish the entire bottle of store-bought milk within the short shelf-life. By making your own powdered milk, you can reduce waste, use the milk at a later date and keep it on hand for emergencies in long-term storage.
Now, I know that in the interest of being completely honest, milk powder doesn’t taste as good as fresh regular milk. I don’t think many people expect it to be, to be honest. However, there are some tips to also combat that worry too, which I’ve included below!
Want to save this recipe?
What is milk powder?
Perhaps not surprisingly, powdered milk is exactly what it sounds like. Milk that has been turned into a dried milk powder through an evaporation process. This is done by removing all of the liquid from the milk until just solids remain – which can be made into a powder.
There are multiple types of milk power products you can get – including whole milk (full fat) and skimmed. You can also get a number of other powdered dairy products such as whey and buttermilk.
As I’ve said above, this is done to preserve it and reduce bulk. Plus, milk powder doesn’t even need to be refrigerated.
Plus, perhaps the most interesting thing that I have found out – making homemade milk powder doesn’t deplete the nutrition of the milk. Through the slow process of heating, the minerals and vitamins remain intact. In fact, the only thing you do lose is water content and extra moisture.
Plus, this natural product requires no additional preservatives, so can be kept chemical-free.
A few Notes on making homemade powdered milk
- While any milk can be used for drying (skim milk, full fat, etc.), it should always be a pasteurized milk, due to the reduced bacteria content. So I wouldn’t suggest using raw milk.
- Skimmed milk will generally have a longer shelf life, due to the lower fat content.
- There are multiple methods for making milk powder at home. The two easiest methods include using a dehydrator and the method I use below. I’ll include a note in the recipe card below about the dehydrator method.
- The key to this DIY is making sure all of the moisture is completely removed – to stop mould from being able to grow (as it needs moisture). On top of that, make sure the container you store it in is also completely dry and airtight. Some people actually vacuum seal it, to further extend the shelf life.
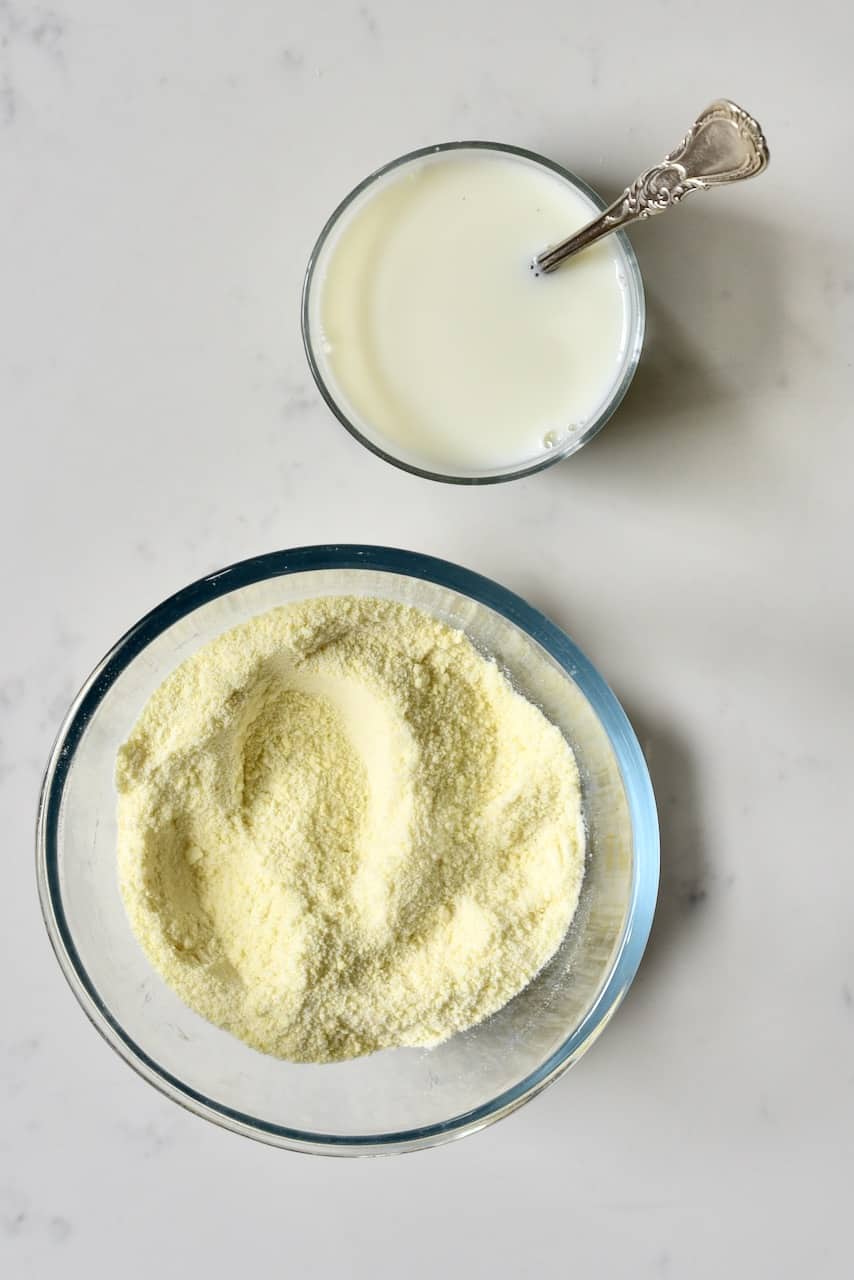
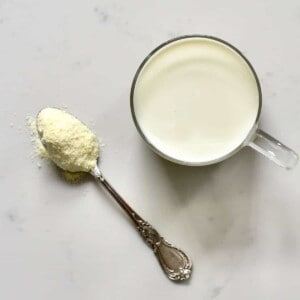
How to Reconstitute the Milk Powder
Since this is a DIY I previously didn’t know too much about, I’m no expert in the art of reconstituting milk powder. With that in mind, I decided to turn to supermarket versions, to see what they suggest.
And that is where confusion sets it. In the end, after LOTS of research, I discovered three main methods:
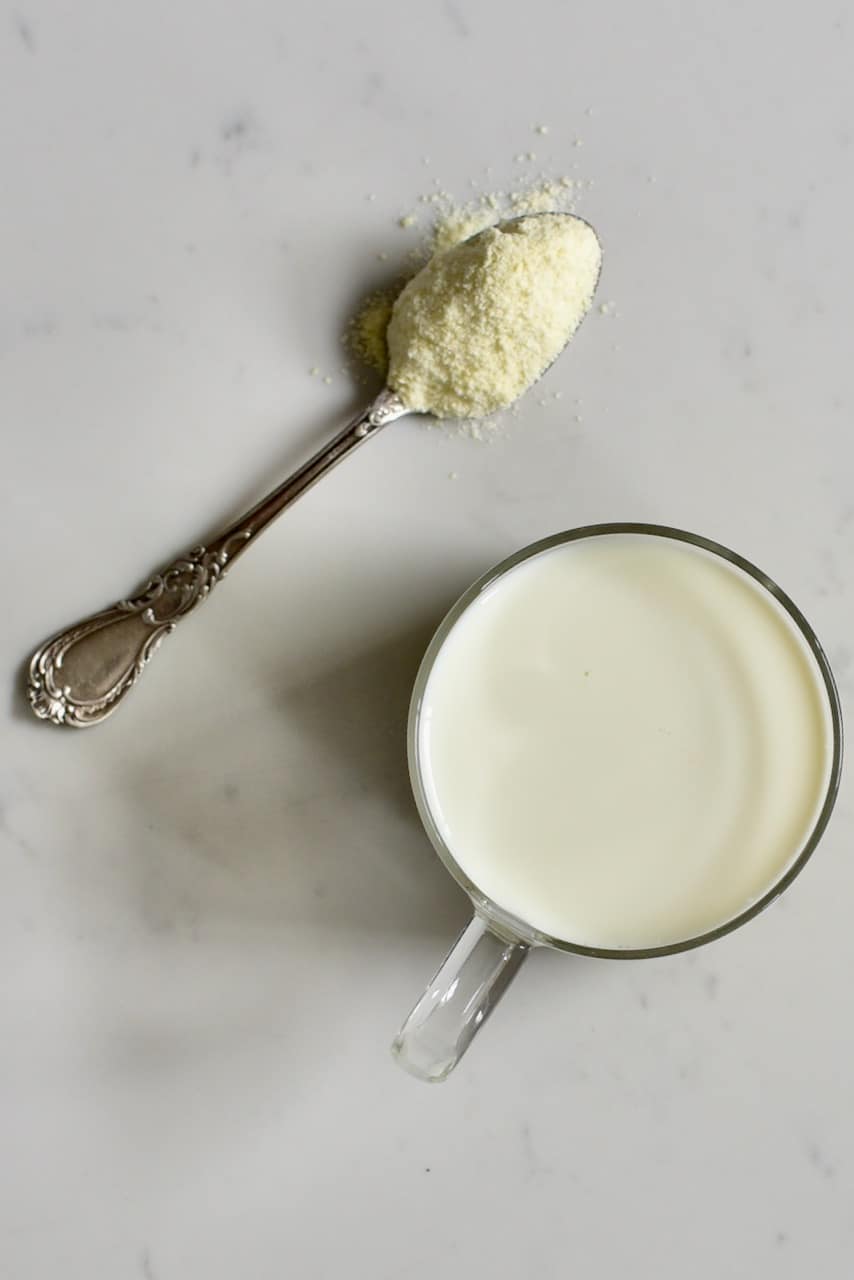
– 1:2 ratio of milk powder to cold water
– 3 tBsp of milk powder to one cup of water
– and 1 tBsp of powdered milk per one cup of water
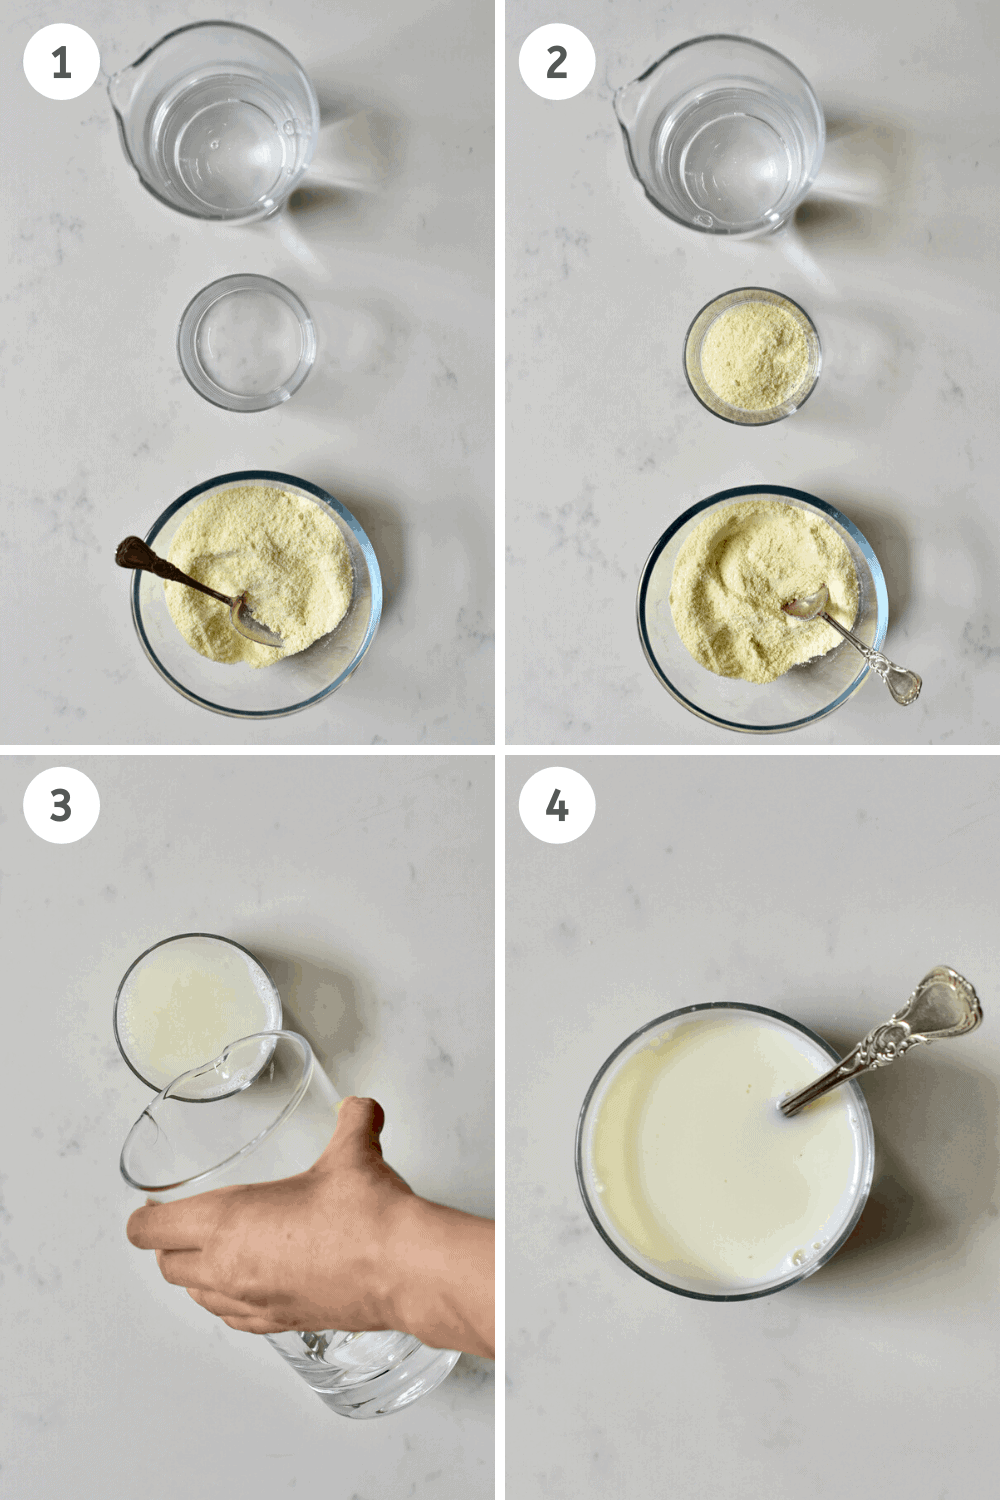
With the whole idea of this DIY being to make a product last longer, I decided to go with 1 tBsp of powder per glass of water and then increase the amount if needed, but I found that I didn’t have to. I’d say that you should do the same – start with 1 tBsp and increase, if needed.
I have learned a few tips on making the most of your reconstituted milk too. For example:
- You can add a little bit of homemade vanilla extract into the milk – it’s delicious! Although obviously best for if you’re dedicating that ‘batch’ to sweet purposes.
- For a super ‘cheat’ at making your milk taste better, you can actually mix it in with a 1:1 ratio with milk you already have in your fridge. If the milk from the fridge was full fat then your resulting mixture will be equivalent to 2%. However, this helps your milk go further while also keeping it tasting creamy and rich.
How to make milk powder
Homemade Powdered Milk is very easy to make. In fact, there are a few different methods to make the milk powder including on a hob, in a dehydrator tray, and my preferred method – in the oven.
Needed
1 liter full-fat fresh milk yields about 150g of powdered milk.
You’ll also need a variety of oven-safe dishes. The larger the surface area then the faster the water will evaporate from the milk
Steps
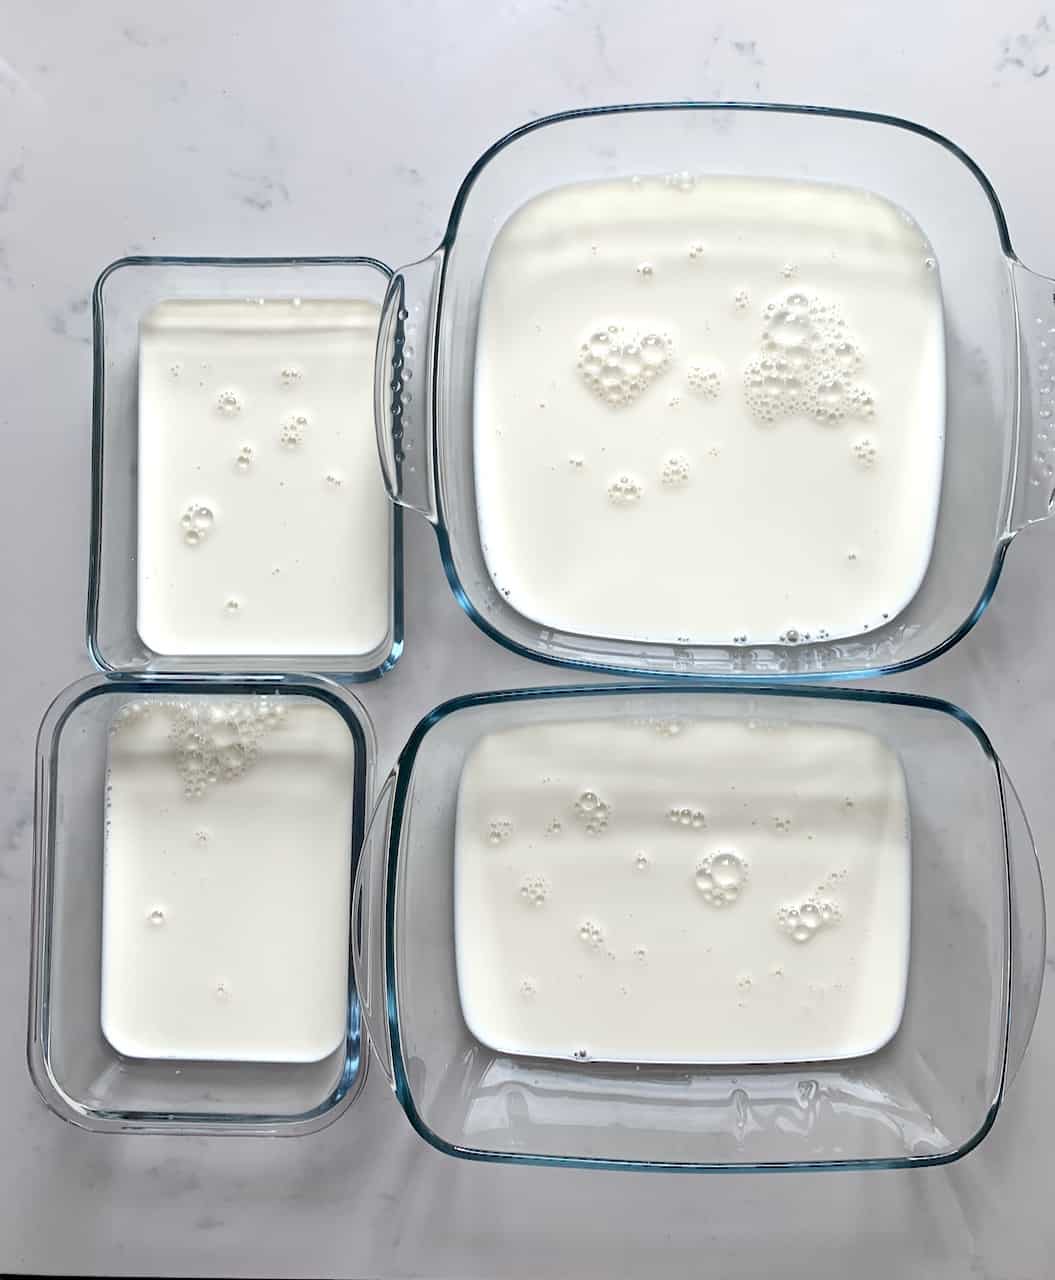
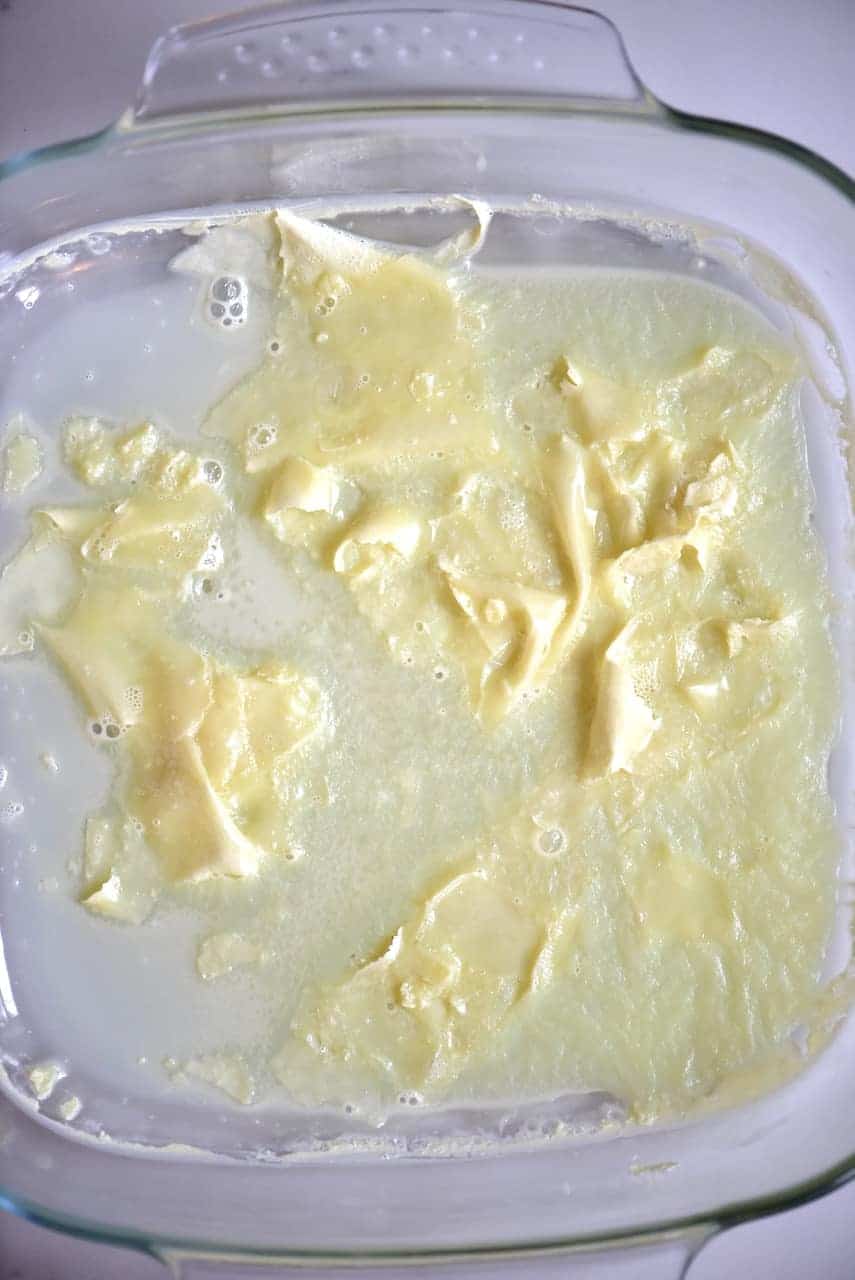
Pour room temperature milk into a big oven-safe dish. It’s best to keep the milk at shallow levels, to dry out quickly. I tend to keep it at a maximum of an inch.
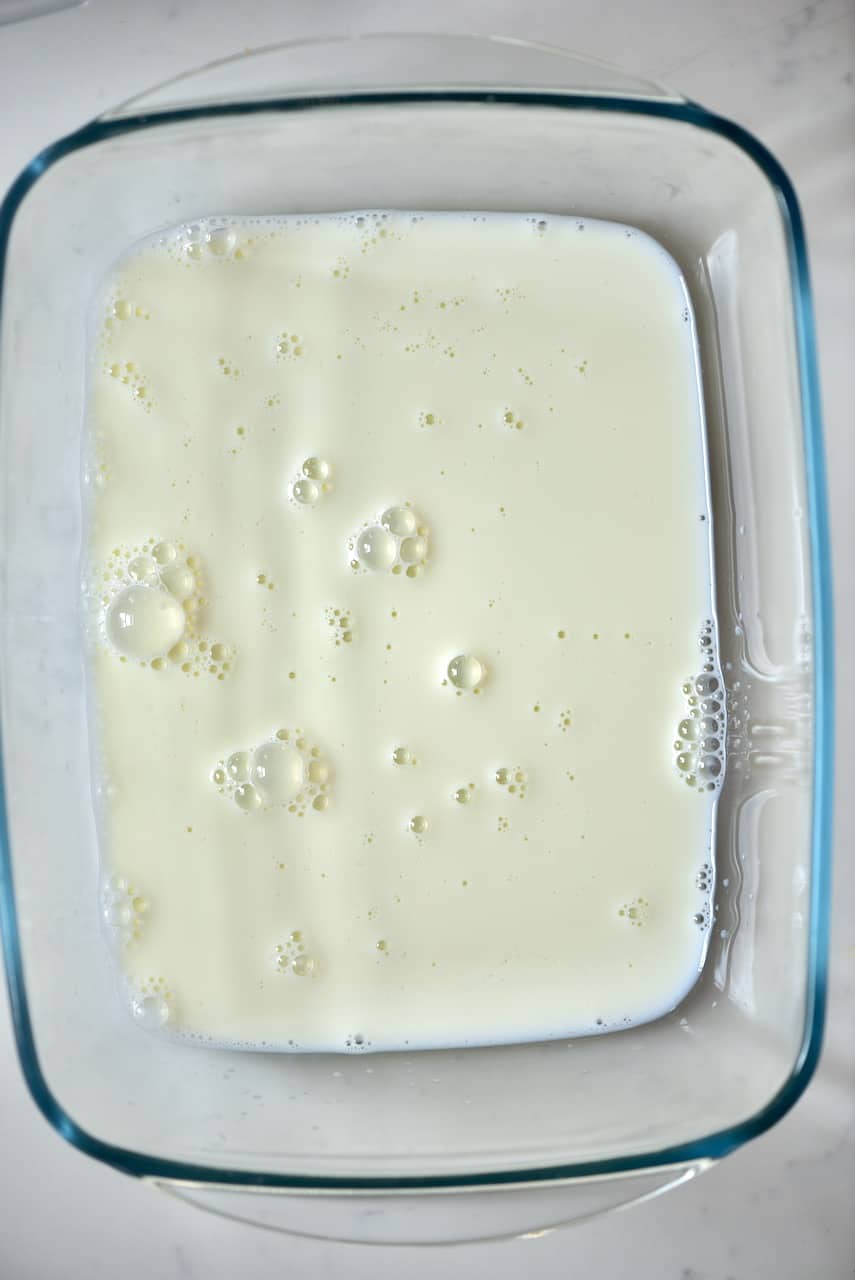
Depending on the size of your oven and/or dish, you can pour the milk into several dishes.
Note* If you want to use a dehydrator then you follow a similar method, pouring milk onto the dehydrator trays (or place a large dish in the dehydrator) and dehydrate at very low temperature over a long period of time. I found good results at 57ºC for around 8 hours, stirring occasionally. However, it can take up to 12 hours depending on how much milk you pour on each tray.
Next, place the dishes into your oven at its lowest temperature. If it can go as low as 50-60ºC, then that’s ideal. Otherwise, select the lowest temperature that you can, using the fan-assisted option.
If you don’t have a fan option then leave the oven cracked open slightly, to let the evaporating liquid out so the milk dries quicker.
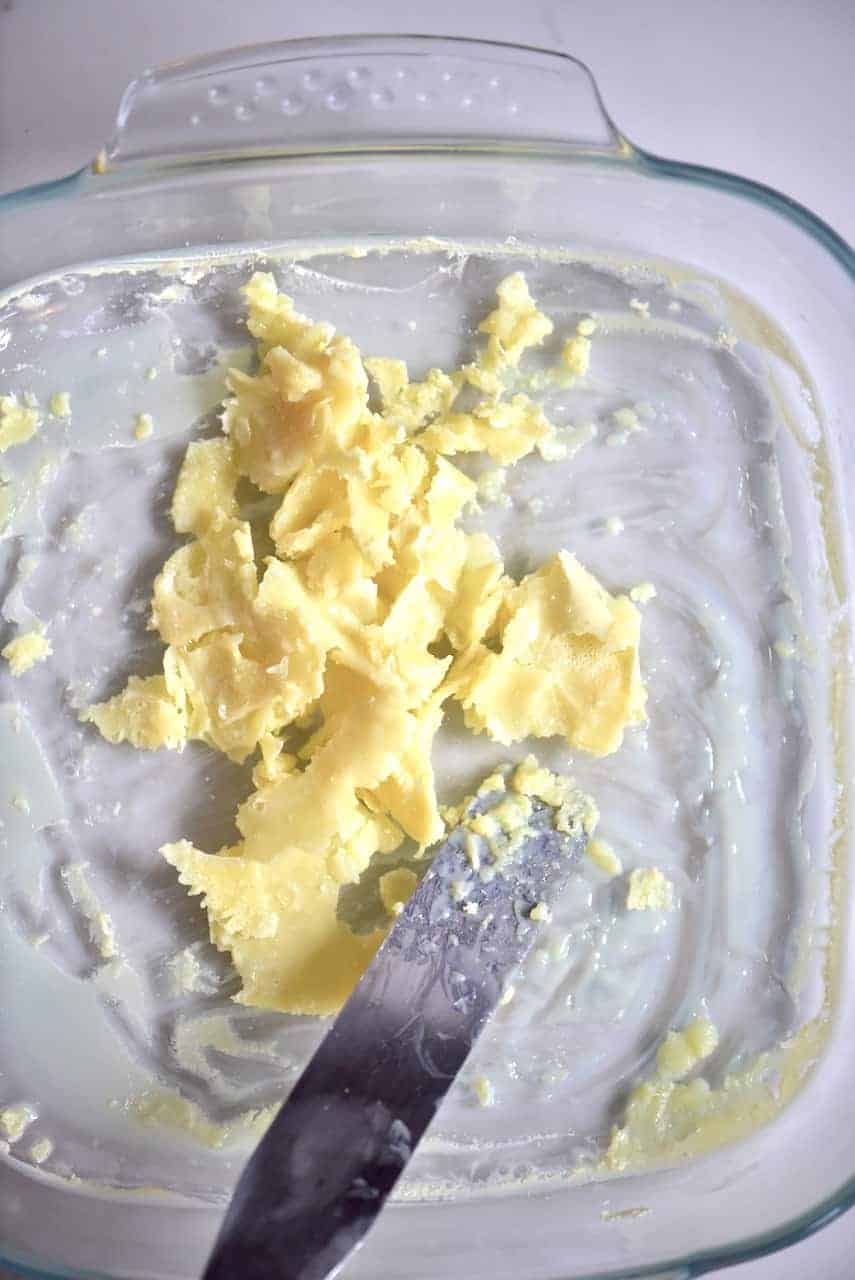
As the water evaporates, the milk will become pastier and pastier until finally, it becomes a thick paste. Make sure the milk paste doesn’t turn brown while drying – that’s a sign that the temperature is too high.
Stir from time to time – this allows the water to evaporate evenly, especially when the milk starts turning to a paste.
Note: If you stop in the middle of the process, you get condensed milk.
Once you get the milk paste, spread it out on a tray or over parchment paper and return to the oven or dehydrator to finish drying the milk.
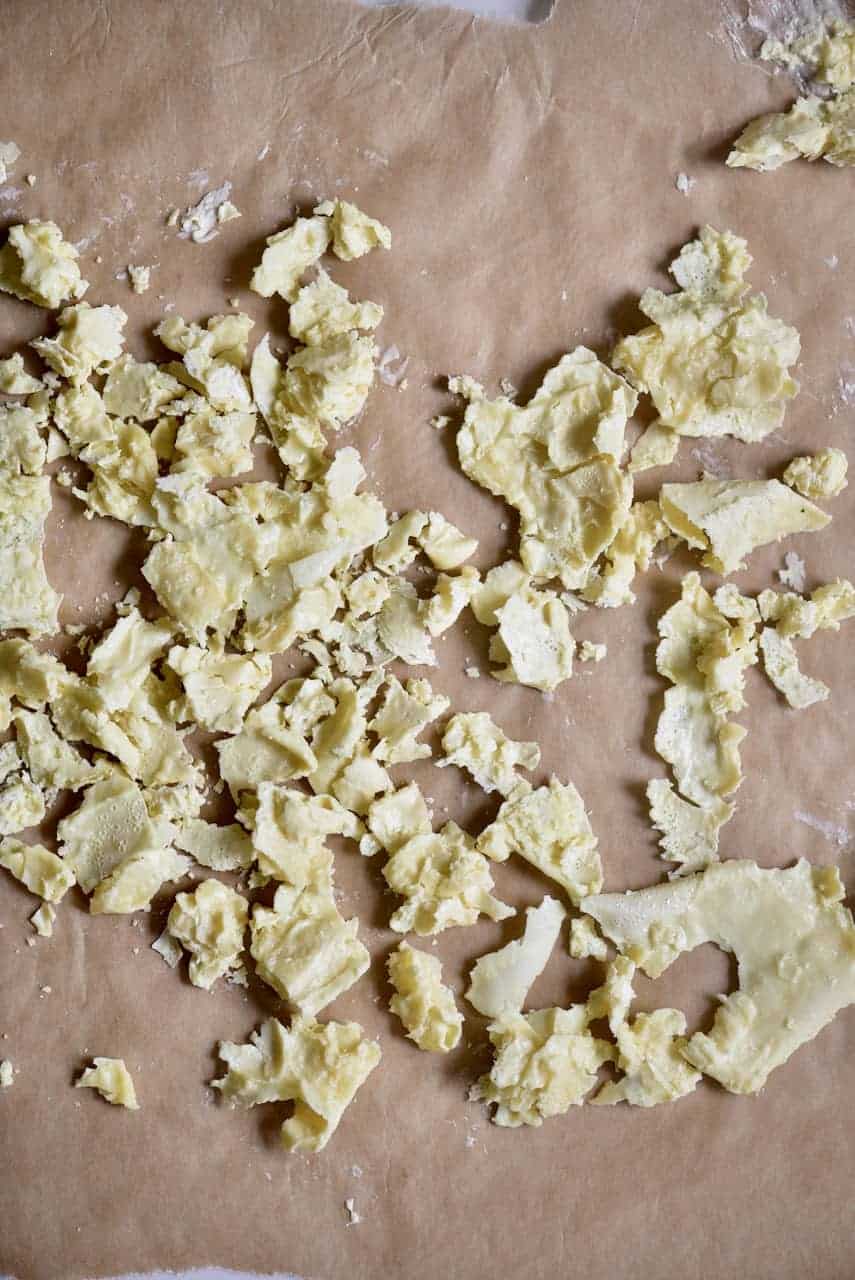
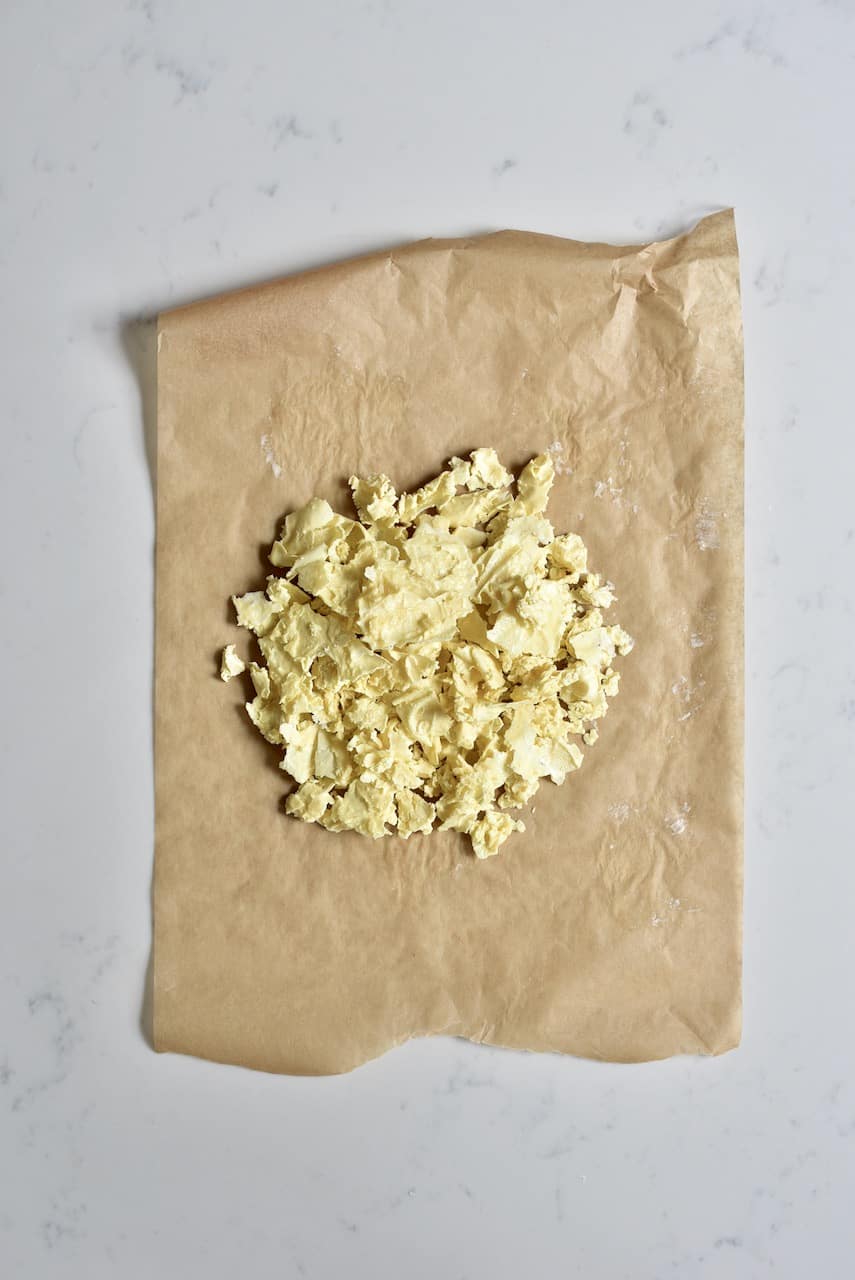
Once the paste is completely dry, you will be able to easily remove it from the tray/baking sheet. At this point, it will be easily swappable, with no bend.
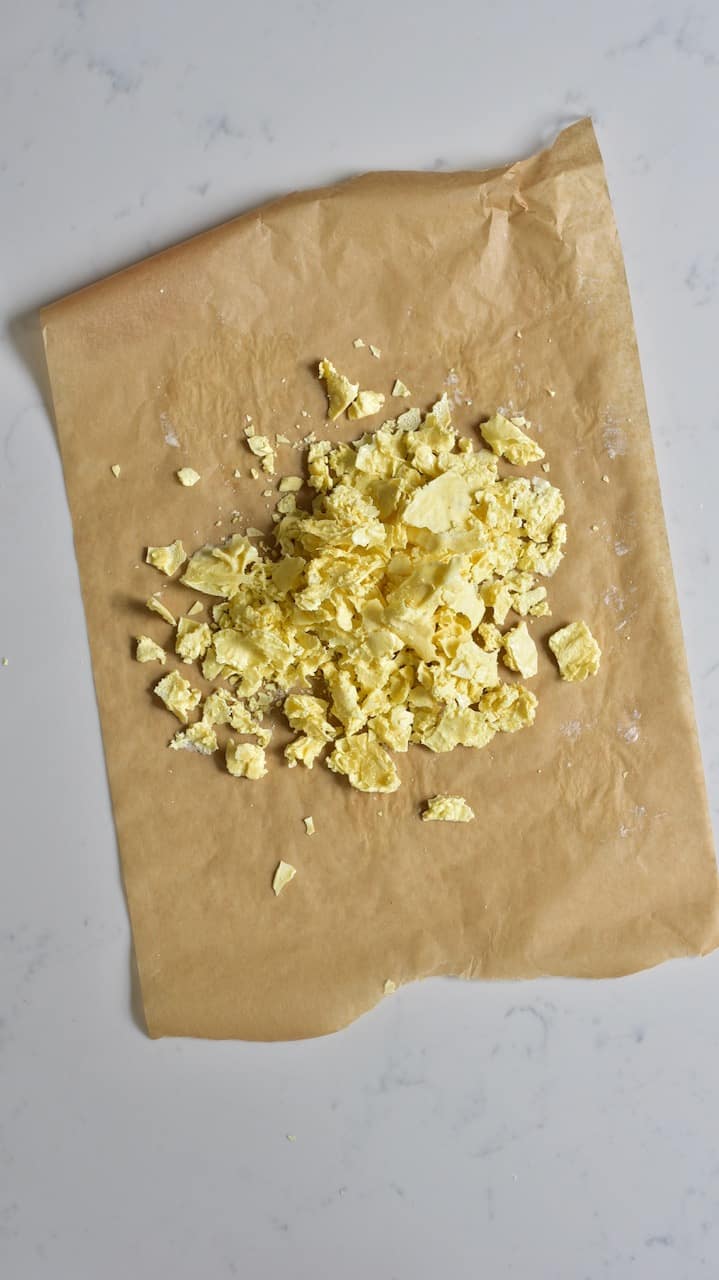
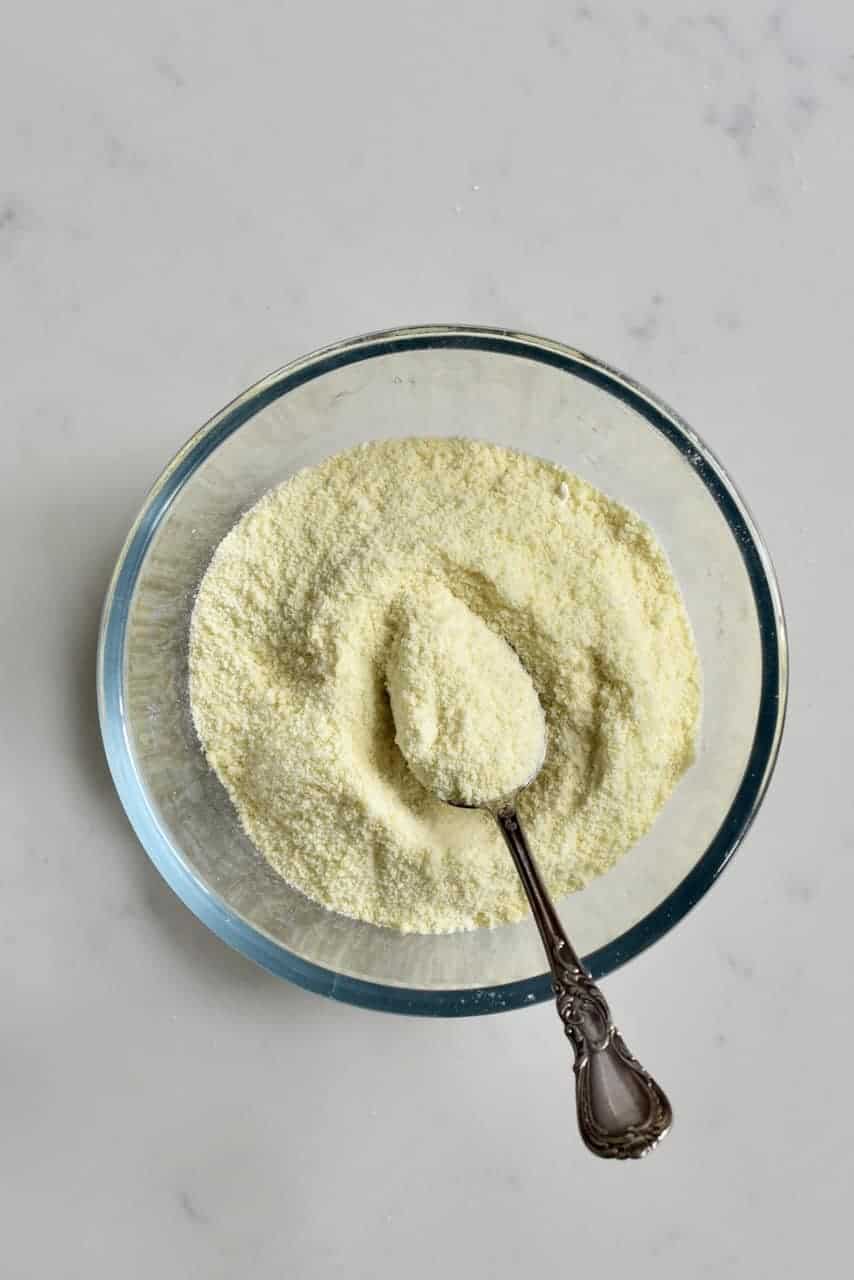
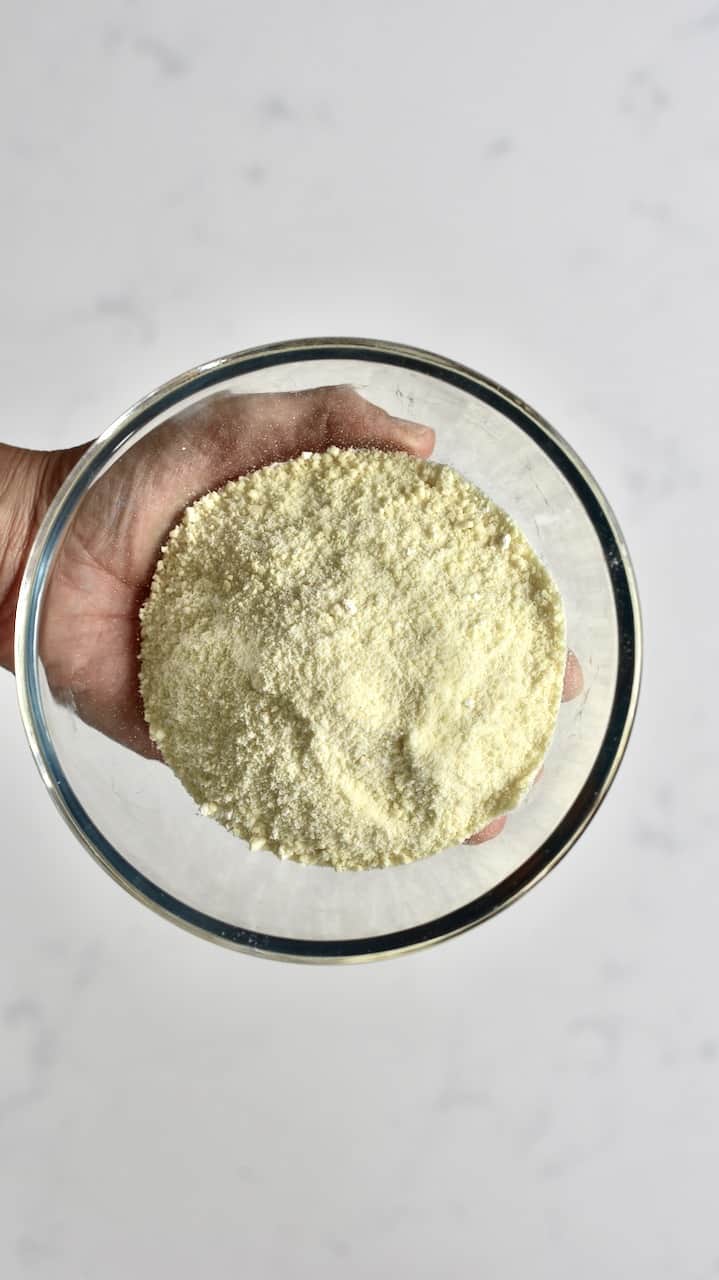
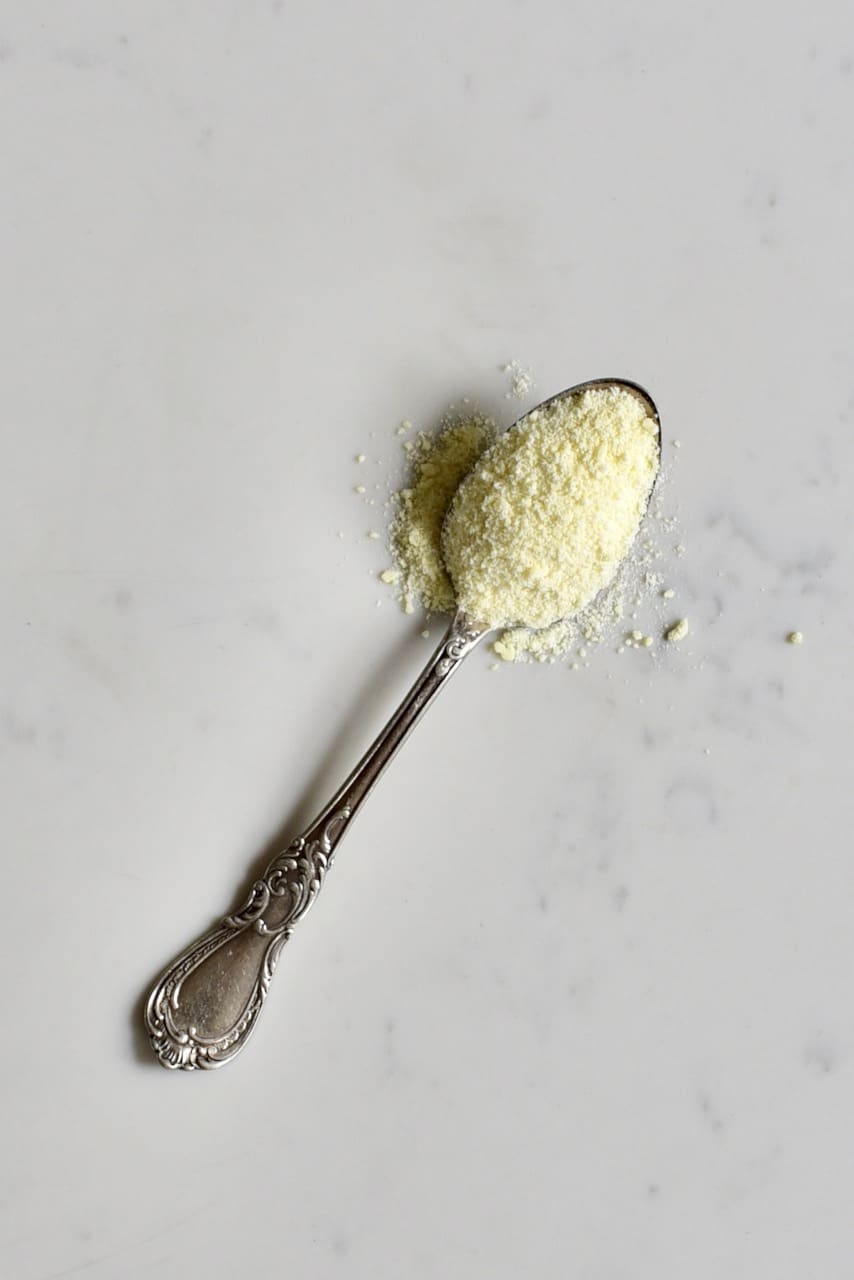
Grind the flakes into powder in a spice grinder or blender.
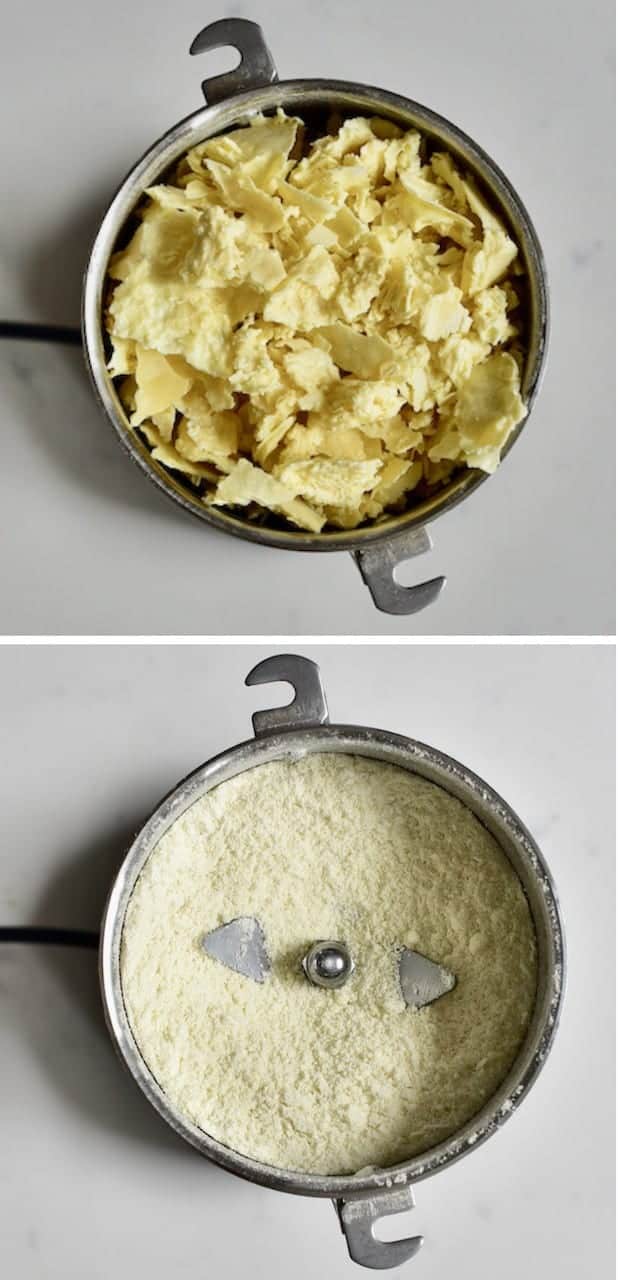
Pass the dehydrated milk powder through a fine-mesh sieve. Then grind the bigger pieces again- that way you’ll achieve a very fine powder.
Store the powdered milk in an airtight container. Make sure there is no moisture in it at all and keep stored in a cool, dark place. Milk powder can be kept for months, if not years this way.
If you have any questions, leave a comment below. Also, I love seeing your recreations so feel free to tag me on Instagram @AlphaFoodie.
How To Make Powdered Milk At Home
Ingredients
- 1 L milk skimmed or full fat/whole milk will work
Instructions
- Pour room temperature milk into a big oven-safe dish. It's best to keep the milk at shallow levels, to dry out quickly. I tend to keep it at a maximum of an inch.
- Depending on the size of your oven and/or dish, you can pour the milk into several dishes. *
- Next, place the dishes into your oven at its lowest temperature. If it can go as low as 120-140ºF/50-60ºC, then that's ideal. Otherwise, select the lowest temperature that you can, using the fan-assisted option.
- If you don't have a fan option then leave the oven cracked open slightly, to let the evaporating liquid out so the milk dries quicker.
- As the water evaporates, the milk will become pastier and pastier until finally, it becomes a thick paste. Make sure the milk paste doesn’t turn brown while drying – that’s a sign that the temperature is too high.
- Stir from time to time – this allows the water to evaporate evenly, especially when the milk starts turning to a paste. **
- Once you get the milk paste, spread it out on a tray or over parchment paper and return to the oven or dehydrator to finish drying the milk.
- Once the paste is completely dry, you will be able to easily remove it from the tray/baking sheet. At this point, it will be easily snappable, with no bend.
- Grind the flakes into powder in a spice grinder or blender then pass the dehydrated milk powder through a fine-mesh sieve. Then grind the bigger pieces again- that way you’ll achieve a very fine powder.
- Store the powdered milk in an airtight container. Make sure there is no moisture in it at all and keep stored in a cool, dark place. Milk powder can be kept for months, if not years this way.
Video
Notes
Nutrition
Nutrition information is automatically calculated, so should only be used as an approximation.


Can I use pasture milk?
Yes, it’s best to use pasteurized milk.
Hi. So I tried this recipe but my milk was brown. What went wrong.
Hi Zidas,
When the milk becomes brown, that’s a sign that the temperature is too high. If you are using an oven, you can leave the door crack open so air can circulate.
I have some milk in my freezer I would like to dry. Are there any adjustments I should make to the recipe or method if I use defrosted milk? It does tend to separate a bit when defrosted so wondered if that would have an impact. Thanks in advance.
Hi Rho,
You should be able to dehydrate it following the same method, just make sure to mix the milk well after unthawing, let me know how it goes.
How long would it take on the hob? Planning on putting breastmilk in to resin but need it as a powder first
Hi Kayleigh,
Not sure how long it would take on the hob. If you give it a try, make sure the hot is on the lowest setting so it doesn’t burn the milk.
Perfect
Thank you for your comment, Ifeanyi.
Wow what a great ideal i will definitely try it out
Thanks a lot
Thank you for your comment!
Perfect! I’m in the same boat. I rarely use milk so frequently end up pouring soured stuff down the drain as I don’t have the freezer space to store it. Then when I need some for baking – I don’t have any. And when it’s-40°C and there’s up to a foot of snow on my truck, depending on when I last went out,,,
Thanks so much for this problem solver!
Alberta, Canada where we’re under a state of emergency due to a rampant 4th wave. Red Cross & military medical personnel arrived at the beginning of the week. Still scary here due to high #s of anti-vaxxers. And anti-maskers despite it being the law
Thank you for your comment, Terry! Looks like the worst is over now. 🙂
Hi
Thank you for the detailed process. is the same process can be adopted for buttermilk and whey also?
Hi,
I haven’t tried with buttermilk but it should work in the same way. Let me know how it goes if you give it a try.
Hello, please can I use cow milk for it
Hi Phil,
Yes, you can use cow milk, best that it’s pasteurized.
Hi Samira, I really want to try this but 8 hours of oven time with opening to stir is a lot of electricity! Is there no other method that’s perhaps faster and will use less electricity? Thanks so much!
Hi Noddy,
Perhaps in your situation I would suggest getting a dehydrator, especially if you plan on making it a lot. I hope this helps.
It is so interesting i was searching for this topic from a long time. I read this article very carefully and now I got all my best information for writing blog on Whole Full Cream Milk Powder. I am so glad that i finally find blog resemblance to my topic. Thanks for this.
Thank you for your comment, Eric.
Hi, very nice recipes. i will like to try it this weekend but my fear is time.10 hours is really long, that’s like the whole day………… but i will still try and see.
Hi Eva,
Indeed it takes a lot of time but all the water and moisture need to evaporate from the milk.
Anyway you could use a microwave to do this
Hi Aith,
I don’t recommend using a microwave for this. Although the microwave could work for dehydrating some foods, the water content of milk is too high for it to be conveniently dehydrated in the microwave.
Hi, is this method ok if I use yoghurt? Turkish, or any kind of youghurt? I saw earlier comment that cream works fine. I am interested how youghurt works.
Thank you if you find time answering
Hi Sirkka,
Yes, you can dehydrate yogurt using this method. It’s best to use plain yogurt with low fat content (3% or less) so it doesn’t spoil. You need to dehydrate it until it is completely dry and brittle.
Have you tried this process with oats/oat milk yet? I am thinking this might be a good non-dairy creamer for coffee when travelling or backpacking.
Hi Gee,
There is a recipe for oat and cashew creamer here on the blog. Here are the links:
https://www.alphafoodie.com/simple-oat-milk-creamer-oat-cream/
https://www.alphafoodie.com/how-to-make-cashew-cream/
I hope this helps.
My oven only goes down to 170 degrees F. Would that be to hot?
Hi Robin,
You can still make this with 170ºF. It’s best if you have the fan-assisted option on as well.
If you don’t have a fan option, then you can leave the oven cracked open slightly, to let the evaporating liquid out so the milk dries quicker.