
This post may contain affiliate links. Please read our disclosure policy.
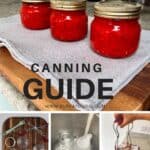
An easy step-by-step guide to water bath canning for beginners: an at-home canning technique perfect for preserving jams/jellies/preserves, fruits, pickles, and tomato products for up to a year of locked-in freshness & flavor!
Home canning – also called bottling – transforms fresh, ripe, in-season foods (at their highest quality) into a shelf-stable product with a cost-effective method of locking in the freshness for long-term storage. However, the process may seem overwhelming if you’ve never done it before.
Luckily, with plenty of research and first-hand experience, I’ve pulled together this ULTIMATE guide on how to water bath can. Including how it works, when to do it, what home canning supplies you need, a step-by-step process, and top tips for the best results!
This water bath guide has a LOT of information. If you want advice on a specific topic, press CTRL+F/ CMMD+F on your keyboard and type in your keyword.
Want to save this recipe?
When to water bath can?
There are two home canning food methods: pressure canning and water bath canning (also called boiling water bath canning or hot-water canning). Both pack ingredients into sterilized jars, then put them through a heat process (either by water or pressure) to kill harmful organisms and provide a vacuum seal. The process locks in freshness, keeps out bacteria and oxygen, and slows spoilage.
Which method to use depends on your ingredients. Pressure canning works best with low-acidity foods (like meats, soups, and vegetables). Meanwhile, a water bath canning is recommended for high-acid foods only (like pickles, preserves, and certain fruits).
Why is this important? Water bath canning can only heat foods to boiling point (212ºF/100ºC) – that’s enough to preserve high-acid foods.
However, low-acid foods require higher temperatures (around 240ºF/116ºC) to adequately kill harmful bacteria and eliminate the risk of botulism – that’s why pressure canning is required for them.

A list of acidic foods
To be safely canned, the food needs have a pH level of 4.6 or lower. Some examples of high-acid foods include:
- Jams/Jellies and preserves,
- Tomatoes – whole, sauce, puree, juice, etc. (usually with added acid – see below),
- Relish (with added acid),
- Salsa,
- Pickles,
- Fruits and fruit juices – including apricots, apples, berries, peaches, pineapple, plums, pears, rhubarb, strawberries, cherries, etc.,
- Condiments (ketchup, mustard, BBQ sauce, etc.).
Meanwhile, other ingredients are only safe when given an acidic boost. This includes all tomato products. As a guideline, to each pint of tomatoes, add either:
- 1 tablespoon bottled lemon juice (which has a consistent pH level),
- 2 tablespoons vinegar,
- ¼ tsp citric acid.
You may need to add sugar to the tomatoes to balance the acidic flavor.
If you aren’t sure about a recipe/ingredient, you can buy pH strips to test your recipes OR refer to the USDA’s Guide to Home Canning.
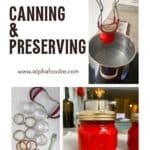
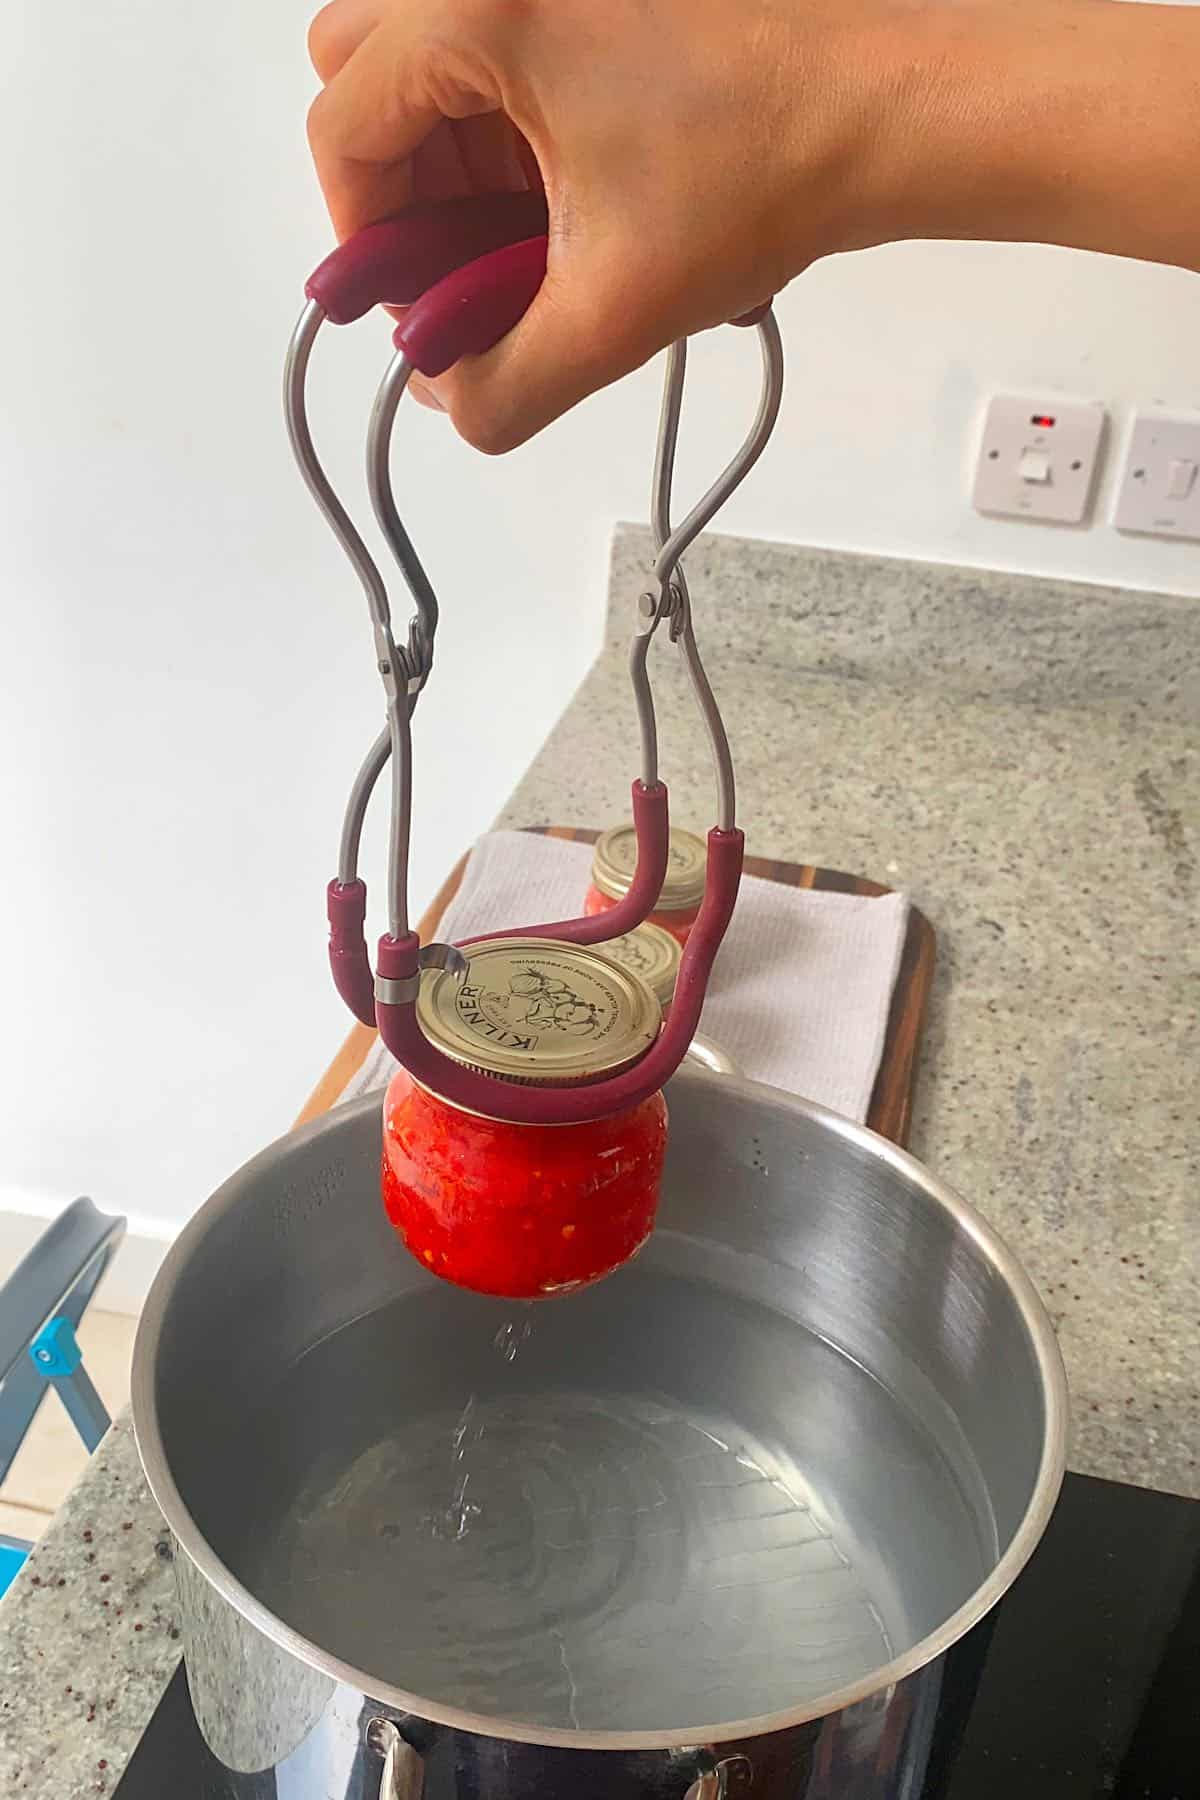
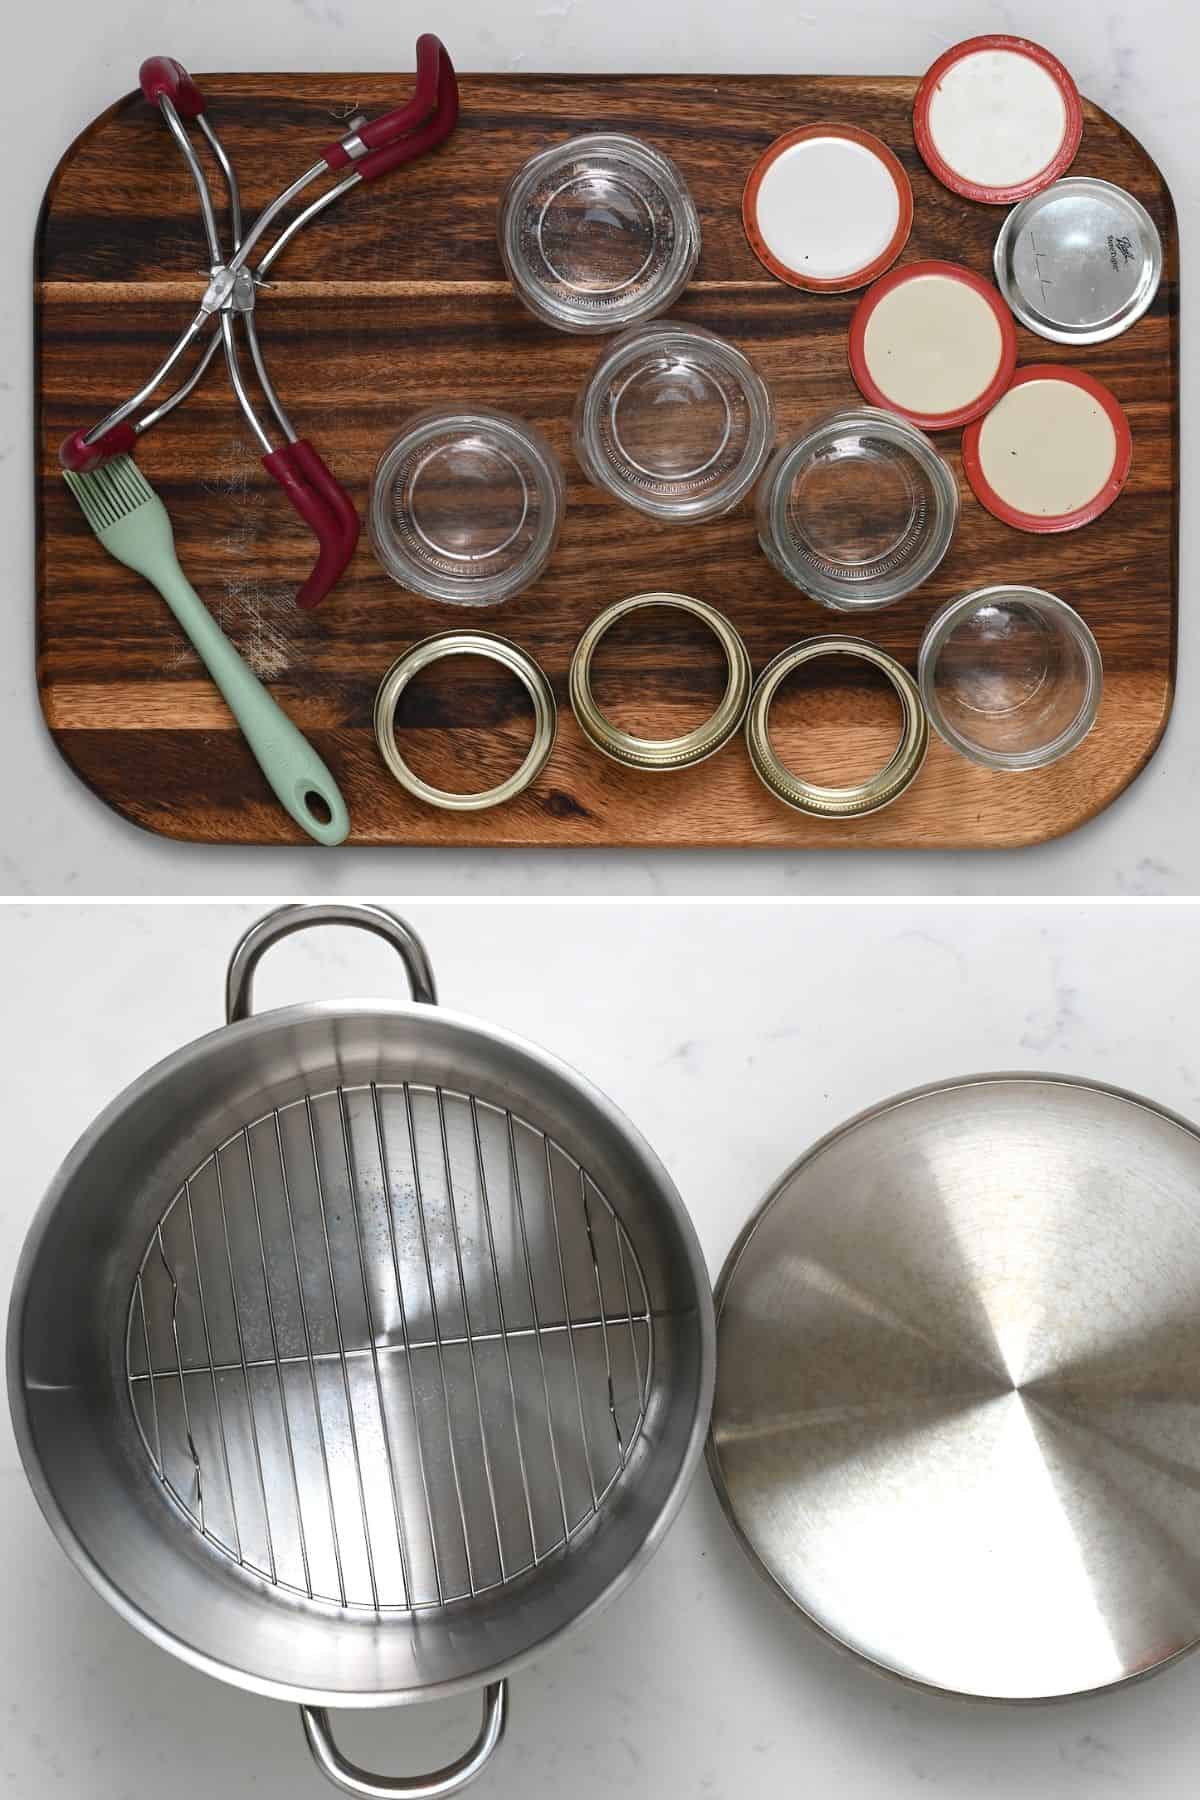
Home canning supplies needed
- A canner: You can use a specific water bath canner or a large, heavy-bottomed pan, like a 16+ quart capacity stock pot. Placed in it, you’ll need a heat-proof silicone or wire rack/trivet that the jars can sit on (so they aren’t directly touching the bottom of the pan to heat evenly).
- Jars: Use heat-proof jars, like Mason Jars (US) or Kilner Jars (UK). Rubber-top clip jars also work (though I don’t often use this type). I recommend using a wide-mouth jar for larger ingredients to make filling easier, though it’s not vital.
It’s best to have several sizes, such as 4oz, half-pint, pint jars, pint-and-a-half, and quart jars. You can reuse the jars as long as they have no chips/cracks, replacing the lids/rings as needed.
- Lids: There are two main types of lids to choose from.
- Reusable dimpled lids: The vacuum seal creates pressure to pull the dimple down (which looks like a button in the center of the lid), so you know it’s properly sealed.
- Canning lids: These come in two parts: a flat lid and a screw band/ring band to seal it. The rings are reusable, though the actual lids are usually one use only. However, it’s possible to buy reusable canning lids now, too (so double-check!).
- Canning tongs: Secure-grip jar lifting tongs (a “jar lifter”) securely grip the jars in the canner to reduce the risk of dropping them (and potentially splashing/spilling hot liquids). Other kitchen tongs work too, but won’t be as secure.
- Kitchen towels: Clean kitchen towels are important to wipe the jar rim and to set beneath the jars while cooling.
Other helpful tools
- PH strips: To ensure your recipe is pH 4.6 or lower.
- Funnels: Home canning relies on a 100% sterile environment. To avoid mess when filling jars, use a canning funnel made from nonreactive materials (silicone, plastic, or stainless steel). ALTERNATIVELY, use a nonreactive ladle.
- Bubble remover: (headspace tool) To remove air bubbles from the filled jars. A clean chopstick or skewer will also work.
- Magnetic lid wand: To pick up a single lid and place it on the jar without human touch (to avoid accidental germ contamination).
- Citric acid: While you can use vinegar or lemon juice, citric acid is another option that’s easy to have on hand.
- Timer: Use your phone timer or a separate timer to monitor the processing times and ensure they’re accurate.
- Canning salt: (pickling salt) contains no additives or anti-caking ingredients. This allows canned foods and brines to stay clear (not cause cloudiness which may look like spoilage).
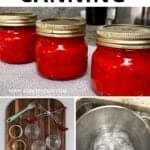
The water bath canning process
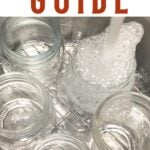
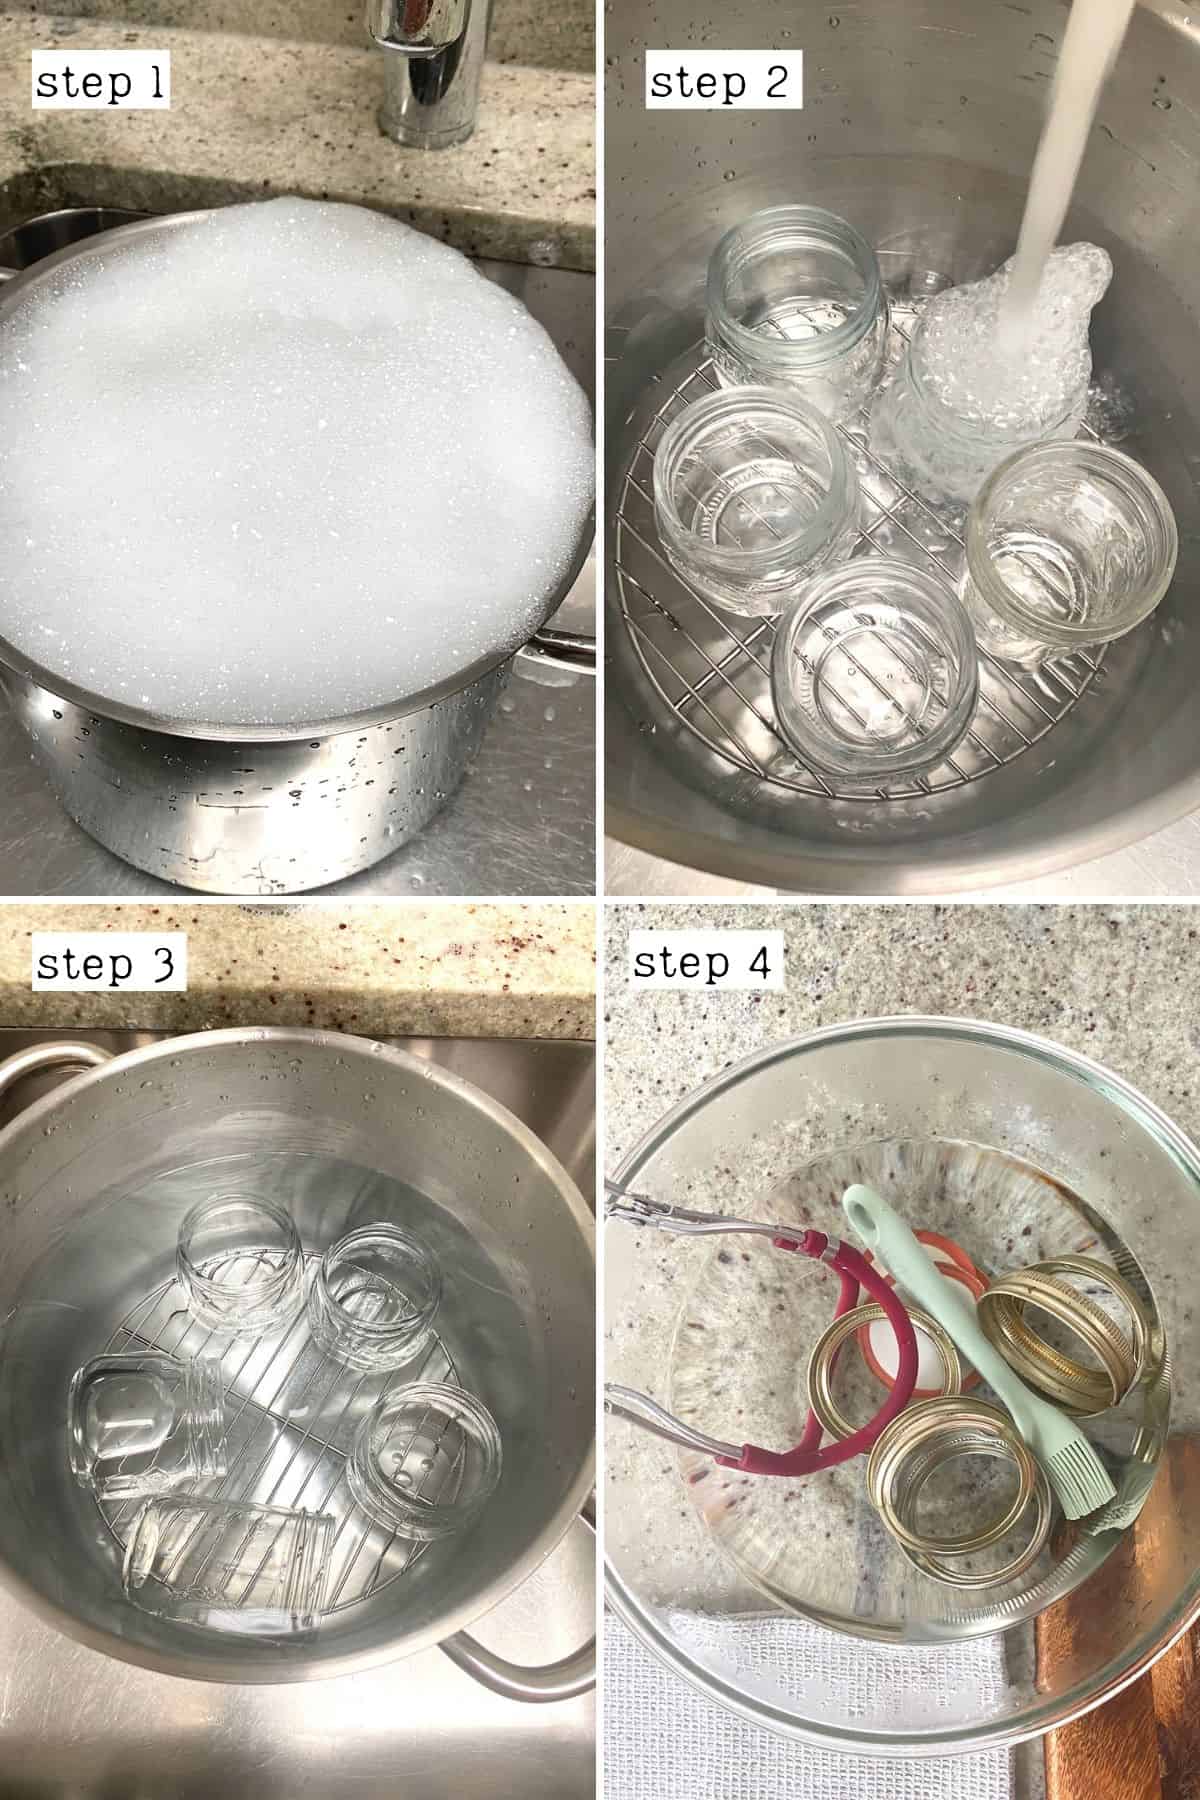
Step 1: How to sterilize canning jars and countertops?
First, thoroughly clean your working surface areas (countertop and stovetop) with soapy, hot water.
Then, sterilize all the tools (jars, lids, tongs, pot, inner rack, funnel, etc.) in hot, soapy water and rinse them well.
To keep the jars warm until it’s time to fill them (so the glass isn’t “shocked” when transferred to the canner), place them (lids on) in boiling water – such as in the prepared canner – for at least 10 minutes, or until they’re needed.
Note that the jars and lids must be 100% dry before filling the jars.
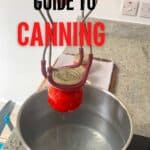
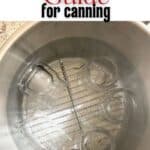
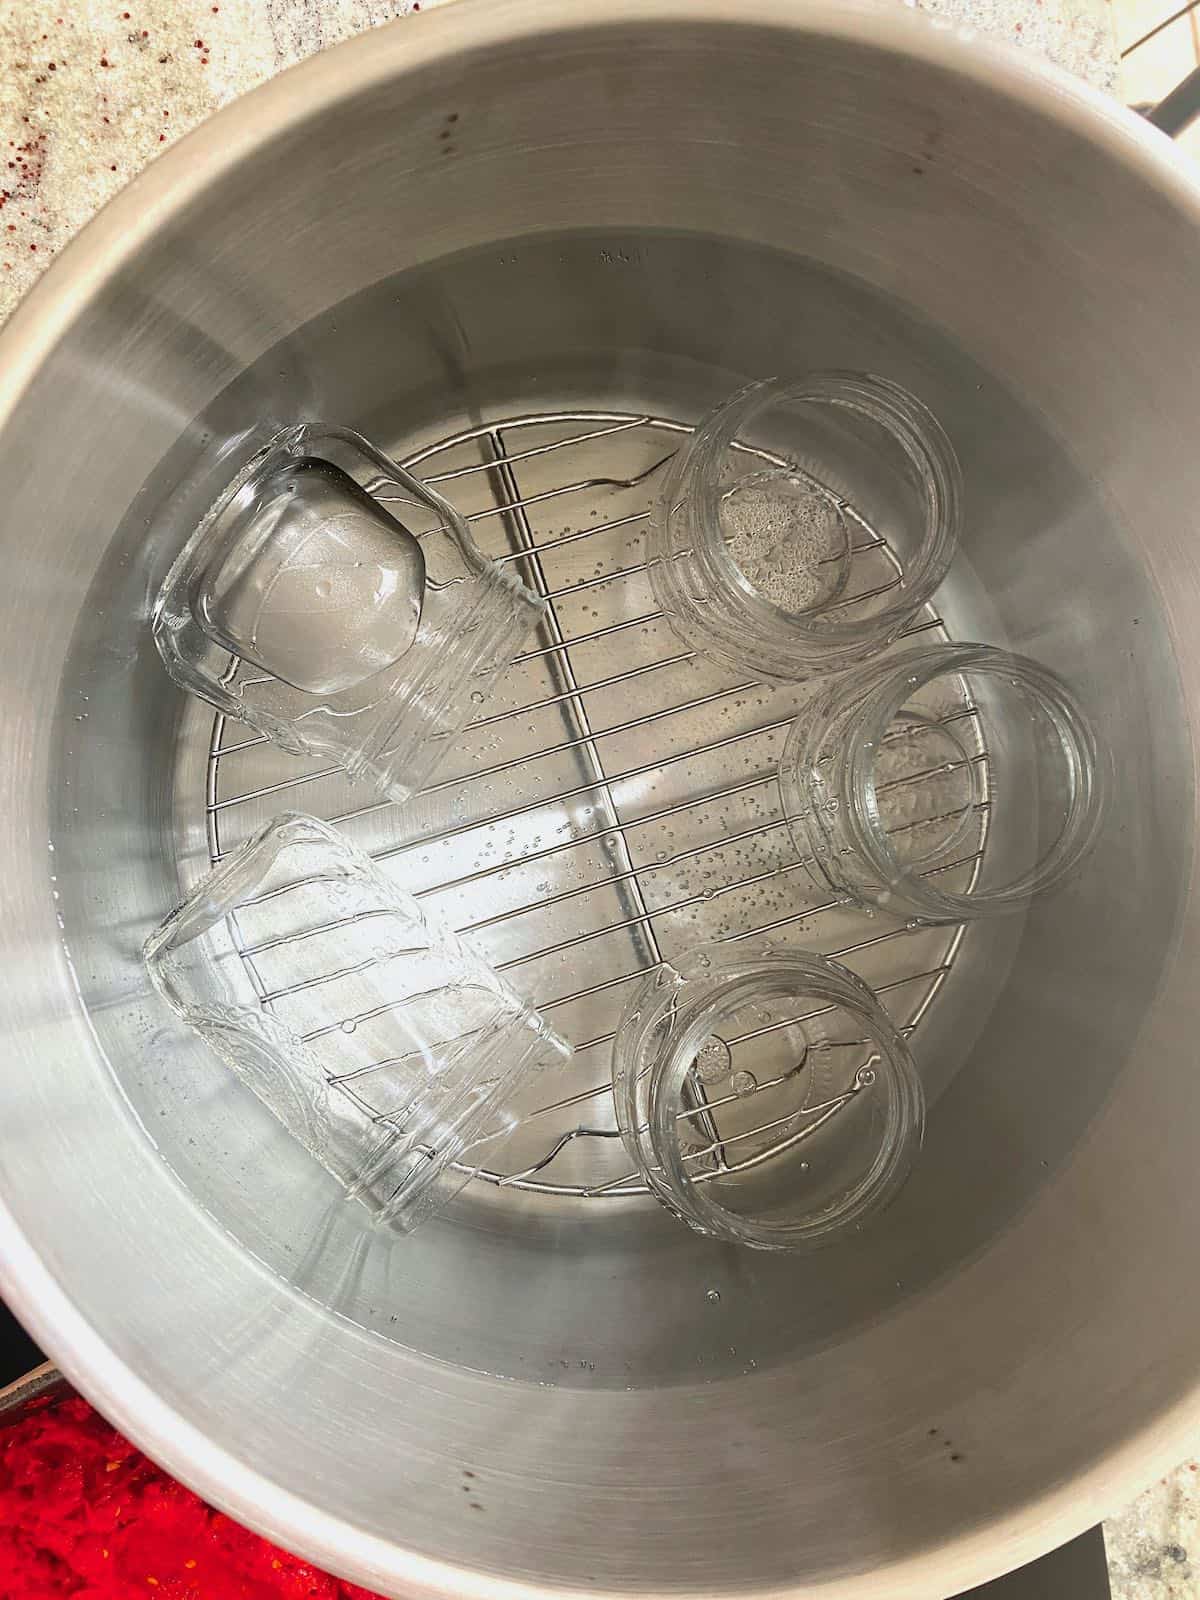
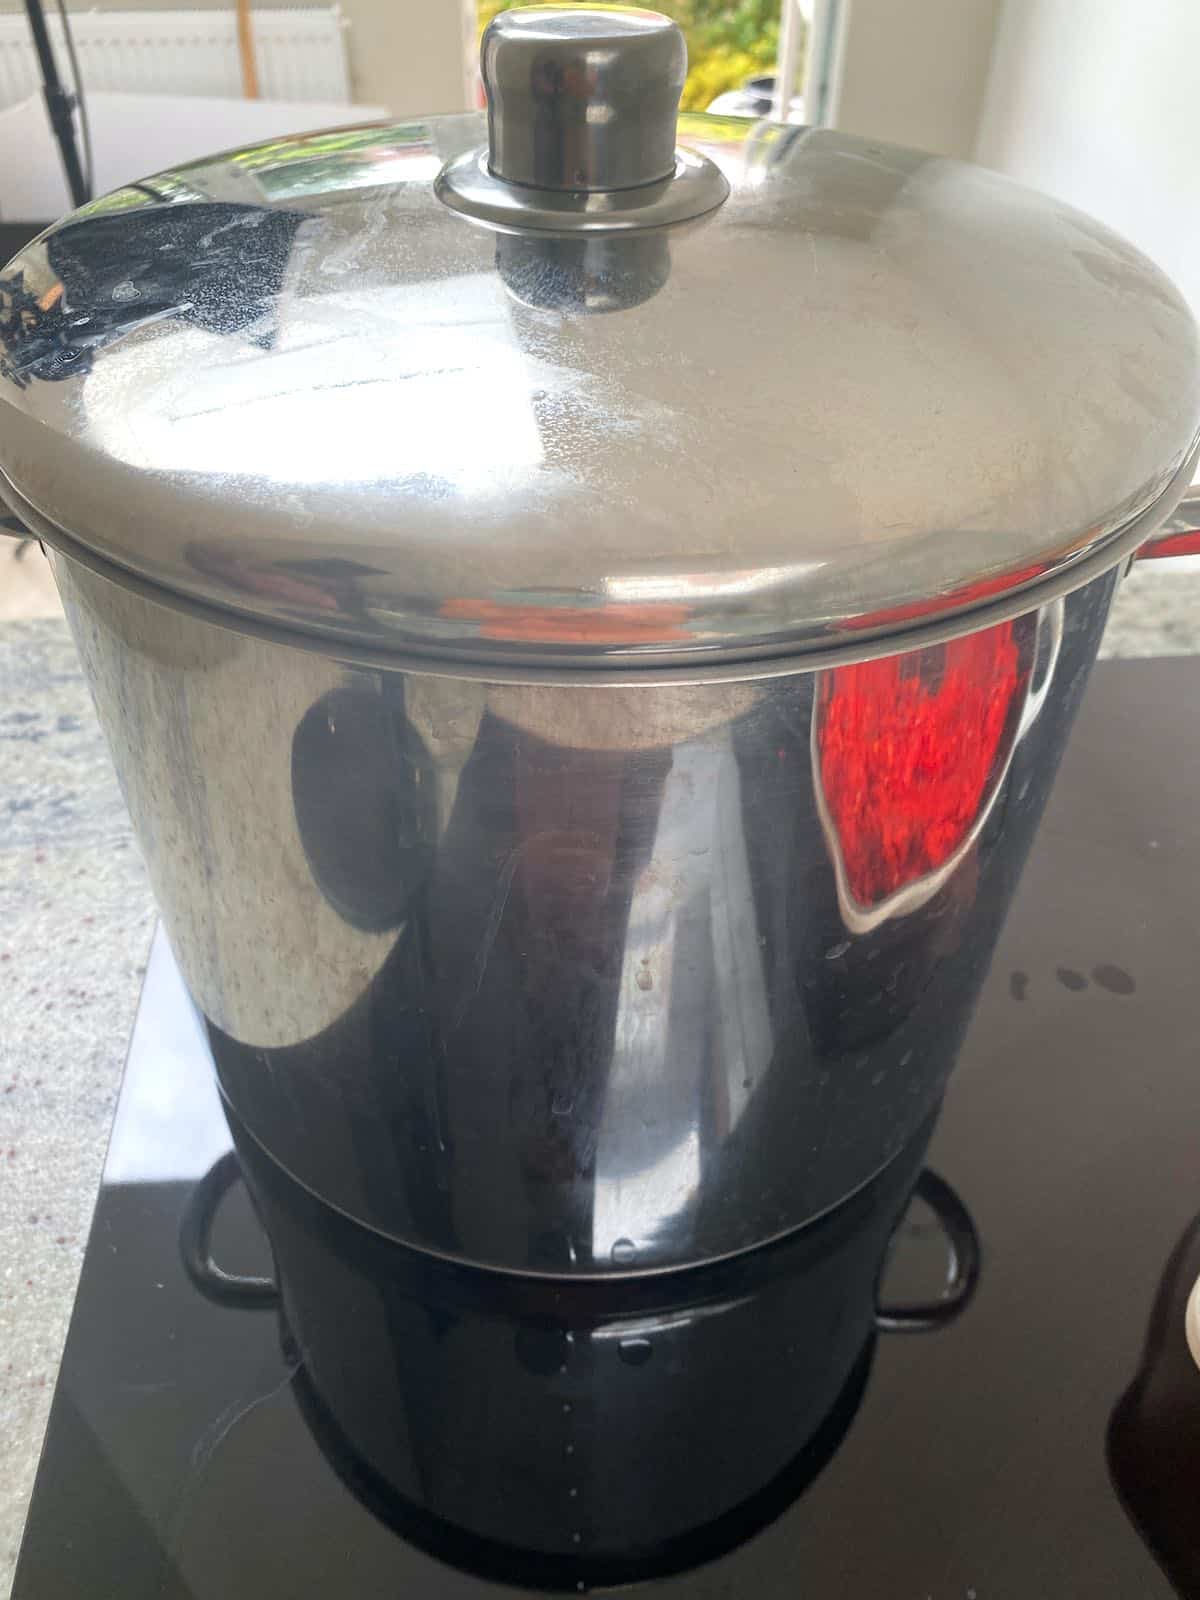
Step 2: Prepare the canner
Place the wire rack/trivet into the bottom of the canner, fill the pot about halfway, and then bring it to a boil over medium heat while you fill the jars.
It’s important not to overfill the saucepan, as the jars will cause the water to rise. To test the exact amount needed, fill your jars with water and place them in the canner, then add enough water to submerge them under an inch of water (2 inches for 30+ minute processing times). Remove the jars; the remaining liquid level is how much you need.
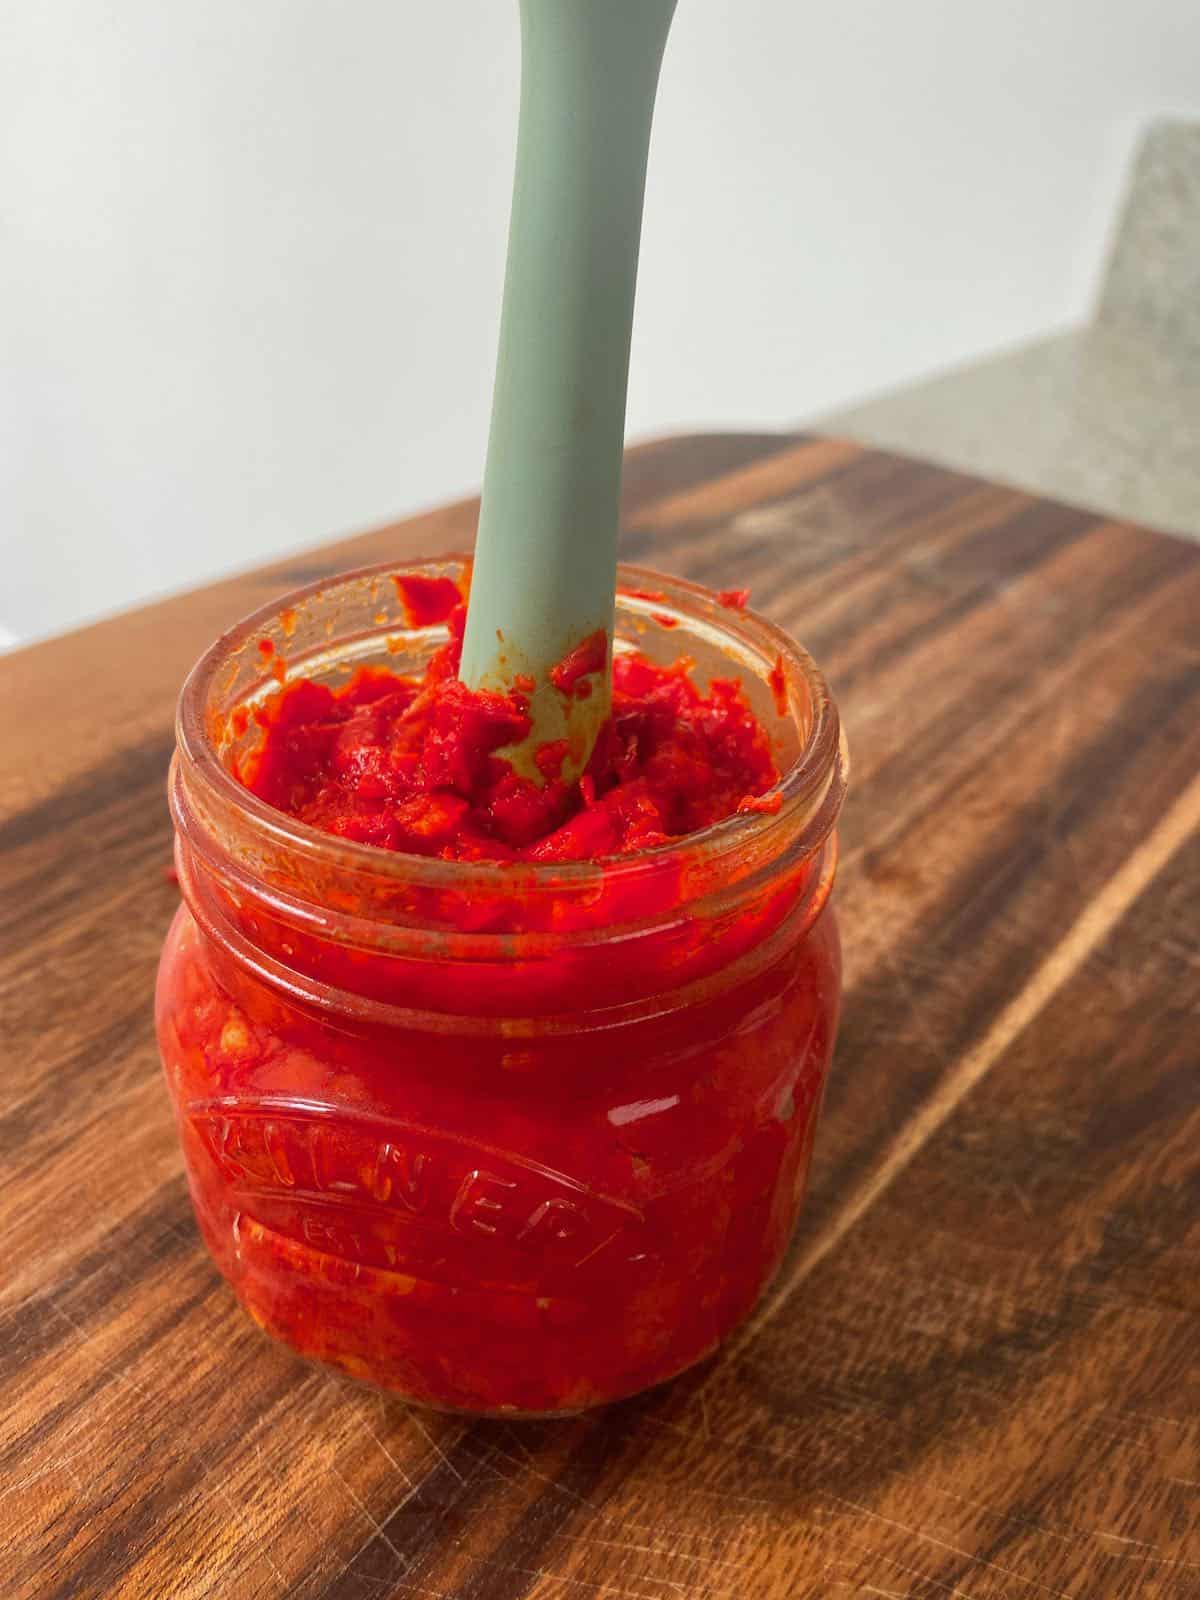
Step 3: Fill and seal the jars
Once the jars are ready, fill them with your food of choice using a nonreactive funnel or ladle to avoid messy spills. Make sure to leave the required headspace (read the tips section below for guidance).
Then, tap your jars on your counter to bring any air bubbles to the top, and use a bubble tool or sterilized chopstick/skewer/knife to press into all the corners/edges in the jar to release any hidden bubbles (which can cause seal failure and influence the color/storage quality).
Wipe the rim/lip of the jar with a clean towel and add the lid, screwing it on until finger-tight (securely screwed to the point of resistance, but not too tight that air can’t escape during the processing).
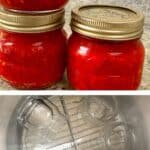
Step 4: Process the jars
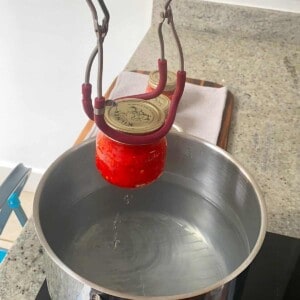
Once the water is boiling, use the canning tongs to carefully place the jars (ensuring they remain vertical the entire time) inside the canning pot. Repeat this with as many jars as you can fit into the pot with at least 1/2 inch of space between the jars. They should be covered by 1 inch of water (2 inches for 30+ minute processing times).
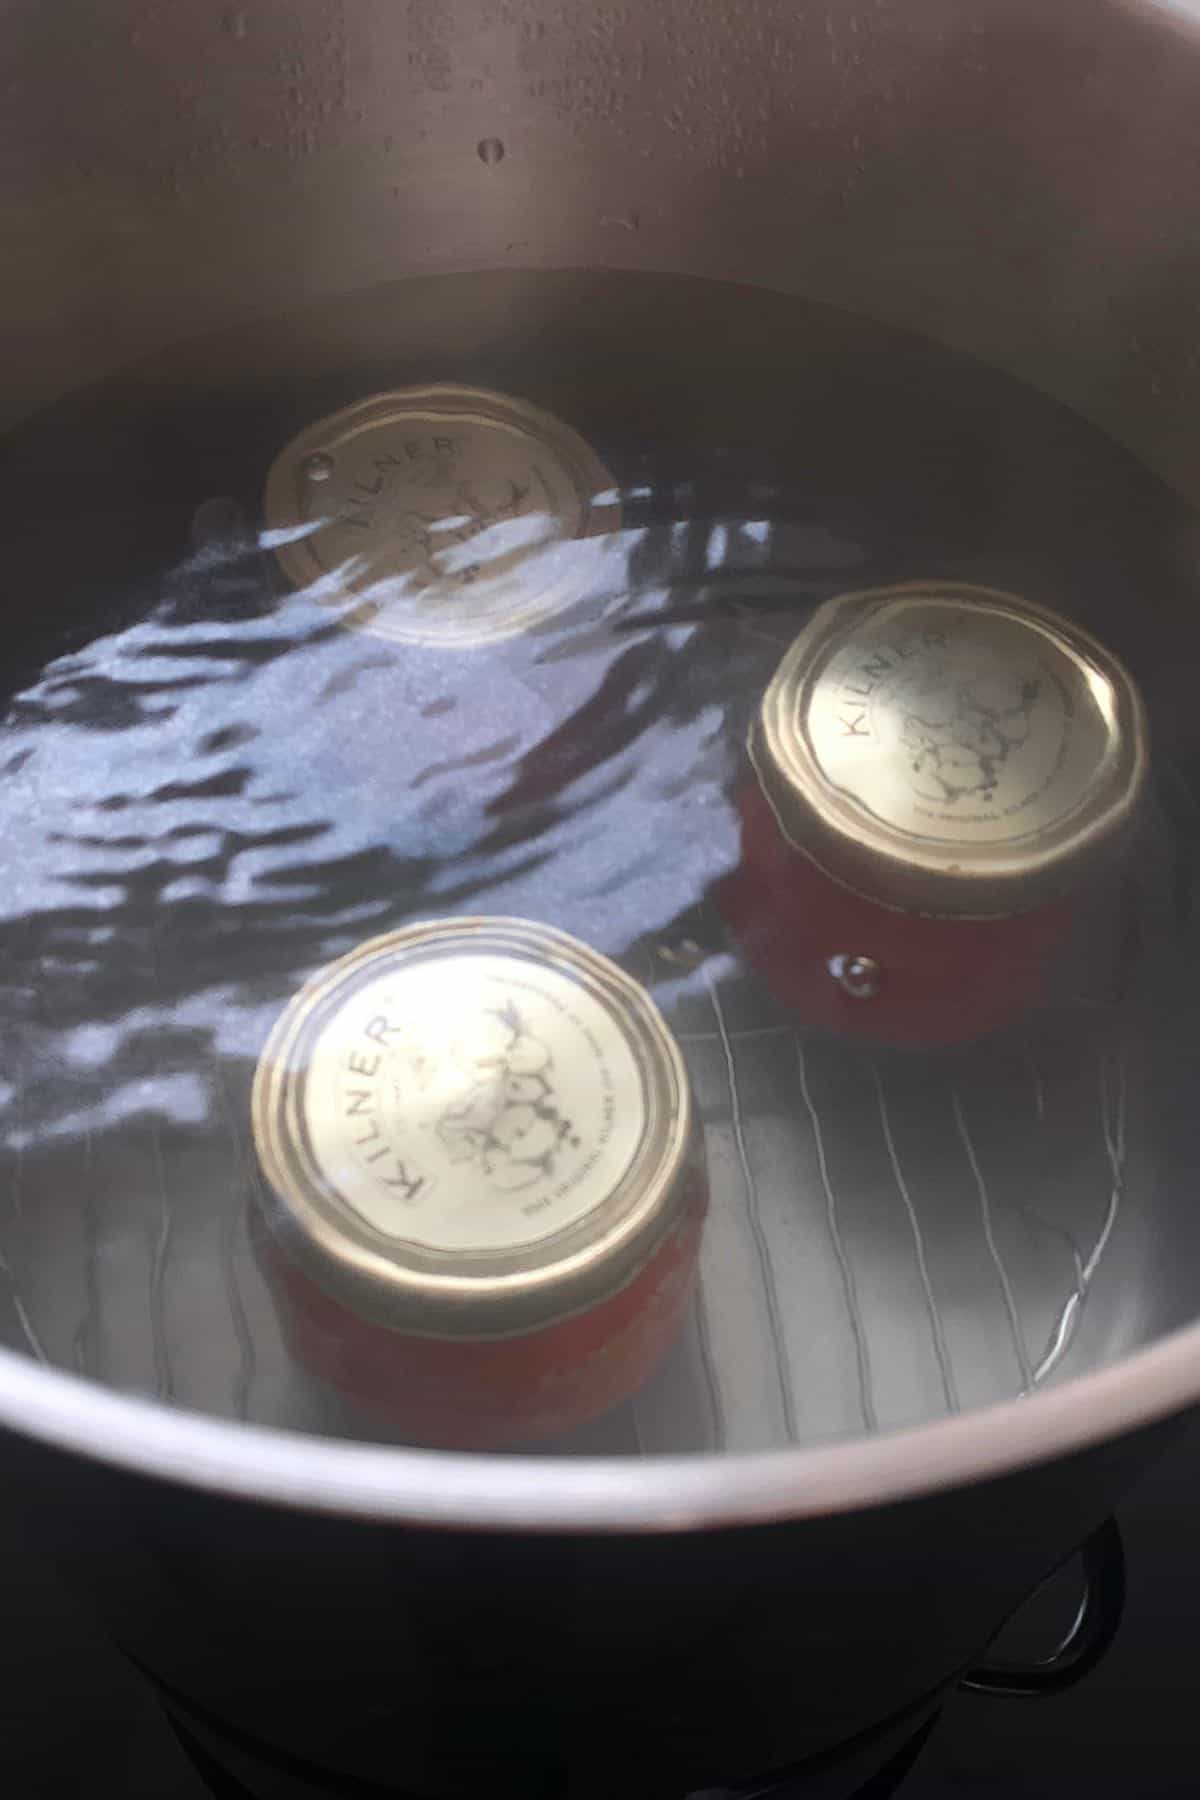
Then, cover the canning pot with a lid and bring it back to a rolling boil (lift the lid if needed to check – monitor it closely). Only when it reaches the rolling boil, immediately start the timer for the processing time.
The processing time varies based on the altitude (refer to FAQs below). Make sure the water continues to rapid boil through the processing duration.
Check on the water level occasionally in case it needs topping up. Keep a boiled kettle handy, just in case.
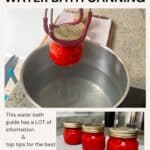
Step 5: Remove the jars from the pot
After processing, immediately switch off the heat, remove the lid, and leave the jars to sit for 5 minutes to allow pressure to stabilize and prevent siphoning.
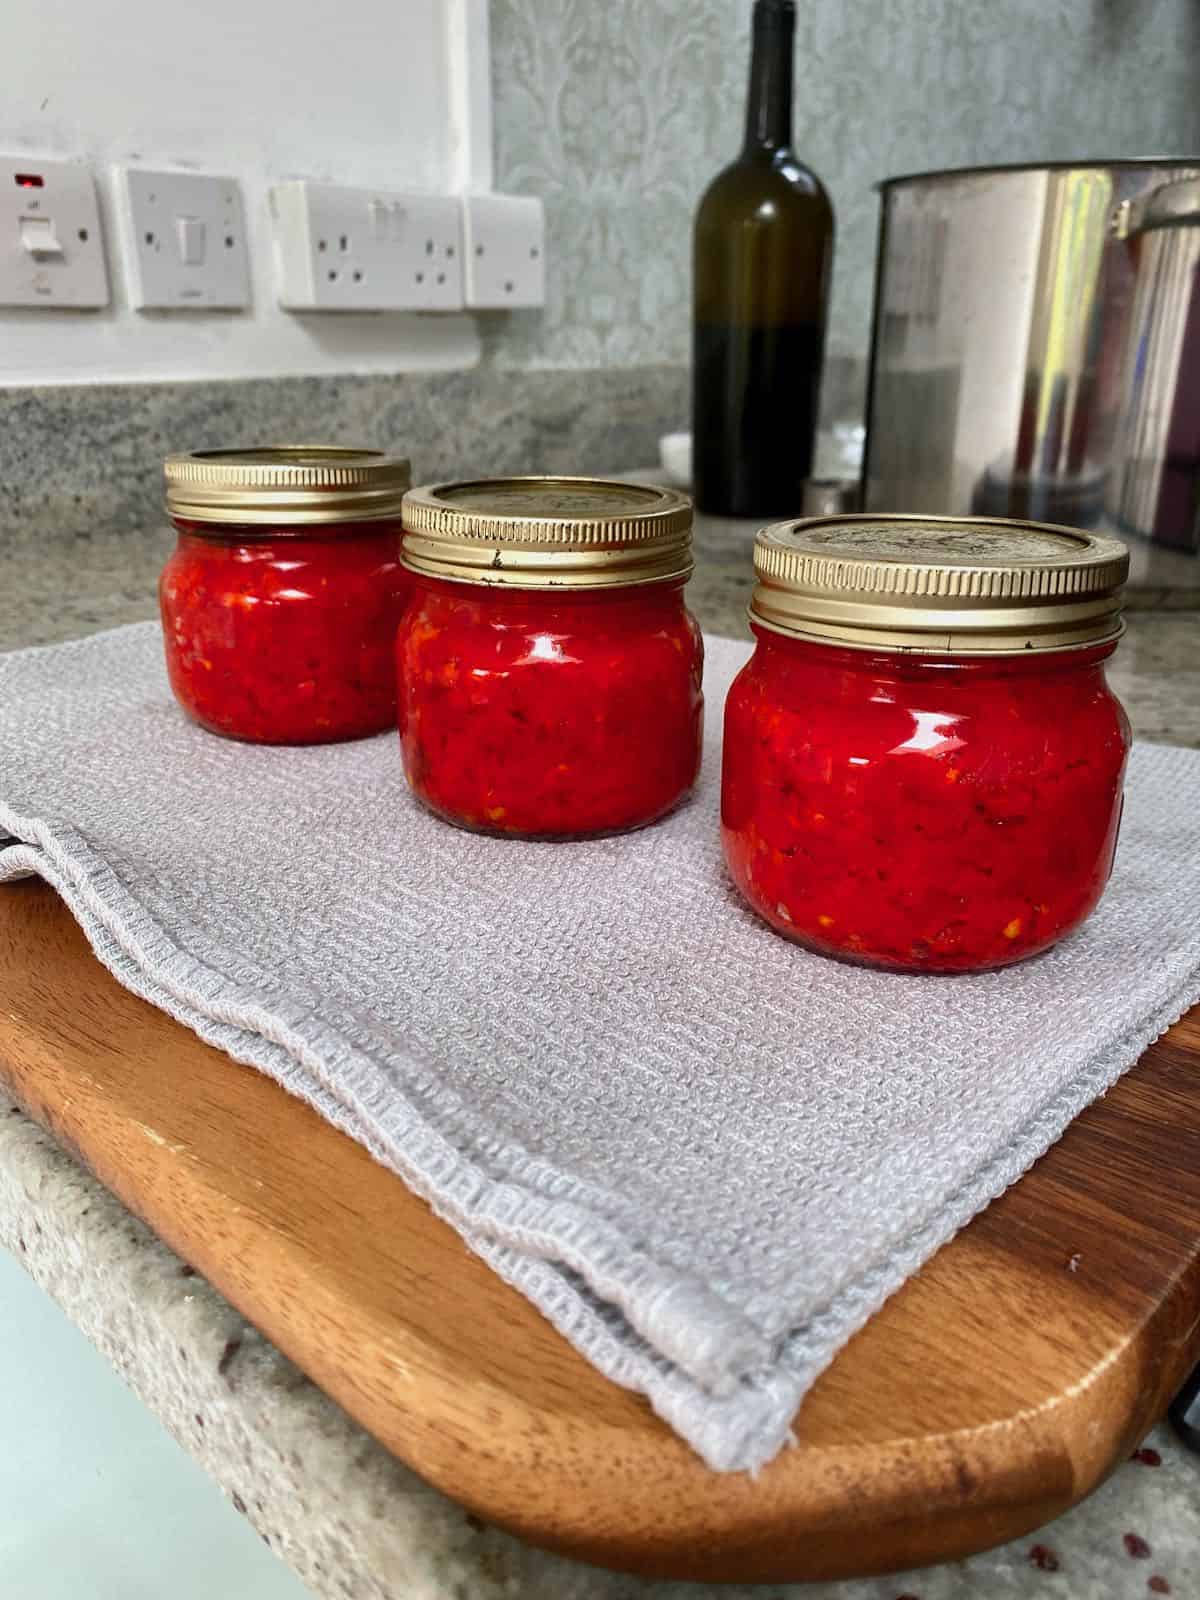
Use canning tongs to carefully lift the jars out of the pot – vertically, please – it doesn’t matter if there is water sitting on top of the lid, it will dry. Place them, with space in between, on a heat-proof flat surface, like a kitchen towel-covered worktop, cake cooling rack, or wooden board.
The bands around the lids may look a little loose; that’s normal. Don’t touch them.
Leave the jars to fully dry and cool untouched for 24 hours. Then check that the jars have sealed properly.
How do you know your canning jars/lids have sealed?
After the 24-hour period, inspect the jars to ensure they are tightly sealed and the lids have a concave shape (pulled inward). This concave shape appears when the vacuum created during the cooling process pulls the lid downward, creating a tight seal, meaning the canning was done properly.
- Button lids will “pop” at some point and will no longer be pressable in the middle. These are lids that have a button-like center and might make a popping sound during the sealing process. Once sealed, the button will become non-pressable, indicating a proper seal.
- Canning lids can have their ring removed, then press the center of the lid – it should feel secure, with no give or wobble. Some canning lids have separate rings – for those, you can remove the ring after ensuring a proper seal. Press the center of the lid to check if it feels secure and does not move or wobble – this indicates a good seal.
If any jars haven’t sealed either re-process them with new lids (and a new jar if necessary) within 24 hours, or transfer them to the fridge/freezer for short-term storage.
Step 6: Label and store the jars
Finally, rinse and dry the jars well and label them with the item name and use-by date.
Store the shelf-stable jars in a cool, dark location, like a kitchen cupboard or pantry, for up to a year. Don’t store the jars above 95ºF/35ºC, near any furnace/range/hot pipes, or in any damp environment – or this may break the seal and cause food spoilage.
Canning tips for the best results
- Use the best ingredients: Preserving food won’t improve its quality, so select ingredients at their freshest, best in-season quality.
- Check the jar rims before using: To check for any chips/nicks around the rim that could compromise the sealing process.
- Make sure to sterilize EVERYTHING: The enemy of any long-term preservation method is unwanted bacteria.
- Ensure the jars and lids are 100% dry before filling: Excess moisture can cause bacteria to flourish.
- Fill hot jars: Otherwise, they can become “shocked” from the quick temperature change and crack/break in the pot.
- Measure the headspace: Rough guidelines are:
- ¼ inch (0.5 cm) for fruit juice, jams/jellies, and other soft spreads,
- ½ inch (1 cm) for fruits, pickles, tomato products, relishes, chutneys, and condiments. Don’t leave too much headspace; it can form a “false seal” and become unsealed over time.
- The processing time is variable: Based on the altitude and ingredients you’re canning. To ensure you’re using the correct water bath canning times and method, refer to the National Center for Home Food Preservation’s guide.
- Don’t forget the steps AFTER processing: Place the jars onto a heat-proof surface to avoid exposing the hot glass to sudden temperature drops (and jar breakage), and leave them untouched for 24 hours. If you touch them, it can create a “false seal”. Then, label the jars with the item name and use-by date to avoid food waste.
- If any jars don’t seal: Either re-process them with new lids within 24 hours OR refrigerate/freeze them immediately to use within a week.
- Remove the lid rings when storing: They aren’t needed and can create a false seal. When removed, you can see if the lid is at all loose (or comes off) when picking the jar up, before enjoying the food (if so, then DON’T eat it).
- Follow the recipes: water bath canning IS an exact science, so follow recipes.
FAQs
The water bath canning times are variable based on the recipe and the size of the jar. However, there is a general rule of thumb for elevation/altitude adjustment:
1001-3000 feet = increase by 5 minutes,
3001-6000 feet = increase by 10 minutes,
6001-8000 feet = increase by 15 minutes,
8001-10,000 feet = increase by 20 minutes.
Use a spoon or blunt knife to insert between the lid’s seam and the jar. Once in place, twist the spoon or knife slightly, and the lid should pop right up.
If that doesn’t work, use a nail/screw and hammer to make a small hole in the center of the lid (they’re single-use anyway) to break the vacuum seal.
The easiest way to do this is by checking the lid’s seal. Then inspect the food. There should be no rising air bubbles in the food or unnatural colors.
Finally, when opening the jar, look for mold growth on the top of the food (or under the lid) and sniff to make sure it doesn’t smell “off”/rancid.
Canned recipes
If you try water bath canning, let me know how it goes in the comments below. I’d appreciate a recipe card rating and would love to see your recipe recreations – tag me on Instagram @Alphafoodie!
A Step-by-Step Guide to Water Bath Canning
Equipment
- Canning jars (16 oz) with lids
- Water bath canner with wire rack/trivet
- Microfiber cleaning cloth or clean kitchen towel
- pH strips optional
- Canning funnel optional
- Bubble remover optional
- Magnetic lid wand optional
- Jar wrench optional
Instructions
Sterilize Everything and Prepare the Canner
- PLEASE NOTE THAT THIS IS A SUMMARIZED VERSION OF THE METHOD – READ THE BLOG POST FOR A LOT MORE TIPS AND NOTES.Clean your workspace and sterilize the canning equipment (jars, lids, tongs, pot, inner rack, funnel, etc.) in hot soapy water. Then rinse them well.
- Place the wire rack/trivet into the bottom of the canner and fill the pot about halfway with water. Then bring it to a boil over medium heat while you fill the jars. 10 minutes before needed (at least), boil the jars (lids on) in the prepared canning pot to kill off remaining germs and keep the jars warm (a must to avoid temperature shock).
Fill the Jars
- Fill each jar with your food item using a NONREACTIVE ladle or ladle and canning funnel (for cleaner transferring). Make sure to leave the correct amount of headspace in each jar.Rough guidelines are ¼ inch (0.5 cm) for jams/jellies/relish and ½ inch (1 cm) for fruits/pickles/tomato products. Don't leave too much headspace – it can form a "false seal" and become unsealed over time.
- Tap your jars on your counter to bring any air bubbles to the top, and use a bubble tool or sterilized chopstick/skewer/knife to press into all the corners/edges in the jar to release any hidden bubbles.
- Carefully wipe the rim/lip of the jar with a clean towel/napkin and close the lid band until finger-tight (securely screwed to the point of resistance, but not too tight that air can't escape during the processing).
Process the Jars
- Carefully transfer the jars (upright so no food touches the lid!) to the canner and make sure they are submerged under 1 inch of water (2 inches for processing times above 30 minutes) with at least 1/2 inch (1 cm) of space between them.
- Cover with a lid and bring back to a rolling boil over high heat. Once that's achieved, start your timer immediately and process for the time provided in the recipe. Check the water level occasionally so it's always high enough (keep a boiled kettle of water on standby!).
Leave the Jars To Cool
- Once processed, turn off the heat, remove the lid, and allow jars to sit in water for 5 minutes. Then carefully remove them (always upright) and transfer them to a heat-proof wooden board or clean kitchen-towel-lined work surface (to avoid temperature shock and jar breakage).
- Leave the jars undisturbed for 24 hours until fully dry and sealed. DON'T touch them before then, as it can interrupt the sealing process and cause a "false seal."
Check the Seal and Store The Jars
- Check the jars are properly sealed with a concave shape in the center (pulled inward). Button lids will "pop" at some point and will no longer be pressable in the middle. Canning lids can have their ring removed, then press the center of the lid – it should feel secure, with no give or wobble. If any jars haven't properly sealed, either re-process them with new lids (and a new jar if necessary) within 24 hours or transfer them to the fridge or freezer for short-term storage.
- Rinse, label, and store the jars in a cool, dark location (like a pantry/kitchen cupboard) for up to a year for fresh and delicious food. Don't store the jars above 95ºF/35ºC, near any furnace/range/hot pipes, or in any damp environment – this may break the seal and cause food spoilage.
Notes
- Use the best ingredients: Preserving food won’t improve its quality, so select ingredients at their freshest, best in-season quality.
- Check the jar rims before using: Check for any chips/nicks around the rim that could compromise the sealing process.
- Make sure to sterilize EVERYTHING: Unwanted bacteria are the enemy of any long-term preservation method.
- Ensure the jars and lids are 100% dry before filling: Excess moisture can cause bacteria to flourish.


I just happened to come across this and I think it’s so cool, detailed and well written. Nice job!
Thank you for your comment, Sajal.
Why y’all out here telling people they can only reuse one part of a 2-part canning jar lid?? You absolutely can reuse both parts! Some people on a budget out here! Lol I’ve never heard of that, perhaps there are reasons, but the uninitiated should know it’s not a requirement.
Hi Renee.
Thank you so much for the tip. Indeed, if the lid is in good condition with no chips, it can be reused.
Good morning, read your canning process information and good to read that I am doing everything correct. Always good to read to see if any process has changed or new ideas.
Question: i have a very old receipe for Red Cabbage that my grandmother used to make and i am needing a hot water bath suggestions for this. The receipe had red cabbage, apples, bacon, sugar, vinegar and onions. Aquired taste but vety good. Just confirming that since this has vinegar in it i do not need to worry about my acid, but i do not know how much bath time is required. Can you help?
Thanks
Hi Carol,
Thank you for your comment. Your grandma’s recipe sounds so interesting. It is probably best to pressure can it rather than water-bath canning, even though it has vinegar.