This post may contain affiliate links. Please read our disclosure policy.
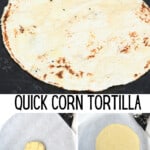
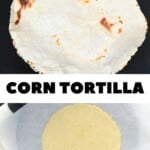
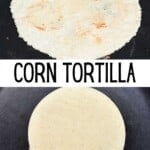
This authentic corn tortilla recipe requires just two ingredients for soft, pliable, flavor-packed gluten-free tortillas! Learn how to cook, store, and reheat these homemade corn tortillas!
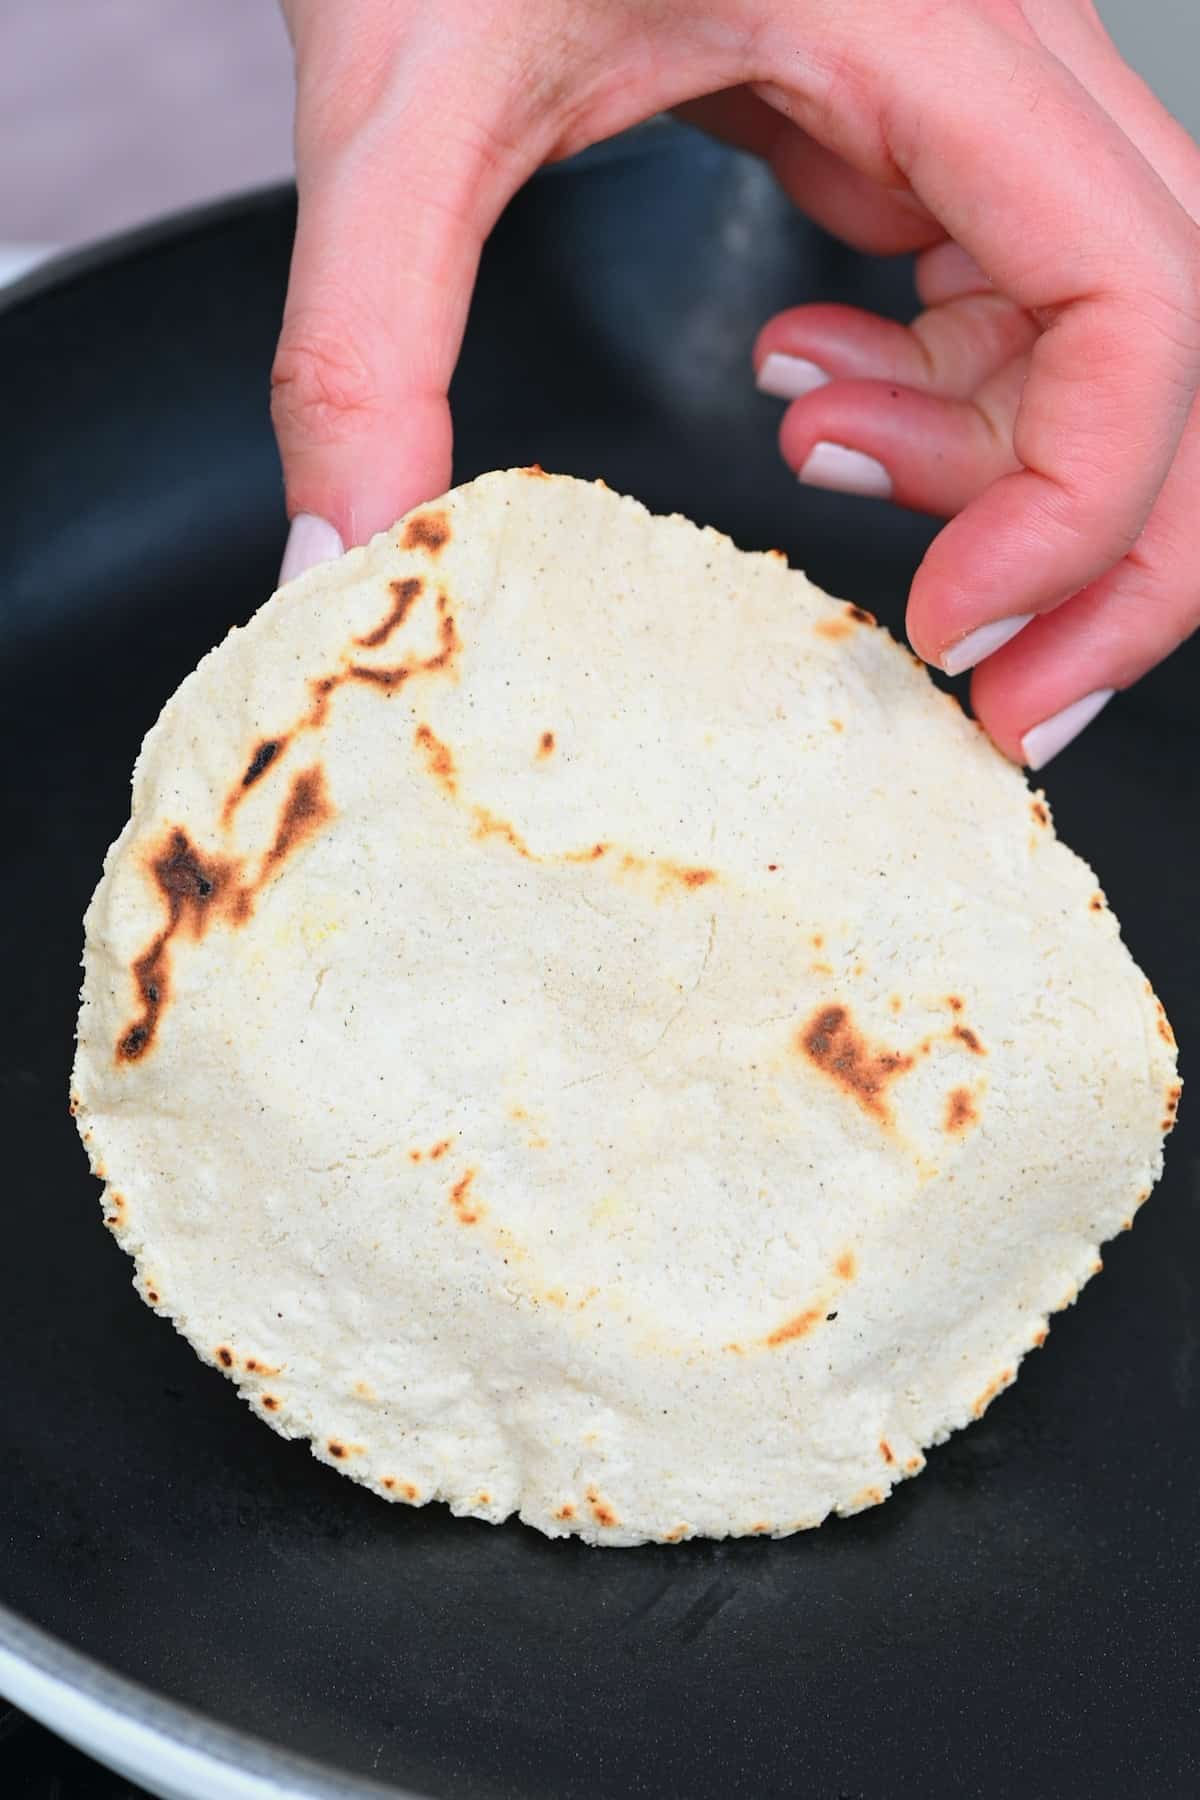
Recently I’ve loved hopping all the way around the world with my daily meals, from European mushroom ragu, Turkish simit, Asian mushroom dumplings, American soft pretzels, and now Mexican homemade corn tortillas – ready for all kinds of dishes like tacos, enchiladas, empanadas, tortilla chips, etc.
This authentic corn tortilla recipe requires just two ingredients: masa harina and water – with salt being optional. These tortillas are a delicious, naturally gluten-free option ready to use in all your favorite ways. Even better, you can also use up all the leftovers for more dishes like tortilla chips and nachos!
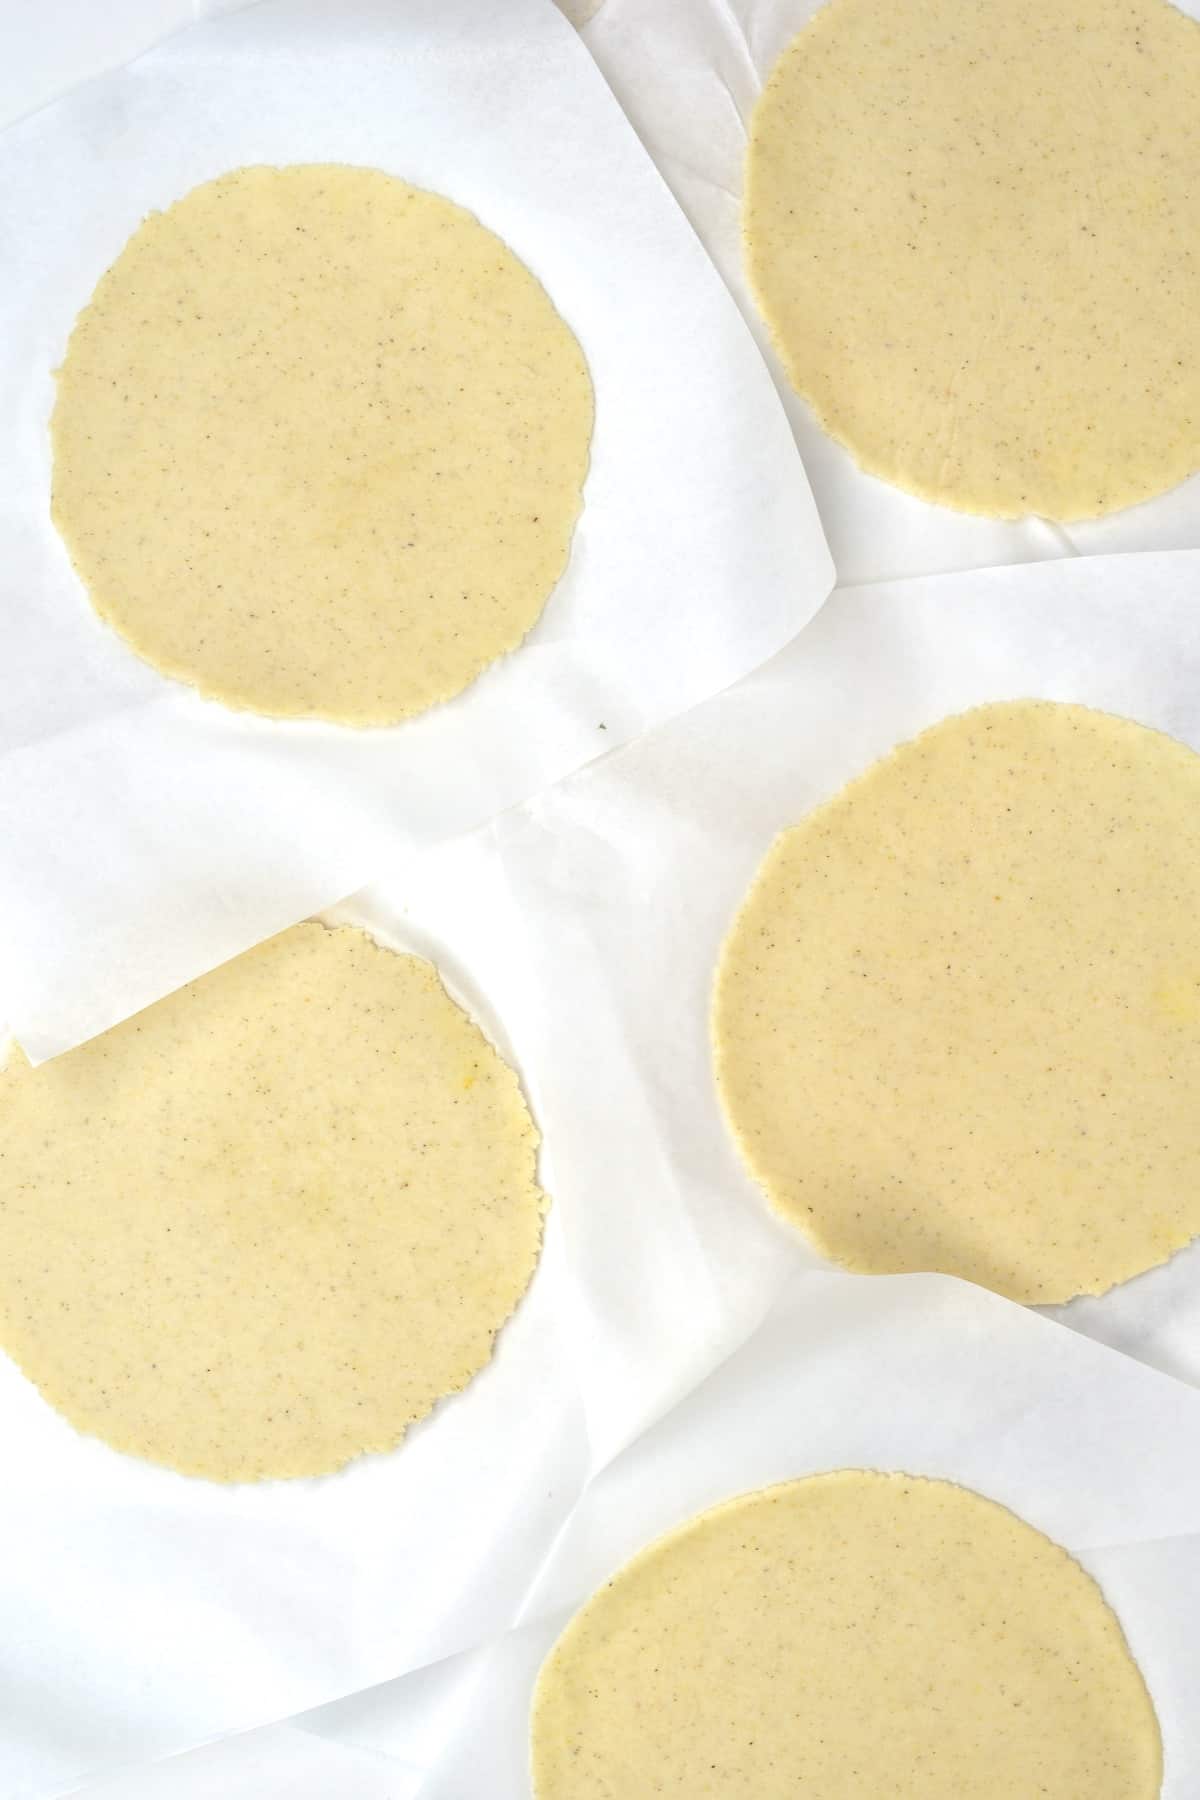
Best of all, while this recipe is SUPER easy with a tortilla press, it’s 100% not necessary (although they work amazingly! So, if you plan on making tortillas often – it is an Alpha-approved purchase!). All you need is a rolling pin and a non-stick frying pan for this corn tortilla recipe!
Best of all, the recipe and process are super simple. With just a few tips on preparing the dough, pressing, and cooking them – you’ll have perfect homemade corn tortillas every single time!
Want to save this recipe?
Masa vs. Masa Harina vs. Corn Flour
Masa Harina translates to ‘dough flour’ and is a soft flour made from dried corn kernels treated with calcium hydroxide (aka ‘limewater’), an alkaline solution that softens the kernels, improves their flavor, and even makes them easier to digest. After soaking in the limewater, the kernels are ground into a dough called ‘masa.’ When this is dried and ground into a fine powder, you have masa harina (hence dough flour, as it is made into a dough first before drying into a flour).
This flour is perfect for using to create tortillas, empanadas, tamales, gorditas, etc.
In comparison, cornflour (often called polenta in the UK) is the ground corn without the alkali limewater treatment. It won’t work the same way as the masa harina to create a cohesive, pliable corn tortilla dough.
The ingredients
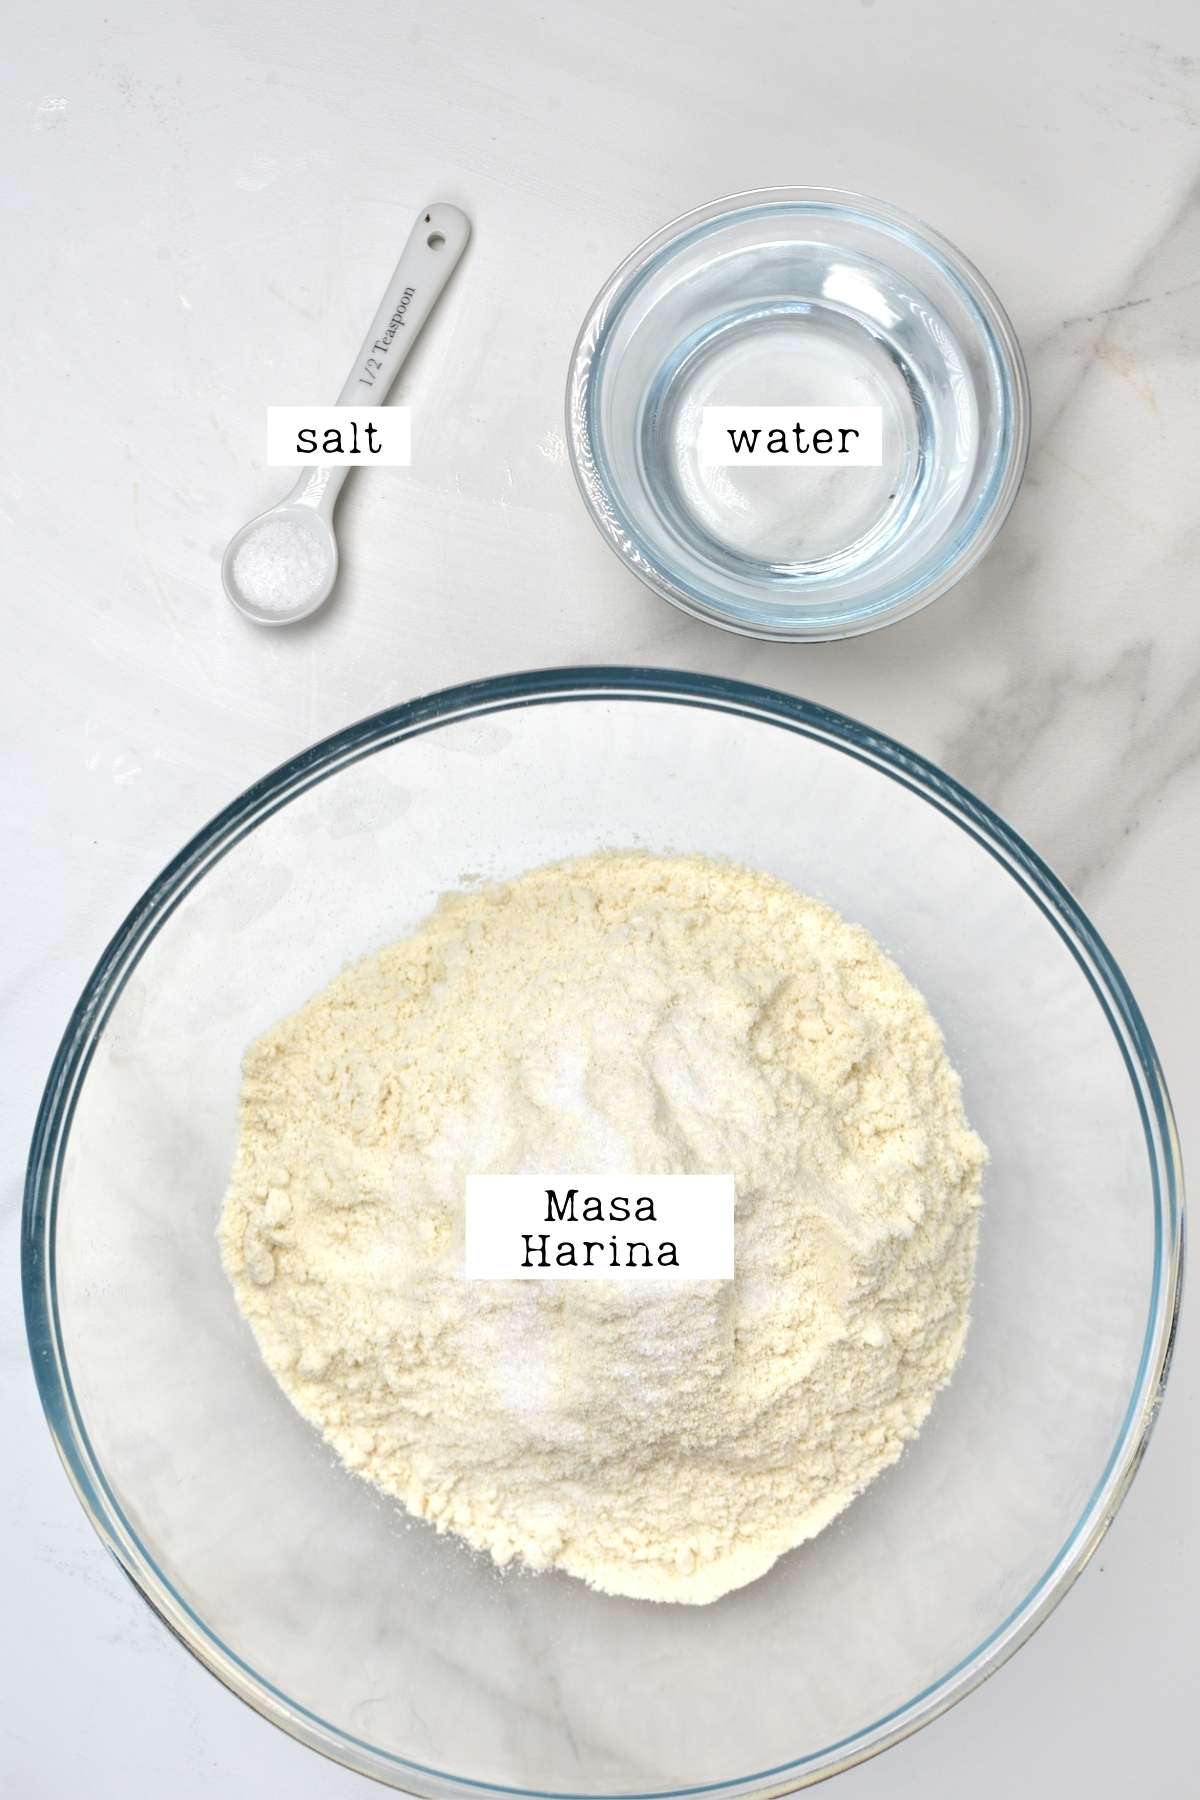
- Masa Harina: aka ‘dough flour,’ which is actually corn flour (but NOT cornflour – read above for the difference!). Make sure to look out for corn flour with nixtamalized corn (the ingredients should include corn and hydrated lime). You can get this in white, yellow, or blue – any should work, though I’ve only tried white and yellow so far. In the US, you can buy ‘Maseca’ brand, Gold Mine, or Bob’s Red Mill. In the UK, it’s possible to buy Maseca in some specialty stores, or you can buy some online.
- Hot water: to combine with the masa harina to form the corn tortilla dough. It’s important to use warm water to yield more pliable dough and hydrate the corn quicker, binding the ingredients for flexible yet robust homemade corn tortillas.
- Salt (optional): technically, this is optional, but I like to add a little salt to enhance the flavor of these corn tortillas.
How to make corn tortillas
Step 1: Mix the corn tortilla dough
In a large bowl, combine the flour, water, and optional salt and mix well into a rough dough.
The amount of water you need can vary based on the flour you use, the humidity, etc. For that reason, I suggest adding in half the water, to begin with, and then adding in a little more until you achieve the correct results.
Once you have a rough dough, knead it in the bowl for 2-3 minutes until it’s able to form a smooth ball. It will feel a little gritty at first, but as the corn rehydrates and you knead the dough, it will become more pliable. The dough should feel firm but slightly springy and not be sticking to your hands.
To test the dough consistency, you can take a little of the dough, roll it into a ball, and then flatten it. If the edges are very dry and cracking a lot, then add a little more water (just 1 tsp at a time). If it’s too sticky, then add a bit more flour.
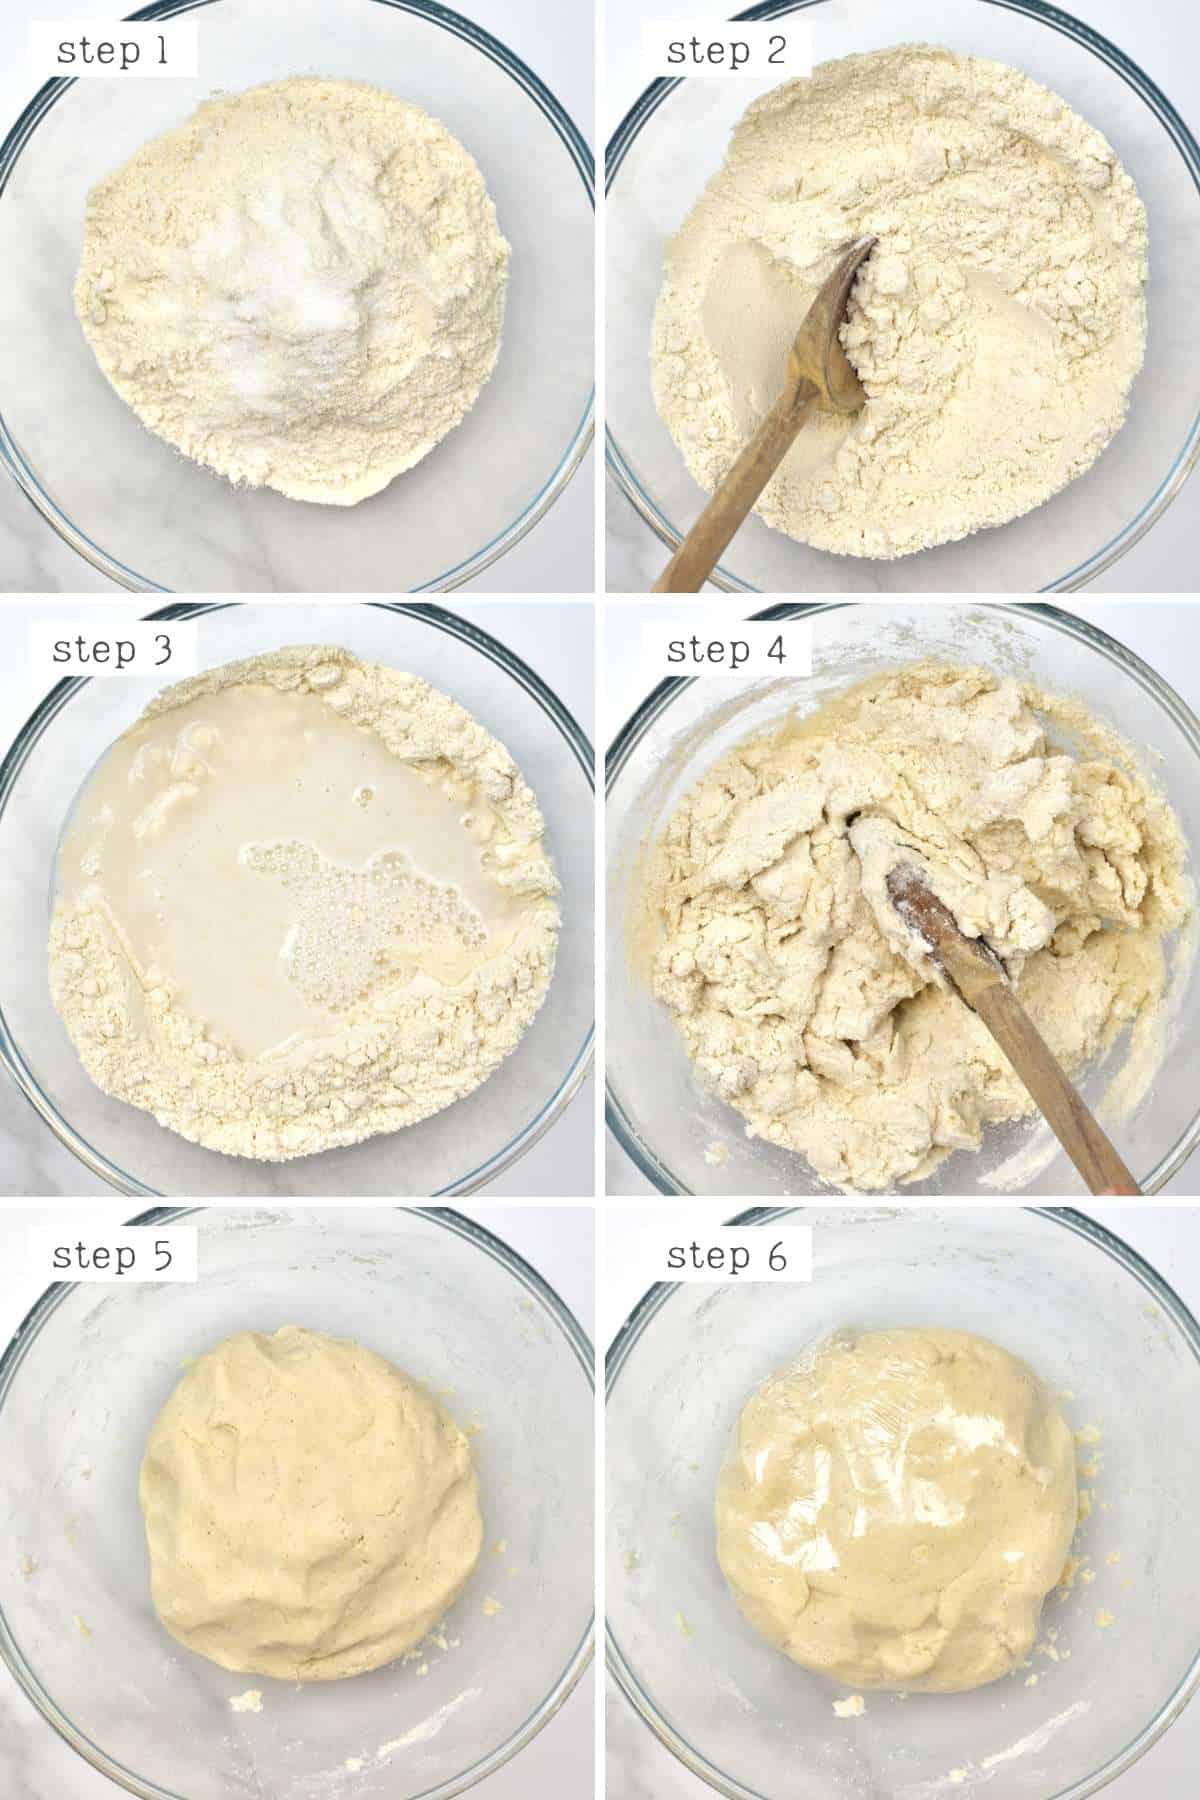
With a stand mixer: Avoid hand-mixing by using a stand mixer. Mix the dough with a medium-low speed using a dough hook for around 3 minutes, then test the dough consistency.
Step 2: Rest the dough
Form the dough into a ball in the bowl and cover it with either plastic wrap or a damp kitchen towel and allow it to rest for 30 minutes. This impacts the texture of the dough and resulting homemade corn tortillas, so don’t skip this!
Step 3: Shape the tortillas
Once the dough is rested, you can portion and press it into your tortillas. I divided the dough into equal pieces by weight. Mine were 30g each (1oz). Alternatively, you can use a medium cookie scoop (around 2 Tbsp) or eyeball it to be around a golf ball per section. This will make small 5–6 inch (13-15 cm) tortillas. Use around 3 Tbsp of the dough for larger 8-9 (20-23) inch tortillas.
Roll each dough piece in your hands into a smooth ball shape then it’s time to press!
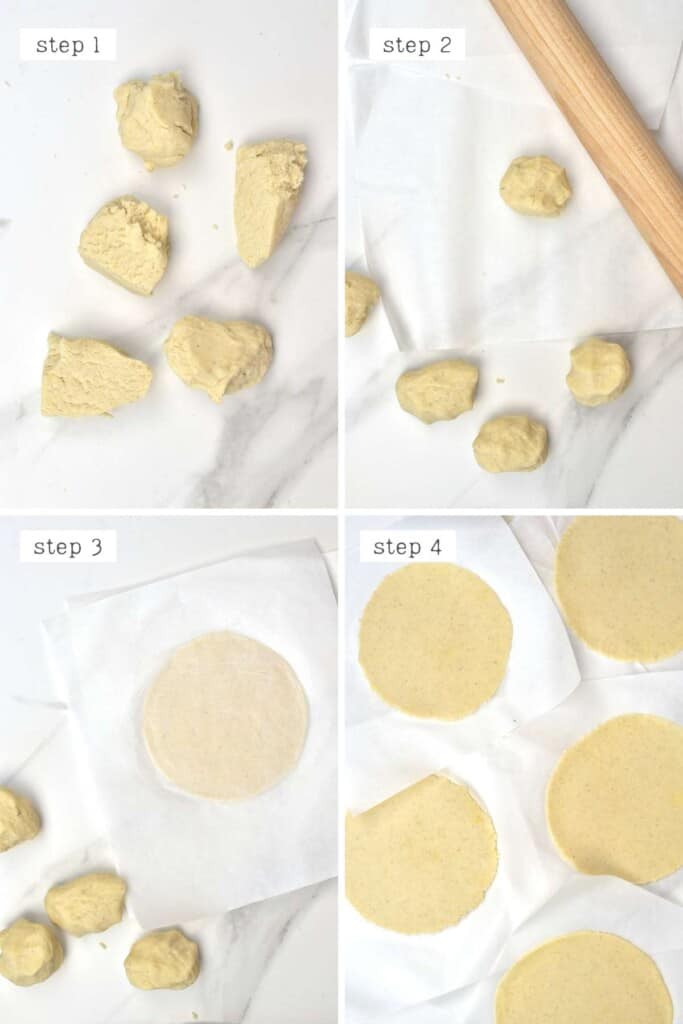
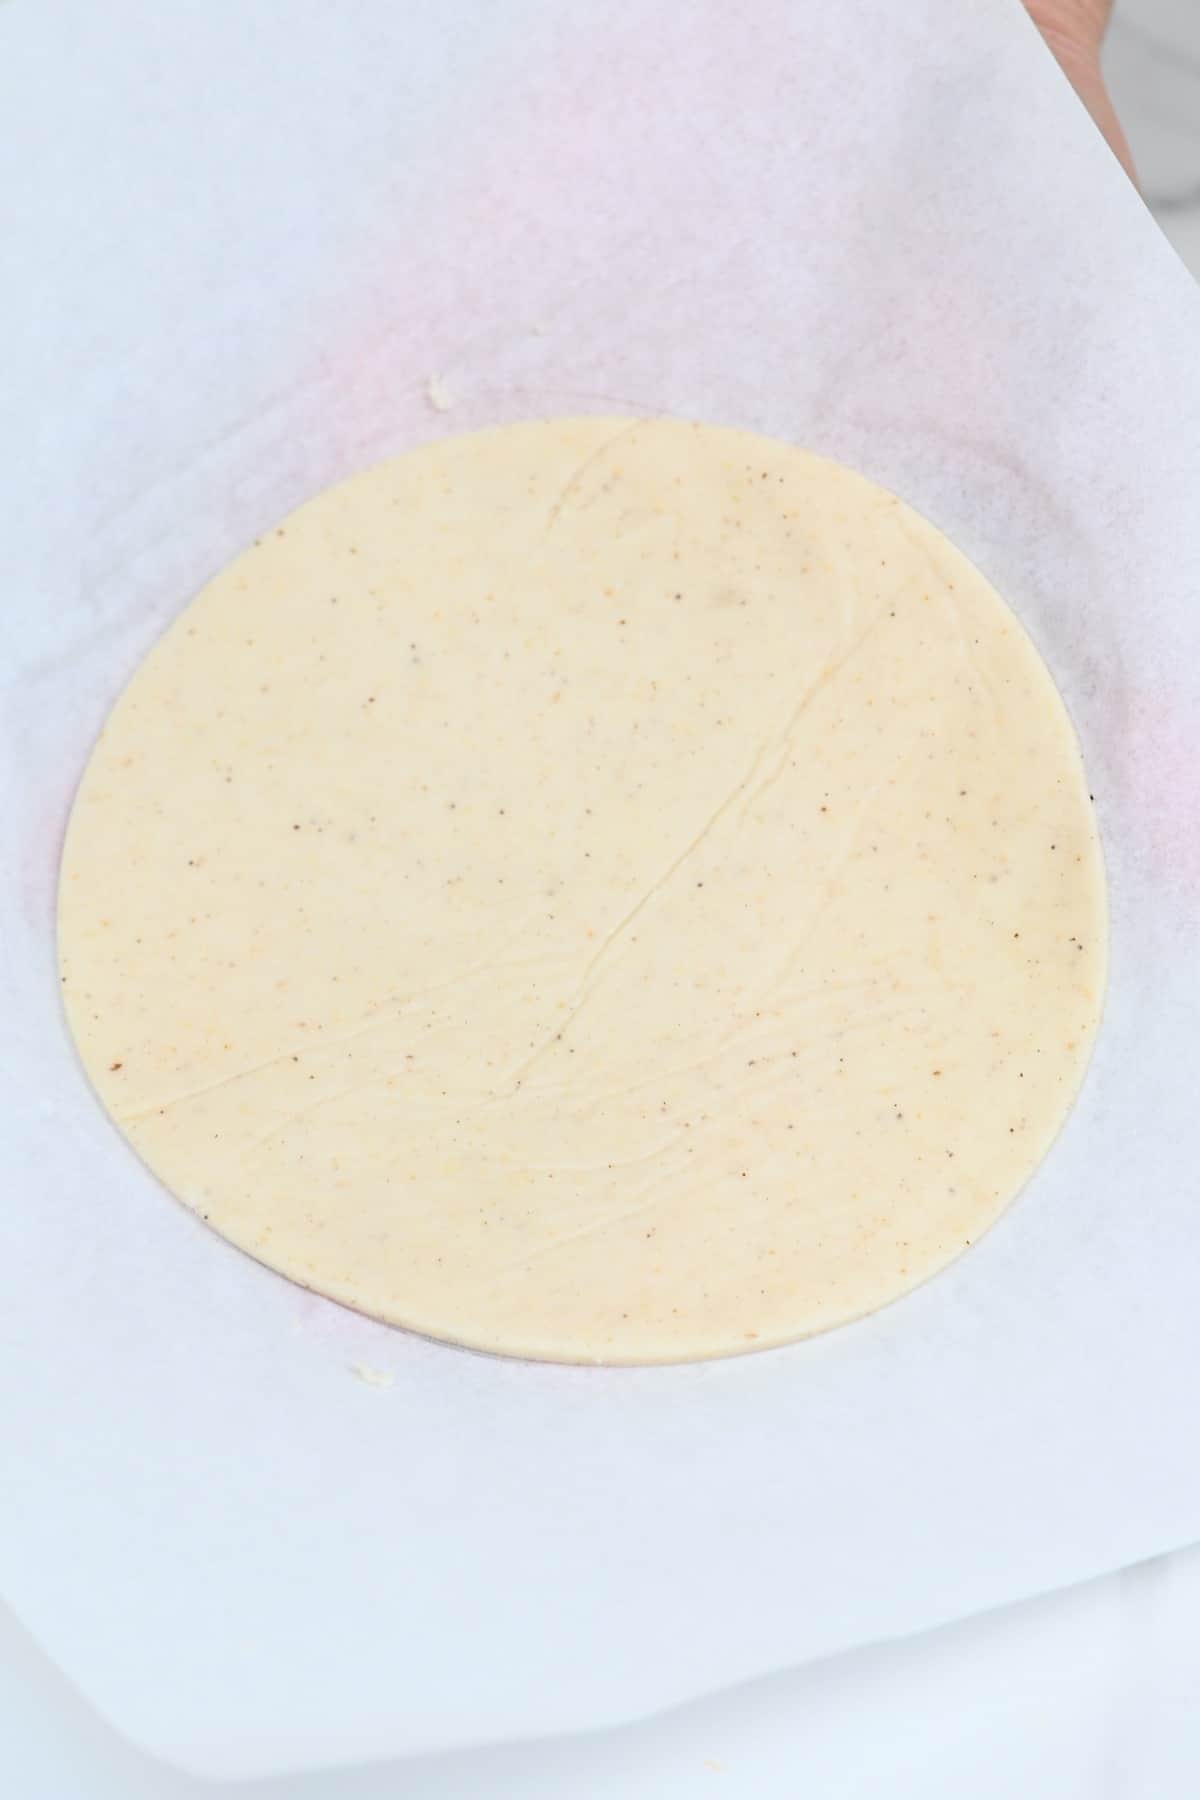
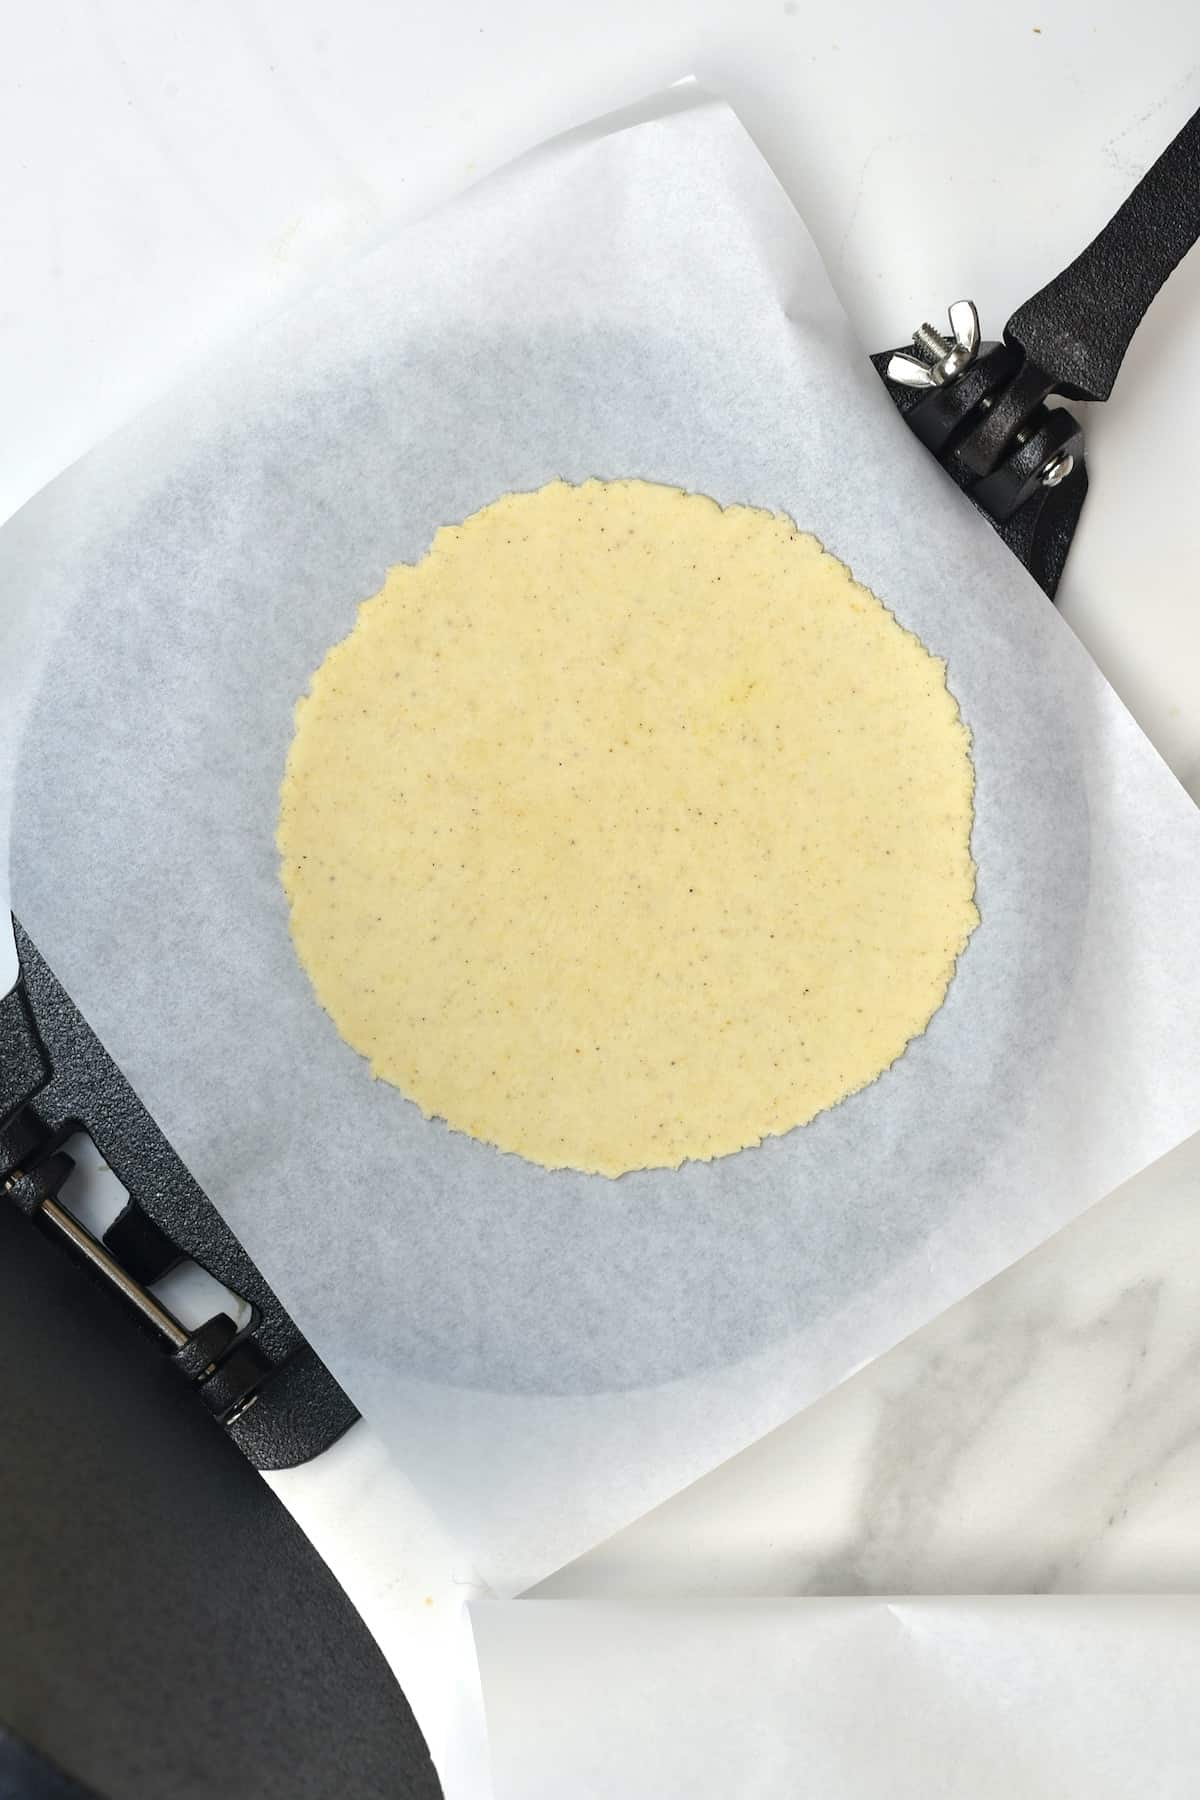
Using a tortilla press: This is the easiest method for the evenest tortillas. Simply place the dough ball between two pieces of parchment paper or plastic (you can use a plastic food bag and simply cut the seams and the top, so it’s two layers of plastic – you can re-use the same pieces for all the tortillas). Then press down with the tortilla press.
Using a pan: Once again, placing each dough ball between the layers of parchment paper or plastic, then use a flat-bottomed pan or a Pyrex dish (that way, you can see it as you press) and press down-trying to ensure even pressure.
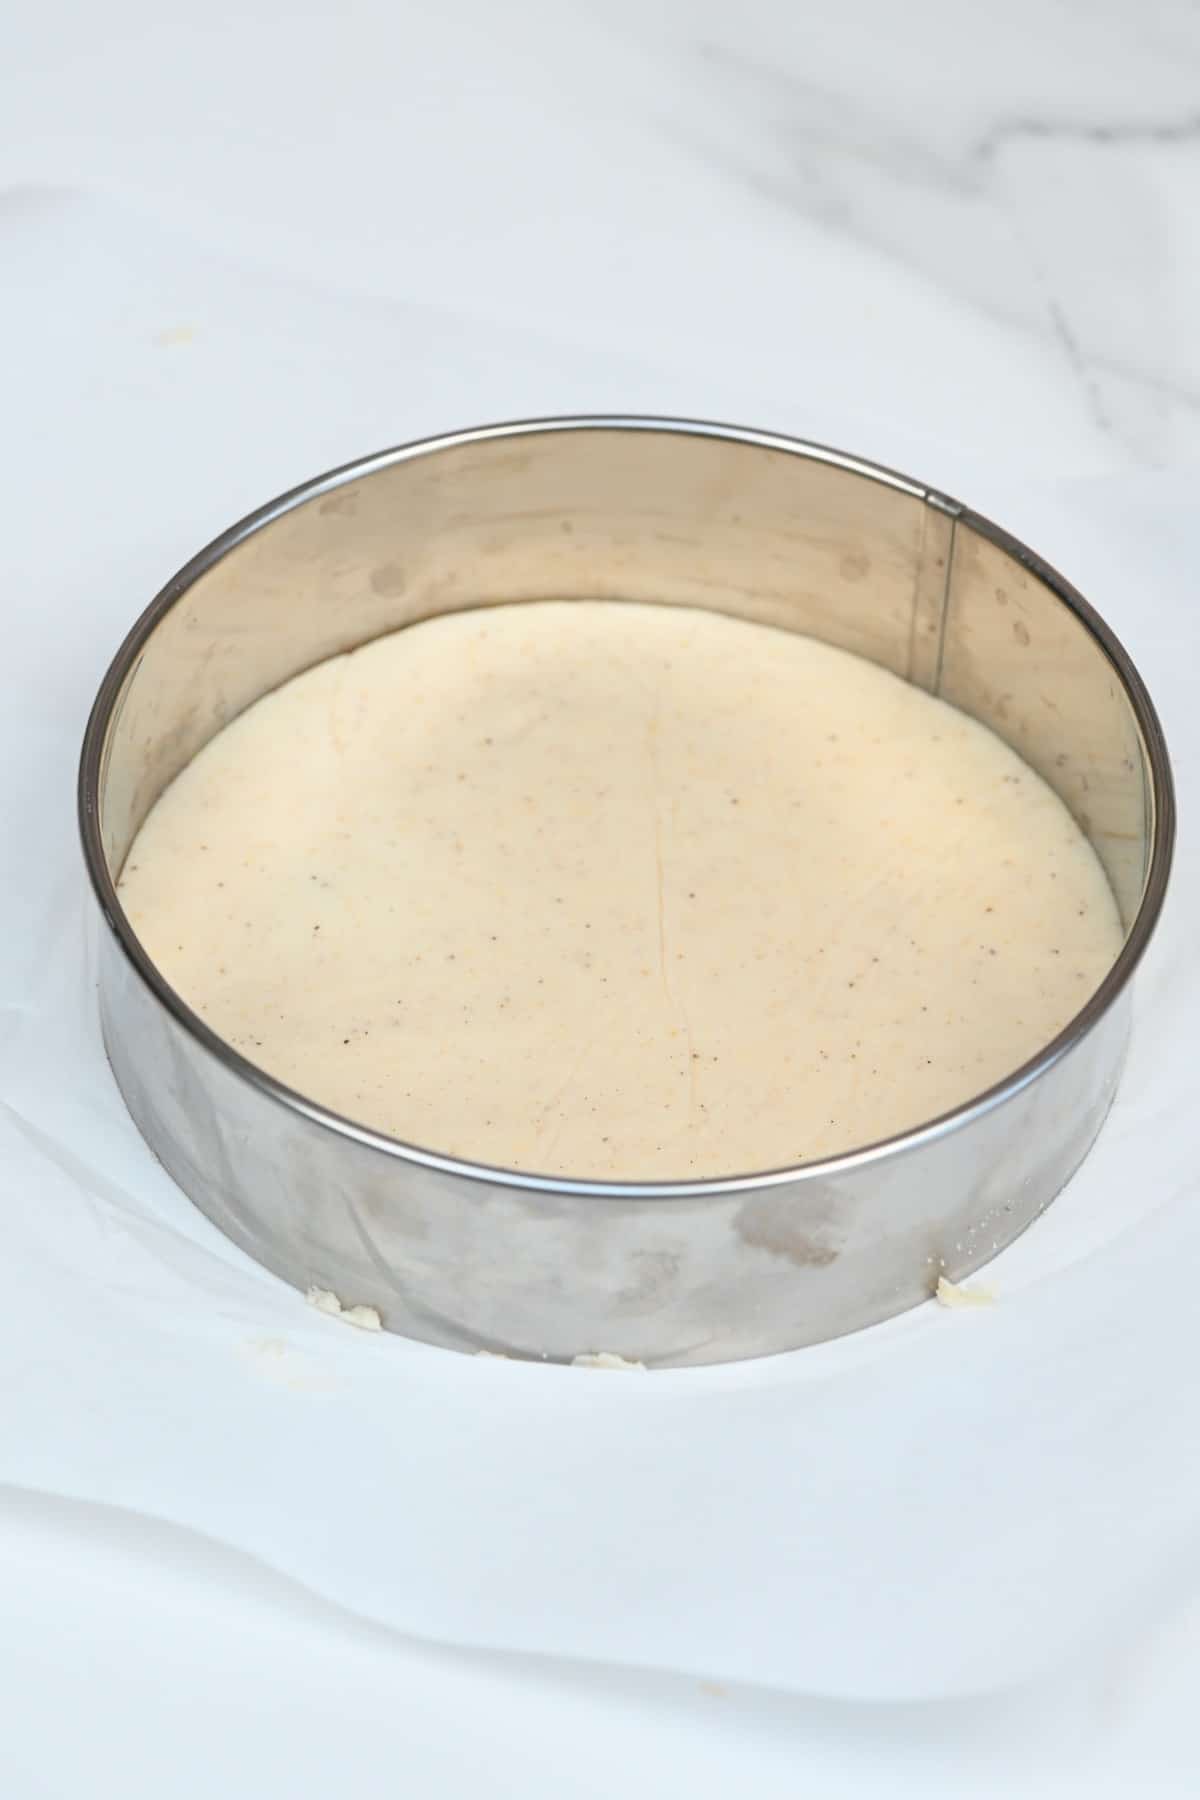
Using a rolling pin: This is probably the fiddliest method and takes the longest amount of time, but I thought I’d give it a shot. Once again, prepare the dough ball between parchment paper or plastic layers, then use a rolling pin to roll out the dough into a circle. This won’t give you the best ‘circles,’ so you may want to use a large cookie cutter or bowl to cut them into perfect circles.
Chef’s note: To remove the tortilla from the plastic/parchment, place the tortilla in one hand and then slowly peel the parchment/plastic away from the tortilla (not the other way around – trying to peel the tortilla off). If it’s too sticky and won’t peel, then the dough likely needs a little extra flour.
Step 4: Cook the corn tortillas
Heat up a large non-stick skillet or ‘Comal’ over medium to medium-high heat. Once the pan is hot, gently lay a tortilla on it. There are two ways to cook the tortilla.
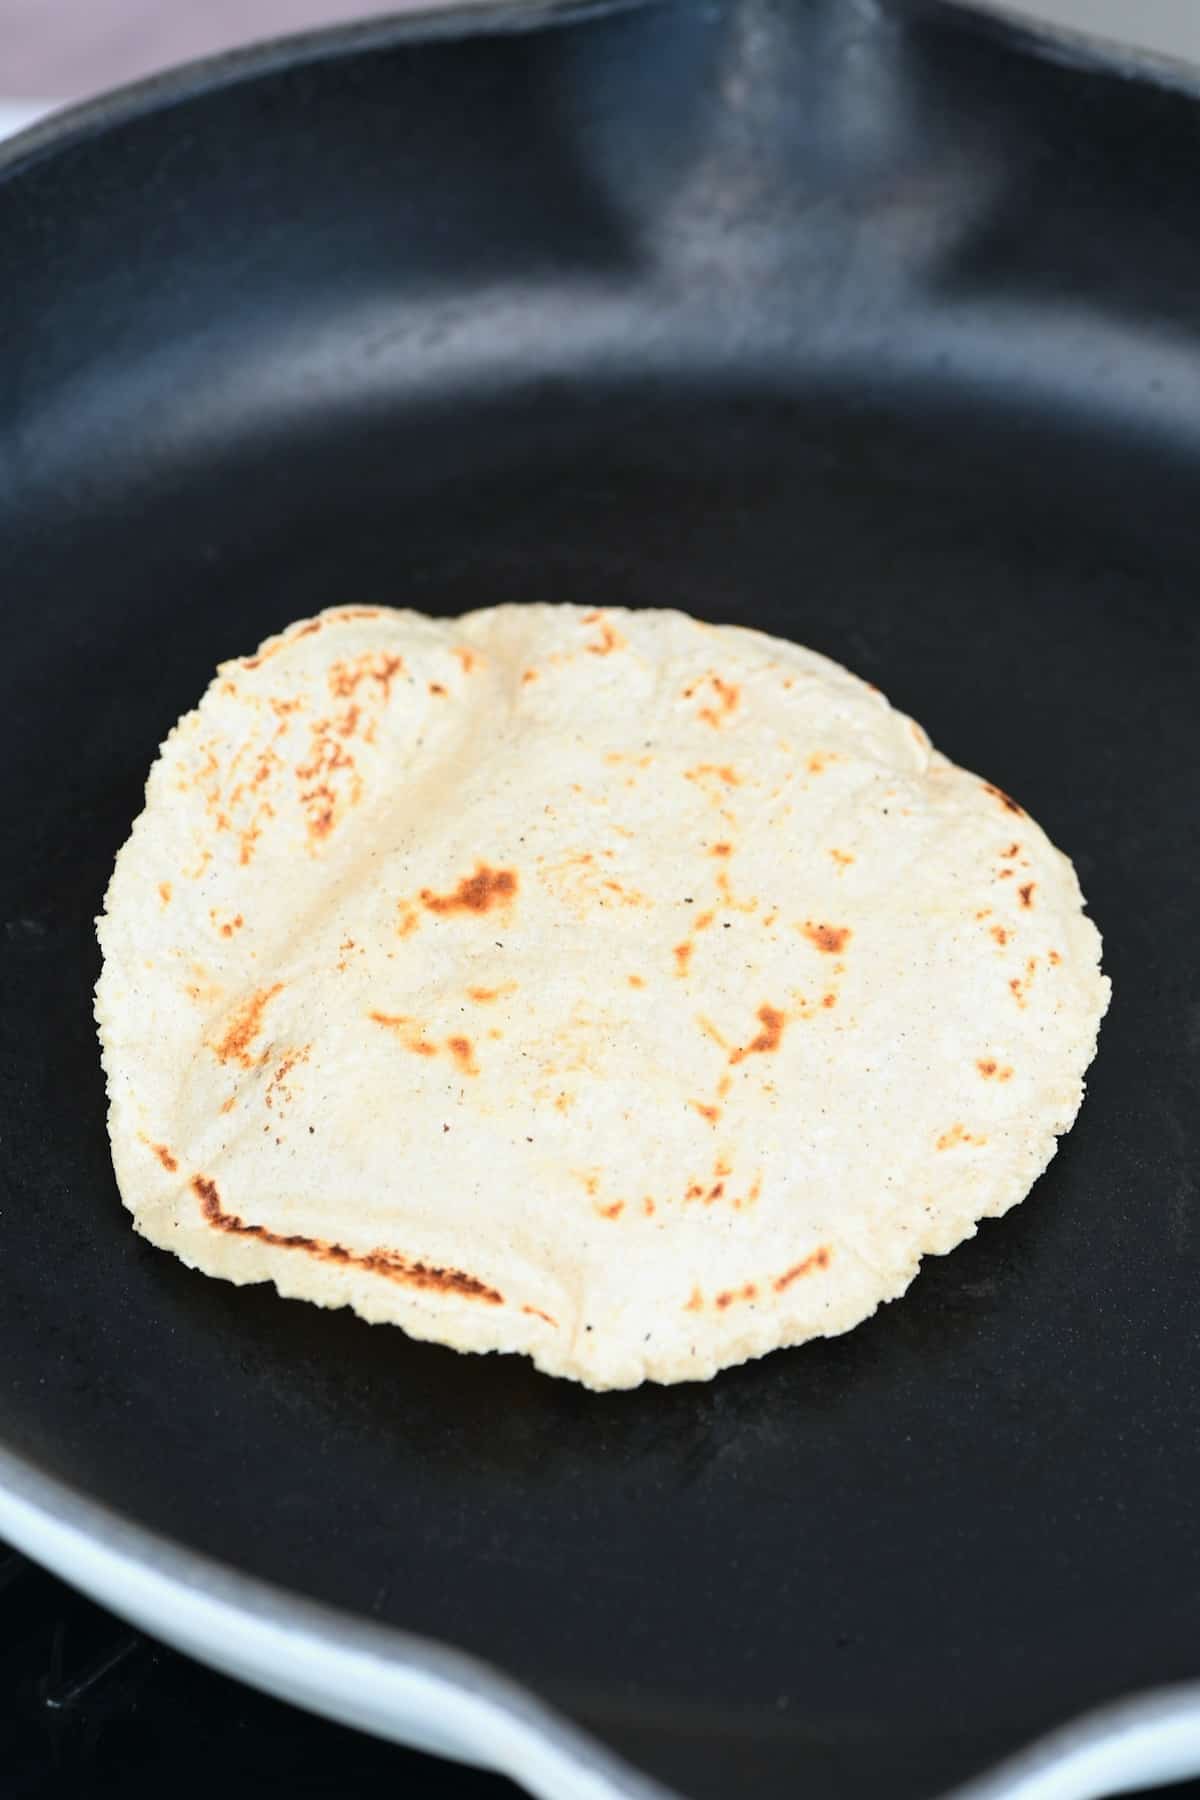
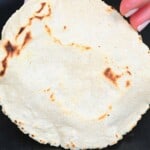
Method 1: Cook for between 40-60 seconds per side until there are brown spots, and it will puff up slightly.
Method 2: Heat it for 15-20 seconds on one side. Then flip and cook for 40-60 seconds on the other side. And finally, flip back on the first side for an extra 20 seconds. This seems to lock in the heat more and cause the tortillas to puff up more – yielding slightly fluffier results.
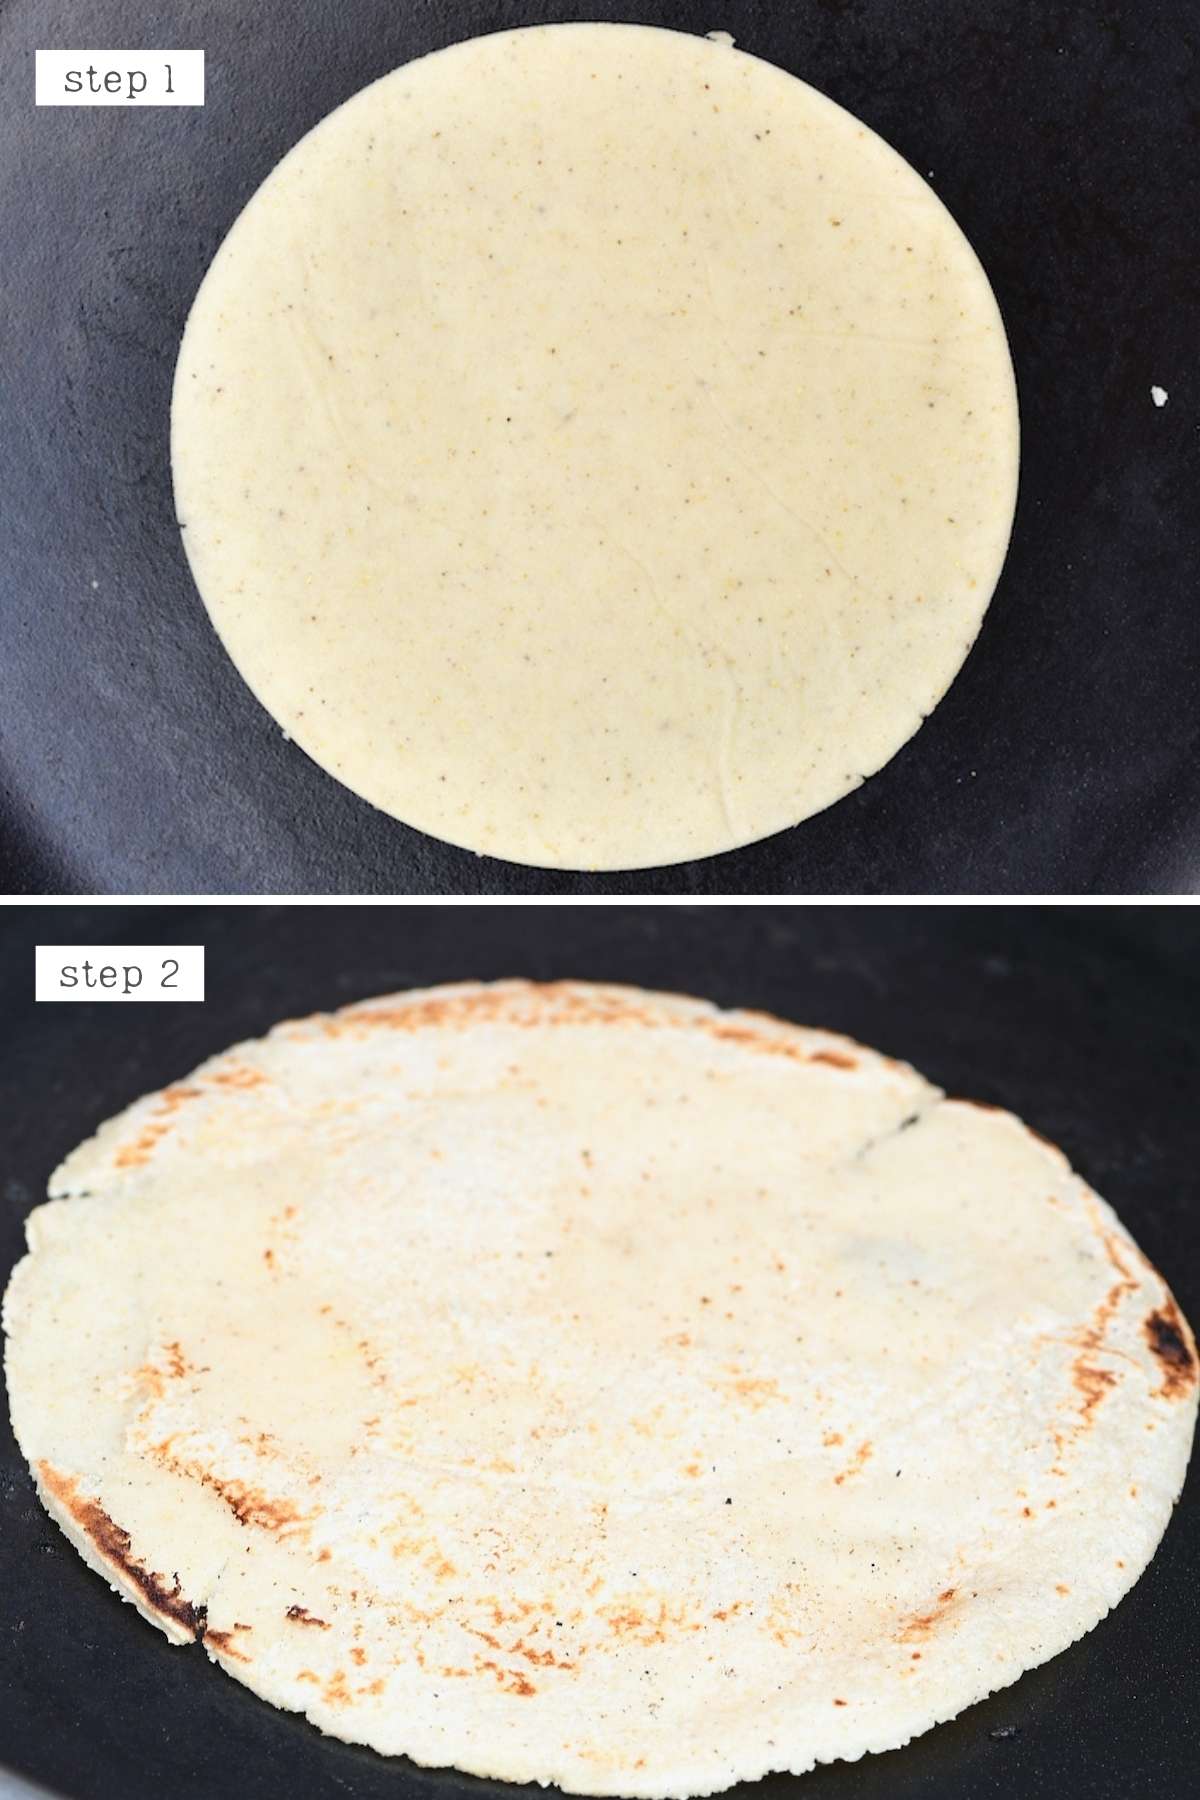
Repeat this process with the remaining dough. The best way to do this is like an assembly line: cook one tortilla while you press the next. The cooked tortilla should be transferred to a tortilla warmer (like a tea cozy for tortillas) or be wrapped in a clean kitchen towel to stay warm and supple while the next pressed dough is moved to the pan, etc. Adjust the heat of the pan if necessary (see the notes below).
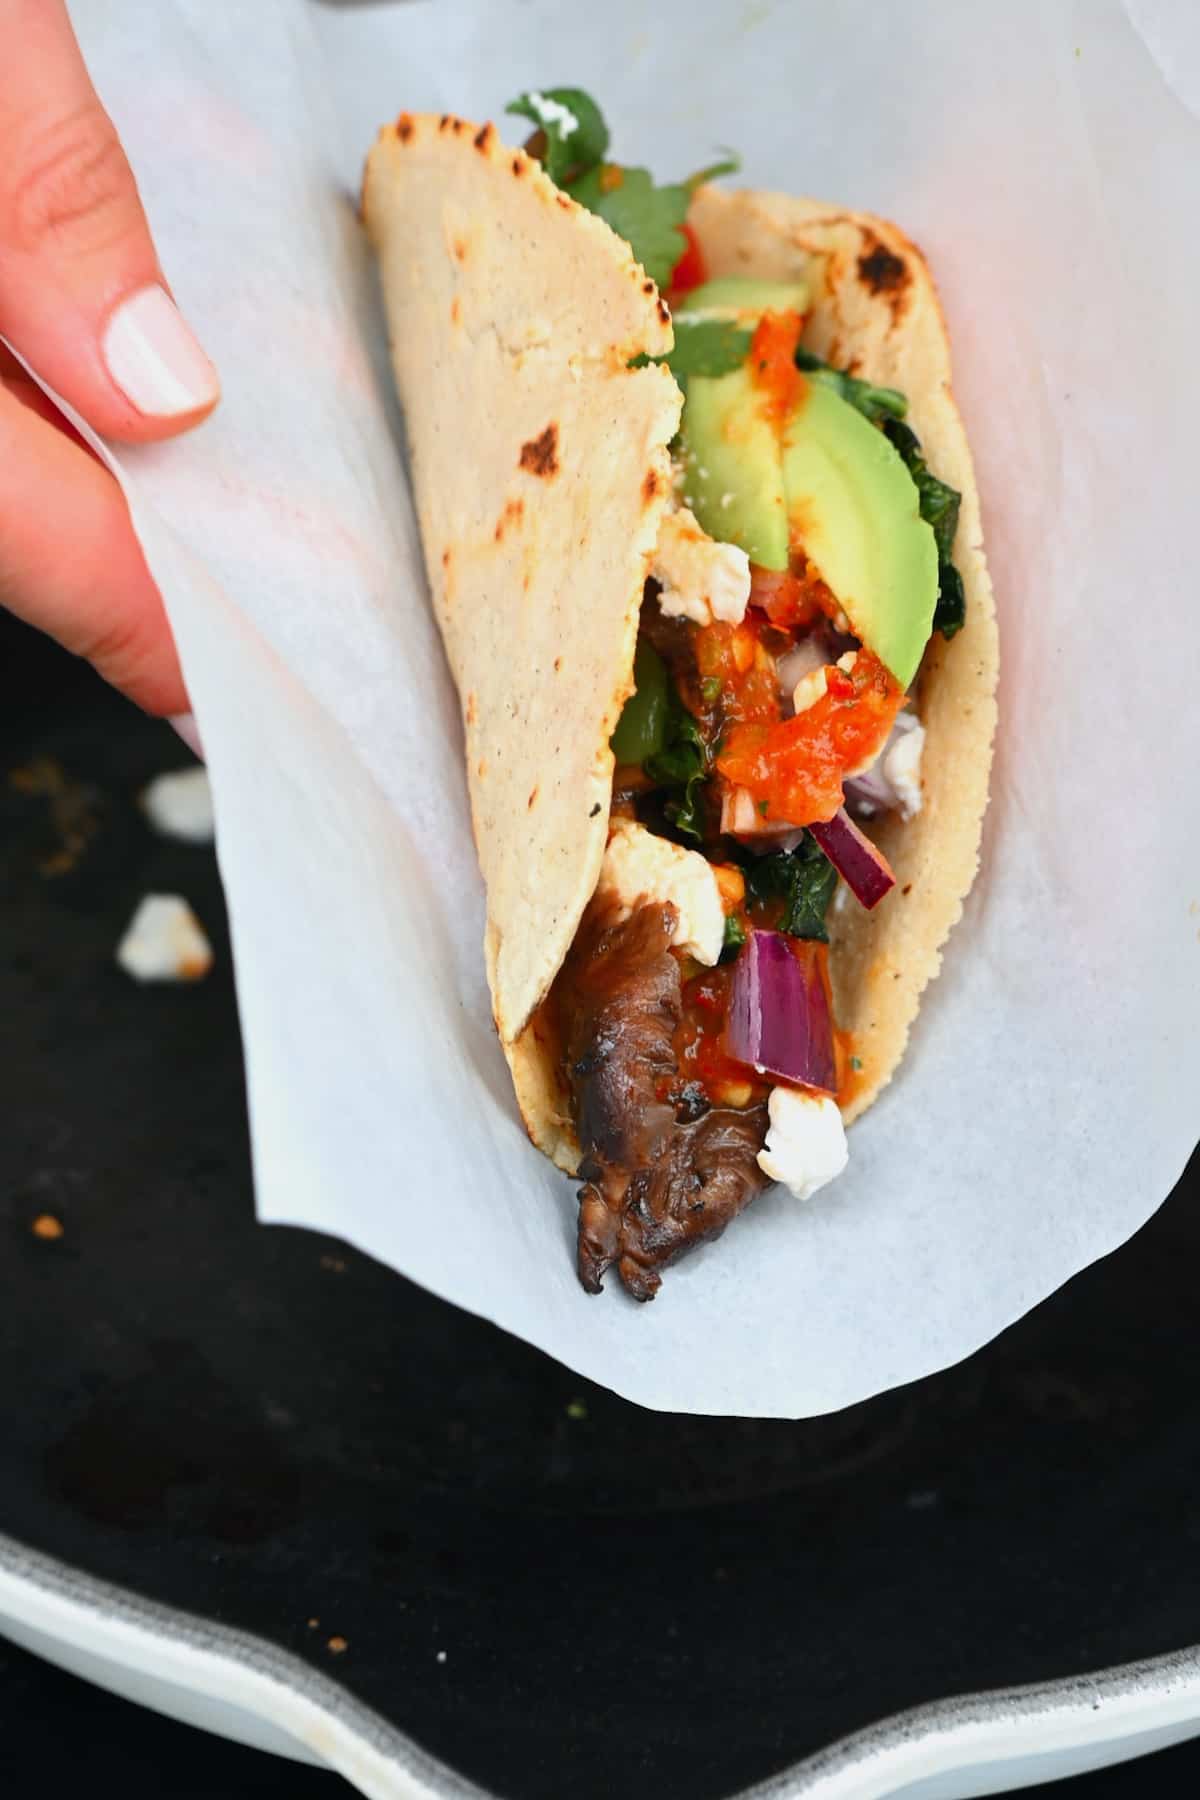
Once prepared, these homemade corn tortillas are perfect for all kinds of dishes—tacos, enchiladas, and fajitas. I used them to wrap these chicken fajitas, steak fajitas, and shrimp fajitas, and they were absolutely delicious!
They’re not quite as sturdy as flour tortillas. However, feel free to use them to make fajitas, quesadillas, and burritos. In fact, I recommend making a corn tortilla quesadilla using this viral TikTok method.
How to make ahead and store
Make ahead: To prepare this corn tortilla recipe in advance, prepare and wrap the dough well and store it within the fridge for 2-3 days. Any time you want some, just grab the portion from the dough and press and cook it – for fresh homemade corn tortillas in minutes.
If the dough seems a little dry when you first get it out of the fridge, add a little splash of water and re-knead it lightly.
Store: The prepared and cooked corn tortillas can be stored in an airtight bag (squeeze out all excess air) or wrapped tightly in plastic wrap/beeswax wrap in the fridge for up to 5 days or within the freezer for 3 months. Allow the frozen tortillas to thaw in the refrigerator before reheating.
FAQs
When buying these from a store – not always. When making these homemade corn tortillas – yes!
This isn’t something I’ve tried, but I’ve heard several people have bad experiences with this as the texture of the dough changes upon thawing and become crumbly.
Instead, the prepared dough can be wrapped tightly and stored in the fridge for several days. Alternatively, the cooked corn tortillas are freezer friendly for up to three months!
Reheat corn tortillas in a hot non-stick pan again over medium-high heat. This should only take 30-40 seconds per side until warmed through and will help it crisp up slightly again without losing its flexibility.
Once again, store any reheated tortillas in a tortilla warmer or wrapped in a kitchen towel before serving to keep them warm and soft. Otherwise, they can dry out.
Other tips
- To make white, yellow, or blue corn tortillas: Simply change the color masa harina you buy and follow this corn tortilla recipe. I haven’t tested the method with blue yet – but it should work the same.
- The type of pan you use to heat the corn tortillas can affect how they puff up and brown. Cast iron pans may provide better results (as they are closest to the traditional ‘comal’), but I use a non-stick pan and it works fine!
- Adjust your pan’s heat if needed: The aim is for the brown spots to appear by the time the 60 seconds is up. If they don’t, then increase the heat; if they’re browning too soon, decrease it. I like to use my first corn tortilla as a ‘test.’
- If you’re able to get your hands on fresh corn masa, then definitely use it! No need to mix the dough. The results will be delicious too!
- When using your tortillas, always use the tortillas that were placed in your tortilla warmer/tea towel first. They will have softened more while warming, so they will be nice and soft- ready to use!
- A medium cookie scoop (2 Tbsp) is the perfect size to make small 5–6 inch (13-15 cm) tortillas. Use around 3 Tbsp for larger 8–9 inch (20-23 cm) tortillas (for quesadillas, etc.)
Related recipes
If you enjoyed this corn tortilla recipe then you may also like some of the Mexican/Tex-Mex inspired recipes below.
- Quick & Simple Watermelon Salsa
- Easy Mushroom Tacos
- Crispy Air Fryer Tortilla Chips (Plus Oven Method)
- The Best Beef Birria and Birria Tacos
If you try this recipe for corn tortillas, I’d love to hear your thoughts/questions below. Also, I’d appreciate a recipe card rating below, and feel free to tag me in your recipe recreations on Instagram @Alphafoodie!
Authentic Corn Tortilla Recipe (Gluten-Free Tortillas)
Equipment
Ingredients
- 9 oz masa harina
- 11 floz hot water
- 1/2 tsp salt optional
Instructions
Step 1: Mix the corn tortilla dough
- In a large bowl, combine the flour, water, and optional salt and mix well into a rough dough.
- The amount of water you need can vary based on the flour you use, the humidity, etc. For that reason, I suggest adding in half the water, to begin with, and then adding in a little more until you achieve the correct results.
- Once you have a rough dough, knead it in the bowl for 2-3 minutes until it’s able to form a smooth ball. It will feel a little gritty at first, but as the corn rehydrates and you knead the dough, it will become more pliable. The dough should feel firm but slightly springy and not be sticking to your hands.To test the dough consistency, you can take a little of the dough, roll it into a ball, and then flatten it. If the edges are very dry and cracking a lot, then add a little more water (just 1tsp at a time). If it’s too sticky, then add a bit more flour.
- With a stand mixer: Avoid hand-mixing by using a stand mixer. Mix the dough with a medium-low speed using a dough hook for around 3 minutes, then test the dough consistency.
Step 2: Rest the dough
- Form the dough into a ball in the bowl and cover it with either plastic wrap or a damp kitchen towel and allow it to rest for 30 minutes. This impacts the texture of the dough and resulting homemade corn tortillas, so don’t skip this!
Step 3: Shape the tortillas
- Once the dough is rested, you can portion and press it into your tortillas. I divided the dough into equal pieces by weight. Mine were 30g each (1oz). Alternatively, you can use a medium cookie scoop (around 2tbsp) or eyeball it to be around a golf ball per section. This will make small 5–6 inch (13-15 cm) tortillas. Use around 3tbsp of the dough for larger 8-9 inch (20-23 cm) tortillas.
- Roll each dough piece in your hands into a smooth ball shape then it’s time to press!Using a tortilla press: This is the easiest method for the evenest tortillas. Simply place the dough ball between two pieces of parchment paper or plastic (you can use a plastic food bag and simply cut the seams and the top, so it’s two layers of plastic – you can re-use the same pieces for all the tortillas). Then press down with the tortilla press.Using a pan: Once again, placing each dough ball between the layers of parchment paper or plastic, then use a flat-bottomed pan or a Pyrex dish (that way, you can see it as you press) and press down-trying to ensure even pressure.Using a rolling pin: This is probably the fiddliest method and takes the longest amount of time, but I thought I’d give it a shot. Once again, prepare the dough ball between parchment paper or plastic layers, then use a rolling pin to roll out the dough into a circle. This won’t give you the best ‘circles,’ so you may want to use a large cookie cutter or bowl to cut them into perfect circles.Chef’s note: To remove the tortilla from the plastic/parchment, place the tortilla in one hand and then slowly peel the parchment/plastic away from the tortilla (not the other way around- trying to peel the tortilla off). If it’s too sticky and won’t peel, then the dough likely needs a little extra flour.
Step 4: Cook the corn tortillas.
- Heat up a large non-stick skillet or ‘Comal’ over medium to medium-high heat. Once the pan is hot, gently lay a tortilla on it. There are two ways to cook the tortilla.Method 1: Cook for between 40-60 seconds per side until there are brown spots, and it will puff up slightly.Method 2: heat it for 15-20 seconds on one side and then flip and cook for 40-60 seconds on each side. This seems to lock in the heat more and cause the tortillas to puff up more – yielding slightly fluffier results.
- Repeat this process with the remaining dough. The best way to do this is like an assembly line; cook one tortilla while you press the next. The cooked tortilla should be transferred to a tortilla warmer (like a tea cozy for tortillas) or be wrapped in a clean kitchen towel to stay warm and supple while the next pressed dough is moved to the pan, etc. Adjust the heat of the pan if necessary (See notes).
- Once prepared, these homemade corn tortillas are perfect for using for all kinds of dishes; tacos, enchiladas, tostadas, taquitos, huevos rancheros, tortilla chips – and nachos, etc.They’re not quite as sturdy as flour tortillas. However, feel free to also use them to make fajitas, quesadillas, and burritos.
How to Make Ahead and Store
- Make ahead: To prepare these in advance, prepare and wrap the dough well and store it within the fridge for 2-3 days. Any time you want some, just grab the portion from the dough and press and cook it – for fresh homemade corn tortillas in minutes.If the dough seems a little dry when you first get it out of the fridge, add a little splash of water and re-knead it lightly.Store: The prepared and cooked corn tortillas can be stored in an airtight bag (squeeze out all excess air) or wrapped tightly in plastic wrap/beeswax wrap in the fridge for up to 5 days or within the freezer for 3 months. Allow the frozen tortillas to thaw in the refrigerator before reheating.
Notes
- To make white, yellow, or blue corn tortillas: Simple change the color masa harina you buy. I haven’t tested the method with blue yet – but it should work the same.
- The type of pan you use to heat the corn tortillas can affect how they puff up and brown. Cast iron pans may provide better results (as they are closest to the traditional ‘comal’), but I use a non-stick pan and it works fine!
- Adjust your pan’s heat if needed: The aim is for the brown spots to appear by the time the 60 seconds is up. If they don’t, then increase the heat; if they’re browning too soon, decrease it. I like to use my first corn tortilla as a ‘test.’
- If you’re able to get your hands on fresh corn masa, then definitely use it! No need to mix the dough. The results will be delicious too!
- When using your tortillas, always use the tortillas that were placed in your tortilla warmer/tea towel first. They will have softened more while warming, so they will be nice and soft- ready to use!
- A medium cookie scoop (2 Tbsp) is the perfect size to make small 5–6 inch (13-15 cm) tortillas. Use around 3 Tbsp for larger 8–9 inch (20-23 cm) tortillas (for quesadillas, etc.)
Nutrition
Nutrition information is automatically calculated, so should only be used as an approximation.





What can I say Samira , you are amazing .amazing receipes.thank you .
Thank you so much for your comment, Alexa!