

This post may contain affiliate links. If you buy through them, I earn a small commission at no extra cost to you. As an Amazon Associate I earn from qualifying purchases. Read my disclosure policy.
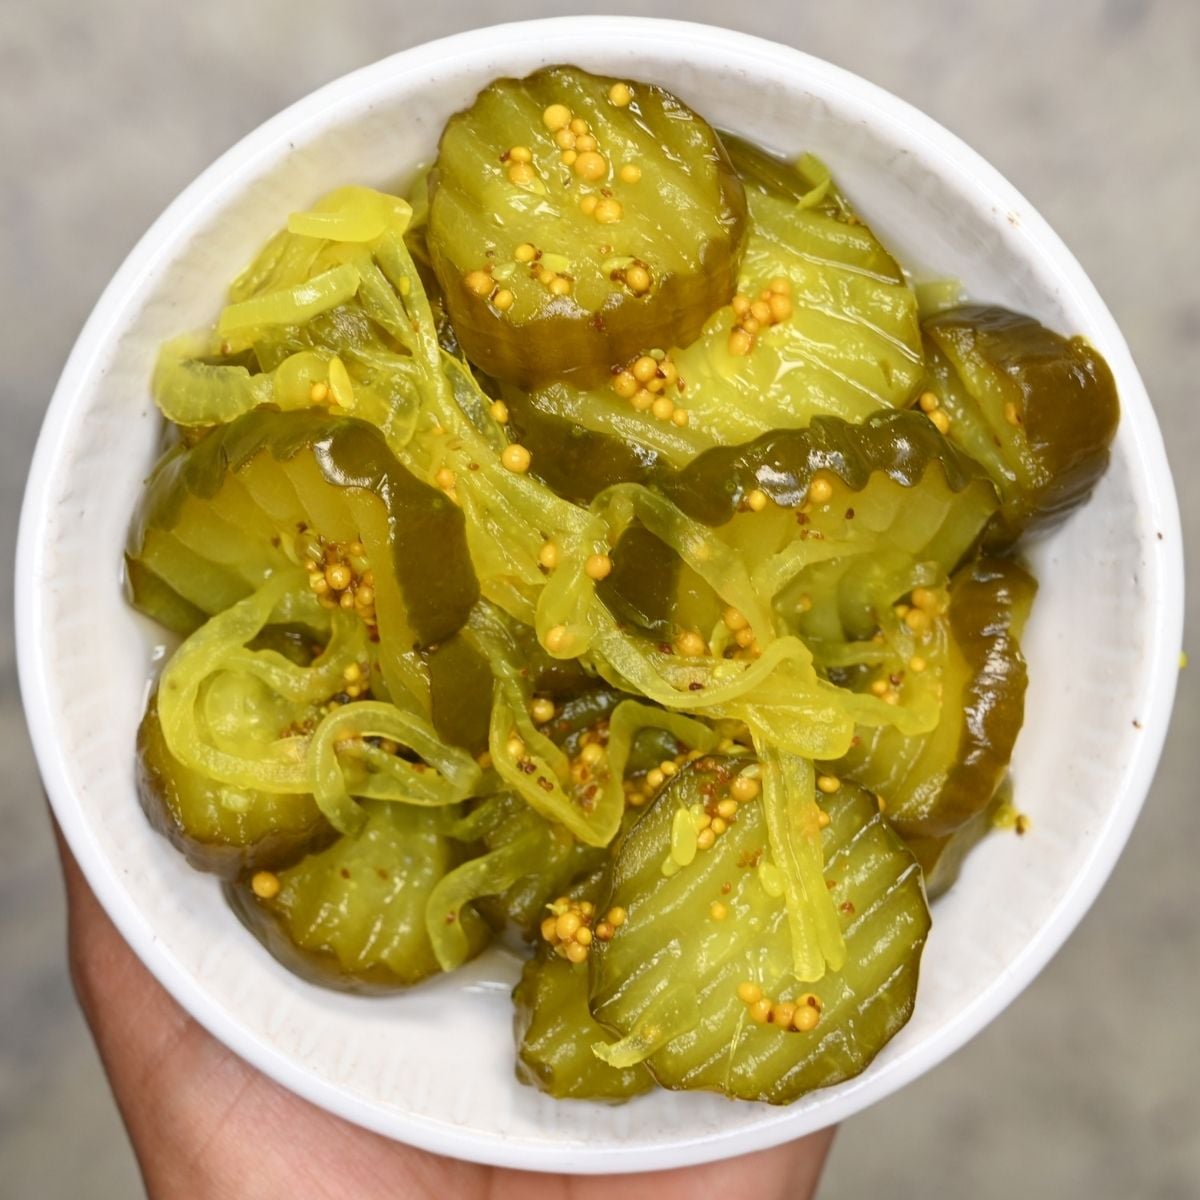
There’s something so satisfying about opening a jar of homemade bread and butter pickles and hearing that little pop. These sweet, tangy cucumber slices are one of my favorite things to can, and once you taste the difference between homemade and store-bought, you won’t go back.
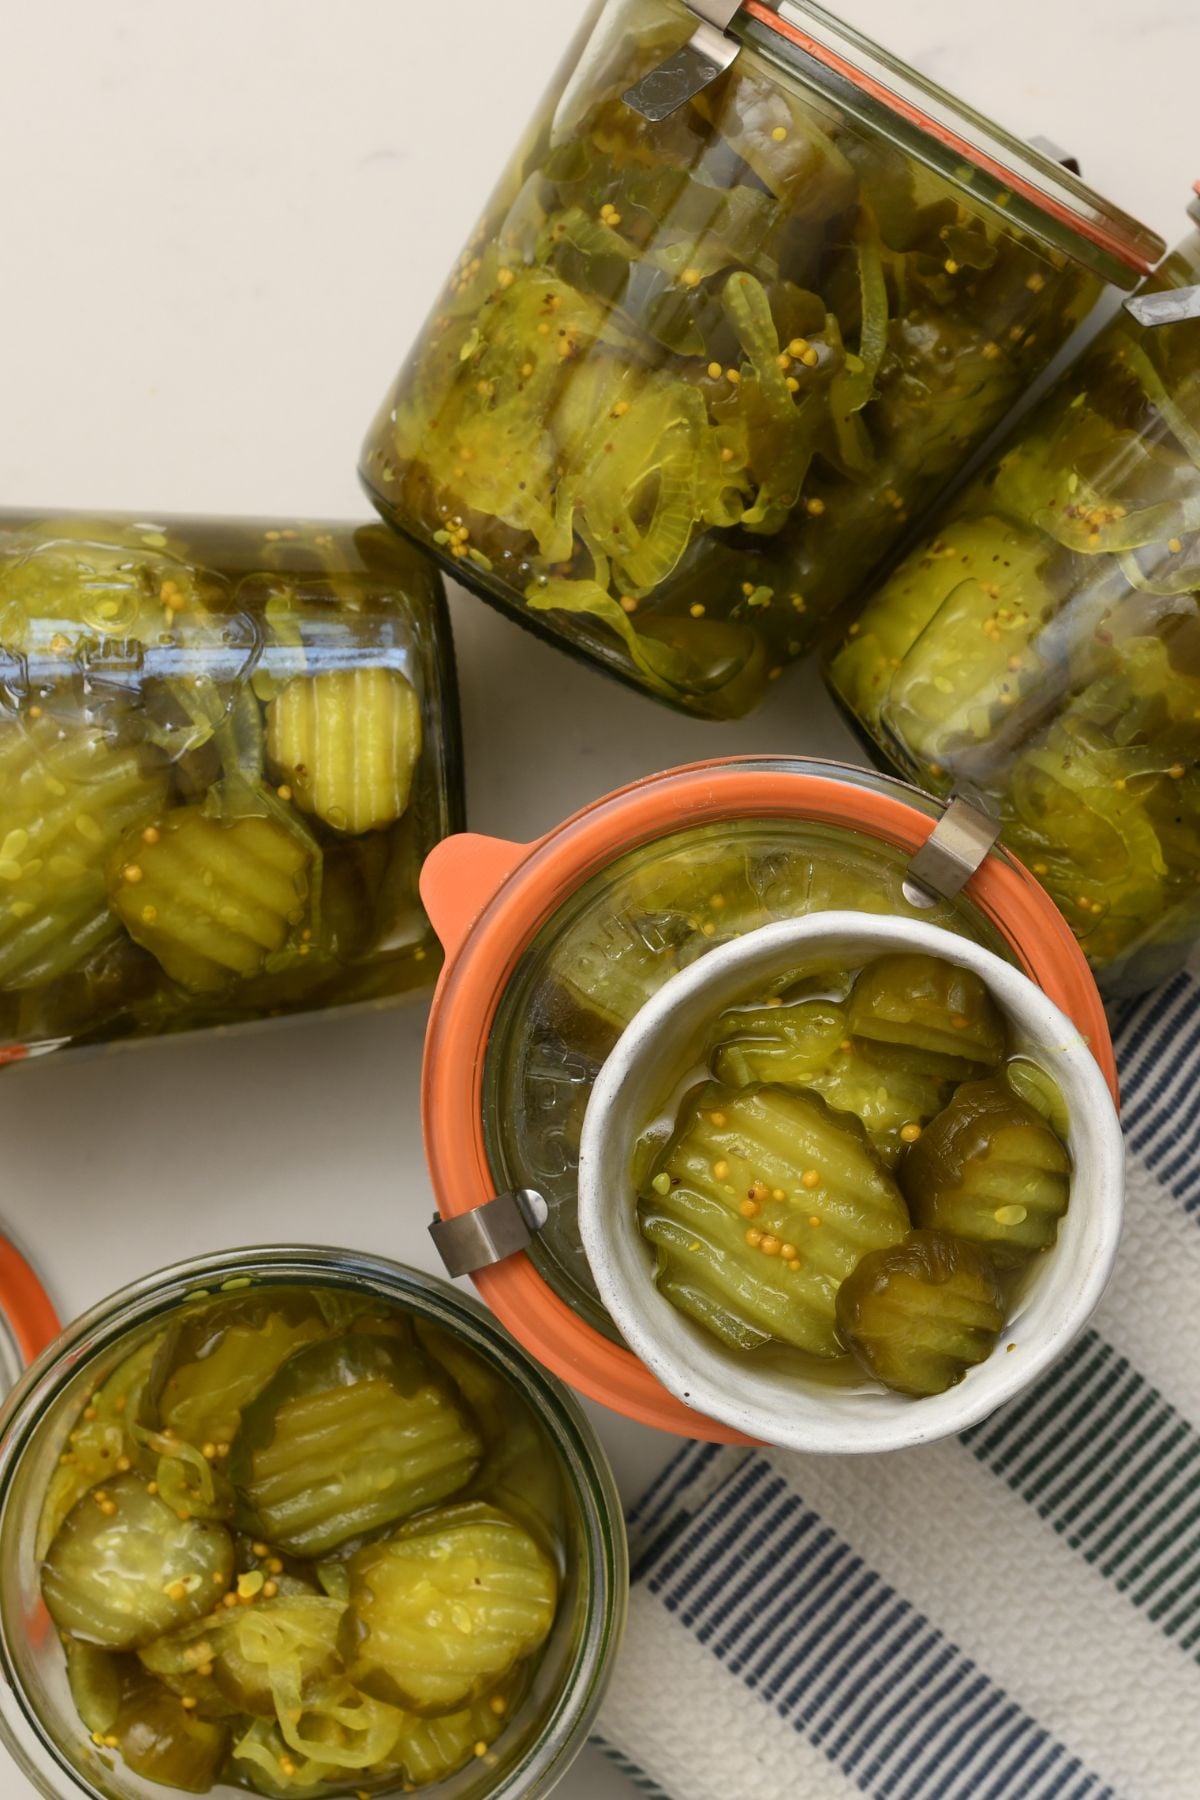
A simple 2-hour salting step draws out excess moisture so the cucumbers stay crisp even after water-bath canning, and a warm spiced brine brings everything together beautifully.
If you love pickling, you’ll also enjoy my quick pickled cucumbers and classic dill pickles.
Bread and butter pickles ingredients
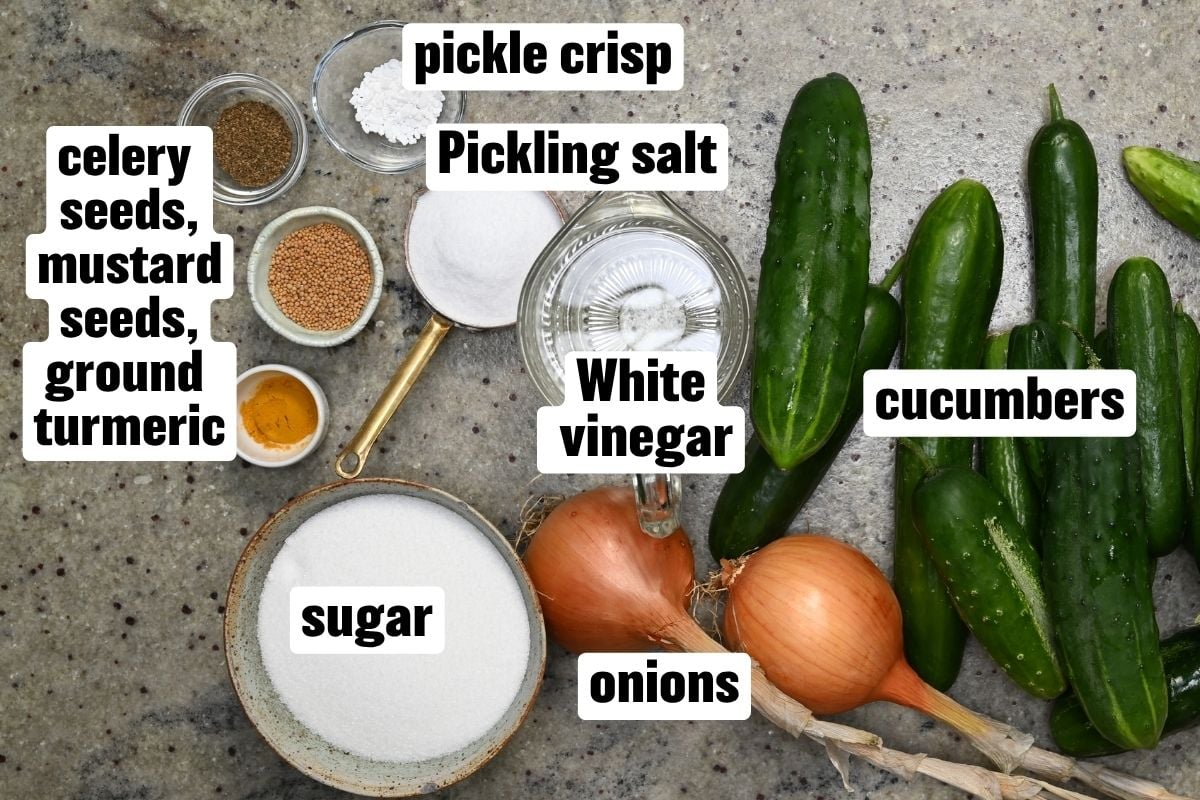
- Pickling cucumbers: small, firm, bumpy varieties give the best texture and crunch. Avoid waxed grocery store cucumbers since the coating prevents the brine from penetrating properly.
- Yellow onions: thinly sliced into rings or half-rings. They soften just enough in the brine and add a mild sweetness.
- Pickling salt: also called canning salt. It dissolves cleanly without the anti-caking agents or iodine found in table salt, which can cloud the brine.
- White vinegar: use commercial vinegar with 5% acidity. This is essential for safe water-bath canning.
- Granulated sugar: balances the vinegar and gives the pickles their signature sweet-tangy flavor.
- Mustard seeds, celery seeds, and ground turmeric: the classic bread and butter pickle spice trio. Turmeric also gives the brine its golden color.
- Pickle Crisp (calcium chloride): optional but highly recommended for water-bath canning. It helps the cucumber slices stay wonderfully crisp rather than softening. You can buy it as Ball Pickle Crisp or as food-grade calcium chloride (E509) in granules or flakes.
See printable recipe card below for the full ingredients list and quantities.
How to make bread and butter pickles
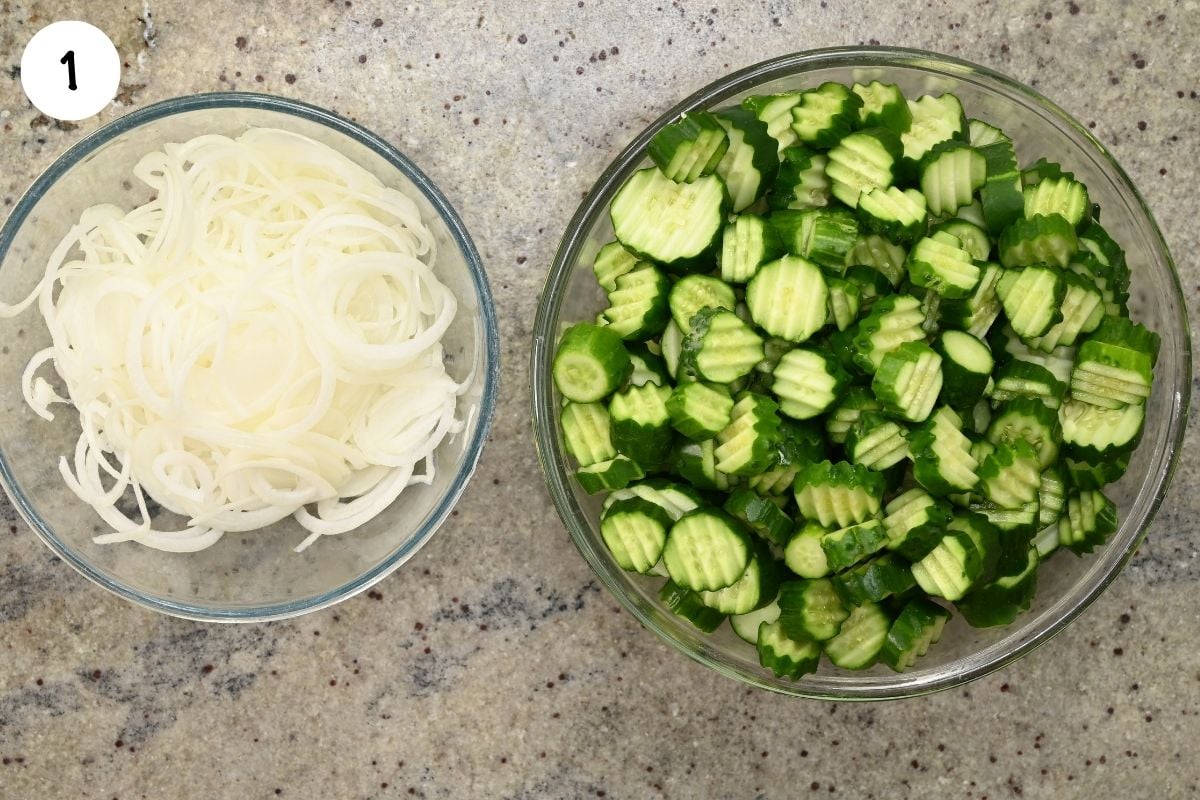
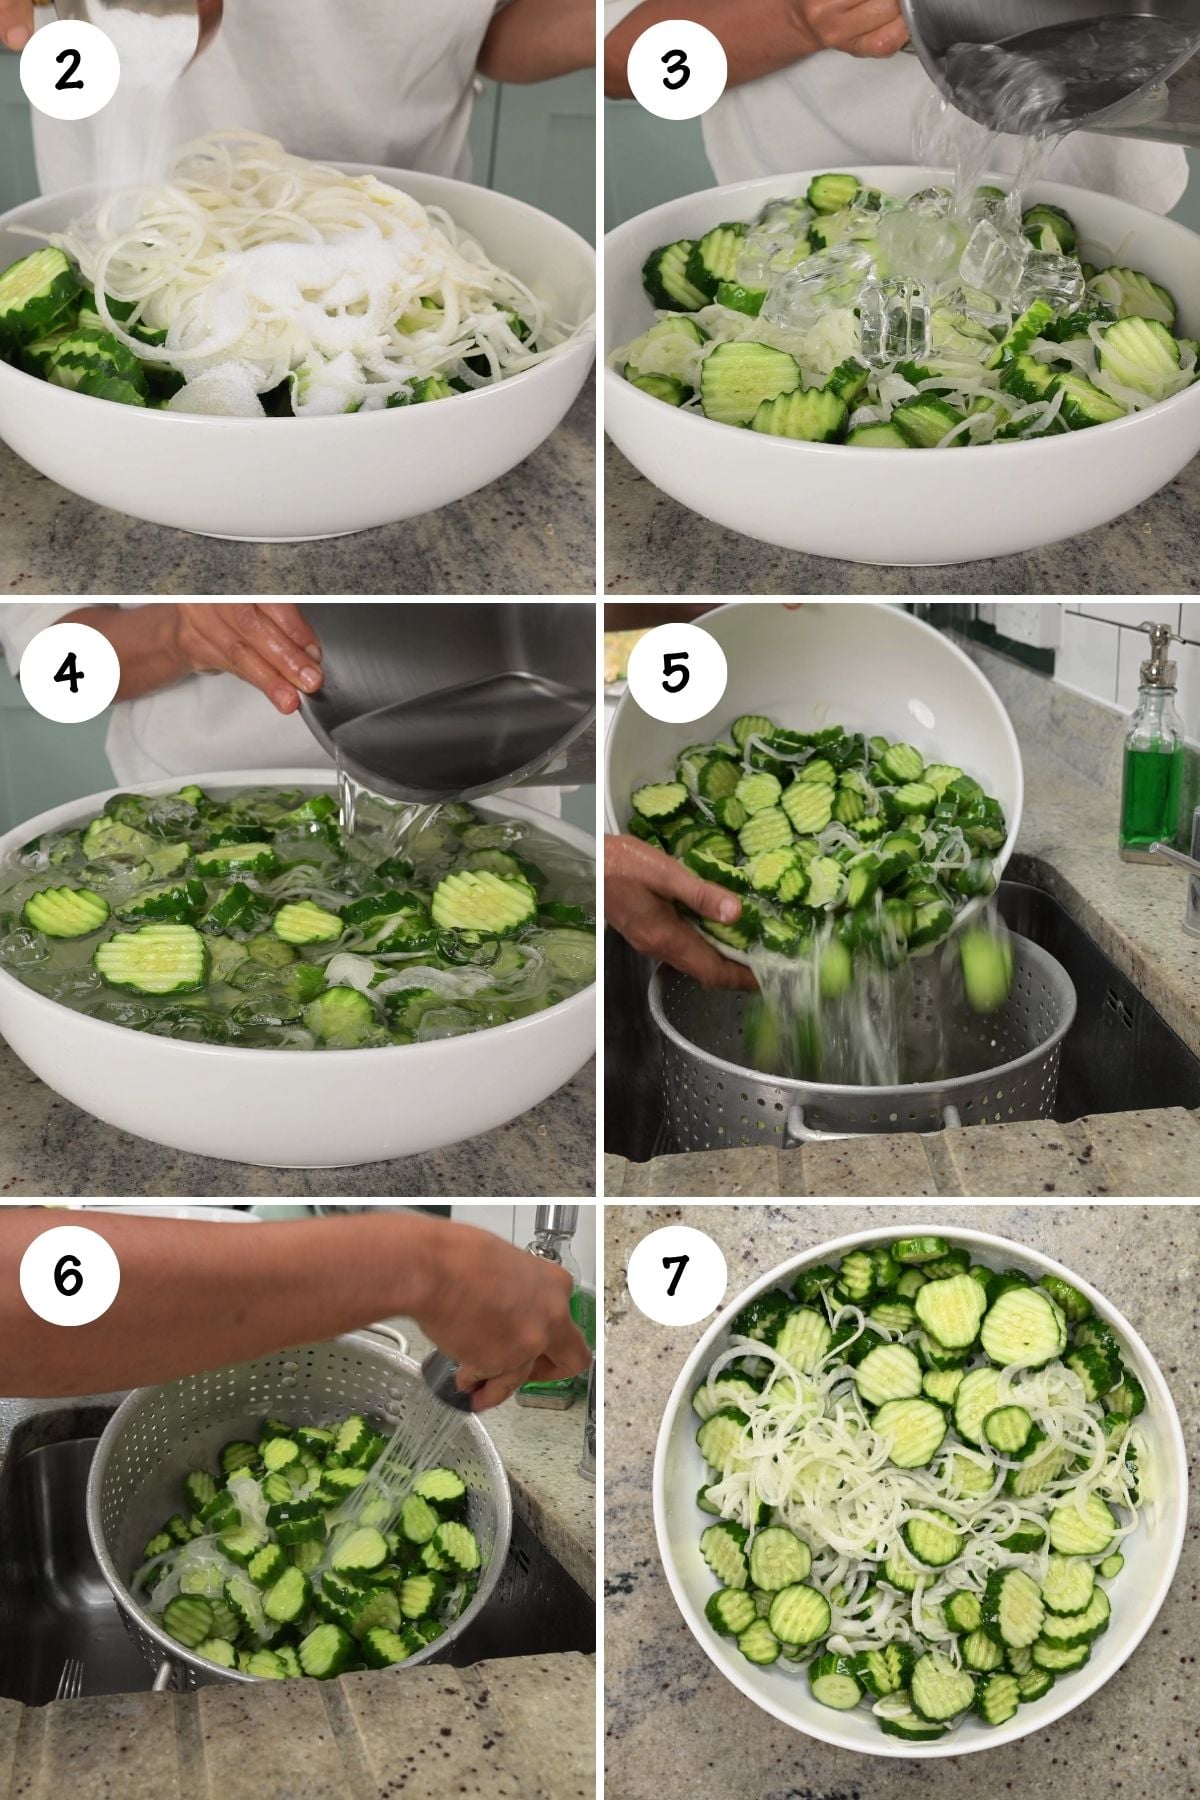
Trim the cucumbers and slice them into thin rounds, about the thickness of a coin. Peel the onions and slice them thinly into rings or half-rings.
Place the cucumbers and onions in a large glass or stainless-steel bowl. Add the pickling salt and mix well. Cover with cold water and leave at room temperature for 2 hours. This step draws out excess moisture and is key for a crisp finished pickle.
Transfer the vegetables to a colander, rinse thoroughly under cool running water to remove the excess salt, then drain very well.
While the vegetables are salting, prepare your water-bath canner, jars, and lids according to the manufacturer’s instructions.
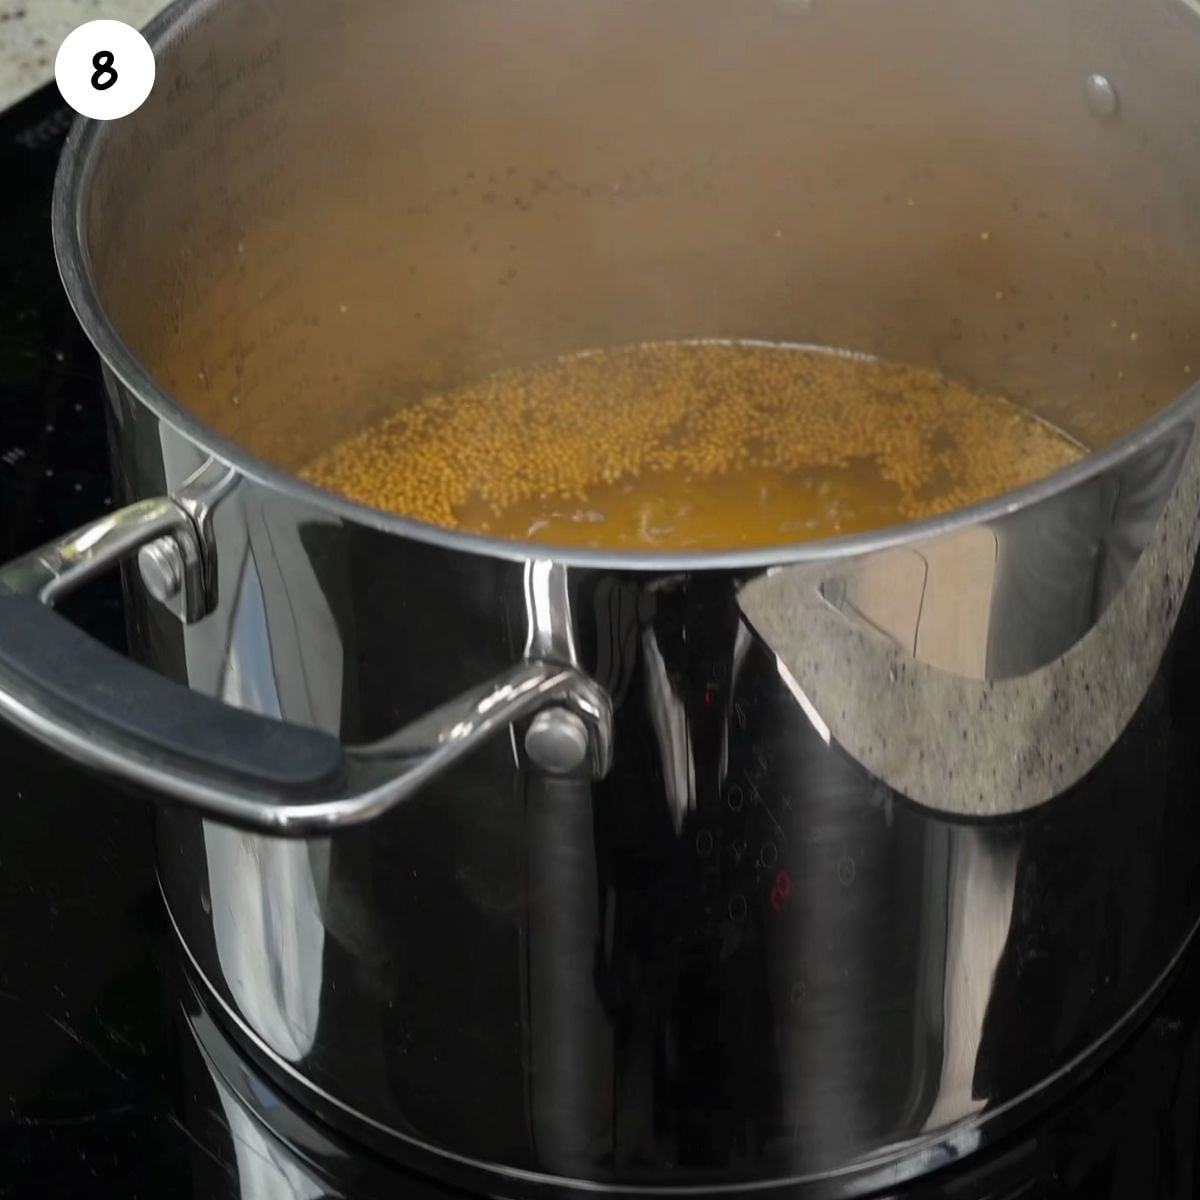
Combine the white vinegar, sugar, mustard seeds, celery seeds, and turmeric in a large stainless-steel saucepan. Bring to a boil over medium-high heat, stirring until the sugar dissolves completely.
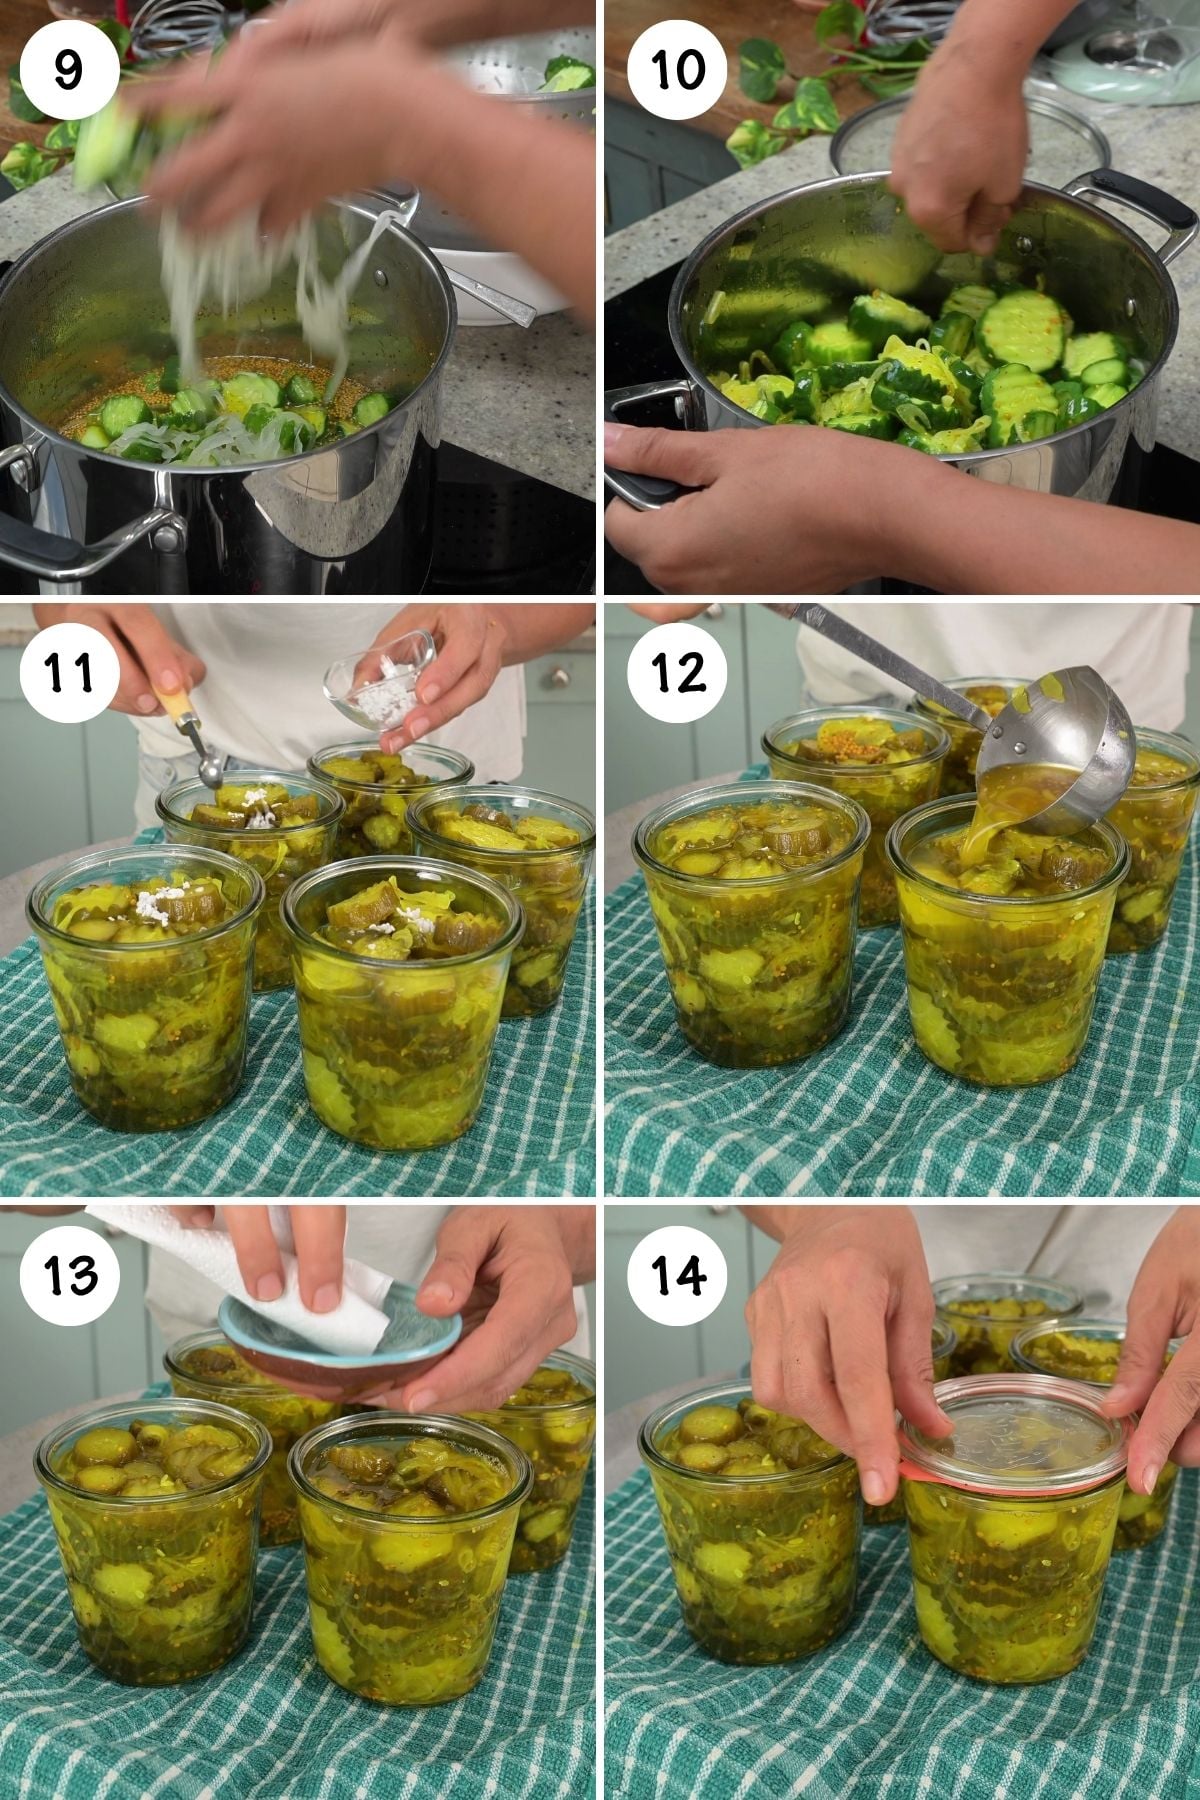
Stir the drained cucumbers and onions into the hot pickling liquid and return the mixture to a boil.
Pack the hot cucumbers and onions into the prepared hot jars, leaving half an inch of headspace. Add Pickle Crisp to each jar if using. Ladle the hot pickling liquid over the vegetables, maintaining the same headspace.
Remove air bubbles and adjust the headspace with additional hot liquid if needed. Wipe the jar rims clean, center the lids, and screw the bands on until fingertip-tight.
Place the jars in the boiling-water canner, making sure they are completely covered with water. Process pint jars for 10 minutes, adjusting the processing time for altitude if necessary.
Turn off the heat, remove the canner lid, and wait 5 minutes before lifting out the jars. Leave them undisturbed to cool completely, then check the seals before storing.
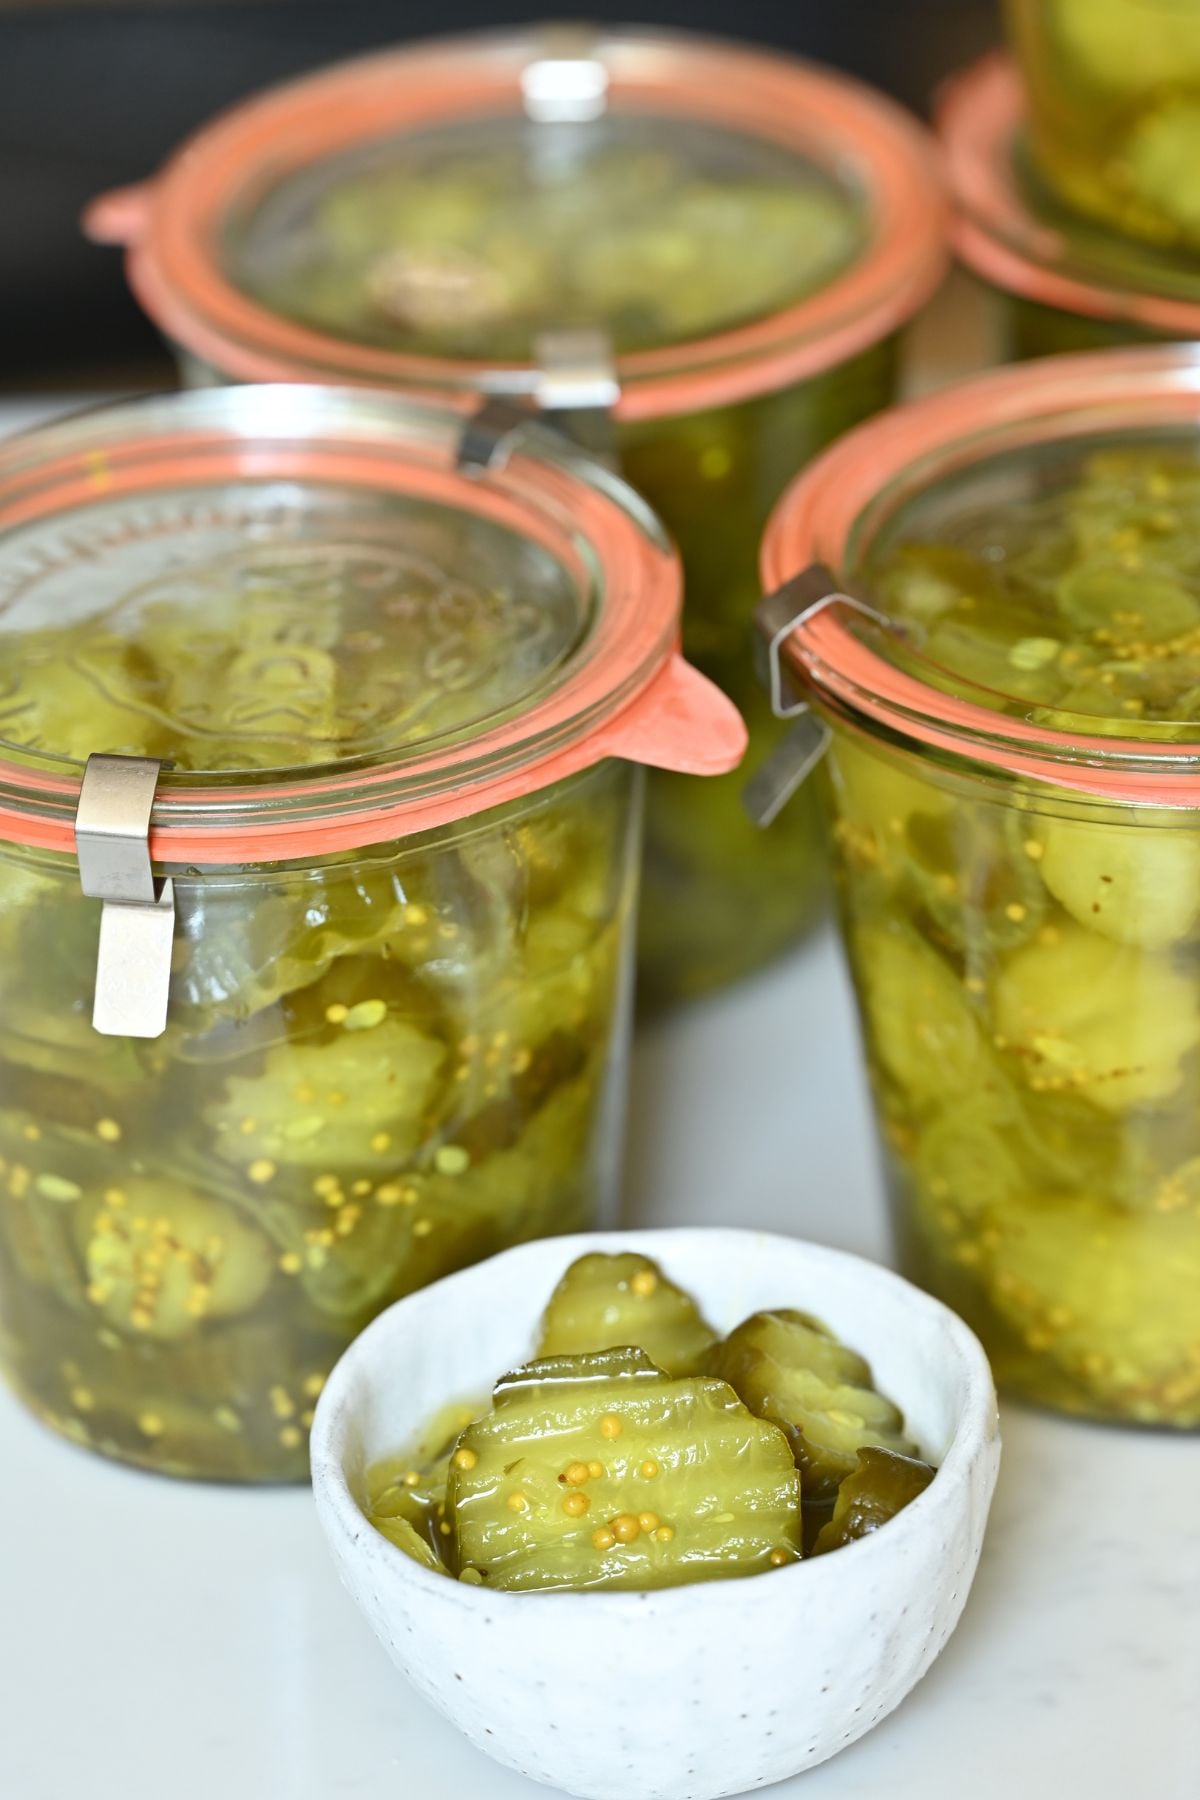
For the best flavor, let the sealed jars sit for about 4 weeks before opening. The pickles develop a deeper, more balanced sweet-tangy taste as they sit.
Store sealed jars for up to 1 year in a cool, dark place; once opened, refrigerate and use within 2 weeks.
Serving suggestions
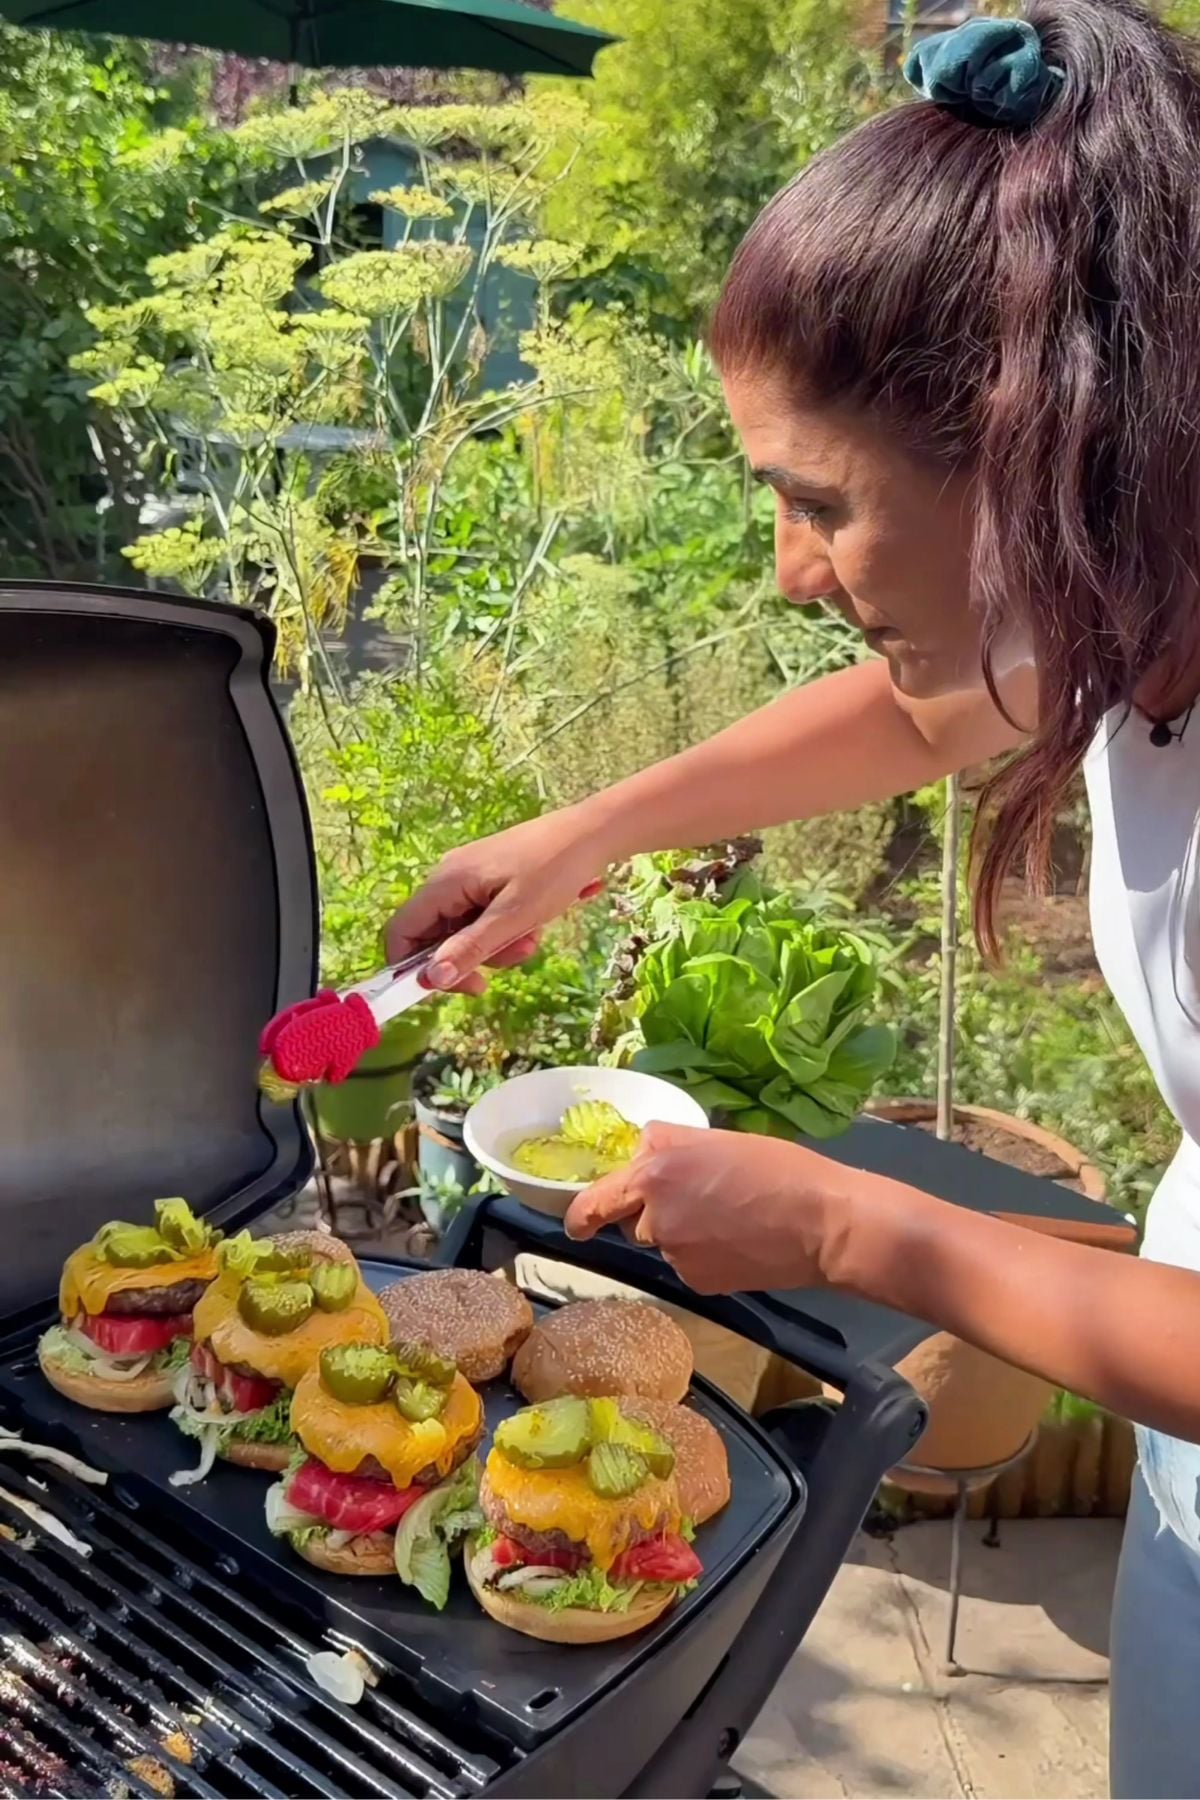
These sweet pickles go with just about everything. Pile them onto grilled burgers, tuck them into a crispy grilled cheese, or serve them alongside fried chicken with a side of homemade Raising Cane’s sauce for dipping. They’re also great straight from the jar as a snack or chopped into chicken salad or potato salad for a tangy crunch.
FAQs
If you need more liquid, quickly heat equal parts white vinegar and sugar with a pinch of the spices. Make sure it reaches a boil before adding it to the jars. Do not add plain water, as it will dilute the acidity needed for safe canning.
Yes, as long as it has 5% acidity. Apple cider vinegar adds a slightly deeper flavor but may darken the pickles a bit compared to white vinegar.
Yes. At 1,001 to 3,000 feet, process for 15 minutes. At 3,001 to 6,000 feet, process for 20 minutes. At 6,001 to 8,000 feet, process for 25 minutes. At 8,001 to 10,000 feet, process for 30 minutes.
More pickling recipes to try
If you love making pickles at home, here are a few more recipes to fill your pantry shelves.
If you make these bread and butter pickles, I’d love to hear how they turned out! Please leave a star rating and a comment below to let me know.
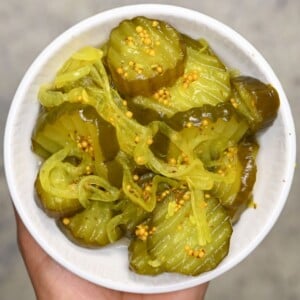
Bread and Butter Pickles
Equipment
- Large stockpot
- Colander
- 5 Canning jars (16 oz) (1 pint/500 ml)
- Canning tongs (Jar lifter)
- Canning funnel
- Bubble remover
- Large bowl
- Sharp knife
- Cutting board
Ingredients
Vegetables
- 10 cups fresh pickling cucumbers small firm bumpy varieties preferred, sliced into 1/4-inch rounds (about 5 lb before trimming)
- 2 yellow onions large, thinly sliced into rings or half-rings
Salting
- 1/2 cup pickling salt (canning salt)
Pickling Brine
- 3 cups white vinegar 5% acidity
- 2 cups granulated sugar
- 2 tablespoons mustard seeds
- 1 teaspoon celery seeds
- 1 teaspoon ground turmeric
Optional
- 1/8 teaspoon Pickle Crisp calcium chloride (food-grade calcium chloride) per pint jar, optional but recommended for extra-crisp pickles
Instructions
- Trim the cucumbers and slice them into approximately 1/4-inch rounds. Peel the onions and slice them thinly into rings or half-rings.
- Place the cucumbers and onions in a large glass or stainless-steel bowl. Add the pickling salt and mix well. Cover with cold water and leave at room temperature for 2 hours.
- Transfer the vegetables to a colander. Rinse thoroughly under cool running water to remove the excess salt, then drain very well.
- Meanwhile, prepare the water-bath canner, jars, and lids according to the manufacturer’s instructions.
- In a large stainless-steel saucepan, combine the white vinegar, sugar, mustard seeds, celery seeds, and turmeric. Bring to a boil over medium-high heat, stirring until the sugar dissolves.
- Stir the drained cucumbers and onions into the hot pickling liquid. Return the mixture to a boil.
- Pack the hot cucumbers and onions into the prepared hot jars, leaving 1/2-inch headspace.
- Add 1/8 teaspoon Pickle Crisp (food-grade calcium chloride) to each pint jar if using. Ladle the hot pickling liquid over the vegetables, maintaining 1/2-inch headspace.
- Remove air bubbles and readjust the headspace with additional hot pickling liquid if necessary. Wipe the jar rims clean. Center the lids and screw the bands on until fingertip-tight.
- Place the jars in the boiling-water canner, making sure they are completely covered with water. Process pint jars for 10 minutes, adjusting processing time for altitude where necessary.
- Turn off the heat, remove the canner lid, and wait 5 minutes before lifting out the jars. Leave them undisturbed to cool completely, then check the seals before storing.
Video
Notes
- Use small, firm, bumpy pickling cucumbers for the best texture. Avoid waxed cucumbers from the grocery store as the coating prevents the brine from penetrating the slices.
- Do not skip the 2-hour salting step. It draws out excess moisture and helps the pickles stay crisp after canning.
- Pickle Crisp is calcium chloride. You can buy it as Ball Pickle Crisp or as food-grade calcium chloride (E509). It may come as granules or flakes and does not need to be ground.
- For the best flavor, let the sealed jars sit for about 4 weeks before opening.
- Altitude adjustments for processing time: 1,001 to 3,000 ft, process 15 minutes. 3,001 to 6,000 ft, process 20 minutes. 6,001 to 8,000 ft, process 25 minutes. 8,001 to 10,000 ft, process 30 minutes.
- Storage: Sealed, canned jars can be stored for up to 1 year in a cool, dark place. Once opened, refrigerate and use within 2 weeks.









This is the best for pickle lovers !!! I’m going to try this !
I hope you tried it, Ella! The pickles turn out absolutely delicious and so crunchy! 🙂