

This post may contain affiliate links. If you buy through them, I earn a small commission at no extra cost to you. As an Amazon Associate I earn from qualifying purchases. Read my disclosure policy.
Every summer I find myself standing in front of a pile of fresh pickling cucumbers wondering what to do with them all, and the answer is always the same: make a big batch of dill pickles. There is something genuinely satisfying about lining up sealed jars on a pantry shelf knowing you have crisp, garlicky pickles ready to go for months.
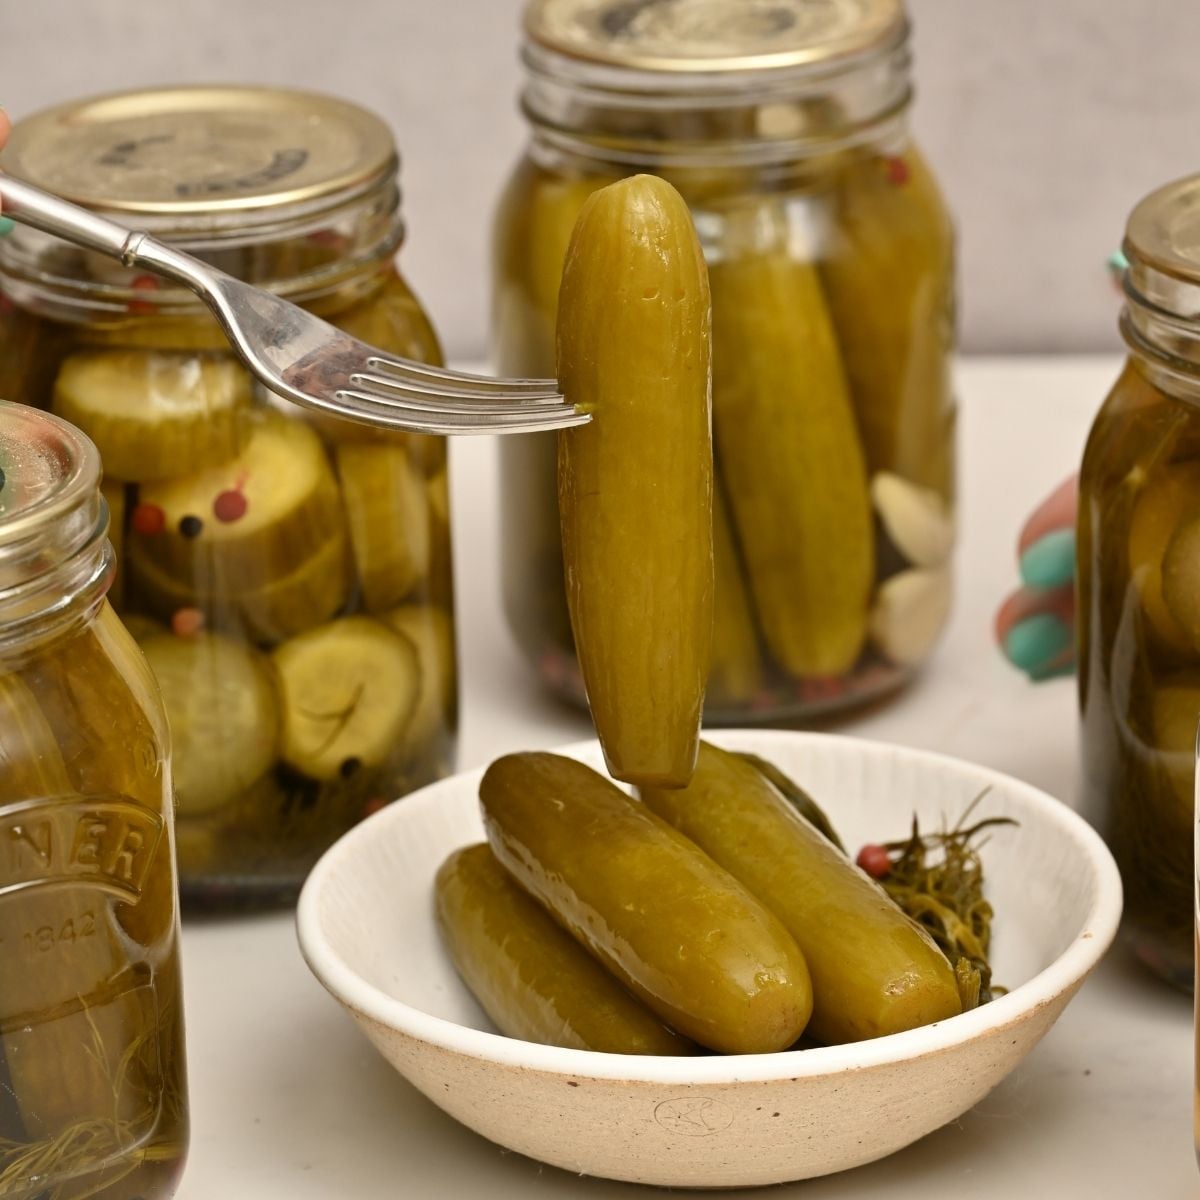
The key to pickles that stay snappy and never go soft is a combination of trimming the blossom end of each cucumber, packing the jars tightly, and using Pickle Crisp to protect the texture through the water bath process.
If you enjoy making your own pickled vegetables at home, you might also like these quick cucumber pickles for a quick refrigerator version, try these bread and butter pickles for a sweet and tangy option, or give pickled okra a try for something a little different.
Table of Contents
Why you’ll love this recipe!

- One batch makes about 9 jars that stay shelf-stable for up to a year, so the effort is absolutely worth it.
- The pickles stay genuinely crisp thanks to a few simple techniques, including trimming the blossom end and using Pickle Crisp.
- You can cut the cucumbers any way you like: whole, spears, chips, sandwich slices, or long slices, all using the same brine and processing time.
Dill pickle ingredients
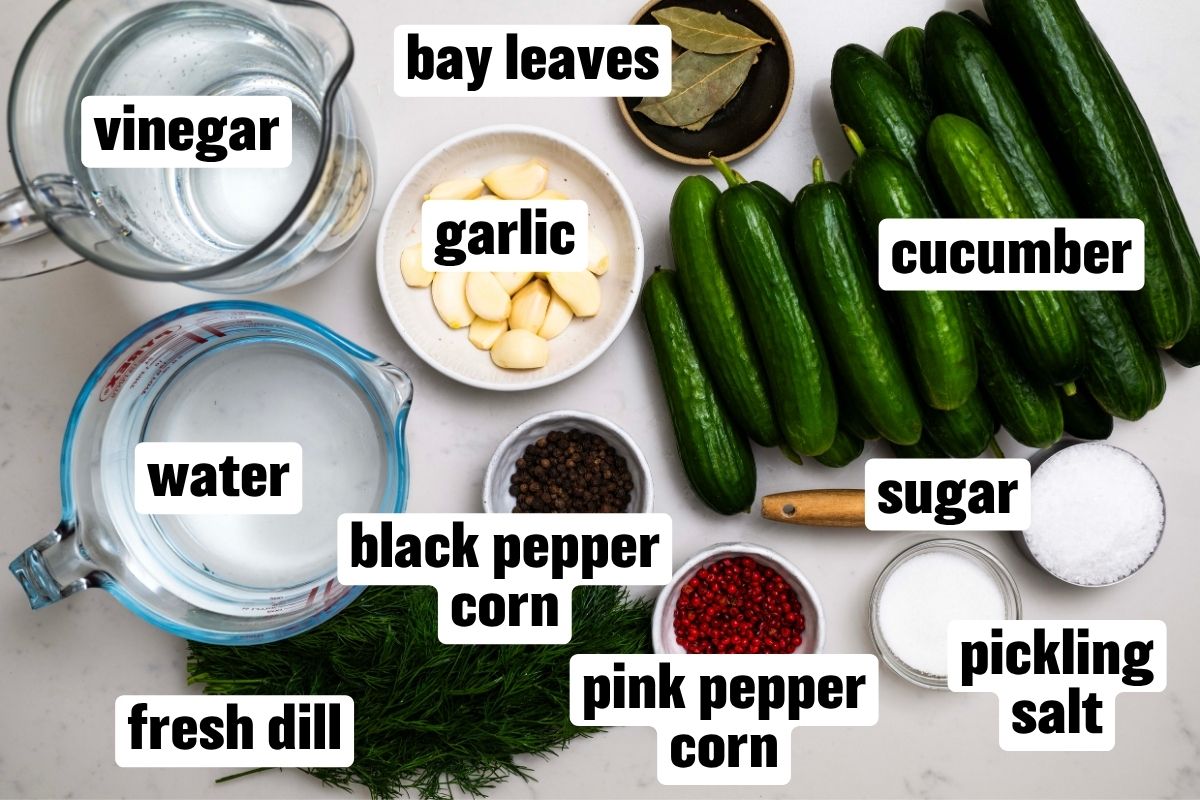
- Pickling cucumbers: Small, firm, freshly harvested cucumbers give the best crunch. Look for ones labeled “pickling cucumbers” rather than regular slicing cucumbers, which can turn soft.
- Garlic cloves: Whole peeled cloves go directly into each jar and infuse the brine with a mellow, savory depth as the pickles cure.
- Fresh dill: One large sprig per jar is all you need. Fresh dill gives a brighter, more aromatic flavor than dried.
- Bay leaves: Half a leaf per jar adds a subtle earthy note that rounds out the brine.
- Black peppercorns: Add gentle heat and a classic pickling flavor without overpowering the dill.
- Pink peppercorns: Optional, but they add a slightly floral, fruity note that makes the brine a little more interesting.
- Pickle Crisp (calcium chloride): Not shown. Highly recommended for water bath canning. A small amount per jar keeps the cucumbers firm and snappy even after processing. It is much easier and safer to use than traditional pickling lime.
- Distilled white vinegar: Use 5% acidity only. Never reduce the amount of vinegar, as the correct acidity level is what makes water bath canning safe.
- Pickling salt: Use pickling salt rather than table salt. It keeps the brine clear and free of additives that can cloud the liquid.
- Granulated sugar: A small amount balances the sharpness of the vinegar without making the pickles sweet.
- Water: Use filtered or distilled water if possible, especially if your tap water is heavily chlorinated or has a strong mineral taste, as it can affect the flavor and clarity of the brine.
See printable recipe card below for the full ingredients list and quantities.
How to make dill pickles
Prepare the jars
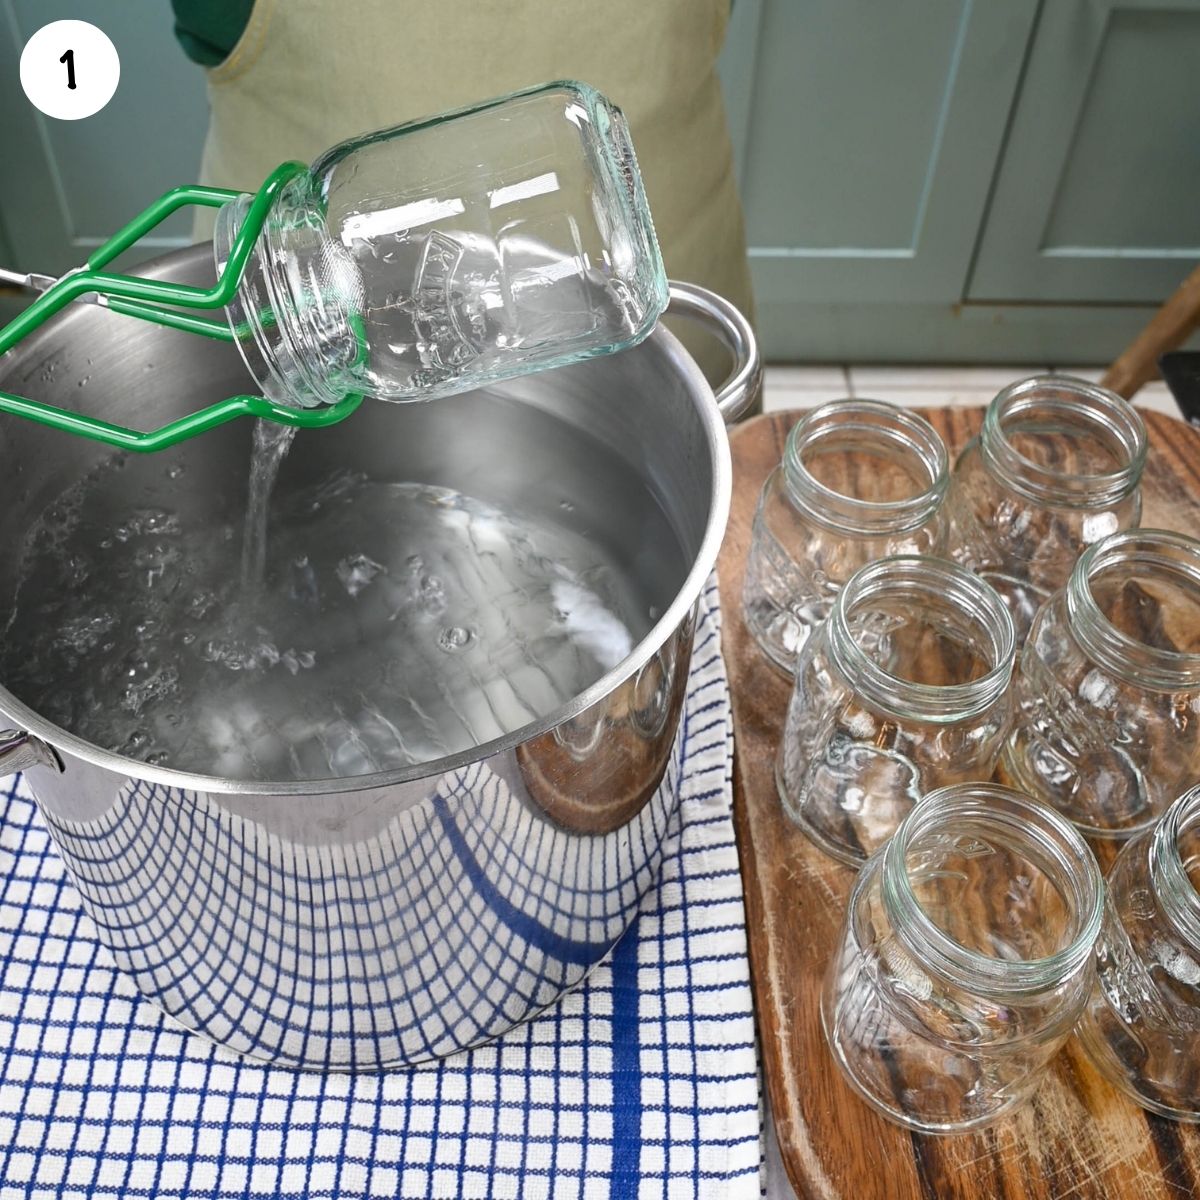
Start by washing your jars, lids, and bands in hot soapy water. If you’re new to canning, see my guide on how to sterilize jars and water bath can for step-by-step instructions. Keep the jars hot until you are ready to fill them, either in a low oven or in hot water. This helps prevent thermal shock when you pour in the hot brine.
Prepare the cucumbers
Wash the cucumbers thoroughly, scrubbing away any soil. Trim about an eighth of an inch from the blossom end of every cucumber. This step matters more than it seems: the blossom end contains natural enzymes that break down firmness over time, so removing it is one of the best things you can do for crisp pickles.
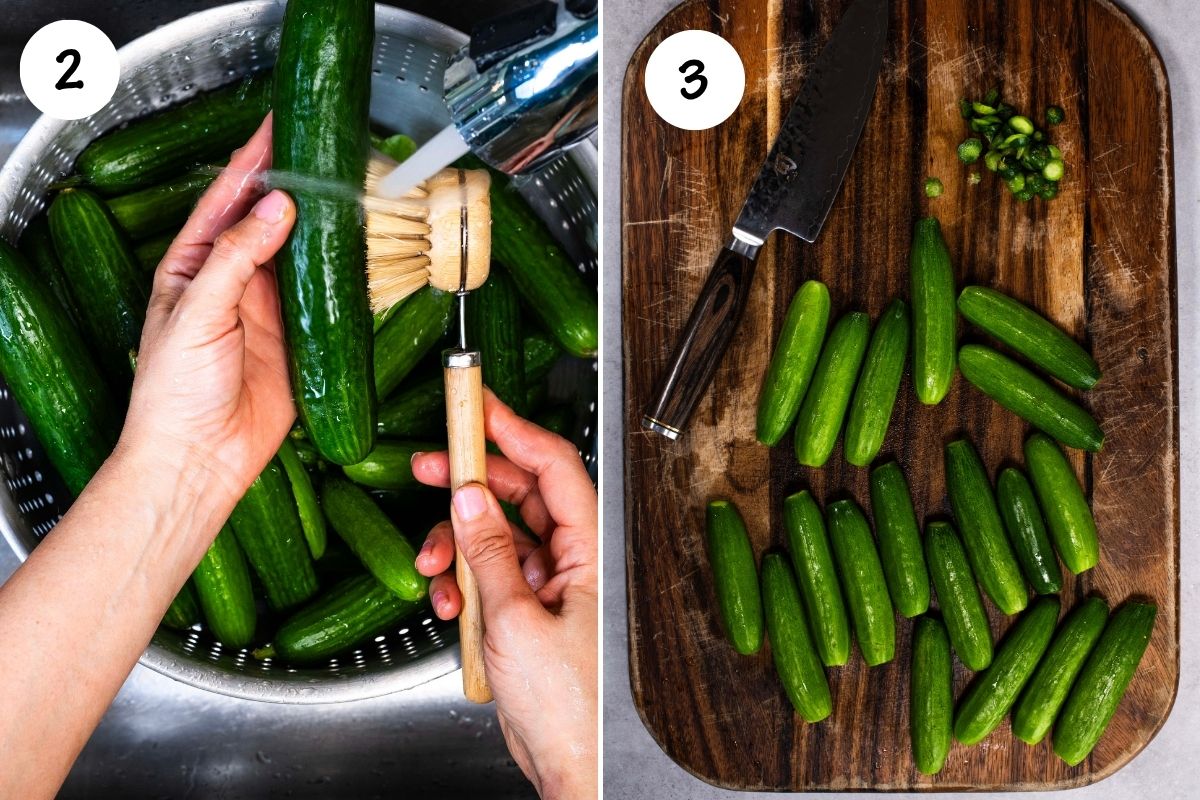
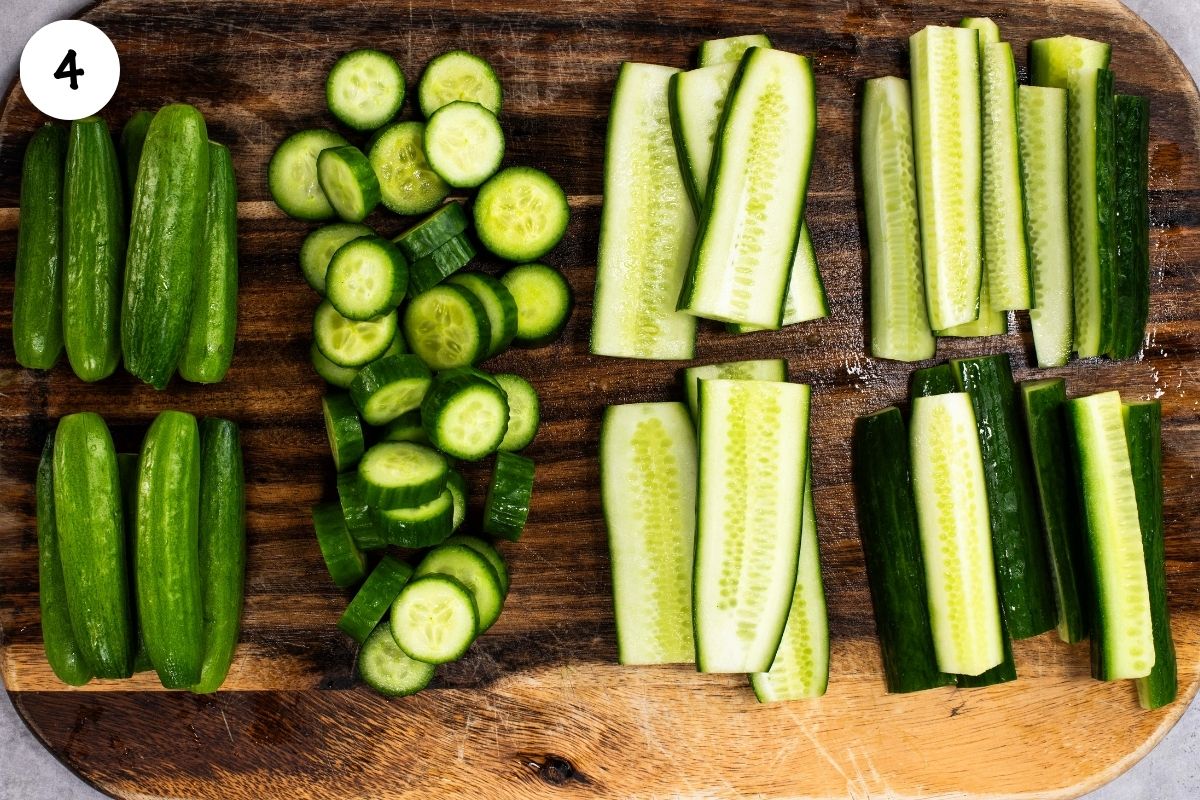
From here, cut them into your preferred shape. Whole small cucumbers and spears hold their texture the longest. Chips and sandwich slices are ready to eat sooner and are great for everyday use.
Make the brine
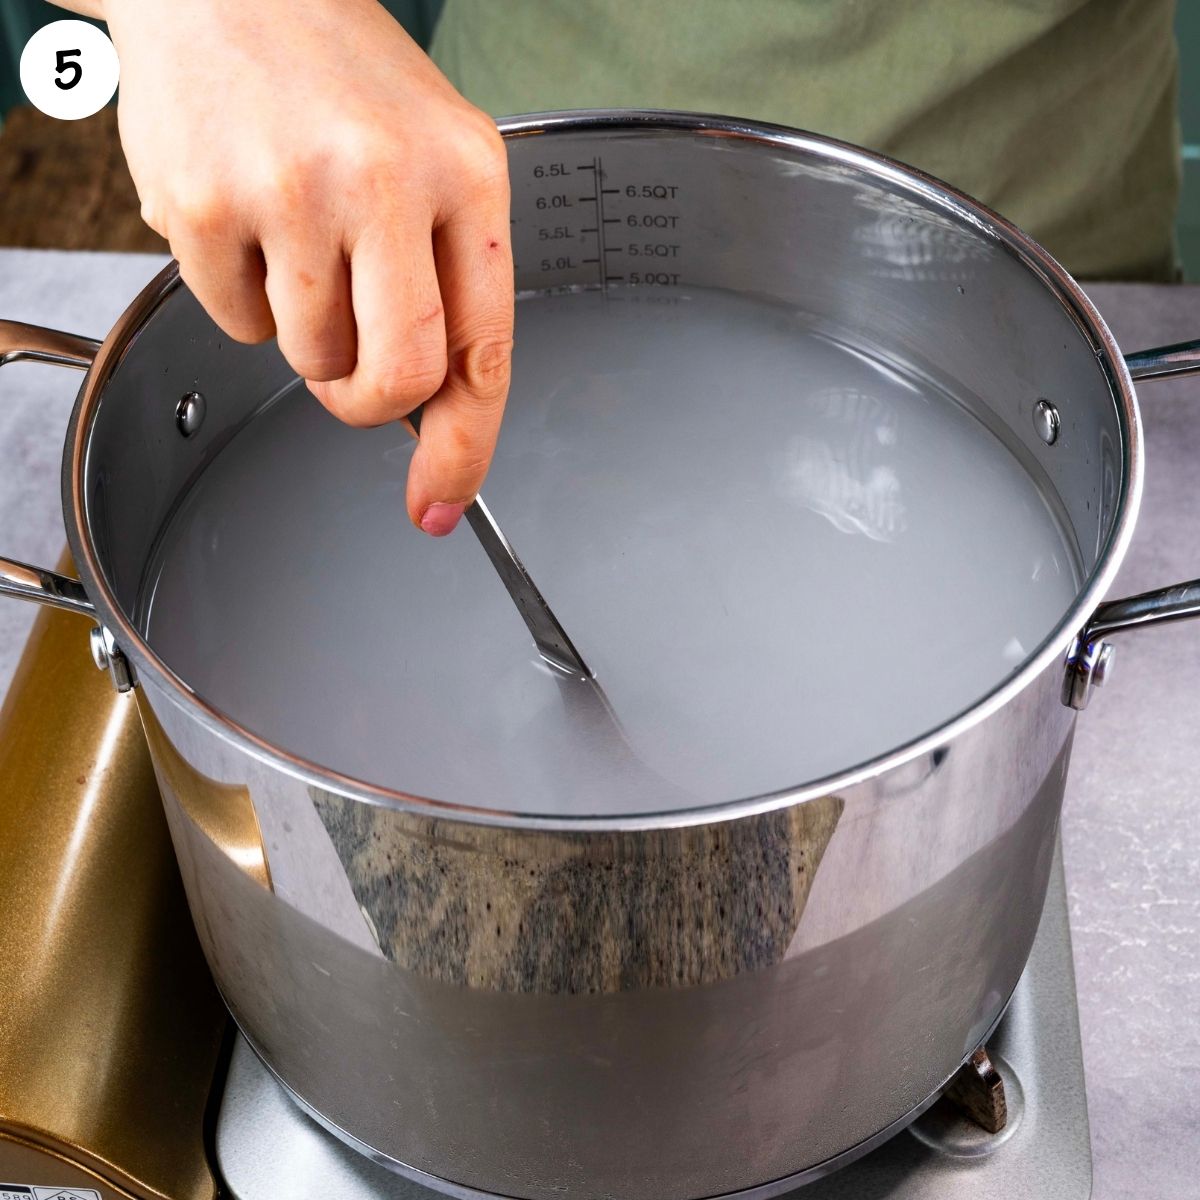
Combine the vinegar, water, pickling salt, and sugar in a large saucepan. Bring to a gentle boil, stirring until the salt and sugar have fully dissolved. Keep the brine hot while you fill the jars.
Fill the jars
Into each hot jar, add the garlic cloves, half a bay leaf, a large sprig of fresh dill, the black peppercorns, and the pink peppercorns if using. Add the Pickle Crisp directly to each jar at this stage. Pack the cucumbers in tightly without crushing them. Tight packing helps prevent the cucumbers from floating up after processing.
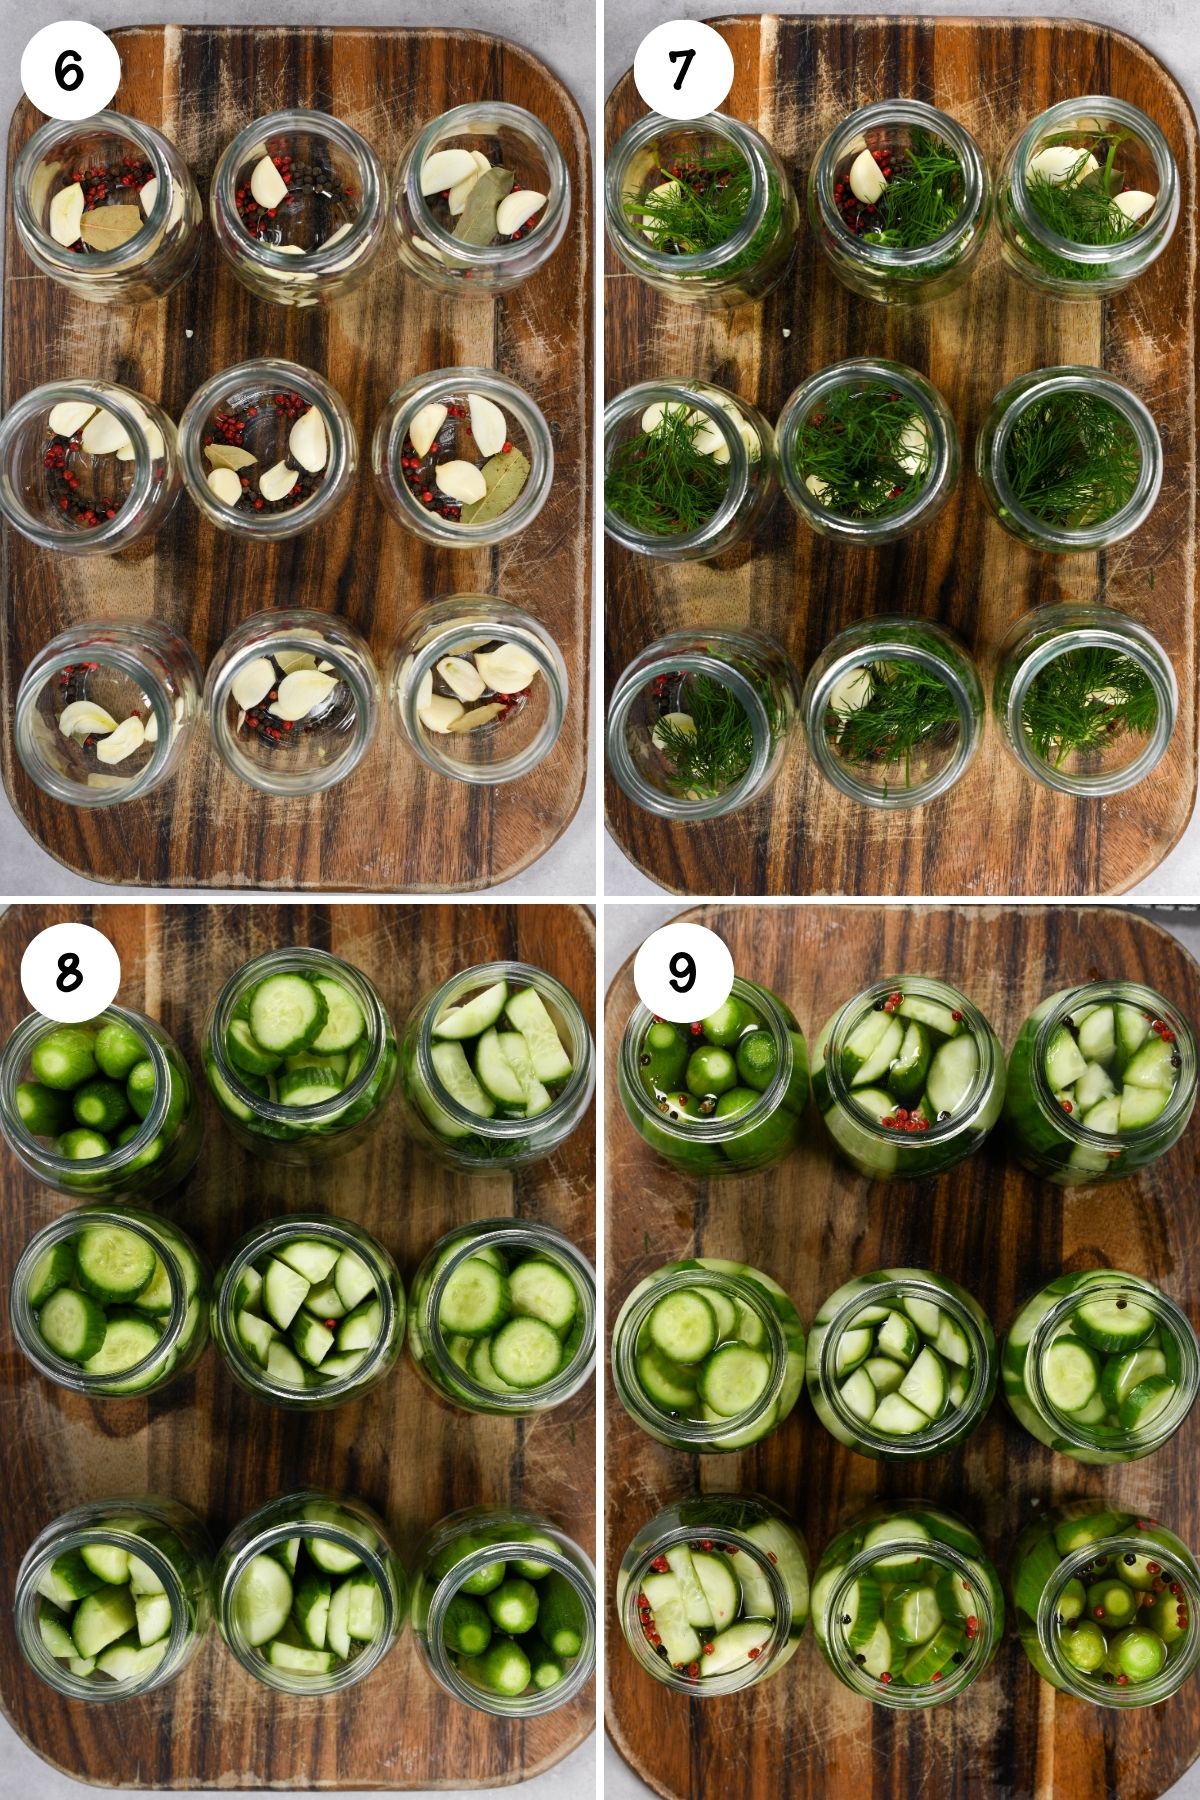
Pour the hot brine over the cucumbers, leaving half an inch of headspace at the top of each jar. Run a thin spatula or bubble remover tool around the inside edge of each jar to release any trapped air bubbles. Wipe the rims clean with a damp cloth, then apply the lids and screw the bands on until just fingertip tight. Do not overtighten.
Water-bath can
Lower the filled jars into your boiling water canner. Make sure they are covered by at least one inch (2.5cm) of water. If you have hard water, add half a cup of white vinegar to the canner water to prevent mineral deposits forming on the outside of the jars.
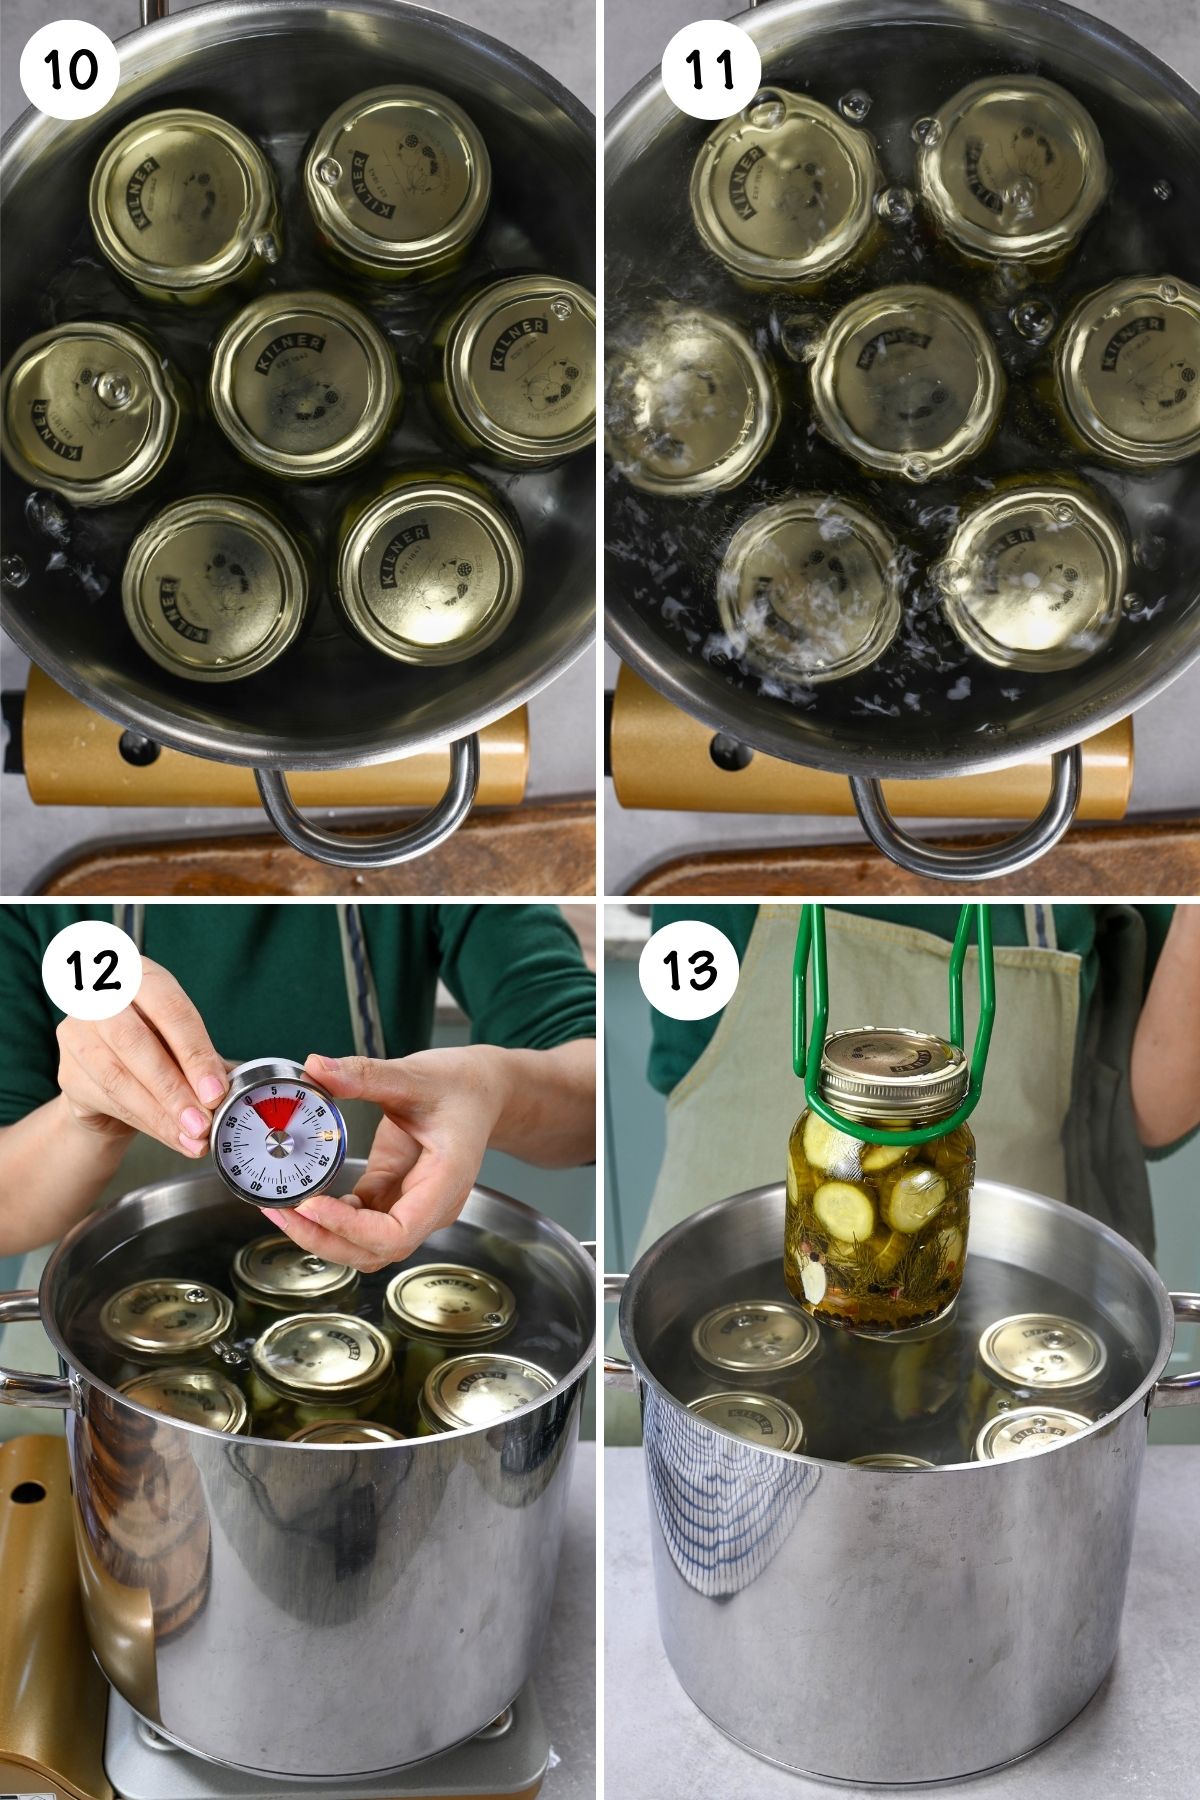
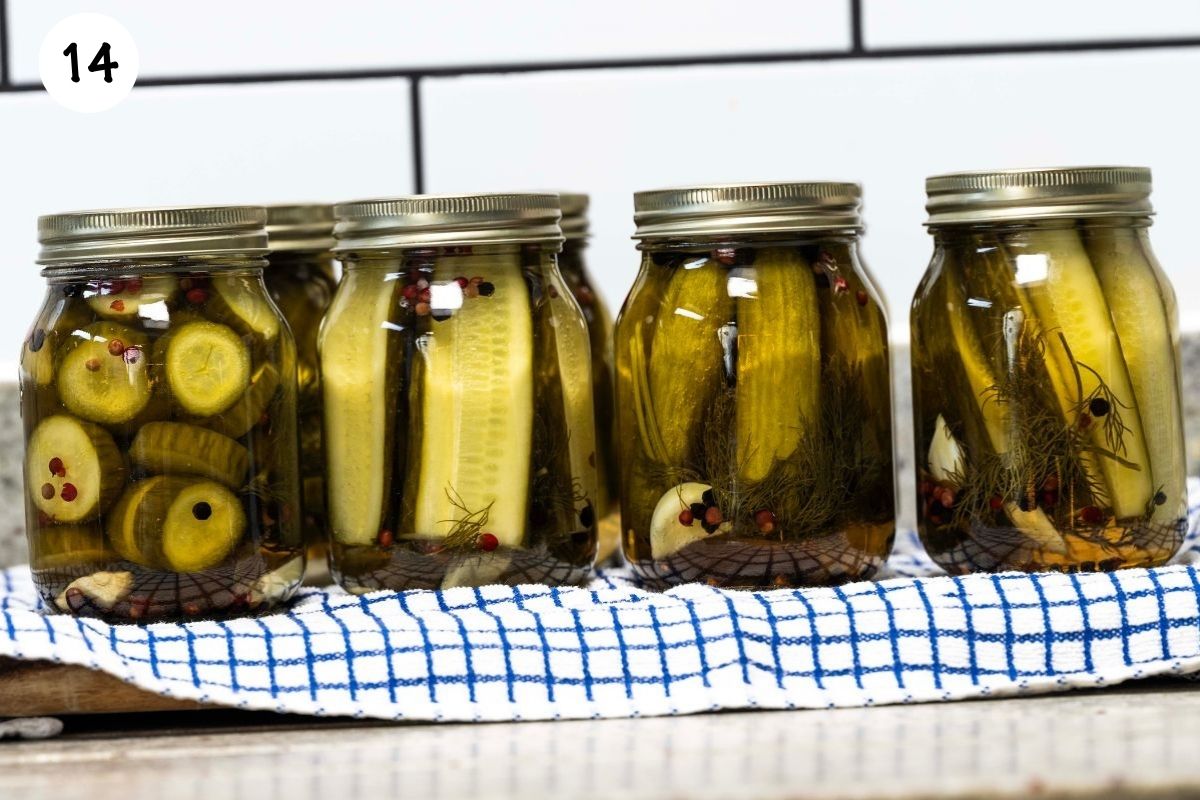
Once the water returns to a full rolling boil, process for 10 minutes, adjusting for altitude if needed. Carefully lift the jars out and place them on a towel-lined counter. Leave them undisturbed for 12-24 hours and check that every lid has sealed before storing.
Recipe notes
- Pickle Crisp® (calcium chloride) is highly recommended for extra-crisp pickles. It helps maintain a firm texture during water-bath canning and is much easier and safer to use than traditional pickling lime.
- Always use pickling salt, not table salt, as it keeps the brine clear and free from additives that can cloud the liquid.
- Use 5% acidity distilled white vinegar. Never reduce the amount of vinegar, as the acidity is essential for safe water-bath canning.
- Removing the blossom end of each cucumber helps prevent soft pickles because it contains natural enzymes that break down firmness.
- For the best texture, use freshly harvested, firm cucumbers and pickle them within 24 hours of harvesting, if possible.
- Pack the cucumbers tightly to prevent them from floating after processing.
- Whole cucumbers, spears, chips, and slices can all be canned using this same brine and processing time.
- Add ½ cup white vinegar to the canning water to help prevent hard-water deposits from forming on the outside of the jars.
- Store sealed jars in a cool, dark place for up to 1 year.
- For the best flavor, allow the pickles to mature for 2-4 weeks before opening.
- Once opened, refrigerate and enjoy within 1-2 months.
Serving suggestions
These homemade dill pickles are one of those condiments that go with just about everything. Serve them alongside burgers, sandwiches, falafel, wraps, grilled meats, or add them to a mezze platter for a fresh, tangy crunch.
They’re delicious tucked into this crispy chicken sandwich, Philly cheesesteak sandwich, or tuna salad sandwich, and make the perfect accompaniment to chicken shish tawook and chicken shawarma. They also add plenty of flavor and crunch to baked falafel, whether served on the side, in pita, or as part of a grain bowl.
Of course, they’re just as good straight from the jar as a quick, crunchy snack.
Storage and shelf life
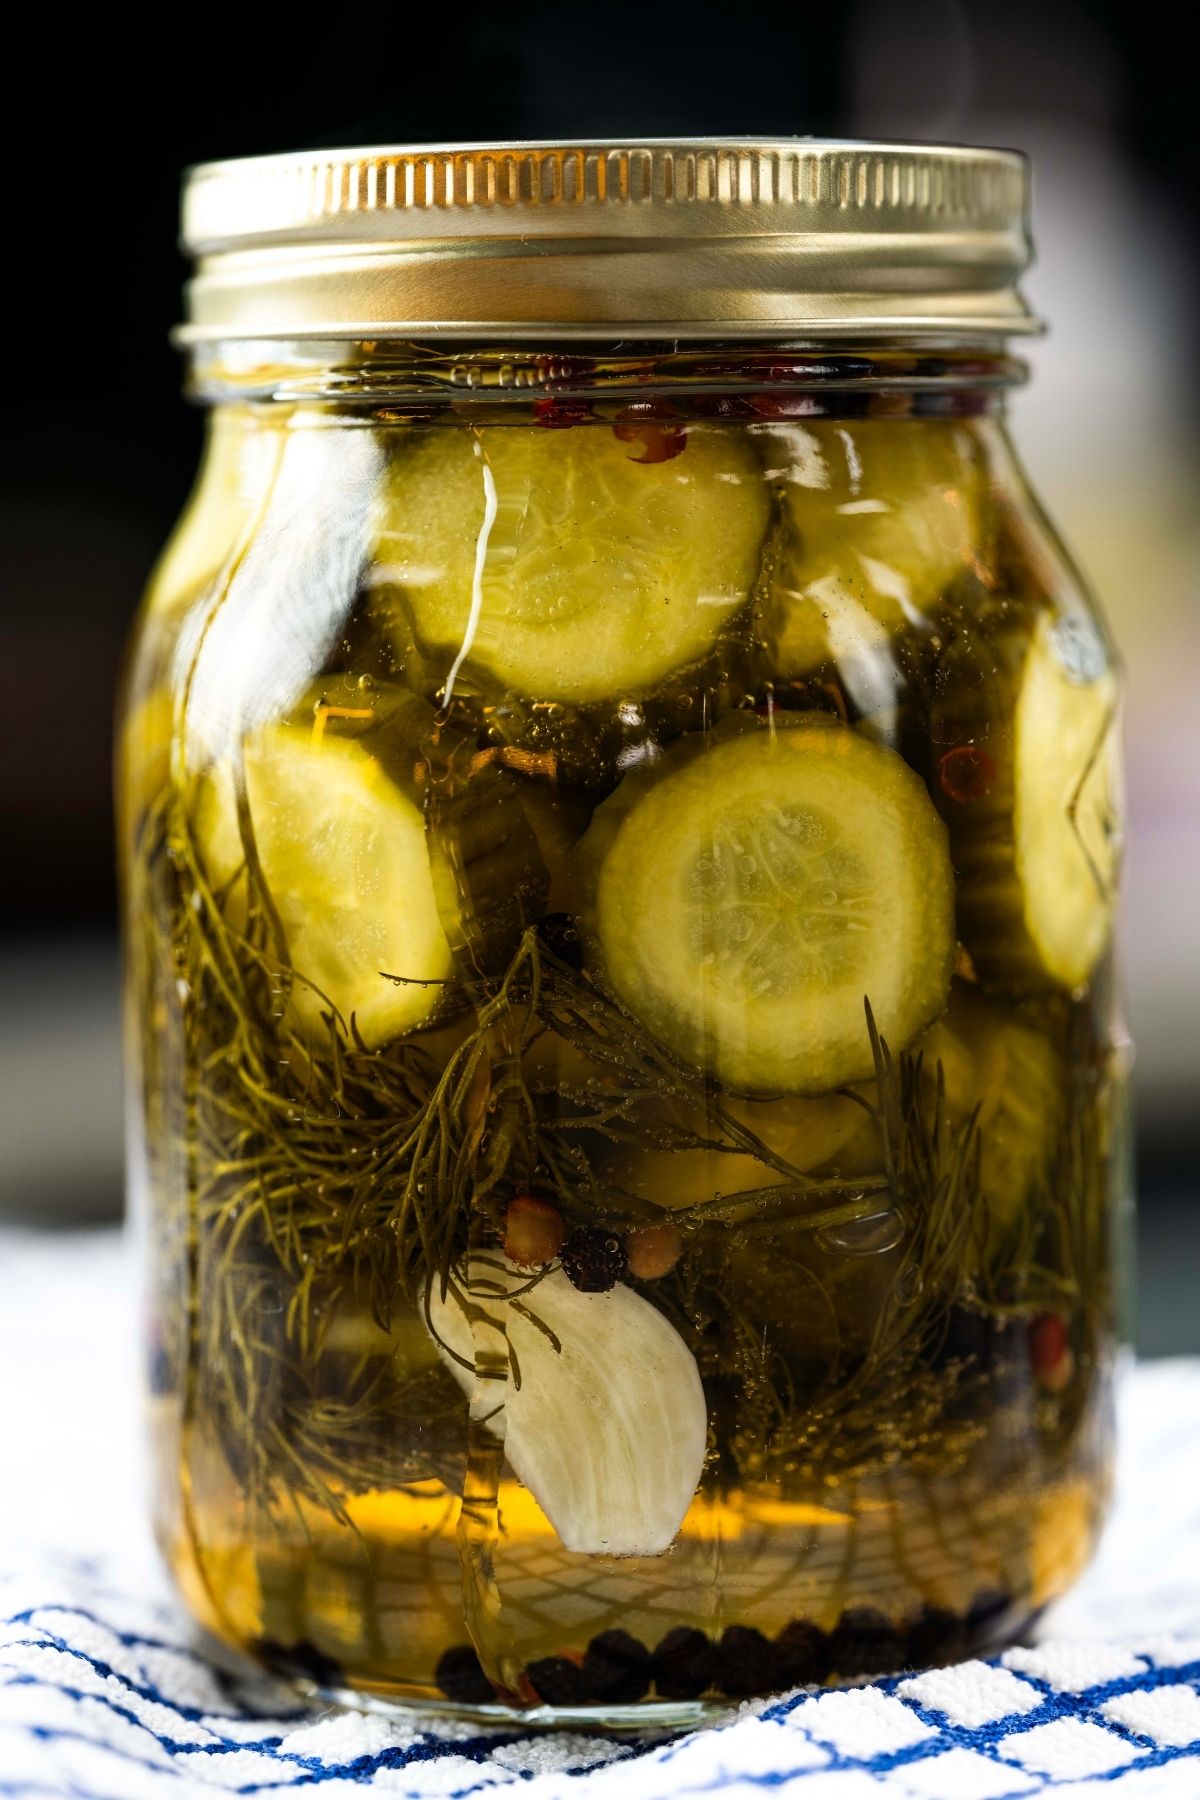
Pantry (sealed jars): Up to 1 year in a cool, dark place
Fridge (after opening): Enjoy within 1-2 months.
Freezer: Not recommended
Best flavor: Allow 2 to 4 weeks of curing before opening.
FAQs
Soft pickles are usually caused by one or more of the following: using older cucumbers that were not freshly harvested, skipping the blossom-end trim, packing the jars too loosely, or not using Pickle Crisp. Using the wrong type of vinegar or reducing the vinegar amount can also affect texture. Start with the freshest cucumbers you can find and trim every blossom end without exception.
Yes, but the texture will not be quite as firm after water bath canning. Pickle Crisp (calcium chloride) is the easiest and safest way to maintain crunch through the canning process. If you skip it, focus on the other crisp-keeping steps: fresh cucumbers, blossom-end trimming, and tight packing.
Absolutely. Whole cucumbers, spears, chips, sandwich slices, and long slices all use the same brine recipe and the same 10-minute processing time. The only difference is how long they take to fully cure. Chips and slices are ready to eat sooner, while whole cucumbers and spears benefit from the full 2 to 4 weeks of curing time.
More pickling recipes to try
If you enjoyed making these, here are a few more pickling projects worth adding to your list.

Classic Canned Dill Pickles
Equipment
- Large stockpot
- Water bath canner
- 9 Canning jars (16 oz)
- Canning funnel
- Bubble remover
- Canning tongs (Jar lifter)
- Magnetic lid wand
- Measuring cups and spoons
Ingredients
Cucumbers and aromatics
- 4 1/2 kg fresh pickling cucumbers or (about 10 lb) small whole or cut into preferred shape
- 27 garlic cloves peeled (3 per jar)
- 4-5 sprigs fresh dill about 1 large sprig per jar
- 5 bay leaves halved (1/2 leaf per jar)
- 4 1/2 teaspoons whole black peppercorns (0.5 teaspoon per jar)
- 2 1/4 teaspoons pink peppercorns optional (0.25 teaspoon per jar)
- 1 1/8 teaspoons Pickle Crisp calcium chloride optional but recommended (1/8 teaspoon per jar)
Pickling brine
- 4 cups distilled white vinegar 5% acidity
- 4 cups water
- 1/2 cup pickling salt
- 1/4 cup granulated white sugar
For the canner
- water enough to cover jars by at least 1 inch
- 1/2 cup distilled white vinegar optional, to reduce mineral deposits on jars
Instructions
- Wash the jars, lids, and bands in hot soapy water. Keep the jars hot until ready to fill.
- Wash the cucumbers thoroughly, scrubbing away any dirt. Trim about 0.125 inch (3mm) from the blossom end of every cucumber. This removes the natural enzymes that cause softening. Leave small cucumbers whole or cut them into spears, round chips, sandwich slices, or long slices.
- Combine the vinegar, water, pickling salt, and sugar in a large saucepan. Bring to a gentle boil, stirring until the salt and sugar have fully dissolved. Keep the brine hot.
- Into each hot 500ml jar, add 3 garlic cloves, 1/2 bay leaf, 1 large sprig of fresh dill, 1/2 teaspoon black peppercorns, 1/4 teaspoon pink peppercorns if using, and 1 1/8 teaspoon Pickle Crisp if using. Pack the cucumbers tightly into each jar without crushing them.
- Pour the hot brine over the cucumbers, leaving 1/2 inch (1 1/4cm) headspace. Run a bubble remover or thin spatula around the inside edge of each jar to release trapped air. Wipe the rims clean. Apply the lids and screw the bands on until fingertip tight only.
- Place the jars into a boiling water canner. Make sure the jars are covered by at least 1 inch of water. Add 1/2 cup white vinegar to the canner water if desired to prevent mineral deposits. Once the water returns to a full boil, process for 10 minutes, adjusting for altitude if necessary.
- Carefully lift the jars out and set them on a towel-lined counter. Leave undisturbed for 12 to 24 hours. Once cooled, check that every lid has sealed by pressing the center. It should feel firm and not flex. Store any unsealed jars in the refrigerator. Store sealed jars in a cool, dark place for up to 1 year. For best flavor, allow the pickles to cure for 2 to 4 weeks before opening. Once opened, refrigerate and use within 1 to 2 months.
Notes
- Pickle Crisp (calcium chloride) is highly recommended for extra-crisp results. It is much easier and safer to use than traditional pickling lime.
- Always use pickling salt, not table salt. Table salt contains additives that cloud the brine.
- Use 5% acidity distilled white vinegar only. Never reduce the vinegar amount, as the correct acidity is required for safe water bath canning.
- Trimming the blossom end of each cucumber is one of the most important steps for preventing soft pickles.
- For the best texture, use freshly harvested cucumbers and pickle them within 24 hours of picking.
- Whole cucumbers, spears, chips, and slices all use the same brine and 10-minute processing time. Chips and slices cure faster than whole cucumbers or spears.
- Servings refer to jars (approximately 9 x 500ml jars).









I love dill pickles, time to make them at home. Thank you for the detailed post – so easy to follow.
I hope you enjoyed them.