
This post may contain affiliate links. Please read our disclosure policy.
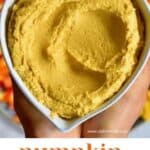


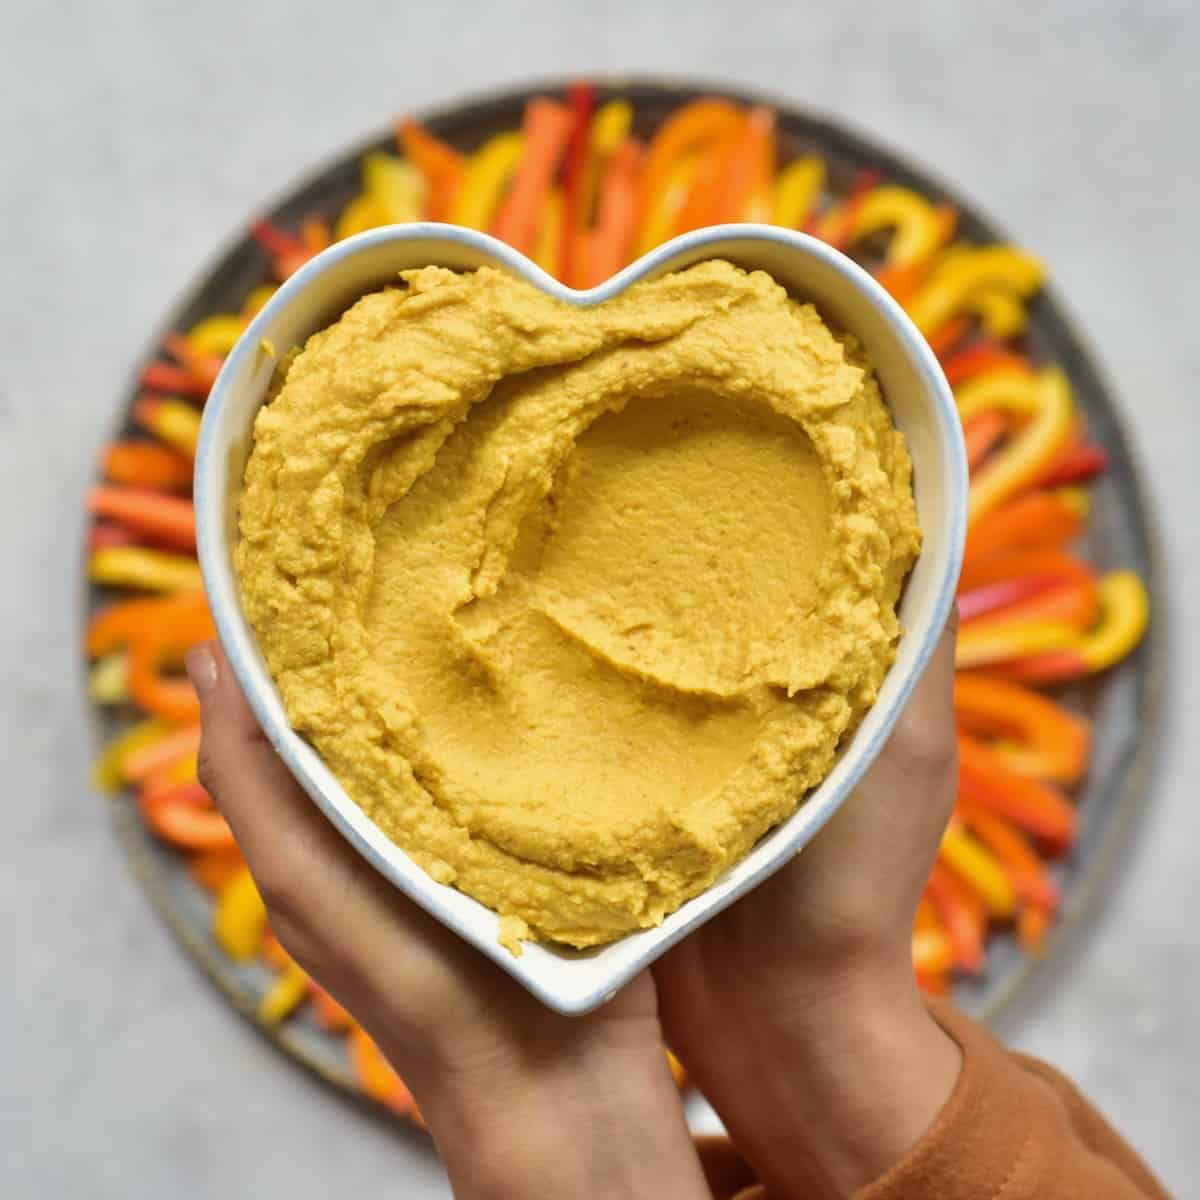
Try this fall-inspired smooth and creamy pumpkin hummus – perfect for a lunchbox snack, potlucks, Halloween or Thanksgiving celebrations, and more!
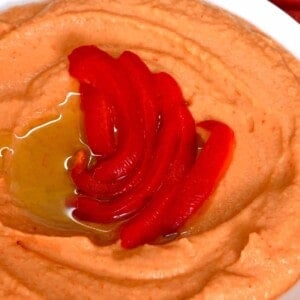
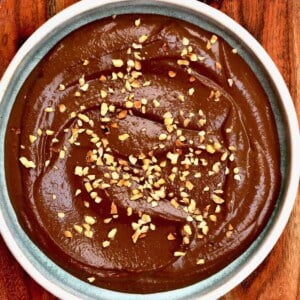
To say that I’m hummus-obsessed would be an understatement. Along with making the most perfect creamy hummus, I’ve also shared several other hummus versions—beet hummus, basil hummus, roasted red pepper hummus, and even chocolate hummus.
So, it’s time to get this autumnal ingredient in on the action for pumpkin season. This pumpkin hummus recipe is incredibly simple and takes just minutes to blend into creamy, smooth, autumnal perfection!
Serve it as a snack or appetizer and decorate your Halloween or Thanksgiving table with it – everyone will love it.
Want to save this recipe?
Watch how to make it
Ingredients
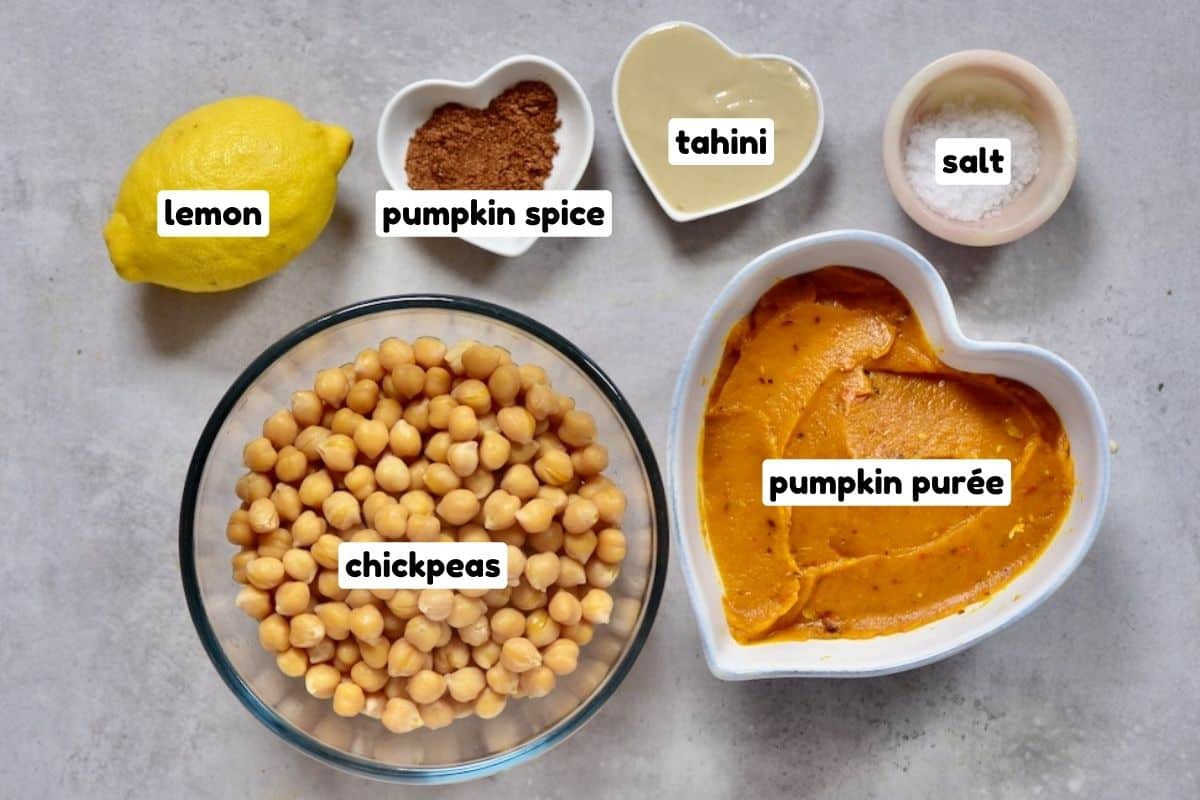
- Chickpeas: Use either canned or home-cooked chickpeas.
- Pumpkin purée: You can use homemade or canned pumpkin puree (make sure to use plain pumpkin, not pumpkin pie filling) or roasted pumpkin.
- Tahini: Use homemade tahini or store-bought (make sure you like the flavor of the brand you choose).
- Lemon juice:
- Sea salt
- Seasoning: For this version, I love adding pumpkin spice (it works!). However, you can stick to more classic savory flavorings: garlic, ground cumin, and a pinch of paprika and/or cayenne pepper.
How to make pumpkin hummus
The first step is to cook the chickpeas and to prepare the pumpkin puree or roasted pumpkin. You are ready to go if you use canned pumpkin puree and canned chickpeas.
Add all of the ingredients to your food processor and blend until you achieve a smooth and creamy texture. I recommend stopping the machine a couple of times to scrape down the sides and ensure everything is evenly pureed. Use a little ice water (1 Tbsp at a time) to achieve the correct consistency.
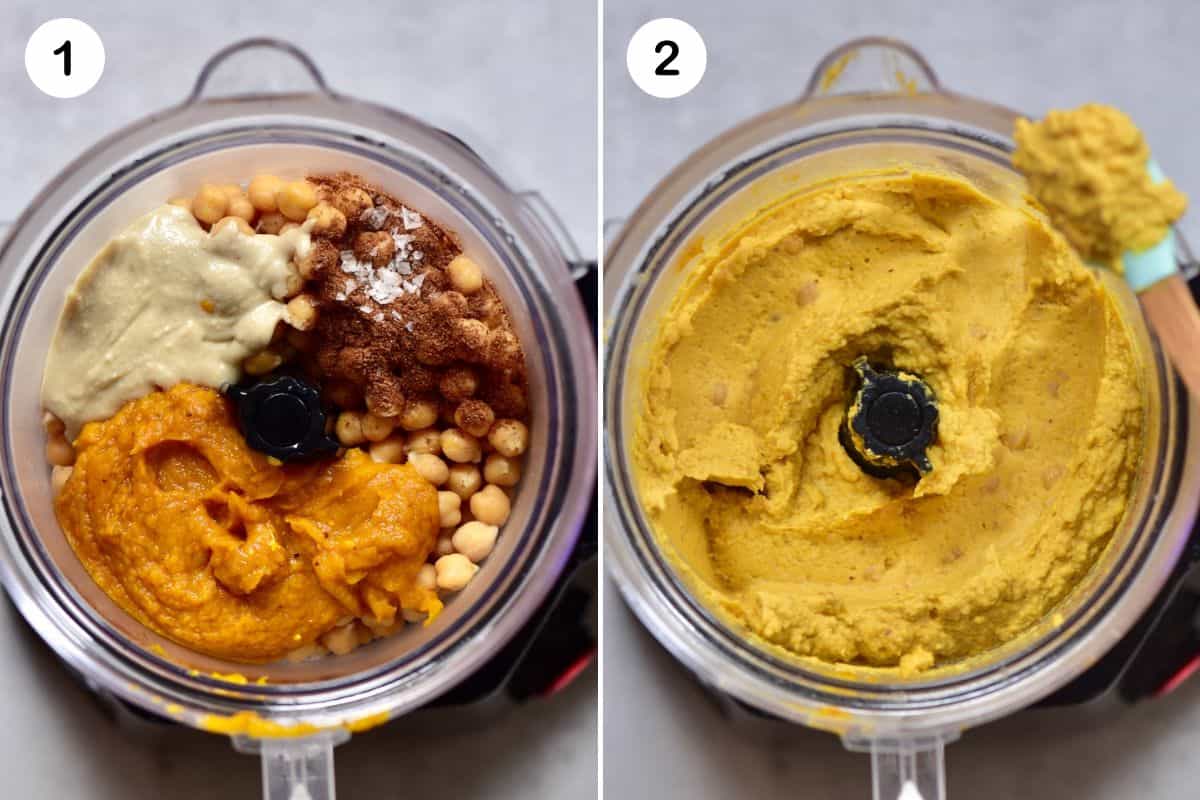
Once the savory pumpkin hummus is smooth, taste test and adjust any of the seasonings to your liking. You can then either enjoy it immediately or, for even better flavor, allow it to chill for at least two hours for the flavors to meld and develop!
How to serve
This is a delicious pumpkin dip and can be served with the toppings of your choice:
- Crudites: I love dipping chopped veggies like carrots, celery, bell peppers, cucumbers, etc.
- Crackers: It’s great with these seed crackers, regular crackers, or even pita chips.
- Bread – pita bread or fluffy Greek pita. It also works with other flatbreads like naan or manakish.
- Olive oil: Drizzle extra virgin olive oil over the dip when serving.
- As a spread: for sandwiches, wraps, toast, and more.
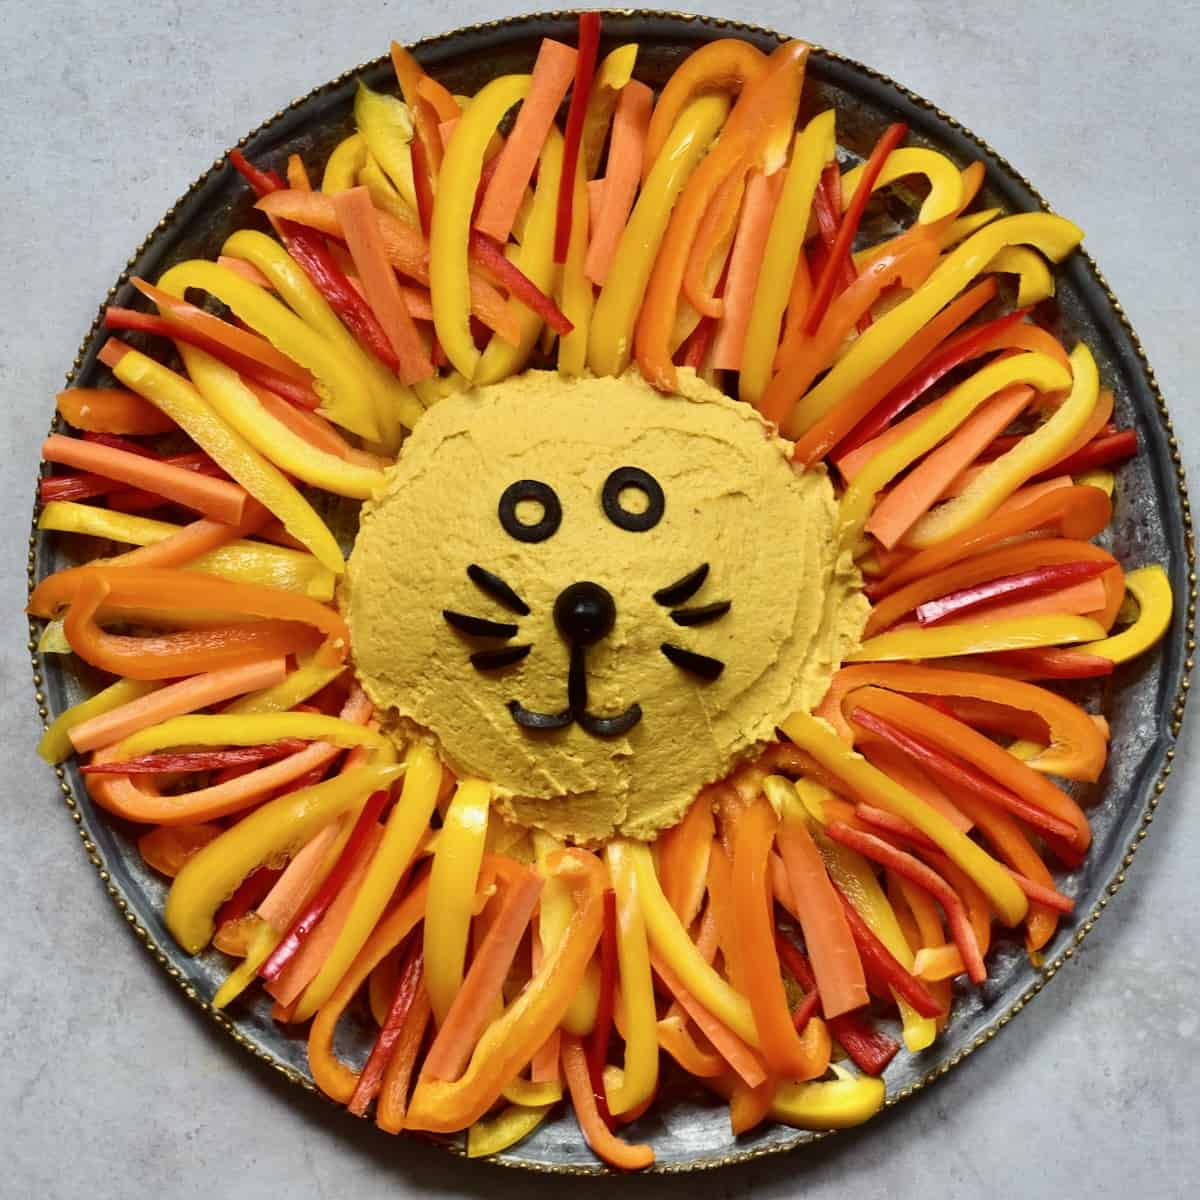
You could also make a fun lion platter using red, orange, and yellow bell peppers! You will surprise all your guests on Halloween.
More delicious hummus recipes

If you try this pumpkin hummus recipe, let me know how it goes in the comments below. I’d appreciate a recipe card rating and would love to see your recipe recreations – tag me on Instagram @Alphafoodie!

Savory Pumpkin Hummus
Equipment
Ingredients
Savory Pumpkin Hummus
- 1.5 cups cooked chickpeas or 1 15oz can chickpeas
- 1 cup pumpkin puree homemade or canned
- 3 Tbsp tahini
- 1/2 tsp pumpkin pie spice adjust the amount to taste
- 1/8 tsp salt
- 3 Tbsp lemon juice from 1 lemon – adjust to taste
Instructions
- Add all of the ingredients to your food processor and blend until smooth and creamy. Stop the machine a couple of times to scrape down the sides and ensure everything is evenly pureed.If needed, add a little ice water (1 Tbsp at a time) to achieve the correct consistency.
- Taste test and adjust any of the seasonings if wanted. Then serve and enjoy, or allow it to chill for a couple of hours for the flavors to meld and develop!
Video
Notes
Nutrition
Nutrition information is automatically calculated, so should only be used as an approximation.


