
This post may contain affiliate links. Please read our disclosure policy.
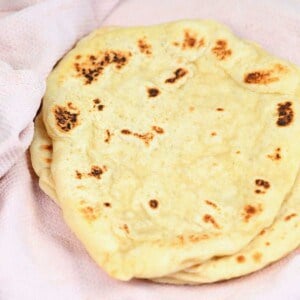
Combine five ingredients to make easy homemade pita bread, a recipe so easy to put together that you’ll never go back to store-bought pita again!
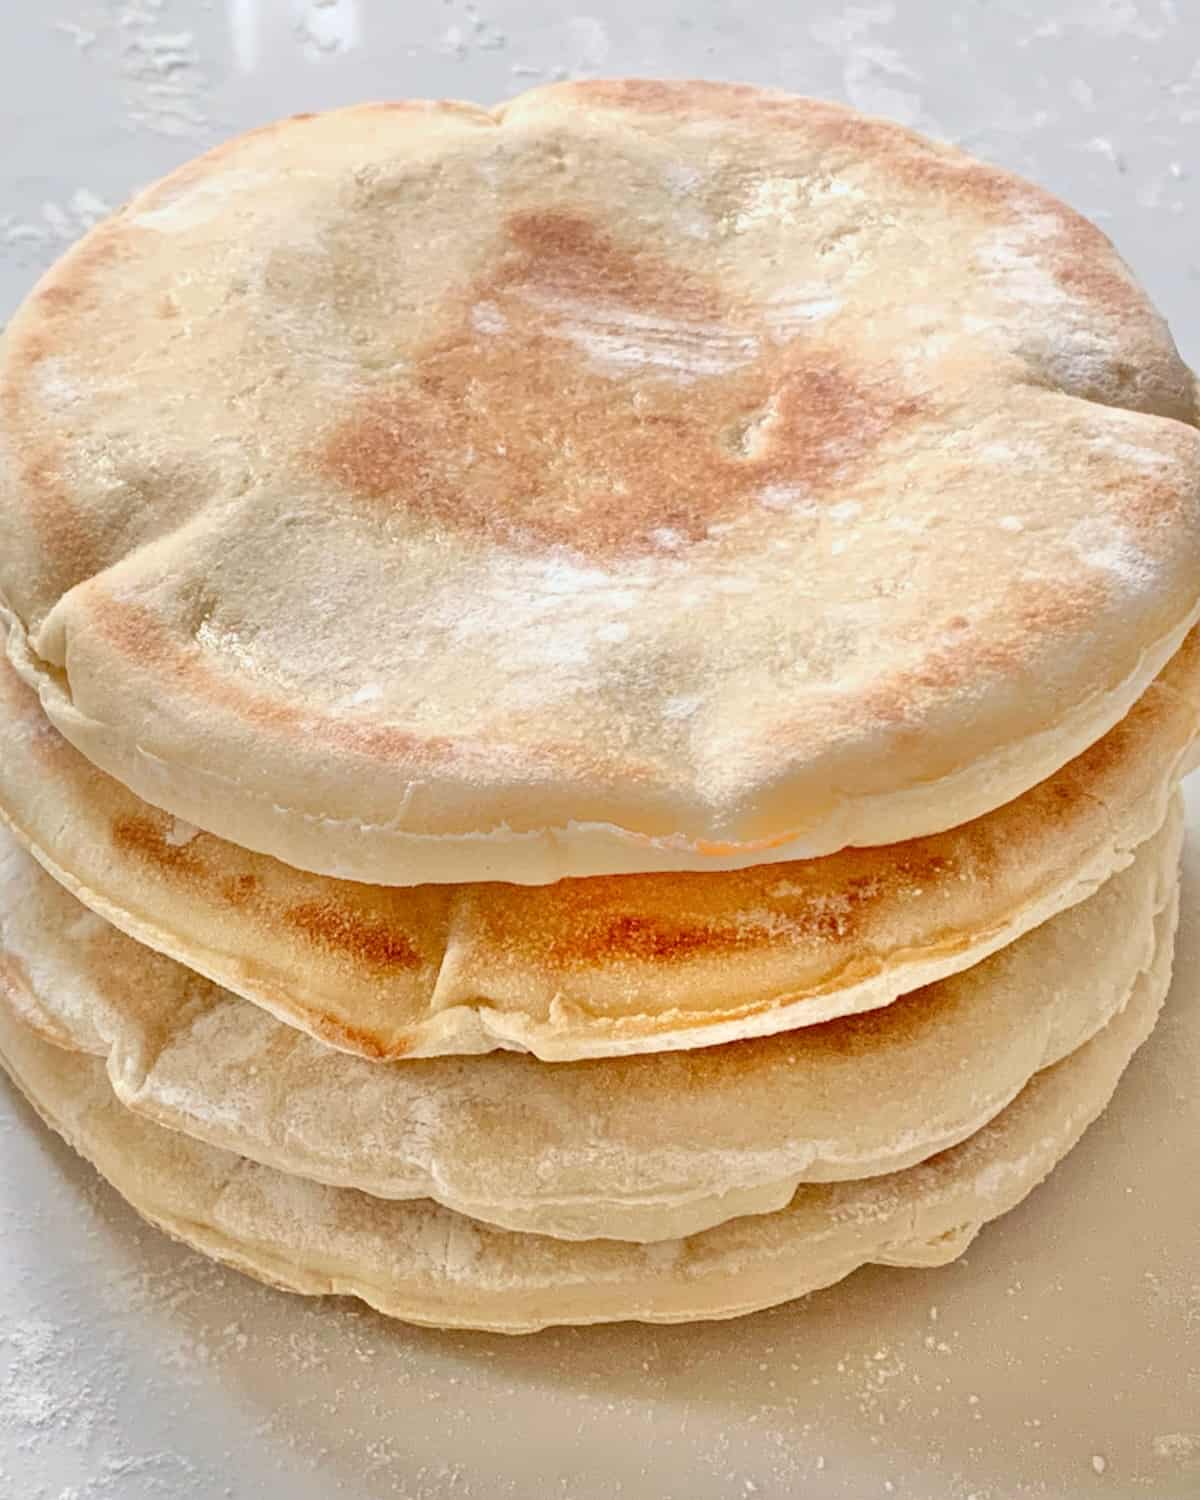
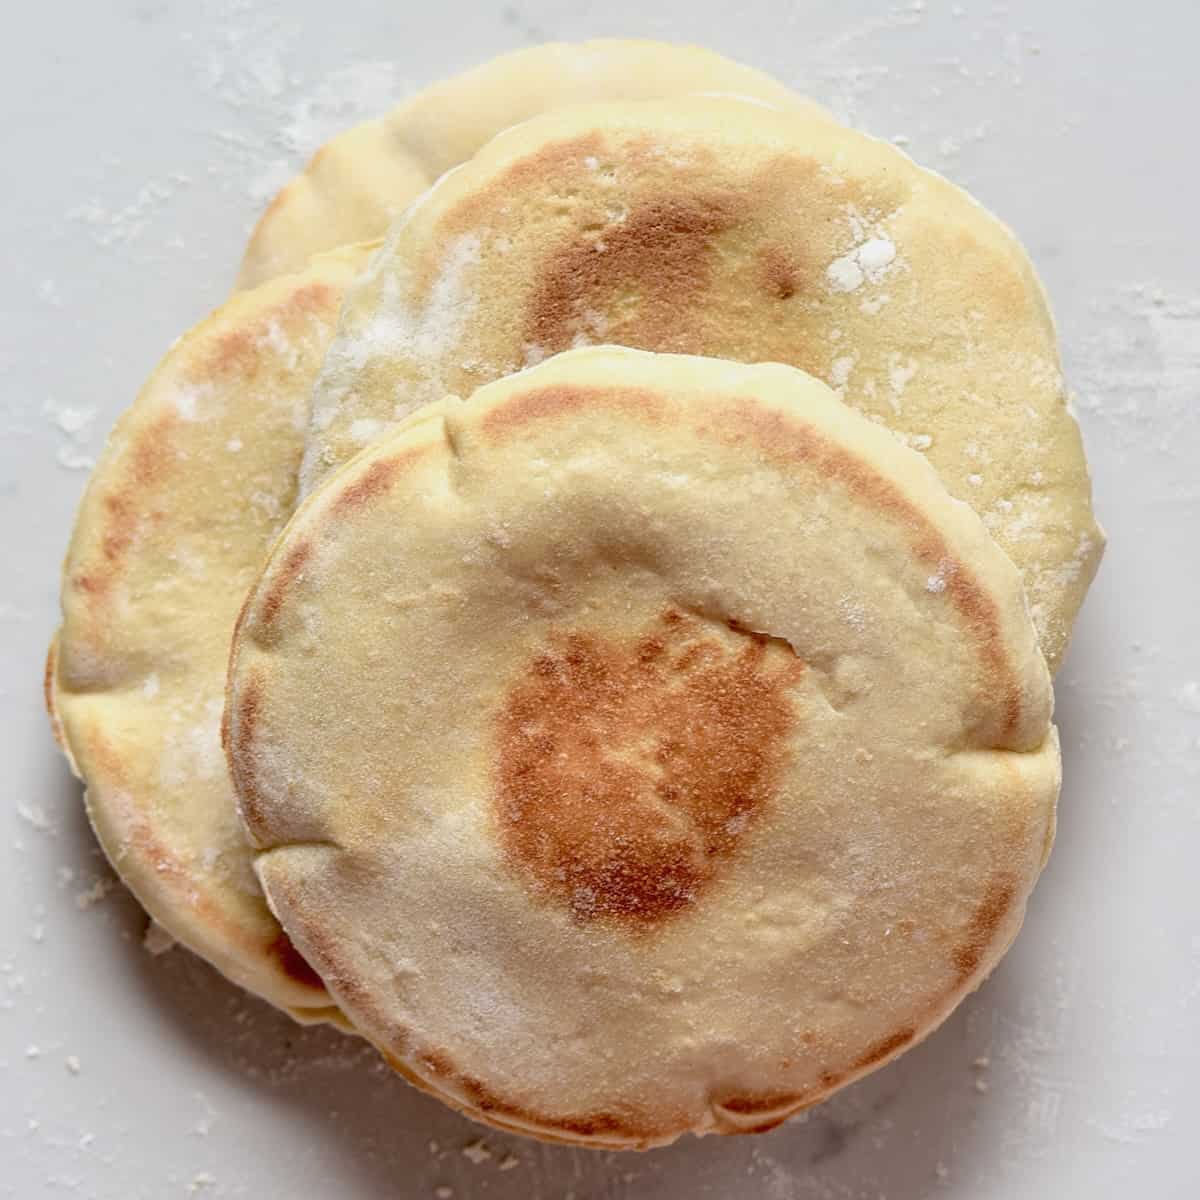
Homemade pita bread is a staple flatbread for me. This versatile, pillowy-soft bread has so many uses and is so easy to bake. With just a handful of ingredients and a little bit of oven magic, you’ll get chewy, simple-to-make pita bread better than anything you might buy. It’s also the perfect recipe for beginners to try out their bread skills.
Want to save this recipe?
Watch the pita bread tutorial video
Ingredients
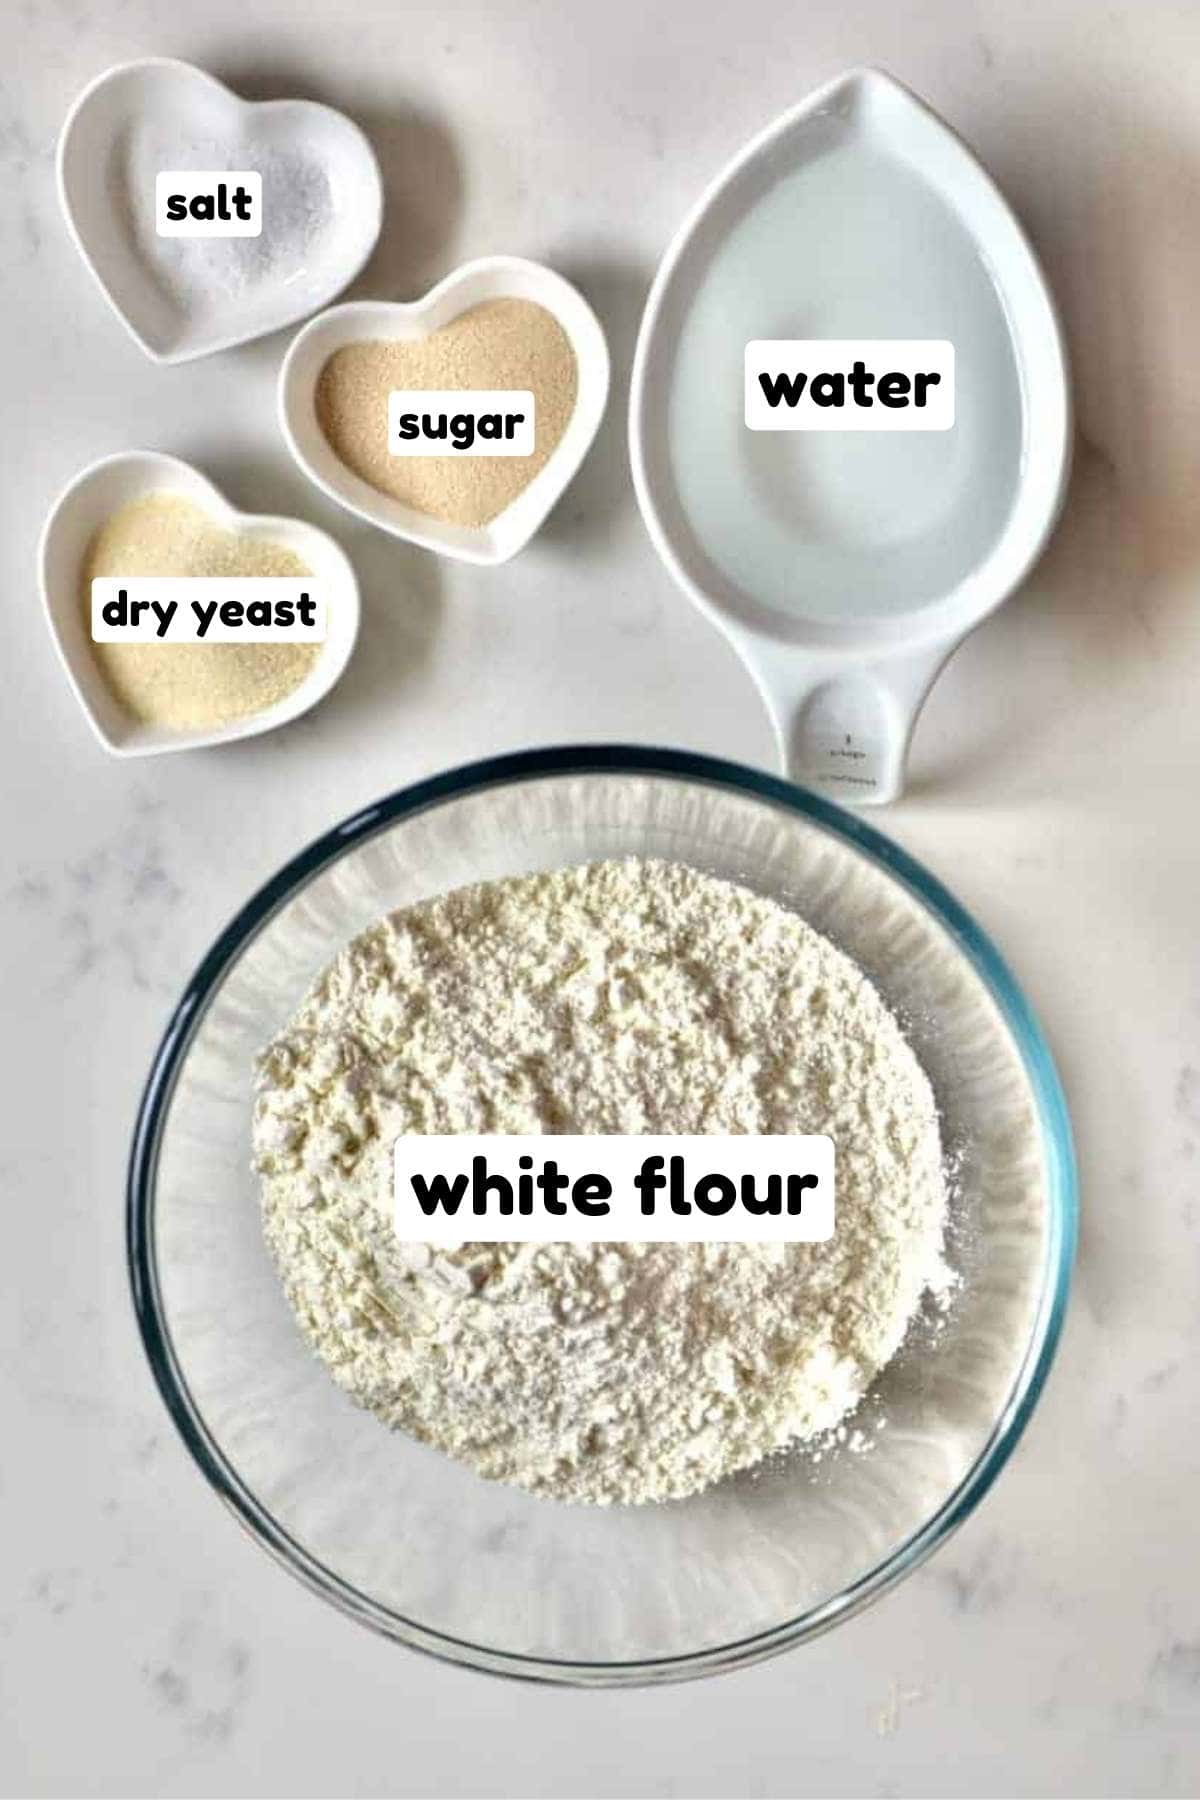
- White Flour: All-purpose flour works best for soft, chewy pita bread.
- Dry Yeast: You can also use dry instant yeast; just skip the activation step before making your dough.
- Salt
- Warm Water: Aim for a temperature between 105°-115°F/40°-45°C – too hot and the water will kill the yeast; too cool and it won’t activate properly.
- Sugar (Optional)
How to make easy homemade pita bread
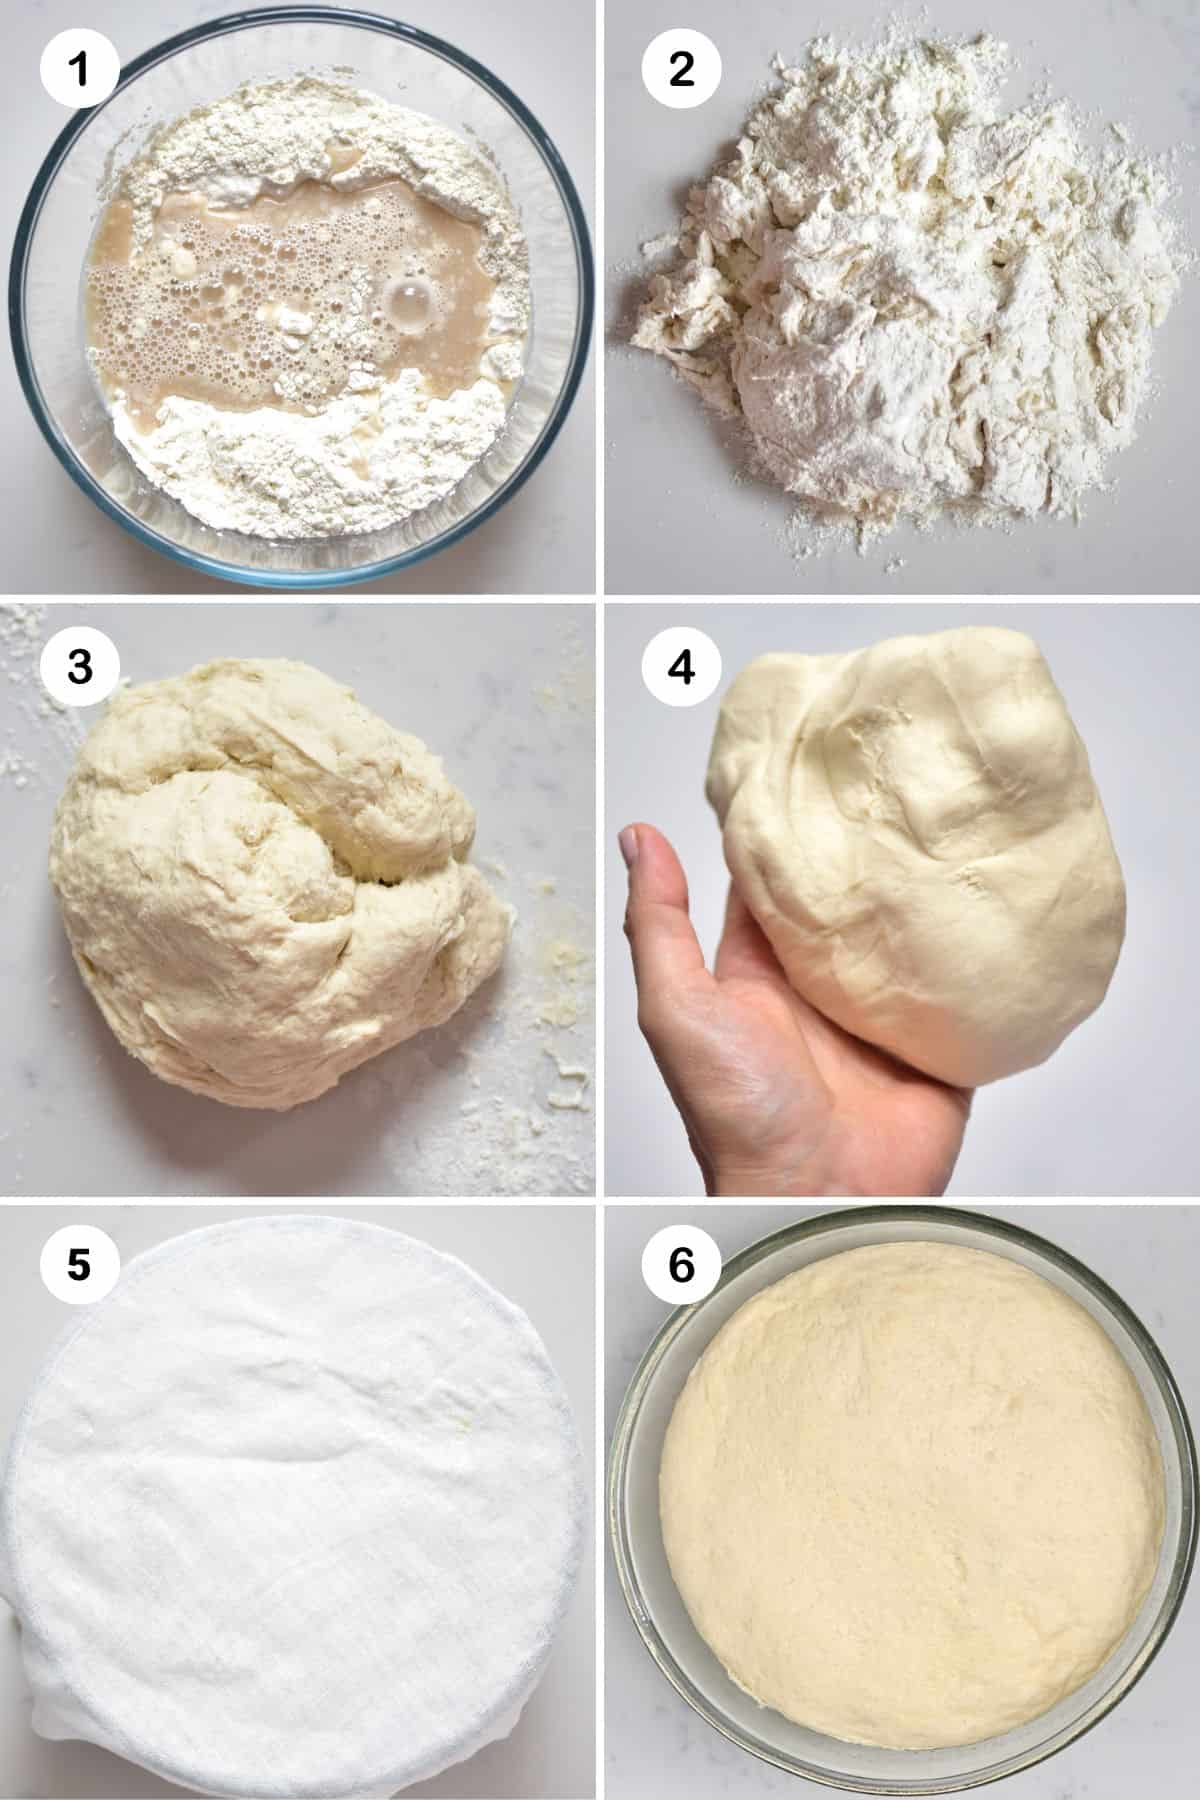
Prepare the Yeast Mixture: In a small bowl, add the yeast, sugar, and warm water, then let it rest for a few minutes. The mixture should form a foamy top with bubbles. Depending on the temperature of the water and the room, activation will take 10-15 minutes.
Make The Pita Dough: Meanwhile, mix the flour and salt in a large mixing bowl. Add the activated yeast and stir with a wooden spoon until a sticky dough begins to form.
Knead The Dough: Tip the dough onto a lightly floured work surface and knead until it becomes smooth and elastic. You can also use a dough hook attachment in the bowl of a stand mixer.
Allow The Dough To Rise: Place the dough in a large bowl. With wet hands, moisten the top of the dough with a little water or olive oil, then cover with a kitchen towel and allow to rise in a warm place for an hour or until doubled in size.
Divide The Dough: Cut the dough into four equal parts for large homemade pita bread or eight parts for smaller-sized ones. Then, shape the sections into balls.
Shape The Pita Bread: On a floured surface, use a rolling pin to roll out the pita bread to ¼ inch thickness. To make a perfect circle, you can use a bowl/plate to cut out the dough. Or leave it as is if you don’t mind a more “rustic” look. Place the rolled-out bread on a floured baking sheet, cover it with a slightly damp cloth, and allow it to rest for 30 minutes.

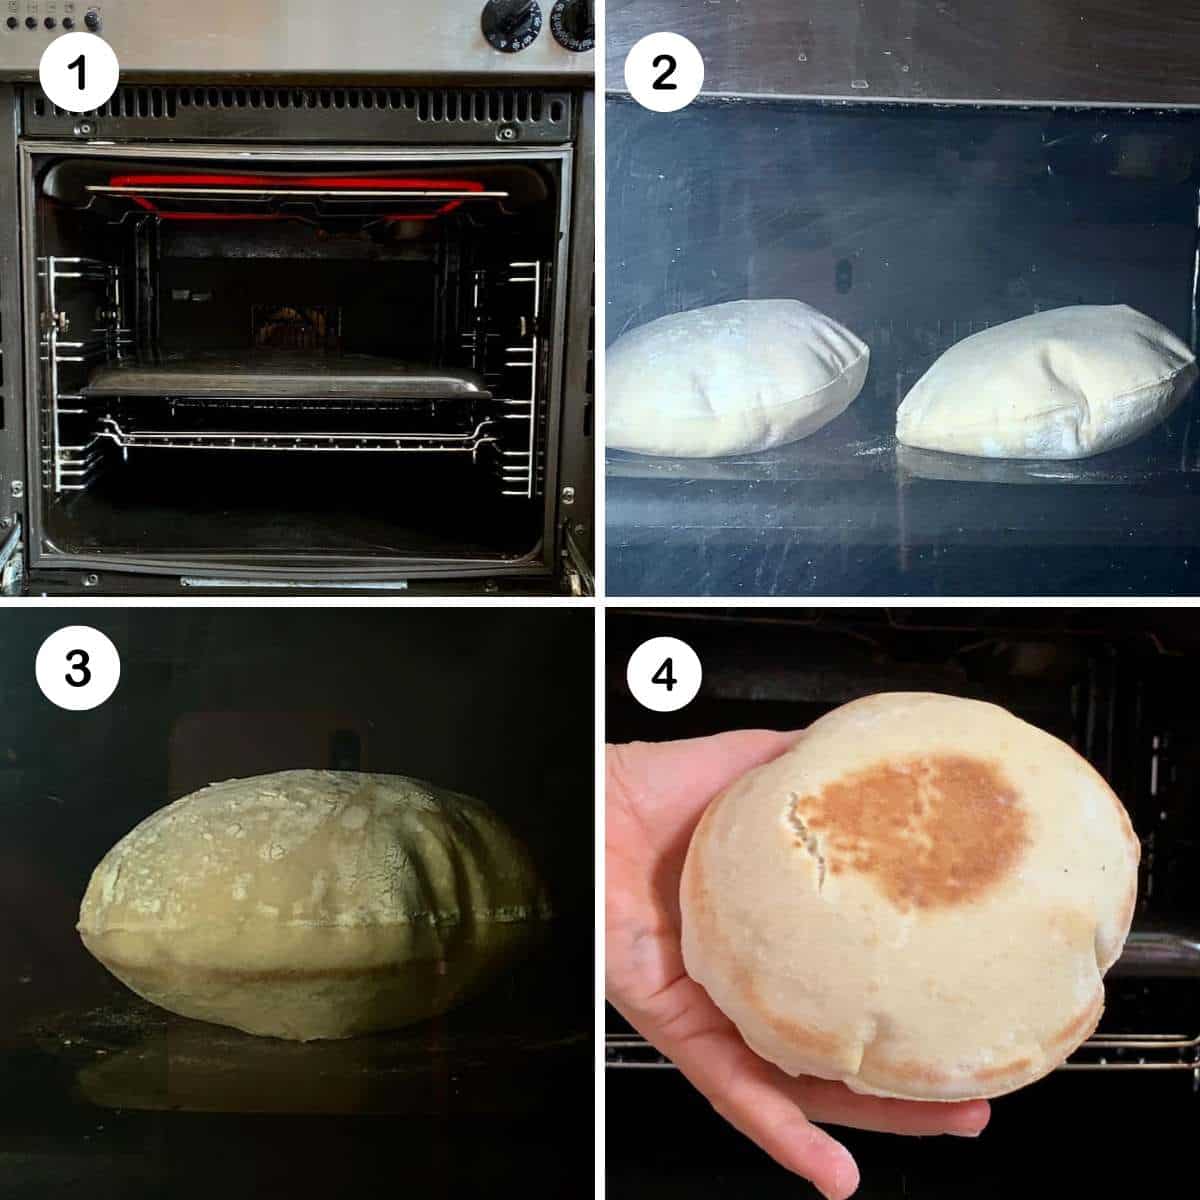
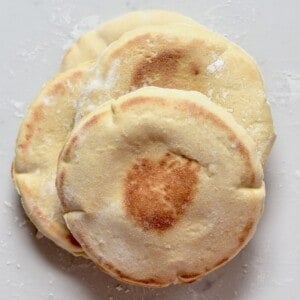
Bake The Pitas: Place a clean baking tray upside down in the middle of the oven and preheat to 480°F/250ºC so the tray heats up. Then, carefully place each raw pita on the inverted pan and cook for 3-4 minutes. If you have larger pita bread, do this in batches. Your pita should puff up quickly and develop a brownish color when cooked through.
Cool The Pitas: Remove the homemade pita bread from the oven and cover immediately with a dry cloth. This will keep the pita soft and prevent it from crisping up. Enjoy!
Ways to use it
- Replace wraps with these homemade pita bread to enjoy delicious authentic falafel, chicken shawarma, shish tawook, or homemade hummus for an authentic taste of Middle Eastern cuisine.
- Slice your fresh pita bread into pieces and air fry to make your own easy pita chips.
- These are also perfect for dipping and scooping up delicious soups and stews such as red lentil soup and fasolia butter bean stew, as well as enjoying as part of a mezze with tzatziki sauce or tahini.
- Pita bread forms a pocket when opened, and making your own pita pockets is so easy—just fill them with za’atar spice and extra virgin olive oil or stuff them with your favorite proteins and veggies for a delicious lunch option. You can also make Lebanese meat-stuffed pitas.
Pita bread FAQs
Yes! Once your dough has risen, transfer it to the fridge and keep it until you’re ready to cook your pita bread. It should keep for up to a week, but it’s best used within a few days of making.
It’s likely that your oven wasn’t hot enough. A hot oven is the key to getting a perfectly puffy pita, so make sure you preheat properly with the baking tray inside as the oven heats up.
Simply replace the standard white flour with a gluten-free all-purpose flour to make a delicious gluten-free pita bread.
Storage instructions
To store: Allow the pita bread to cool completely before storing. Keep them in an airtight bag or container at room temperature for 2-3 days and warm in the oven or the microwave for a few minutes to enjoy.
To freeze: You can also freeze your pita bread. Once cooled, place it in Ziplock bags, pushing all of the air out before transferring it to the freezer, where it’ll keep for up to three months. If you’re storing multiple pitas in one bag, use a layer of parchment paper or wax paper between each one. Then, warm it in the oven from frozen to enjoy.
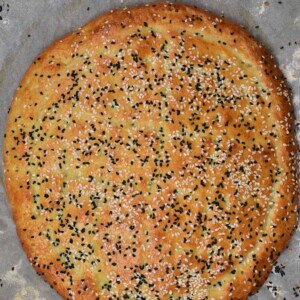
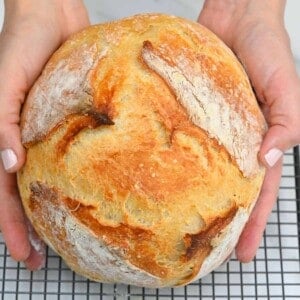
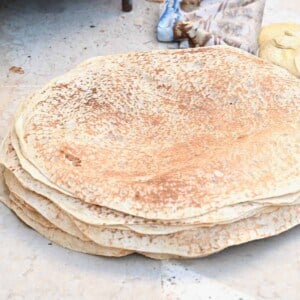
More Bread Recipes
If you try this homemade pita bread recipe, let me know how it goes in the comments below. I’d appreciate a recipe card rating and would love to see your recreations – tag me on Instagram @Alphafoodie!
Easy Homemade Pita Bread Recipe
Ingredients
- 2 cups white flour 250 grams
- 2 tsp dry yeast 7 grams
- 1/2 tsp salt
- 3/4 cup warm water
- 1 tBsp sugar optional
Instructions
Make The Dough
- In a small bowl, combine the yeast and water. Leave to activate for 10-15 minutes. It should have a foamy top and bubbles.
- In a large mixing bowl, combine the flour and salt, then add the yeast mix and mix until it starts to form a dough.
- Tip the dough onto a floured work surface and knead until smooth and soft. You can also use the dough hook on a stand mixer.
- Once the dough is soft and elastic, transfer it to a bowl and wet the top with olive oil or water. Cover and leave to proof for 1 hour or until doubled in size.
Shape
- Cut the dough into equal portions—four parts for a large pita or eight for a smaller ones.
- Shape into balls, then roll out to 1/4 inch thickness. Optionally, use a bowl or plate to cut out the dough. Or leave it as is for a more “rustic” look.
- Put the rolled-out pita on a floured baking tray, cover, and prove for a further 30 minutes.
Bake
- Put a baking tray upside down in the center of the oven, then preheat to 480°F/250ºC.
- Place the pita onto the hot tray—do this in batches. Bake for 3-4 minutes. The pita bread will puff up and start to gently brown.
- Remove from the oven and cover immediately with a kitchen towel to prevent them from crisping up.
Video
Notes
Nutrition
Nutrition information is automatically calculated, so should only be used as an approximation.


can I use a pizza stone instead of a reversed baking pan?
Hi Monique! Yes, you can use a pizza stone instead of a reversed baking pan. Enjoy!
Really great authentic fresh Pita, nothing like the nasty dry supermarket versions. Really quick to cook so can be made a kept warm in a tea towel just before you need them.
So glad you like it, Sue. I completely agree!:)
Bonjour,
Peux t’on congeler les pitas après ?
Merci beaucoup ! J’adore toutes tes recettes !
Bonjour Marine,
Thank you for your comment!
Yes, you can freeze the pitas after baking them. You can keep them in the freezer for up to 2 months.
Hi, is there a way to make pita bread without yeast (and with baking powder) ?
Love your recipes !
Hi Loana,
Yes, you can make pita bread without using yeast by using baking powder instead. This will give the bread a slightly different texture and flavor than traditional pita bread. Mix the baking powder with the flour and then you can proceed with the same steps.
Hi! Thanks for this recipe. I used a bread machine on the dough setting to knead and rise the dough, and then baked them (without the 30 minute wait, I didn’t have time!) and they turned out great! Super easy. I loved the inverted sheet pan for cooking. Brilliant idea.
Thank you for your comment, Kate. So glad you could adjust the recipe to what works for you!
Hola, con qué cantidades lo hiciste? Gracias
Hi,
All the ingredient measurements are included in the recipe card at the bottom of the post! I hope you give it a try.
Absolutely faboulous!!!
I made these for the second day running. I wish I could post a pic of the party-sized ones I had with salad and homemade hummus today. I learnt my lesson from yesterday and made a double batch (half large, half small). I can see these as being my go-to summer meal bread. My son was really happy to see a new batch for lunch. Thankful to have found your recipe!
I’m so glad you’re enjoying these! Feel free to tag me in any pictures on Instagram @Alphafoodie – I love to see recreations <3
This is a perfect recipe. If you make the four, it makes the sandwich sized pita’s you’d find in the supermarket (about the size of a bread plate) but they hold together far better then the supermarket ones as you cut and fill them. I am wishing I made double or triple the recipe as 3 of the 4 have already disappeared. I did have to add a few teaspoons more of water while it was mixing, but that can be due to the temperature on the day, and I might not need to next time. Keep close to the oven as you cook, they brown very quickly once they puff and they’re too good to waste from burning 🙂
My son is known to be picky and he loved these, quickly asking for a second and he’s already asked to try them with another filling next time. He had his with a hot filling of lamb and lettuce, and I had mine with a cold filling of goats cheese and salad on still warm-from-the-oven pitas. Mmmm so good!
Thank you so much for letting me know you enjoyed them and the helpful tips! Yes, I’ve found the amount of water needed in any bread recipe can change for everyone slightly based on the temperature, climate, etc.
Best recipe!
It was easy to follow and they came out so nice!!!!
I love your recipes!!!!!
Thank you so much for your comment, Raffaella.
I made 8 small and followed directions exactly. New yeast but only two of my pita’s puffed up. Any suggestions?
Hi Karen, sorry to hear that only two puffed up. Two things are normally to check for: 1) thickness of the dough, too thick it might have trouble puffing, or temperature is not too hot on the oven tray? Hope this helps for next time 🙂
Hi, Samira!
What could be the reason that they were not puff up?
Thank you in advance!
Hi Nila, sorry for the late reply. It would be because your dough might be a bit thick, you need to try with a thinner version? hope this helps.