
This post may contain affiliate links. Please read our disclosure policy.
Grilled corn on the cob is one of the easiest and most satisfying things to make on the grill — sweet, smoky, juicy, and ready in minutes.
I re-tested all the most popular methods, including with the husk on (soaked or dry), wrapped in foil, tied-back husks for presentation, and fully husked for maximum char. Each gives a slightly different result, and I’ll walk you through exactly how to grill corn — and which methods I’d use again.
If you love fresh summer corn, don’t miss my microwave corn on the cob, corn ribs for a fun twist, or try a bold variation like my Mexican street corn (Elote).
Table of Contents
What you’ll need
Base ingredient
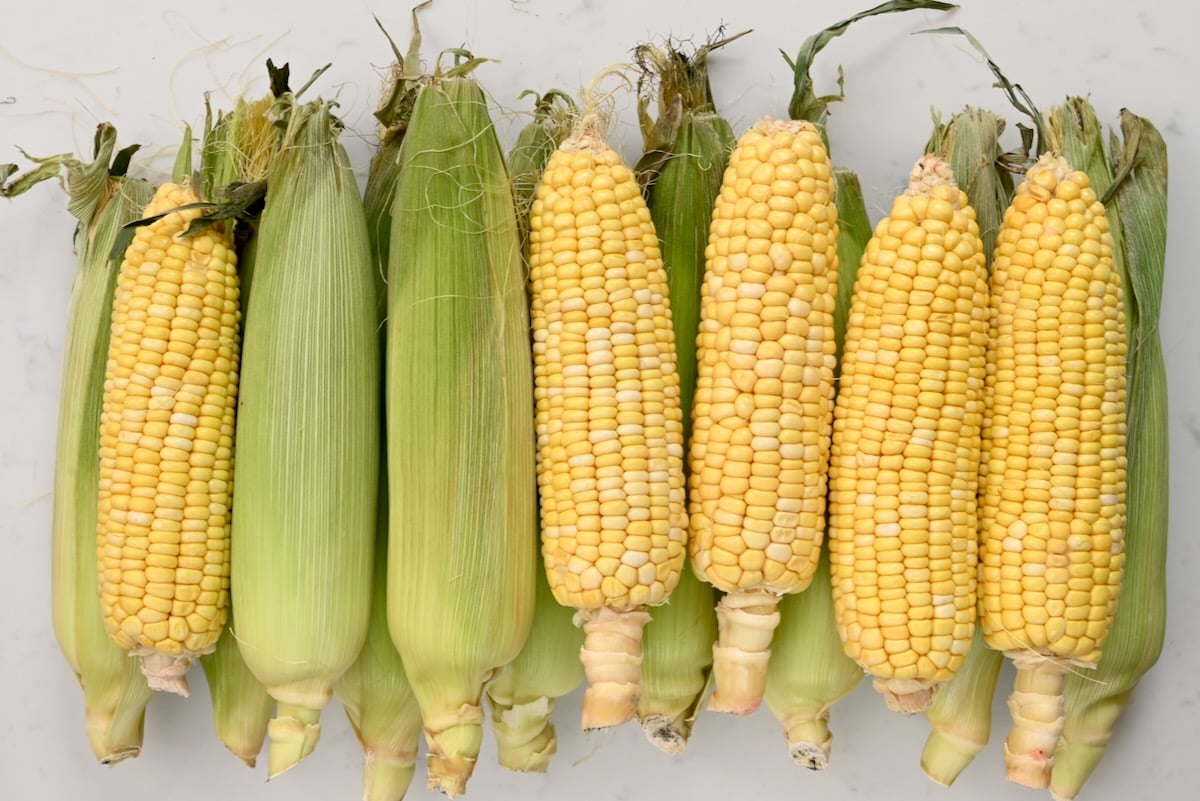
- Corn on the cob: Use whole ears of corn. You can grill them with the husk on, husk pulled back, fully husked, or wrapped in foil — each method gives slightly different results.
- Olive oil: Used before grilling (if cooking without the husk) to help with even charring. Pictured with the garnishes, but used during cooking.
Garnishes & Topping Ideas
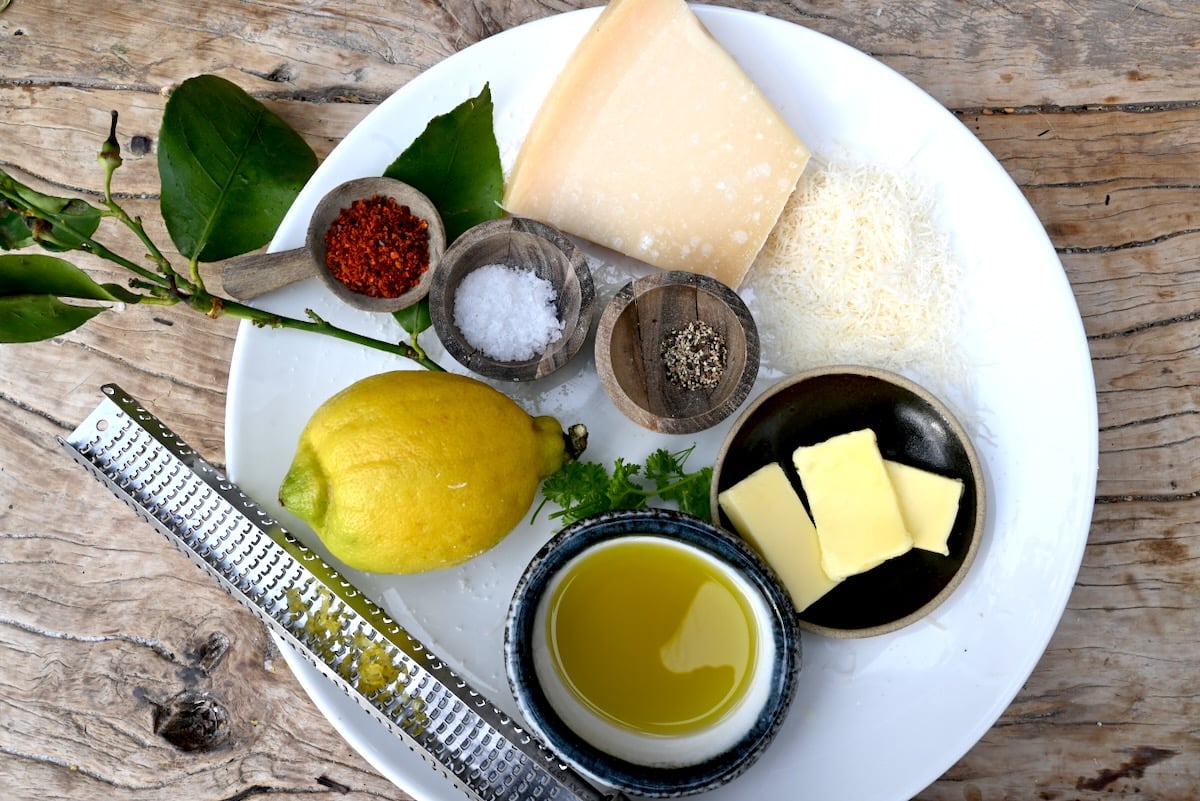
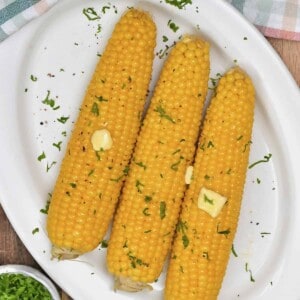
- Butter: Brushed on after grilling for a rich finish.
- Salt: I like flaky salt sprinkled right after grilling.
- Black pepper: Add after grilling so it doesn’t burn.
- Parmesan: Finely grated over warm corn.
- Lemon zest: Adds brightness, especially with Parmesan.
- Chili powder: Optional for a bit of heat.
- Lime wedges: Serve on the side to squeeze over spicy corn.
See printable recipe card below for the full ingredients list and quantities.
How to grill corn: 5 tested methods
Depending on how you prepare the corn — husk on (soaked or not), tied back, foil-wrapped, or fully exposed — you’ll get different textures and flavors. I tested all five methods so you don’t have to. Here’s how they compare and when I’d use each one.
Covered Methods
1. With husk on – soaked first
Soaking the corn husks in cold water before grilling helps prevent flare-ups and creates steam, so the kernels stay extra juicy.
- Soak the entire ears of corn (with the husk fully intact) in cold water for 1–2 hours.
- Place them on a medium-high grill and cook for 20 minutes, turning every 5 minutes, until the husks are evenly charred.
- Let them cool slightly, then peel back the husks and remove the silk.
- For a light char, grill the peeled corn for 1–2 minutes per side.
This method gives juicy and mildly smoky corn. It’s gentle and reliable — just allow extra time for soaking.
2. With husk on – not soaked
This skips the soak, so it’s quicker but more prone to burning. You’ll need to watch carefully to avoid flare-ups.
- Place dry corn (husk fully on) directly on the grill over medium-high heat. Grill for 15–18 minutes, turning often, and keep a close eye, as the husk can catch fire quickly.
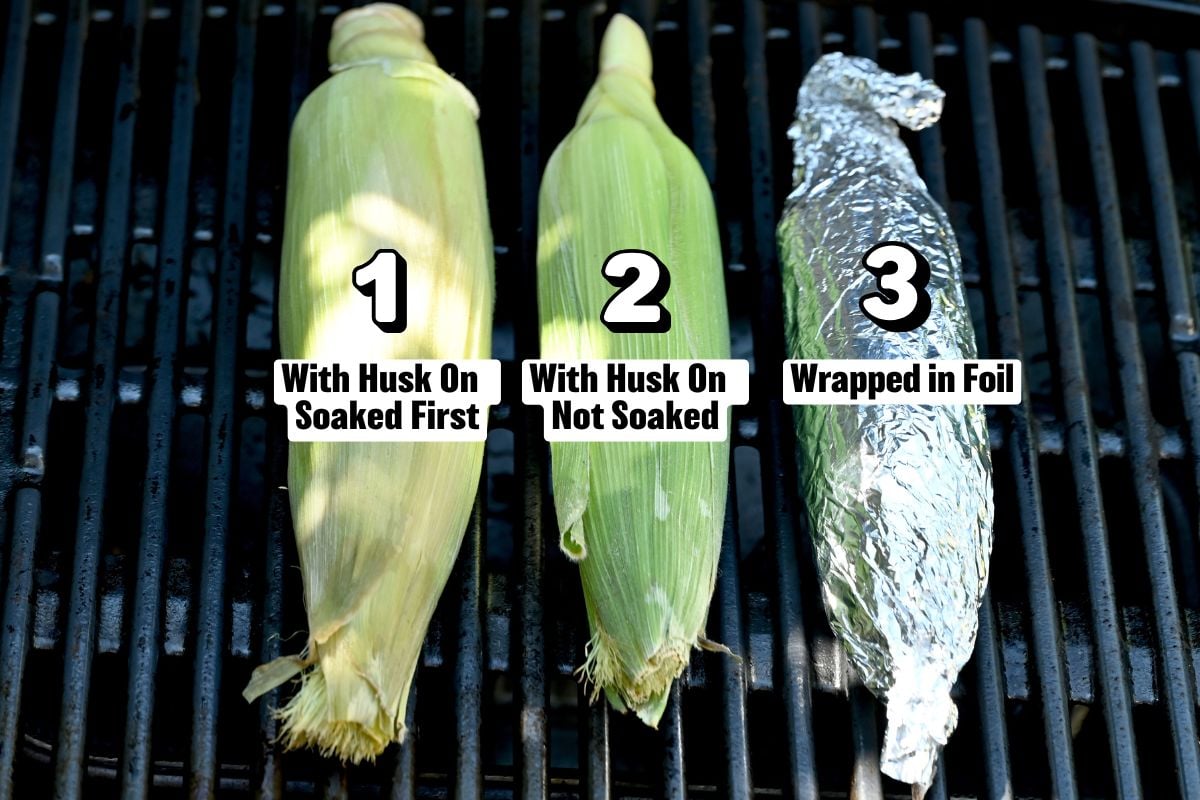
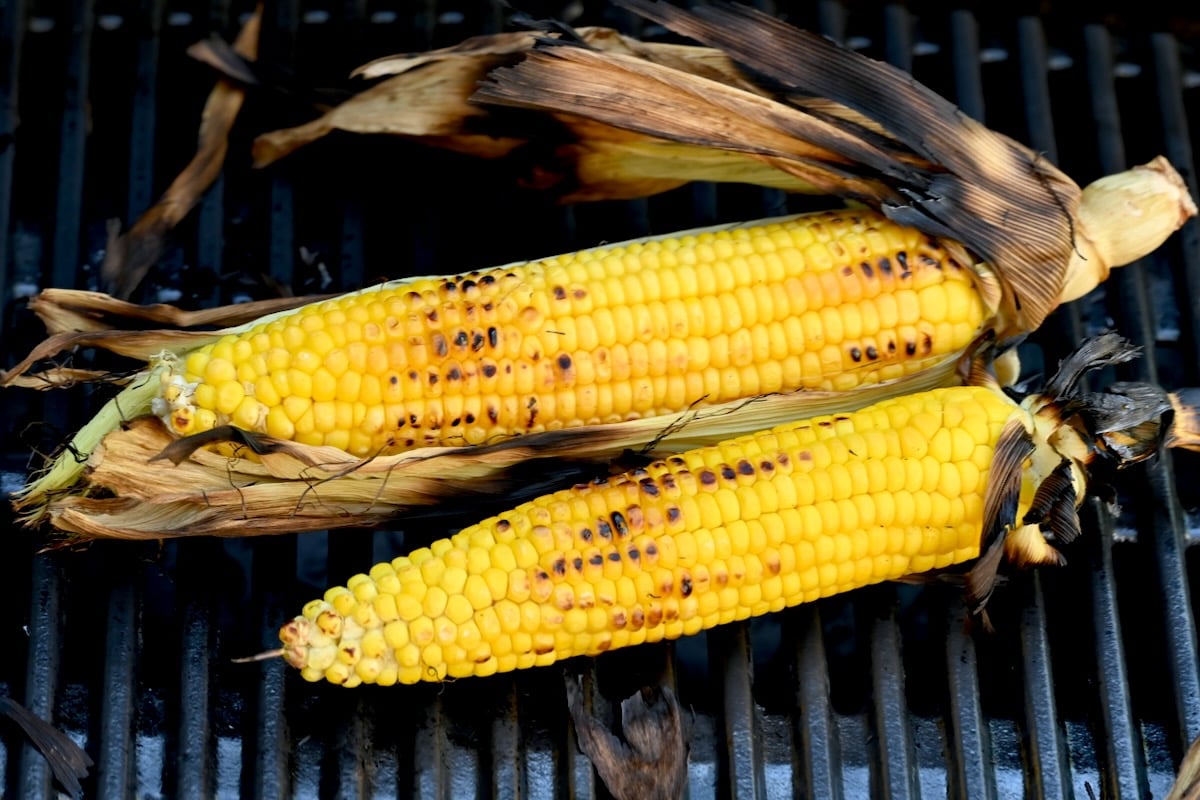
- Once cooked, the corn may look more steamed than grilled. If you’d prefer visible char marks, peel back the husk, remove the silk, and grill the exposed corn for 1–2 extra minutes per side. For reference, check the labeled photo below: corn 1 and 2 show the steamed look right after grilling, while corn 3 (cooked in foil) shows the charred finish.
This version gives a smokier flavor than the soaked method, but it’s harder to manage, cooks less evenly, and is more prone to flare-ups.
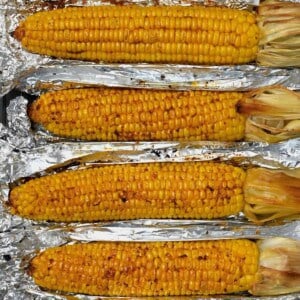
3. Wrapped in foil
This creates a steamy environment for soft, juicy corn with a beautiful char flavor. Great for prepping ahead or when you want foolproof results.
- Remove the husk and silk completely, then lightly brush the corn with olive oil or melted butter.
- Wrap each cob tightly in foil. Grill for 15–18 minutes, turning a few times, then unwrap and serve with butter, salt, or your favorite toppings.
This gives tender, sweet corn with a good char (corn 3 in the photo). A good option for meal prep or grilling in batches.

As you can see in the image below, if you’re grilling with the husk on — soaked or not — you’ll need to grill the peeled corn briefly at the end to get that char.
These methods trap in moisture for juicy, tender corn. The husk-on versions have a gentler, steamed effect with subtle smokiness, while foil-wrapping delivers excellent char and is fuss free.
Uncovered Methods
These methods expose the kernels directly to the flame, giving deeper char and bolder grilled flavor.
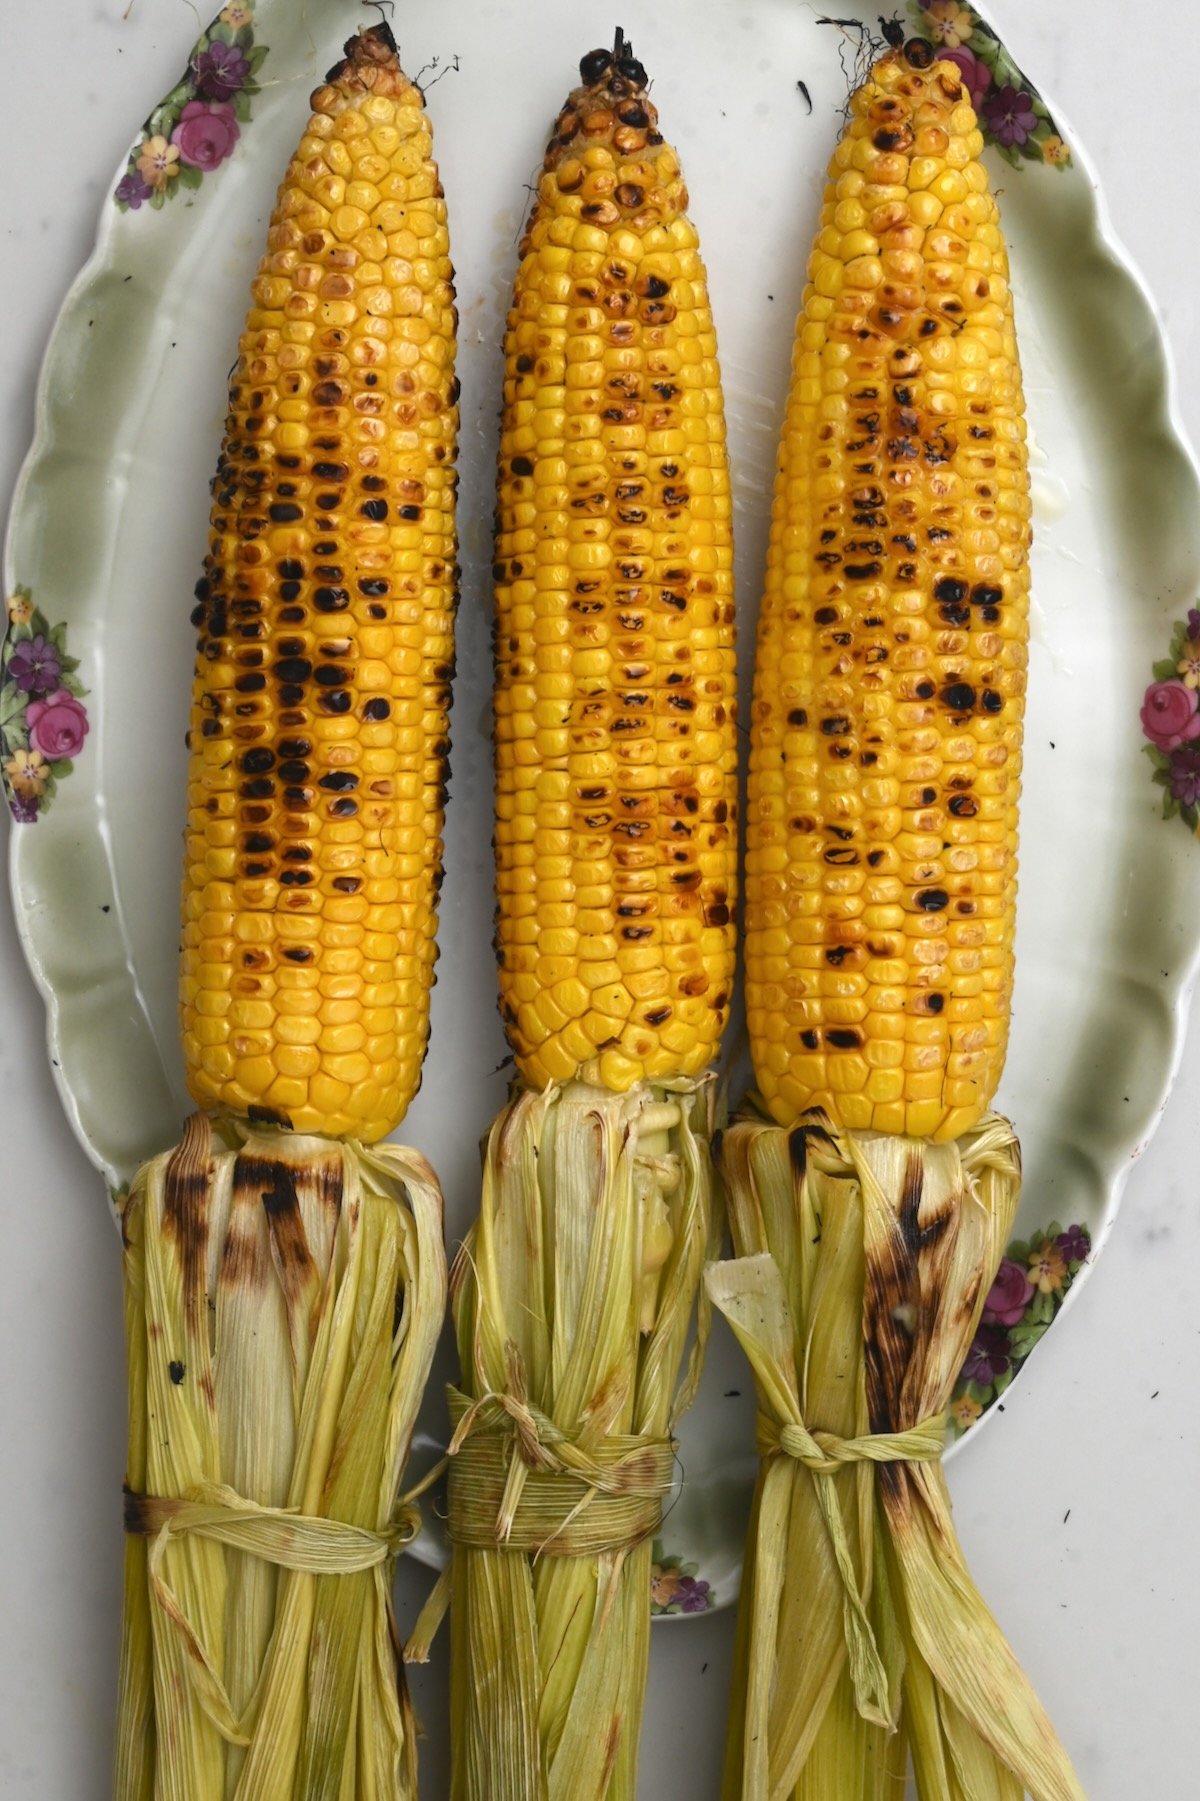
4. Husk pulled back and tied (foil-wrapped ends)
This gives you great presentation and direct flame contact without burning the husks.
- Gently pull back the husks without tearing them off and remove the silk (b).
- Tie the husks back using twine or a strip of husk (c), then wrap the husk ends in foil to prevent burning (d).
- Lightly brush the exposed corn with oil, then grill over medium-high heat for 10–12 minutes, turning every 2–3 minutes until evenly charred (e).
 a
a b
b c
c d
d e
e f
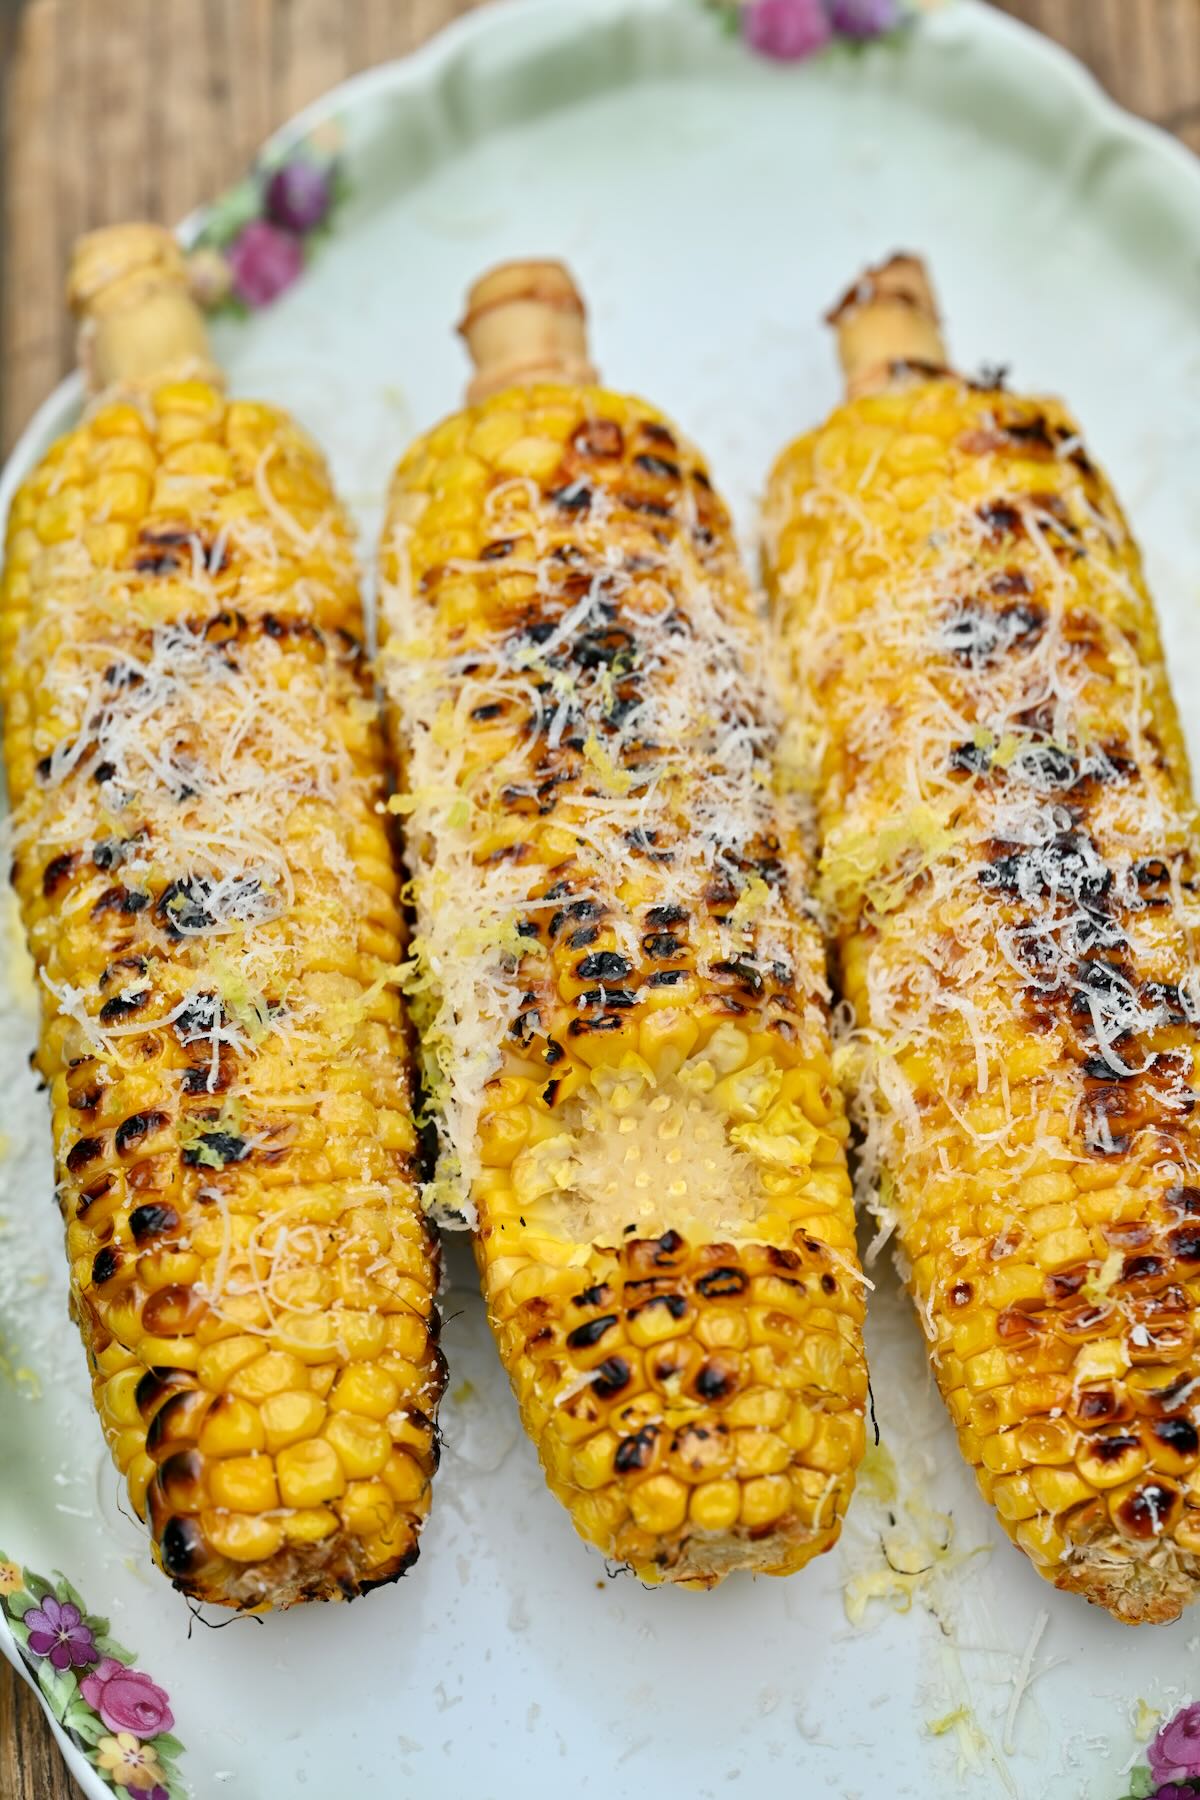
fThis method gives bold, smoky flavor and the prettiest look. Perfect for serving whole cobs at the table (f) or for finishing it for a mexican street corn (elote) style.
5. Husk removed completely
This is the simplest method and cooks exactly like the tied-back version — but without the husks for presentation.
- Remove the husk and silk completely, then brush the corn lightly with oil.
- Grill over medium-high heat for 10–12 minutes, turning every 2–3 minutes until evenly charred on all sides.

It gives the same bold, smoky flavor as the tied-back method and is great if you’re slicing the corn for salads, bowls, or just want a no-fuss option.
My Personal Take
After testing all five methods, I usually skip the husk-on steaming versions — they’re a bit fussy, and if I wanted steamed corn, I’d just do it indoors! For the best grilled flavor, I go with the corn fully exposed or with the husks pulled back and tied. The fully exposed version gives that smoky char and is the easiest and most satisfying for everyday meals. If I’m grilling for guests, I’ll go the extra mile with the tied-husk version wrapped in foil — it looks neat and festive on the table and keeps the husks from burning.
Top tips for grilling corn
- Soaking is optional: We tested both soaked and unsoaked corn in the husk. Soaking helps hydrate the husk and creates steam, but the texture difference is minimal. It’s a helpful step — not essential.
- Wrap tied husks in foil to prevent burning: Even when soaked, the ends of pulled-back husks can easily catch fire. Wrapping the husk ends in foil protects them while grilling.
- Use oil before grilling, butter after: A light coating of oil helps prevent sticking and promotes even charring. Add butter after grilling to enhance flavor and finish.
- Turn frequently for even cooking: Rotate the corn every 2–3 minutes to avoid hot spots and achieve a golden, even char without overcooking.
- Match the method to how you’ll serve it: If you’re removing the kernels for a salad or salsa, husk-free is easiest. For serving whole cobs, tied-back husks offer a beautiful, rustic presentation.
What to serve with grilled corn
Grilled corn is super versatile. Enjoy it warm off the grill with a simple slather of butter and flaky salt, or take it up a notch with toppings like Parmesan and lemon zest (irresitable combo), chili powder and lime, garlic butter, or even a drizzle of lemon tahini sauce and a sprinkle of za’atar spice for a Middle Eastern twist.
Serve it as a side dish with grilled chicken thighs, grilled shrimp skewers, grilled burgers, kofta kebab, grilled cauliflower steaks and / or delicious cilantro lime rice.

If you remove the kernels (perfect for meal prep or next-day salads), try adding them to dishes like Mexican street corn salad, Texas caviar, or pasta salad. They also pair nicely in veggie burrito bowls or frittatas, adding sweetness and texture.
Storage and reheating
Make ahead: For the husk-on method, you can soak the whole ears (with husks fully intact) in water up to a day in advance. Just keep them submerged in the fridge until ready to grill.
Store: Let the grilled corn cool completely, then store it (on or off the cob) in an airtight container in the fridge for 3–4 days.
Freeze: Slice the kernels off the cob and freeze them flat in a zip-top bag for up to 2 months. Great for tossing into soups, salads, or cooked dishes.
Reheat: Wrap whole cobs in foil and warm in a 350ºF (180ºC) oven for 5–10 minutes. You can also reheat kernels or cobs in a hot skillet or microwave.
More ways to cook corn
If you’re looking for more ways to prepare corn, try one of these easy methods:

If you try any of these methods for how to grill corn on the cob, I’d love to hear your thoughts or questions in the comments below. Also, if you have a moment, I’d really appreciate a quick star rating on the recipe card. 💛

Best Grilled Corn Recipe
Equipment
Ingredients
- 4 ears corn on the cob husks on or removed
- 1 Tbsp olive oil for grilling
- butter for serving
- salt to taste
- Optional: grated Parmesan, lemon zest, chili powder, lime wedges, black pepper
Instructions
- Preheat your grill to medium-high heat.
Husk-on methods:
- Place soaked or dry cobs (with husks fully intact) directly on the grill. Soaking whole corn cobs (with husks) in water for 1–2 hours helps prevent burning and adds steam for juicier kernels, but grilling dry is quicker—just watch carefully for flare-ups.
- Grill for 15–20 minutes, turning every 5 minutes, until the husks are evenly charred. Let cool slightly, then peel back the husks and remove the silk.
- To develop a nice char, grill the peeled corn for 1–2 more minutes.
Tied-back husk method:
- Peel the husks back without removing them and remove the silk. Tie the husks back and wrap the ends in foil.
- Brush the exposed kernels lightly with oil.
- Grill for 10–12 minutes, turning every 2–3 minutes, until well charred.
Husk-removed method:
- Remove the husks and silk completely.
- Brush the corn with oil
- Grill for 10–12 minutes, turning every 2–3 minutes until charred all over.
Foil-wrapped method:
- Remove the husks and silk.
- Brush with oil or butter and wrap tightly in foil.
- Grill for 15–18 minutes, turning a few times.
- Unwrap and serve warm with your favorite toppings.
Notes
- Use the freshest corn you can find: Fresher ears are naturally sweeter and more tender after grilling.
- Turn often: Especially for uncovered or husk-on methods — turning every few minutes helps prevent burning and ensures even cooking.
- Go for extra char: Want more smokiness? Remove the foil or husks during the last 1–2 minutes of grilling to finish directly over the flame.
- Use sturdy tongs: A good pair with rubber grips makes it easy to rotate the corn without slipping or burning your hands.
- Salt after grilling: Adding salt too early draws out moisture. For juicy kernels, wait until the corn is hot off the grill.
- Store: Let any leftover corn cool, then store it in an airtight container in the fridge for up to 3–4 days. Reheat in foil in the oven, or cut off the kernels and freeze for up to 2 months.
Nutrition
Nutrition information is automatically calculated, so should only be used as an approximation.


Alpha Foodie blog is such a delightful space filled with creative and healthy recipes! I love how each post combines nutritious ingredients with stunning food photography. The step-by-step guides make cooking so easy and fun. Truly an inspiring blog for all food lovers!
Thank you!
All of these look great, thanks for sharing! I’m excited to try the tied-back husks method.
Thank you for your comment, Tina! Let me know how it goes!