
This post may contain affiliate links. Please read our disclosure policy.


You’ll never buy bags from the grocery store again – it’s just as easy to freeze fresh corn at home, both on the cob and off the cob.
Sweet corn finally comes into season during the summer months – and when the sun’s out, I’m stocking up. There’s nothing better than fresh corn on the cob, but it doesn’t last for very long.
So I’ve developed the best way to freeze corn on the cob – a simple method including shucking, blanching, and freezing, so you have perfect corn all year round for soups, salads and and recipes like Easy Corn Recipes for Summer.
Want to save this recipe?
Table of Contents
How to Choose the Best Corn for Freezing
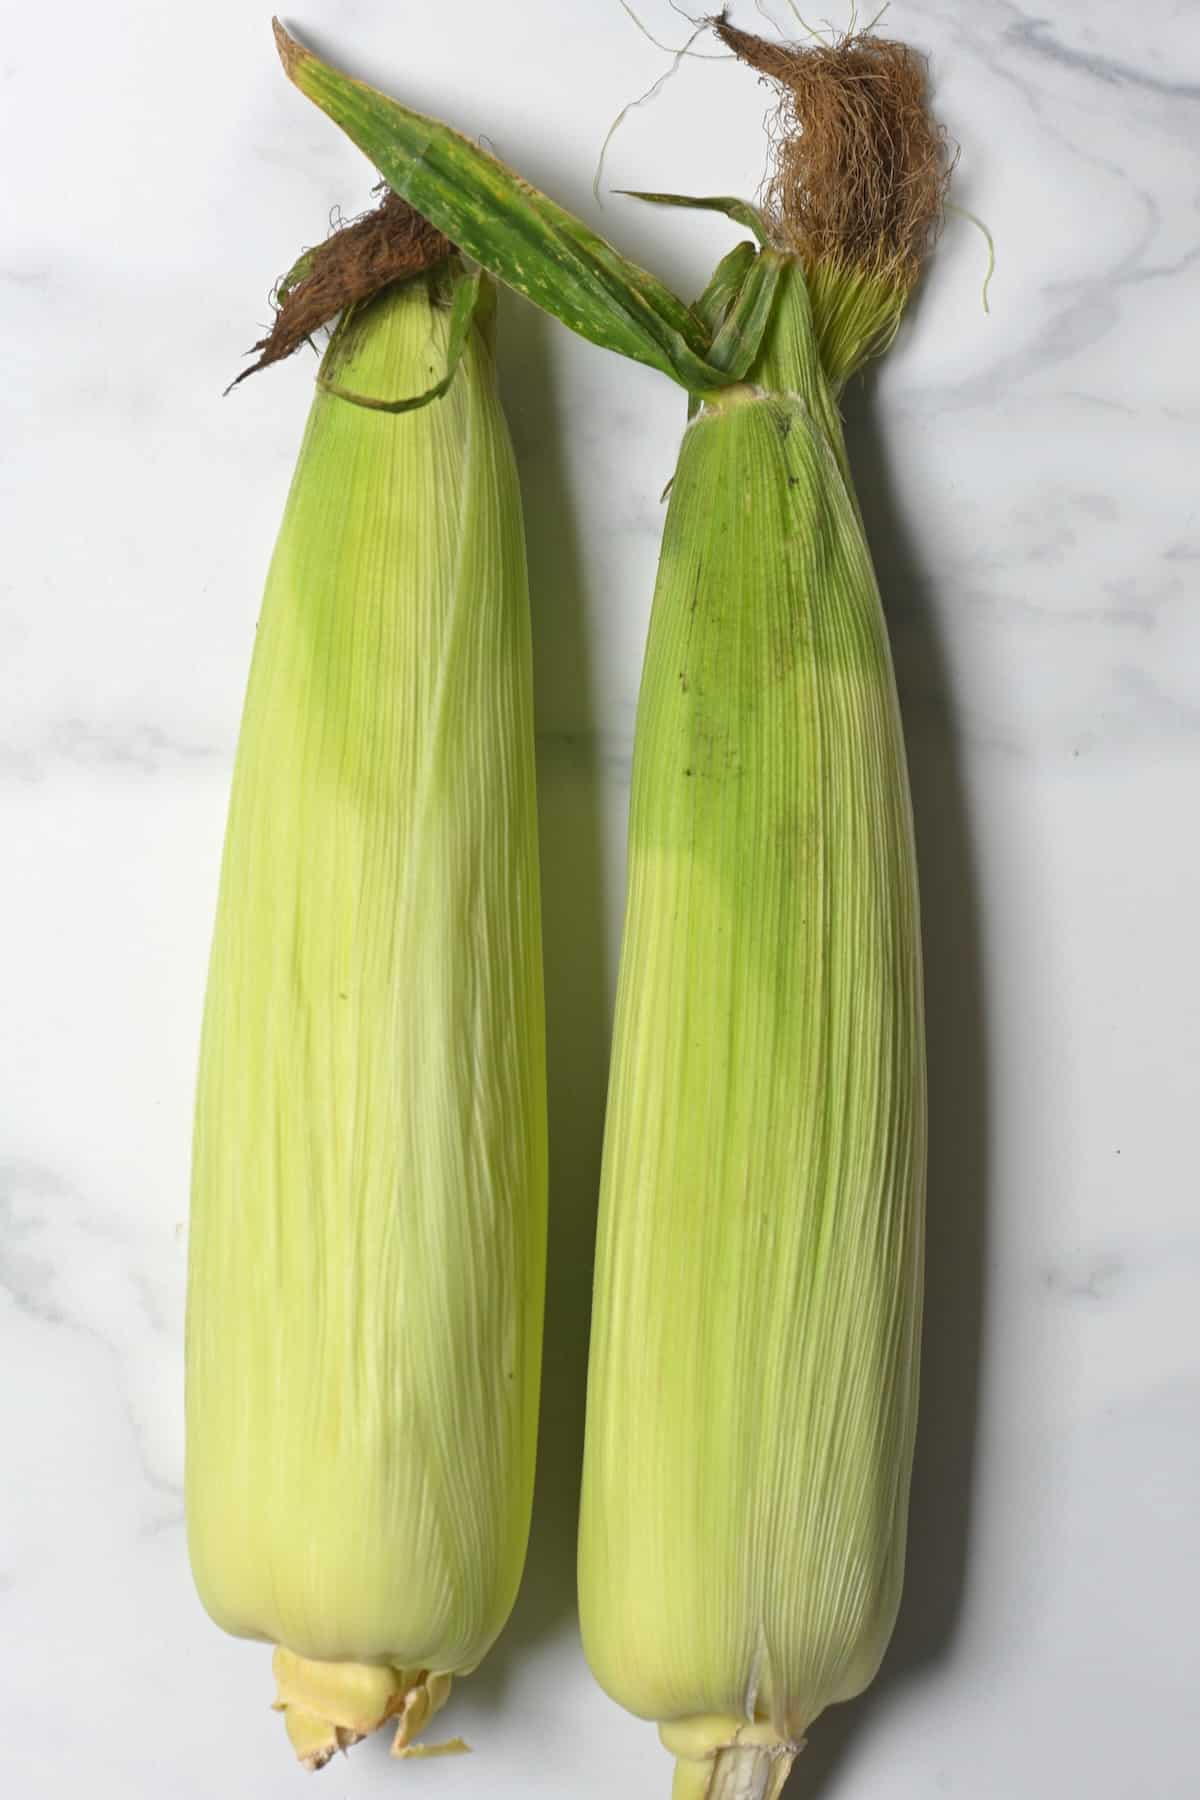
For the best frozen corn, I always recommend going to the farmer’s market or a stand rather than the grocery store to buy it. Here are a few things to look for:
- A bright green husk that’s tightly wrapped around the cob – avoid anything dry, cracked, or with a yellow/brown color.
- Golden and sticky silk tassels (the fluffy fibers at the top). Avoid if they’re black or dry – it means the corn is old.
- It should be heavy and firm in the hand.
- Plump kernels – you can feel these through the husk. Look out for empty patches.
- Look out for wormholes or other signs of bug infestation and avoid those cobs.
What Is the Best Way to Freeze Corn?
After many trials, I’ve concluded that you first have to blanch the corn. This process will halt enzyme activity and will help the corn preserve its color, texture, and nutrients.
Choose whether you want to freeze it on the cob (whole) or freeze just the kernels and follow my easy steps below.
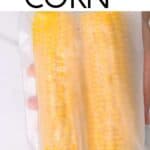
How to Freeze Corn on the Cob (Whole)
There are four simple steps for freezing corn on the cob to maintain freshness, texture, and taste.
Step 1: Shuck the Corn
Instead of peeling it leaf by leaf, here is a simple hack. First, use a sharp knife to cut off ½ inch from the root end of each corn cob.
Then, firmly hold the top of the cob (where the tassels are) either with your hand or a kitchen towel for better grip. With your other hand, hold the bottom of the cob and twist and pull the corn to free it from the husk. The corn should slide easily free.
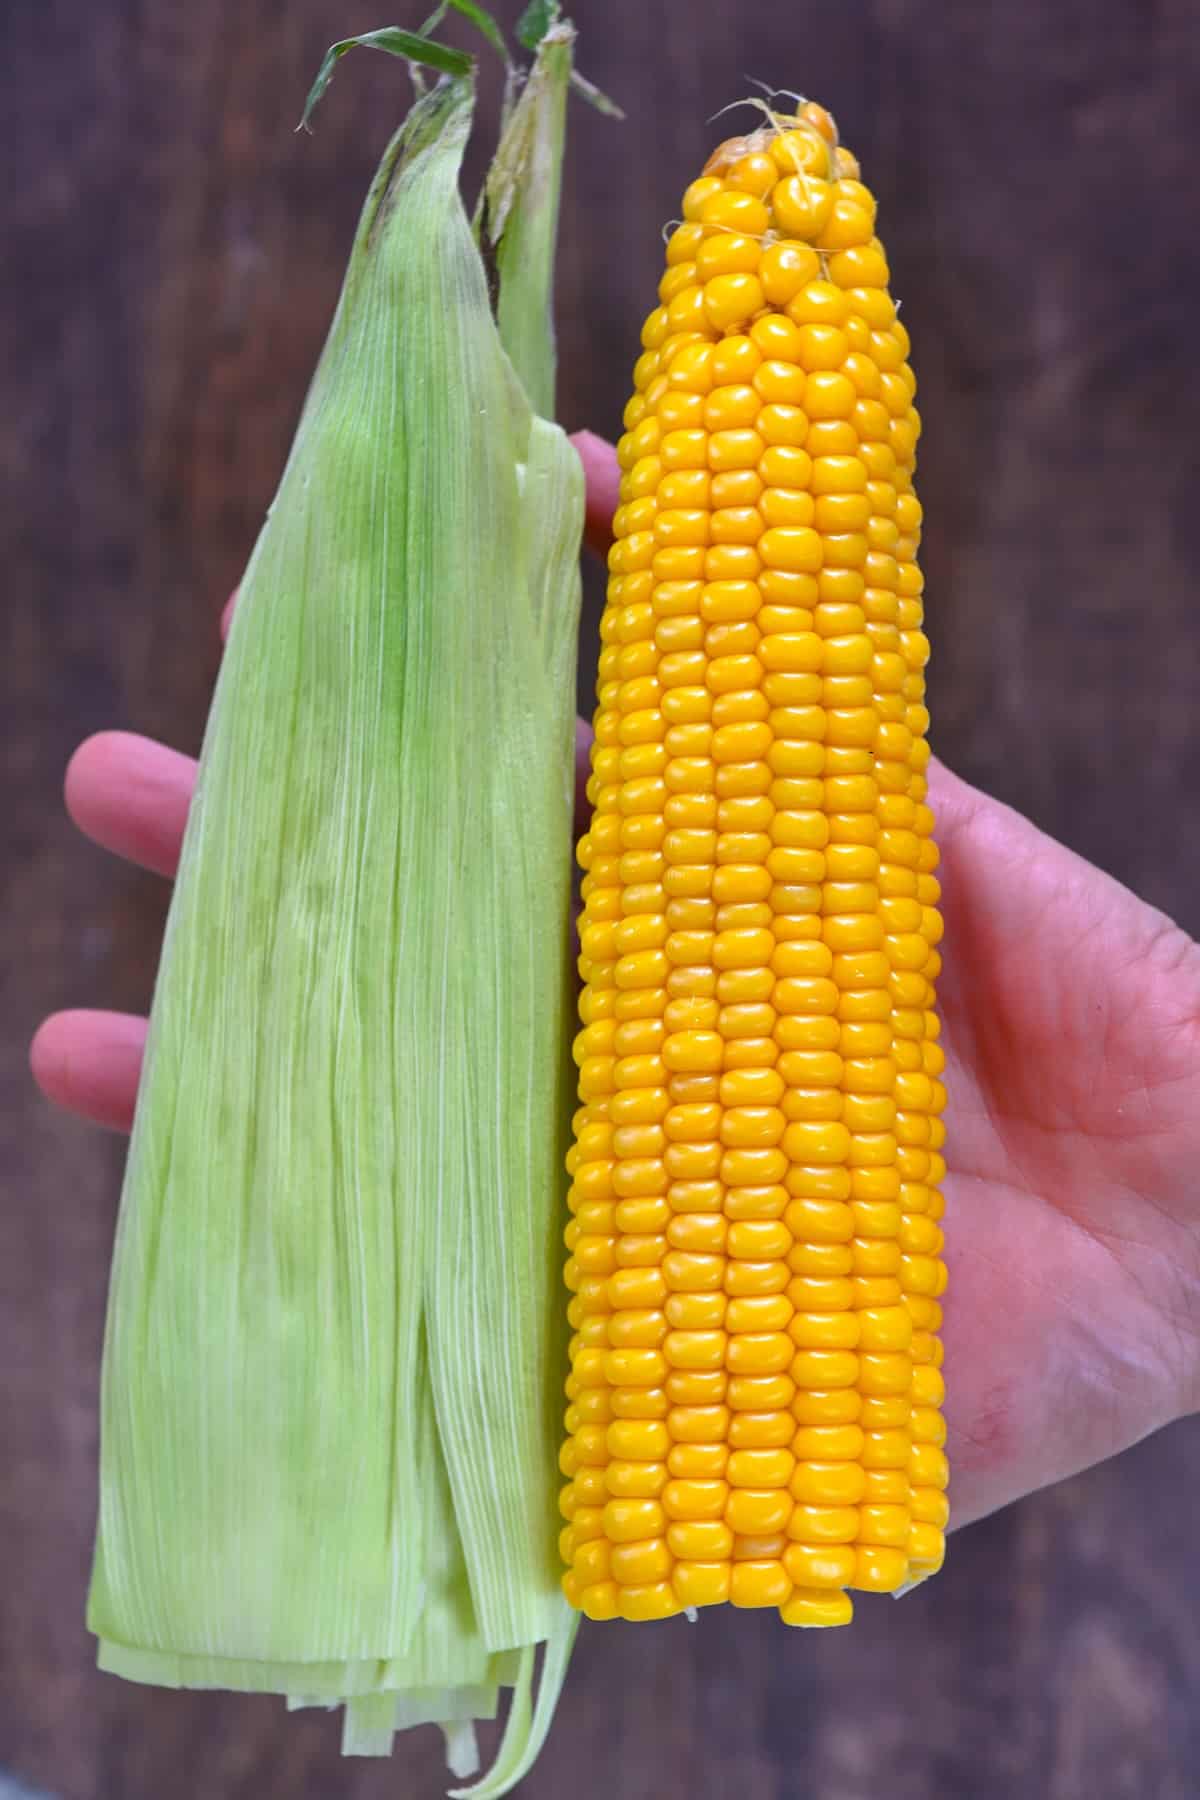
And if you want, you can cut the cobs in half now.
Step 2: Blanch the Corn
You can freeze corn without blanching but then it will be a bit more watery and chewy after it’s cooked. So I don’t skip this step. Keep in mind that blanching corn on the cob requires speed and precision – so stay focused.
Bring a large pot of water to a boil, then carefully drop the corn in, ensuring it’s fully submerged (I like to use heat-proof tongs for this). Leave to boil for exactly 4 minutes with the lid on.
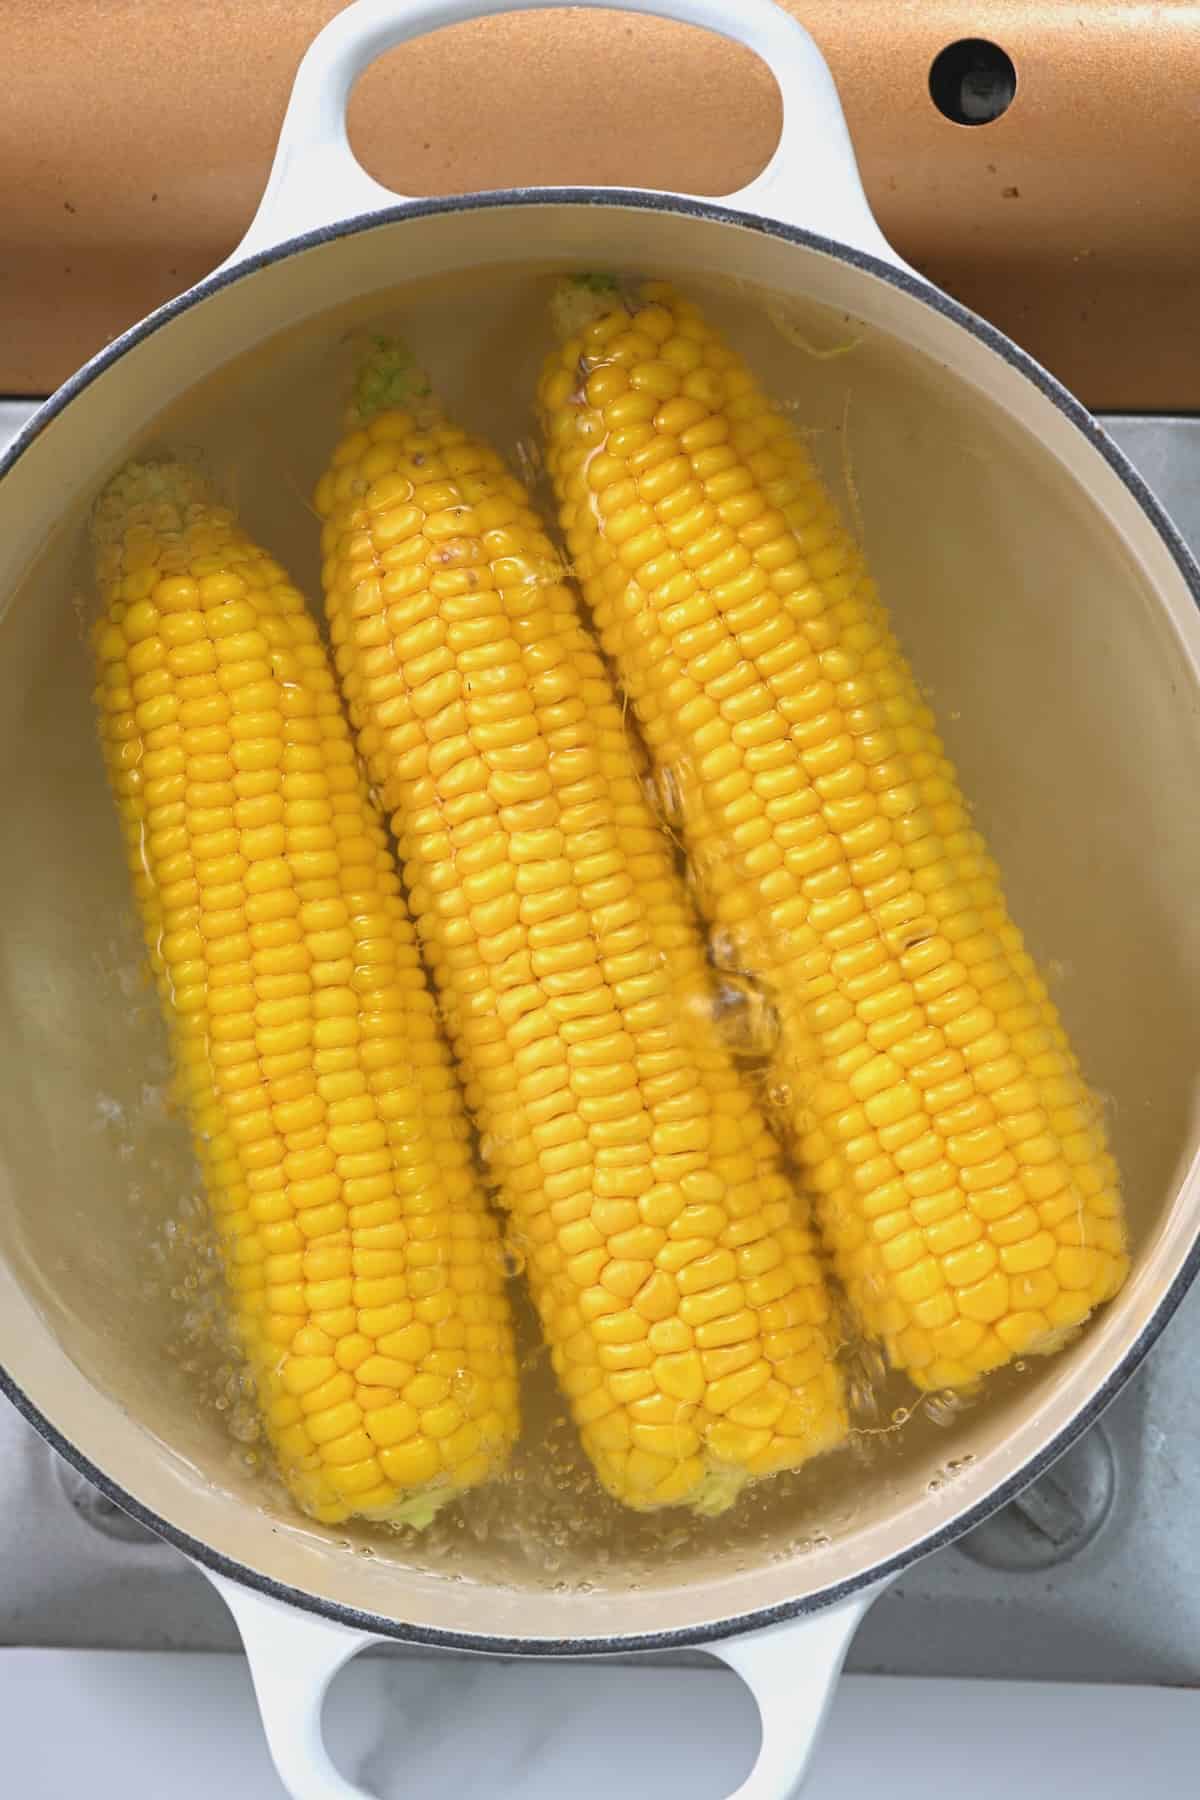
In the meantime, prepare an ice bath – a large container filled with water and plenty of ice.
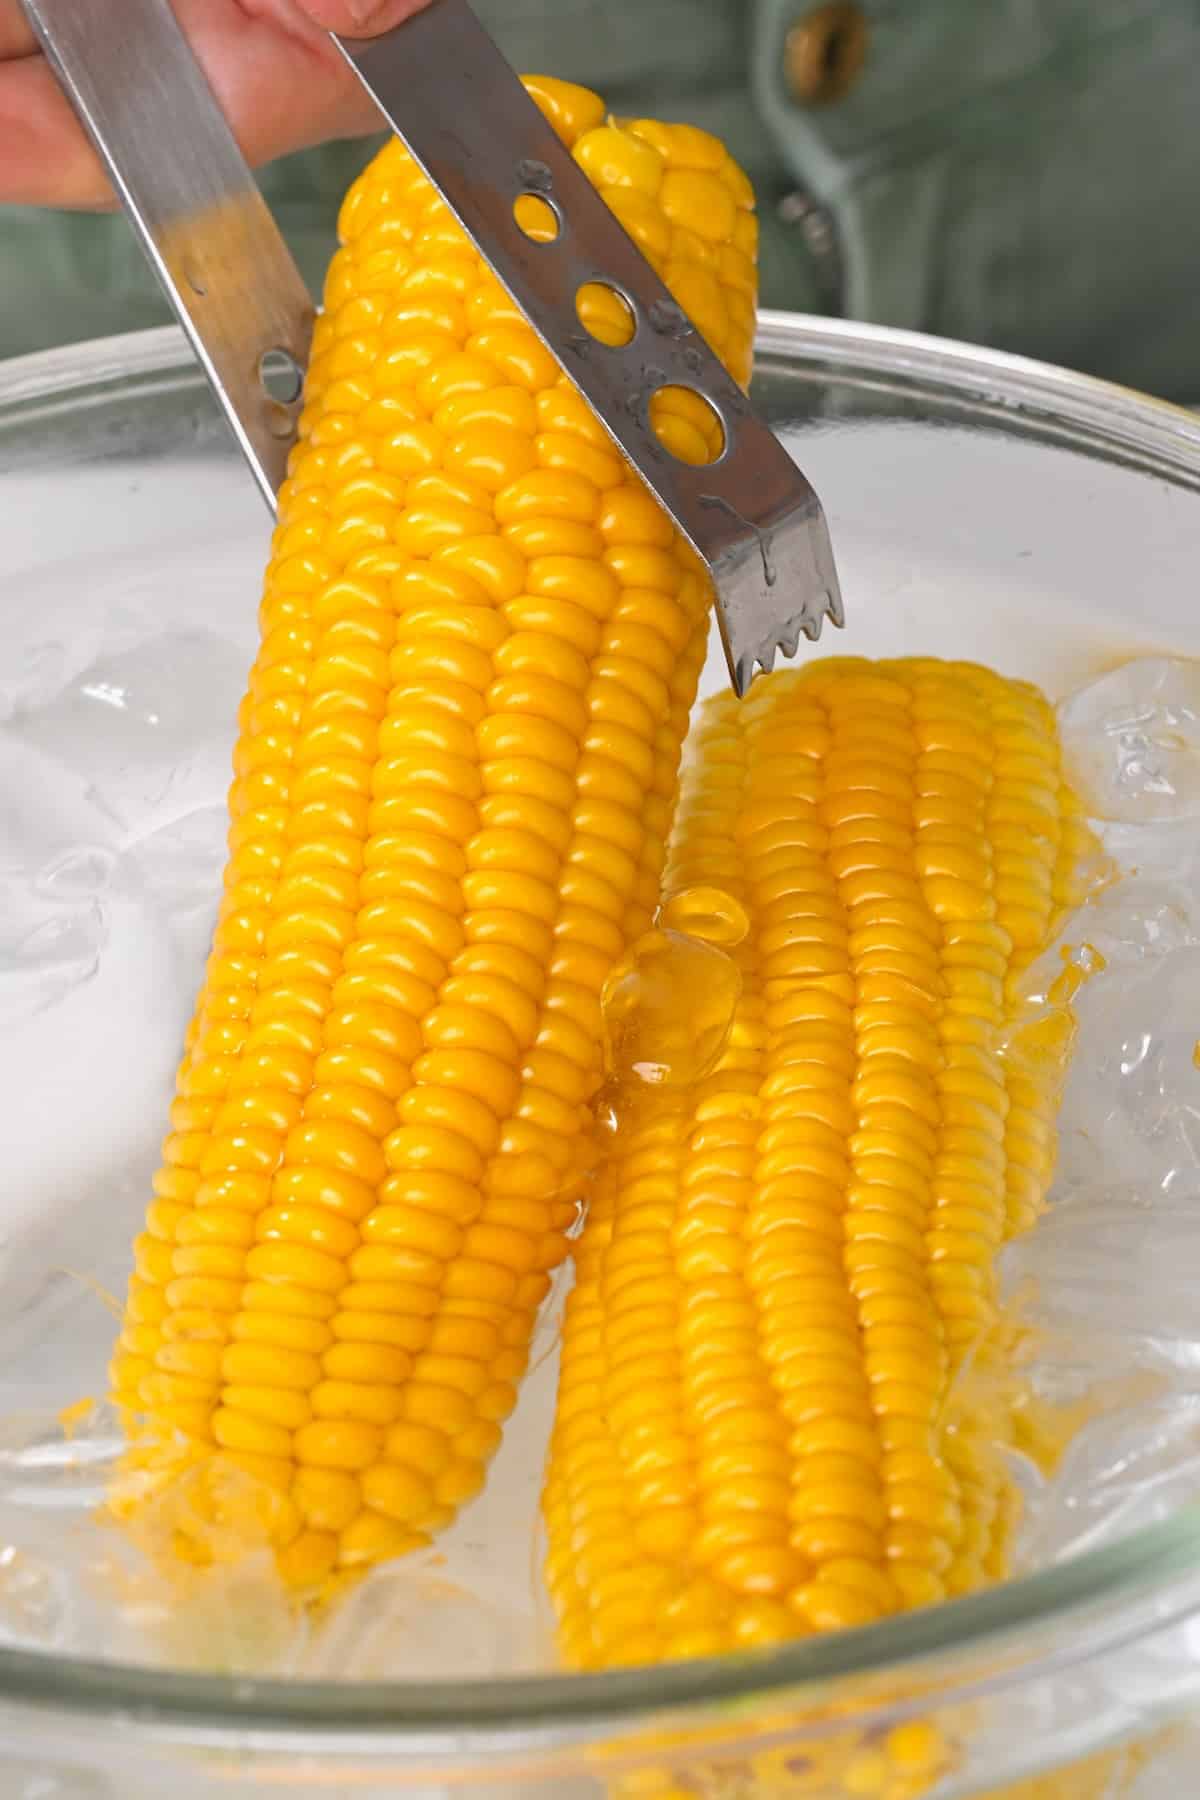
Step 3: Cool and Dry
As soon as 4 minutes is up, use the tongs to remove the corn and place it immediately into an ice bath. This stops the cooking and cools it quickly. Leave in the ice water until fully cooled (around 10 minutes).
Then, use a kitchen towel or paper towels to thoroughly dry the corn.
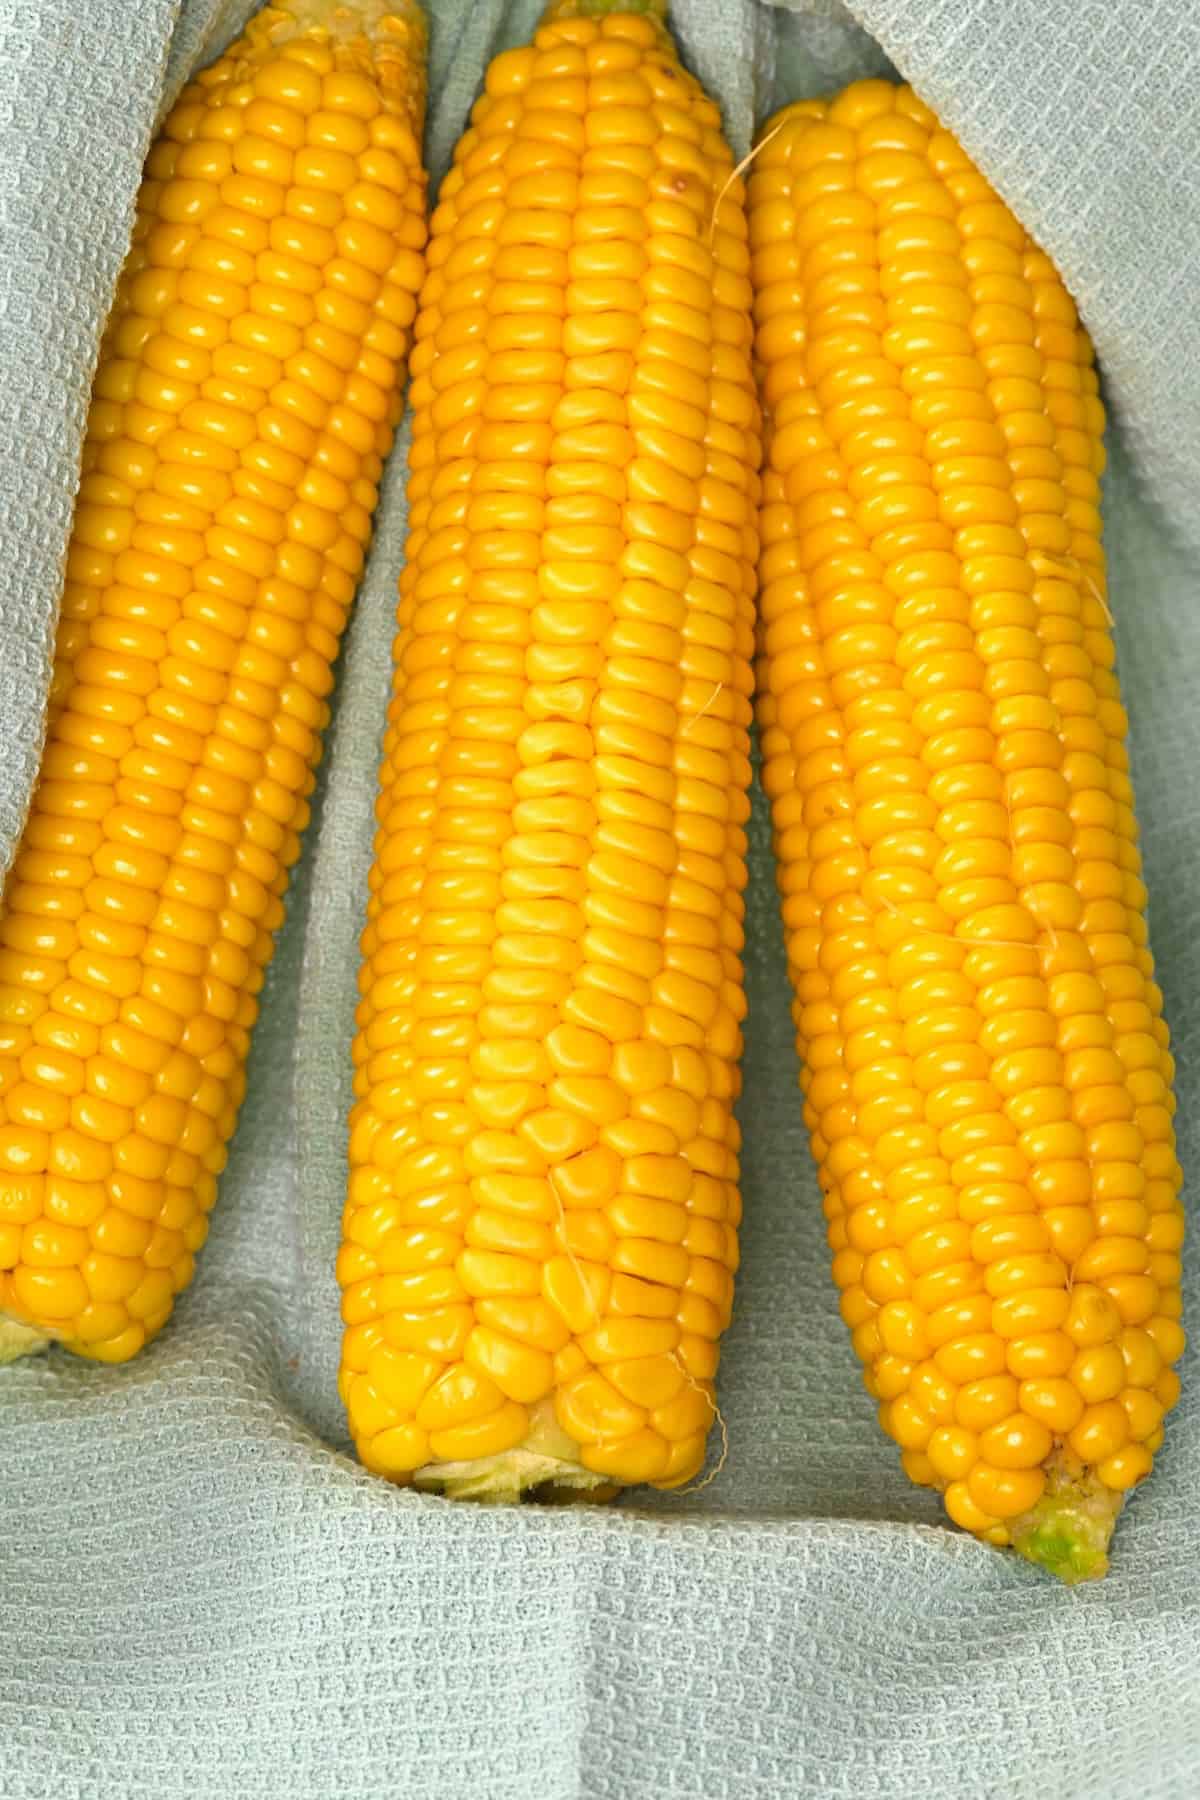
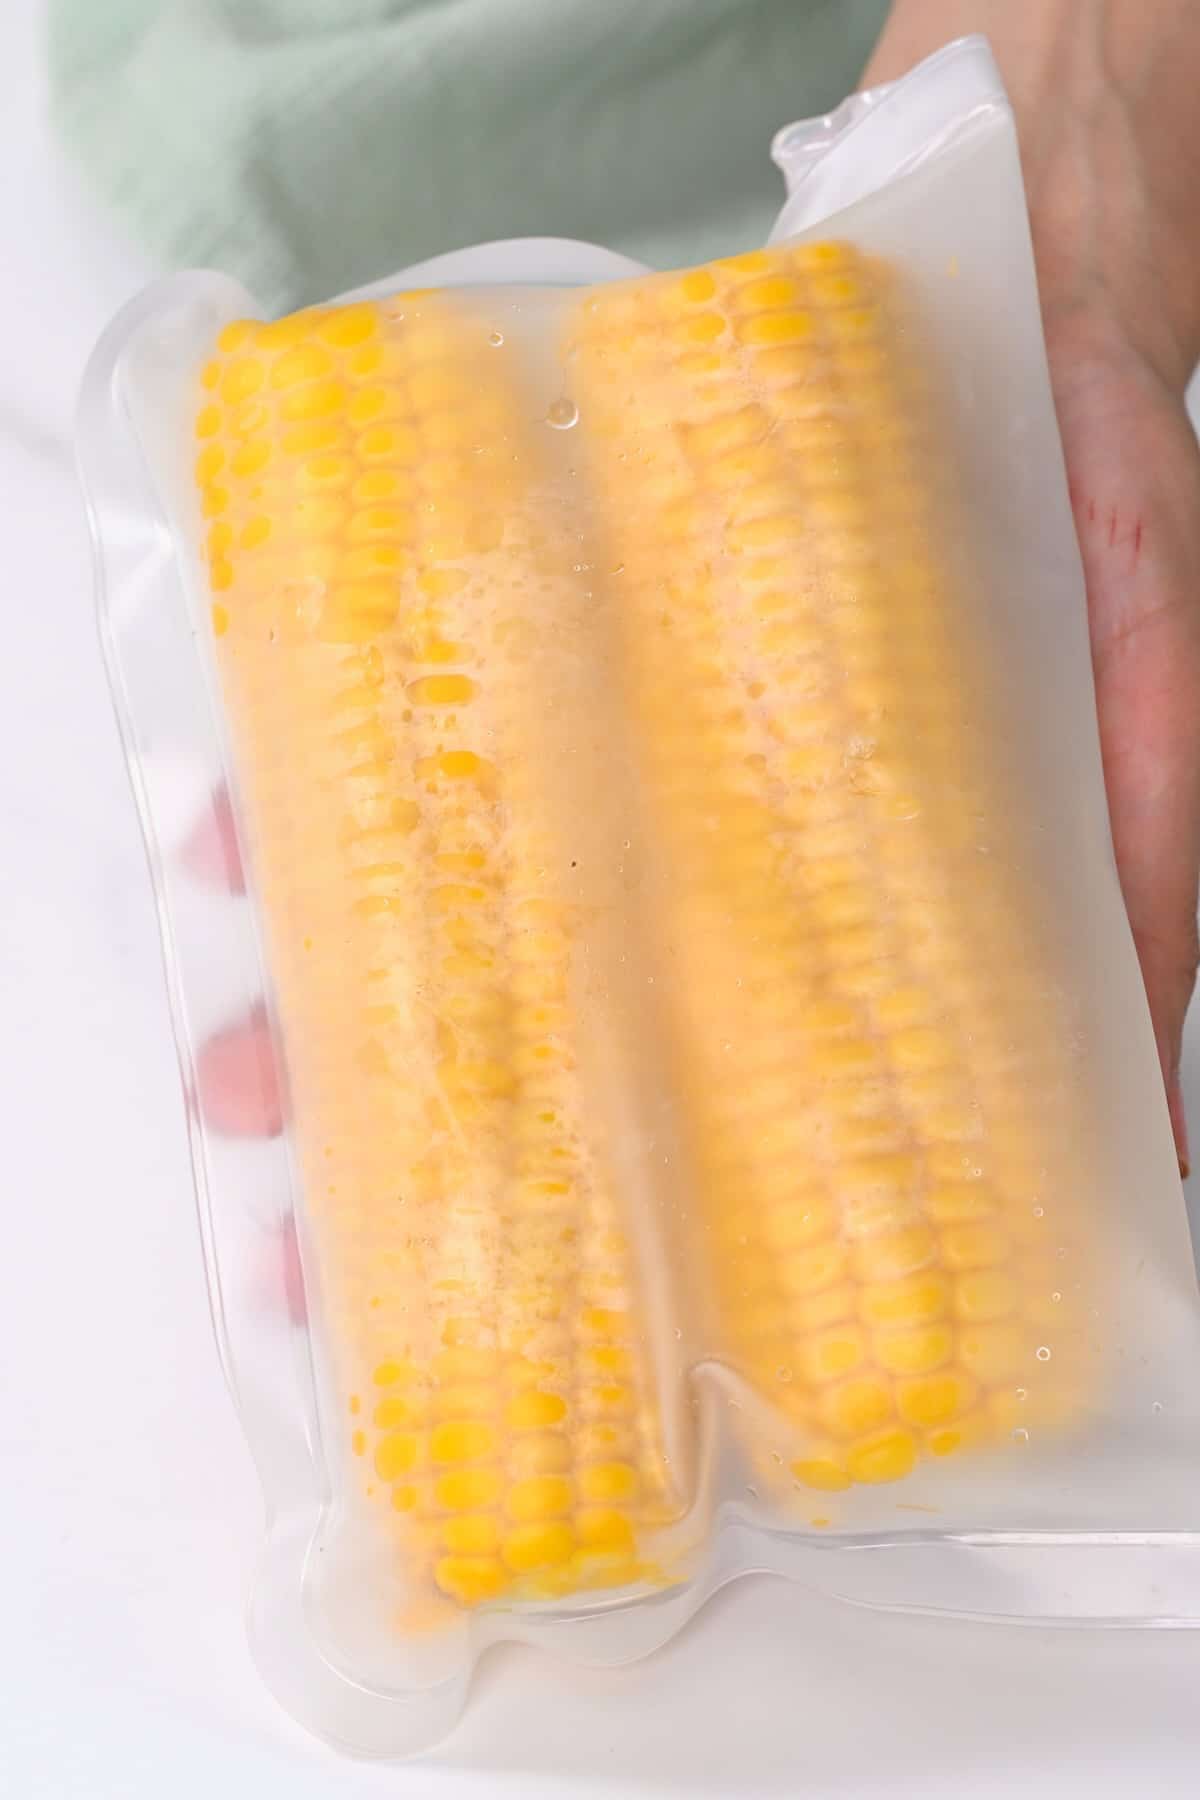
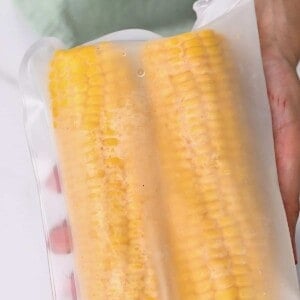
Step 4: Freeze
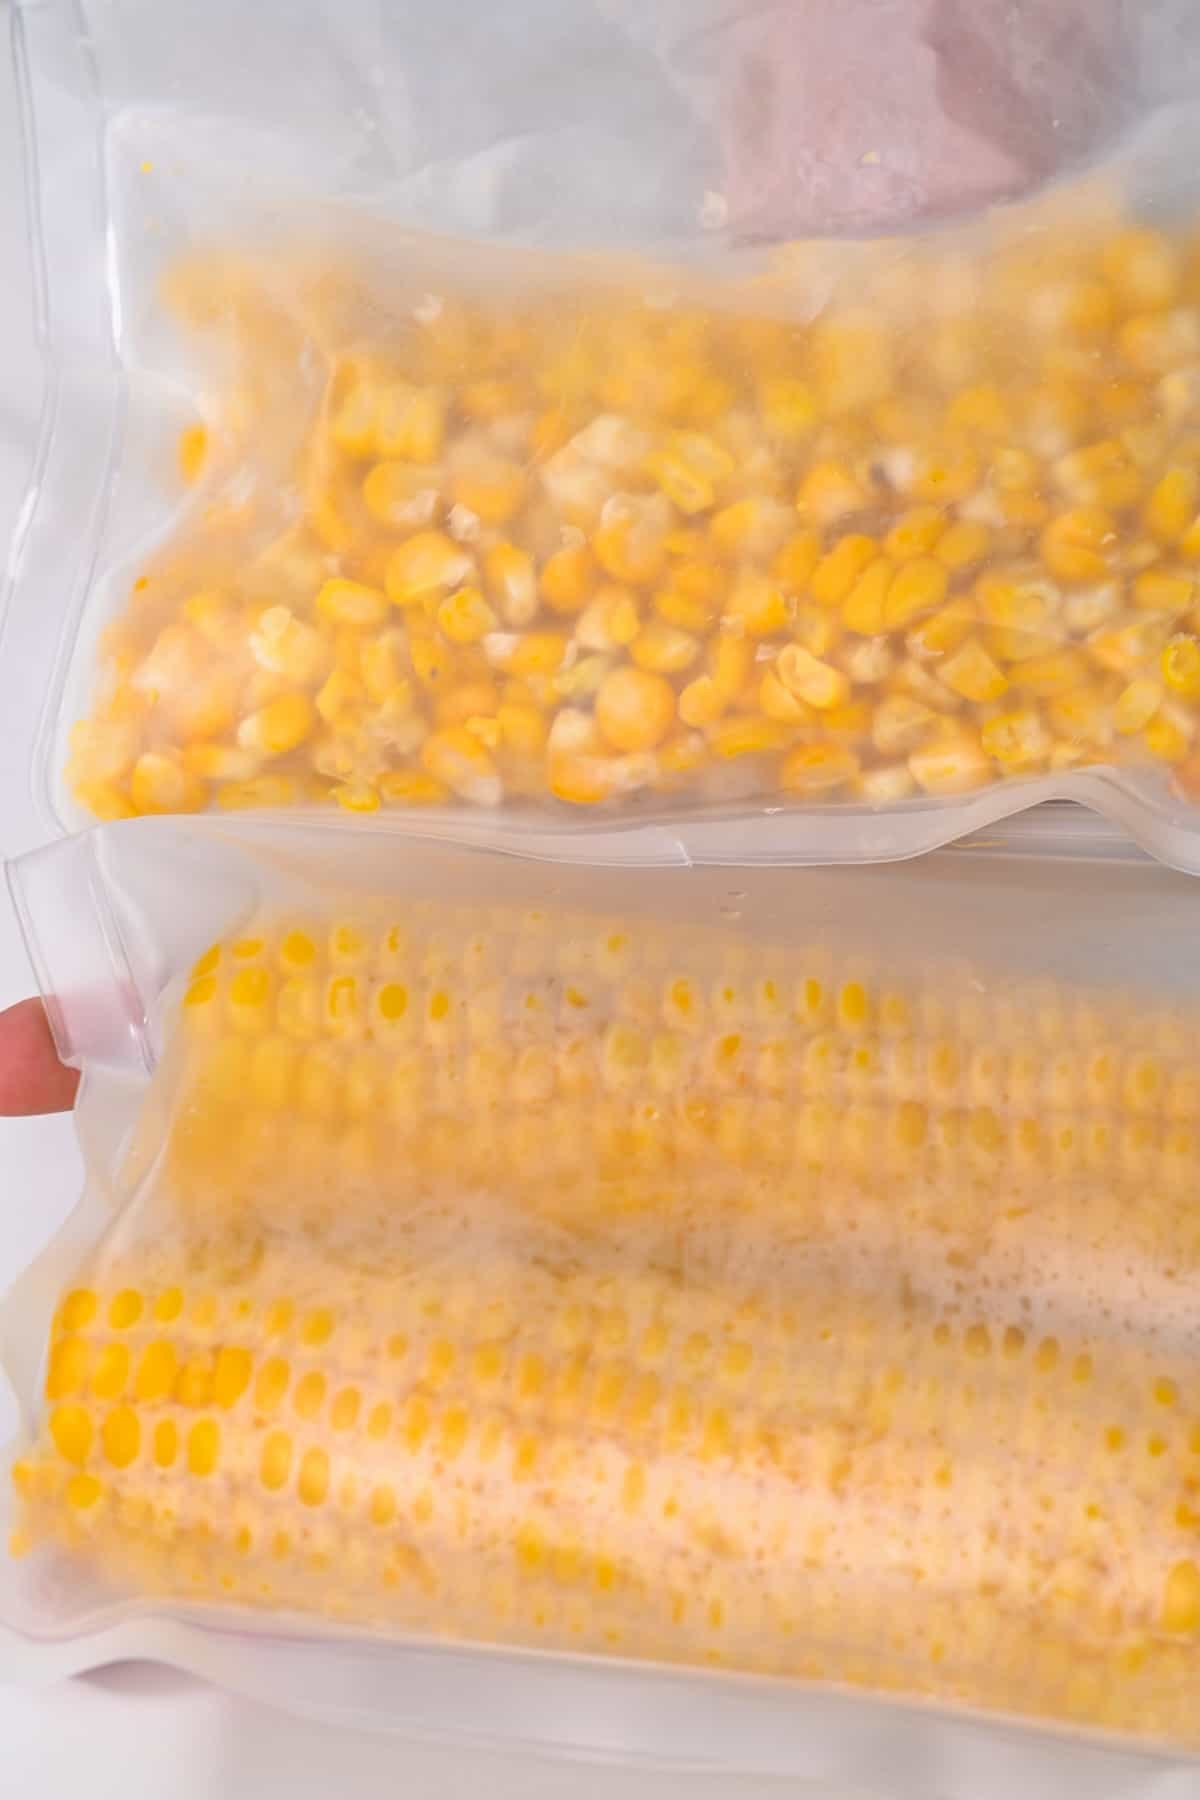
Spread the blanched dried cobs on a freezer-safe tray and flash freeze until solid (a few hours or overnight). Then, transfer the cobs to a Ziplock freezer bag or tightly wrap them individually. Label with the date and keep in the freezer.
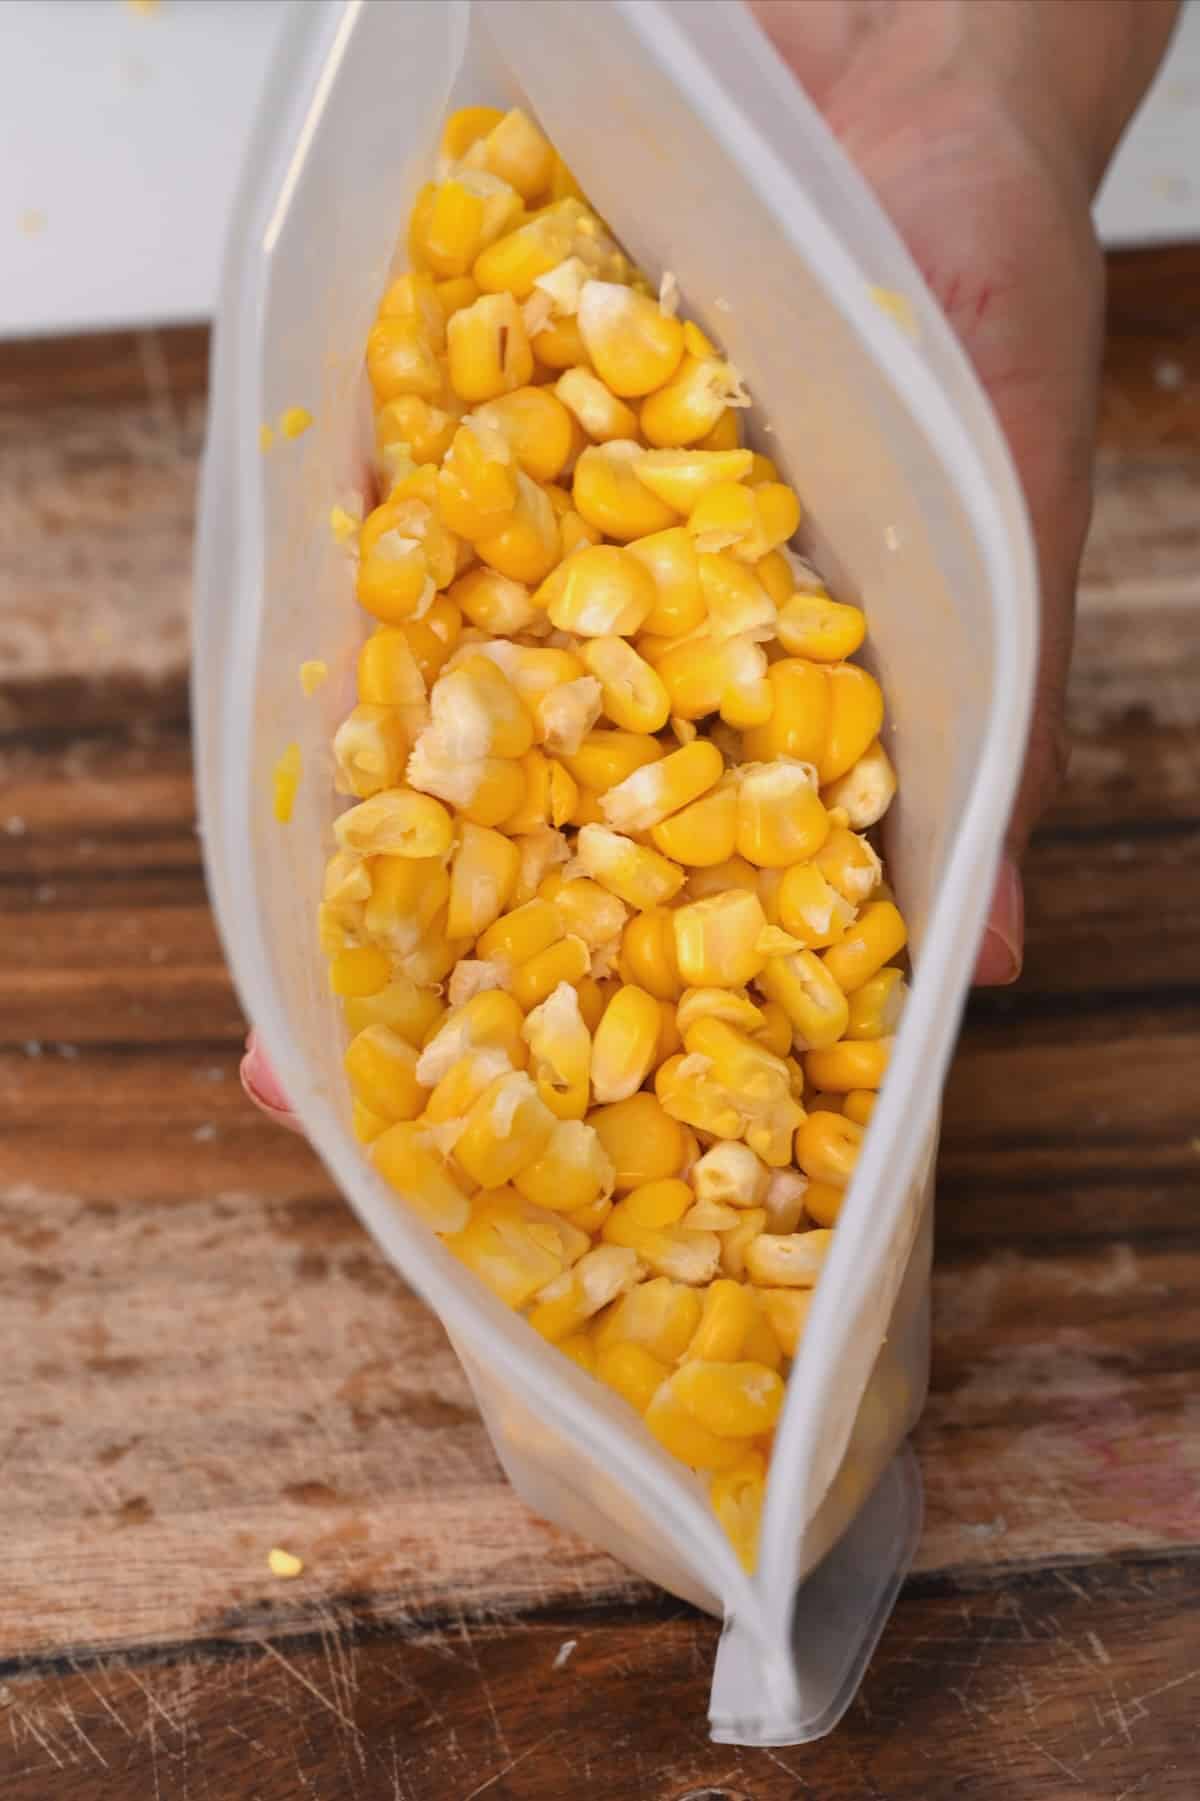
How to Freeze Corn Off the Cob (Corn Kernels)
To freeze corn off the cob, start by removing the husk and blanching and cooling the corn (follow the same instructions as above). While you can remove the kernels before blanching, I recommend doing so after.
Note: If you remove the kernels before blanching, they will only need 2 minutes in the hot water.
To remove the kernels, I find a Bundt pan very useful. If you don’t have a Bundt pan, try using an inverted small container/bowl in a large bowl.
Place the corn upright in the hole in the middle of the pan. Then, using a small, sharp knife, slice downwards, shaving the corn. The kernels will drop into the Bundt pan, avoiding mess.
Spread the kernels in a single layer across a baking sheet. Freeze until solid (for a few hours), then transfer to a Ziplock bag, squeezing out any extra air. Label with the date and keep in the freezer.
How Long Does Blanched Frozen Corn Last
Properly stored blanched corn (kernels or whole) can last for up to 8-12 months in the freezer (ideally at 0°F/-18°C). If your freezer temperature is not that low, make sure to consume the corn within the first 6 months.
How to Thaw Frozen Corn
To thaw frozen corn on the cob, transfer it to the fridge and let it thaw overnight. Then you can reheat it by boiling it for a few minutes or oven-roasting it at 375°F/190°C until heated through.
Kernels off the cob can be added directly to the skillet/pan to heat in the last few minutes of cooking. Or defrost in the fridge overnight and heat through on a skillet with some butter.
If you have any leftover thawed corn, it should not be frozen again and is best consumed within a few days for optimal quality.
Delicious Corn Recipes
If you try this method for freezing corn, let me know how it goes in the comments below. I’d appreciate a recipe card rating and would love to see your recipe recreations – tag me on Instagram @Alphafoodie!
How to Freeze Corn (On or Off the Cob)
Equipment
Ingredients
- 4 corn on the cob or as many as wanted
Instructions
How to Choose the Best Corn
- At the farmer's market, the best corn is:– Bright green and tightly wrapped around the cob,– Golden and silky tassels at the top,– Heavy and firm,– Plump kernels inside,– Free from wormholes/bugs.
How to Freeze Corn on the Cob
- Shuck: Use a sharp knife to cut off ½ inch from the root end of each corn cob. Firmly hold the top of the cob (where the tassels are) either with your hand or a kitchen towel for better grip. With your other hand, hold the bottom of the cob and twist and pull the corn to free it from the husk. The corn should slide easily free. If wanted, cut the cobs in half now.
- Blanch: Bring a large pot of water to a boil and carefully drop the corn in, ensuring it's fully submerged (I like to use heat-proof tongs for this). Leave to boil for exactly 4 minutes with the lid on. In the meantime, prepare an ice bath – a large container filled with water and plenty of ice.
- Cool and Dry: As soon as 4 minutes is up, use the tongs to remove the corn and place it immediately into an ice bath. This stops the cooking and cools it quickly. Leave in the ice water until fully cooled (around 10 minutes). Use a kitchen towel or paper towels to thoroughly dry the corn.
- Freeze: Spread the blanched dried cobs on a freezer-safe tray and flash freeze until solid (a few hours or overnight). Transfer the cobs to a Ziplock freezer bag or tightly wrap them individually. Label with the date and keep in the freezer.
How to Freeze Kernels (Corn off the Cob)
- Shuck, Blanch, Cool, and Dry: Follow the same instructions as above. You could remove the kernels before blanching, but I recommend doing so after. Note: If you remove the kernels before blanching, they will only need 2 minutes in the hot water.
- Remove the kernels: I find a Bundt pan very useful. If you don't have a Bundt pan, try using an inverted small container/bowl in a large bowl.Place the corn upright in the hole in the middle of the pan. Using a small, sharp knife, slice downwards, shaving the corn. The kernels will drop into the Bundt pan, avoiding mess.
- Freeze: Spread the kernels in a single layer across a baking sheet. Freeze until solid (for a few hours), then transfer to a Ziplock bag, squeezing out any extra air. Label with the date and keep in the freezer.
How to Store and Thaw/Reheat
- Properly stored blanched corn (kernels or on the cob) can last for up to 8-12 months in the freezer (ideally at 0°F/-18°C). If your freezer temperature is not that low, make sure to consume the corn within the first 6 months.To thaw frozen corn on the cob, transfer it to the fridge and let it thaw overnight. Then you can reheat it by boiling it for a few minutes or oven-roasting it at 375°F/190°C until heated through.Kernels off the cob can be added directly to the skillet/pan to heat in the last few minutes of cooking. Or defrost in the fridge overnight and heat through on a skillet with some butter.If you have any leftover thawed corn, it should not be frozen again and is best consumed within a few days for optimal quality.
Video
Notes
- Use fresh corn: The fresher the corn, the sweeter and juicier it will be. Use organic where possible, too, for the most flavor.
- Don’t salt the water: This can pull moisture from the corn and cause it to toughen. You could add a pinch of sugar, though, to enhance the sweetness of the corn.
- Work in batches: I recommend blanching up to 4 cobs simultaneously. Otherwise, the blanching time may vary.
- Ensure the corn is dry: If you try to freeze corn that’s still wet, this will encourage ice crystals to form over the corn.
- Don’t discard the cobs: You can use them to make vegetable stock, corn chowder, or corn cob jelly.
- Label the bags: Use a permanent marker to label the freezer bags with a use-by date, and avoid waste.
Nutrition
Nutrition information is automatically calculated, so should only be used as an approximation.


I tried par boiling on the cob, but the result was rather mushy, flavorless corn that seemed to have too much water inside the kernels (think KFC corn on tbe cob).
Hi Tyna,
Thanks for sharing your experience. How long did you boil the corn for? To blanch it properly, it needs to boil for only 4 minutes, and then it needs to be placed in icy water right away. That should prevent it from becoming mushy.