
This post may contain affiliate links. Please read our disclosure policy.


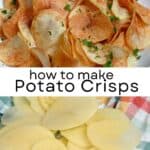
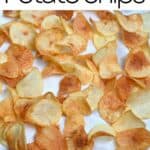
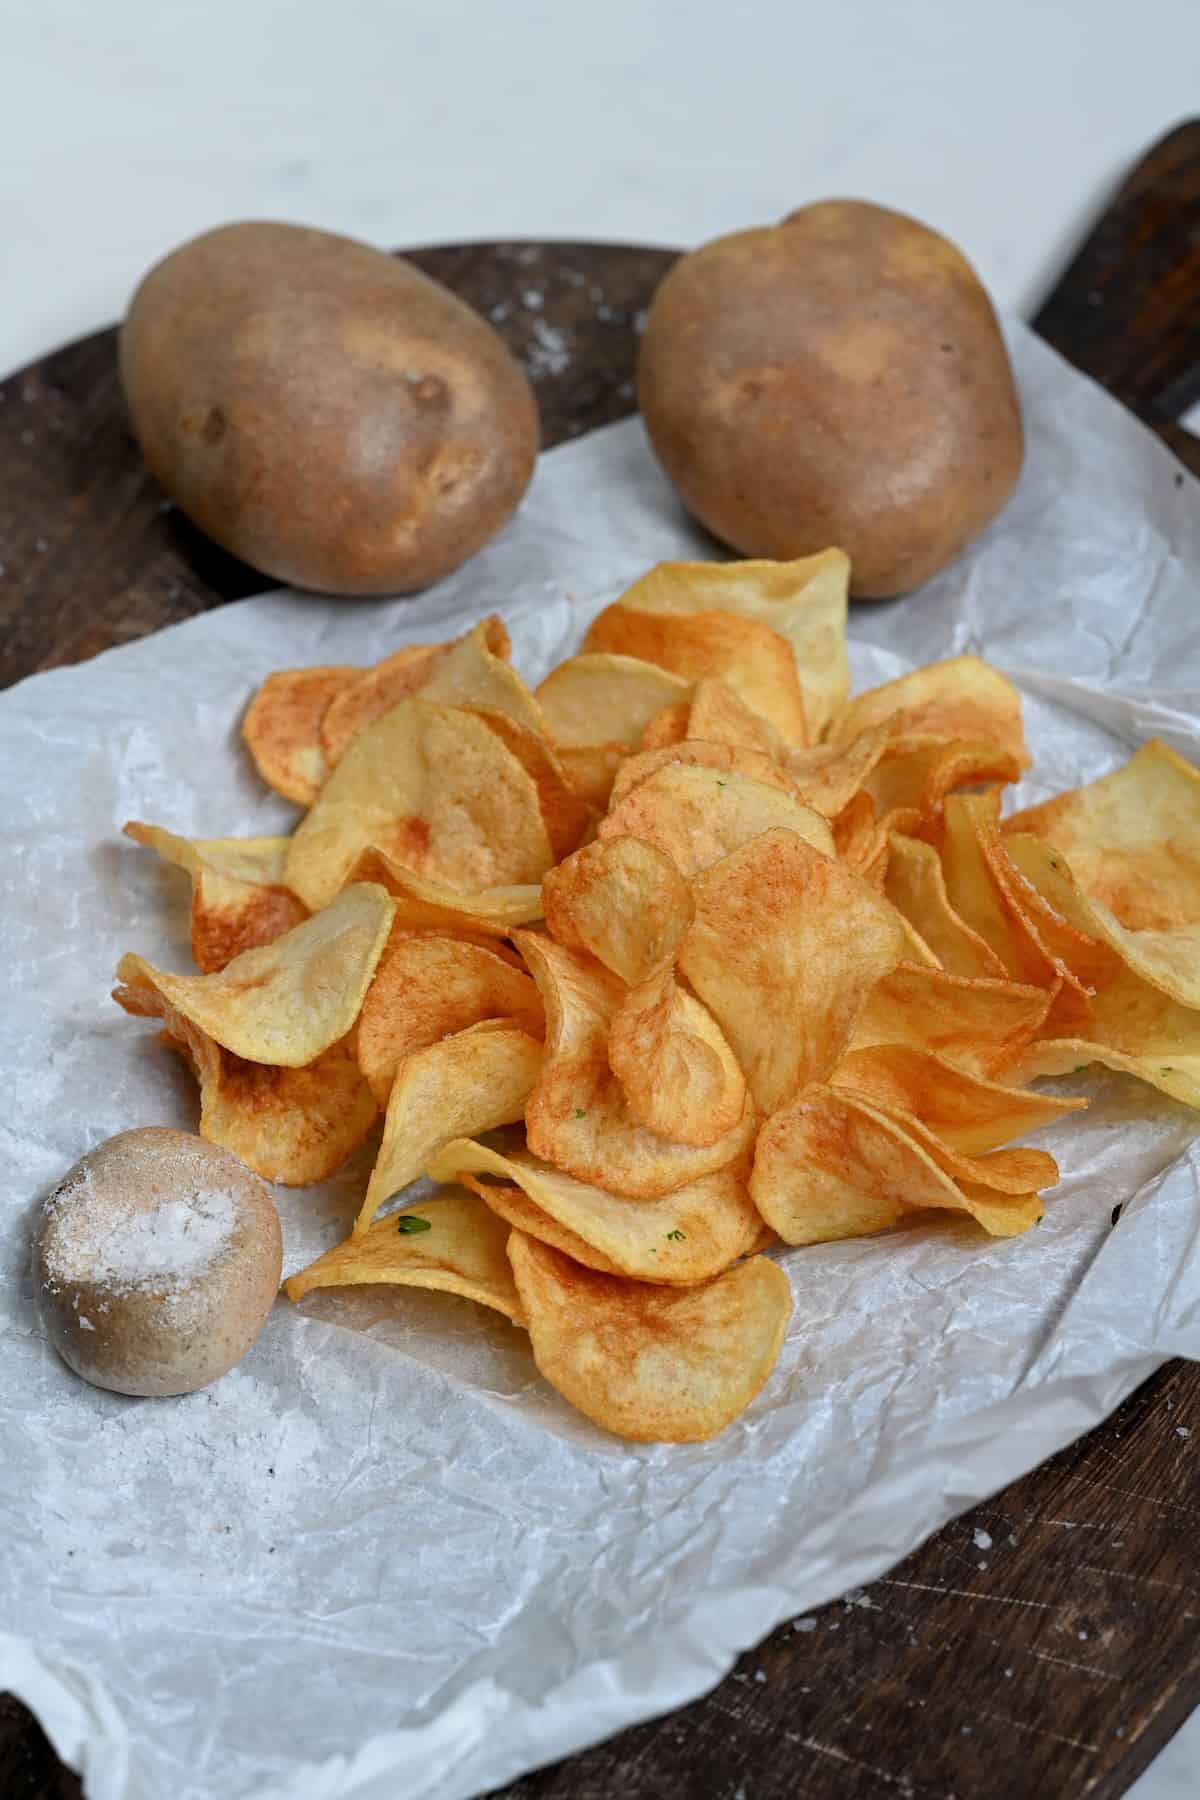
Learn how to make potato chips from scratch at home. It’s easier than you think and so worth the effort – they’re golden, super crispy, and you can season them however you like!
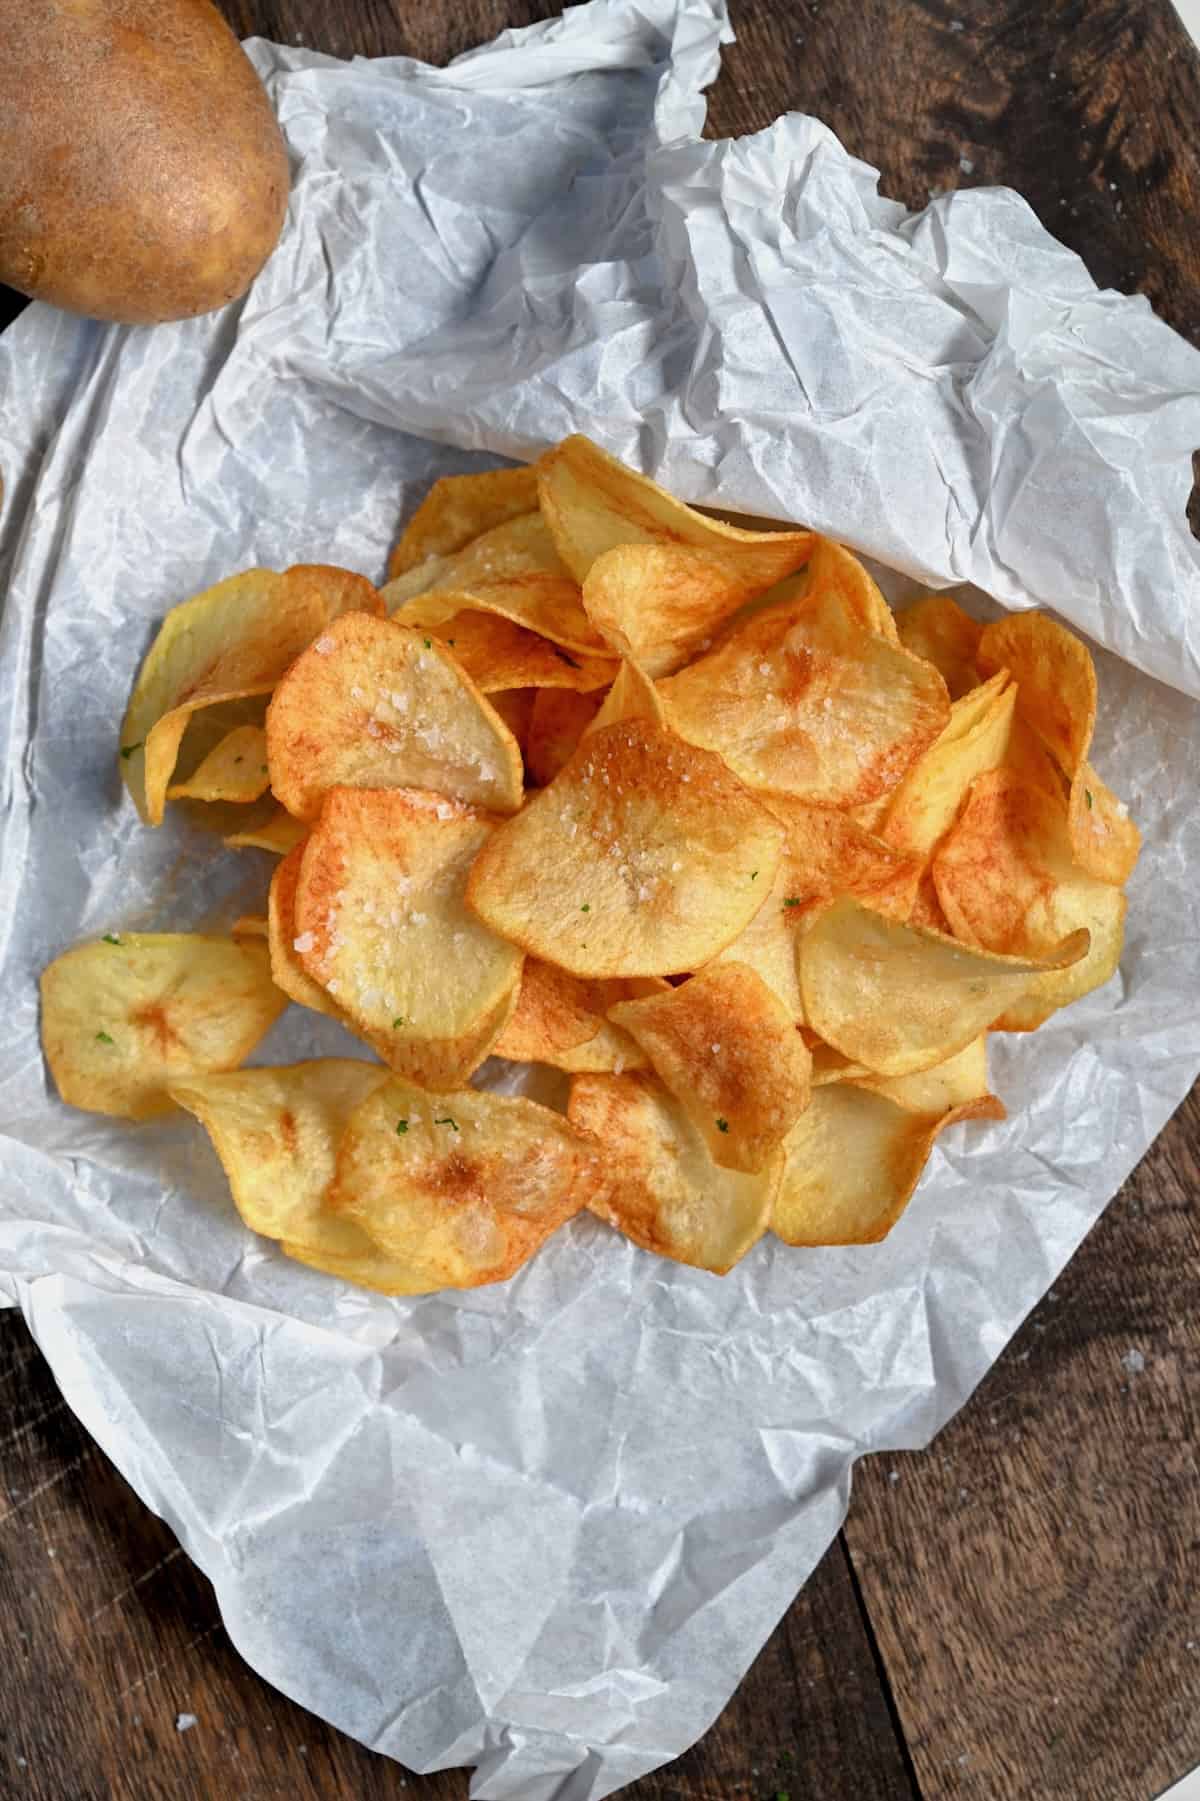
I do love air fryer tortilla chips and homemade pita chips, but there’s just something about a handful of salty, savory potato chips that will always capture my heart. For those times you’re craving truly crispy homemade potato chips, you have to try this fried potato chips recipe!
These chips are the crispiest homemade chips you’ll ever try. They taste just as good, if not better than store-bought, but without preservatives, nearly always more cost-effective, and you can be 100% in control of any added sodium.
While it’s not as quick as opening a bag of store-bought chips, these homemade potato chips are well worth the effort.
Looking for more chips with a twist? Check out my recipes for kale chips, beet chips, and parmesan crisps.
Want to save this recipe?
How to make homemade potato chips
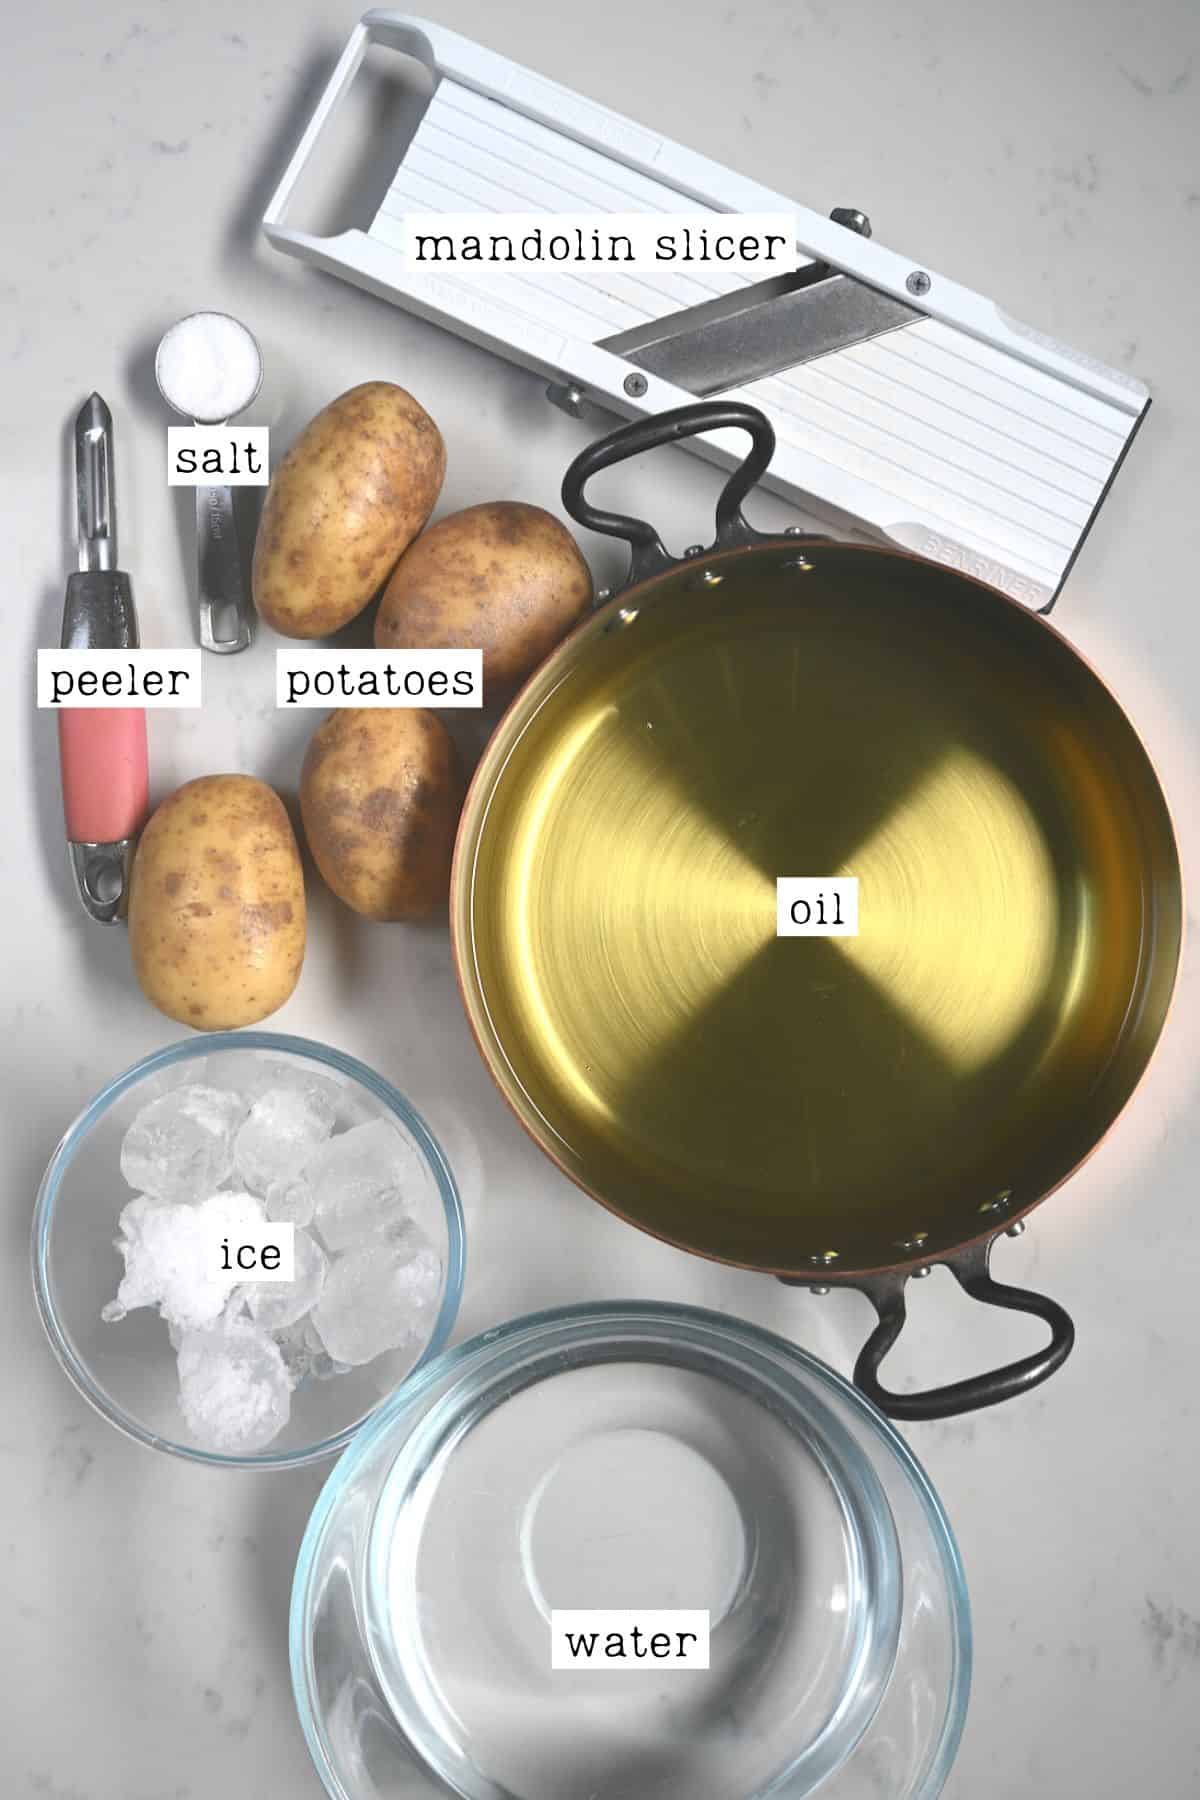
Making traditional deep fried potato chips is simple. You only need 3 ingredients: potatoes, salt, and frying oil (plus water and ice). Oh, and of course, a mandoline or potato slicer.
What Kind of Potatoes Are Used for Potato Chips
The best potatoes for chips are firm, fresh (non-sprouted), high-starch potatoes that don’t contain a lot of moisture. Some of my favorite options are:
- Russet potatoes (my preferred option to make the best potato chips),
- Purple potatoes,
- Sweet potatoes,
- Yukon Gold potatoes.
Please also note that using neutral-flavored, high-heat cooking oil for this recipe is important. For example, vegetable, canola, peanut, or sunflower oil. Avoid olive oil and similar low-heat oils.
Steps to Make Homemade Potato Chips
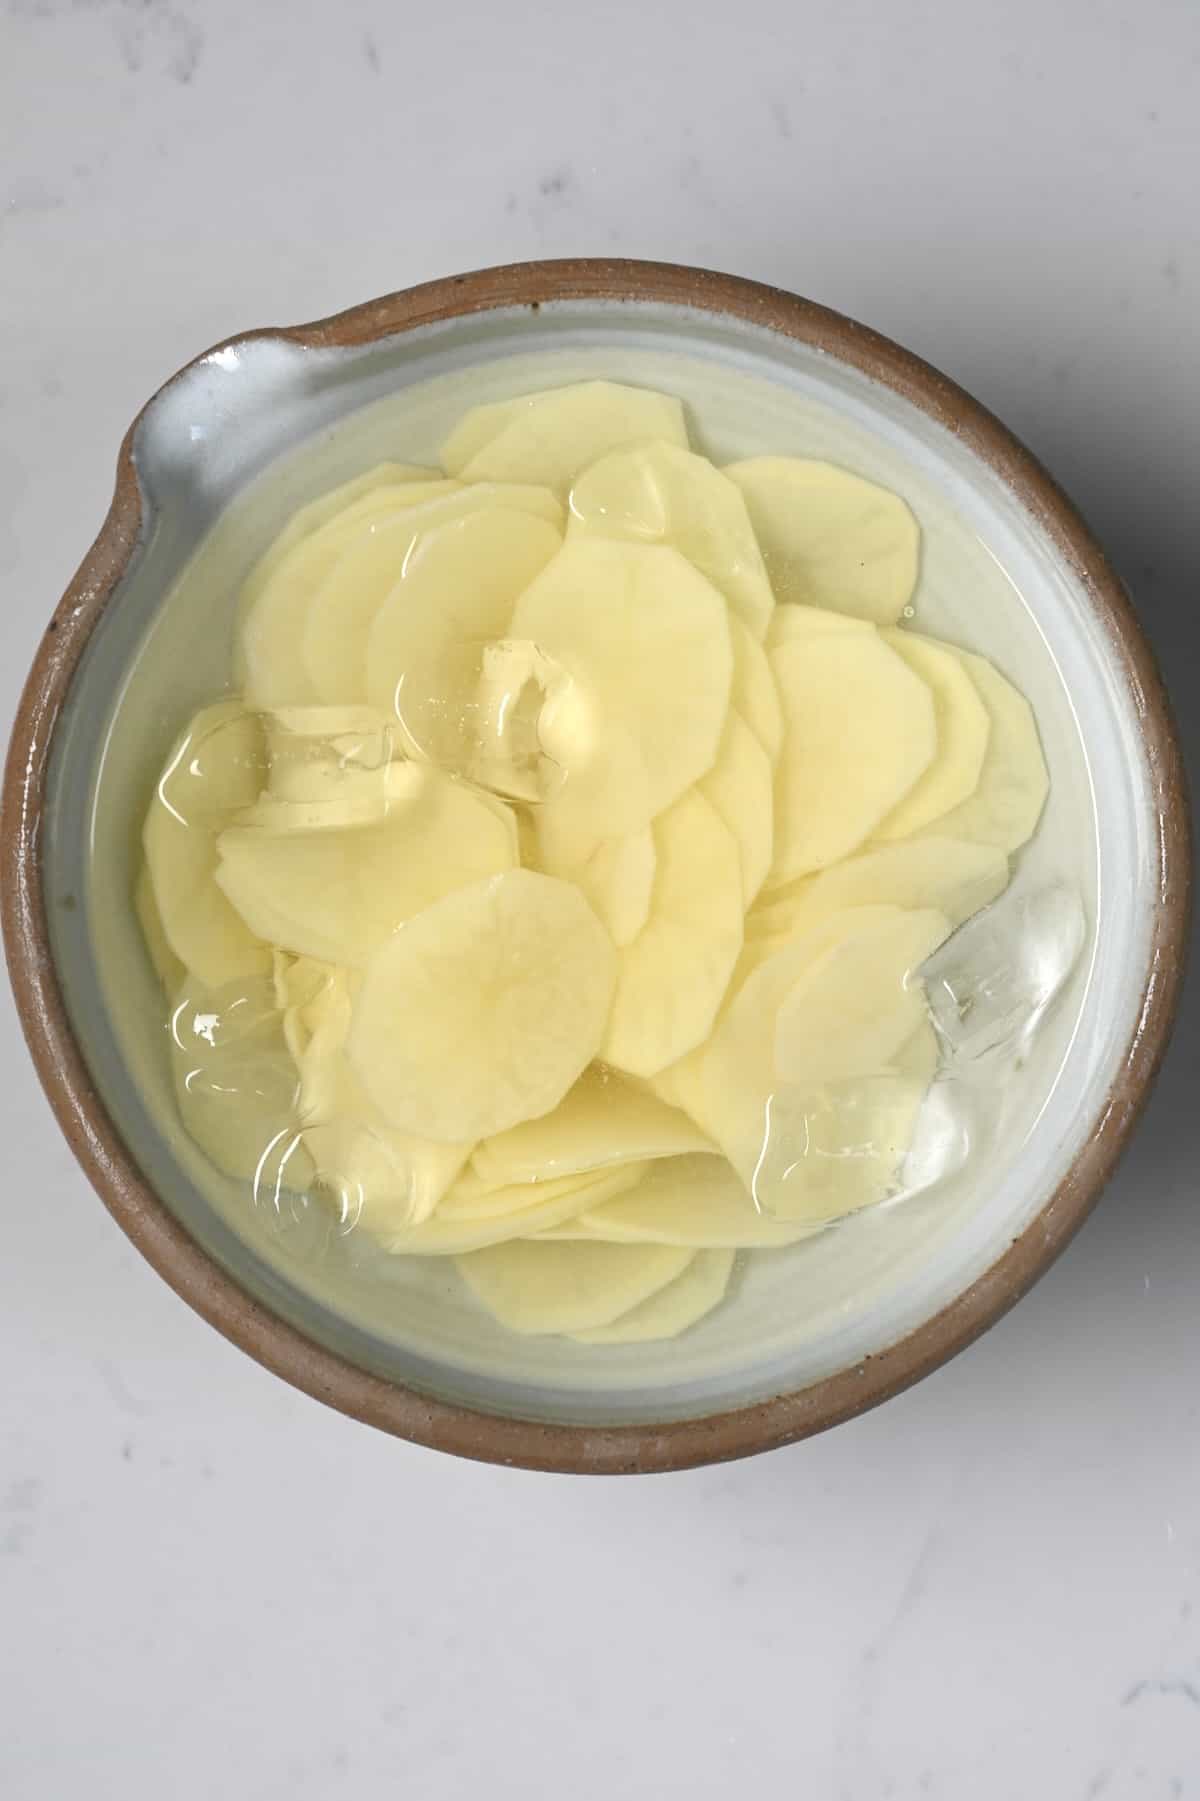
First, wash, peel, and slice the potatoes. You can use a mandolin slicer/cheese slicer/food processor slicing disk or sharp knife to between 1/16-1/8 inch. Transfer them directly to a large bowl of ice water (with ice cubes) as you slice to avoid browning.
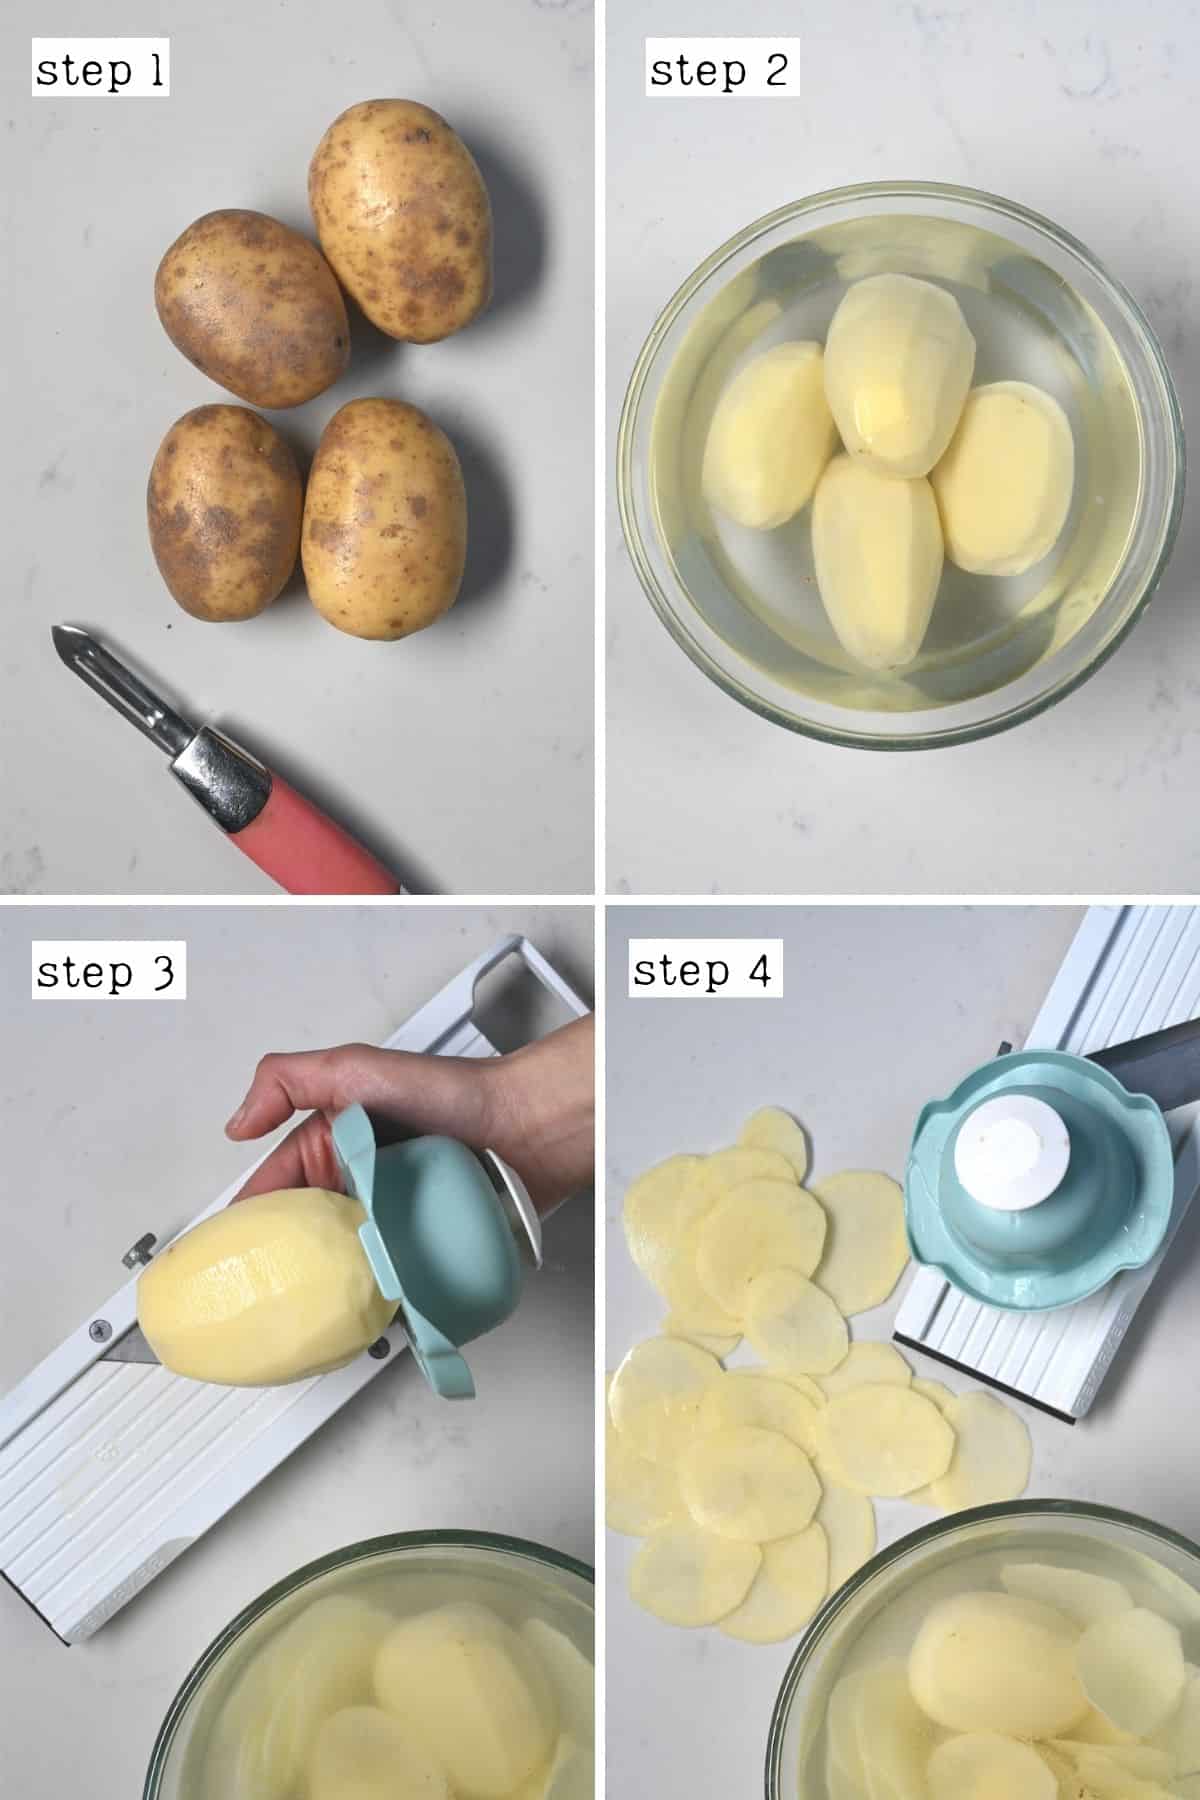
It’s important to slice the potatoes into even-sized thicknesses so they cook evenly. Therefore, I highly recommend using a mandoline rather than a knife.
Add the salt to the cold water, stir, and leave the potatoes to soak for 30 minutes. This step helps to remove excess starch and makes for the crispiest deep-fried potato chips. It also helps avoid the chips sticking together while frying.
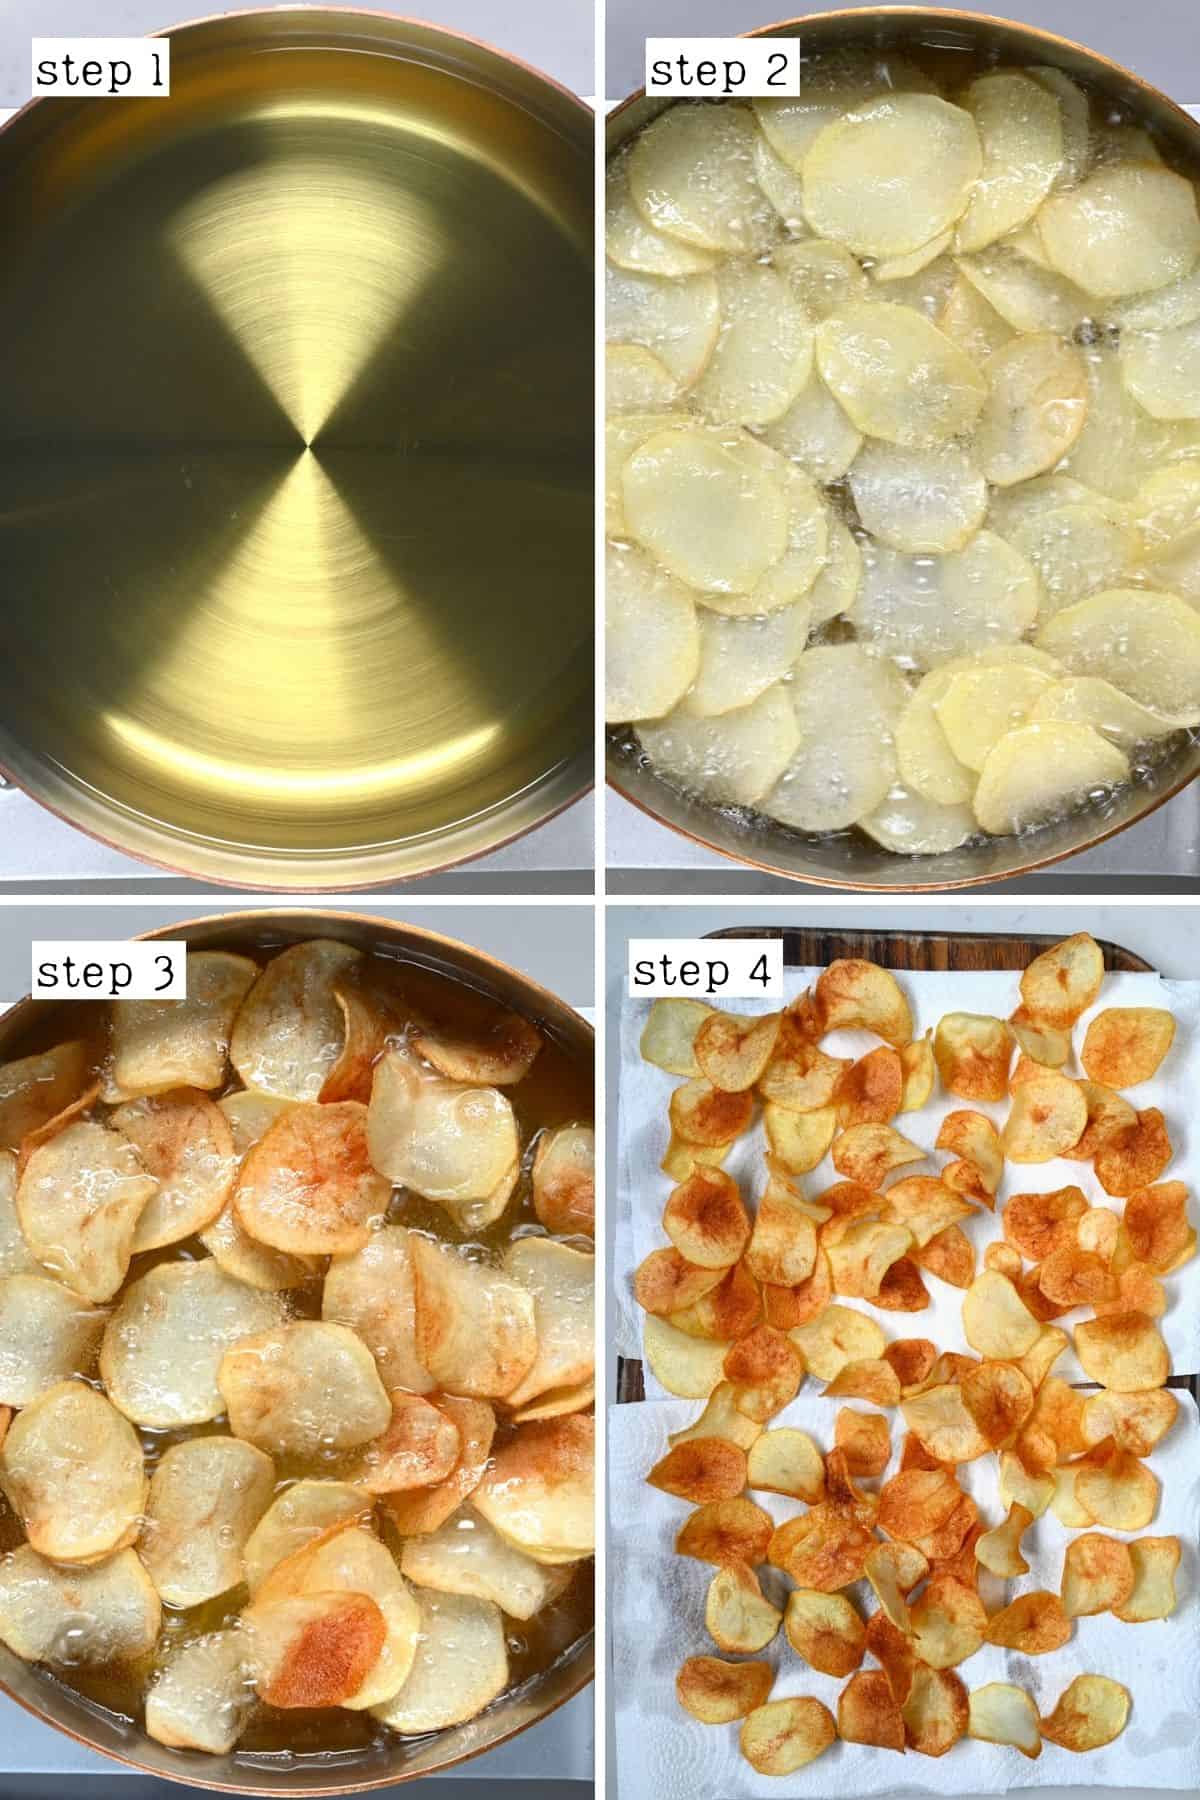
In the last 2-3 mins, heat at least 1 ½-2 inches of oil in a large deep pan (or use a deep-fat fryer) until it reaches 375ºF/190ºC.
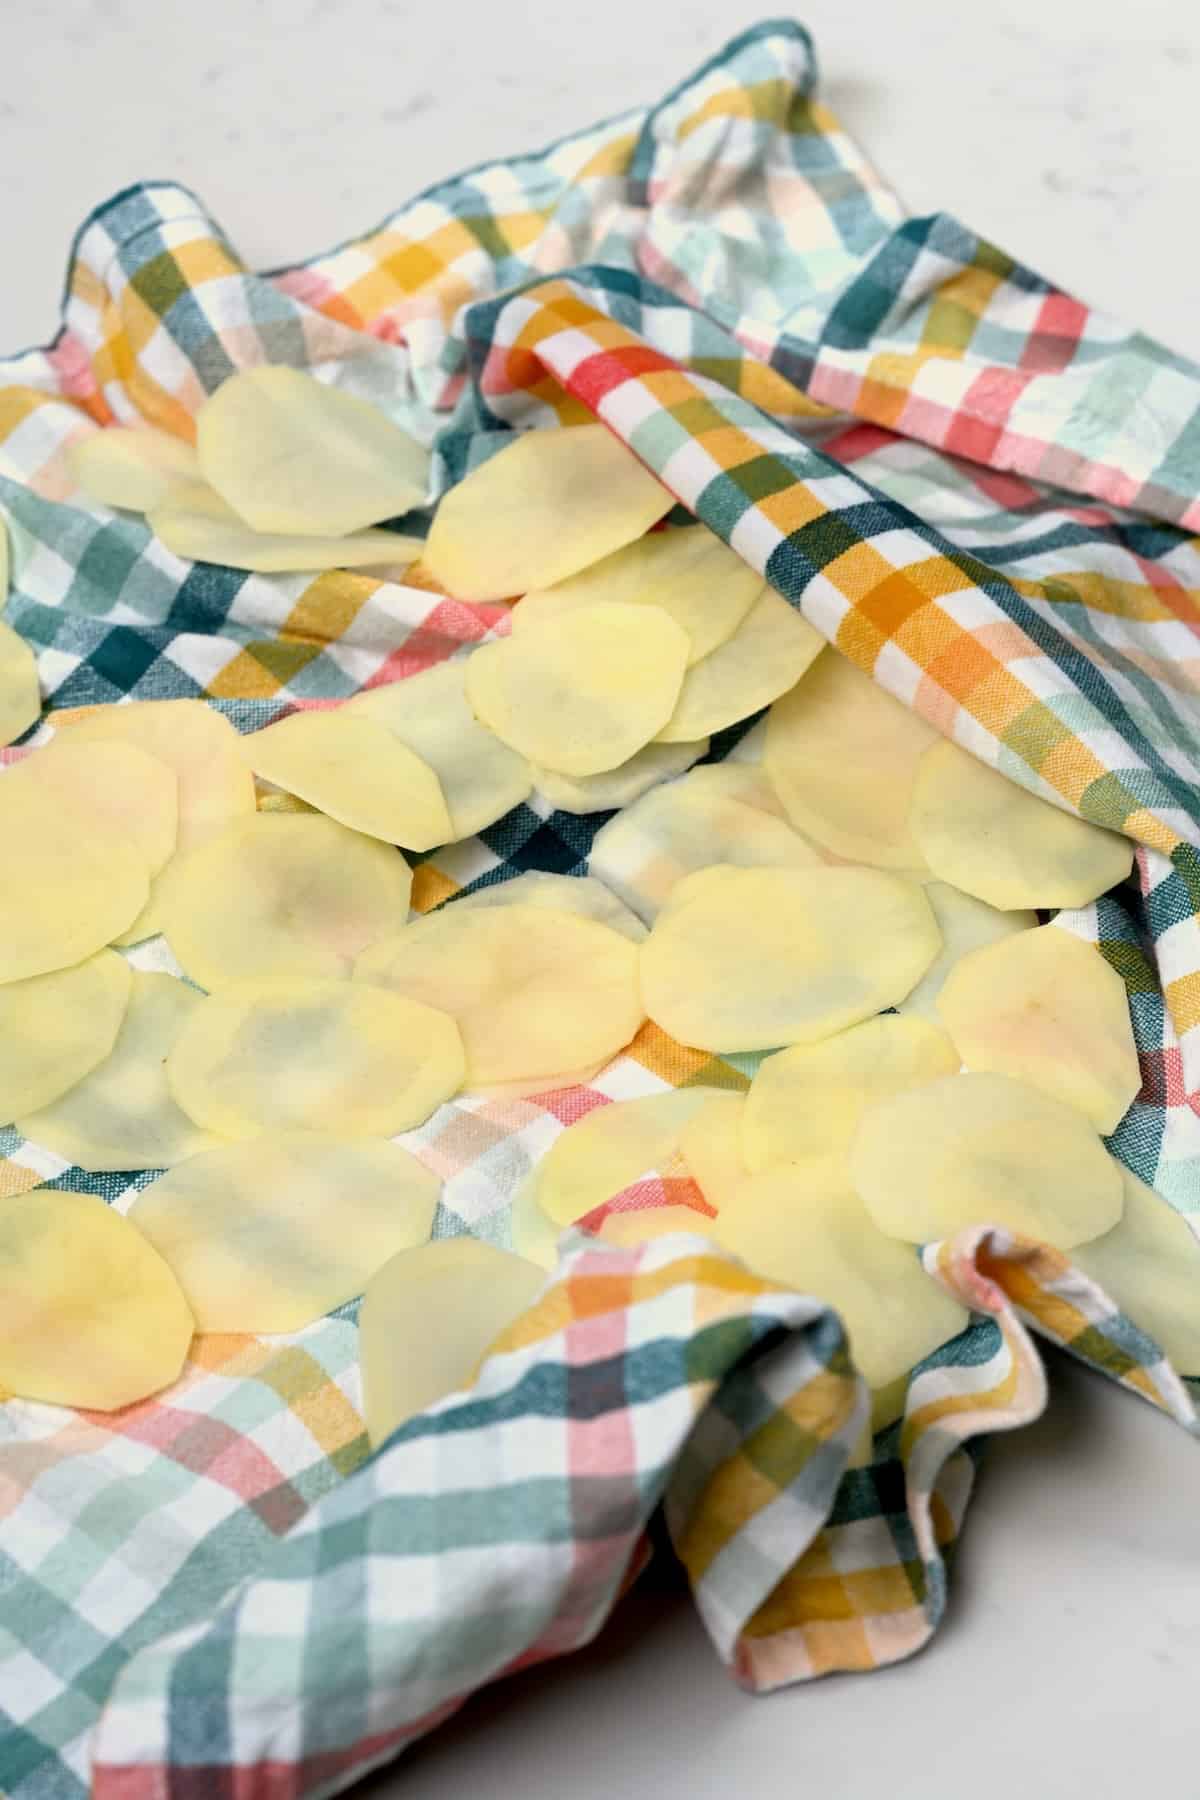
While the oil heats, use either a kitchen towel or paper towels to thoroughly pat the potato slices dry. Any excess water can be dangerous in a fryer and will affect the cooking.
Then, working in batches (enough to form a single layer in the pan), carefully lower the potato slices into the oil and fry them for about 3-5 minutes (depending on the thickness of the slices), stirring frequently, or until they’re golden and crispy.
It’s important not to overcrowd the pan. Otherwise, it causes the temperature of the oil to drop and the chips to soak up excess oil and become soggy.
Using a slotted spoon or wire mesh strainer, remove the chips from the oil and transfer them to a paper towel-lined plate in a single layer to drain any excess oil. Repeat until you’ve fried all the chips.
Don’t stack newly cooked chips over already cooled ones. Instead, spread them in a single layer to dry to avoid sogginess.
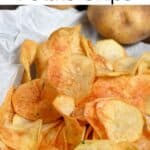
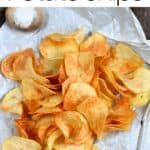
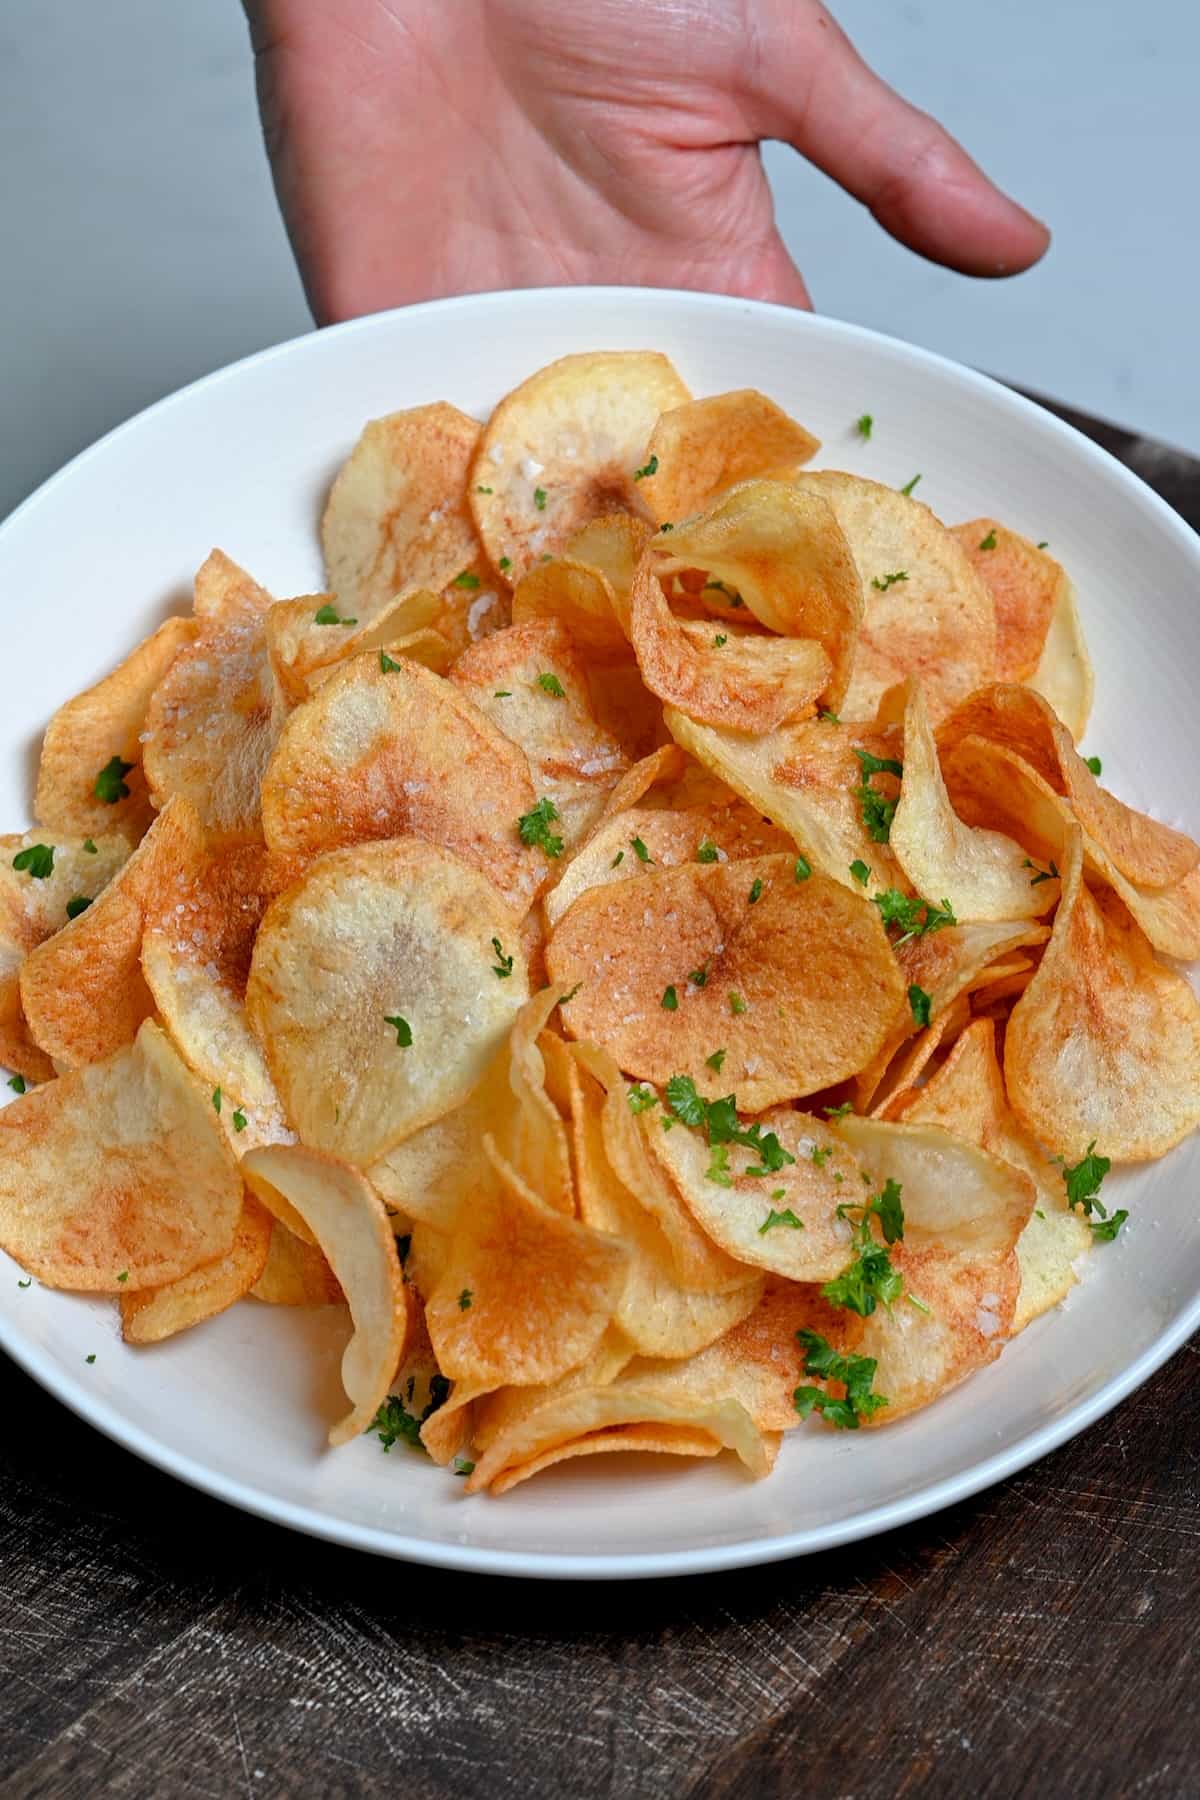
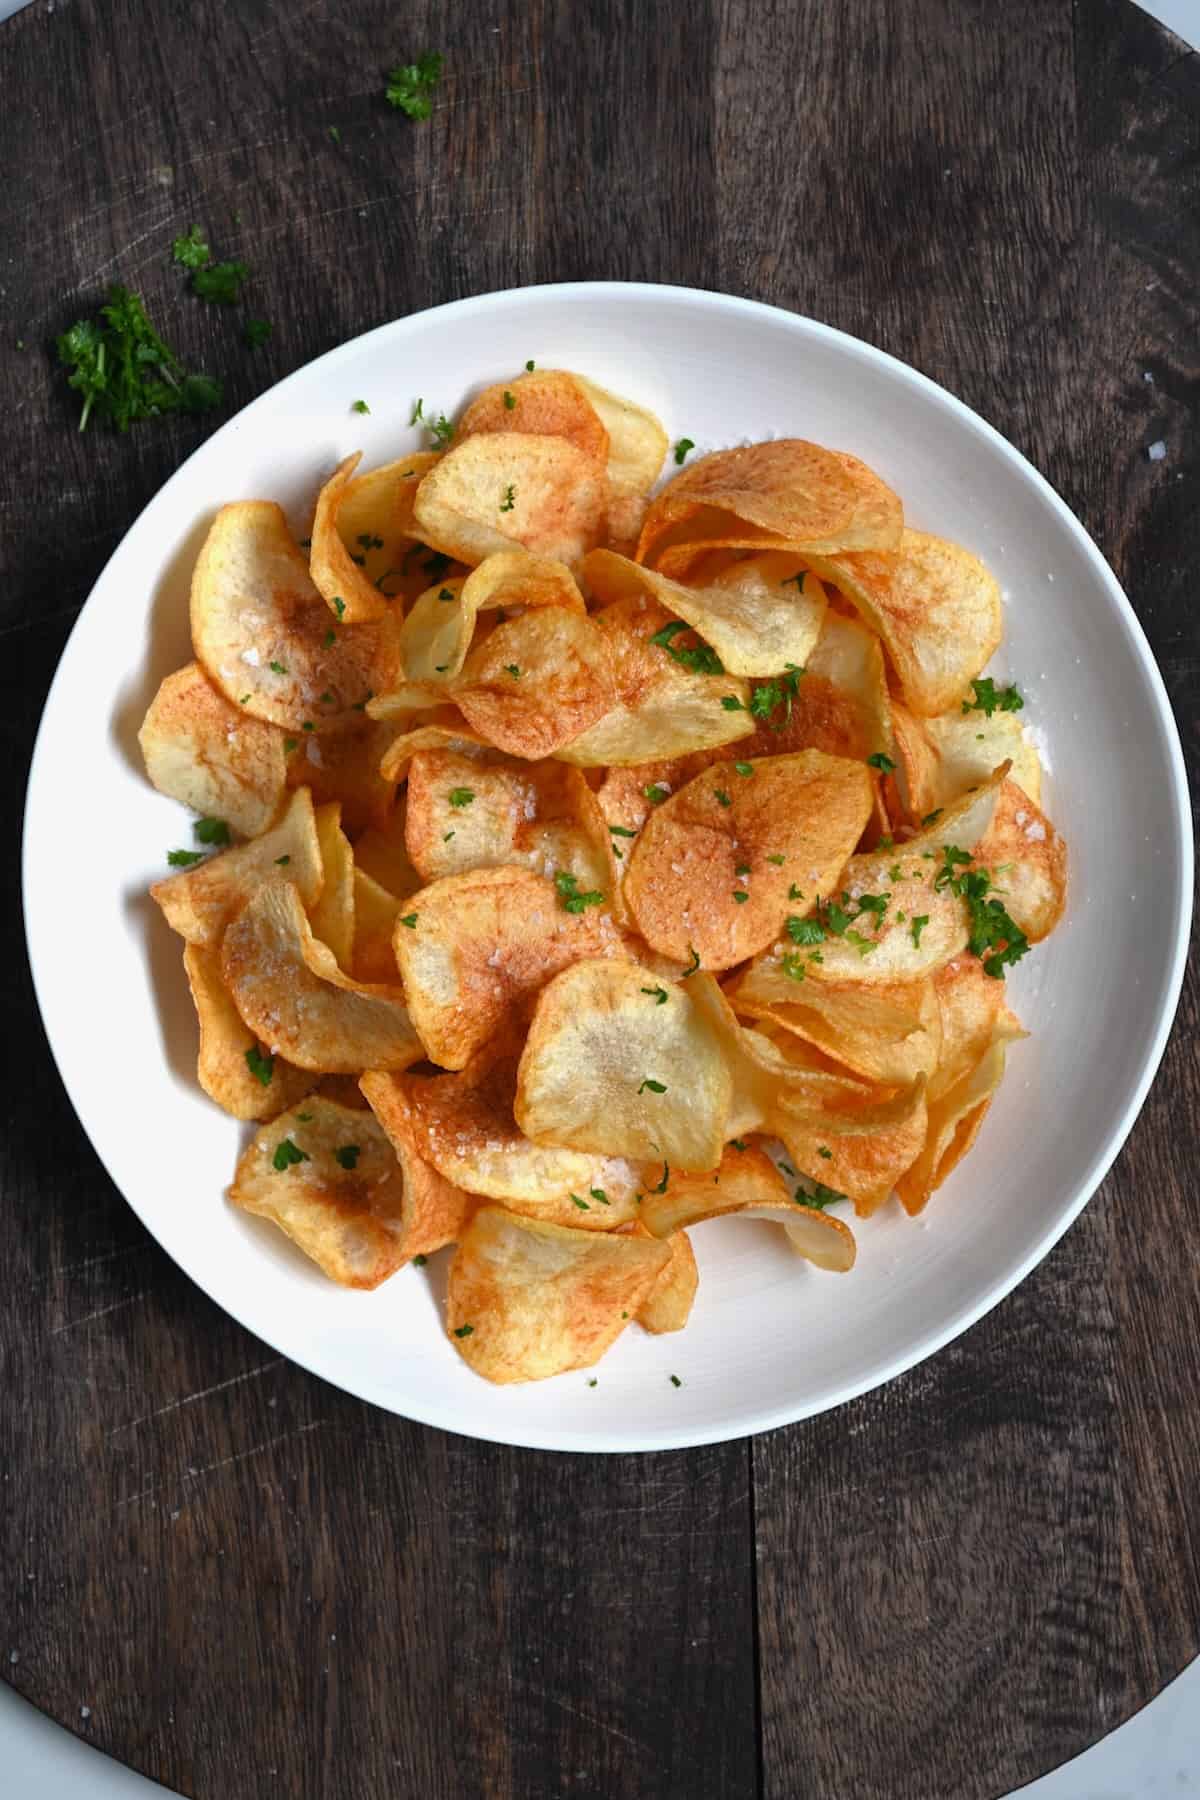
While still hot (this will help spices to adhere), season the crunchy chips with salt or your seasoning blend of choice. Finally, the homemade potato chips are ready to enjoy – either warm (my preference) or left to cool first.
Enjoy them as a snack or part of a meal, alongside a lunch sandwich or grilled halloumi wrap, at picnics, a BBQ alongside sweet potato burgers, homemade coleslaw, and stuffed mushrooms, with dips like ketchup or French onion dip, etc.
How to keep homemade potato chips crispy
It’s essential to store these potato snacks properly. Ensure they’re fully cooled first, as heat can cause steam and lead to premature sogginess.
Once cool, transfer the chips to an airtight container and store them at room temperature for 2-3 days.
More potato recipes
- Creamy Au Gratin Potatoes
- The Perfect Baked Potato Recipe
- How to Boil Potatoes
- Quick Microwave Baked Potatoes
If you try this crispy potato chips recipe, let me know how it goes in the comments below. I’d appreciate a recipe card rating and would love to see your recipe recreations – tag me on Instagram @Alphafoodie!
The Best Homemade Potato Chips
Equipment
Ingredients
- 1 lb potatoes use starchy, low-moisture potatoes like Russet potatoes; Yukon Gold, purple, or sweet potatoes
- 4-8 cups oil for frying, you need at least 1½-2 inches; use a high-heat oil like canola oil, sunflower, vegetable, peanut, etc.
Water Bath
- 4 cup water or more to fill a large bowl
- 1 cup ice
- 1 Tbsp salt
Instructions
- Wash, peel, and slice the potatoes. You can use a mandolin slicer/cheese slicer/food processor slicing disk or sharp knife to between 1/16-1/8 inch. Transfer them directly to a large bowl of ice water (with ice cubes) as you slice to avoid browning.It's important to slice the potatoes into even-sized thicknesses so they cook evenly. Therefore, I highly recommend using a mandoline rather than a knife.
- Add the salt to the cold water, stir, and leave the potatoes to soak for 30 minutes.This step helps to remove excess starch and makes for the crispiest chips. It also helps avoid the chips sticking together while frying.
- In the last 2-3 mins, heat at least 1 ½-2 inches of oil in a large deep pan (or use a deep-fat fryer) until it reaches 375ºF/190ºC.
- While the oil heats, use either a kitchen towel or paper towels to thoroughly pat the potato slices dry, as any excess water can be dangerous in a fryer and will affect their cooking.
- Working in batches (enough to form a single layer in the pan), carefully lower the potato slices into the oil and fry them for about 3-5 minutes (depending on the thickness of the slices), stirring frequently, or until they’re golden and crispy.It’s important not to overcrowd the pan. Otherwise, it causes the temperature of the oil to drop and the chips to soak up excess oil and become soggy.
- Using a slotted spoon or wire mesh strainer, remove the chips from the oil and transfer them to a paper towel-lined plate in a single layer to drain any excess oil. Repeat until you've fried all the chips.Don't stack newly cooked chips over already cooled ones. Instead, spread them in a single layer to dry to avoid sogginess.
- While still hot (this will help spices to adhere), season the chips with salt or your seasoning blend of choice. Finally, the homemade chips are ready to enjoy – either warm (my preference) or left to cool first.
Notes
- Celery salt
- Garlic powder
- Onion powder
- Black pepper
- Parmesan cheese
- Cayenne pepper/ chili powder
- Smoked paprika
- Garlic herb
- Ranch seasoning
- Cinnamon sugar
- Rosemary
Nutrition
Nutrition information is automatically calculated, so should only be used as an approximation.


Hello there, I was wondering if you ever tried baking the chips instead of dropping them in oil. I see baked chips at the store, I wonder how they do it. Thanks so much
Hi Lin,
I usually make baked fries like these here and they turn out wonderfully crispy. Is this the type of recipe you are looking for?