
This post may contain affiliate links. Please read our disclosure policy.


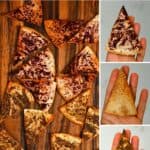


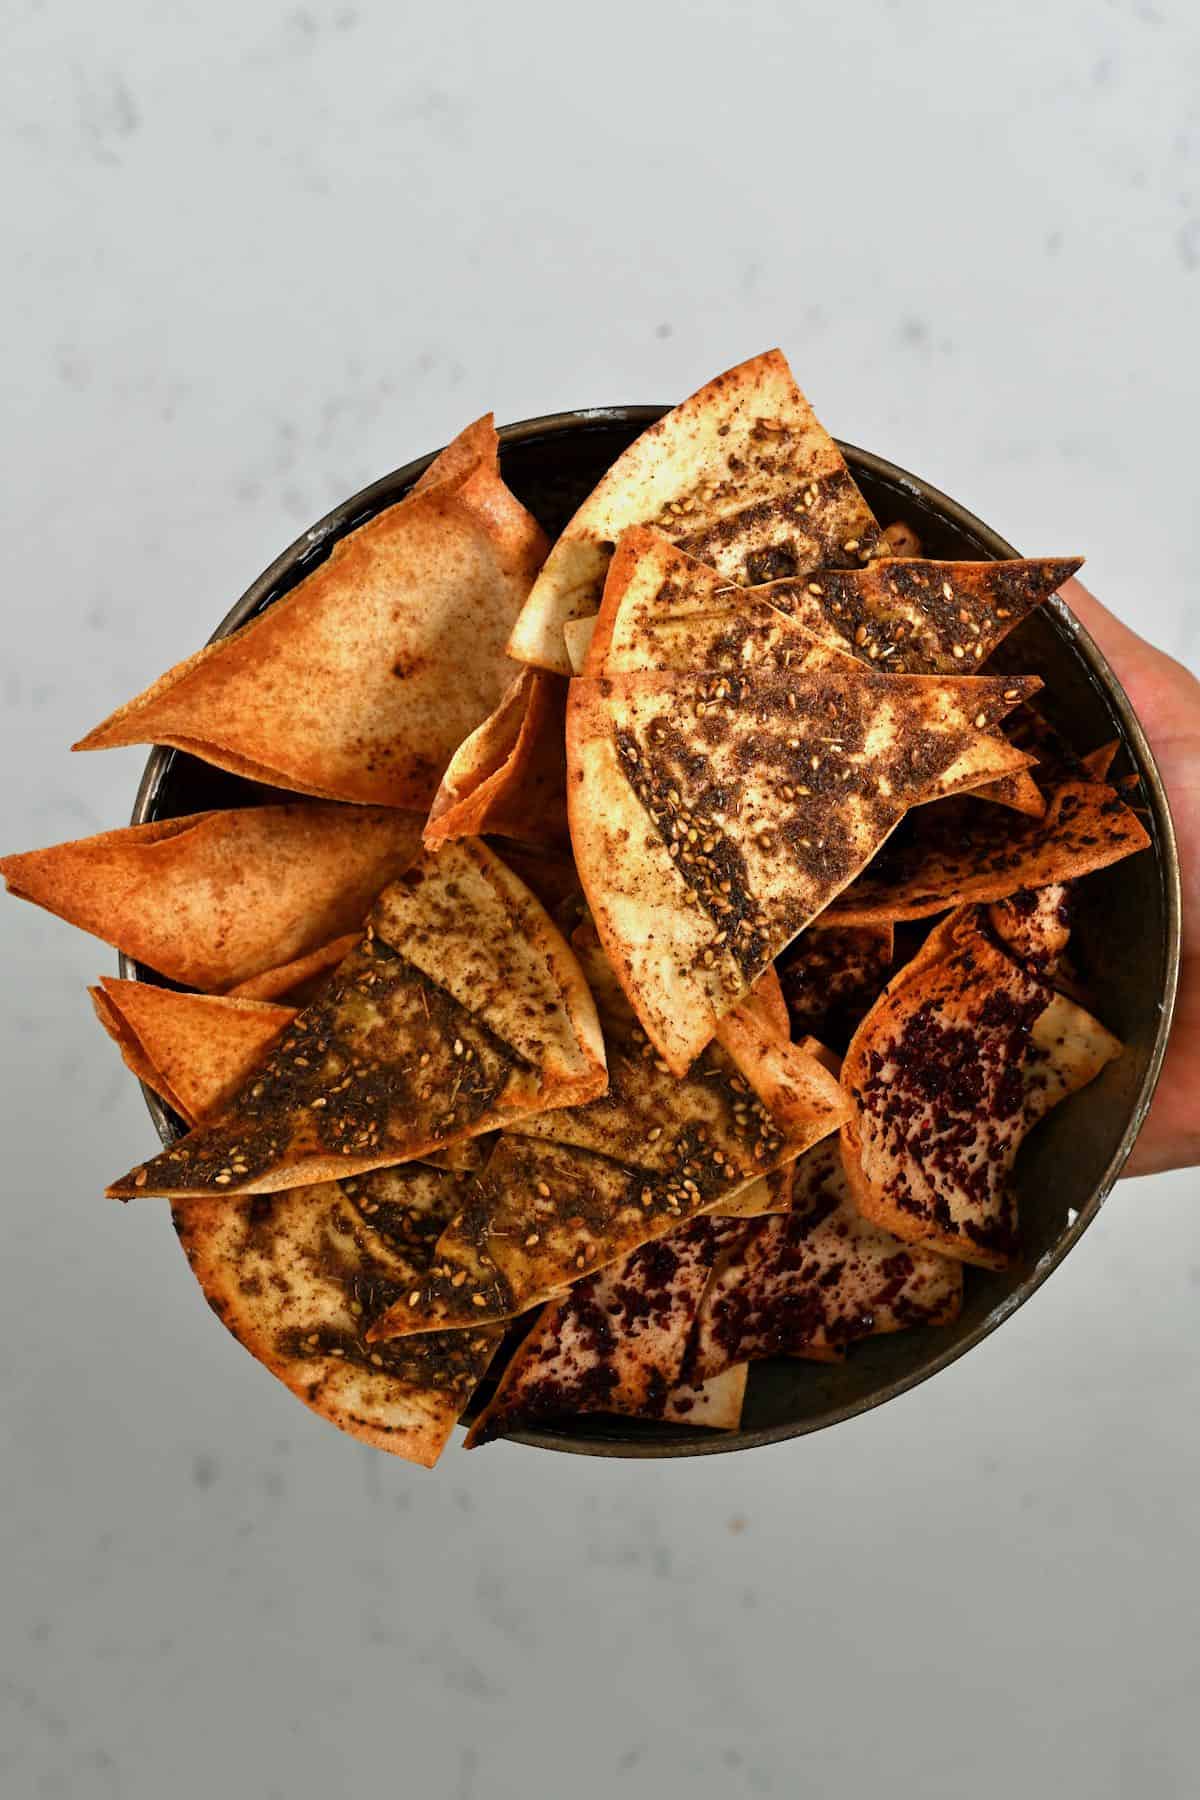
How to make crisp and crunchy homemade pita chips (either baked or in an air fryer) in under 10 minutes. This crispy toasted pita is perfect as a snack and for serving with dips. Plus, there are tons of ways to season them with your favorite herbs and spices!
While I might have a lot of sweet treats on the blog, I think, in general, I’m a savory snacker. So along with air fryer tortilla chips, oven-baked kale chips, and potato skin chips, I love these quick and easy homemade pita chips for their simplicity, crunch, and tons of flavor variations. Best of all, this method is just as simple whether you choose to make baked or air fryer pita chips!
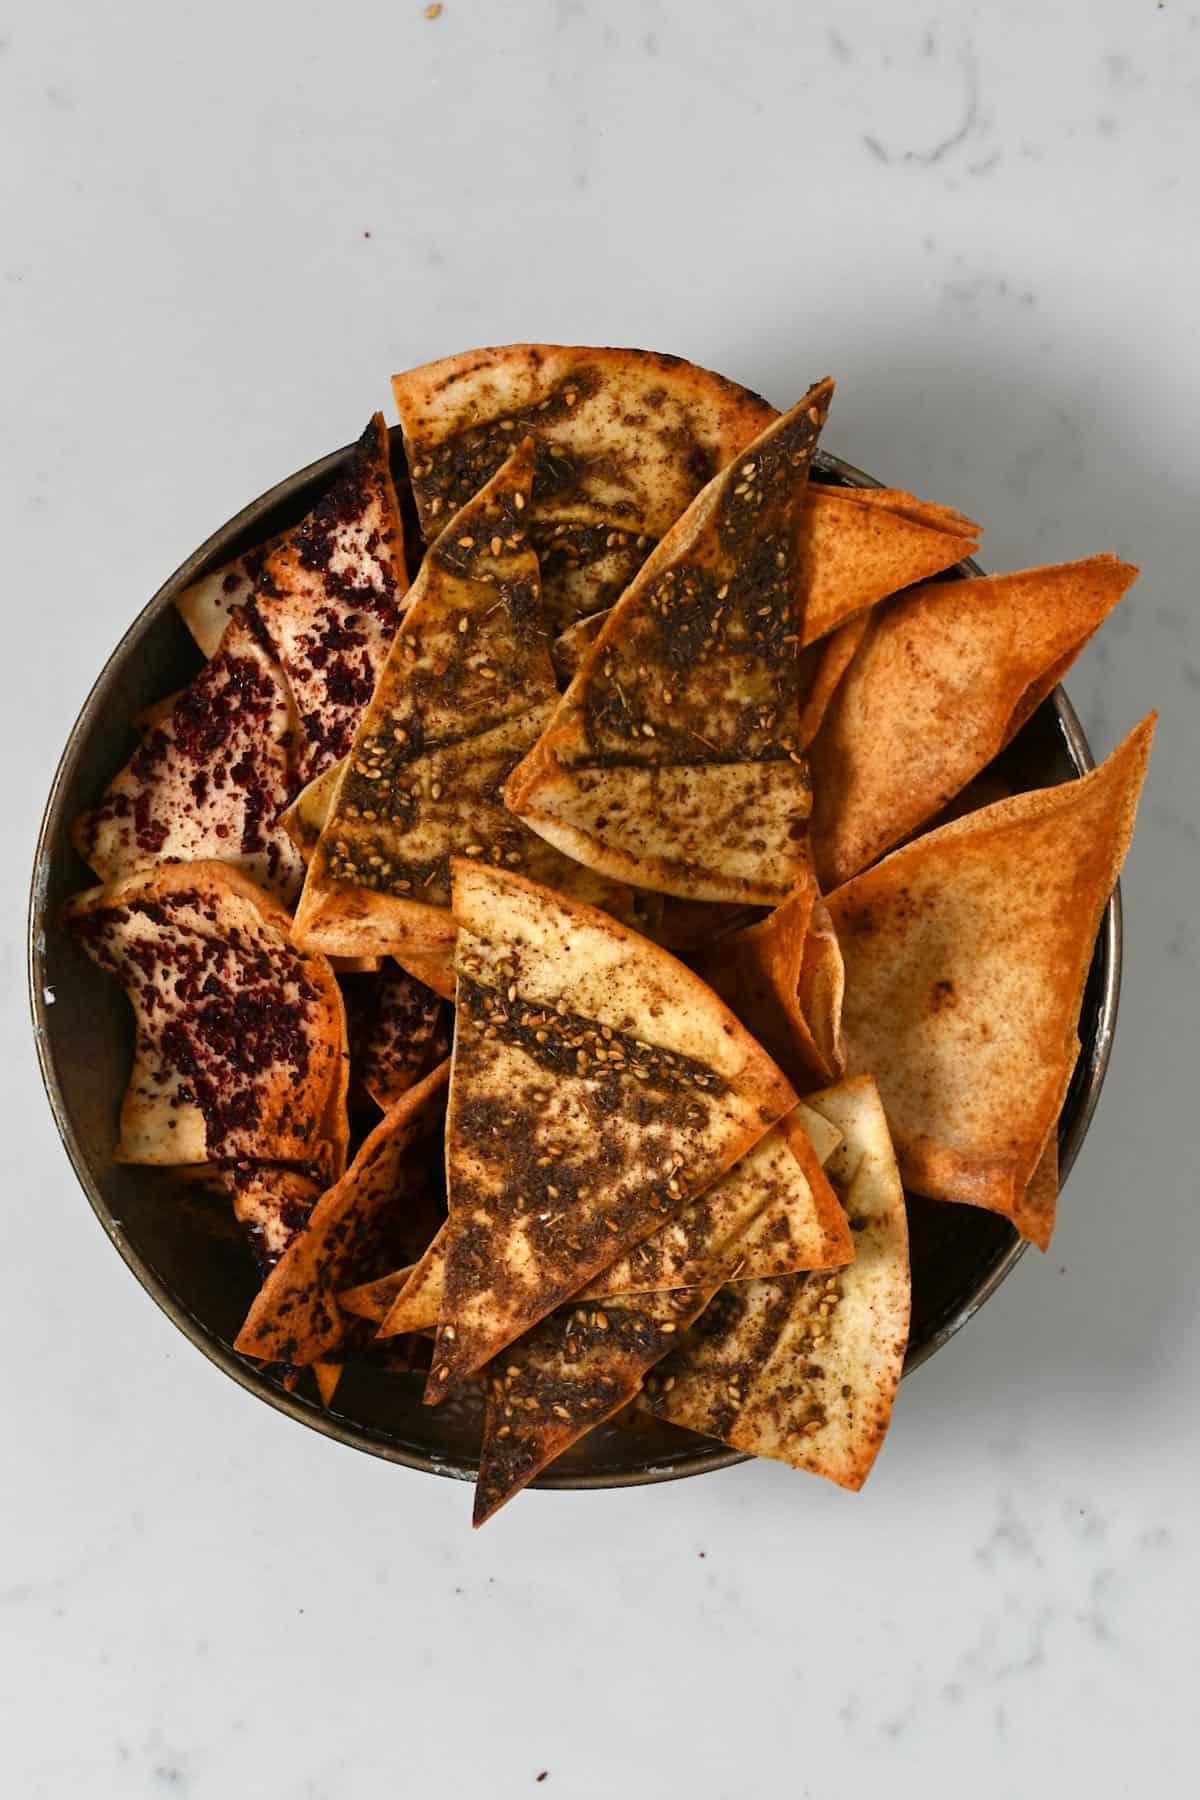
For this particular recipe, I’ve turned to my Lebanese roots, combining the thin air fryer/baked pita chips with Middle Eastern seasonings like sumac and Za’atar. However, as I’ve mentioned above, the seasoning options for these are practically endless.
At its simplest, you can make this homemade pita chips recipe with just ONE ingredient – pita bread (with no oil needed!). However, when seasoned, you’ll need three: the pita bread, oil, and seasoning of choice!
Once baked, enjoy the pita bread chips alone as a snack, serve as a snack with the dips of your choice (homemade pita chips and hummus is a fave!), or even serve alongside soups and stews! Best of all, you can make this crisp snack in just 10 minutes from start to finish – a perfect way to use day-old pita bread and leftovers after making a batch of falafel wraps!
If you’re at all familiar with Lebanese cuisine, you’ll know we love to find interesting ways to enjoy day-old pita bread. So alongside these baked pita chips, you might also enjoy this recipe for Fattoush (a simple salad with toasted pita, mixed greens, and other veggies) or fatteh (toasted pita topped with homemade yogurt and chickpeas).
Want to save this recipe?
The ingredients
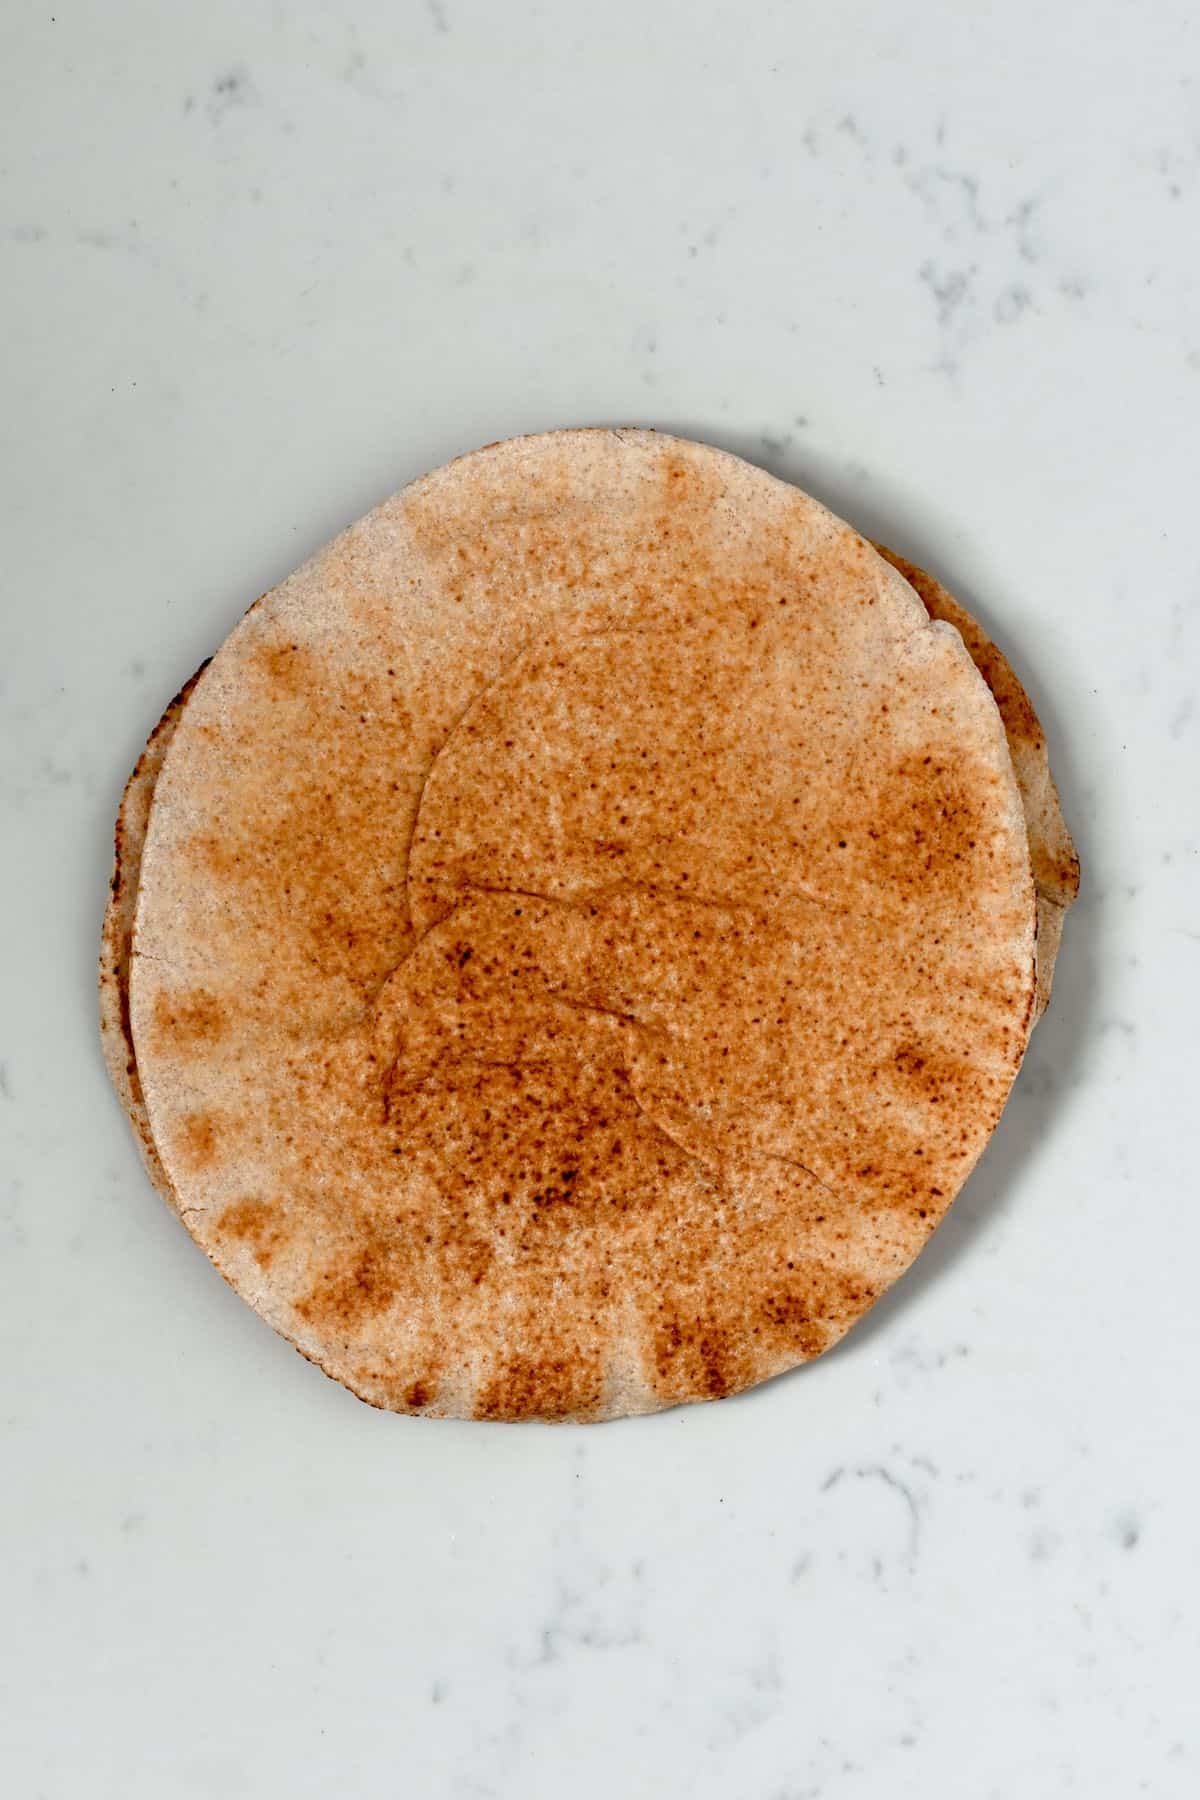
- Pita Bread: you’ll need pita pocket bread for this recipe (not thicker pita like Greek pita). I used Lebanese-style pita for these images (which is thinner and rounder than supermarket pita pockets – at least here in the UK), though regular pita pockets work too. Use gluten-free or wholemeal pita if preferred.
- Oil: (optional) I’ve found that these homemade pita chips crisp up wonderfully without oil (especially air fryer pita chips). However, it’s needed to help the spices adhere to the bread. You can brush it on or use a spray. I like to use olive oil or avocado oil. Check recipe notes to make seasoned pita chips without oil!
The seasonings
- Za’atar: I used homemade za’atar for delicious zaatar pita chips – my favorite!
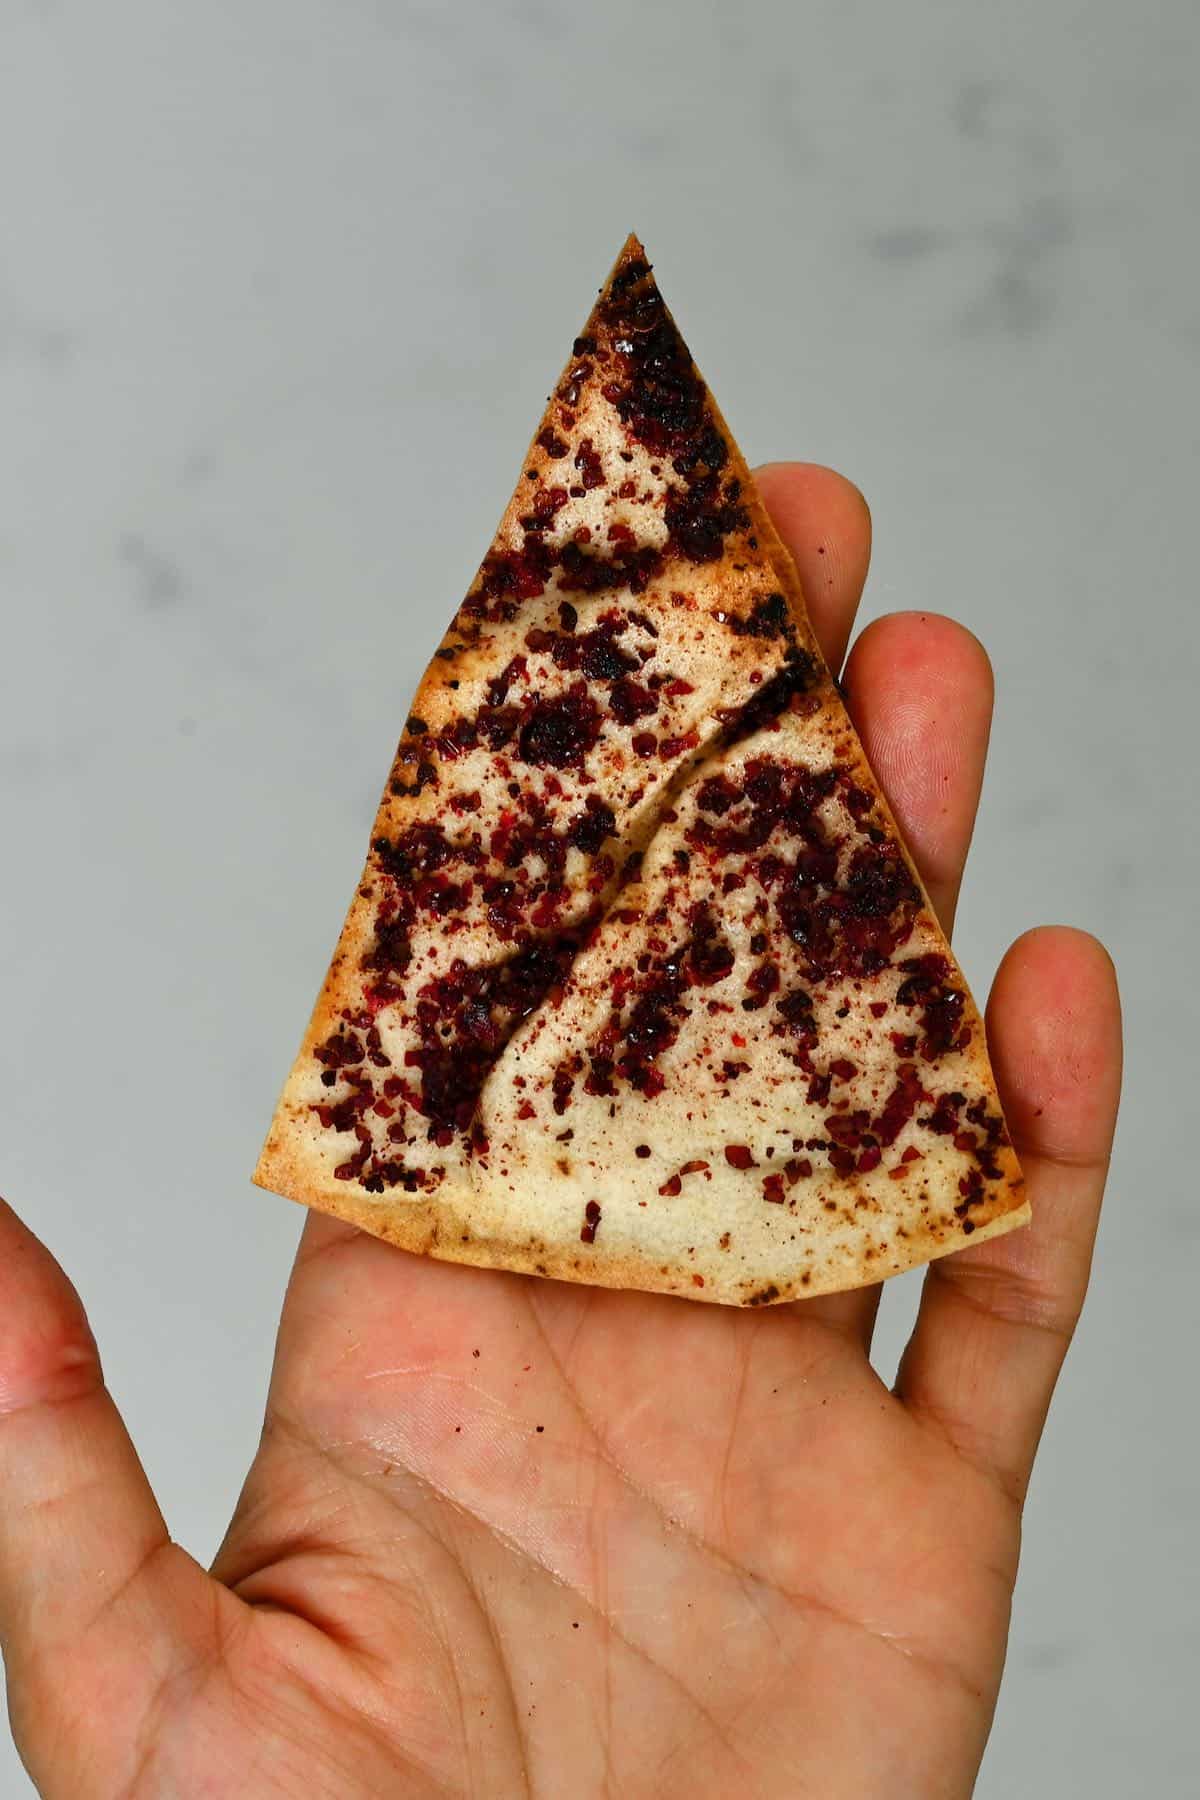
- Sumac: this has a lovely citrusy flavor and is perfect for serving these chips with Middle Eastern style dips (like hummus!).
- Ras El Hanout: wonderful for Moroccan flavors.
- Garam masala: I used homemade garam masala with a pinch of salt.
- Lightly salted: brush the unbaked pita with a bit of oil and sprinkle with flaky sea salt.
- Garlic and herb: there are pre-mixed garlic and herb seasonings. Alternatively, combine garlic powder with dried basil and oregano (or Italian seasoning), and salt.
- Parmesan garlic: combine the above with some finely grated parmesan. Alternatively, use a garlic bread style topping, combining the oil with fresh minced garlic, finely chopped parsley, and grated parmesan.
- Paprika: combine garlic powder (and optionally onion powder) with paprika, salt, and pepper.
- Pesto: you can use any homemade pesto – like this traditional basil pesto or vegan basil pesto.
- Rosemary sea salt: as simple as it sounds – spray/brush with oil, then sprinkle with dried rosemary and flaky sea salt.
- Cinnamon Sugar: when making cinnamon sugar pita chips, I like to use butter (or ghee) instead of oil. However, either would work – make sure it’s a neutral-flavored oil. I recommend using around one tablespoon cinnamon powder per ¼ cup sugar.
How to make pita chips (bake or air fryer)
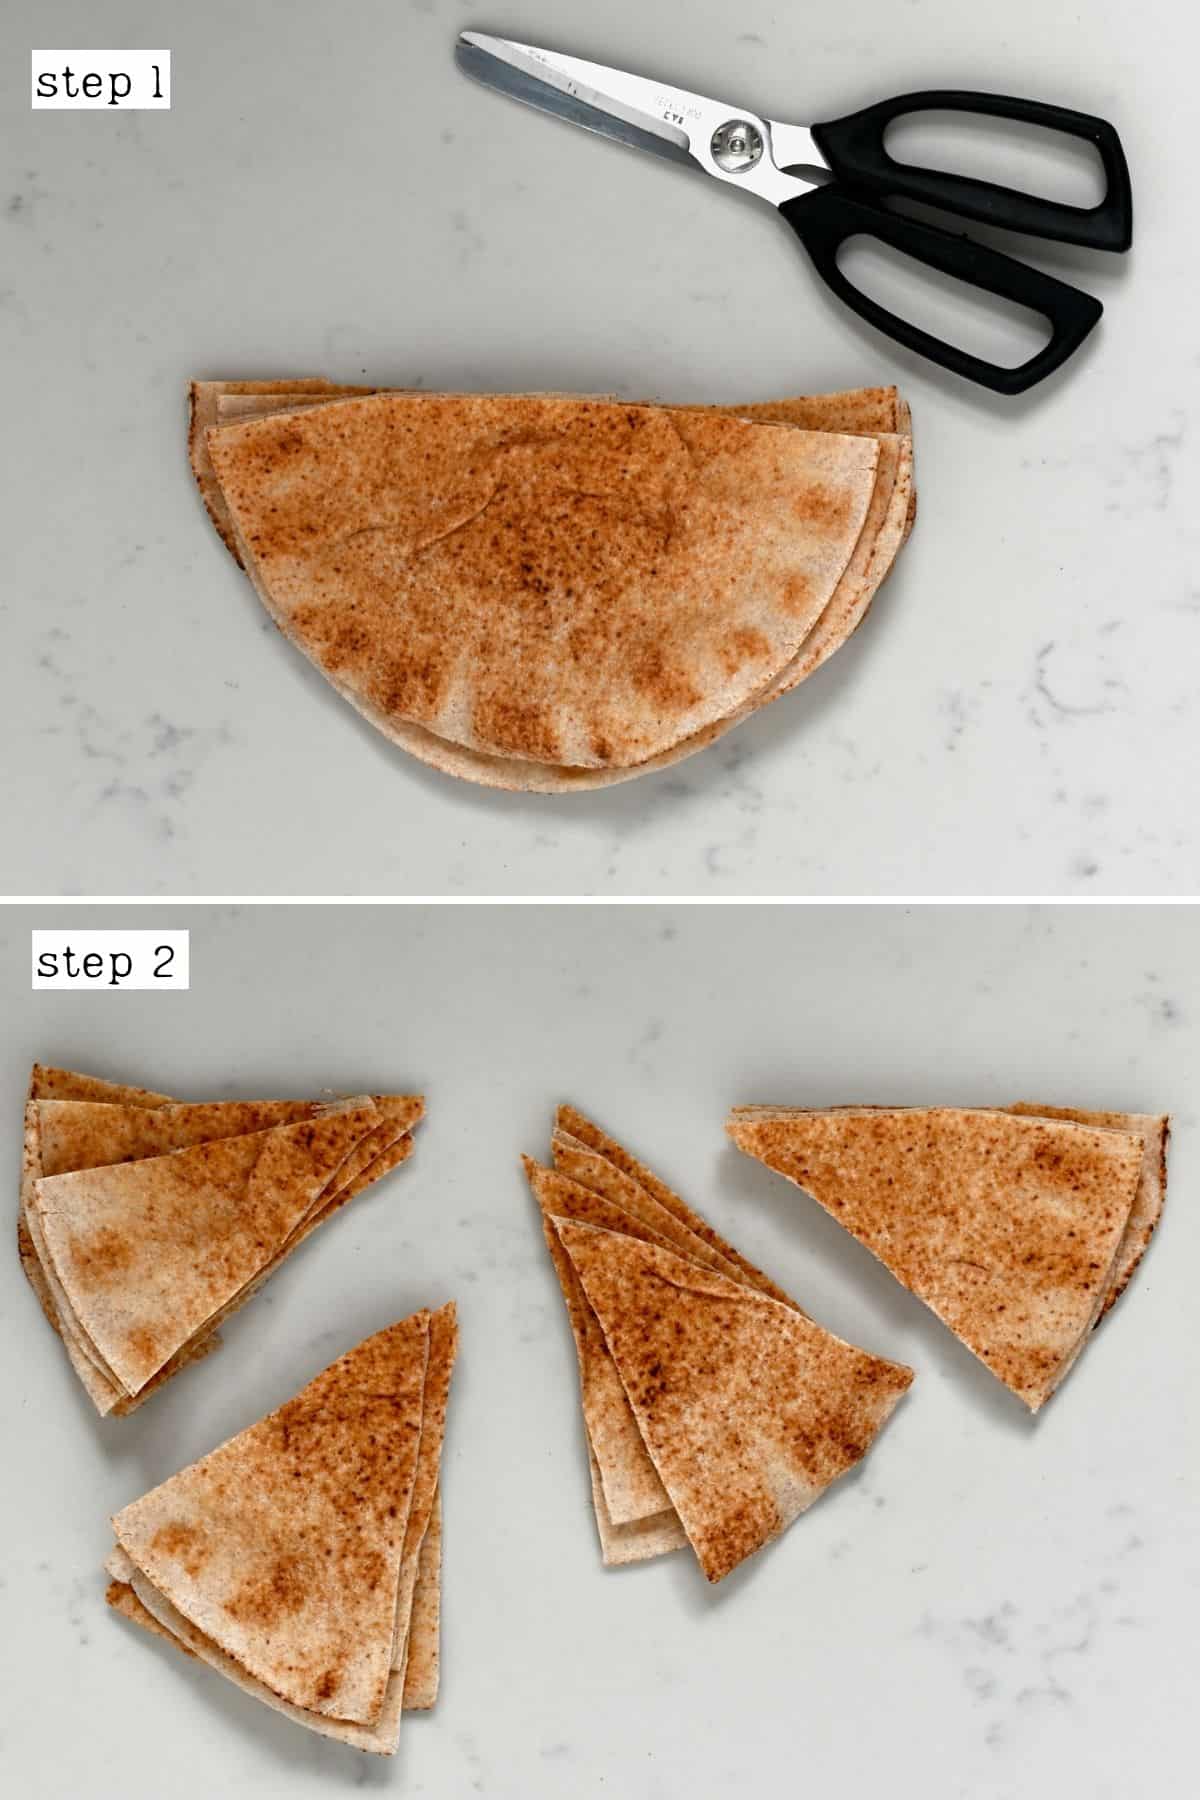
Step 1: Slice the pita
First, preheat the oven to 400ºF/200ºC (or preheat your air fryer to 375ºF/190ºC – if needed).
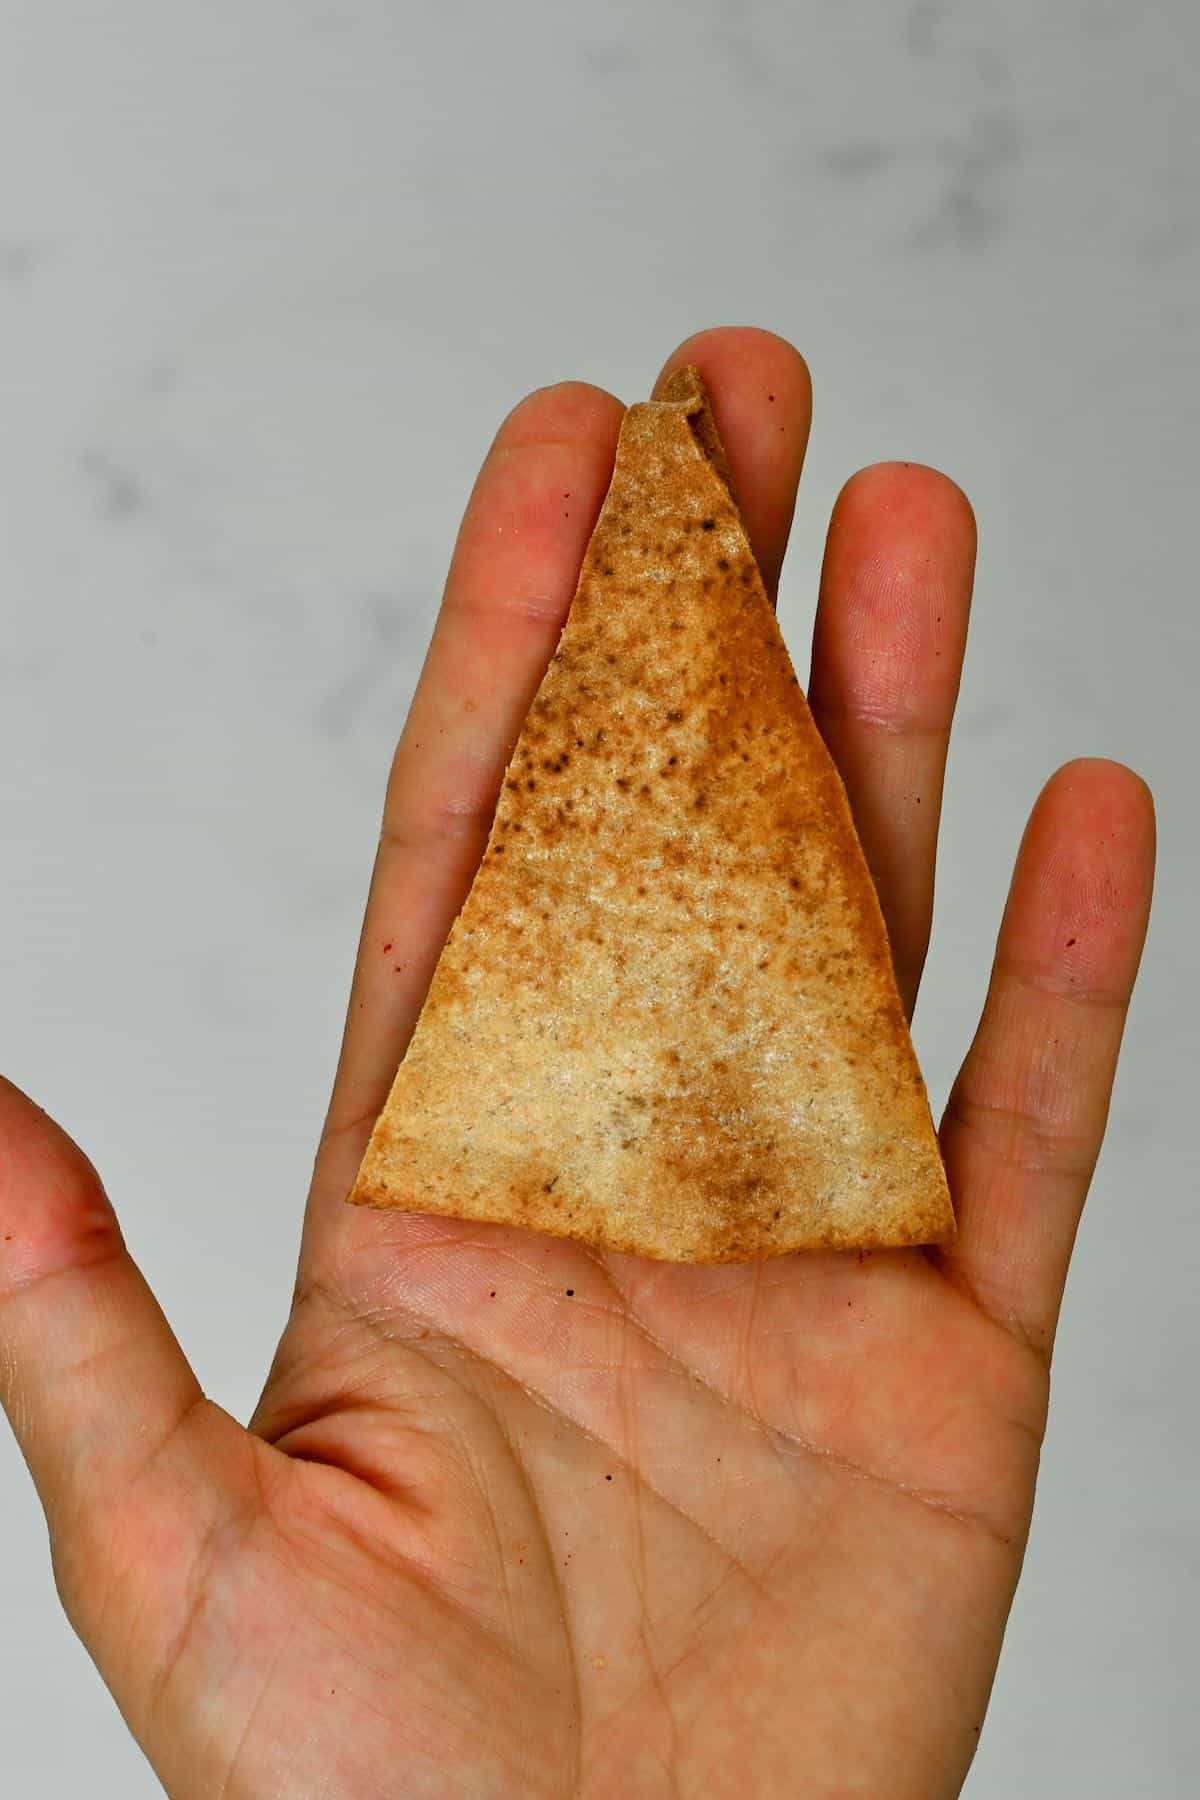
Slice the pita into your chip shape. You can do this into larger quarters or 8 triangles (depending on the size of the pita bread). To do this, I like to slice the pita in quarters then stack and halve those pieces.
For thinner pita chips, you can optionally separate the top and bottom layer of pita – before or after slicing the 8 pieces (I usually don’t do this but you can if you’re using thicker pita pockets).
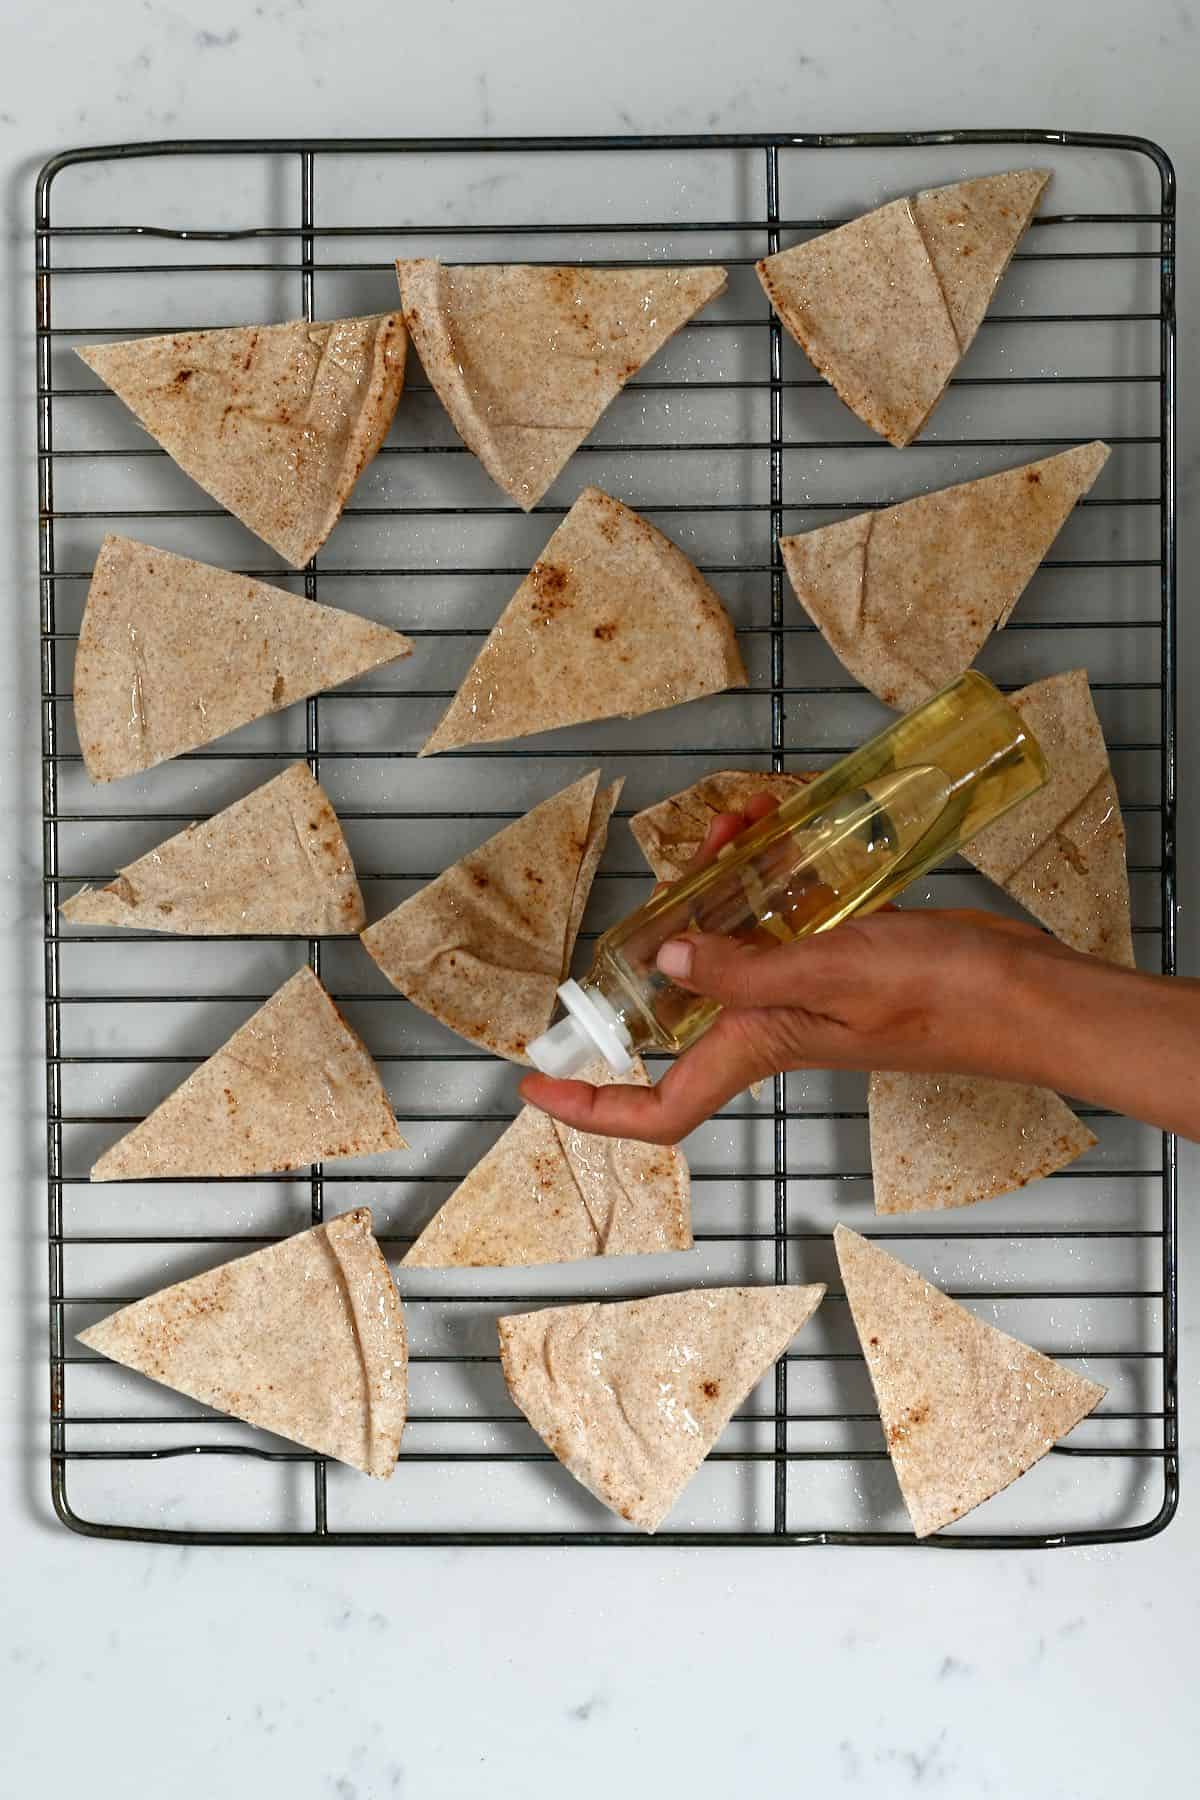
Step 2: Season the chips
For plain air fryer/baked pita chips, the oil is 100% optional. I’ve tried with and without, and the results are wonderfully crispy either way (especially when using an air fryer). If you’d like to use oil, lightly brush or spray some over the pita triangles.
For seasoned pita chips – it’s best to lightly oil the pita chips to help the seasonings adhere. In the case of za’atar and sumac, I usually combine the spices and olive oil in a small bowl into a thick paste. Then use a pastry brush to brush the mixture over the pita before it’s sliced (it’s easier and faster). Then the last step is to cut it into triangles.
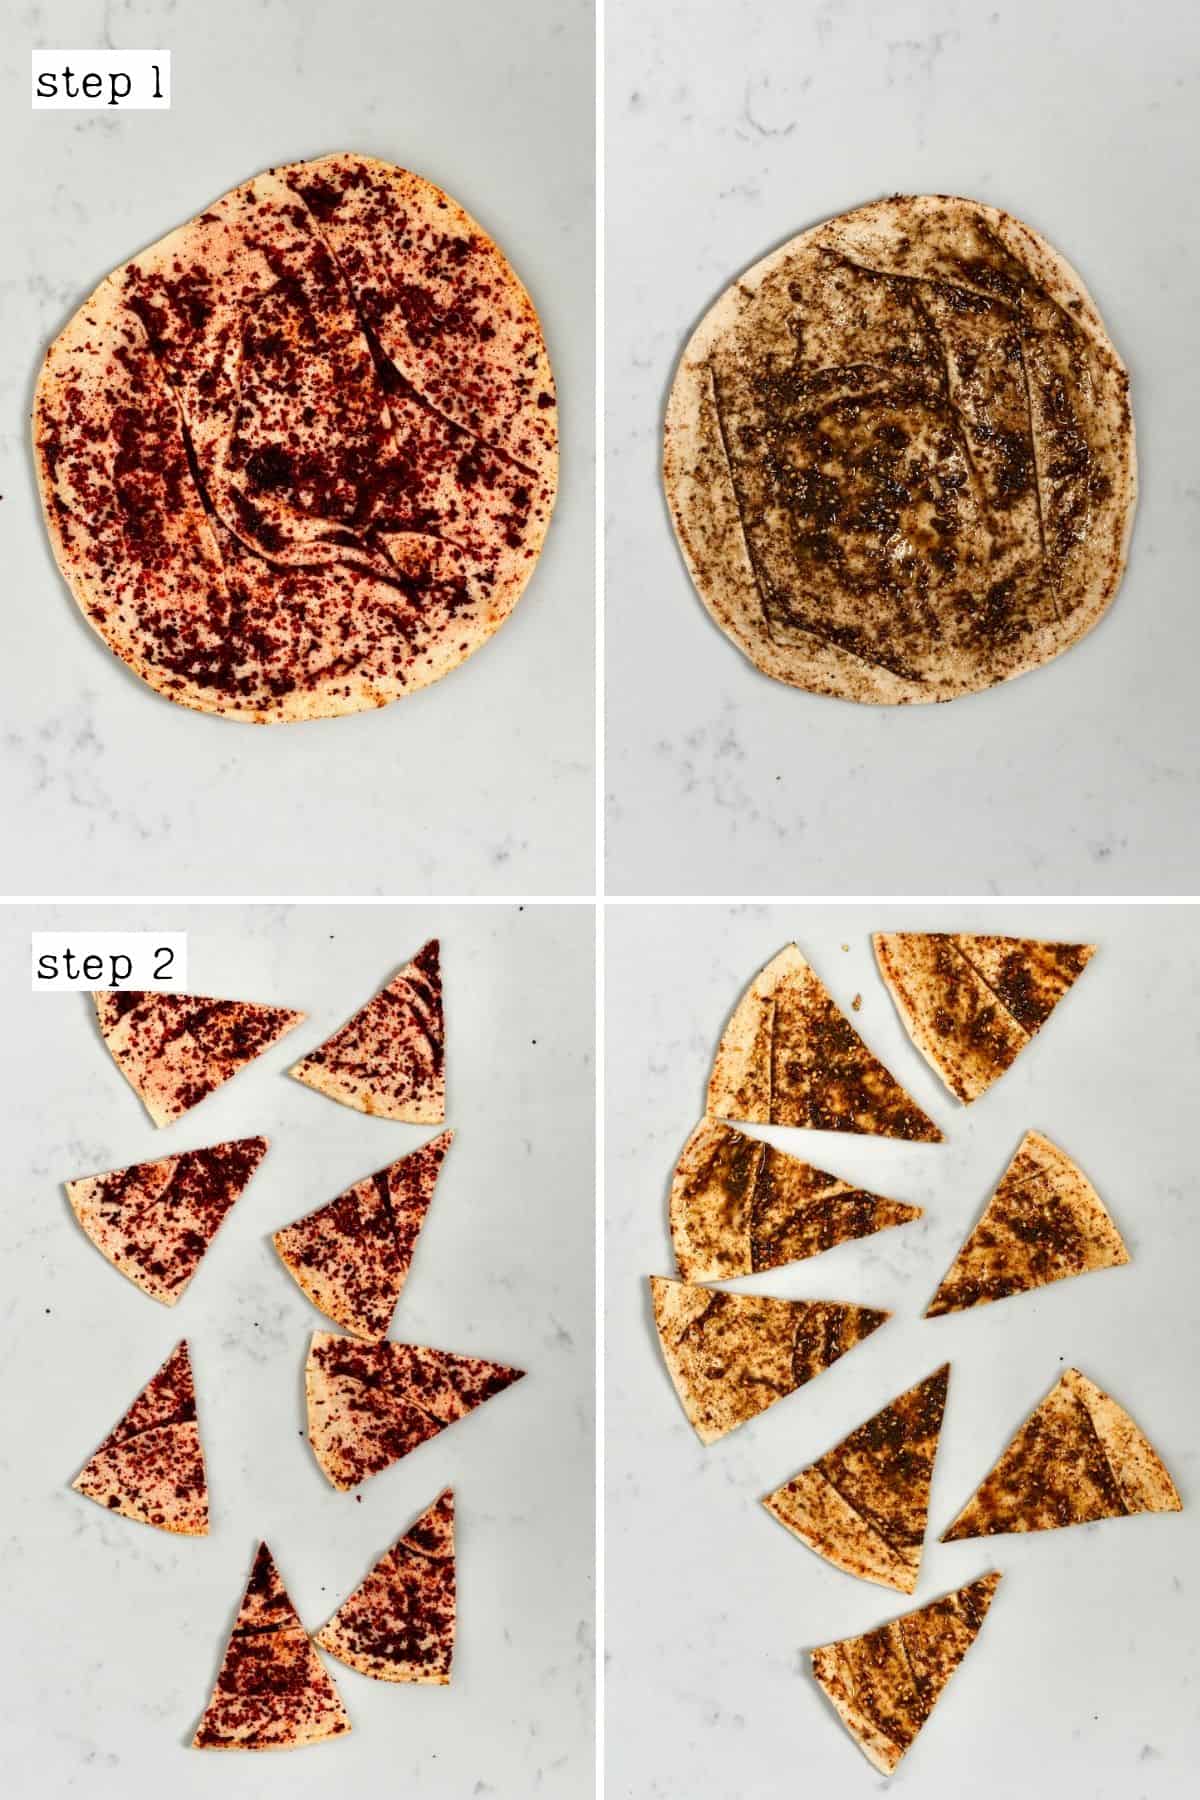
Alternatively, you could add the pita wedges to a bowl and pour the seasoning over. Toss gently to spread the seasoning throughout.
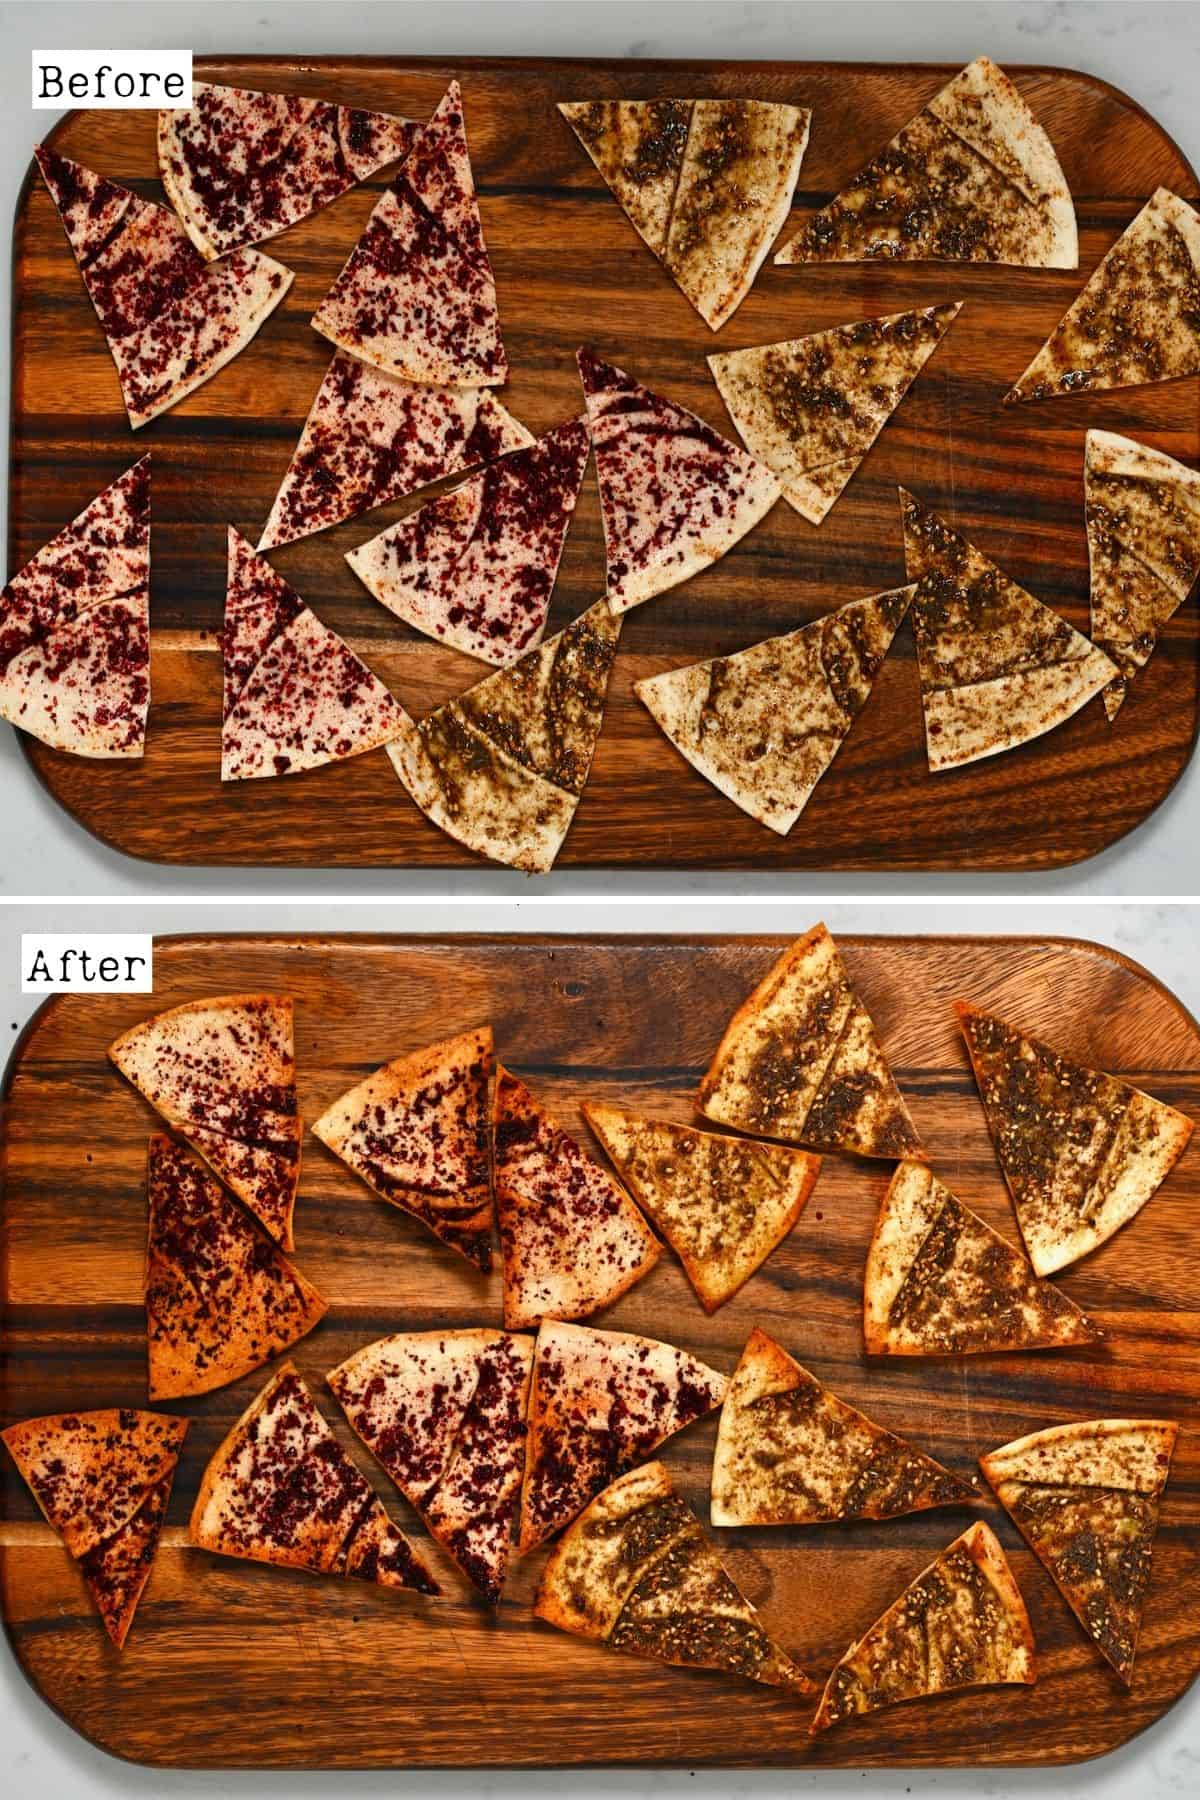
Step 3: Toast them
To bake: spread the seasoned chips across a large baking tray in a single layer (avoid overlapping when possible). Then place in a preheated oven at 400ºF/200ºC and bake for several minutes (5-7) until lightly browned and crispy. Keep an eye on them, as they can burn quickly.
Air fryer: for the crispiest results, place 1-2 layers of pita chips at the bottom of your air fryer basket (you’ll likely need to do this in batches). Air fry at 375ºF/190ºC for around 5 minutes. Give the basket a shake halfway through if preferred – though I usually don’t and still have wonderfully crisp results.
If you want to make a larger batch of air fryer pita chips all at once, then shake the basket every 3 minutes until crispy (and remember that they’ll crisp up further upon cooling).
If you prefer them to be slightly softer, cook them for 1-2 minutes less. For super-crispy results, add 1-2 minutes more. Your judgment is best. I recommend keeping an eye on the batch from the beginning (the first time making them) so you know what time works best for your particular oven/ air fryer.
After cooking the pita bread chips, allow them to cool entirely. They will further crisp up/harden as they cool and become the perfect receptacle for dipping!
What to eat with pita chips
While you can enjoy the air fryer/baked pita chips alone as a simple snack, my favorite way to enjoy them is with dips, including:
- Hummus (regular, red pepper, beet, or even chocolate hummus for cinnamon sugar pita chips)
- Eggplant dips like Baba ganoush (smoky), kashke bademnjan (Persian creamy), Baigan choka (spicy), moutabal (also smoky)
- Muhammara
- Guacamole
- Garlic white bean dip
- Roasted carrot dip
- Cream cheese
- Whipped ricotta
- Spinach yogurt dip
- Tzatziki
- Salsa – like Pico de Gallo, fire-roasted tomato salsa, or even mango or watermelon salsa (for the cinnamon sugar pita chips!)
You can also add them to salad bowls, serve alongside soup (or use to top them instead of homemade croutons), use in place or tortilla chips for “nachos,” or add to a mezze platter (or use the plain ones on a cheese board along with fig jam and nuts).
How to Store
Once crispy, I recommend storing the toasted pita chips in an airtight container for between 5-7 days at room temperature or in the fridge (though they’re crispiest in the first three days). The chips will become less crisp over time. Feel free to pop them back in the oven/air fryer for a minute or two to crisp them back up again, if needed.
FAQs
When baked and lightly seasoned, they are healthier than any fried chips, of course. Plus, by making them at home, you’re 100% in control of how much oil and salt you’re using – which automatically makes them healthier than many similar store-bought chips.
However, if you’re using regular white pita bread, they are still packed with refined carbs – which many wouldn’t consider a “healthy” snack. For a healthier option, use wholemeal/whole grain pita bread and limit the oil and salt used.
Regular pita bread contains wheat and so isn’t gluten-free. However, this method works wonderfully with gluten-free pita, too!
It’s technically possible to use thicker flatbread like Greek pita or naan. However, be aware that the baking time will increase. Also, you won’t be able to get as crispy results. Instead, these thicker pita chips will be crisp on the outside with a more tender middle.
Recipe notes
- When using different types of pita: for this recipe, I’ve used Lebanese/Middle Eastern style pita bread (available in most Mediterranean/Middle Eastern Stores), which is thinner and rounder than regular pita pockets (more like the shape of a tortilla). For that reason, the cooking times for the different types will vary. So keep an eye on them the first time you make them.
- No parchment paper is needed: when making baked pita chips, I use a dark pan and avoid parchment paper. I’ve found that way the results are crispier and more even- without having to flip them over halfway! Just be careful, as they’re also more likely to scorch – so keep an eye on them!
- Allow them to cool: don’t be tempted to eat these chips while hot from the oven. Not only do you run the risk of burning your mouth, but they won’t be as crisp or sturdy. Only enjoy them warm if you aren’t bothered about them being super crispy.
- Only store when fully cooled: otherwise, they can cause steam in the container and go soft in no time.
- For oil–free seasoned pita chips: you may be able to lightly spritz them with a bit of water (using a mist bottle) to help the seasonings adhere to the pita before baking/ air frying the pita chips.
More crispy savory snacks
- Potato chips
- Crisp eggplant chips
- Tostones (baked or air fried green plantain)
- Gluten-free red lentil crackers
- Beetroot chips (baked or dehydrated)
- Simple seeded crackers
If you try this Air fryer or baked pita chips recipe, I’d love to hear your thoughts/questions below. Also, I’d appreciate a recipe card rating below, and feel free to tag me in your recipe recreations on Instagram @Alphafoodie!

Homemade Pita Chips (Baked + Air Fryer)
Equipment
- Air fryer optional
Ingredients
- 4 pita bread pita pockets, I used Lebanese style, though regular will also work
Optional toppings
- 1 Tbsp za'atar more or less to taste
- 2 tsp sumac more or less to taste
- 1-2 Tbsp olive oil or another neutral oil like avocado oil
Check the Recipe Notes below for more topping options!
Instructions
Step 1: Slice the pita
- Preheat the oven to 400ºF/200ºC (or preheat your air fryer to 375ºF/190ºC – if needed).
- Slice the pita into your chip shape. You can do this into larger quarters or 8 triangles (depending on the size of the pita bread). To do this, I like to slice the pita in quarters then stack and halve those pieces.For thinner pita chips, you can optionally separate the top and bottom layer of pita – before or after slicing the 8 pieces (I usually don't do this but you can if you're using thicker pita pockets).
Step 2: Season the chips
- For plain pita chips, the oil is 100% optional. I've tried with and without, and the results are wonderfully crispy either way (especially when using an air fryer). If you'd like to use oil, lightly brush or spray some over the pita triangles.
- For seasoned pita chips – it's best to lightly oil the pita chips to help the seasonings adhere. In the case of za'atar and sumac, I usually combine the spices and olive oil in a small bowl into a thick paste. Then use a pastry brush to brush the mixture over the pita before it's sliced (it's easier and faster). Then the last step is to cut it into triangles.Alternatively, you could add the pita wedges to a bowl and pour the seasoning over. Toss gently to spread the seasoning throughout.
Step 3: Toast them
- To bake: spread the seasoned chips across a large baking tray in a single layer (avoid overlapping when possible). Then place in a preheated oven at 400ºF/200ºC and bake for several minutes (5-7) until lightly browned and crispy. Keep an eye on them, as they can burn quickly.
- Air fryer: for the crispiest results, place 1-2 layers of pita chips at the bottom of your air fryer basket (you’ll likely need to do this in batches). Air fry at 375ºF/190ºC for around 5 minutes. Give the basket a shake halfway through if preferred – though I usually don’t and still have wonderfully crisp results.If you want to make a larger batch of air fryer pita chips all at once, then shake the basket every 3 minutes until crispy (and remember that they'll crisp up further upon cooling).
- If you prefer them to be slightly softer, cook them for 1-2 minutes less. For super-crispy results, add 1-2 minutes more. Your judgment is best. I recommend keeping an eye on the batch from the beginning (the first time making them) so you know what time works best for your particular oven/ air fryer.
- After cooking the pita bread chips, allow them to cool entirely. They will further crisp up/harden as they cool and become the perfect receptacle for dipping!
Notes
- When using different types of pita: for this recipe, I’ve used Lebanese/Middle Eastern style pita bread (available in most Mediterranean/Middle Eastern Stores), which is thinner and rounder than regular pita pockets (more like the shape of a tortilla). For that reason, the cooking times for the different types will vary. So keep an eye on them the first time you make them.
- No parchment paper is needed: when making baked pita chips, I use a dark pan and avoid parchment paper. I’ve found that way the results are crispier and more even without having to flip them over halfway! Just be careful, as they’re also more likely to scorch – so keep an eye on them!
- Allow them to cool: don’t be tempted to eat these chips while hot from the oven. Not only do you run the risk of burning your mouth, but they won’t be as crisp or sturdy. Only enjoy them warm if you aren’t bothered about them being super crispy.
- Only store when fully cooled: otherwise, they can cause steam in the container and go soft in no time.
- For oil–free seasoned pita chips: you may be able to lightly spritz them with a bit of water (using a mist bottle) to help the seasonings adhere to the pita before baking/air frying the pita chips.
- Za’atar: I used homemade za’atar for delicious zaatar pita chips – my favorite!
- Sumac: this has a lovely citrusy flavor and is perfect for serving these chips with Middle Eastern style dips (like hummus!).
- Ras El Hanout: wonderful for Moroccan flavors.
- Garam masala: I used homemade garam masala with a pinch of salt.
- Lightly salted: brush the unbaked pita with a bit of oil and sprinkle with flaky sea salt.
- Garlic and herb: there are pre-mixed garlic and herb seasonings. Alternatively, combine garlic powder with dried basil and oregano (or Italian seasoning), and salt.
- Parmesan garlic: combine the above with some finely grated parmesan. Alternatively, use a garlic bread style topping, combining the oil with fresh minced garlic, finely chopped parsley, and grated parmesan.
- Paprika: combine garlic powder (and optionally onion powder) with paprika, salt, and pepper.
- Pesto: You can use any homemade pesto – like this traditional basil pesto or vegan basil pesto.
- Rosemary sea salt: as simple as it sounds – spray/brush with oil, then sprinkle with dried rosemary and flaky sea salt.
- Cinnamon Sugar: when making cinnamon sugar pita chips, I like to use butter (or ghee) instead of oil. However, either would work – make sure it’s a neutral-flavored oil. I recommend using around one tablespoon cinnamon powder per ¼ cup sugar.
Nutrition
Nutrition information is automatically calculated, so should only be used as an approximation.


