This post may contain affiliate links. Please read our disclosure policy.
How to clean a microwave with lemon – no harsh chemicals required! Clean and deodorize your microwave with just water, lemon (or vinegar), and optionally baking soda – no heavy scrubbing, and under 10 minutes to squeaky-clean microwave using this clean microwave hack!
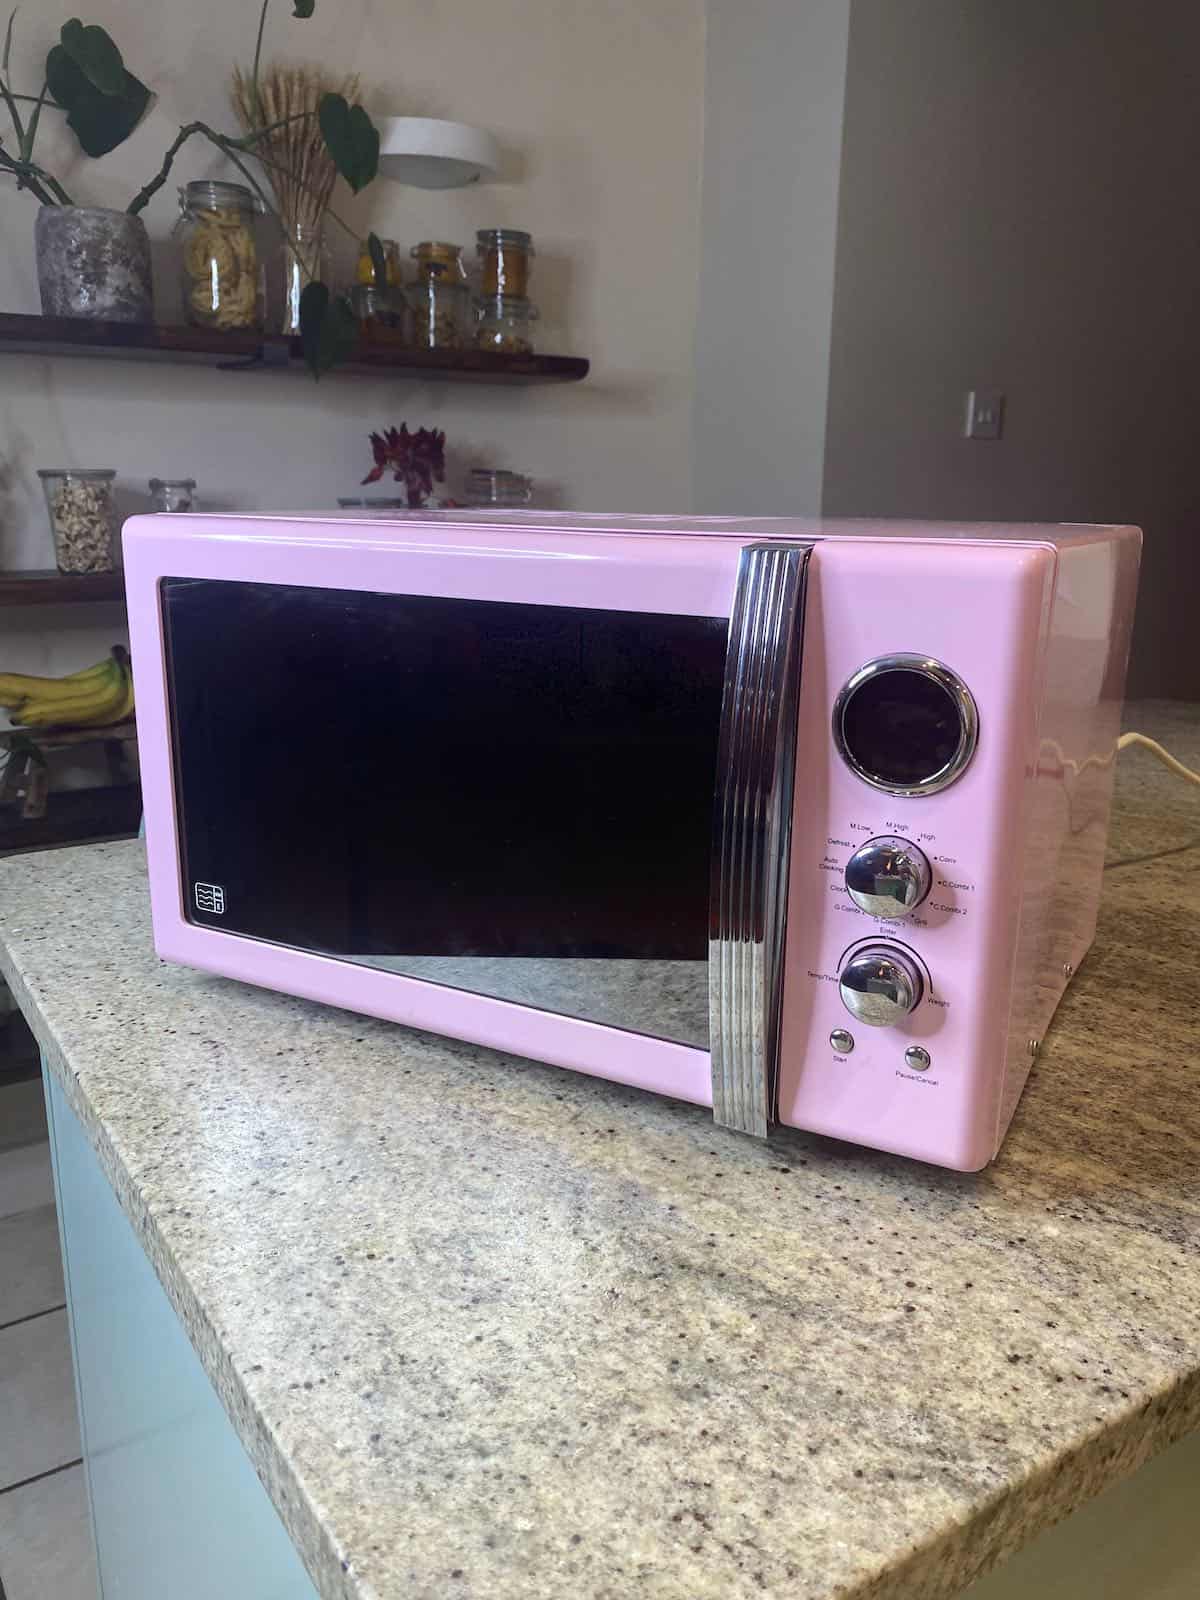
When it comes to cleaning kitchen appliances, the microwave is often ignored entirely. When you do finally peek inside, you’ll be shocked at just how dirty this little appliance can become in a short amount of time. If you, like myself, want to avoid harsh chemicals and laborious cleaning methods – then learning how to clean a microwave with lemon is the way to go.
This ‘clean microwave hack’ uses the natural cleaning power of lemon juice and warm water to clean and deodorize your microwave naturally and without the need for vigorous scrubbing. So next time you find yourself dealing with a lingering odor or have an unfortunate incident where a dish ‘explodes’ in the microwave (it happens), then grab a bowl, lemon, and some water!
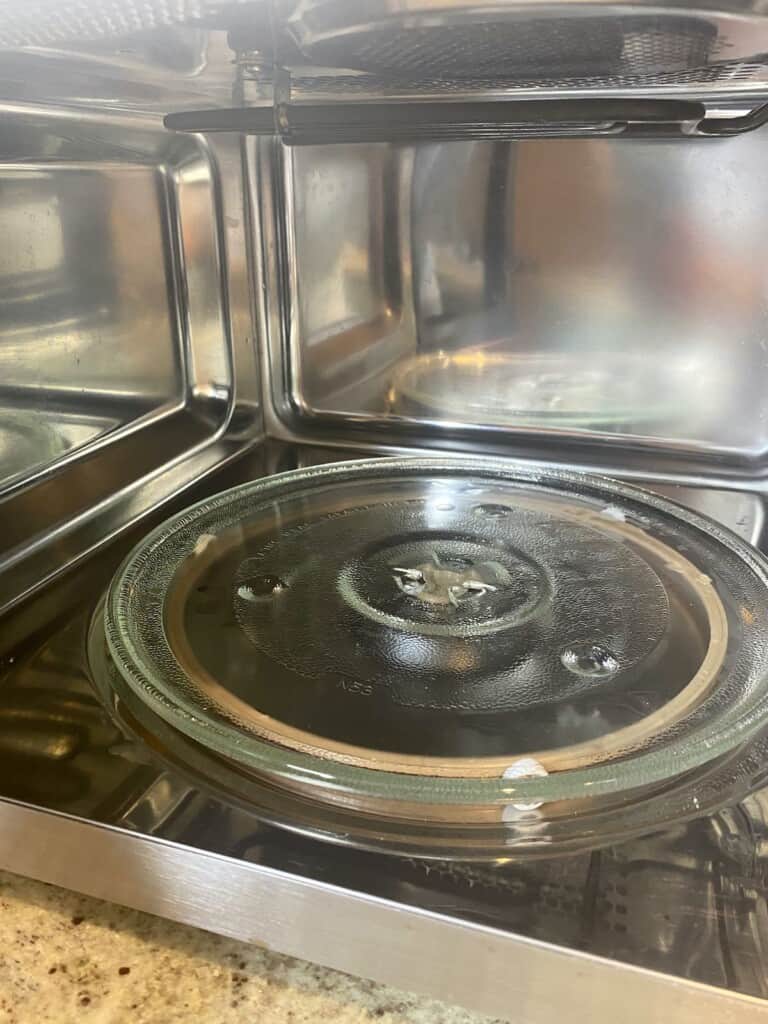
Lemon juice is not only known for its natural anti-bacterial and anti-fungal properties, but it is also a natural deodorizer. It can help to rid your microwave of lingering odors. When combined with steaming water, this also helps to dislodge any built-up food and stains inside the microwave.
Within this post, I’ll take you through the way I clean my microwave with lemon, with bonus tips for using baking soda and vinegar for similar low-effort, high-reward easy ways to clean a microwave – including the inside and outside. The entire process includes only a few minutes of hands-on cleaning time!
Want to save this recipe?
What You’ll Need
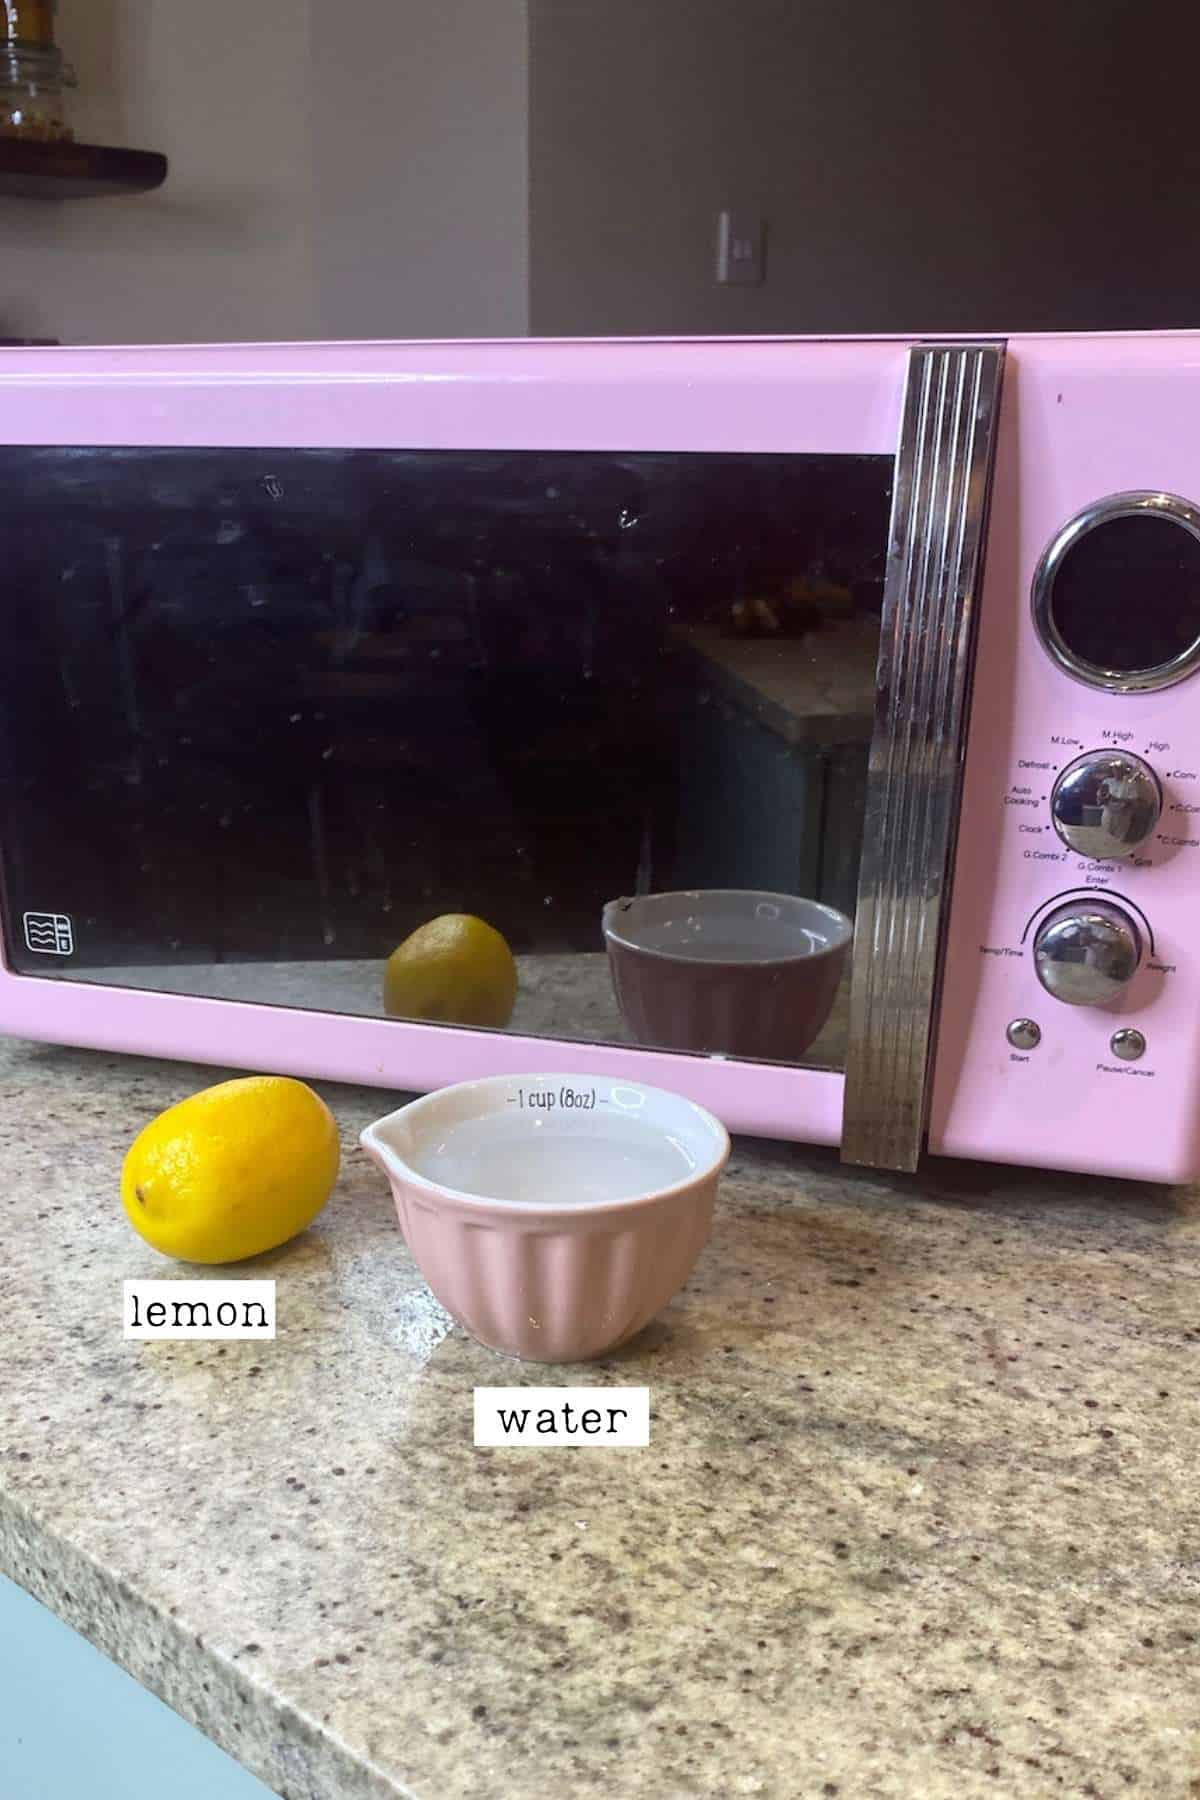
- A lemon: this method works well with fresh lemons and those looking a little past their best.
- A high-sided bowl or jug: you need to use a microwave-safe container with enough space to allow the liquid to bubble up as it boils in the microwave.
- Water: tap water is fine.
Optional: I have also included additional methods using baking soda and/or vinegar.
How To Clean A Microwave with Lemon
Step 1: Steam the inside of the microwave
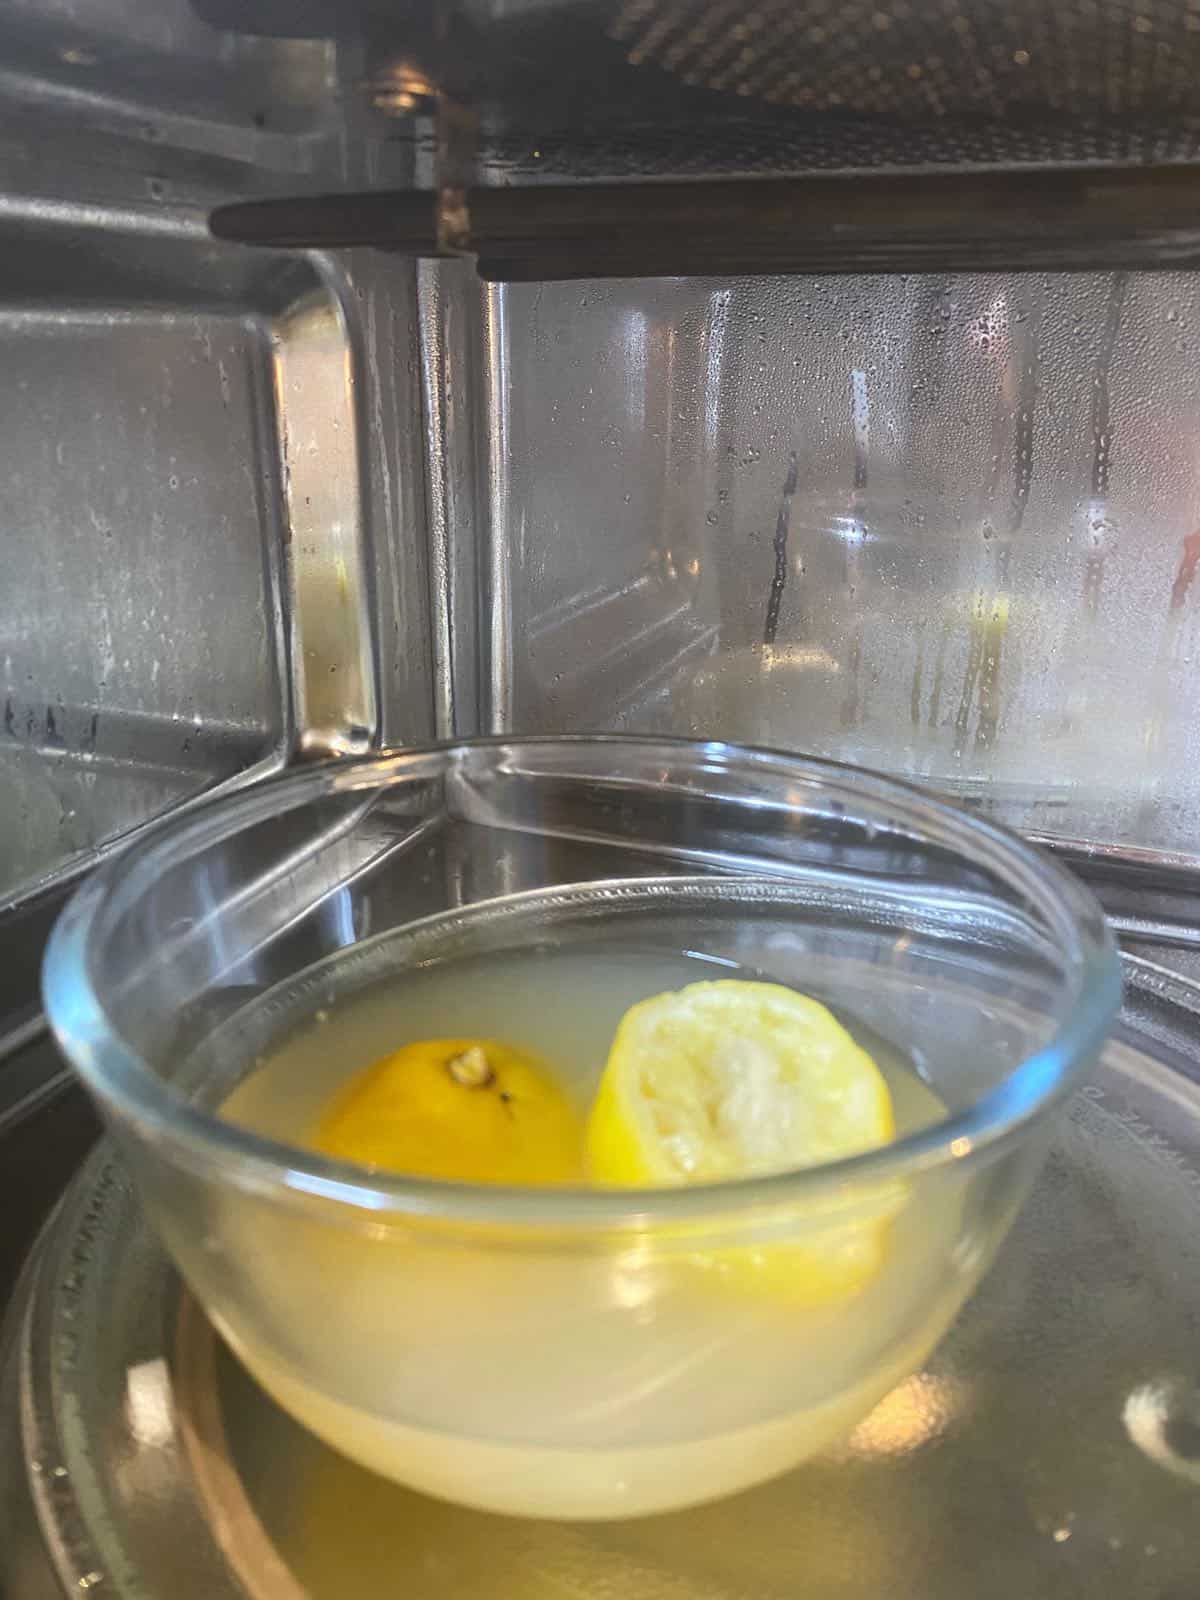
First, fill a microwave-safe bowl or jug halfway with tap water. Make sure to use one with high-sides to allow for the liquid to boil up in the microwave.
Then, slice a lemon in half, squeezing out the juice from both halves into the water. Then place the leftover lemon skins in the bowl too.
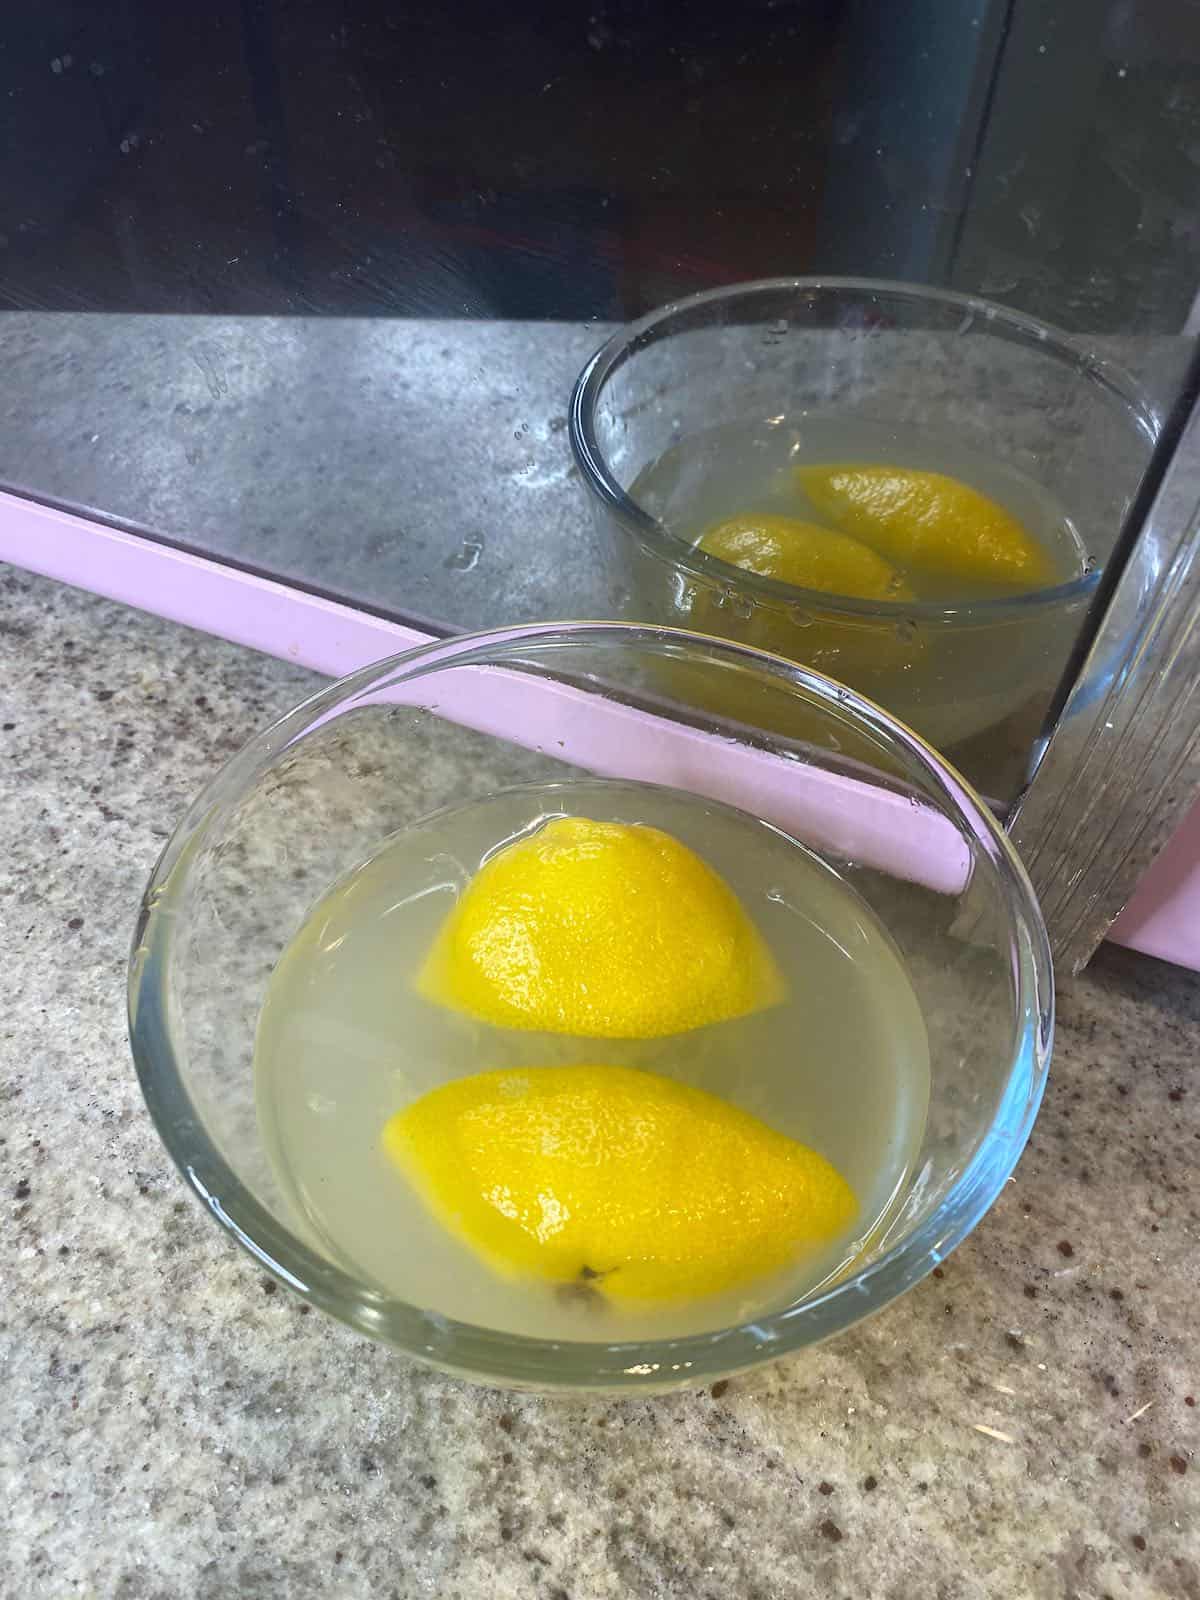
Place the bowl in the center of the microwave and heat it at maximum power for 3-5 minutes, or until it boils. For powerful microwaves of 900kw+ try 3 minutes.
Once the time is up, leave the door closed for a further 5 minutes, allowing the built-up steam to work, and loosen the grime in your microwave.
Top Tip: This method also works with vinegar. Use about 1 Tbsp vinegar per cup of water. Add a few drops of essential oil (I like to use lemon) to add a nice scent.
Step 2: Clean the inside of the microwave
I like to unplug the microwave before doing this part of the clean.
Then, remove the bowl, being careful not to burn yourself. It’s best to use a kitchen towel or gloves for this. Also, remove the microwave plate and turntable ring at this point- either clean immediately (see step 3) or leave to soak in warm water while you clean the inside of the microwave if it’s really grimy.
Wipe down all of the steamed (and dislodged) grime with a clean, damp cloth.
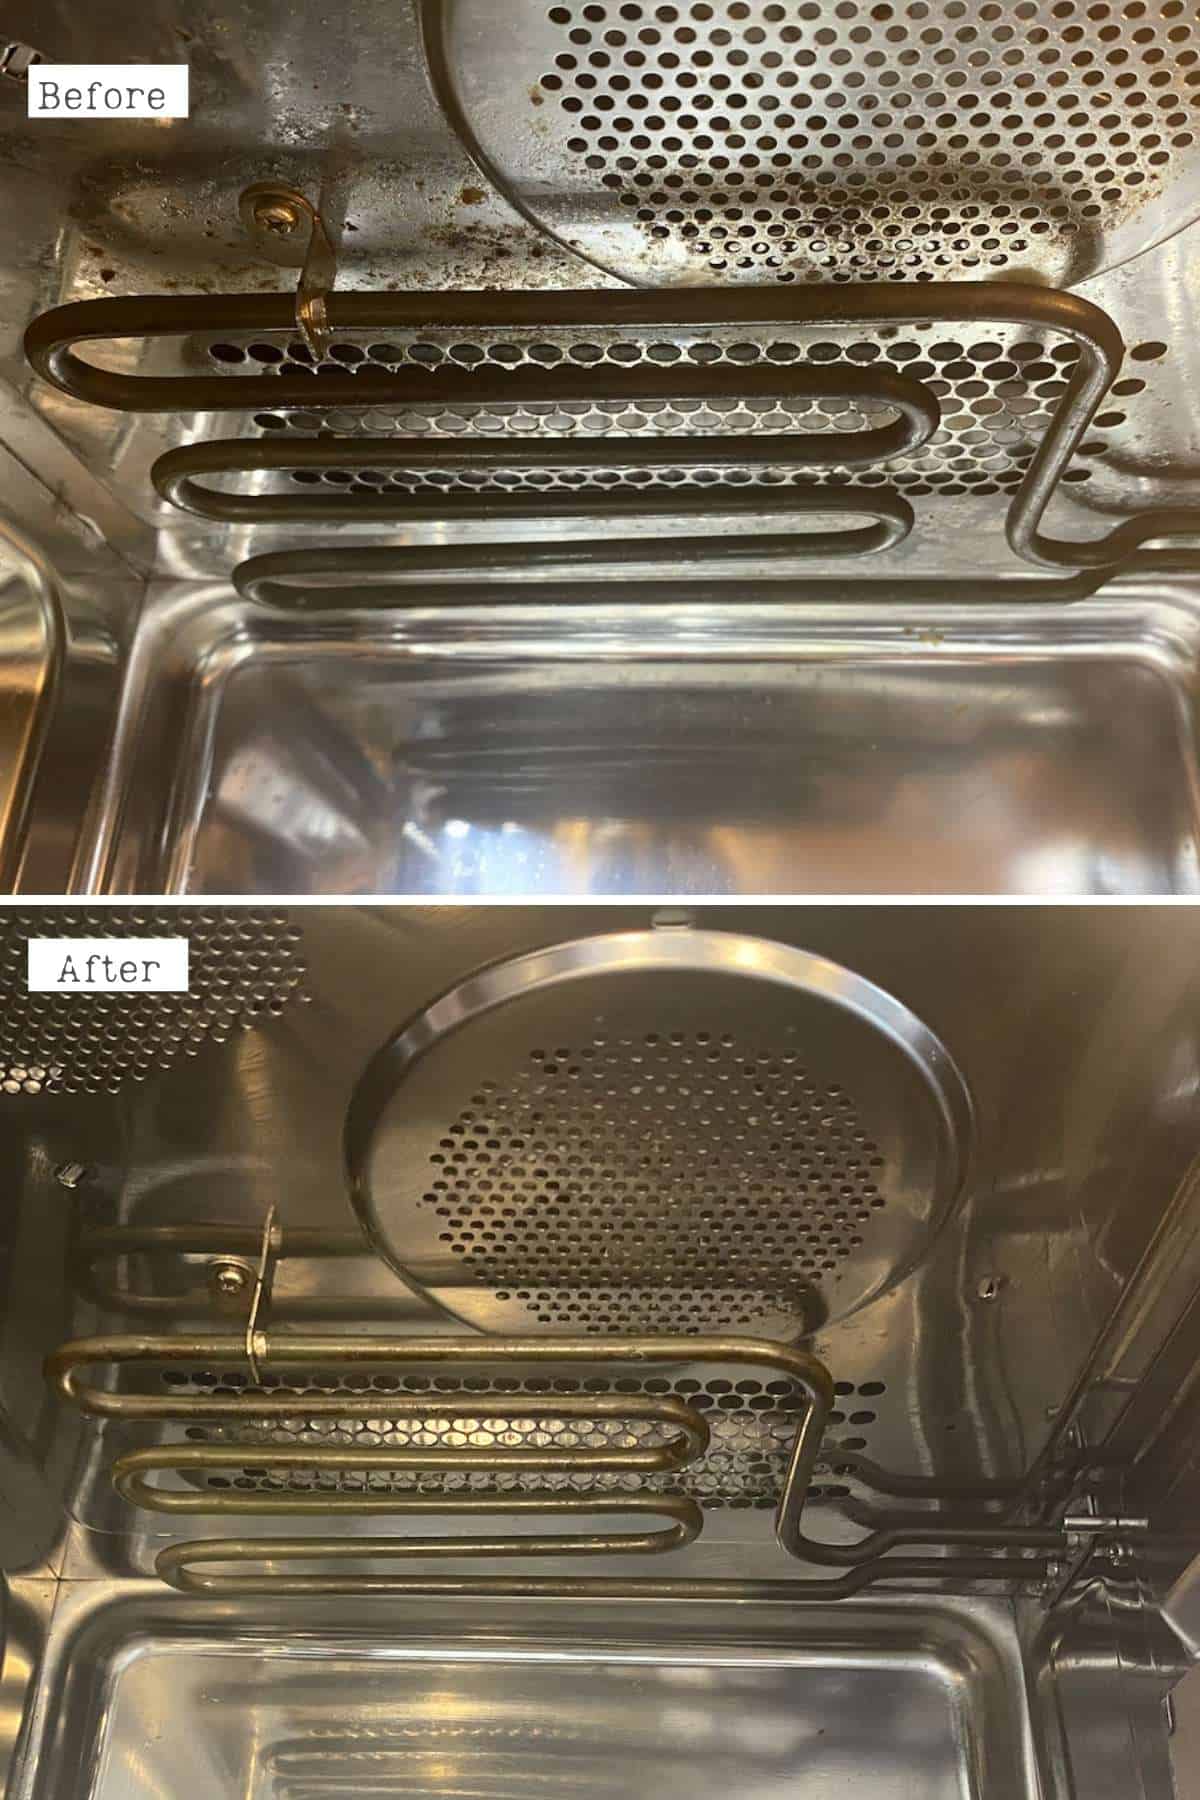
If there is any harder-to-remove dirt, you can dip the cloth into the lemon water and scrub lightly at the grime until it’s removed. You could also use the inside of the lemon peel to scrub at the microwave – as a bonus, this will further help to eliminate any lingering odors.
For additional cleaning power: sprinkle baking soda liberally on the bottom of the microwave and scrub lightly with the damp towel as you clean. This is good for if you have any harder stains on the bottom/side of the microwave.
Once wiped down with the wet cloth, follow up quickly with a wipe down with a dry cloth.
Step 3: Clean the microwave plate
If the microwave plate isn’t too dirty, then you can wipe it off with a damp cloth (using the lemon water or clean tap water).
Alternatively, you could use a few drops of washing-up liquid for tougher grime.
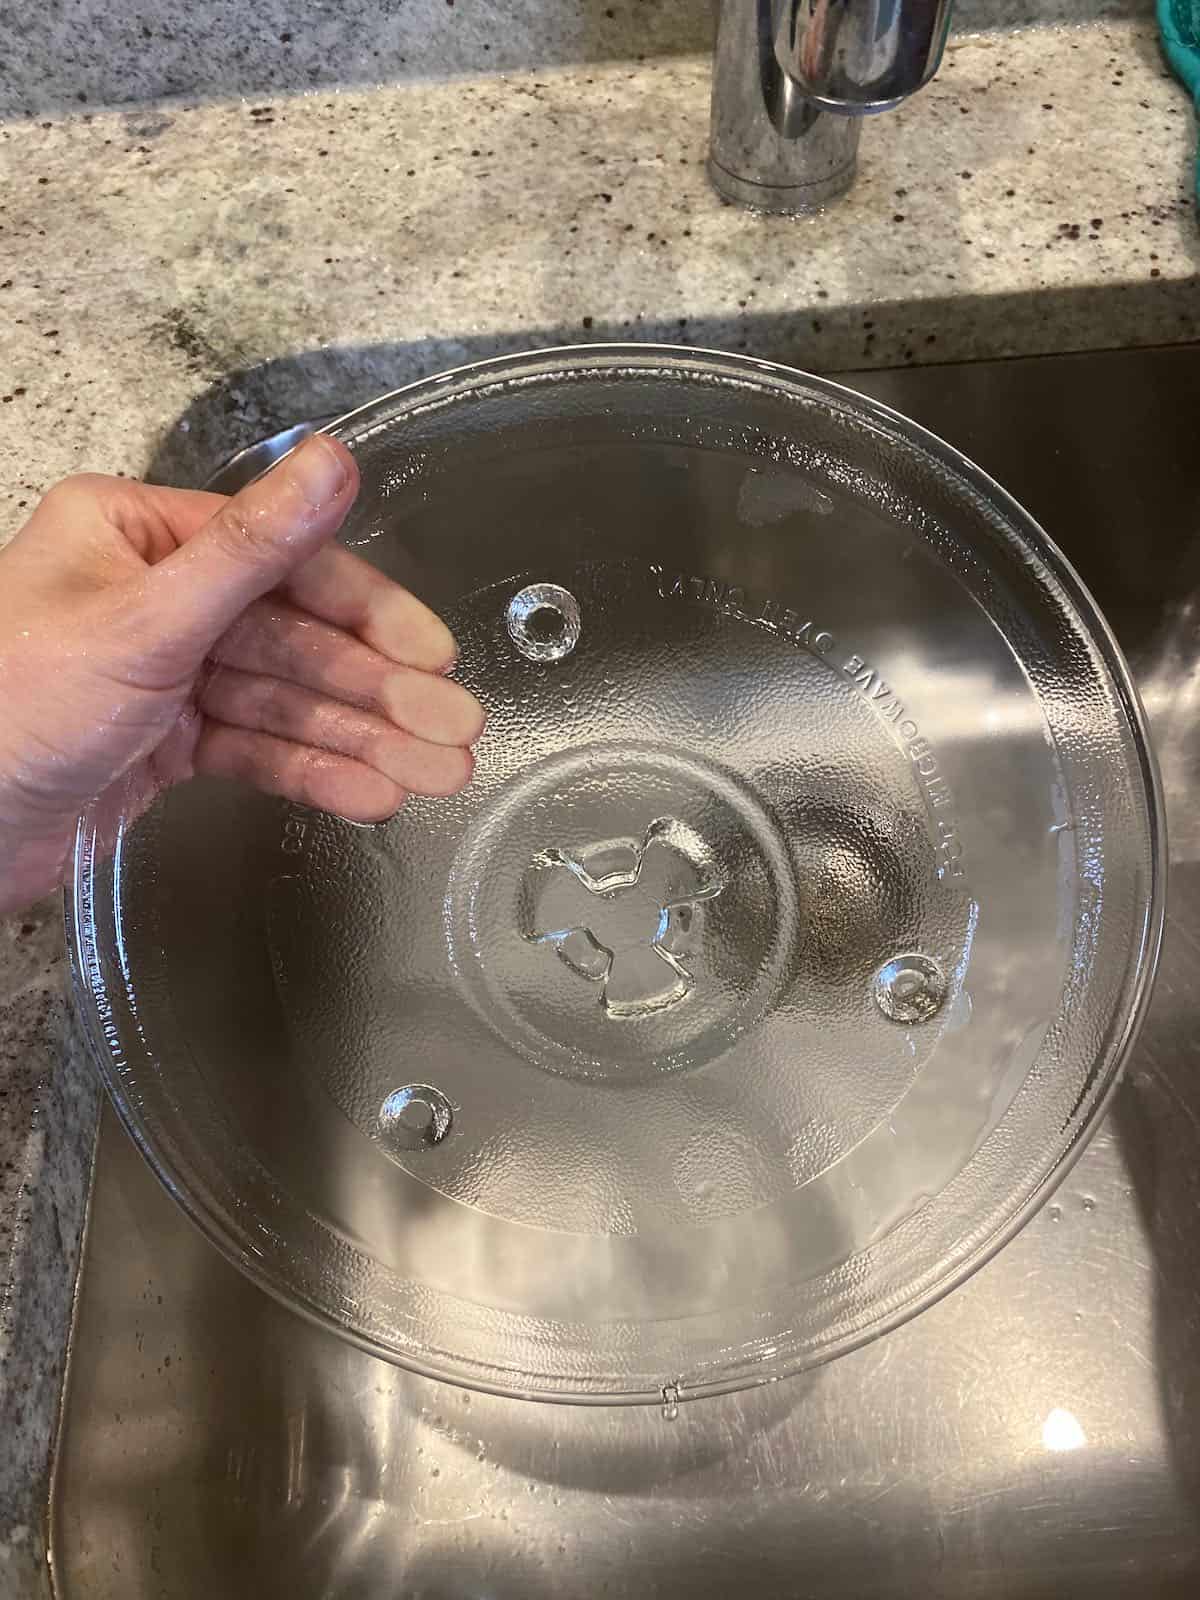
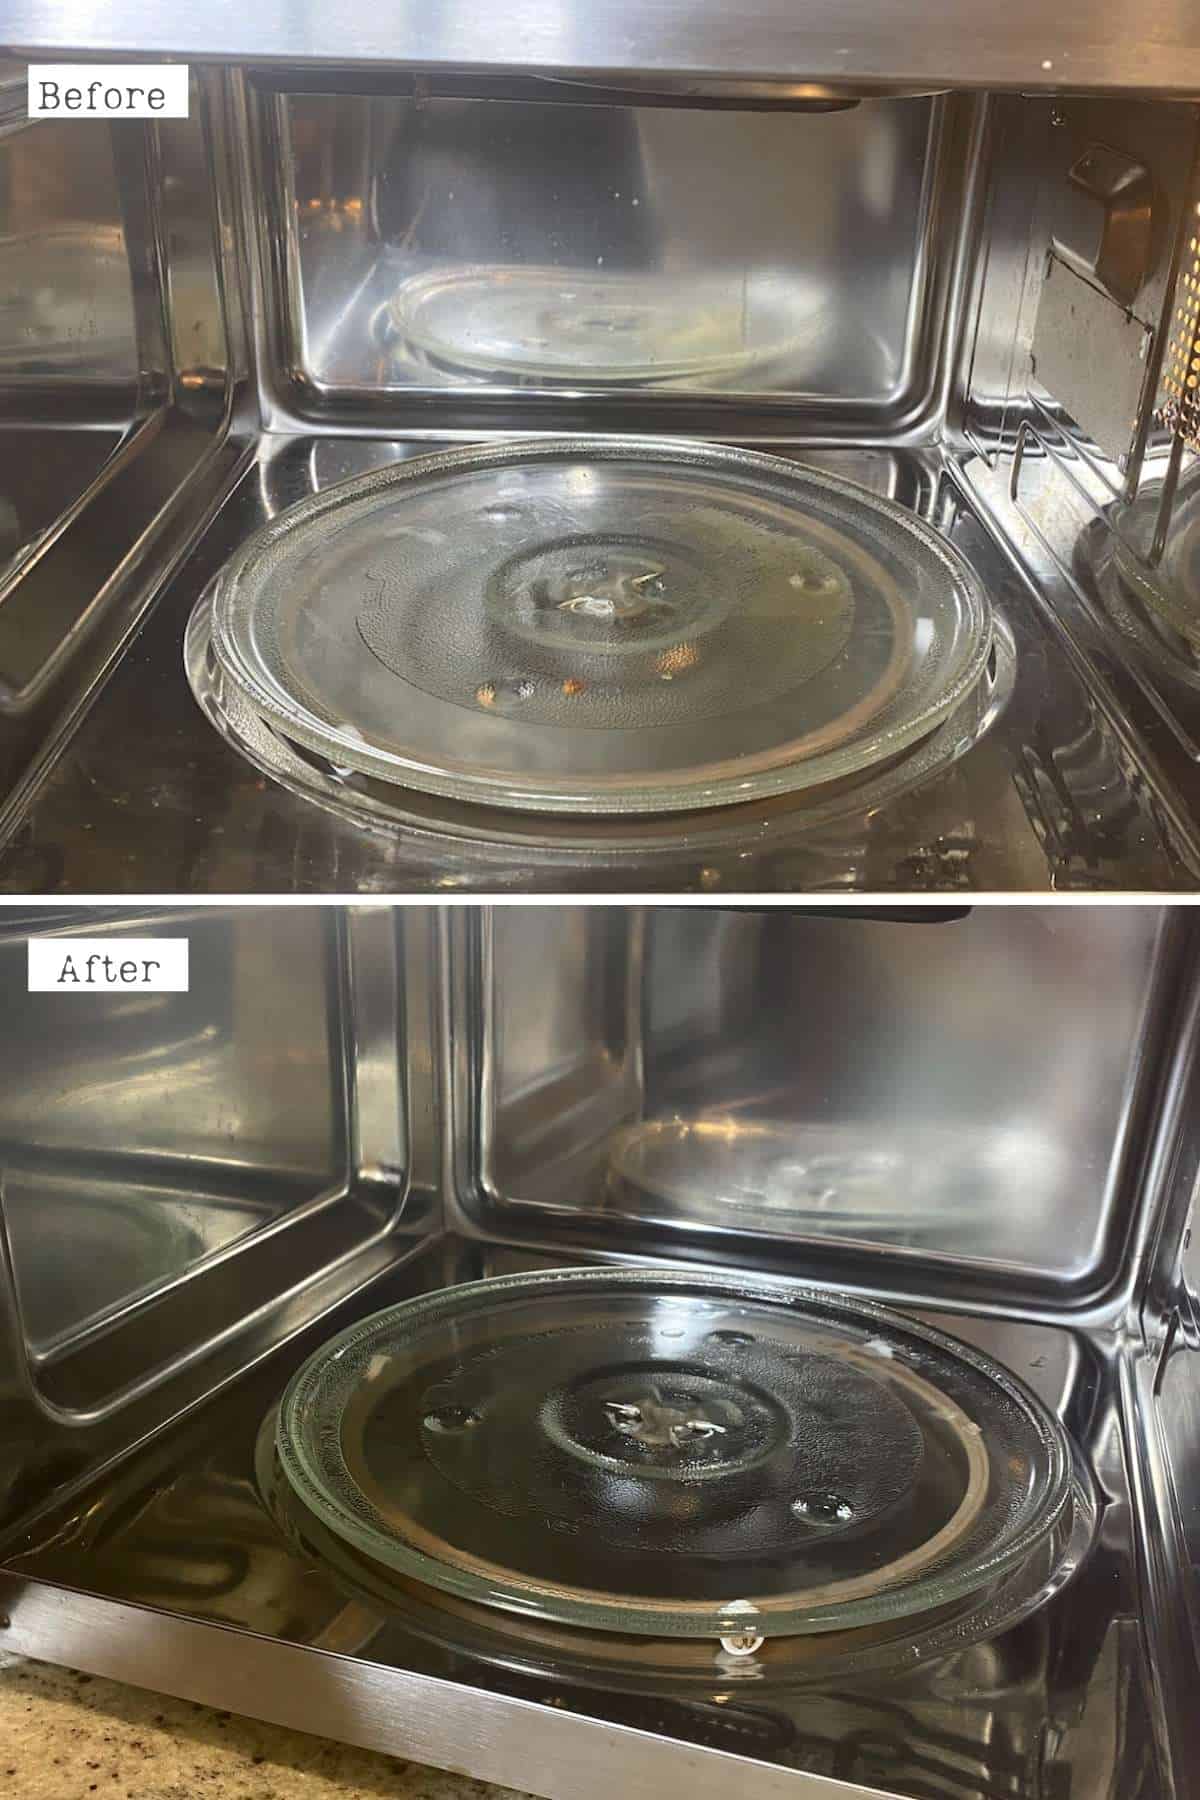
Wipe down after cleaning, with a dry cloth. Then place it back inside the microwave – which is now sparkly clean!
Step 4: Clean the outside of the microwave
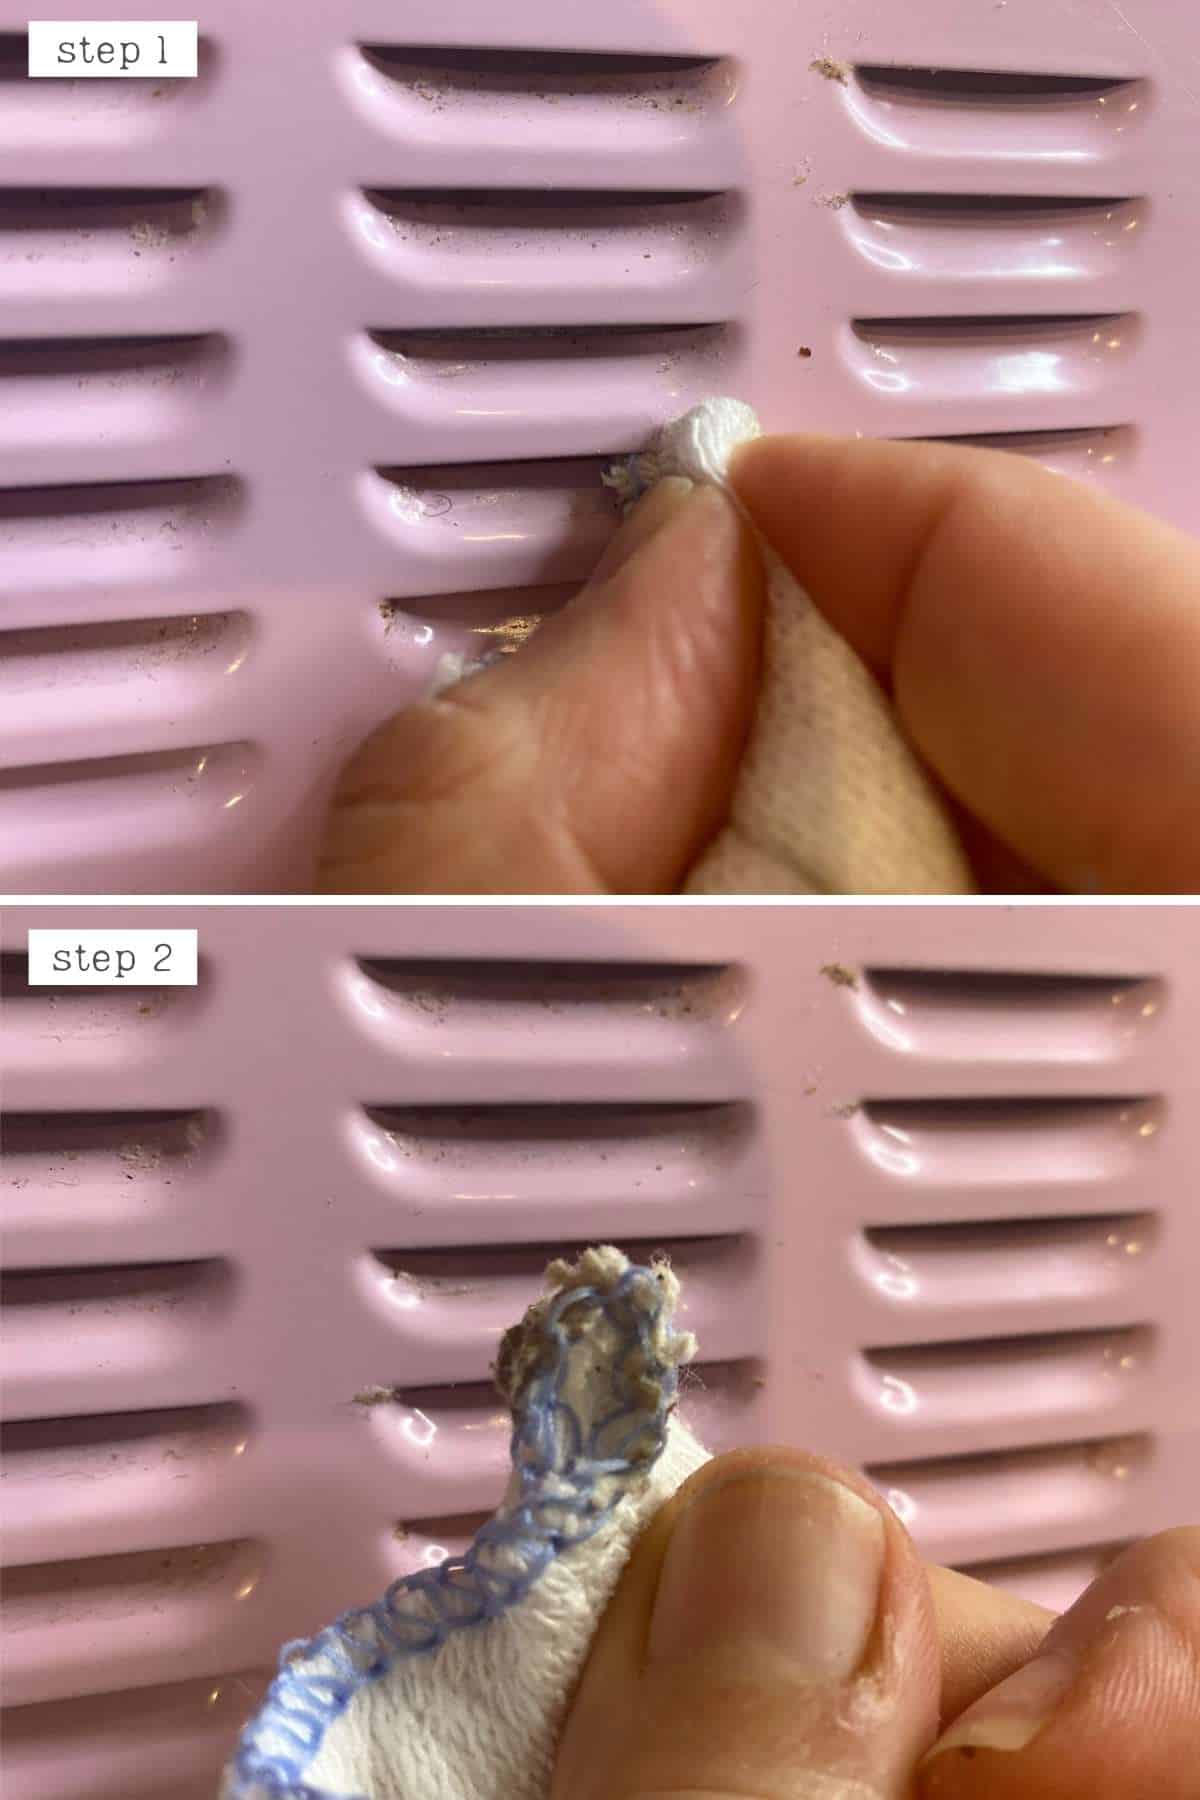
Wipe the outside of the microwave with a damp cloth. The vent areas can have a build-up of dust and grime. To clean these areas, it’s best to use an old toothbrush or wrap a skewer around a clean, dry cloth to push slightly into the nooks and get rid of all the dirt.
FAQs
Yes, bottled lemon juice will work fine – especially as a deodorizing element.
If you need a little extra man-power to scrub at built-up stains, mix baking soda with just enough water to make a thick paste.
Dip your cloth into the paste and use it to rub at the greasy, grimy areas.
Use the combination of water, baking soda, and a little lemon juice or lemon extract. The baking soda will absorb the odors, meanwhile, the lemon acts as a deodorizer.
You can also leave a bowl of baking soda in the microwave with the door closed. This should help to absorb the smells somewhat without any scrubbing required.
This is done naturally with the use of lemon in the above steam-cleaning process. However, if you decide to use vinegar or omit the lemon when using baking soda (to first remove bad odors), then you can add a few drops of a natural extract (like lemon) or add citrus peel to the bowl (lemon, lime, orange, etc.) and they will all work as natural microwave deodorizer for a naturally clean microwave.
Top Tips & Notes
- To keep your microwave in tip-top condition, doing this clean once a week is best. However, if you’re like me who rarely uses it, then once a month should be more than enough.
- You can do this method with older lemons, too, perfect for using up those lemons you don’t trust to eat anymore but don’t want to waste.
- If your microwave is really grimy it may be best to use both lemon juice AND vinegar.
- There is a small risk that the heating of the water could lead to what’s called ‘super-heated water’ that can cause your container to burst. To avoid this entirely, place a wooden skewer (or spoon) in the water. This will allow bubbles to form around the wood and provide a release for the build up of air.
Related DIYs
If you try this clean microwave hack with lemon, then let me know your thoughts and questions in the comments. I’d also love to see how well it works for you in your own Micro’s – just tag @AlphaFoodie.
How To Clean Microwave With Lemon ( Clean Microwave Hack)
Equipment
Ingredients
- 1 cup water
- 1 lemon juiced
Instructions
Step 1: Steam the inside of the microwave
- Fill a microwave-safe bowl or jug halfway with tap water. Use one with high-sides to allow for the liquid to boil up in the microwave.
- Slice a lemon in half, squeezing out the juice from both halves into the water. Place the leftover lemon skins in the bowl too.
- Place the bowl in the center of the microwave and heat it at maximum power for 3-5 minutes, or until it boils. For powerful microwaves of 900kw+ try 3 minutes.
- Once the time is up, leave the door closed for a further 5 minutes, allowing the built-up steam to work, and loosen the grime in your microwave.Top Tip: This method also works with vinegar. Use about 1 Tbsp vinegar per cup of water. Add a few drops of essential oil (I like to use lemon) to add a nice scent.
Step 2: Clean the inside of the microwave
- I like to unplug the microwave before doing this part of the clean.Remove the bowl, being careful not to burn yourself. It's best to use a kitchen towel or gloves for this. Also, remove the microwave plate and turntable ring at this point- either clean immediately (see Step 3) or leave to soak in warm water while you clean the inside of the microwave if it's really grimy.
- Wipe down all of the steamed (and dislodged) grime with a clean, damp cloth.
- If there is any harder-to-remove dirt, you can dip the cloth into the lemon water and scrub lightly at the grime until it's removed. You could also use the inside of the lemon peel to scrub at the microwave – as a bonus, this will further help to eliminate any lingering odors.For additional cleaning power: sprinkle baking soda liberally on the bottom of the microwave and scrub lightly with the damp towel as you clean. This is good if you have any harder stains on the bottom/side of the microwave.
- Once wiped down with the wet cloth, follow up quickly with a wipe down with a dry cloth.
Step 3: Clean the microwave plate
- If the microwave plate isn't too dirty, then you can wipe it off with a damp cloth (using the lemon water or clean tap water).Alternatively, you could use a few drops of washing-up liquid for tougher grime.
- Wipe down after cleaning, with a dry cloth. Then place it back inside the microwave – which is now sparkly clean!
Step 4: Clean the outside of the microwave
- Wipe the outside of the microwave with a damp cloth. The vent areas can have a build-up of dust and grime. To clean these areas, it's best to use an old toothbrush or wrap a skewer around a clean, dry cloth to push slightly into the nooks and get rid of all the dirt.
Notes
- To keep your microwave in tip-top condition, doing this clean once a week is best. However, if you’re like me who rarely uses it, then once a month should be more than enough.
- You can do this method with older lemons, too, perfect for using up those lemons you don’t trust to eat anymore but don’t want to waste.
- If your microwave is really grimy it may be best to use both lemon juice AND vinegar.
- There is a small risk that the heating of the water could lead to what’s called ‘super-heated water’ that can cause your container to burst. To avoid this entirely, place a wooden skewer (or spoon) in the water. This will allow bubbles to form around the wood and provide a release for the build up of air.





I always hate cleaning my microwave but this made it so easy! The lemon juice made all the food come off immediately and the process felt therapeutic. Thanks again for all of your useful hacks and recipes!
Thank you so much for your comment, Rebecca. I am so happy you tried this method.
Thanks for the tips …Mine now clean as new , so great!
Thank you, Jo! So happy you tried this method!
Best cleaner ever!! So efficient and natural. You’re amazing, thanks so much for your posts!
Great tips
Thank you so much, Lina.