
This post may contain affiliate links. Please read our disclosure policy.


How to clean a wooden cutting board with lemon and salt (and several other methods) as well as how to oil a cutting board to re-season it, to keep your wooden boards in tip-top condition!
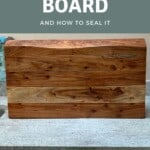
When maintained well, wooden cutting boards and butcher blocks can last decades – and that’s not an exaggeration. With just a little TLC, you’ll help the board to avoid warping and cracks and generally keep it looking its best!
As wood is naturally quite porous, it’s important to upkeep the ‘seasoning’ of any wooden board; otherwise, they can absorb colors and odors from the food or absorb too much water and warp/crack or even become moldy.
Caring for a wooden cutting board needn’t feel overwhelming or laborious either. Within this post, I’ll take you through how to clean a wooden cutting board with lemon and salt (and other maintenance options) and well as how to oil a cutting board, with plenty of tips and answers to top FAQs, including what oils to use and how often to do the process.
Want to save this recipe?
Table of Contents
- Top Tips For Wooden Board Maintenace
- How often to clean?
- How To Tell If Wooden Board Needs Seasoning
- What Is The Best Oil For Cutting Boards?
- How To Clean A Wooden Cutting Board
- The Cleaning & Seasoning Method
- How To Oil A Cutting Board
- Other Tips & FAQs
- Related How-To’s
- How to Clean & Oil A Wooden Cutting Board Recipe
Top Tips For Wooden Board Maintenace
- Don’t soak wooden boards for longer than a few minutes in water or clean them in a dishwasher. This can lead to the boards warping or cracking.
- Save one board specifically for meat/fish (or use a non-porous board for these) and one for everything else – to avoid cross-contamination.
- Always wash both sides of the board and allow it to lean upright while drying to avoid warping – otherwise, it can become moldy.
How often to clean?
This really depends on how often you’re using the board and what you’re using it for. For example, I never use my wooden boards for raw meat or fish – thus, I don’t have to worry about bacterial contamination.
I tend to only do the lemon and salt cleaning method before seasoning a cutting board or if there are lingering stains/odors. Personally, I do this around 3 times per year. However, depending on how much you use the board, this could be done monthly or only 1-2 times per year.
How To Tell If Wooden Board Needs Seasoning
There are some telltale signs that a seasoning is in order.
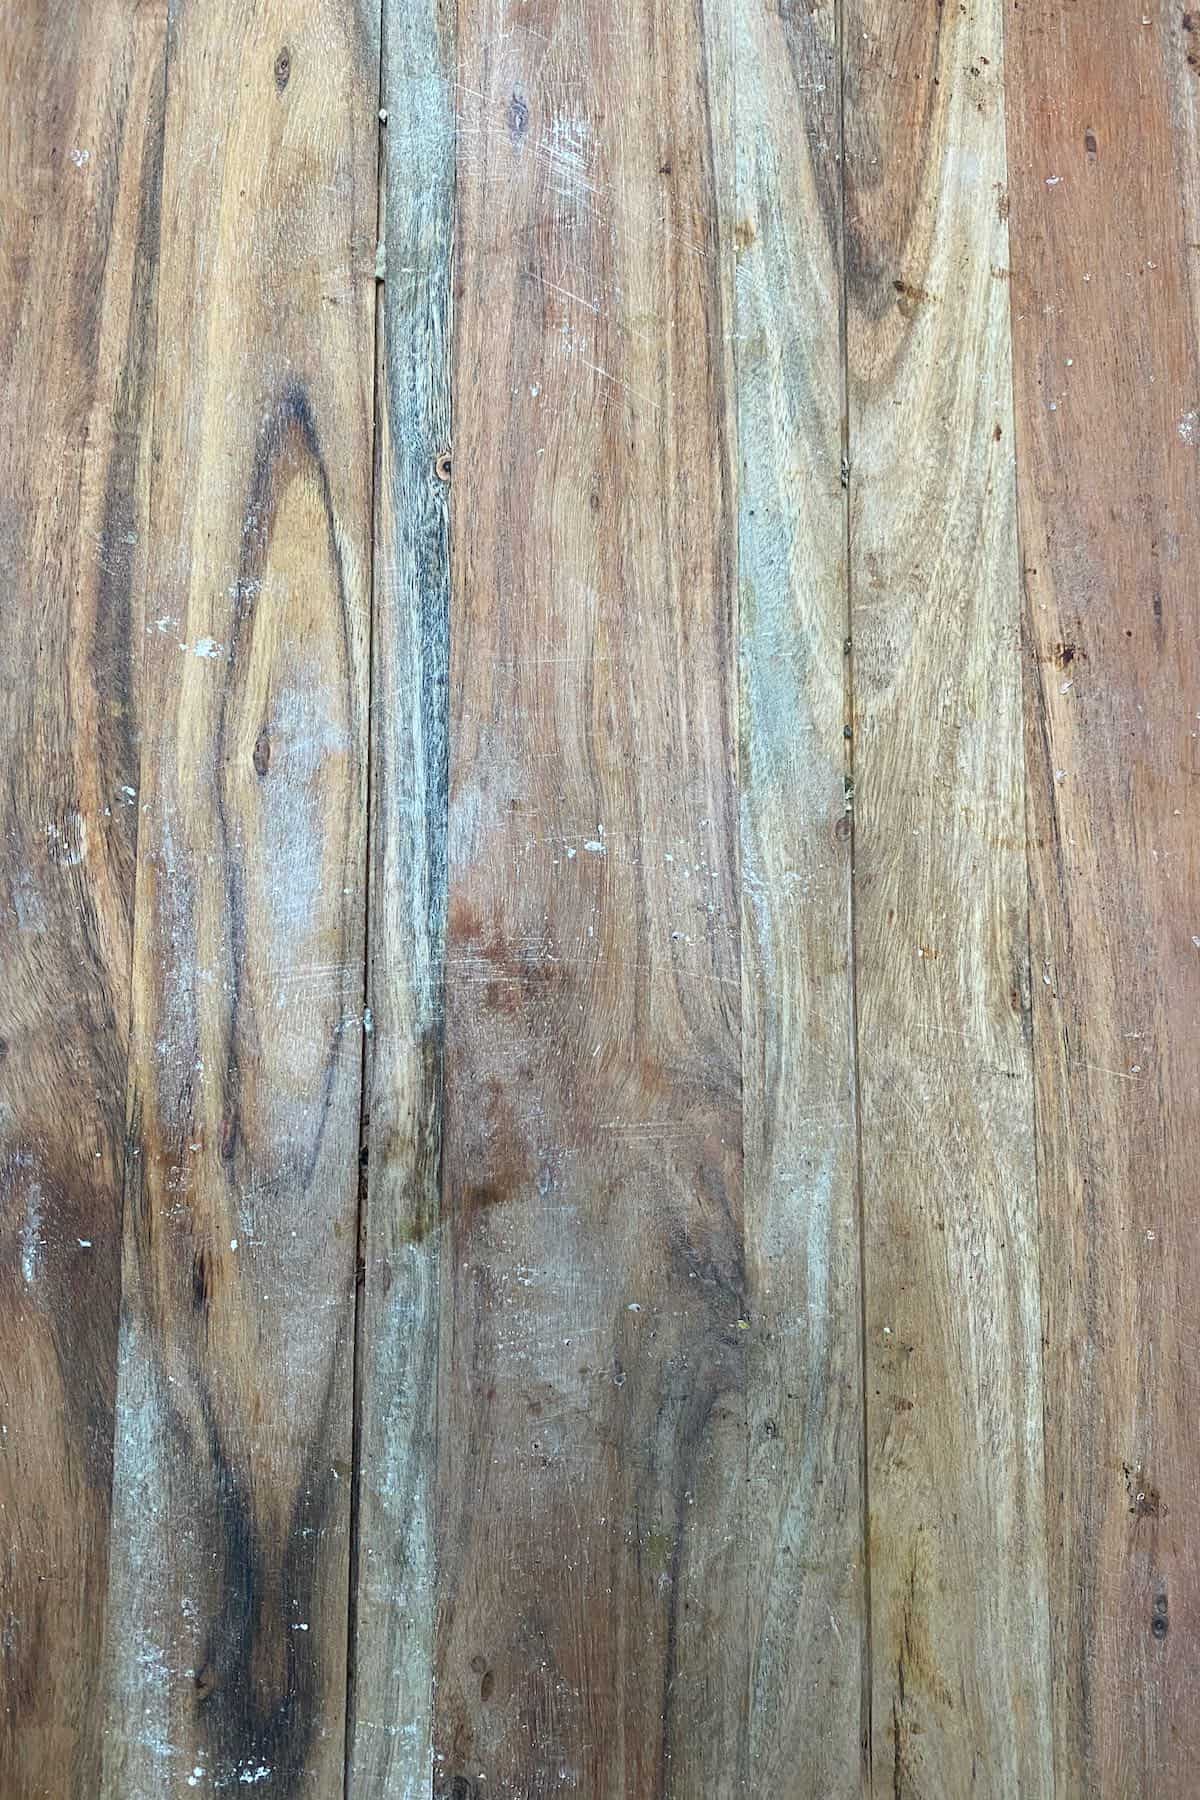
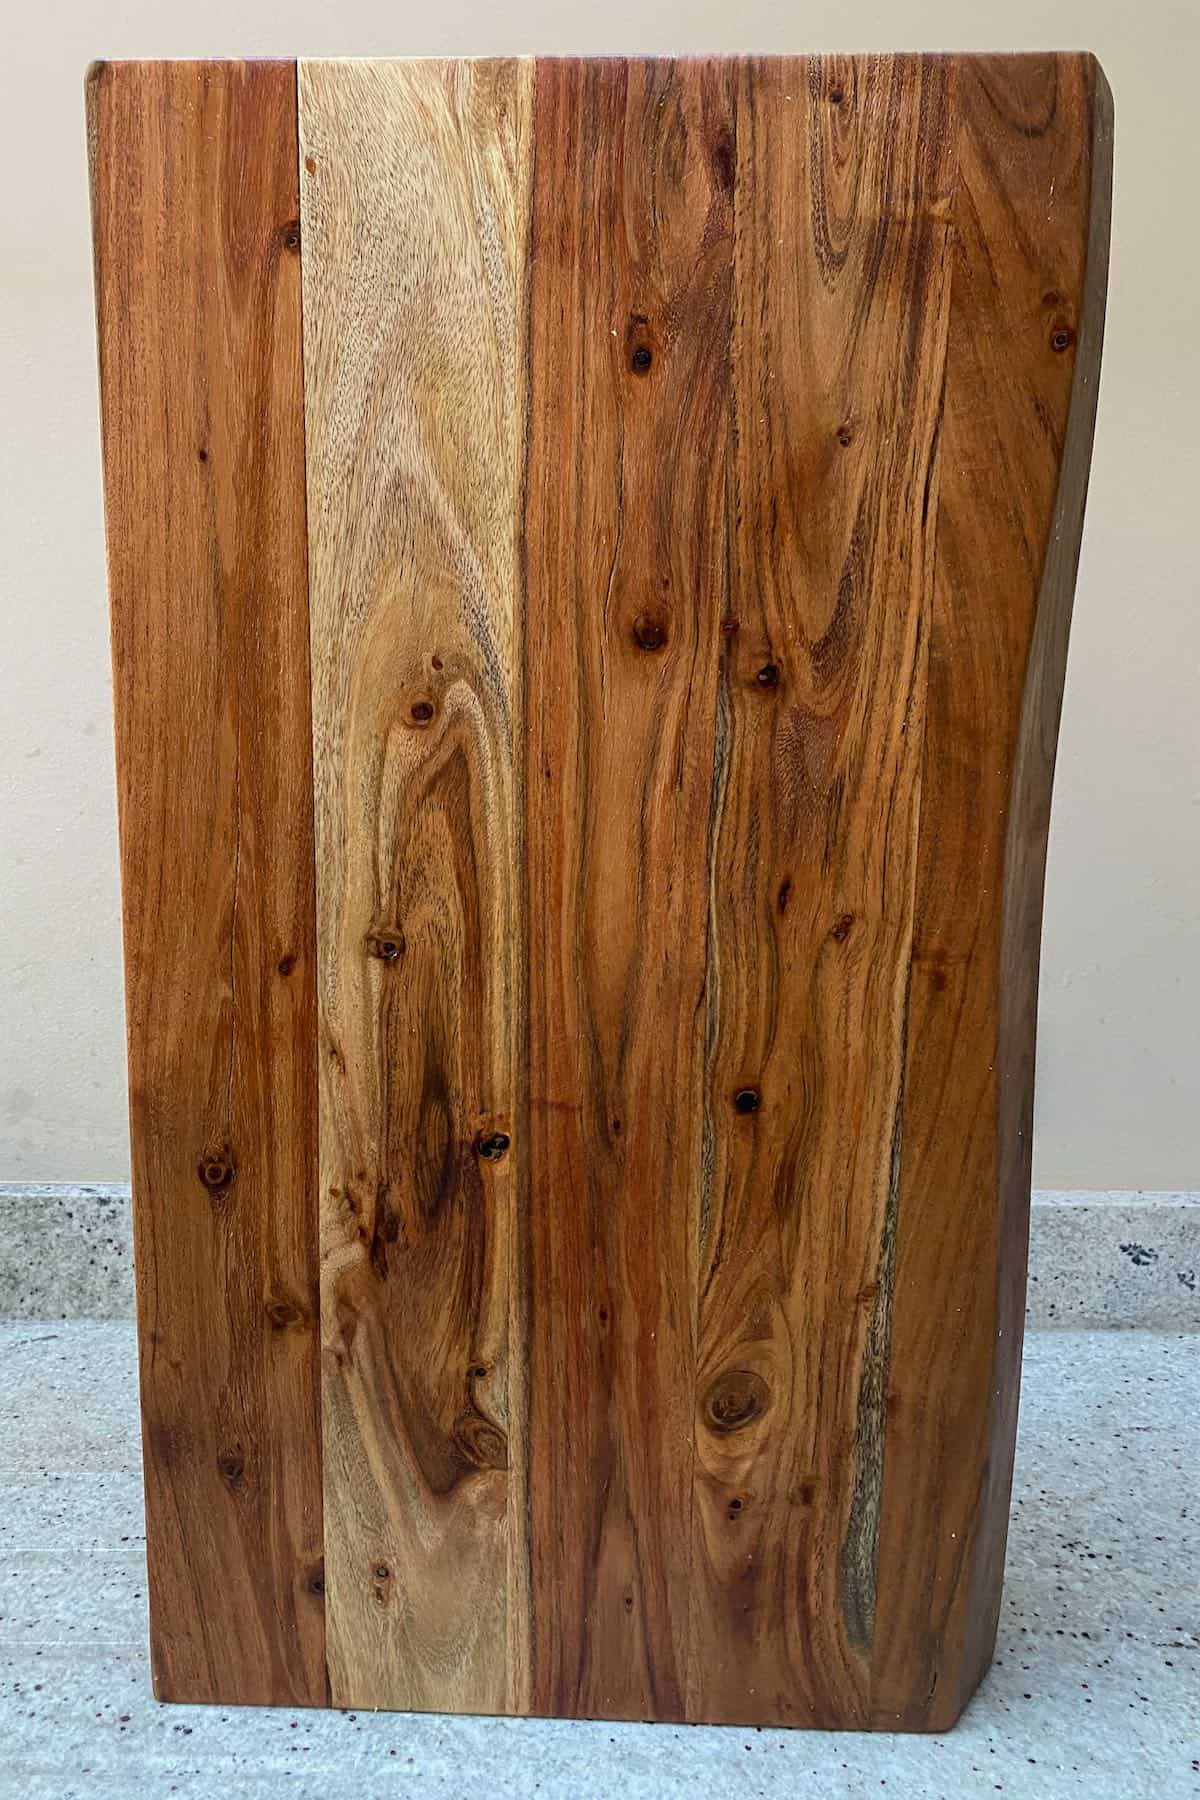
- If your board has obvious lighter patches that look lighter and drier.
- Use the ‘waterdrop test.’ Just put a few droplets of water on the board. If it soaks into the board, it’s time for seasoning! If it beads up on the surface, you’re fine for now!
- Lastly, if there are any stubborn stains or smells, it’s not only time for a season but also a good ol’ clean.
What Is The Best Oil For Cutting Boards?
There are several types of wax and oil for cutting board seasoning,
You can use an oil alone or a combination of oil and wax. While the oil will penetrate the board to avoid warping and cracks, the wax will create more of a physical barrier on the wood’s surface in all the knife grooves. This will protect against bacteria, stains, and the absorption of odors and liquids.
Mineral Oil
This is a great option when oiling a cutting board in that it’s odorless, colorless, and low-budget.
Not only does it absorb into the wood, but it also repels water. Just be careful to purchase food-grade mineral oil (also labeled liquid paraffin) only – which is safe to digest. Mineral oil is derived from petroleum, so not all versions are.
Top Tip: You can find this oil even cheaper in drugstores and the pharmacy section of larger grocery stores sold as a laxative – and no, don’t worry, it’s only if you drink it by the spoonful that it will cause this side effect.
Fractionated Coconut Oil
Fractionated coconut oil is another great option for your board – and is plant-based.
Unlike regular coconut, the fractionated version has been distilled until what remains is an odorless oil that stays liquid even at cooler temperatures. It also won’t go rancid – which is important.
In terms of cost, I’ve found that it can be fairly similar to mineral oil when bought online. However, it may be slightly more expensive.
Beeswax
Beeswax is actually a great option to use alongside coconut oil or mineral oil and will provide a more water-resistant finish and seal for the board.
Thus, your seasoning will also last longer too – meaning you don’t have to do this process as often.
All you need to do is use 1 part beeswax for every 4 parts coconut oil/mineral oil and melt it together before pouring it over the board.
For a vegan version, you could use Carnauba wax from the leaves of the carnauba palm in Brazil.
What NOT to use
It’s important not to use oils that are high in unsaturated fats that will go rancid over time. For example, canola oil, olive oil, vegetable oils, etc.
While I’ve heard from several people that use vegetable oils and haven’t had issues – it is a risk, and I’d rather spend the little extra on oil that won’t go rancid than end up ruing an expensive wooden board (which will likely cost lots to replace).

How To Clean A Wooden Cutting Board
Cleaning a wooden cutting board is different to how you’d deal with a plastic/glass option. Here are a few tips for caring for a wooden cutting board.
- Directly after using, sanitize it by scrubbing it (to clean in any groove marks/knife cuts thoroughly) with hot water and a little mild dish soap, then dry thoroughly. There’s no need to use soap each time either – especially when using it with ‘dry’ ingredients (i.e., cauliflower, asparagus vs. tomatoes, watermelon, etc.).
- If you use it with meat/fish, you can use a weak hydrogen peroxide/bleach solution to clean the board. Combine 1 Tbsp bleach per gallon of water and soak the board for 3-4 minutes, then rinse, wipe dry, and lean upright to dry entirely overnight.
- Avoid the chemicals by using a vinegar solution instead. Use a 1:4 ratio of white distilled vinegar to water and spray the board or allow it to soak for 3-4 minutes and dry as above. Optionally rinse before drying.
- If you have any stubborn smells or odors, or you want to season a cutting board, then you can use the lemon salt (or baking soda) method that I outline below. You could also make an immediate baking soda water paste to scrub the board to avoid it staining.
Top Tip: It’s important not to soak the board for more than a few minutes to avoid warping/cracking.
The Cleaning & Seasoning Method
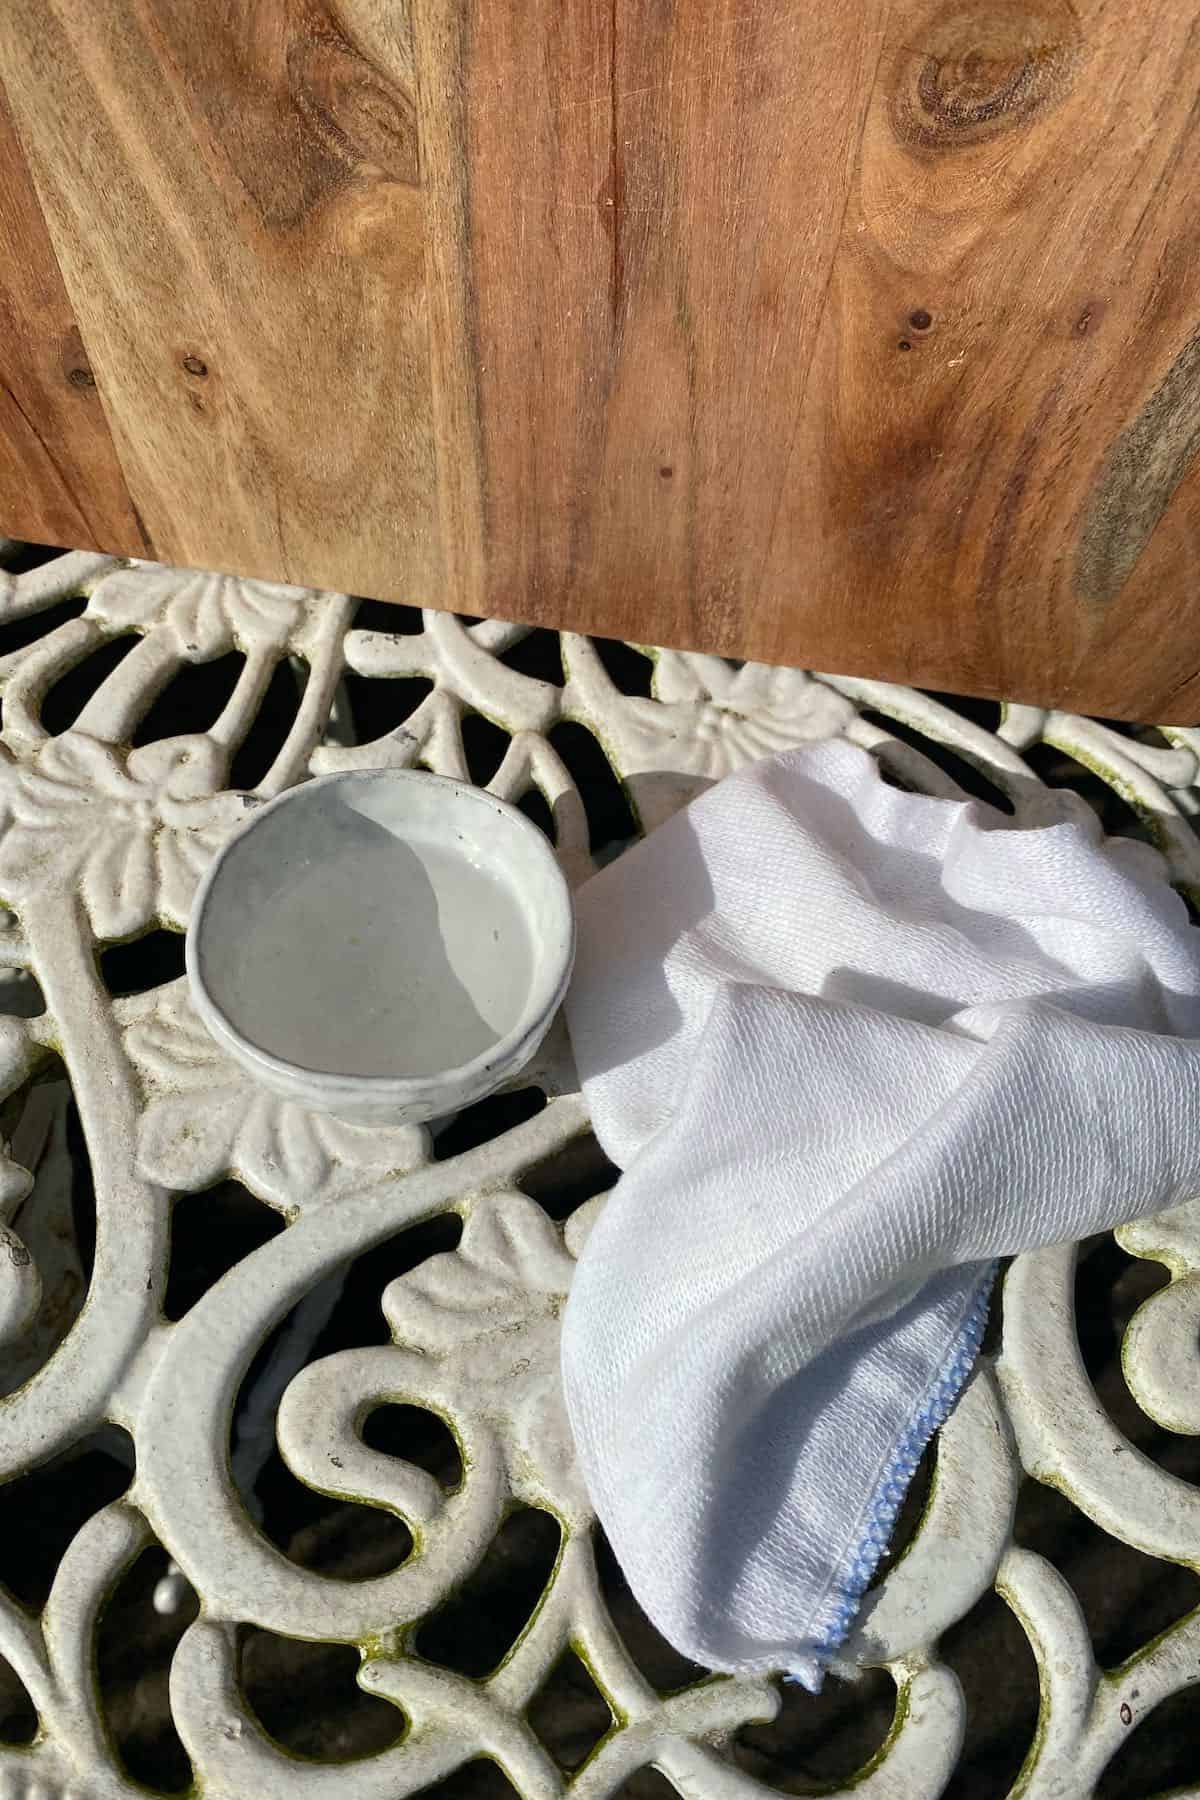
What’s Needed
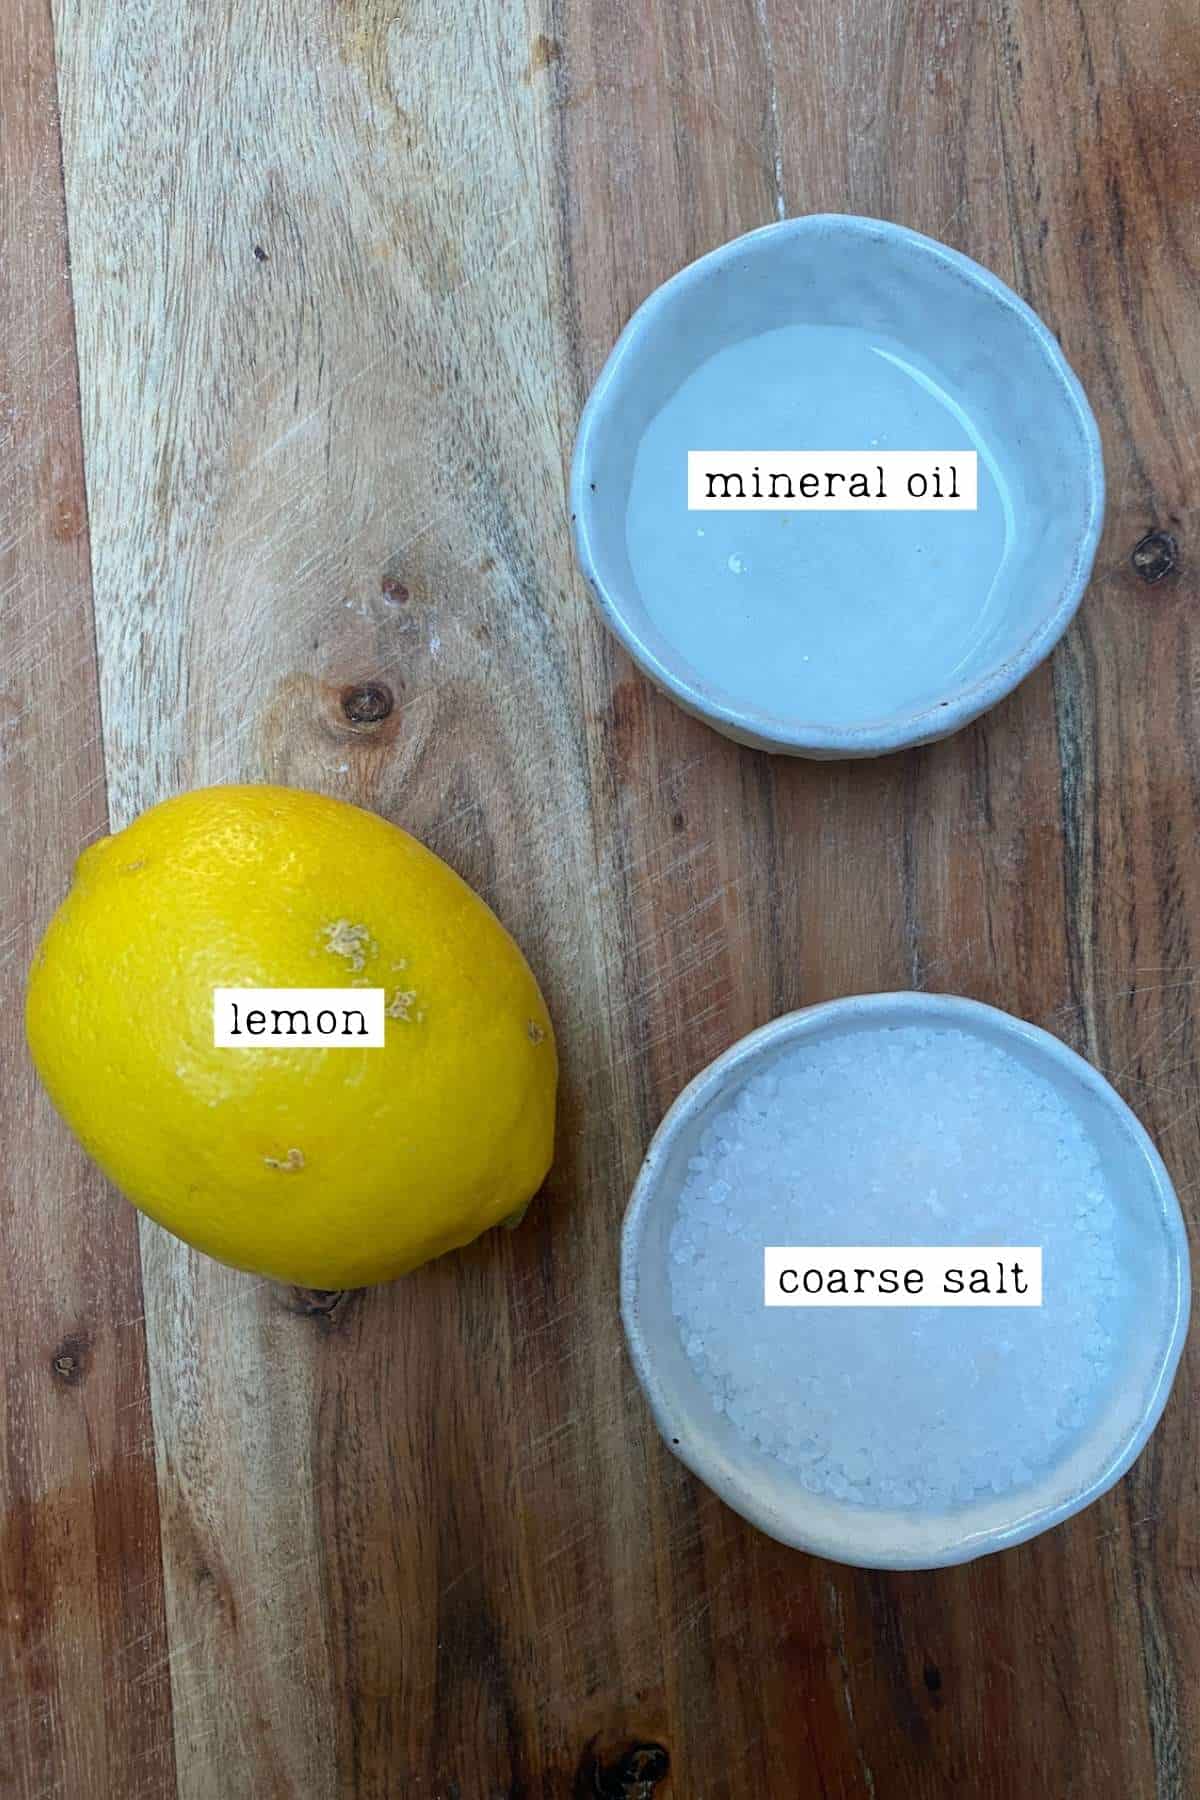
- To clean: lemon and coarse salt (or baking soda).
- To season: Food-grade oil that won’t go rancid (read above).
- Microfiber cloth/kitchen towel (paper towels).
How To Clean A Wooden Cutting Board With Lemon
Note: You could also do this method with baking soda. The lemon juice will cause it to foam up; this is normal. Baking soda isn’t coarse to act as a scrub but will help eliminate any odors and freshen up the board well.
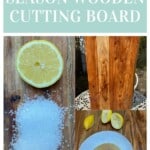
Cut your lemon in half and dip one half into coarse salt. Alternatively, you can sprinkle the board liberally with salt and squeeze some of the lemon juice over it.
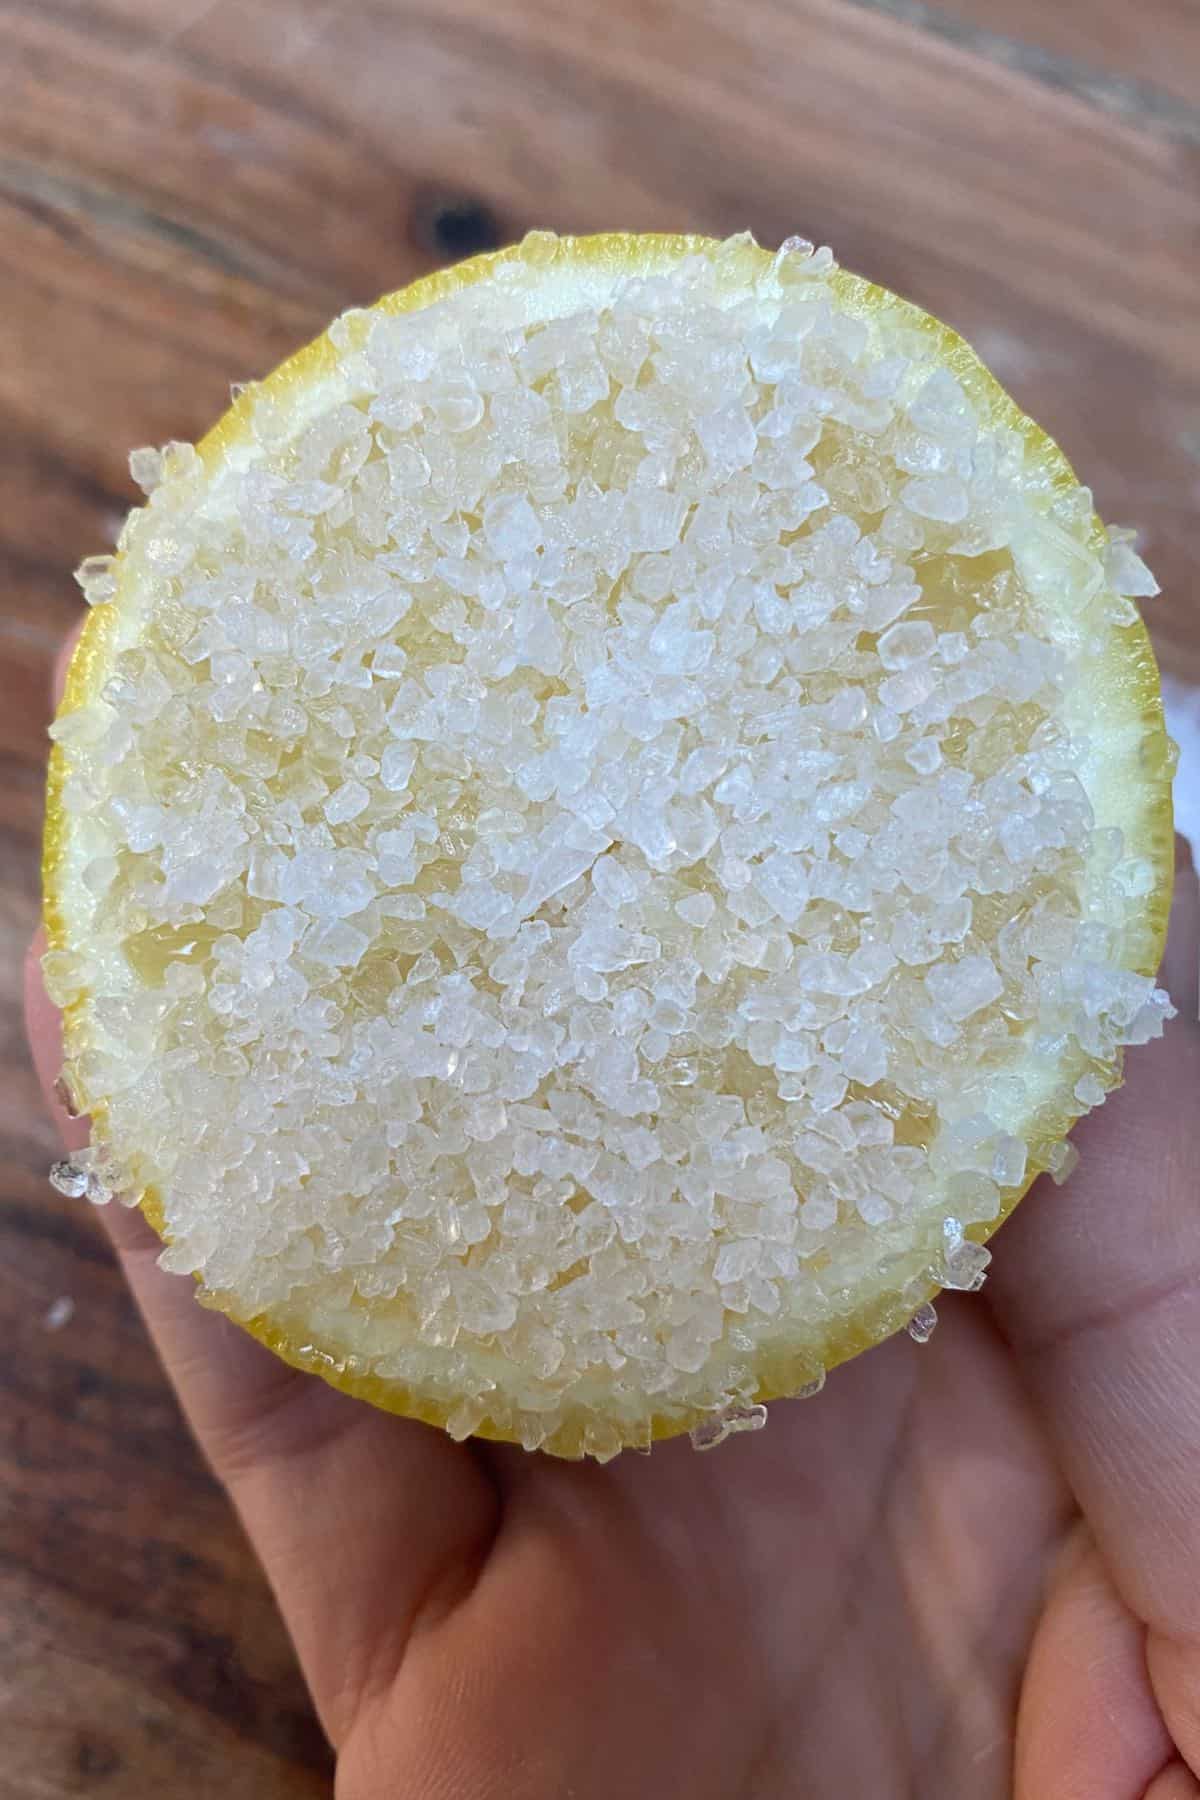
Then rub the board with the lemon, using the salt to scrub it well. You can add more salt to the board if needed. Rub the board in the direction of the grain.
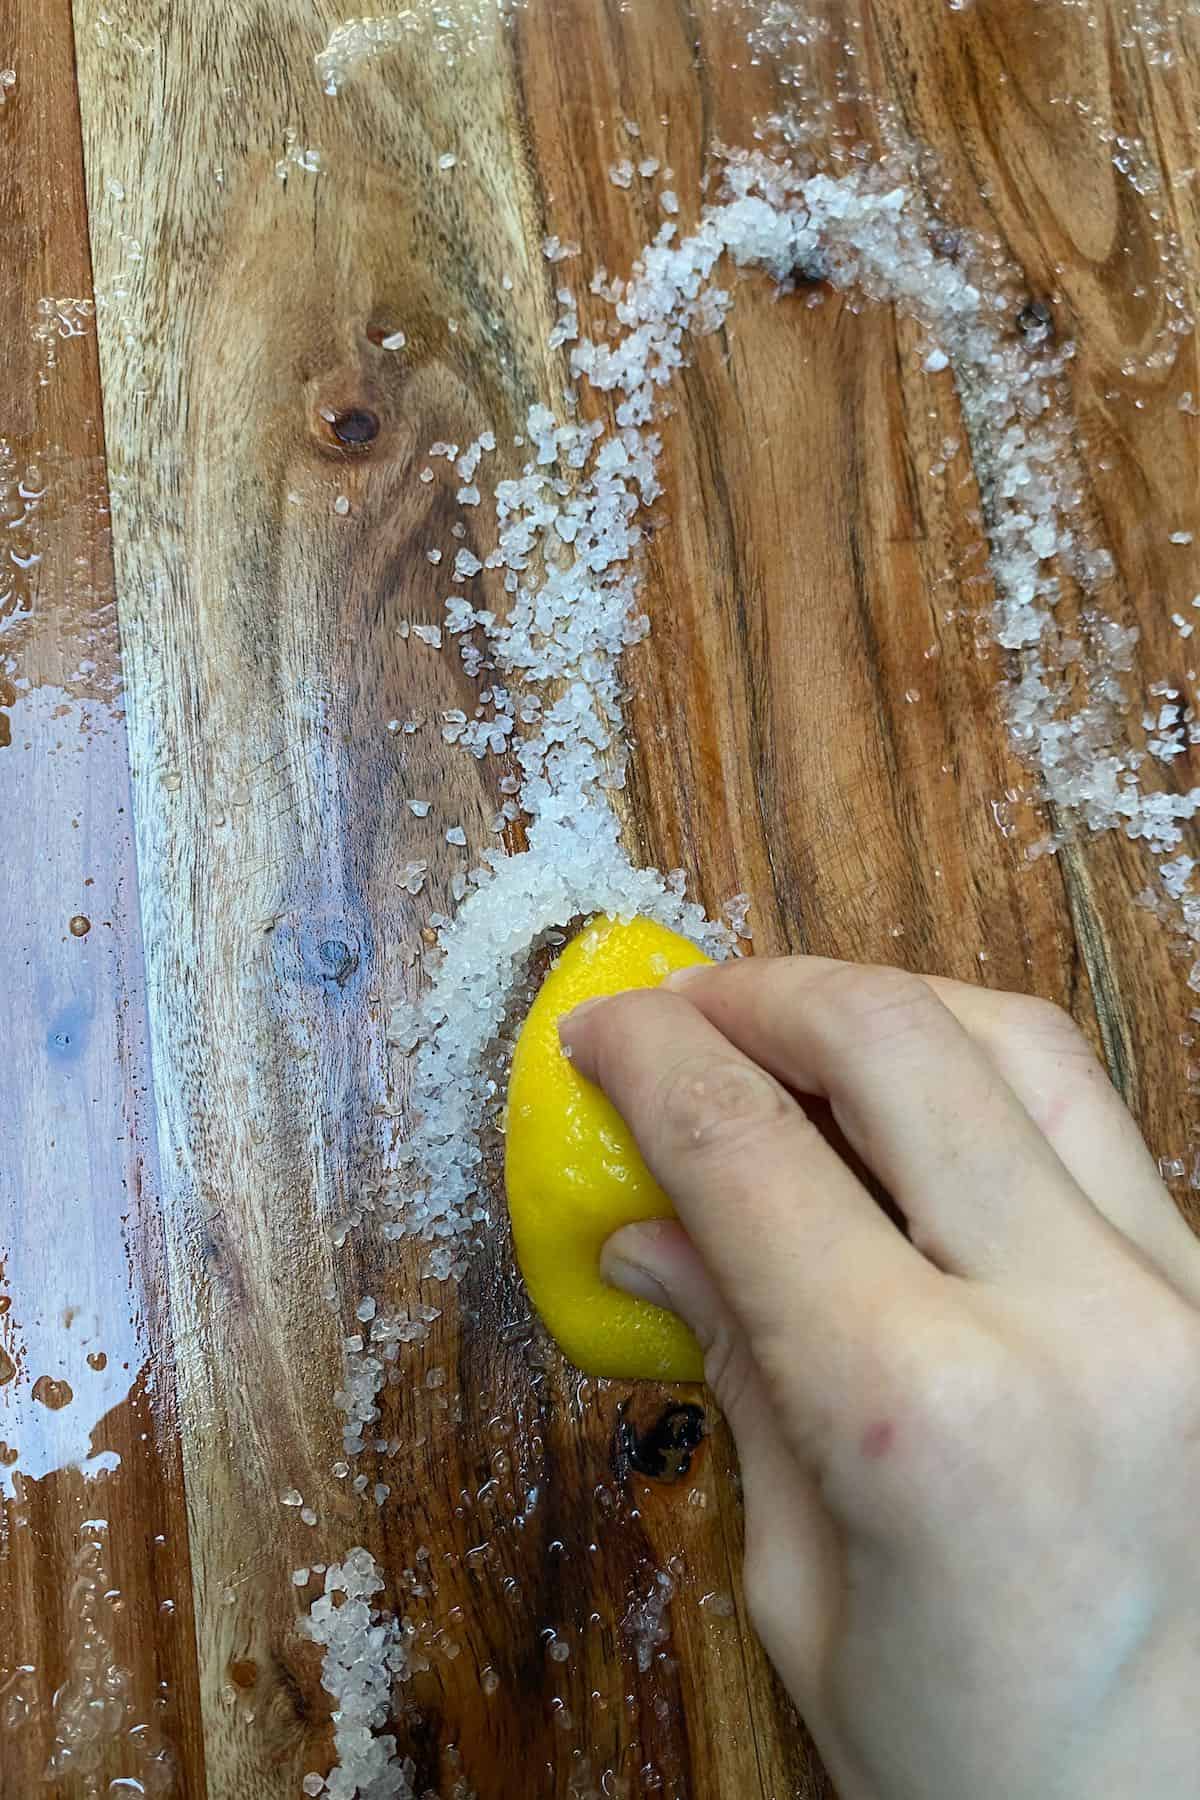
Allow it to sit for a few minutes, and then use a bench scraper or spatula to remove all the excess salt and liquid.
Repeat this process on the other side of the board. Then dry it down with a dish towel/cloth. Some people rinse the board, too, if it doesn’t look like all the salt is gone.
Then stand the board upright or leaning against a wall and allow it to dry completely. This is important as, if it’s wet, the oil won’t easily permeate the board.
How To Oil A Cutting Board
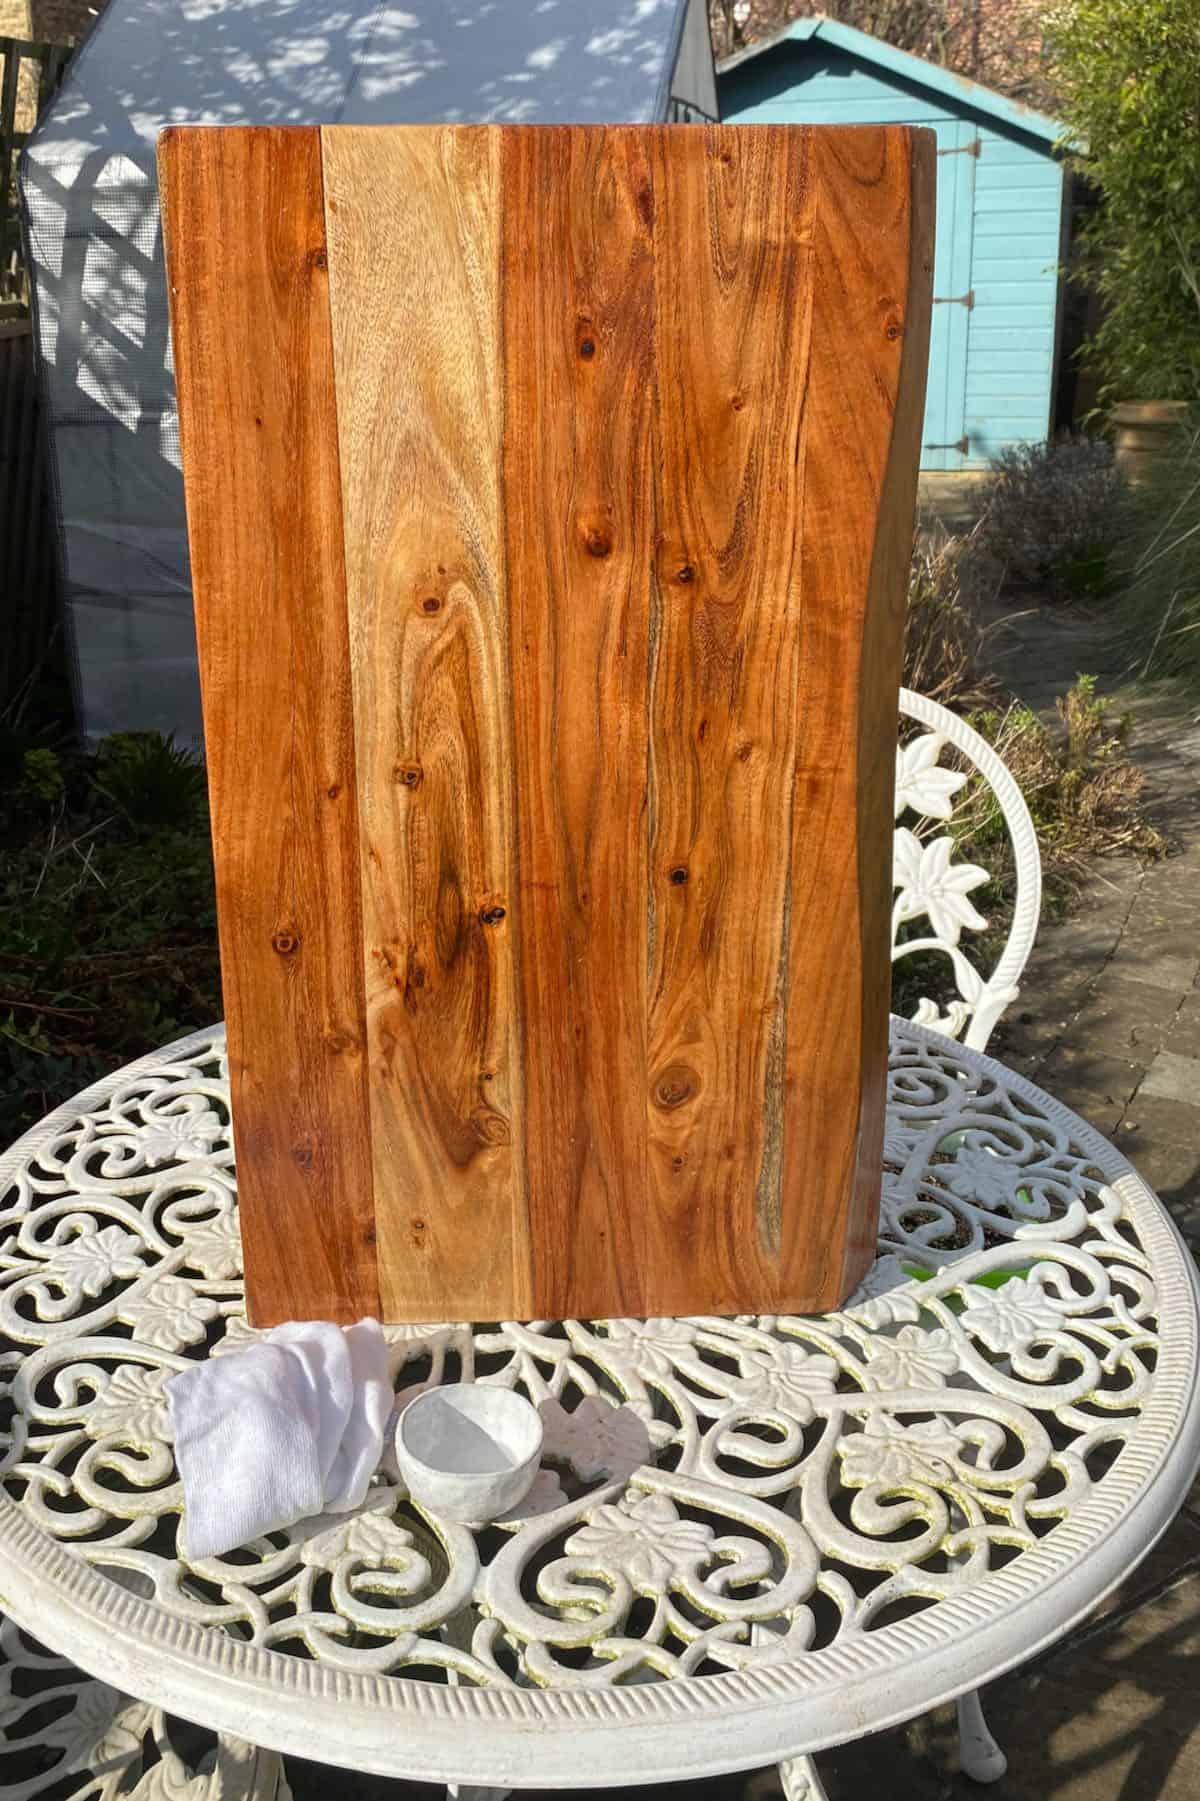
Lay your chopping board on a flat, non-slip surface.
The size of your board will determine how much oil is needed. For this sized board, I started with around 2-3 Tbsp of oil. If you want to use a wax/oil combo, heat it over a double boiler first.
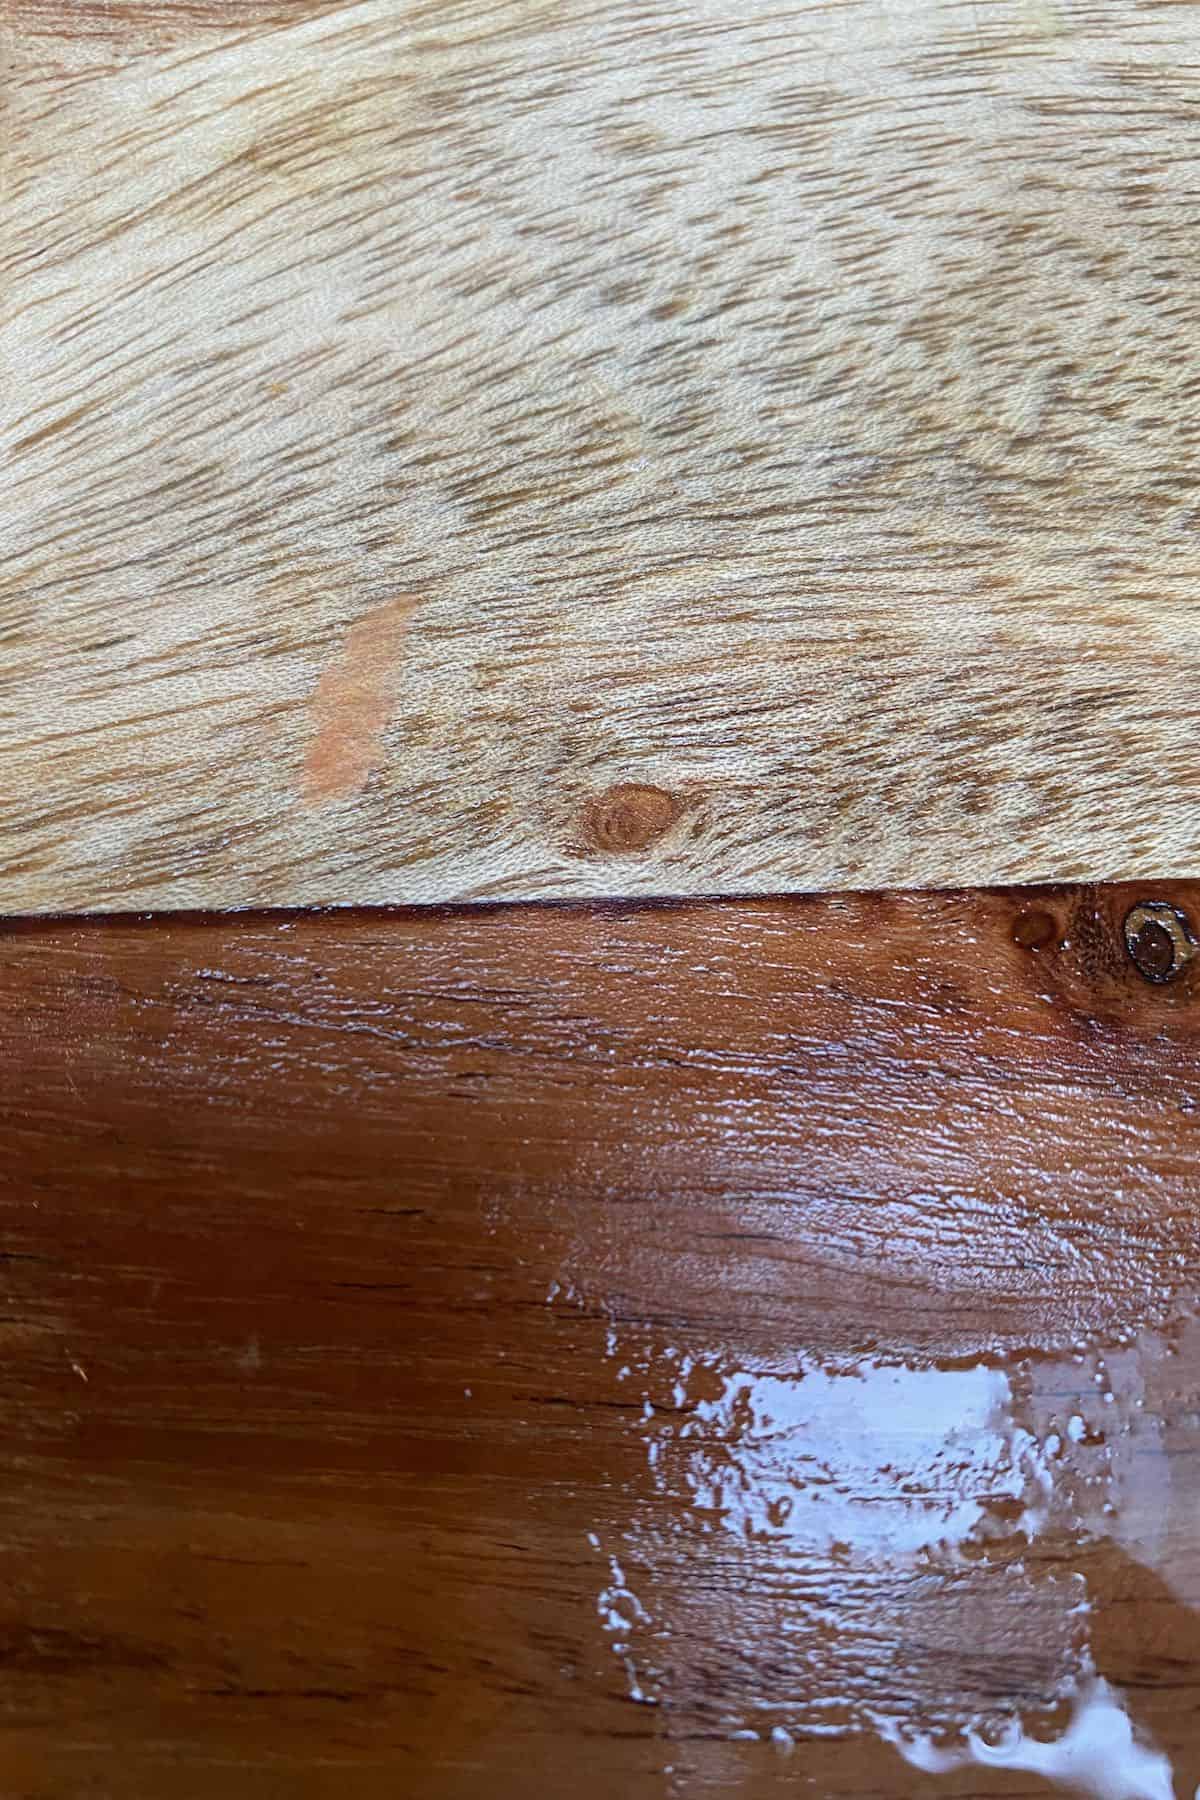
Pour the oil directly onto the board, spreading it all over the board rather than concentrating it in one area, then begin to work it in with your paper towel/cloth.
You can either rub it in circular motions ‘buffing’ it into the surface, OR rub it in the direction of the grain, in a linear way. Either way will work.
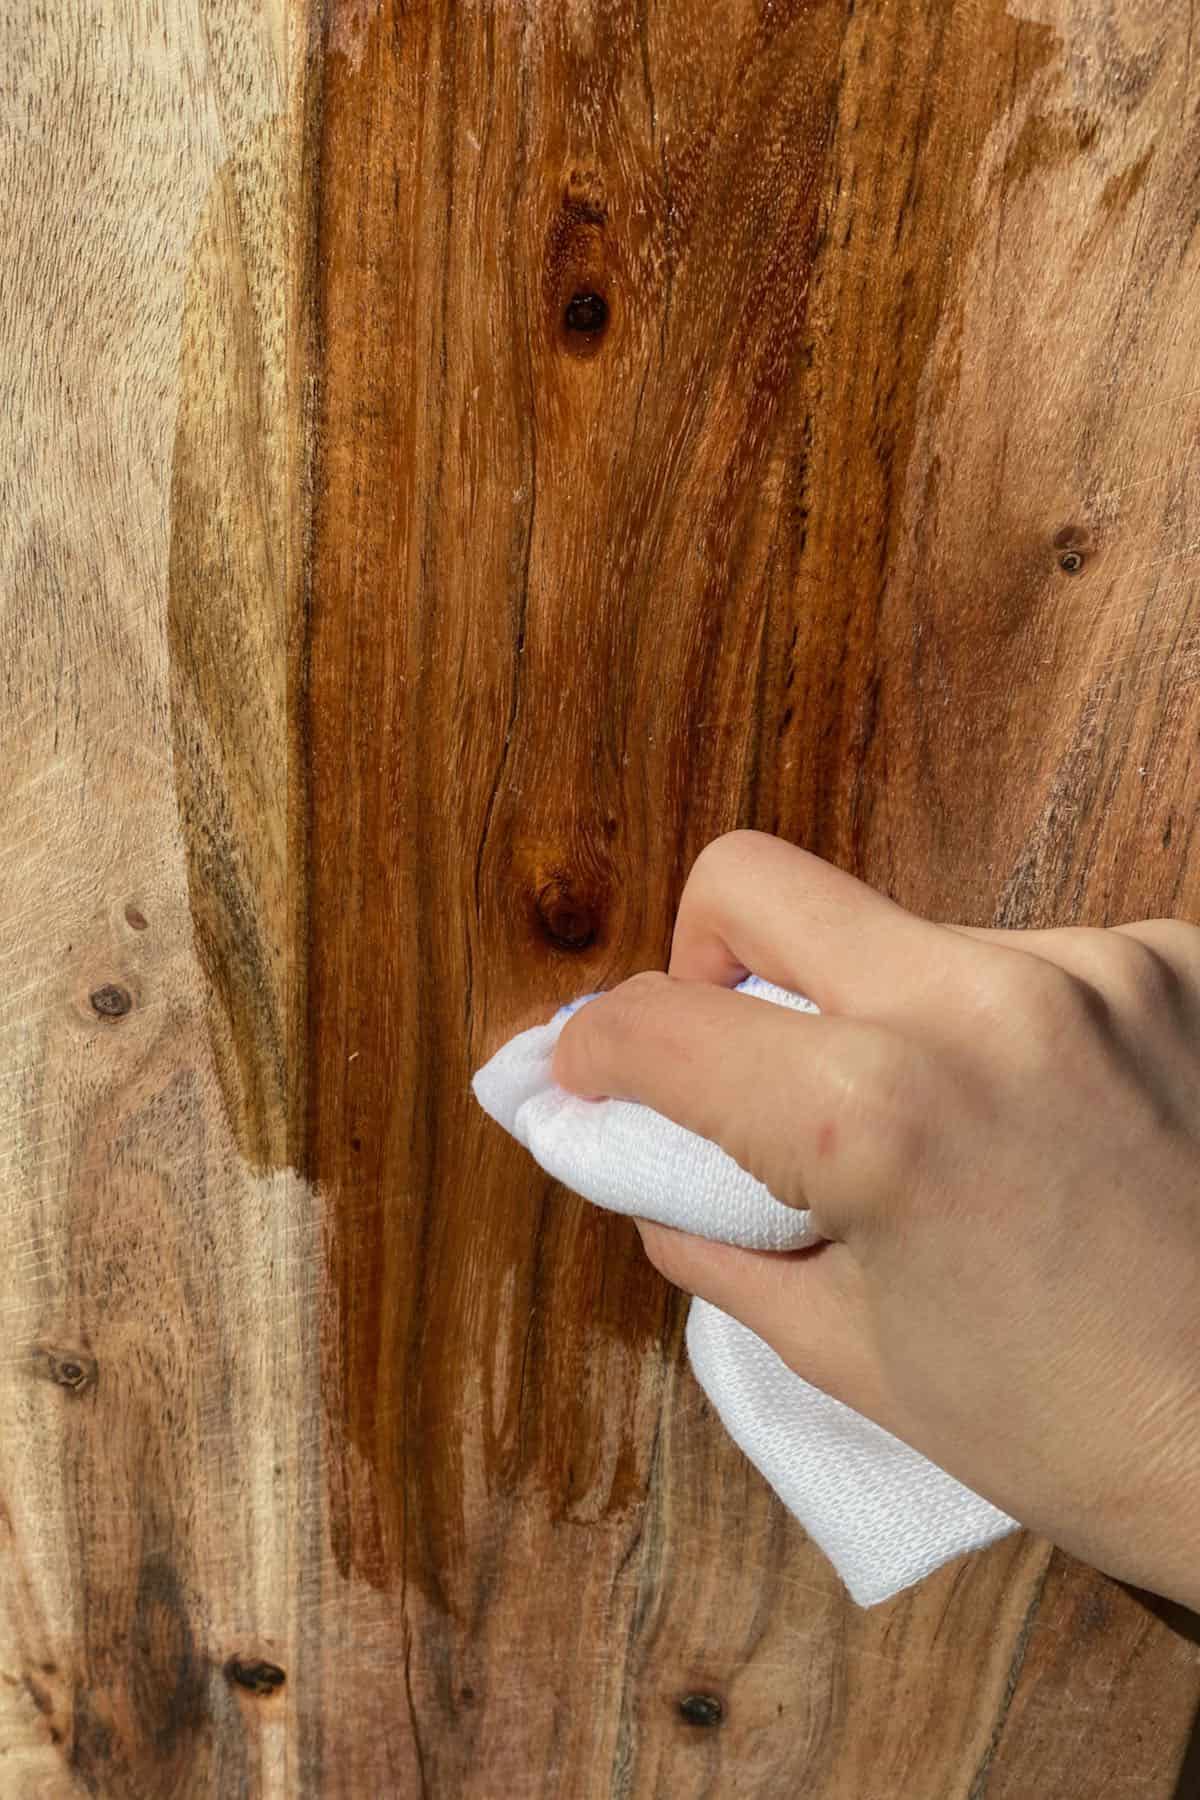
Remember to do all the sides of the board too. If the board was very porous and practically soaked the oil up immediately, then it’s a good idea to repeat this process once more (or even twice more). I usually do it twice.
Tip: If you want to do this twice, then place the board in the oven at a low temperature for 10-15 minutes after the first oil. This will help it soak up the oil faster. Allow it to cool, then add the second coat and leave to dry overnight.
Don’t worry, you can’t over-oil the board as it will simply stop absorbing it when it can’t anymore, and the oil will stay visible on the surface. At that point, wipe it away with a cloth/paper towel.
Once oiled, place the board up against a wall or somewhere that air can circulate (not flat against a table) and leave it to dry for at least 6 hours, but even better if it’s left for between 1-2 days to dry fully.
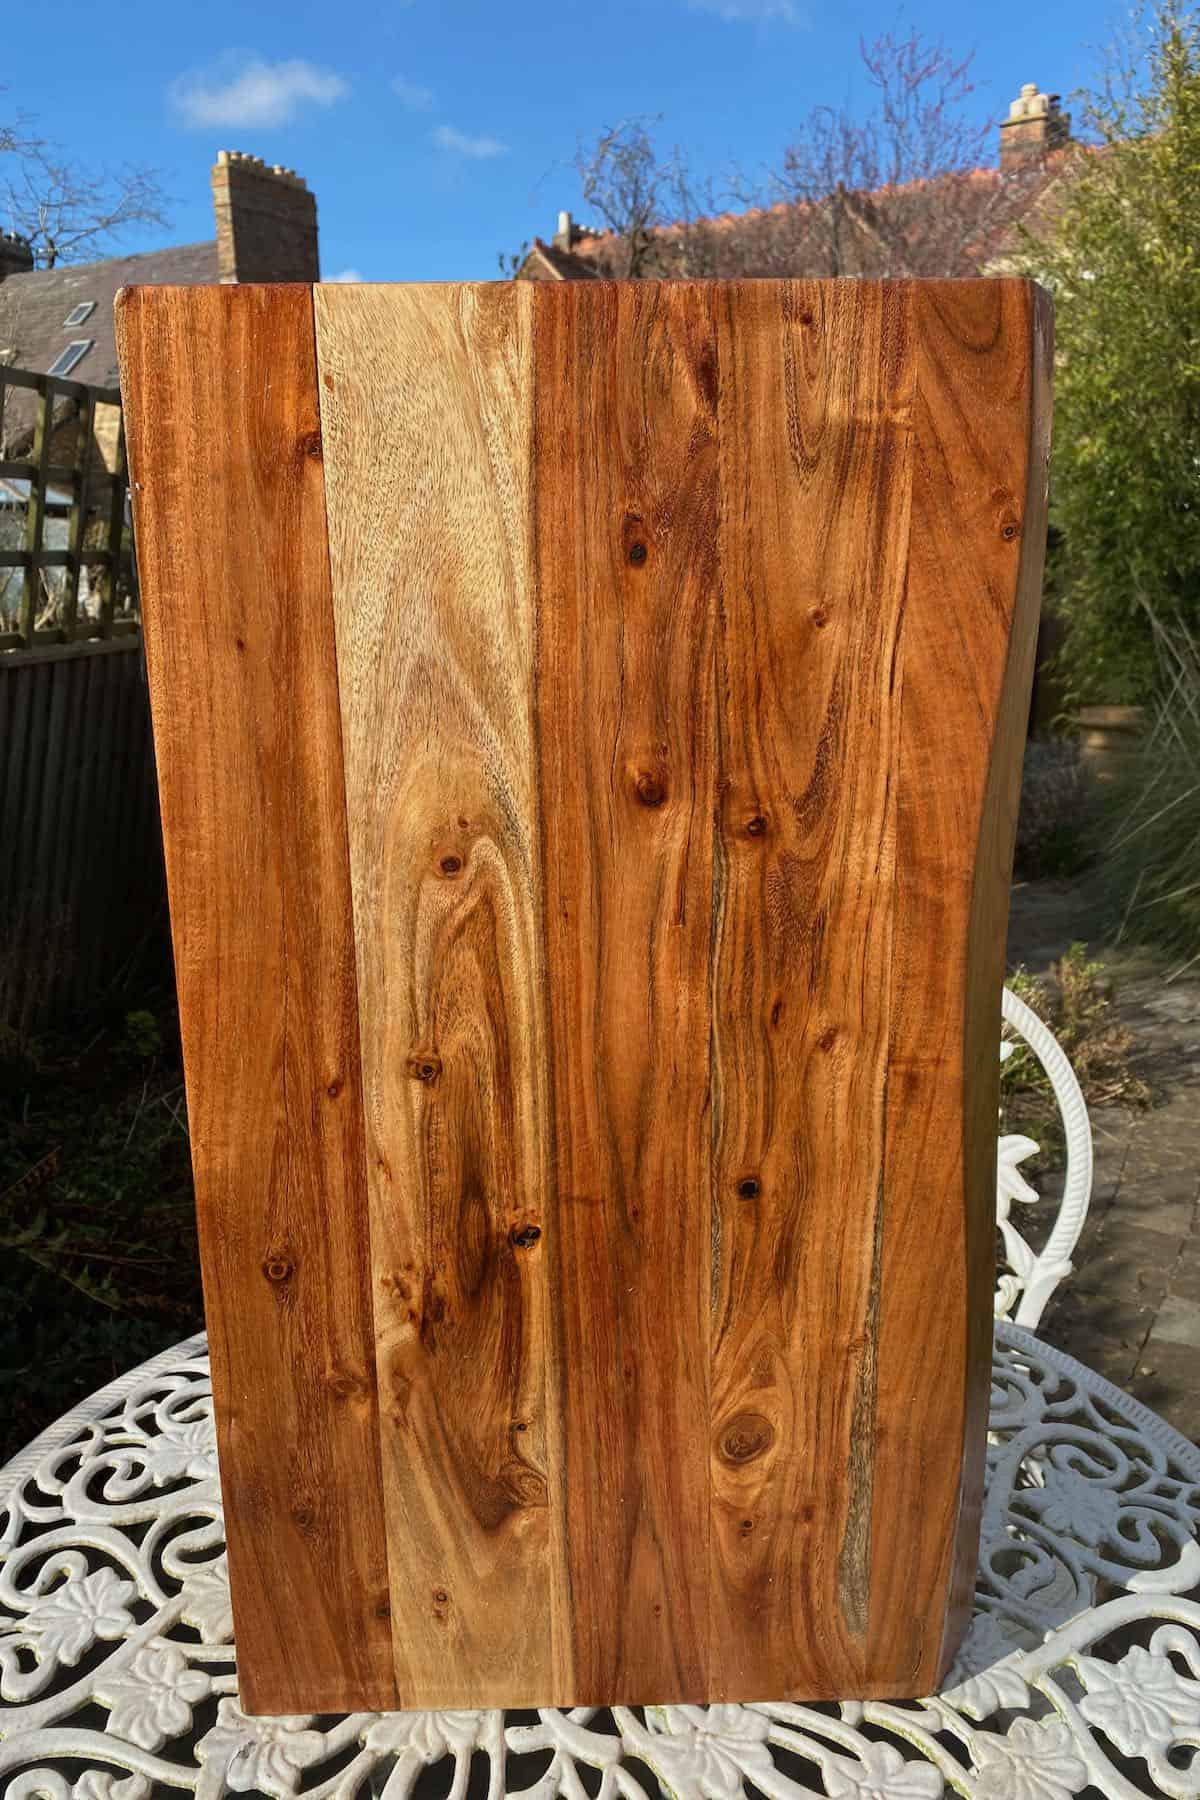
If there’s any remaining excess oil after drying, wipe it down. The board is now ready to use!
Other Tips & FAQs
- When you’re seasoning the chopping board, feel free to do the same with other wooden products around the kitchen, if needed; knife handles, wooden spoons, bowls, etc.
- If your board has lots of gouges and knife marks in it, you could go through the extra step of resurfacing the board. To do this, sand the board down (start with medium grit – around 100 and move to finer grit) before rinsing, drying, and seasoning the board with oil.
- Do I need to season a new board? Yes – even if it’s pre-seasoned, it can actually be a good idea to repeat this process. A new board will be the most absorbent, in fact, and will require the largest amount of oil upfront. The maintenance thereafter will be a little to reapply the thin seal on the top as it wears down.
Related How-To’s
- Non-Toxic Natural All-Purpose Citrus Cleaner
- How to Clean a Microwave with Lemon (natural)
- How To Clean An Oven With Baking Soda
- How to Clean An Electric Kettle
- Homemade All-Natural Soothing Skin Balm for Dry Skin
- How to Paint a Refrigerator (Low-budget Retro Refrigerator)
- Guide to Fridge Organization, Ideas and Tips
- How to Remove Turmeric Stains (From Counters, Kitchen Gadgets, Clothes, etc.)
If you try this method for how to clean a wooden cutting board (and seal it) then let me know your thoughts and questions in the comments. I’d also really appreciate a how-to card rating (below) and would love to see your wooden boards before/after – just tag @AlphaFoodie.
How to Clean & Oil A Wooden Cutting Board
Ingredients
- 1 lemon
- 2-3 Tbsp coarse sea salt
- 2-3 Tbsp food-grade mineral oil or fractionated coconut oil; use more/less as needed
Instructions
How To Clean A Wooden Cutting Board With Lemon
- Note: You could also do this method with baking soda. The lemon juice will cause it to foam up; this is normal. Baking soda isn't coarse to act as a scrub but will help eliminate any odors and freshen up the board well.Cut your lemon in half and dip one half into coarse salt. Alternatively, you can sprinkle the board liberally with salt and squeeze some of the lemon juice over it.
- Rub the board with the lemon, using the salt to scrub it well. Add more salt to the board if needed.
- Allow it to sit for a few minutes, and then use a bench scraper or spatula to remove all the excess salt and liquid.
- Repeat this process on the other side of the board. Then dry it down with a dish towel/cloth. Some people rinse the board, too, if it doesn't look like all the salt is gone.
- Stand the board upright or leaning against a wall and allow it to dry completely. This is important as, if it's wet, the oil won't easily permeate the board.
How To Oil A Cutting Board
- Lay your chopping board on a flat, non-slip surface.The size of your board will determine how much oil is needed. For this sized board, I started with around 2-3 Tbsp of oil. If you want to use a wax/oil combo, heat it over a double boiler first.
- Pour the oil directly onto the board, spreading it all over the board rather than concentrating it in one area, then begin to work it in with your paper towel/cloth.You can either rub it in circular motions 'buffing' it into the surface, OR rub it in the direction of the grain, in a linear way. Either way will work.Remember to do all the sides of the board too. If the board was very porous and practically soaked the oil up immediately, then it's a good idea to repeat this process once more (or even twice more). I usually do it twice.Tip: If you want to do this twice, then place the board in the oven at a low temperature for 10-15 minutes after the first oil. This will help it soak up the oil faster. Allow it to cool, then add the second coat and leave to dry overnight.Don't worry, you can't 'over oil the board as it will simply stop absorbing it when it can't anymore, and the oil will stay visible on the surface. At that point, wipe it away with a cloth/paper towel.
- Once oiled, place the board up against a wall or somewhere that air can circulate (not flat against a table) and leave it to dry for at least 6 hours, but even better if it's left for between 1-2 days to dry fully.
- If there's any remaining excess oil after drying, wipe it down. The board is now ready to use!
Notes
- When you’re seasoning the chopping board, feel free to do the same with other wooden products around the kitchen, if needed: knife handles, wooden spoons, bowls, etc.
- If your board has lots of gouges and knife marks in it, you could go through the extra step of resurfacing the board. To do this, sand the board down (start with medium grit – around 100 and move to finer grit) before rinsing, drying, and seasoning the board with oil.
- Do I need to season a new board? Yes – even if it’s pre-seasoned, it can actually be a good idea to repeat this process. A new board will be the most absorbent, in fact, and will require the largest amount of oil upfront. The maintenance thereafter will be a little to reapply the thin seal on the top as it wears down.


So glad I found this site, so much useful info and I’ve only scratched the surface
Glad you like it, River!
Great advice! Thank you for sharing. Definitely something I will do with my wooden board.