
This post may contain affiliate links. Please read our disclosure policy.


This garlic fried rice is so versatile in how it can be enjoyed. Start your day with a delicious Filipino breakfast, or keep this as a traditional fried rice recipe to enjoy for lunch or dinner. Best of all, you just need four simple ingredients that you probably already have on hand!
Once you figure out how to fry rice, you’re going to love how simple and easy it is. There’s nothing quite like the texture of freshly-cooked rice, and when you add in those Filipino fried rice ingredients, every bite will have you coming back for more.
This fried rice with lots of garlic is perfect for eating as is or paired up with a protein of your choice. Shrimp and chicken tend to be two of the more popular additions, but you can easily change up what you add every time you cook it up. Just keep in mind that any modifications take away from the traditional recipe but can be a fun way to change up the tastes and flavors, too.
If you’re looking for another delicious rice recipe that you can cook in a rice cooker (or not), check out how simple this Egg Fried Rice recipe is.
Want to save this recipe?
What is Filipino Garlic Fried Rice?
Wondering how to make fried rice with a Filipino twist? You’re in luck because this fried rice recipe is super easy to do. You just need long-grain rice so that the rice doesn’t get sticky and minimal other ingredients.
Just a few moments of time is all you need to have a bowl full of loose rice that you can serve as a side dish or enjoy as the star of the meal.
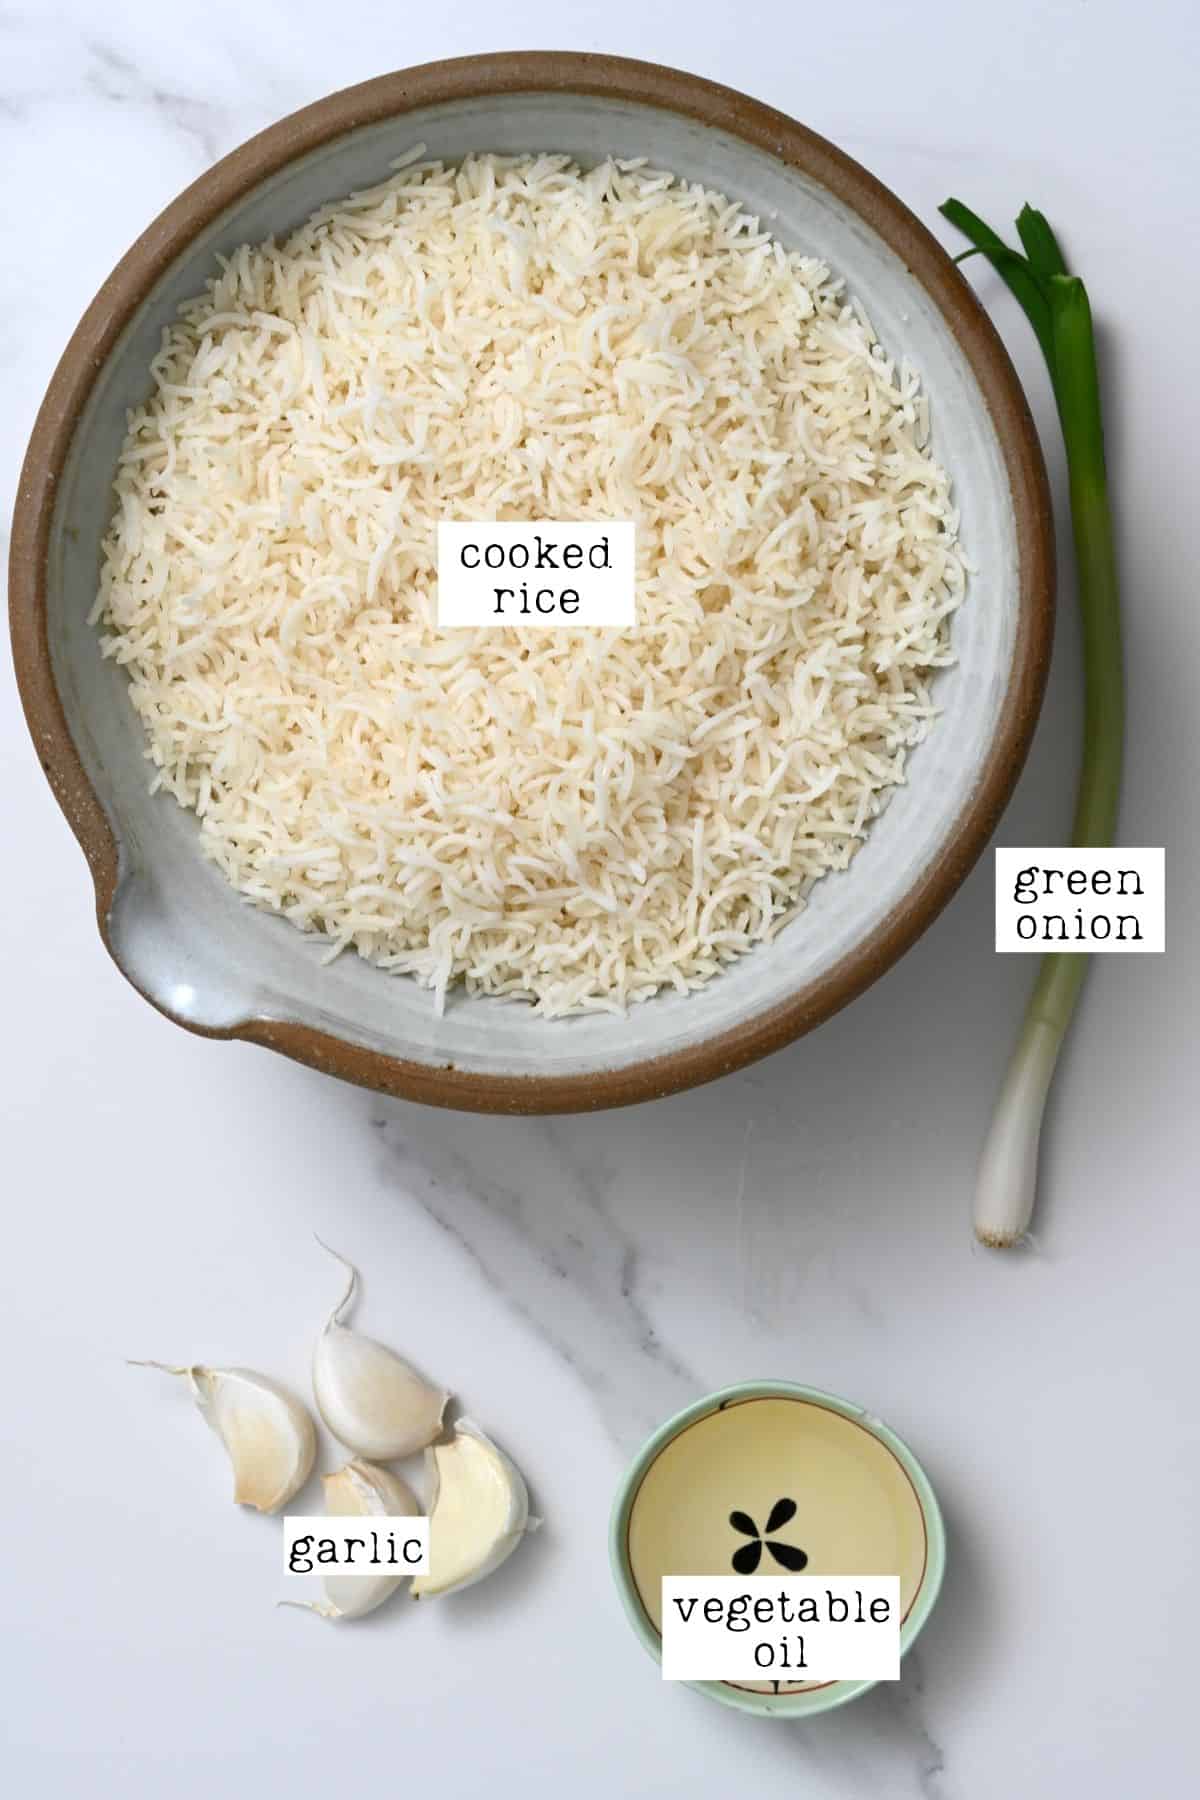
The Recipe Ingredients
As you can tell, the ingredients to make garlic rice are simple! This means that when the craving for fried rice with garlic hits, you have no need to run to the store as you more than likely have all the ingredients right at home that you need.
- Cooked rice: It’s best to use pre-cooked and cooled rice, as it has dried out slightly and will hold up to the frying.
- Vegetable oil: You need a neutral flavored oil for the general frying.
- Garlic: Use freshly minced garlic for the best garlic flavor.
- Green onion: (optional) I like to use finely chopped green onion to garnish the fried rice. You can also use scallions or spring onions.
- Salt: to taste. You can also add a bit of black pepper.
What Rice is Best for Fried Rice
- Long grain rice
- Jasmine Rice
These two options are best for Sinangag rice because they hold their shape well and don’t become sticky while you’re cooking them.
Optional Add-ins and Variations
- Eggs: If you want to scramble up an egg or two and add it to the rice, it’s a fast and easy way to make this garlic fried rice recipe taste differently every time you cook it. You can slso serve it with a fried egg. It’s also a simple way to add a boost of protein.
- Pepper: Adding some pepper can add a great flavor!
- Everything Bagel Seasoning: This seasoning is an excellent addition because it’s a mixture of salts and pepper and sesame seeds which flavors and adds a crunchy texture.
- Add some heat: Even though this Filipino garlic fried recipe isn’t spicy, you can make it that way. You can cook the rice in the pan with chili oil, or you can add some sriracha sauce, too.
How to Cook Garlic Fried Rice
Cooking this fried garlic rice recipe isn’t hard at all. In fact, you can use this as a basis to use up those recipe leftovers or whip up some newly cooked rice to use instead.
You can use leftover/day-old cooked rice for this recipe, which can save so much time. Precooked rice works really well, so if you have some in the fridge, you’re already ahead of the game. If you don’t have that, then you first need to cook the rice – for the detailed steps, check my Fluffy Perfect Jasmine Rice (Stove-top method).
Chop the green onion and mince or grate the garlic cloves. You want the onion to add flavor to the fried rice but not overpower it.

Add the vegetable oil to a large pan (or a large wok) and heat over medium heat. The oil needs to be hot before you add the garlic and loose rice.
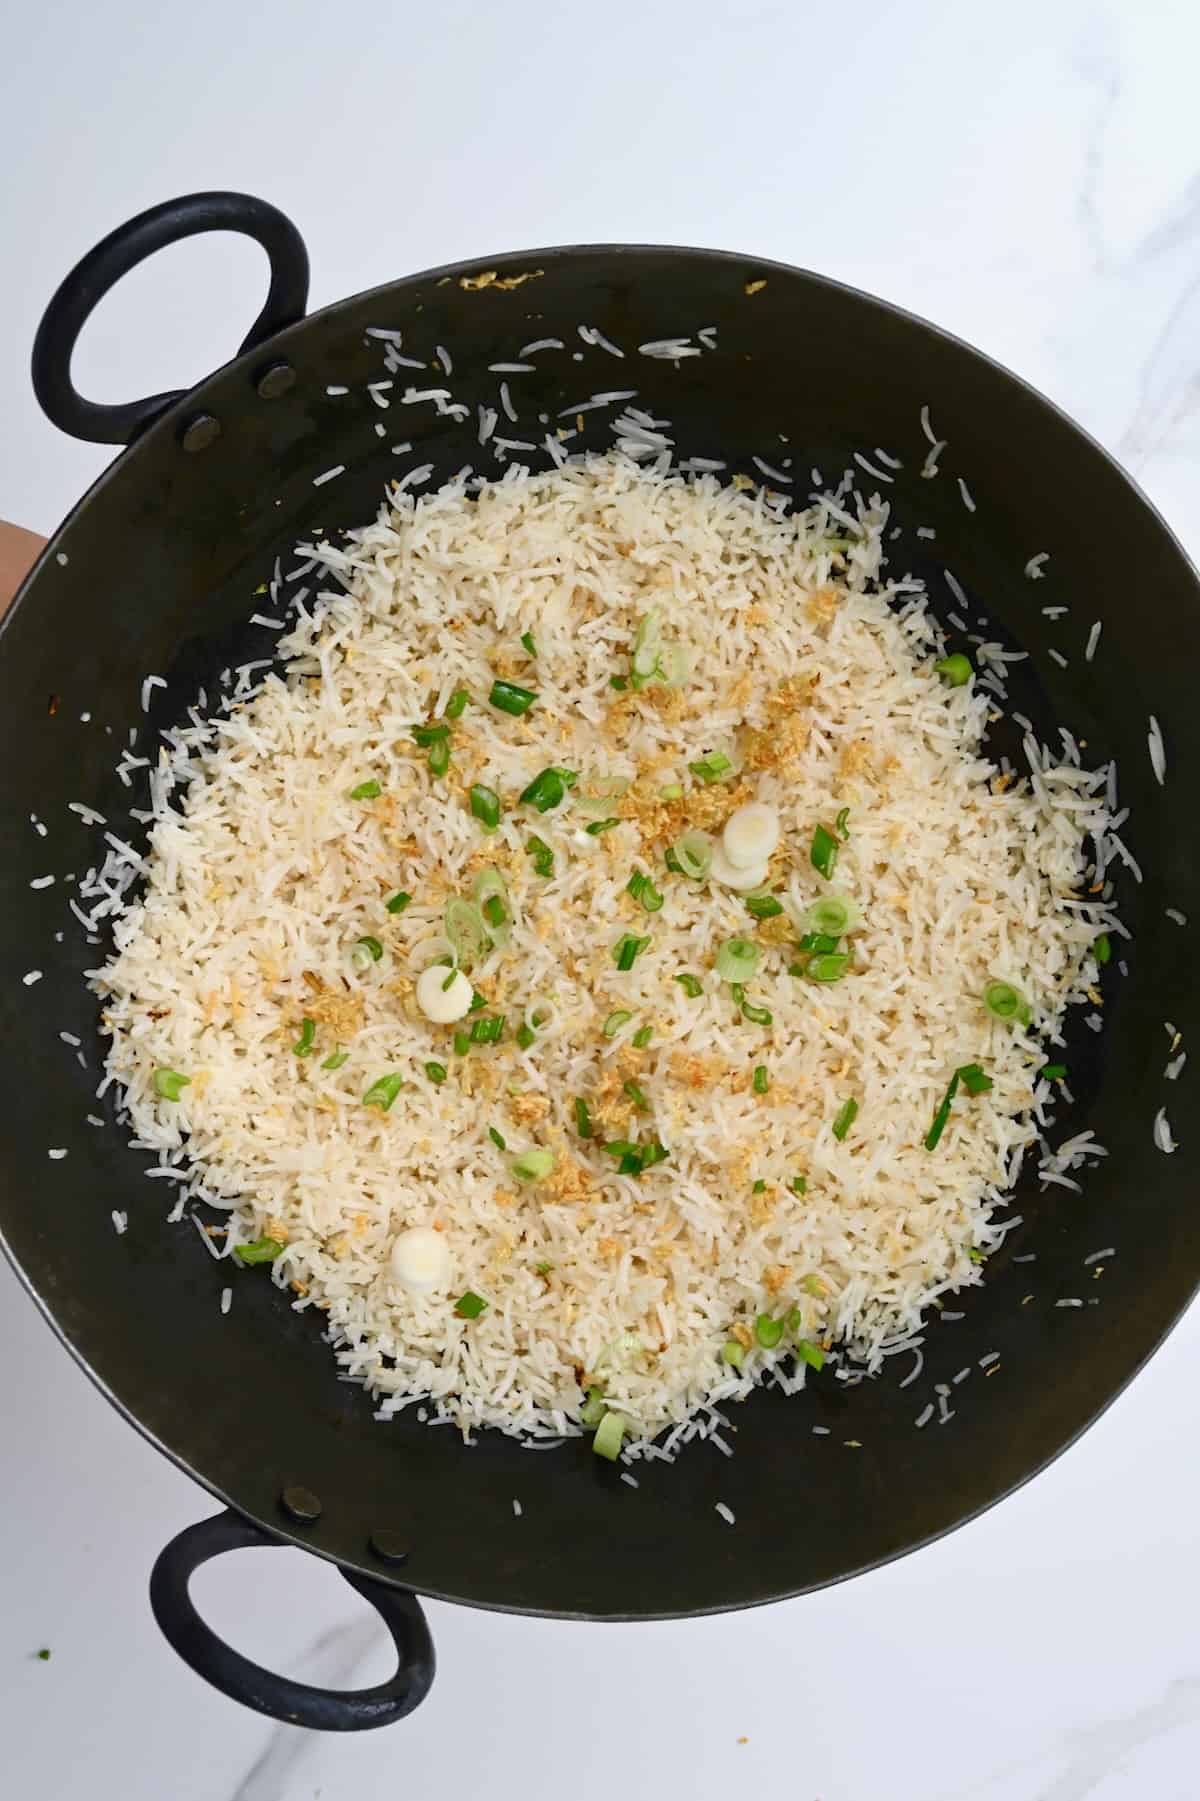
Frist, pan-fry the garlic for a couple of minutes until golden. You’ll want to stay close and stir every so often so that you don’t burn the garlic.
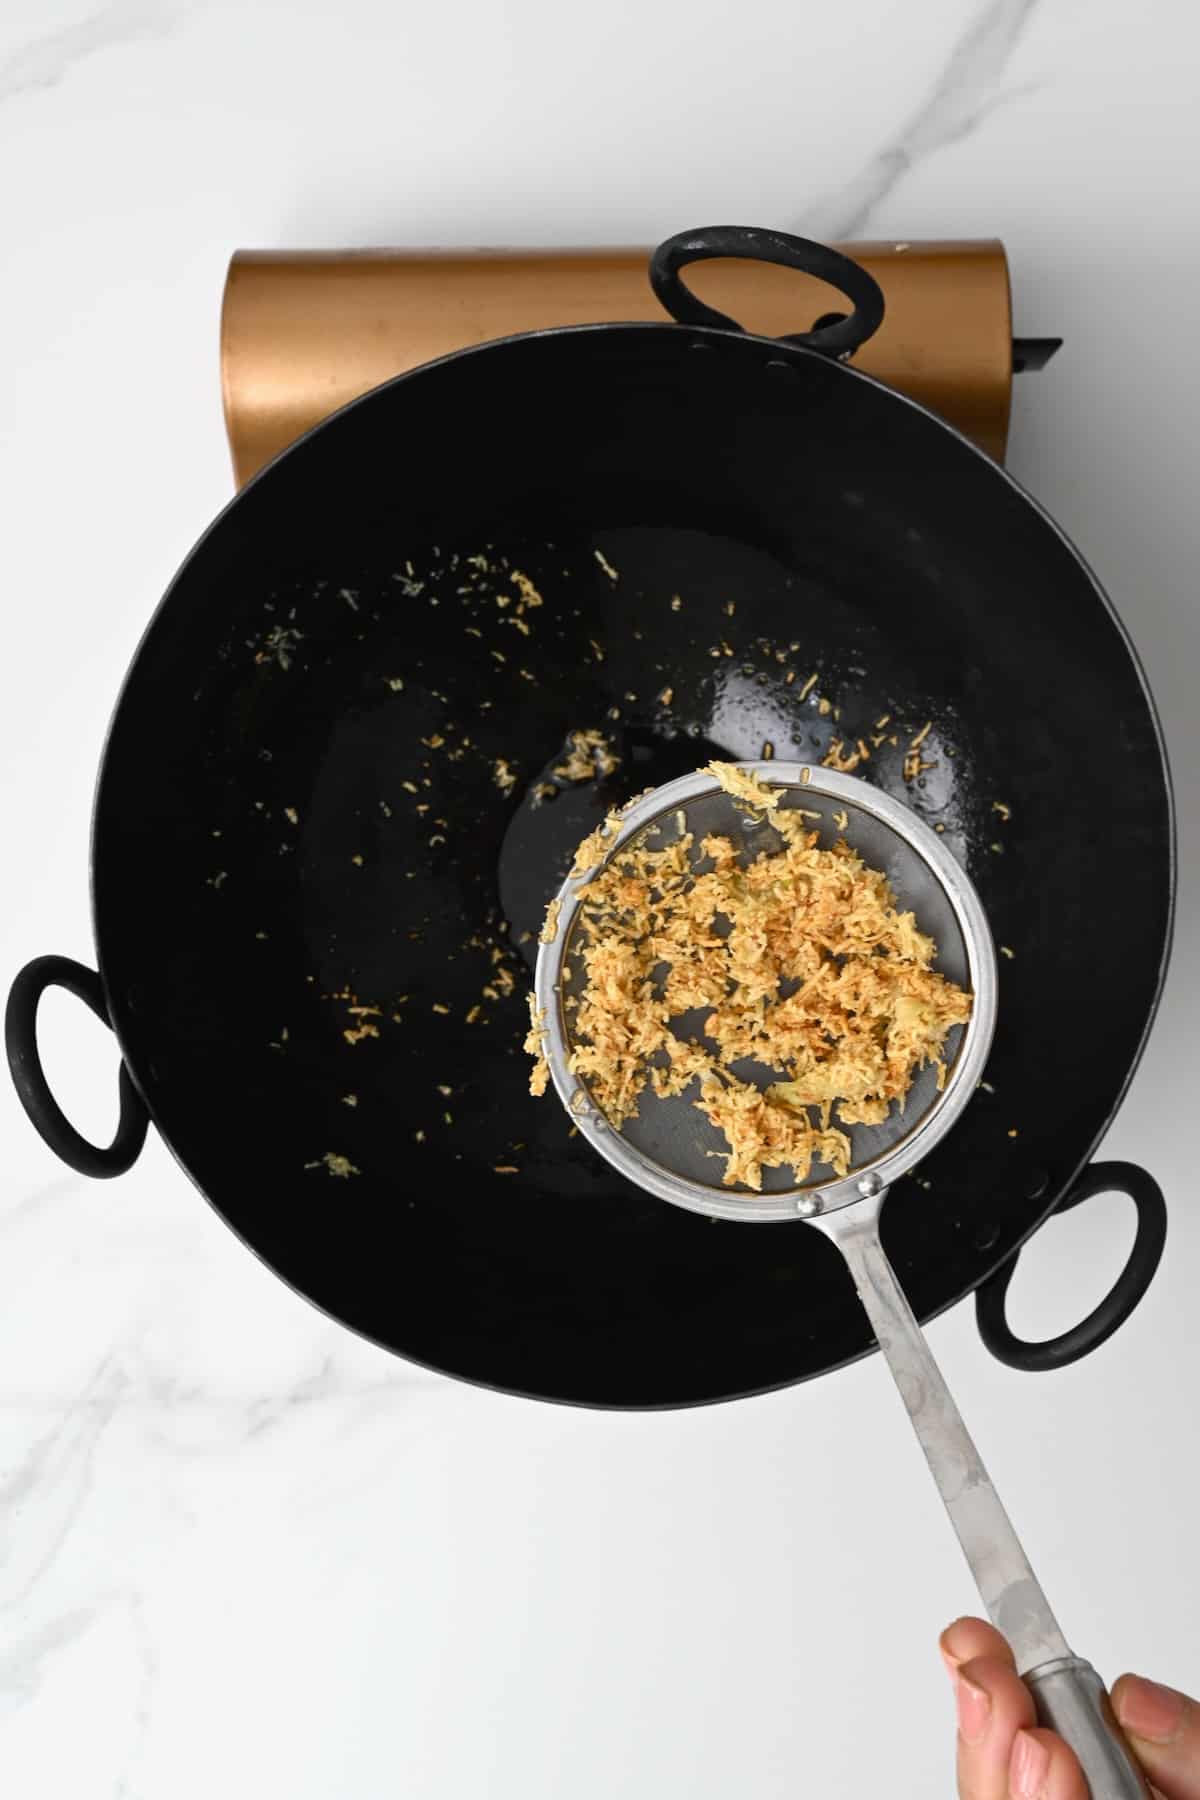
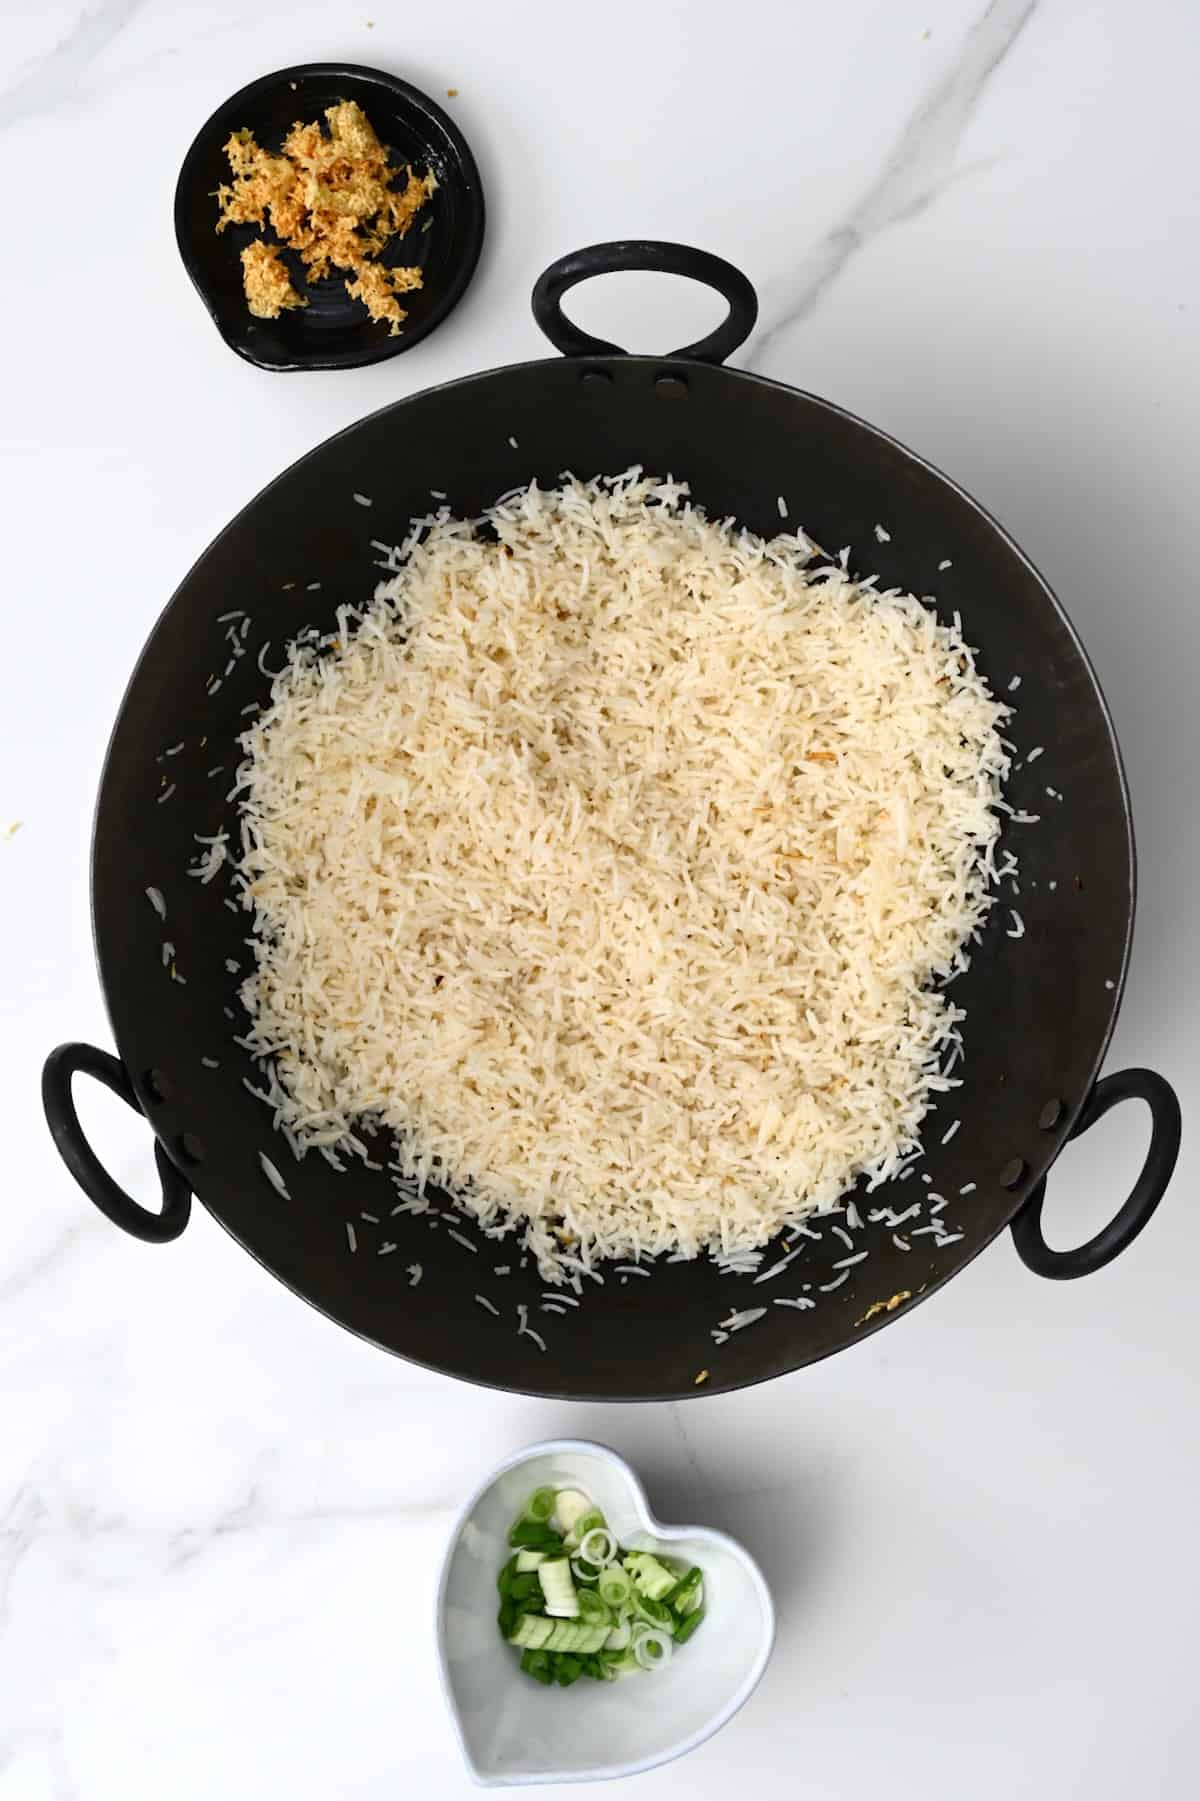
Scoop out the garlic using a slotted spoon. Then add the cooked rice and toss it in the pan, so the grains get coated with the garlic-infused oil. You don’t want to burn the Filipino fried rice, so stay close while you stir-fry.
Cook long enough to warm the cold rice (if using leftover) or just for a few minutes (if using freshly made). Remember that this is non-sticky rice, so you don’t want it to become mushy from overcooking it.
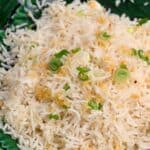
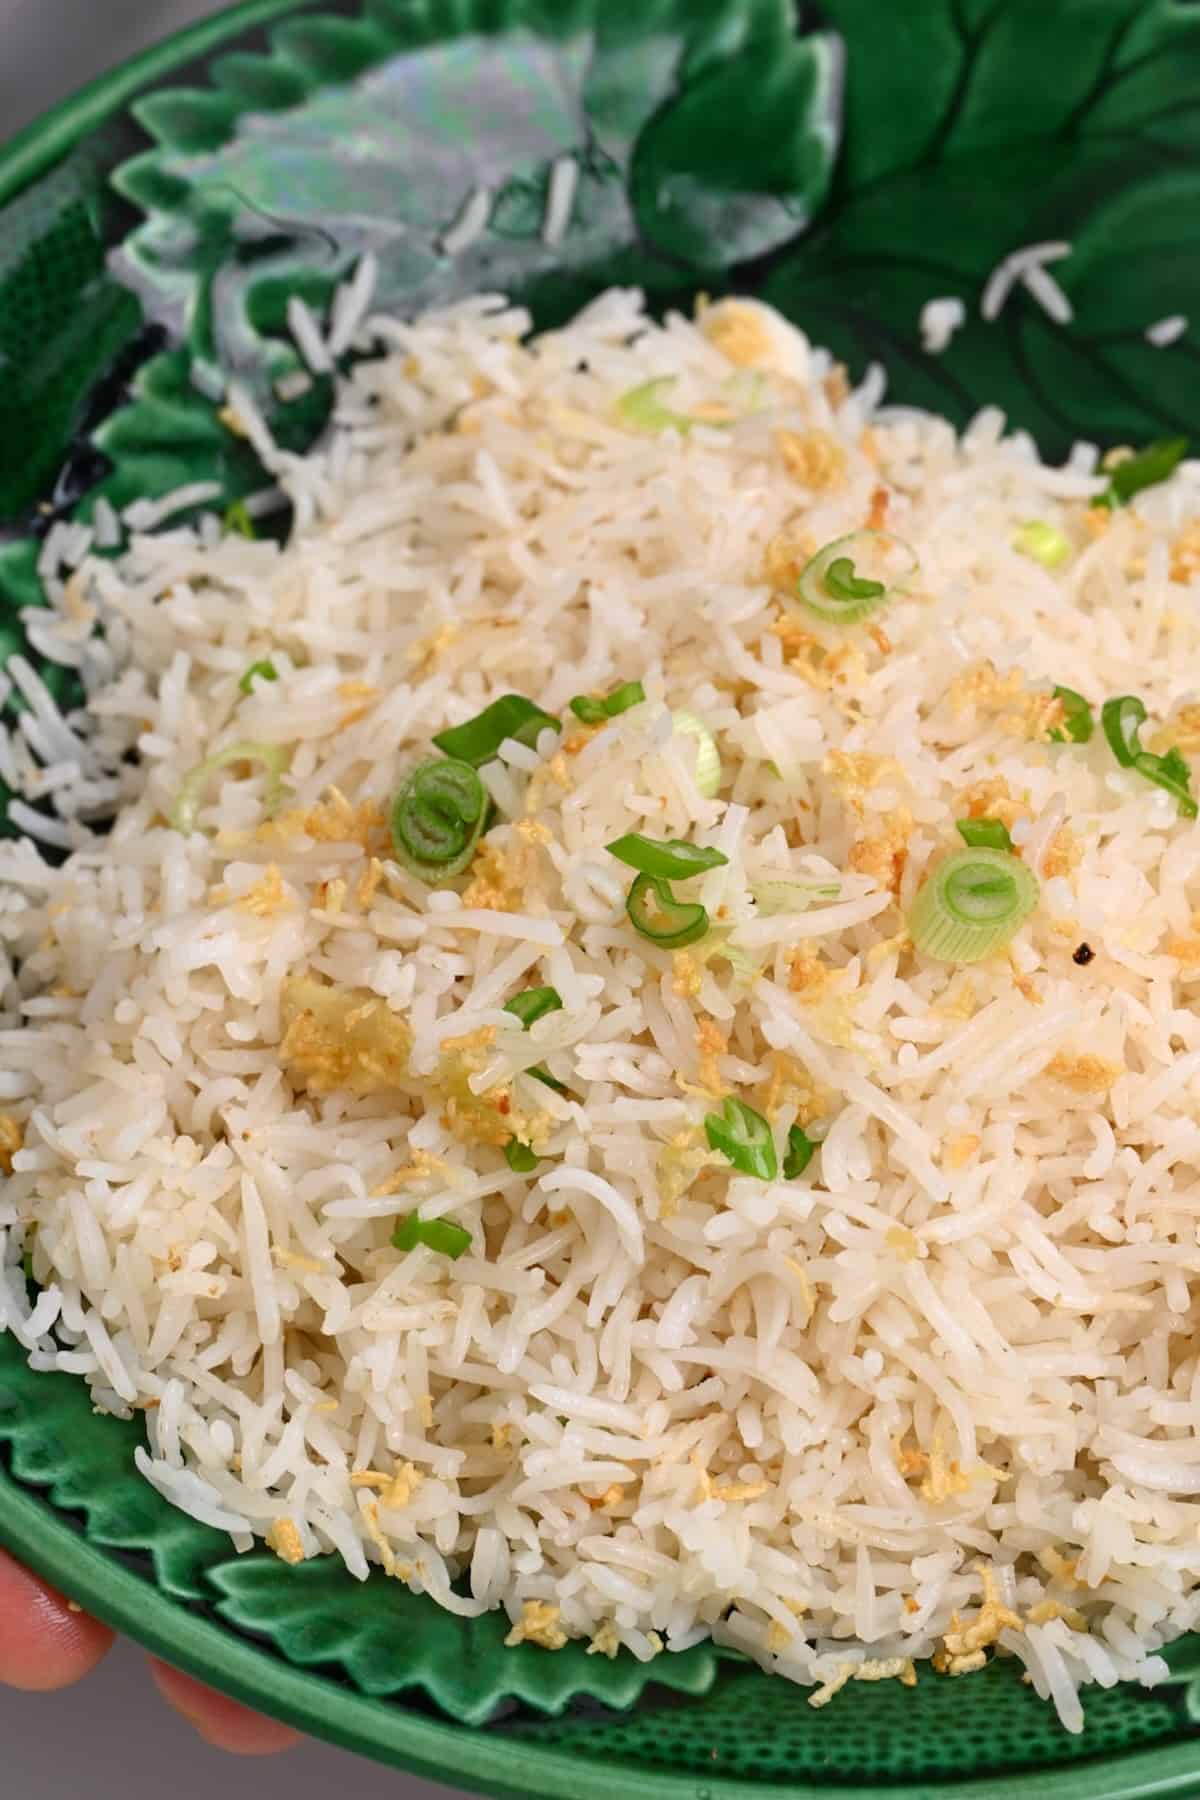
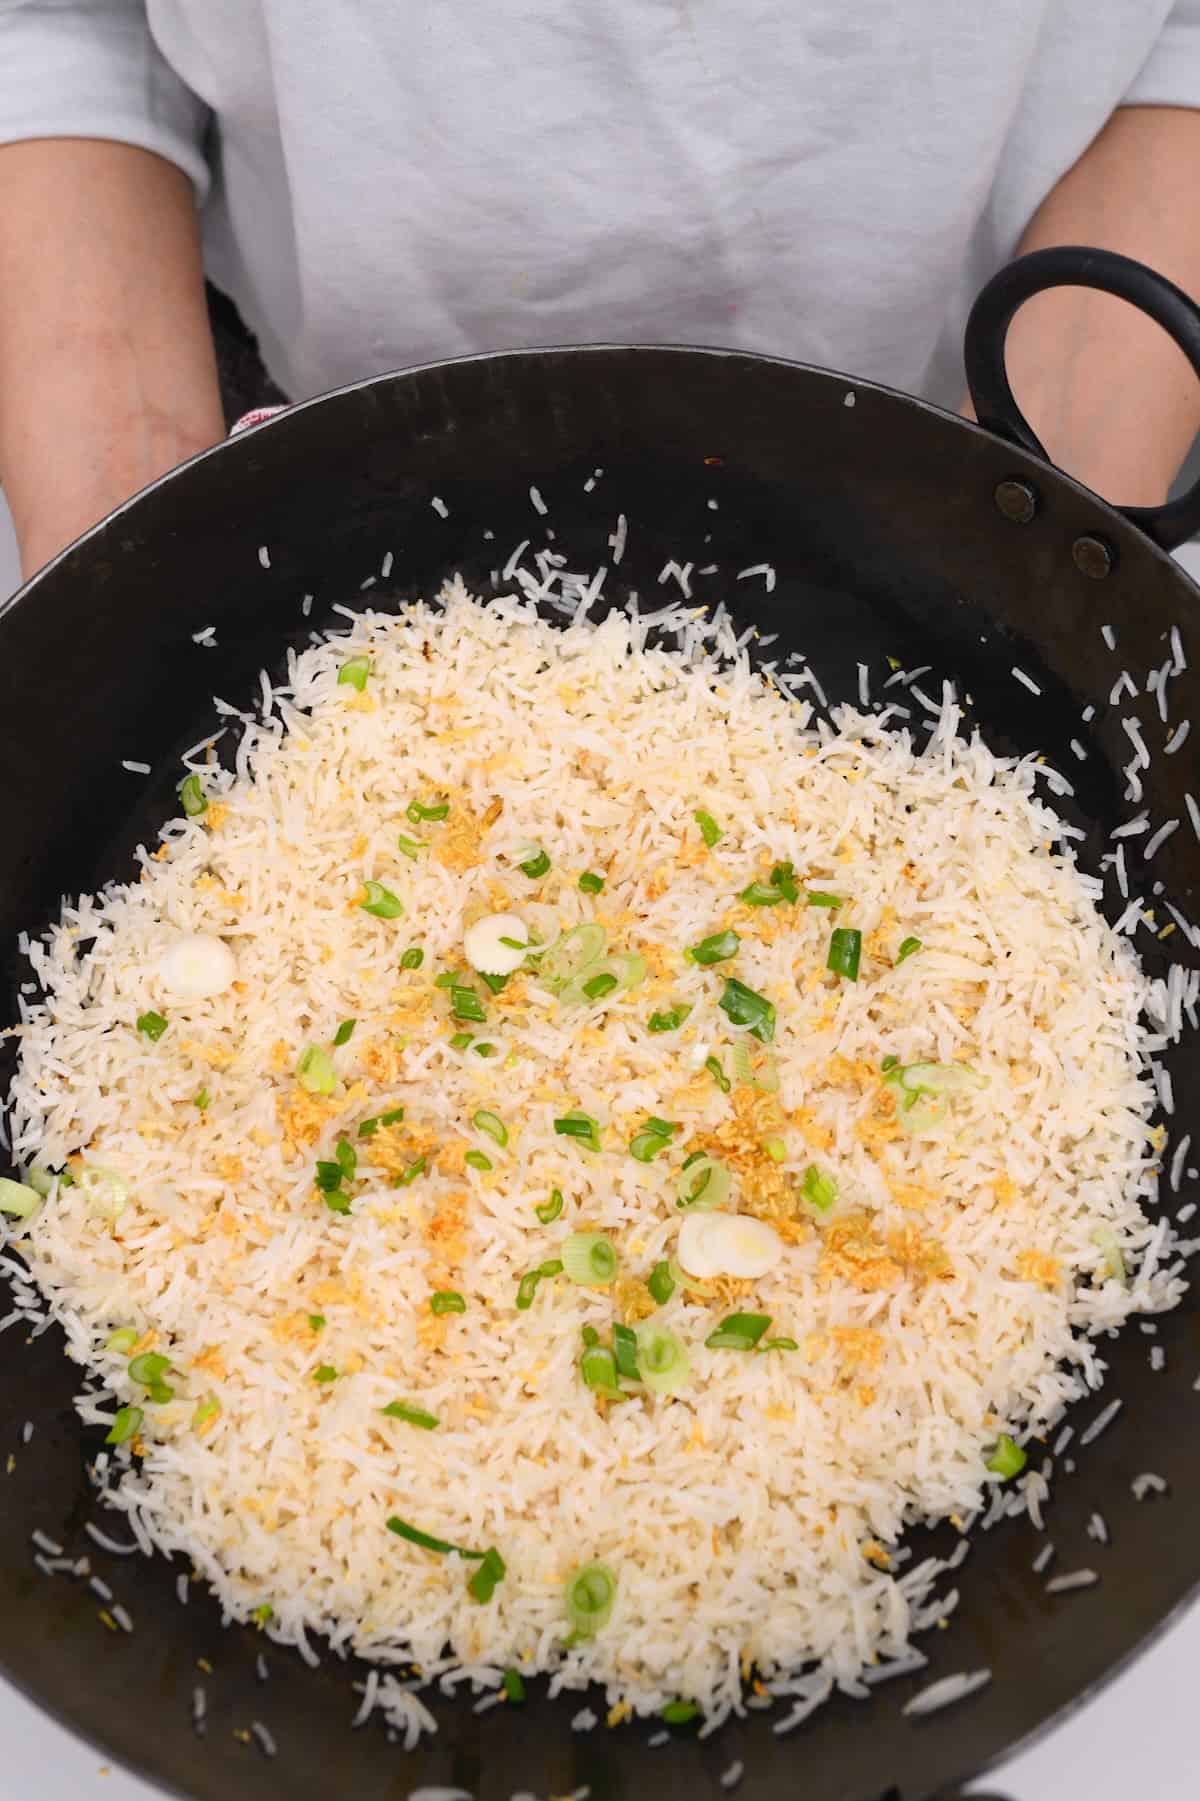
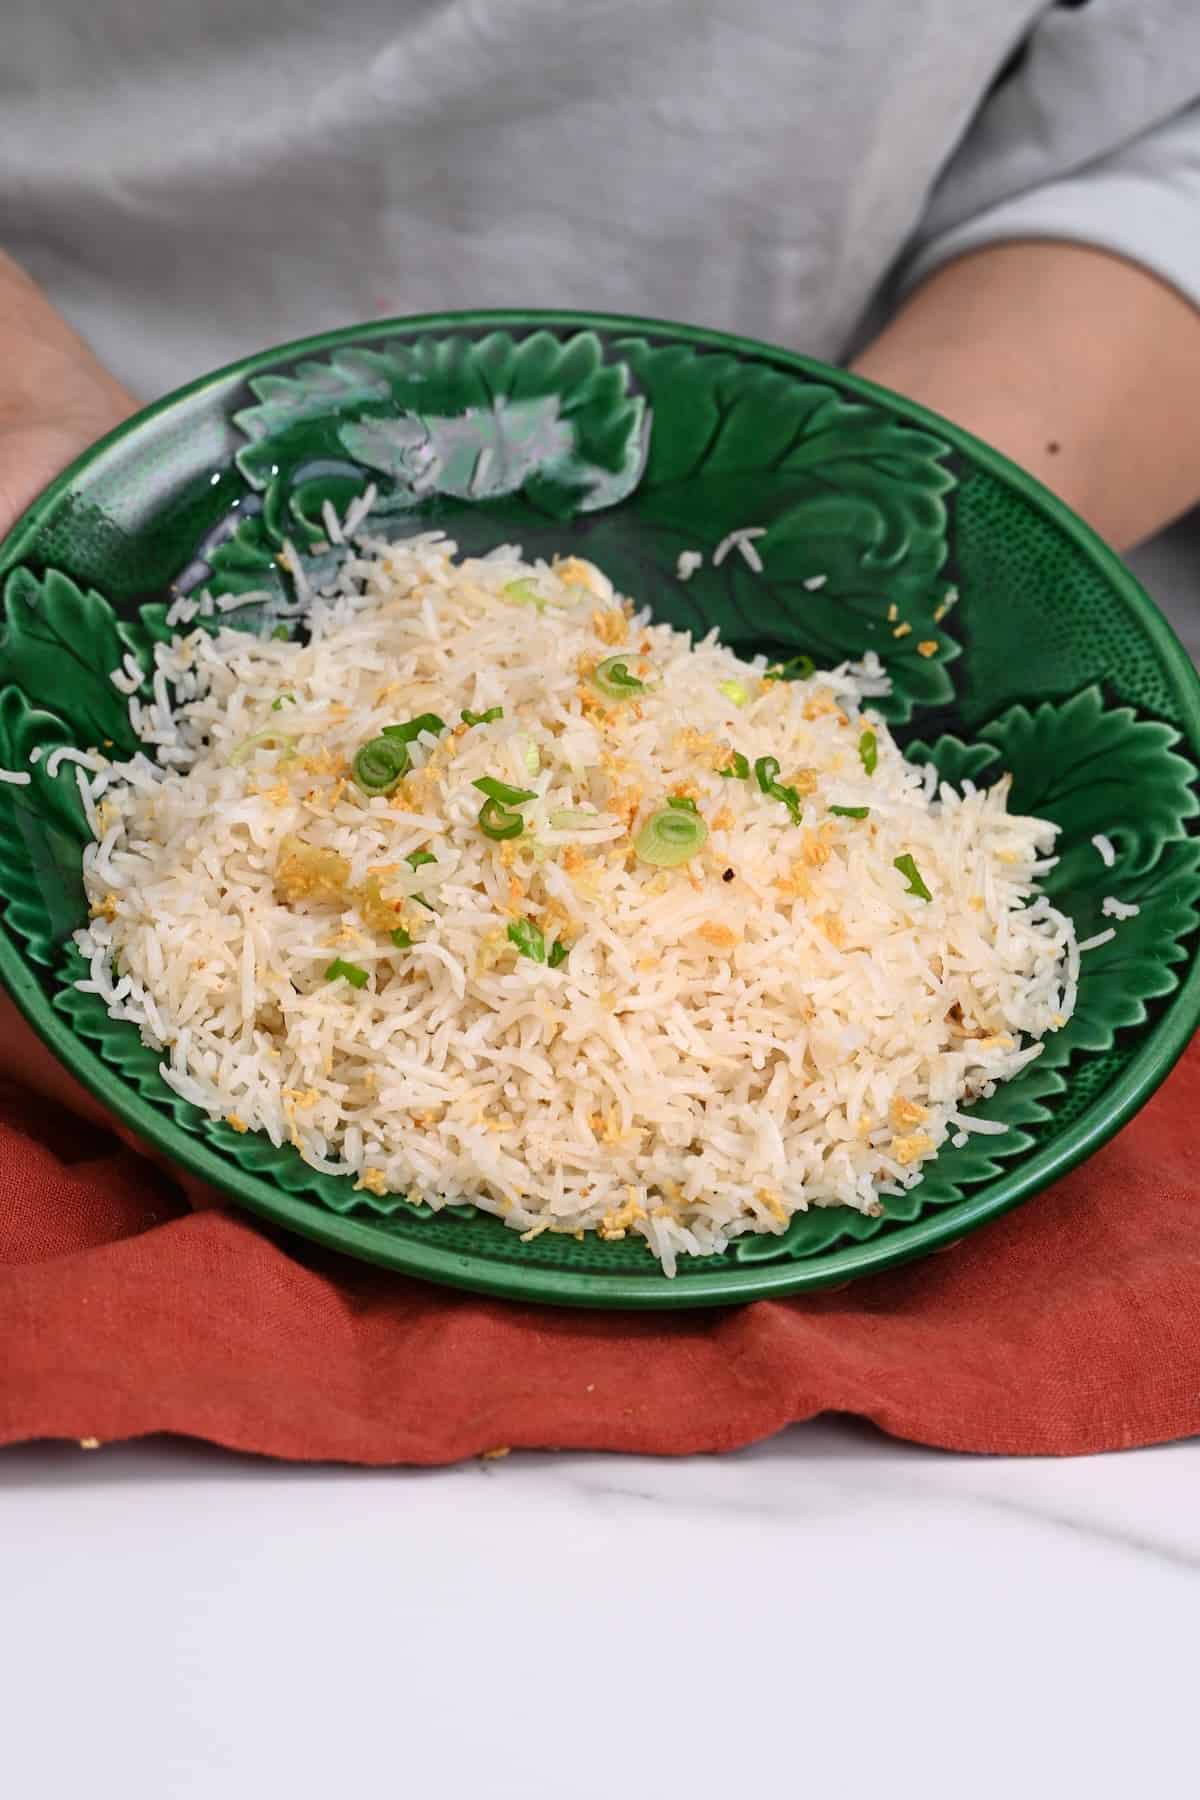
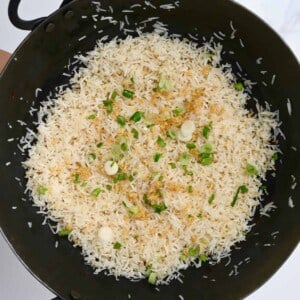
Top with the pan-fried garlic and chopped onion, and serve. If you want to add a little bit of crunch to the top, you can add crunched nuts on top. This is optional, but it’s an easy addition to do!
What Serve With Garlic Rice?
You have a choice to make once the fried rice is cooked. You can either enjoy a heaping bowl of this rice recipe on its own, pair it up with cooked chicken, beef, pork, or pair it with a side of steamed or roasted veggies as well.
Since rice is so versatile, the options are unlimited on what you can do with it and how you can enjoy it.
How to Make Ahead and Store?
How to make ahead: To make this garlic rice recipe ahead of time, cook up the rice plain in a rice cooker or on the stove, and save it for later. You can use leftover rice that is already cooked and turn it into fried rice in a matter of moments.
Store: To store this fried rice, let the rice cool completely and then store it in an airtight container and keep it in the fridge. It should be fine to store for up to 3 days without issue.
Reheat: To reheat leftover fried rice, you can heat it up for a few seconds in the microwave or put it back on the stovetop with a little bit of oil and reheat.
Tips for Perfect Loose Non-Stuck Rice
- Use the right kind of rice: You can’t just use “any” rice as some will become sticky and clump together.
- Make sure that the pot on the stove is hot: If the pot isn’t hot, the rice isn’t going to “fry” up and get that crispiness to it.
More Rice Recipes
If you try this recipe for how to make garlic fried rice, I’d love to hear your thoughts/questions below. Also, I’d appreciate a recipe card rating below, and feel free to tag me in your recipe recreations on Instagram @Alphafoodie!
Filipino Garlic Fried Rice (Sinangag)
Ingredients
- 1.55 lb cooked rice 5 cups; see below for uncooked rice measurements
- 1/4 cup vegetable oil
- 0.9 oz garlic 4 cloves
- 1/2 tsp salt or to taste
- 1-2 green onion or scallions, optional, for garnish
Instructions
- Use leftover/day-old cooked rice for this recipe, which can save so much time. If you don't have that, then you first need to cook the rice – check the Notes below for the details.
- Chop the green onion and mince or grate the garlic cloves.
- Add the vegetable oil to a large pan and heat over medium heat. Then, pan-fry the garlic for a couple of minutes until golden. You'll want to stay close and stir every so often so that you don't burn the garlic.
- Scoop out the garlic. Then add the cooked rice to the pan. Stir well, so the grains get coated with the garlic-infused oil. Cook long enough to warm the cold rice (if using leftover) or just for a few minutes (if using freshly made). Remember that this is non-sticky rice, so you don't want it to become mushy from overcooking it.
- Top with the pan-fried garlic and chopped onion, and serve. If you want to add a little bit of crunch to the top, you can add crunched nuts on top.
Notes
- Rinse the rice well to remove the starch.
- Add the water and rice to a large pot and bring to a boil over high heat.
- Reduce the heat and simmer for 12 minutes, covered.
- Remove from the heat, keep covered, and steam for 10 minutes.
- Eggs: If you want to scramble up an egg or two and add it to the rice, it’s a fast and easy way to make this garlic fried rice recipe taste differently every time you cook it. It’s also a simple way to add a boost of protein.
- Pepper: Adding some pepper can add a great flavor!
- Everything Bagel Seasoning: This seasoning is an excellent addition because it’s a mixture of salts and pepper and sesame seeds which flavors and adds a crunchy texture.
- Add some heat: Even though this Filipino garlic fried recipe isn’t spicy, you can make it that way. You can cook the rice in the pan with chili oil, or you can add some sriracha sauce, too.
Nutrition
Nutrition information is automatically calculated, so should only be used as an approximation.


Looks good, will try it. On a separate subject What wok would you recommend? Maybe a nonstick easy to maintain, don’t have to continuously season it category ?
Thanks
Hi there,
Indeed, a nonstick one would be easier to maintain, but I prefer the traditional ones that need seasoning.
I hope you give the recipe a try 🙂