
This post may contain affiliate links. Please read our disclosure policy.


Tangy homemade labneh is so easy to make, you’ll be wondering why you didn’t DIY this Middle Eastern delicacy sooner!
In my house, there’s one thing you’ll always find in the fridge – labneh cheese. A staple favorite from my childhood, its closest Western comparison is like thick cream cheese, though I’m inclined to say my labneh is far tastier. I’ve prepared this easy labneh recipe that’s budget-friendly and easy to customize. With just one ingredient, you too can create a delicious labneh dip.
Want to save this recipe?
What is labneh
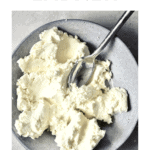
So, what is labneh cheese? Lebneh is a thick, fresh cheese from the Middle East. With a texture like cream cheese and a taste like Greek yogurt, labneh recipes are great bases for flavor and spice or just to be eaten on its own. This creamy yogurt cheese has many uses, from sprinkling over salads and making a dip to rolling into balls for snacking.
What Does Labneh Taste Like
Tart and tangy, most of the flavor comes from the strained yogurt it’s made out of. Like cream cheese, labneh has a thick and creamy texture. It’s tangy and is often used as a base to carry other flavors.
Labneh Vs Laban – What’s the Difference
While both are very popular in Middle Eastern cuisine, the main difference between Labneh and Laban is texture. Laban is a drink made from fermented milk, whereas Labneh is made from strained yogurt. It has a much thicker texture than Laban. Laban is also much sweeter than traditional labneh.
Labneh Vs Cream Cheese
Cream cheese is made using cream and whole milk, curdled, and then strained to get its trademark softness. It makes a great American Labneh cheese substitute if you’re really in a pinch. On the other hand, lebnah is made of yogurt, which is strained to remove the water.
Labneh Vs Greek Yogurt
Labne and Greek yogurt are very similar – with one exception. Greek yogurt is strained once and labneh dip is strained twice. The latter is also much thicker than traditional Greek yogurt.
Is labneh healthy
Yes! Made from cultured yogurt, it is a natural probiotic and very high in protein, healthy fats, Vitamin A, and calcium.
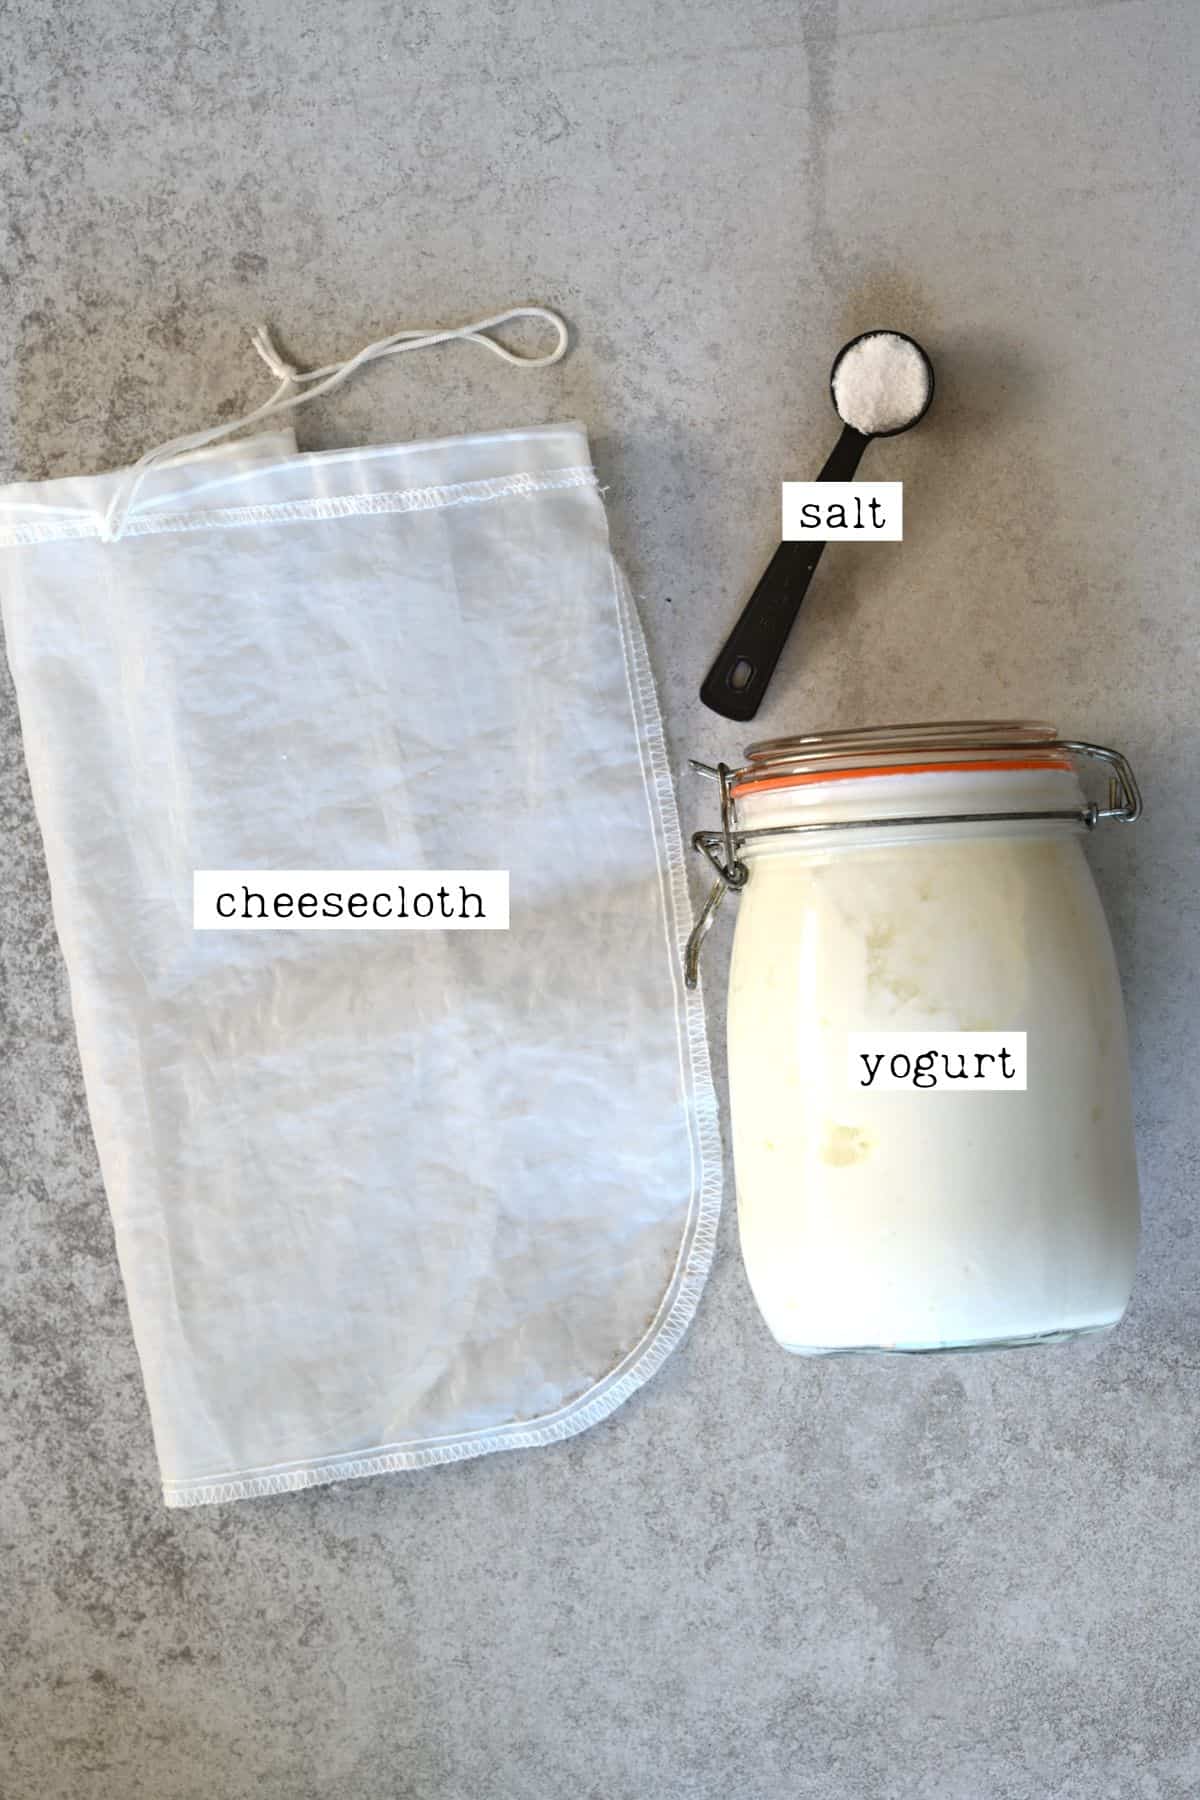
What is labneh made of
- Yogurt: For labneh dip, you’ll want natural/regular yogurt. You can use whole milk (full fat) or Greek. You’ll get about half the weight of what you start with. For example, 70 oz (2kg) of yogurt will yield 35 oz (1kg) of labneh and 35 oz (1kg) of leftover whey.
- Salt: Just a pinch.
You will also need a cheesecloth or nut milk bag to help strain the yogurt
How to make labneh
For this recipe, there are two methods you can follow.
From Milk
If you’re making labneh cheese with milk, you first need to make whole-milk yogurt. You’ll need a yogurt starter (in the form of a powdered yogurt starter or a few spoonfuls of natural yogurt) and whole milk. You can find my full recipe for Natural Yogurt.
Once you have your yogurt, proceed with the next steps.
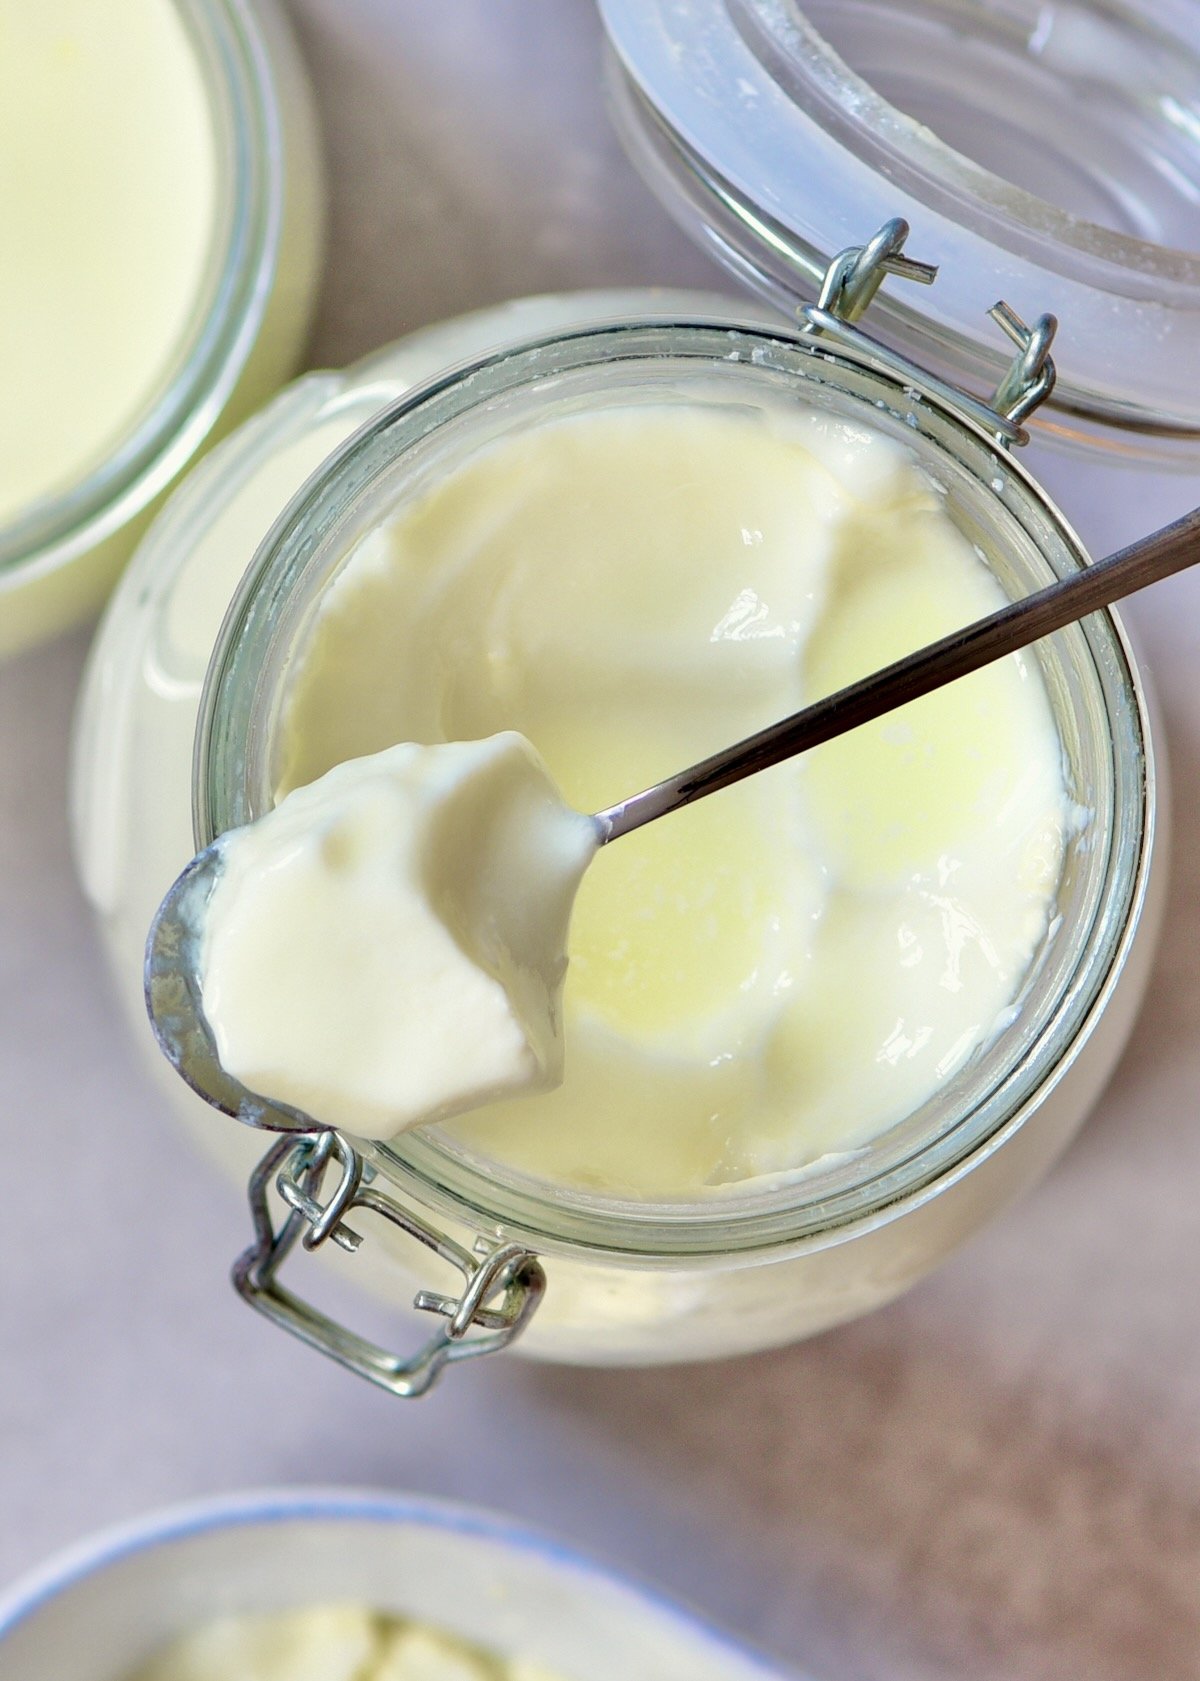
From Greek Yogurt
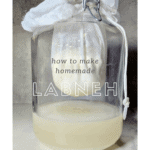
Pour the yogurt and salt into a few layers of cheesecloth. Then hang it over a large bowl or jar. You can place the cheesecloth over a strainer/sieve or suspend it from a doorknob of your kitchen cupboard (with a bowl below it to collect the whey).
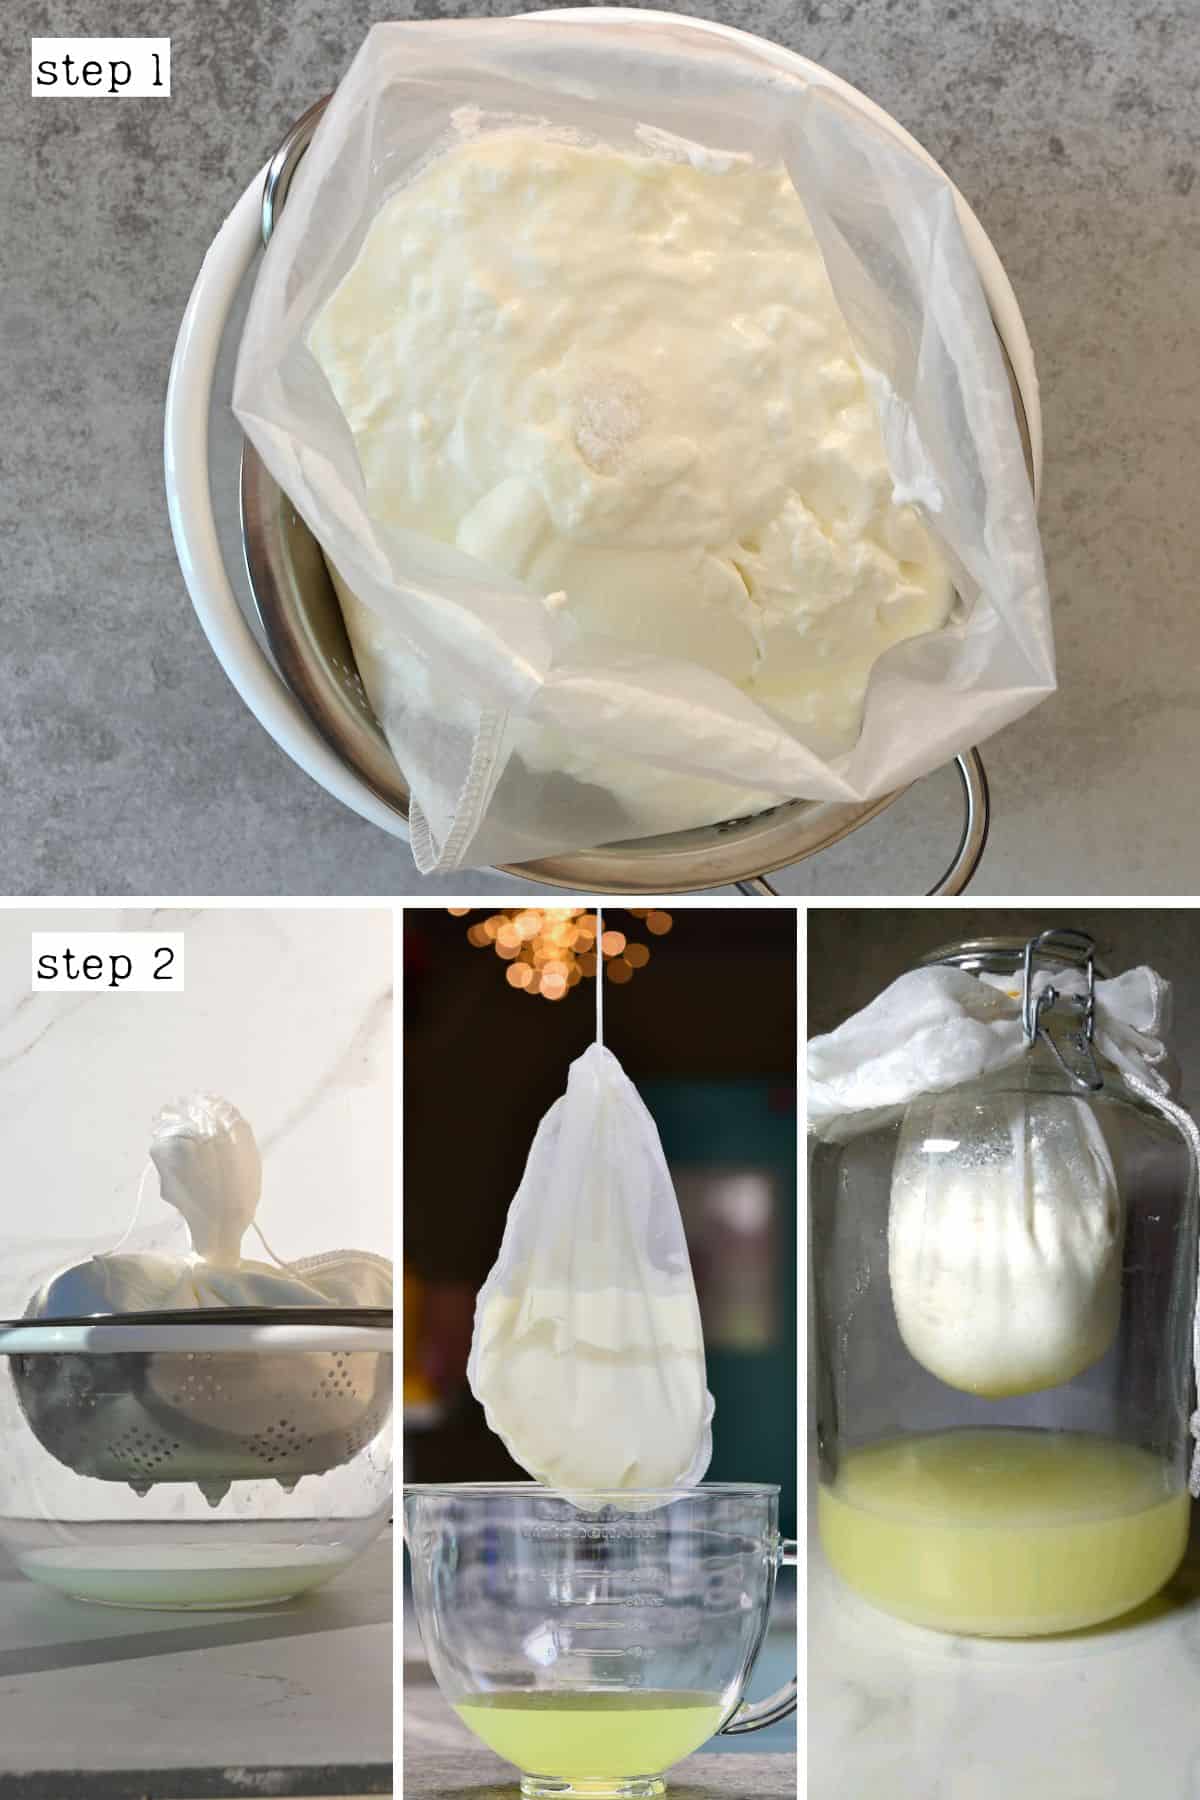
Allow the liquid to strain for at least 6 hours. Strain it overnight or for up to 24 hours for a thick consistency. The longer you strain it, the thicker the labneh yogurt will be.
If needed, place the bowl in the refrigerator though you can keep it at room temperature if it’s not too warm.

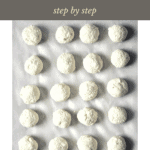
How to make labneh balls
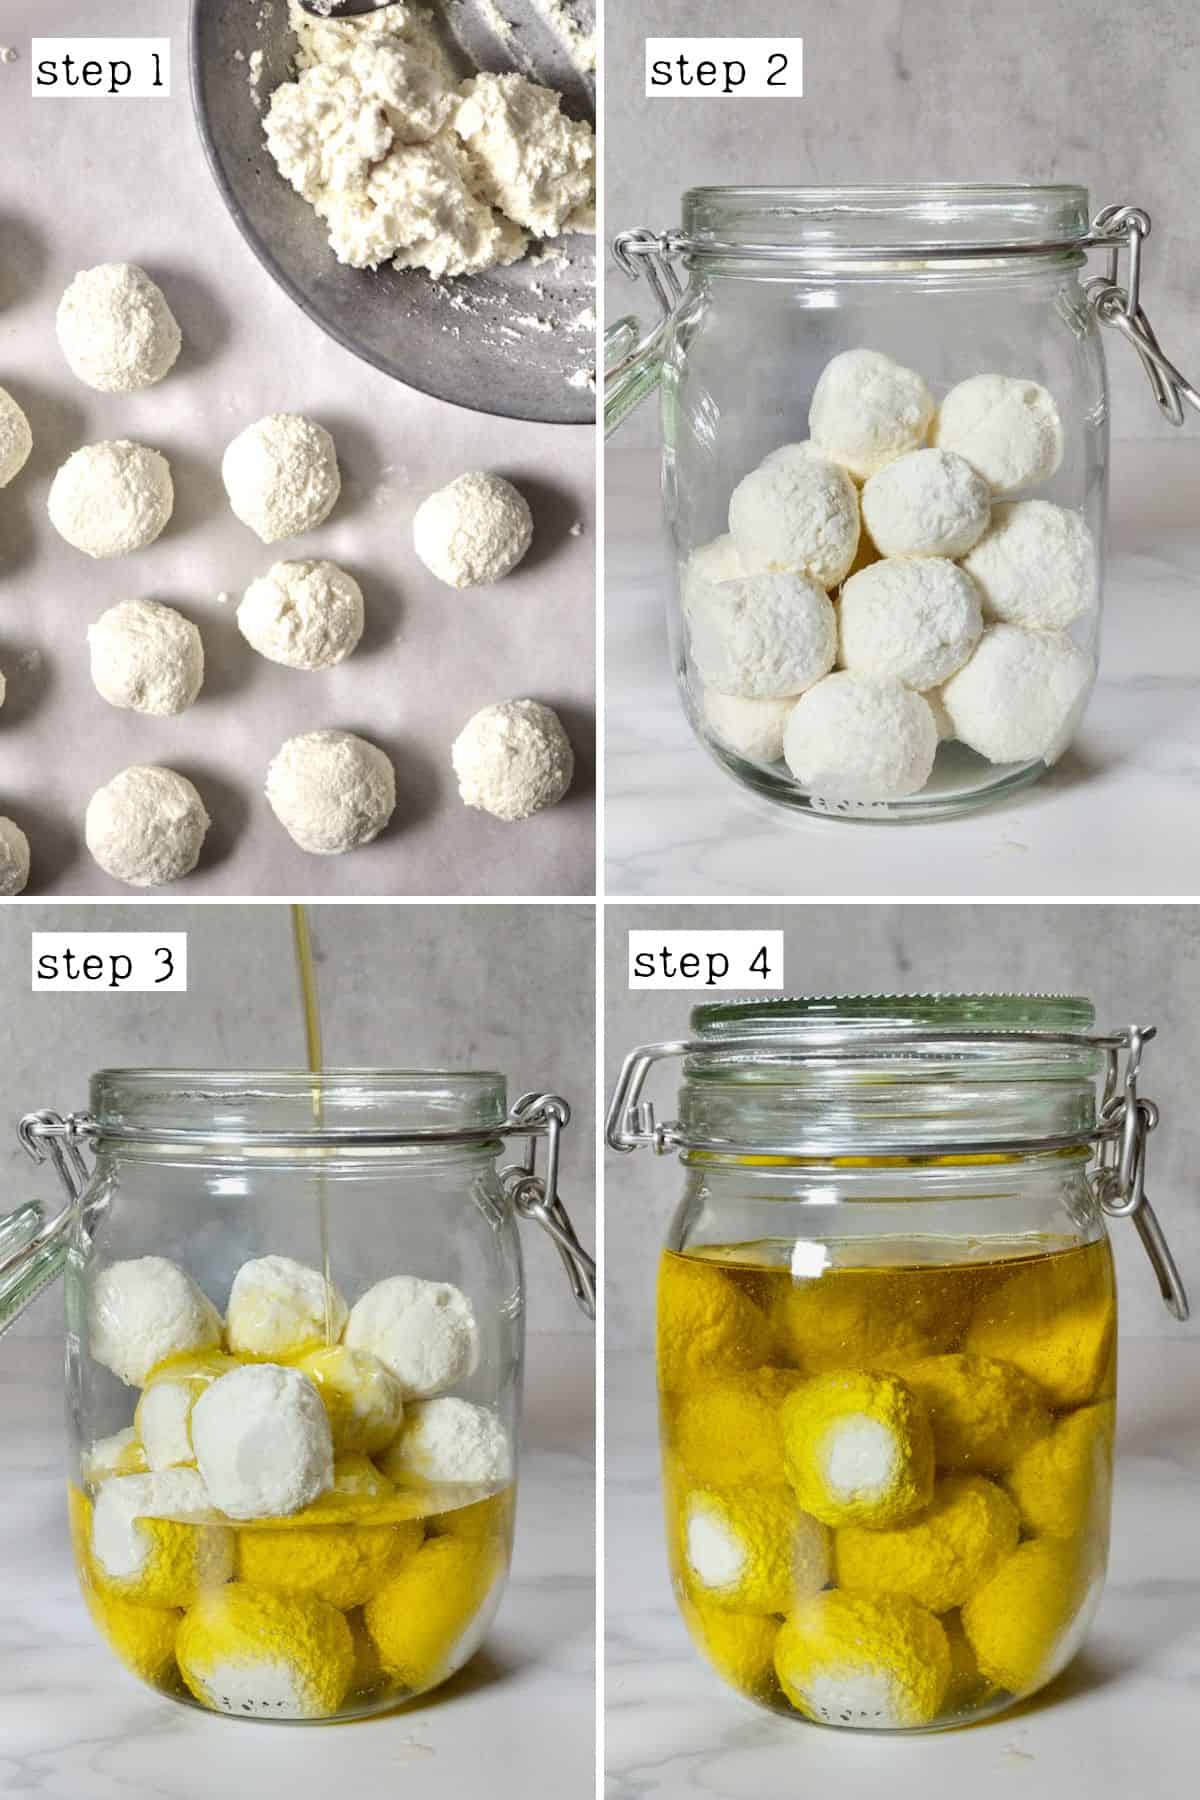
Once the lebne is strained, you can shape it onto balls to prepare it for longer preservation.
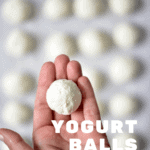
Form the balls – use 2-3 Tbsp per ball. Carefully place them in a jar. Then fill it with olive oil.
If the balls remain fully submerged in the oil, the quality will be preserved.
How to eat labneh
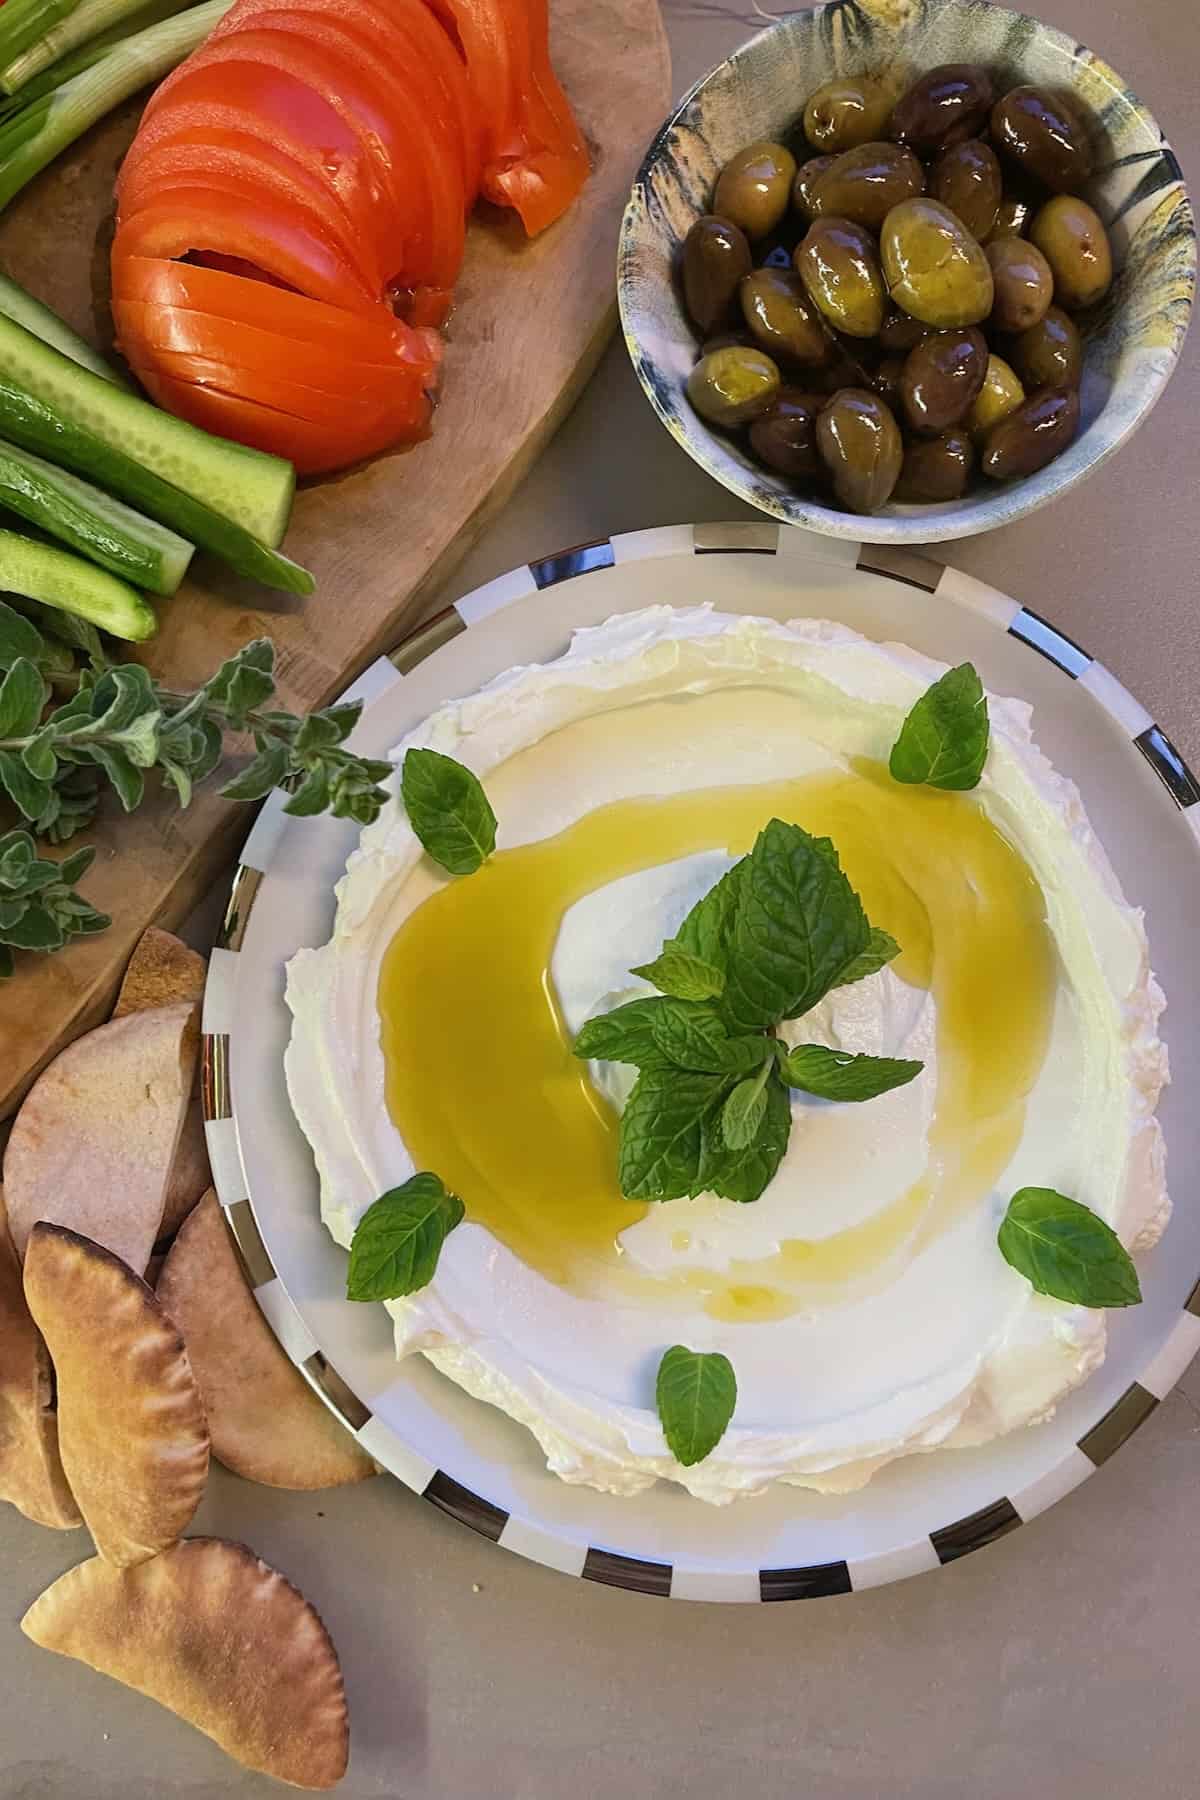
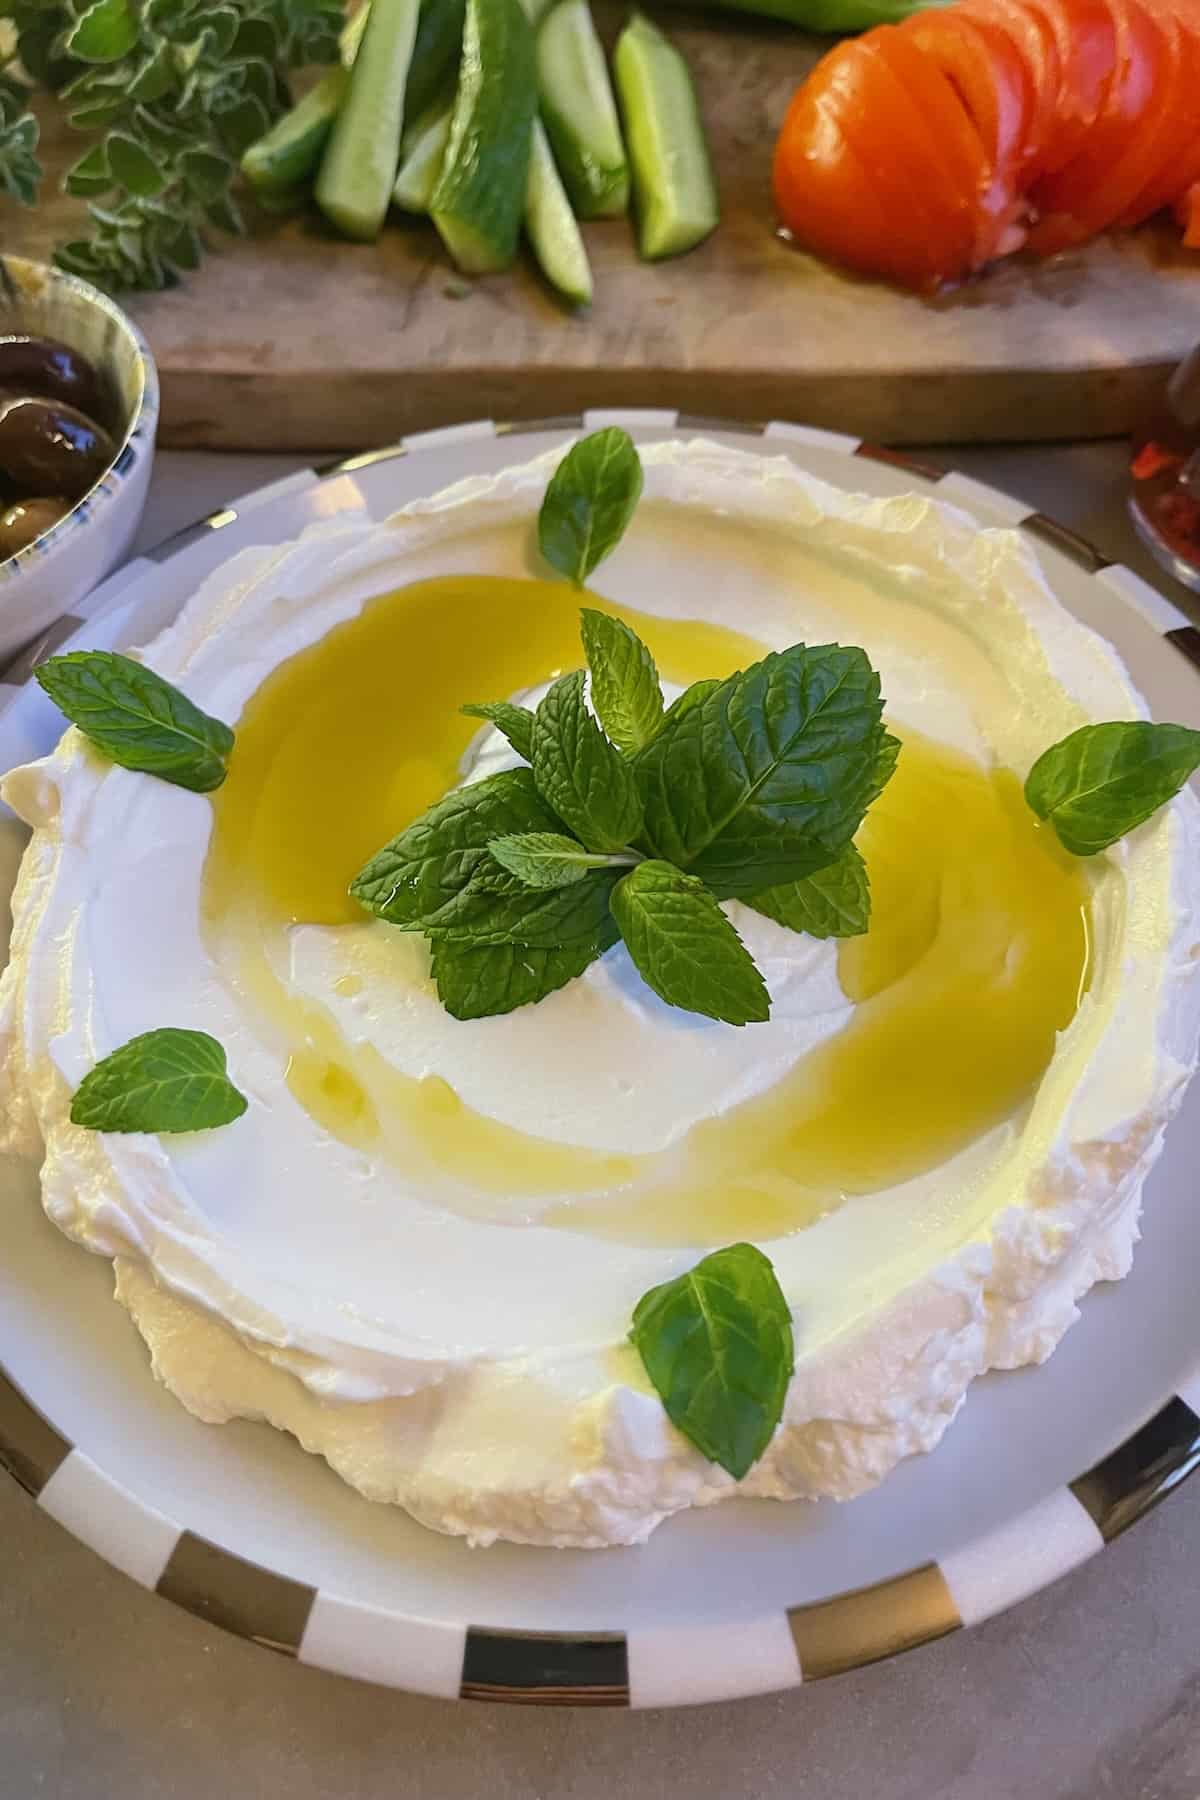
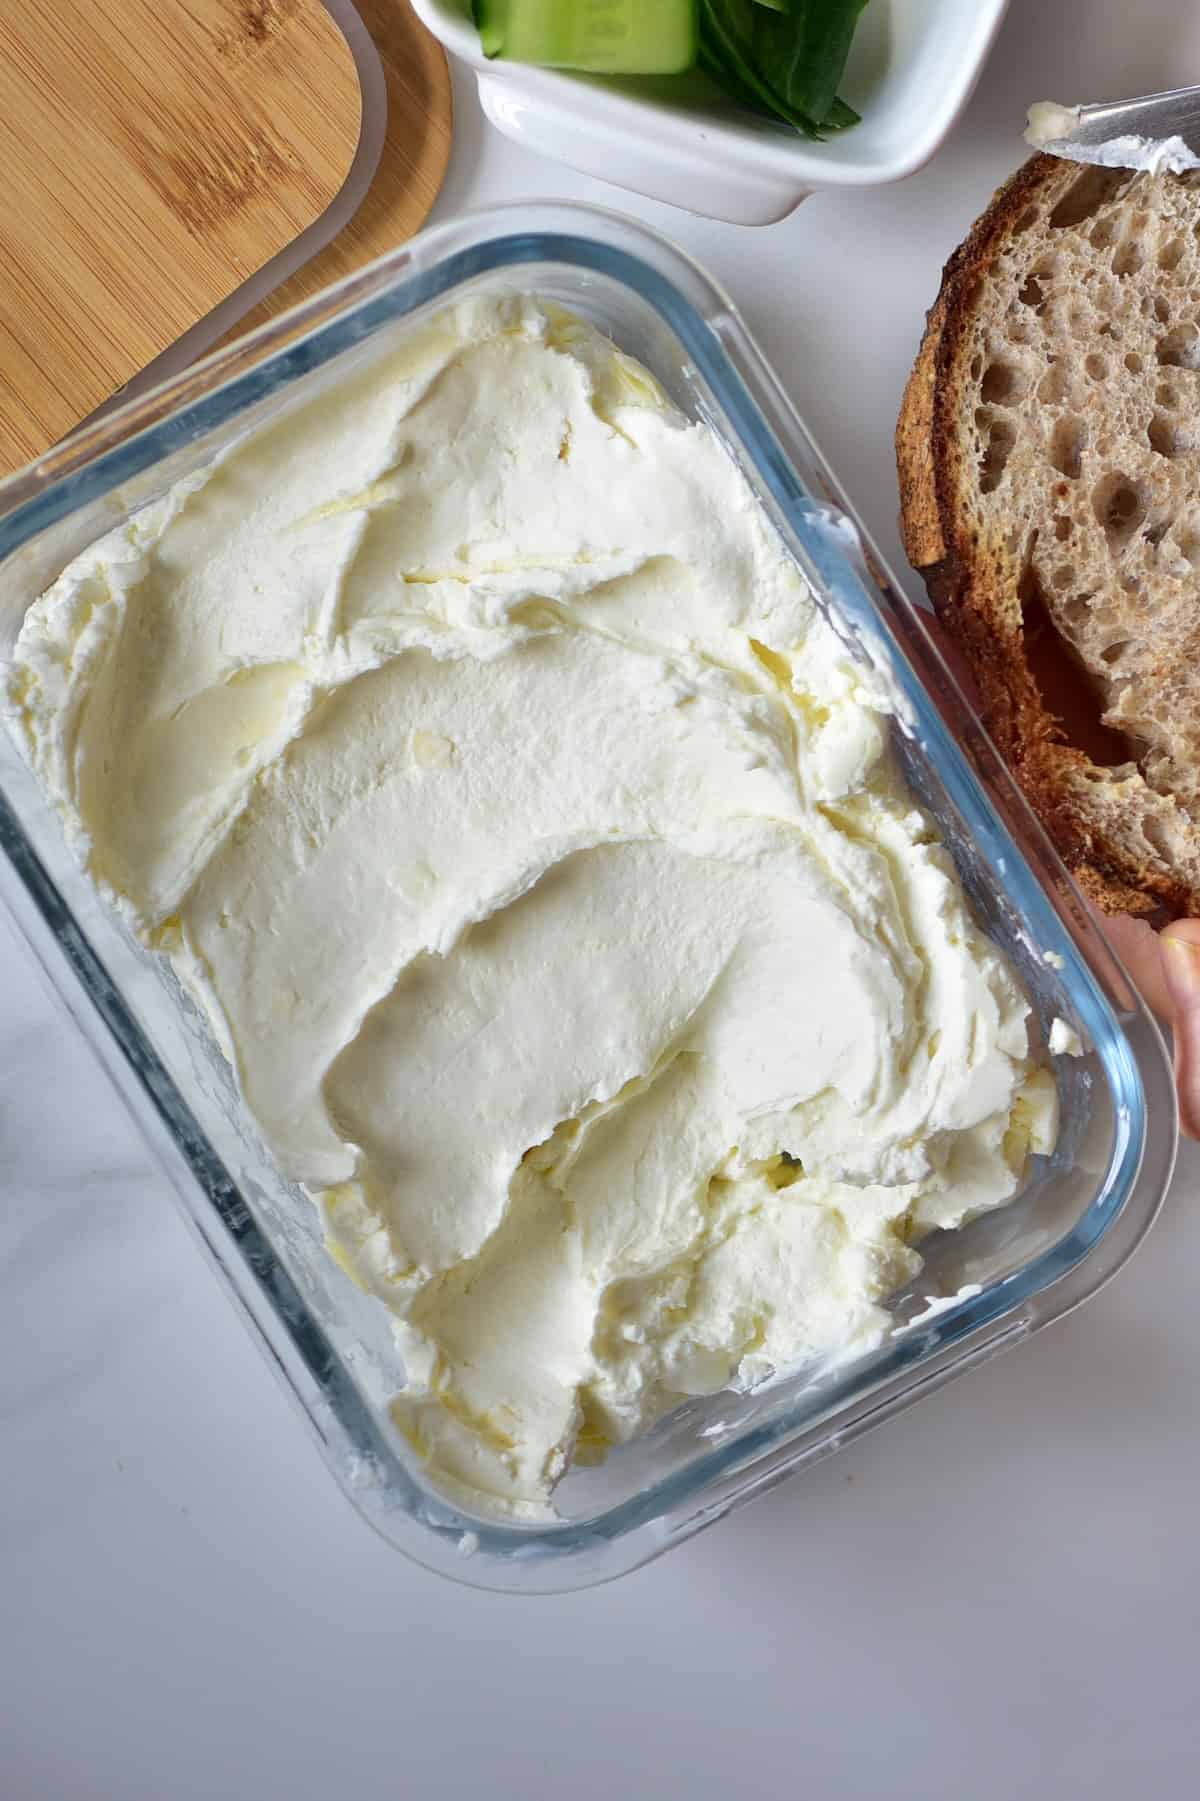
Labneh pairs well with za’atar or fresh herbs. Its taste is naturally subtle, so for maximum flavor, serve spread in a bowl. Drizzle extra-virgin olive oil and sprinkle red pepper flakes.
Serve with Markouk or warm pita bread, olives, and fresh veggies. It’s great as a part of a mezze platter. Make it into a labneh dip for crudites and crackers or spoon it liberally over wraps and sandwiches. I love adding roasted roasted cherry tomatoes on top and digging in!

Labneh Sandwich
One of my favorite labneh uses is to make a delicious cousin to avocado toast – labneh toast. Spread generously over toasted bread or bagel and top with seasonings and vegetables of your choice. I like cucumber, lemon zest, and za atar, but you can use whatever you want.
How long does labneh last
Store in an airtight container in the refrigerator for up to 2 weeks. The balls in oil will keep for up to 6 months in a dark place – though they can last even longer.
FAQs
Yes, though it will do better if formed into balls before freezing.
Yes. Natural yogurt has cultured bacteria in it, which grow during the fermentation process.
When stored in a dark place and completely submerged it can last for up to six months.
More Middle Eastern recipes
If you try this labneh recipe, let me know how it goes in the comments below. I’d appreciate a recipe card rating and would love to see your recipe recreations – tag me on Instagram @Alphafoodie!

Homemade Labneh Recipe
Equipment
- Cheesecloth (Muslin cloth) or nut milk bag
Ingredients
- 8 cups plain yogurt this can be homemade or store-bought
- 1/4 tsp salt optional
- olive oil if making labneh balls
Instructions
Make Labneh from Milk
- If you're making labneh with milk, you first need to make yogurt. You'll need a yogurt starter (in the form of a powdered yogurt starter or a few spoonfuls of natural yogurt) along with whole milk. You can find my full recipe for Natural Yogurt.Once you have your yogurt, proceed with the next steps.
Make Labneh From Yogurt
- Pour the yogurt and salt into a cheesecloth.
- Hang it over a large bowl or jar to strain. You can place the cheesecloth over a strainer/sieve or suspend it from a doorknob of your kitchen cupboard (with a bowl below it to collect the whey). See the photo for ideas.

- Allow the liquid to strain for at least 6 hours, up to 24 hours. The longer you let it strain, the thicker the labneh yogurt will be. If needed, place the bowl in the refrigerator though you can keep it at room temperature if it's not too warm.
Make Labneh Balls (for long preservation)
- Once the lebne is strained, you can shape it onto balls to prepare it for longer preservation.Form the balls – use 2-3 Tbsp per ball.
- Carefully place the balls in a jar. Then fill it with olive oil. As long as the balls stay completely submerged in the oil, their quality will be preserved.
Storage Instructions
- Store the fresh labneh in an airtight container in the refrigerator for up to 2 weeks. The labneh balls in oil will keep for up to 6 months in a dark place – though they can last even longer.
Video
Notes
- Lemon juice – to assist in fermenting and creating acid whey.
- Any other additional ingredients and flavoring are better added once the labneh is ready.
- Drink it – add it to smoothies and juices, or drink it as-is.
- Use for baking bread, muffins, and tortillas – you can use whey instead of water.
- Add to soup recipes in place of some vegetable stock.
- Add to hummus, to thin out the mixture.
Nutrition
Nutrition information is automatically calculated, so should only be used as an approximation.


Successful recipe I love it and keep making it over and over
Thank you
Thank you for your comment, Mila! Glad you enjoyed the recipe!
Hi, I added mint, cumin, and Allepo pepper! Tastes delicious.
My labneh balls aren’t holding their shape, any suggestions? I drained yogurt overnight in the refrigerator.
Thanks, Raquel
Hi Raquel,
Perhaps try to strain it for longer, anything between 24-46 hours. Around 46 hours you will be able to mould it into shape. I would also recommend not adding too much of the other ingredients. I hope this helps.
Can you use Greek yogurt?
Hi Denise,
Yes, you can use store-bought full-fat plain yogurt.
I tightly closed jar. A week later when I opened jar it was fizzing w bubbles and just one ball had a mold on it (just one side). Can I eat the rest of them in the jar?
Hi Karen,
Yes, you can eat the rest. Discard only the one with mold. To prevent mold from forming, make sure all the balls are covered with the oil – you can top up a bit if needed, and you can gently move the balls if they are squished against the glass so the oil can get around them. I hope this helps.
I’ve made labneh several times. My big question is what to do with all the olive oil once the jar of balls are done? I’ve been tossing it but that seems wasteful, but reality sa5the oil is contaminated with milk bacteria.
Hi Rosemary,
Please don’t toss the oil. You can use it as flavored oil in salad dressings or for cooking.
Hii, when straining the yogurt, do we need to refrigerate it or can we leave it outside for 24 hours to strain?
Hi,
You can leave the yogurt on your countertop while straining. I hope this helps.
Hi Samira! I was wondering if the yogurt wouldn’t spoil for being so many hours outside the refrigerator during the straining process, since in my country the average temperature is 30 degrees.
Hi Marcelle,
It should be fine. If you’re worried about the heat, you can try to only strain it overnight. I hope this helps.
This tastes so delicious! I’ve let mine drain for 5-6 hours and the consistency is just perfect for me. Also a big plus is that I can ditch the cream cheese bought at the store in plastic, since i couldn’t find a sustainable alternative to that until now. Thank you!
So glad you tried and liked this labneh recipe. Thank you for your comment. 🙂
Thank you, i follow you’r notes and tips and its simple and tasty, very good, congratulations.
Also i use it to make labneh (i dont let it dry too much as for labneh balls)
And it was very tasty with pita bread.
Thank you for your comment. Glad you enjoyed the recipe.
Such easy description
Love the author
Thank you so much Katia 🙂 x
I use whey to cook rice. Half as many ounces of rice as fluid ounces of whey. Simmer for 12 minutes covered. Leave covered for 3 more minutes. Rice is buttery and delicious
That’s very interesting. Thanks for sharing, Ann.
I use coffee filters to drain my yogurt…line a sieve with a filter…place over a bowl being careful to make sure there is plenty of room underneath to catch lots (A couple of cups worth) of whey Without touching the sieve…I also place a filter over the top…set it out over night…
Thank you for your comment, Vickie. These are great tips.
Hi!
I was wondering if the yogurt still retains it’s live cultures after it’s turned into the Labneh balls? Especially since it’s kept out of the fridge and all.
Thanks!
Amanda.
Hi Amanda,
Yes, the labneh retains its probiotic live cultures.
Hi !
Thank you for the recipe! I’m currently trying it but I have a problem; I’ve started it on the 24th of june from my homemade yoghurt, today we are the 2nd of july and my Labneh is not thick; I tried to shape it into balls but it’s not possible. Is it normal after all this time?
Thank you!
Hi Gail,
I am sorry to hear you are experiencing problems with the process. Has your homemade yogurt turned out pretty thick or is it more on the runny side? Maybe the problem is in the yogurt?
Normally, it just needs to strain for a few hours (or up to 24 hours) and then the labneh would be thick enough to make into balls.
Hello – I have two questions . When I make Labneh balls in olive oil I will leave it on the counter and take as needed. I don’t like to refrigerate it because the olive oil will solidify . It’s usually eaten up within a few days anyway . Is it safe on the counter?
Or..I have also submerged the cheese balls in grape seed oil and refrigerated because the oil doesn’t solidify . Do the cheese balls preserve in a vegetable oil ?
Which is the safest way to preserve the cheese balls .
Hi, yes you can store these at room temperature ( in fact I do that too!). I’ve never tried using grapeseed oil – but in general, vegetable oil should be fine for storing it 🙂
I am from Palestine and lived in Jordan my whole life and labneh was something I had to give up when I came to study in Spain. But thanks to you, I do not have to wait for summer to enjoy labaneh! I was using another one from google but it never gave me the original sour taste and it tasted like cheese. This recipe is amazing and it gives the original labneh sour taste that I love.
Thank you so much, I recommend everyone to try this recipe.
Hi Yasmin,
Thank you so much for the feedback, so very glad to hear you loved the recipe 🙂 x
Great directions thank you! I was under the impression that you keep it in the refrigerator. You don’t need to refrigerate?
They are actually fine at room temperature 🙂 The olive oil perfectly preserves the cheese, just keep it in a cool dark location. You can refrigerate them too if you prefer, but I know this can sometimes affect the texture of the olive oil, so I prefer to leave mine in a cool cupboard.
How do you make vegan labneh? Any suggestions??
The DIY is on my to-do list! I’ll definitely be doing a blog post on this at some point 🙂
A fantastic recipe so easy and comes out perfect everytime.
Thanks for sharing.