
This post may contain affiliate links. Please read our disclosure policy.
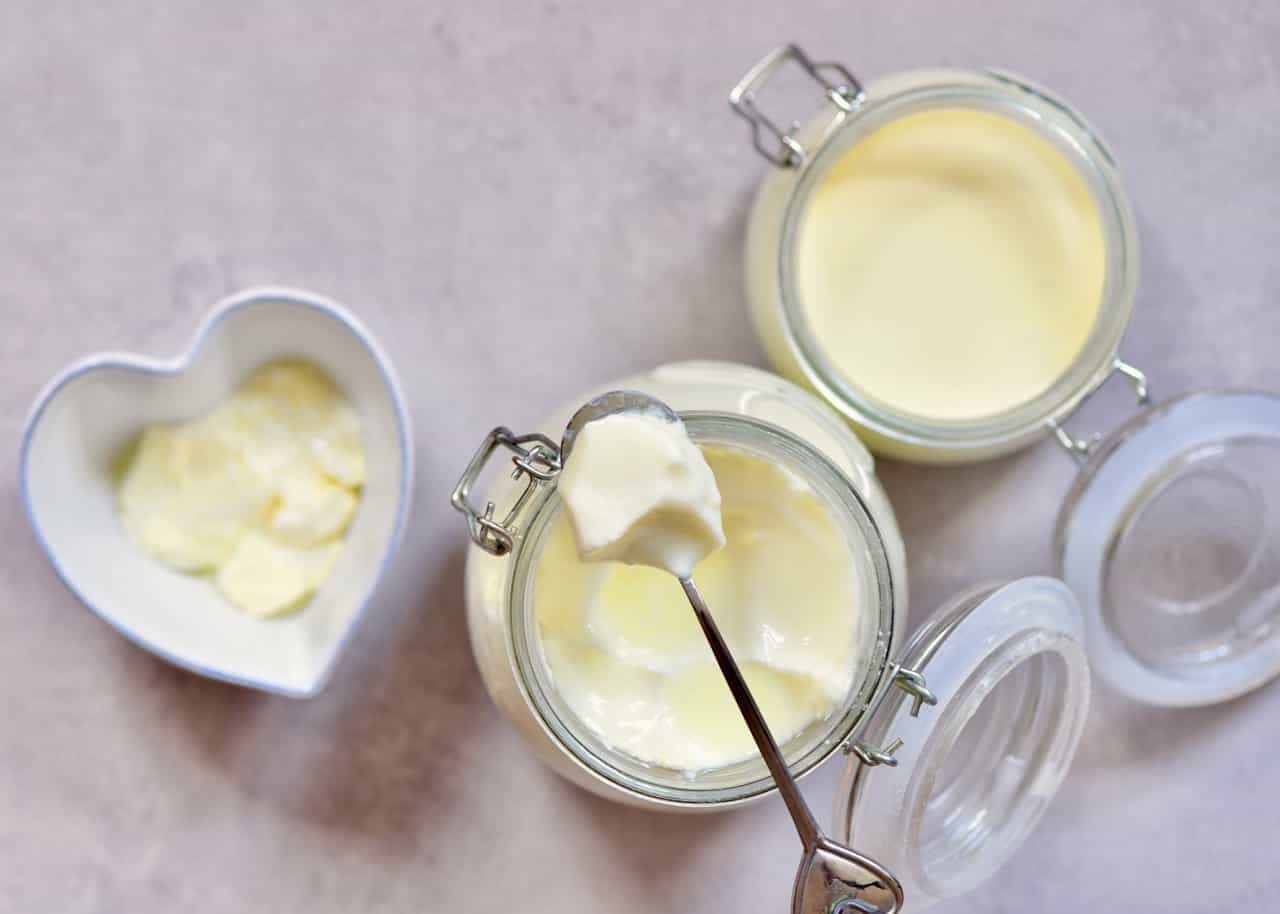
Learn how to make creamy, delicious homemade yogurt from scratch using just two simple ingredients—no special equipment needed!

Making yogurt at home is easier than you think—and so worth it! Not only is it fresher and more affordable than store-bought, but you can also customize it to suit your taste. We all love yogurt at home, and my mom always made it from scratch—never bought it!
In this post, I’ll guide you through step-by-step instructions (with photos and a video tutorial!) to help you nail it every time. Whether you’re a beginner or a pro, my foolproof method guarantees creamy, delicious yogurt that you’ll love. And you only need two ingredients. Let’s get started!
Want to save this recipe?
Watch the homemade yogurt video
Ingredients and equipment

- Milk: I recommend using whole milk for the creamiest results. The higher the fat content in the milk, the richer the homemade yogurt. Skim milk or 2% milk will work but yield thinner results. You can also choose between homogenized (almost all commercially sold milk is such) or unhomogenized milk (it will still work perfectly but will have a more yellow layer on top). Avoid UHT/ultra-pasteurized milk.
- A “Starter”: I usually use a few tablespoons of plain store-bought yogurt. You can also use probiotic capsules or a “yogurt starter” pack.

- Equipment: You will need a large jar or several smaller jars, a large pot, a wooden spoon or silicon spoon, and a thermometer.
- For the incubation: There are several methods for incubating yogurt. You can follow a traditional method that requires no special equipment, which is my favorite. Alternatively, you can use an Instant Pot with a “Yogurt” setting that maintains the proper temperature or a yogurt maker that automatically keeps the temperature consistent. However, using these machines isn’t practical for making large quantities. Since I consume yogurt daily, so I prefer making a large batch and incubating it. I wrap the yogurt in a blanket or a big towel and place it in the oven with the heat turned off to maintain a consistent temperature. This method has been passed down from my mom and ancestors and remains my favorite for the best results.
How to make homemade yogurt
Wash and Sterilize Your Tools: To get good fermentation without any unwanted bacteria, it’s essential to clean your tools and sterilize your jars.
Wash all your tools in hot, soapy water, and then rinse them well with hot water. Place the jars on the middle shelf in the oven (no plastic parts) and sterilize them for 10 minutes at 320ºF/160ºC.

Heat the Milk: Add the milk to your pot or saucepan. Heat it over medium heat, stirring frequently so it doesn’t scorch. The milk temperature needs to reach 175-185ºF/80-85ºC. Once it reaches this temperature, remove the pot from the heat.

Cool the Milk: Allow the milk to cool until it reaches 108-112ºF/42-44ºC. This will help the fermentation process without killing the starter.
You can let it cool down naturally (it can take 20 or more minutes), or you can speed up the process by placing the pot in an ice bath. Make sure to stir continuously so the milk cools down evenly (it will take just 1-2 minutes).

Add the Yogurt Starter and Fill the Jars: To avoid lumps, in a small bowl, combine the starter with ½ cup of the warmed milk and stir well. This will also allow the starter to warm up gently so we avoid a temperature shock.
Add the mixture to the pot and stir gently. Then, pour the milk mixture into the sterilized jars. If needed, clean the rims, then close the lids.

Incubate the Mixture: As mentioned above, I love to use the traditional, no-special-equipment method. The jars need to be placed in a warm environment at a constant temperature so the yogurt can incubate. I wrap them in a big towel blanket, and then I put this parcel into the oven. Don’t turn the oven on! It will still keep the yogurt at a constant temperature.
Incubate the yogurt for 7-9 hours. When ready, the yogurt should have thickened and will be jiggly. Note that the longer you leave the yogurt to ferment, the tangier it will taste.

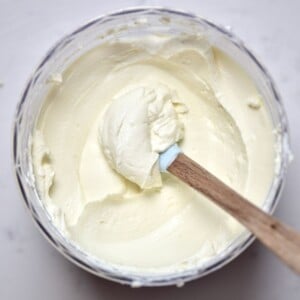
Refrigerate and Serve: Once the incubation period is over, transfer the homemade yogurt to the fridge. Allow it to set and cool for a couple of hours; it will become even thicker as it chills!
Also, be sure to reserve a few tablespoons of the yogurt to use as a starter for your next batch.
What can I do with my yogurt?
The sky is the limit when it comes to yogurt. You can enjoy it in so many ways. Here are some of my favorites:
- Eat it plain as a healthy snack or breakfast.
- Sweeten it with honey, jam, or fruits. You can make delicious fruit and yogurt parfait.
- Use it in smoothies for a creamy texture.
- Make dips like tzatziki sauce or spinach yogurt dip.
- Use it in recipes like marinades and dishes like fatteh and cucumber yogurt salad. Or make treats like healthy yogurt popsicles and more!
- Make homemade labneh by straining it for 6-8 hours into a creamy, spreadable yogurt cheese.
- Turn it into Greek yogurt. Strain it for 2-4 hours to make it thicker, or leave it untouched in the fridge for about 6 hours to naturally thicken after incubation.

FAQs
Homemade yogurt lasts about 1-2 weeks in an airtight container in the refrigerator. It might taste more sour in the last few days. You can also freeze it for 1-2 months, but frozen yogurt works best for smoothies.
Whole milk makes the creamiest yogurt. Homogenized milk gives a smooth white color, while non-homogenized milk forms a yellow fatty layer on top for added richness.
The sourness comes from lactic acid during fermentation. Over-fermentation or high temperatures can make it too sour.
Absolutely! Check out my tried-and-tested recipes for homemade soy yogurt, homemade almond yogurt, and homemade coconut yogurt. Keep in mind that non-dairy milks often need thickeners like agar or corn starch to help them set properly.
Simple dairy DIYs you’ll love


If you try this homemade yogurt recipe, let me know how it goes in the comments below. I’d appreciate a recipe card rating and would love to see your recipe recreations – tag me on Instagram @Alphafoodie!

Homemade Yogurt
Equipment
- 4 Mason jars (16 oz) or more (enough for 8 cups of liquid)
- Silicone spatula or wooden spoon
- Blanket or a big towel
Ingredients
- 8 cups whole milk avoid UHT/ultra-pasteurized milk; whole milk is best, but 2% or skim works too
- 1/2 cup plain yogurt or 2 packets of powder yogurt starter
Instructions
Sterilize your tools
- Wash the equipment, including wooden spoons, a pot, and jars, in hot soapy water. Rinse well.
- Place the jars on the middle shelf in the oven (no plastic parts) and sterilize them for 10 minutes at 320ºF/160ºC.
Prepare the milk
- Add the milk to your saucepan or pot. Heat it over medium heat, stirring frequently, until it reaches 175-185ºF/80-85ºC. Remove the pot from the heat.
- Cool the milk to 108-112ºF/42-44ºC. Either set the pot aside and let it cool naturally (20+ minutes) or place it in an iced bath to speed up the process (1-2 minutes) and stir continuously for uniform cooling.
- Combine the plain yogurt (or starter) with ½ cup of the warmed milk and stir well. Add the mixture to the pot and stir gently.
Fill the jars and incubate
- Pour the milk into the sterilized jars. If needed, clean the rims. Close the lids.
- The jars need to be placed in a warm environment at a constant temperature. You can wrap them in a blanket and put them in the oven (with the heat off!).
- Incubate the yogurt for 7-9 hours until it has thickened and becomes jiggly. The longer you leave the yogurt to ferment, the tangier it will taste.
Refrigerate and enjoy
- Once the incubation period is over, transfer the jars to the fridge. For thicker results, allow the yogurt to set for a couple of hours before enjoying it.
- Enjoy your homemade yogurt, and make sure to reserve a few tablespoons to use as a starter for your next batch.
Video
Notes
Nutrition
Nutrition information is automatically calculated, so should only be used as an approximation.


I’ve tried a few recipes and this is the first one that worked! Thank you!! What was different this time is wrapping it in a towel. Hours later, the jars are still a little warm. I think that did the trick. Thank you so much!
I’m so happy to hear my recipe worked for you, Jennifer! Thanks so much for your comment! <3
After freezing could you still use it as a starter again? Going to try this today if I have enough yogurt left. I fully plan on reserving half cup of what I make in the fridge for starter in 2 weeks but I was curious if it would still work after being frozen for a month.
Hi Breonna,
Yes, you can freeze yogurt to use later as a starter — just make sure to freeze it as soon as it’s fresh, and store it in an airtight container. When you’re ready to use it (within about a month is best), thaw it in the fridge overnight. Just keep in mind that while it usually works, the cultures may weaken a bit after freezing, so results can vary slightly. Happy yogurt making! 🙂
Hi
I’ve been making plain yogurt for years but really learned a lot from your post.
How do you make flavored yogurt?
Add stuff to the plain?
It’s for one of my kids that really wants the sweetie store-bought stuff, and I’m trying to make a homemade version that he’ll accept.
Hi Rivka,
Thank you for asking! The possibilities are endless…
You can use plain yogurt with a sweetener of your choice (eg. honey) and perhaps vanilla extract as the base and then blend any fruit of your choice (eg. banana/berries or mango) and mix it into the yogurt. You can also mix in cocoa powder and cinnamon or add chia seeds. You can then keep your flavored yogurt refrigerated for up to 5 days.
I hope this answers your question. I will try to add a blog post with more suggestions soon! 🙂
Hi Samira! Do you collect the layer that forms when it gets colder, on the milk before mixing the starter?
Hi Nihan,
Sorry for the late answer. You don’t have to remove it – it’s just the cream. But you can if wanted.
Hello samira! Can i use powdered milk?
Hi, yes you can, I will be making a DIY on my instagram stories very soon.
Hi Samira,
so you think I could use sheep or goat milk instead too?
Thanks for your great DIYs!
Best
Ny
I haven’t tried using either but I would imagine so 🙂 Let me know how it goes
Do you strain it to make green yogurt?
the more you strain it, the thicker it will become. So yes, you’ll end up with a lovely thick Greek yogurt style yogurt eventually 🙂
I am a master of strained yogurt
Great to hear :). I loved strained yogurt!
Hello, can I make yogurt from pasteurized milk?
Thanks
Hi Lana, of course you can! I do it all the time. When I am lucky to be able to go to the farmers market, I buy the non-pasteruised milk for making yogurt, but all other days I just use store bought pasteurised milk (I added new video at the top of this post) with all the tips that work for me to make the perfect yogurt every single time :).