
This post may contain affiliate links. Please read our disclosure policy.
Two simple methods for homemade chickpea flour (garbanzo bean flour) – an excellent gluten-free flour option for a wide variety of your baking needs.
It may seem like I’m a bit chickpea obsessed, especially if you’ve noticed that my number of chickpea-related recipes and DIYs is going up every single week. What can I say, I love this ingredient! Learning how to make chickpea flour is incredibly simple, and it can then be used for your delicious gluten-free baked goods and a variety of comfort foods.
I’ve mentioned homemade flour recipes in previous posts, such as oat flour, almond flour, etc. These are all super simple to make at home. Along with hundreds of other ‘ingredients’ that you may have never thought even to try to make: yogurt (homemade yogurt, coconut yogurt, almond yogurt), cheese (Cream Cheese, Vegan Feta, Vegan Mozzarella, and vegan cheddar). Even staples like dairy-free milks, nut & seed butters, and tofu (two ways!).
It’s wonderful learning to make things from scratch and knowing that you have that knowledge forever more. It also makes you appreciate the food that you’re putting into your body even more – knowing that you have made these ingredients personally.
In fact, this post contains TWO methods for making homemade chickpea flour: one with dried chickpeas and, my preferred method, using soaked and then dried chickpeas. I’ll explain why below.
Want to save this recipe?
Table of Contents
Notes
- Gluten-free flours often need slightly different amounts within a recipe. For example, substitute 1 cup of regular flour for 3/4 cup of chickpea flour.
- I know some will ask why we don’t use cooked beans for this. Because we will cook the flour in whatever recipe it’s used in, the chickpeas don’t need to be pre-cooked.
- I’ll often soak enough chickpeas so I can use some for chickpea flour (gram flour) and will then cook some and freeze them for meals (saving the cooking liquid to use as aquafaba).
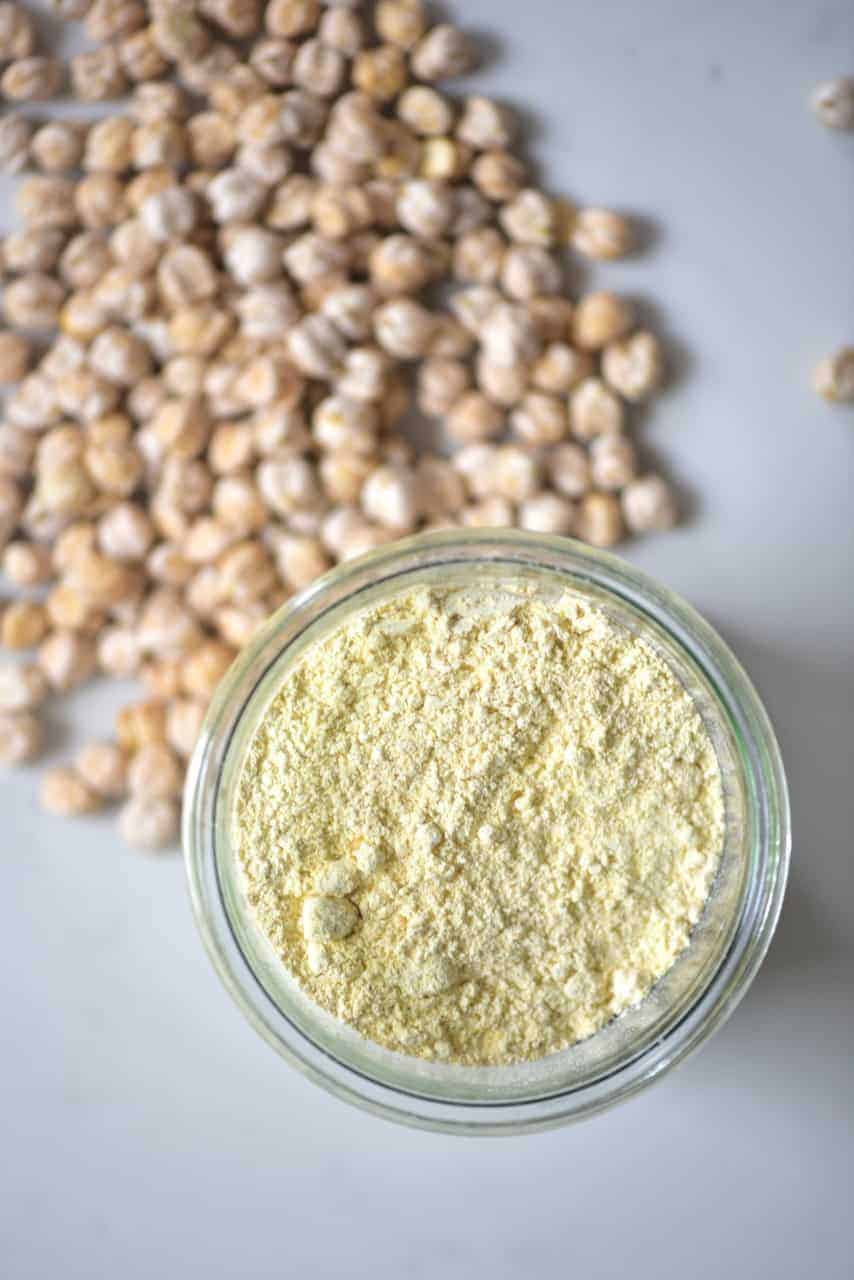
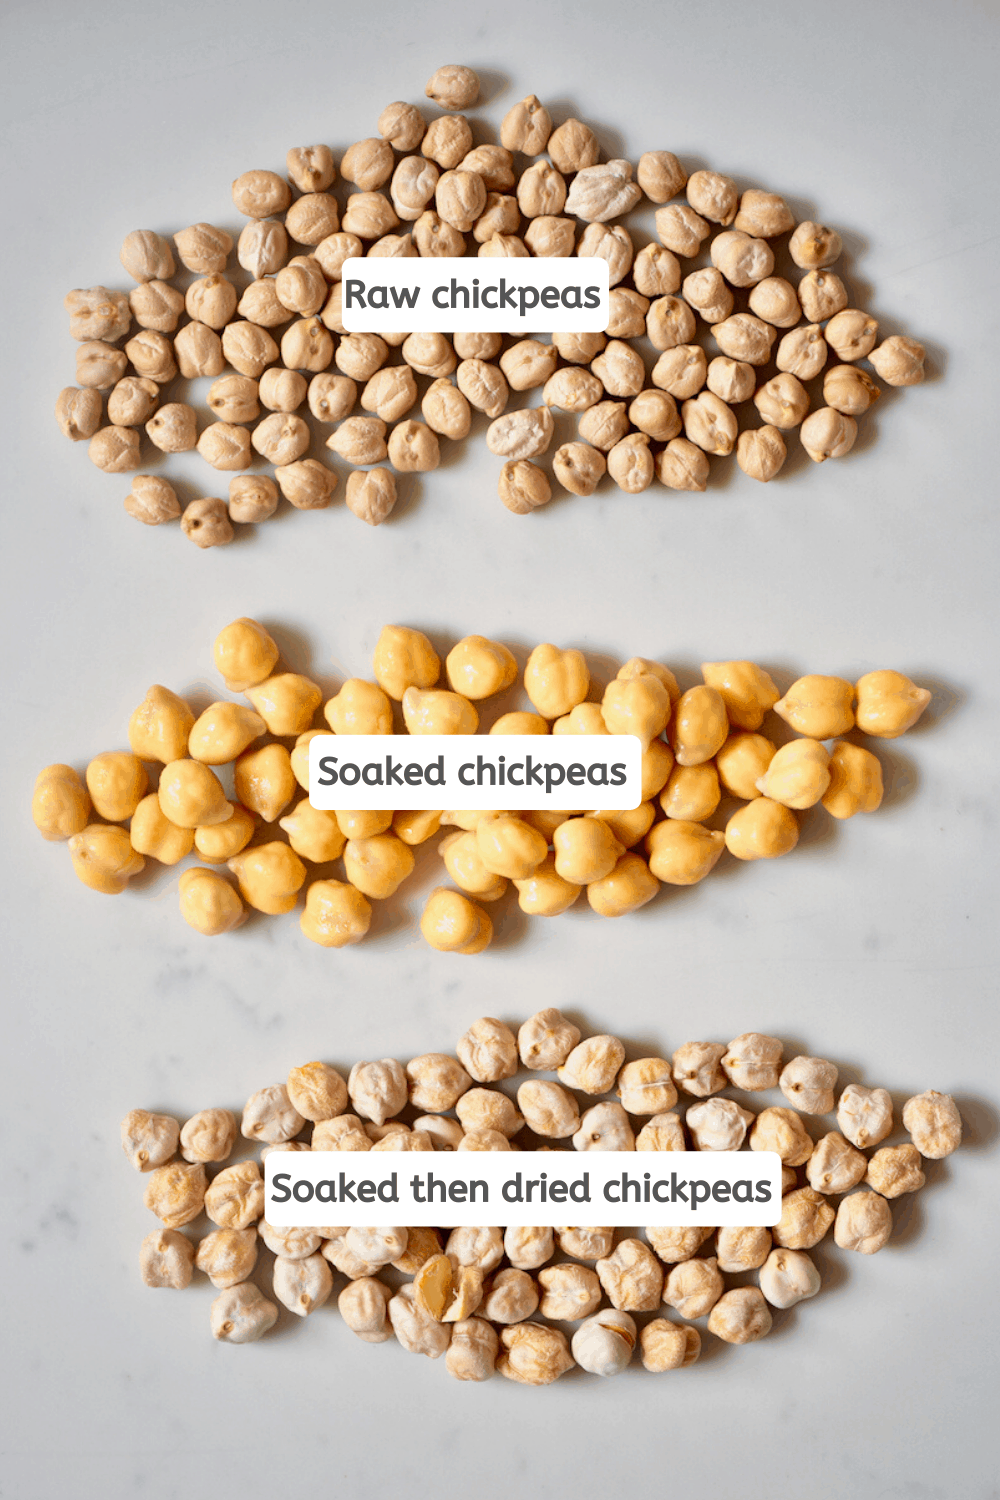
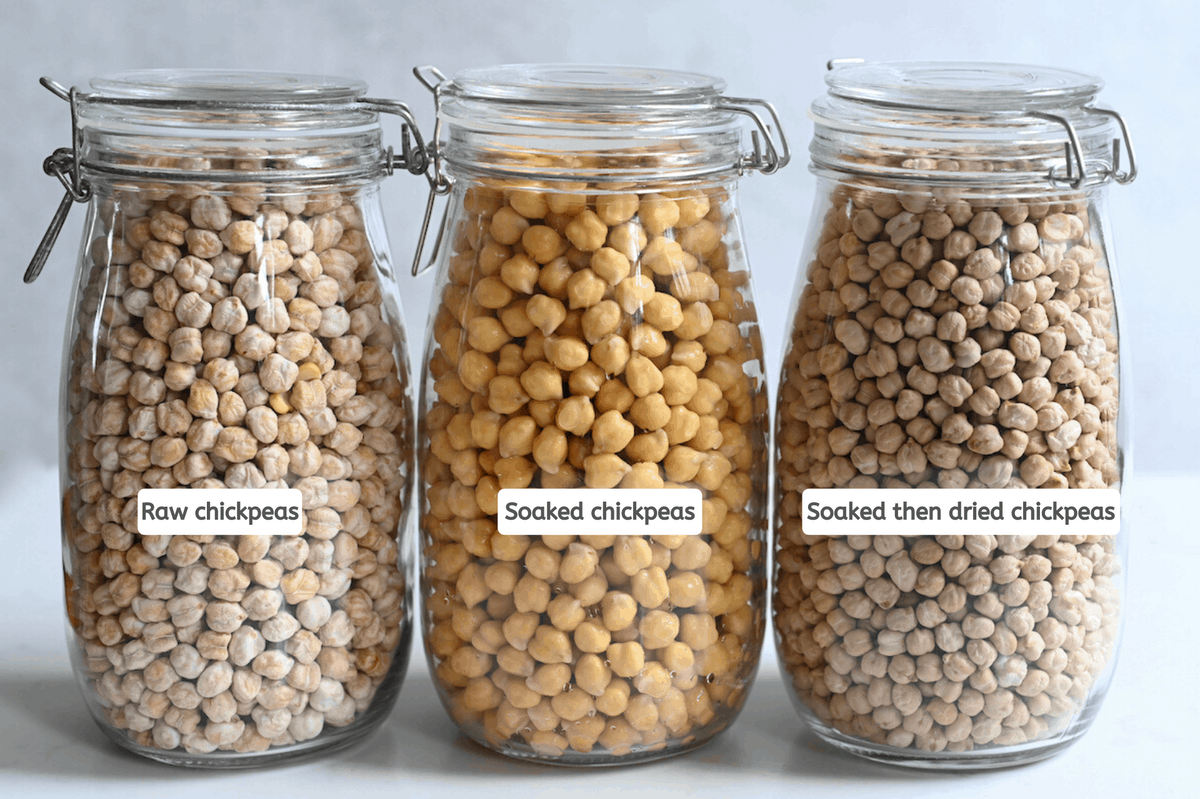
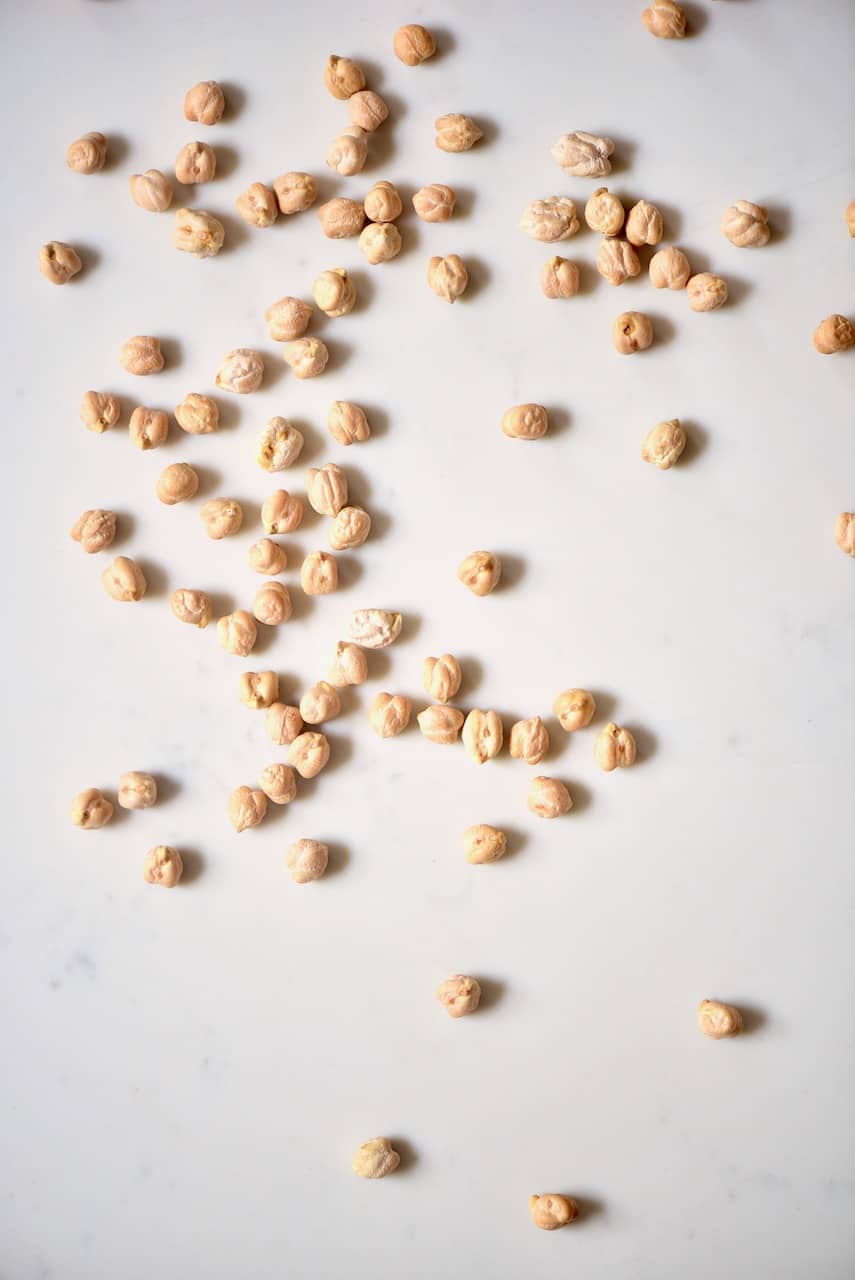
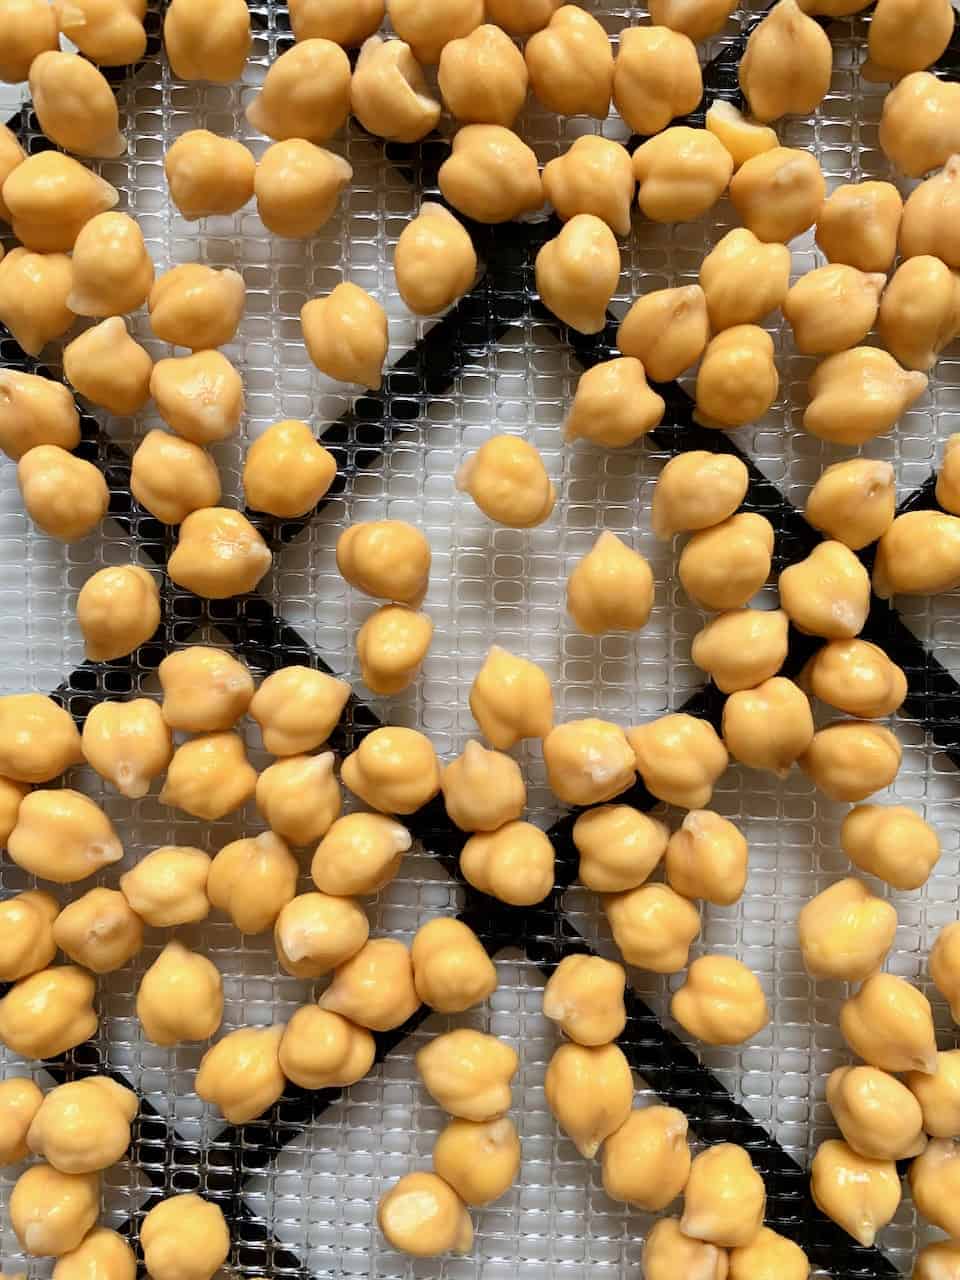
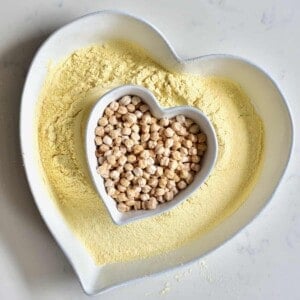
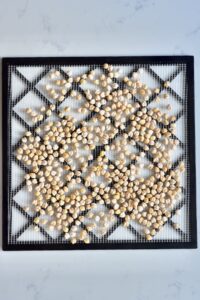
- Below is an image of dried chickpeas (store-bought), rehydrated (soaked) chickpeas, and dehydrated chickpeas. It’s best to label your containers of the store-bought dried and dehydrated, so they’re not mixed up.
How to make chickpea flour
Needed:
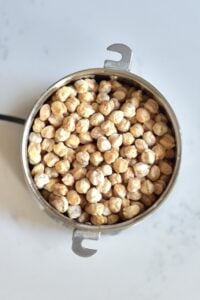
- Dried chickpeas
The two methods
Option 1:
A lot of people directly grind the store-bought dried chickpeas into flour. I am not a big fan of this option since the chickpeas usually are never washed before packaging and could be sprayed with nasty chemicals to prolong their shelf life. Now I know that cooking will remove/kill the germs, but I’d rather they not to be present before processing the chickpeas into flour.
However, if you’re buying organic chickpeas that aren’t sprayed with any pesticide, etc., then this method is a super-quick ‘instant’ chickpea flour.
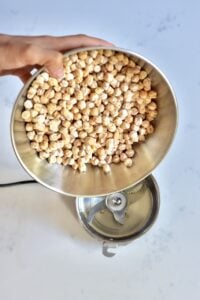
Simple, place your chickpeas in a coffee/spice grinder or high-speed blender, and grind them into a fine powder.
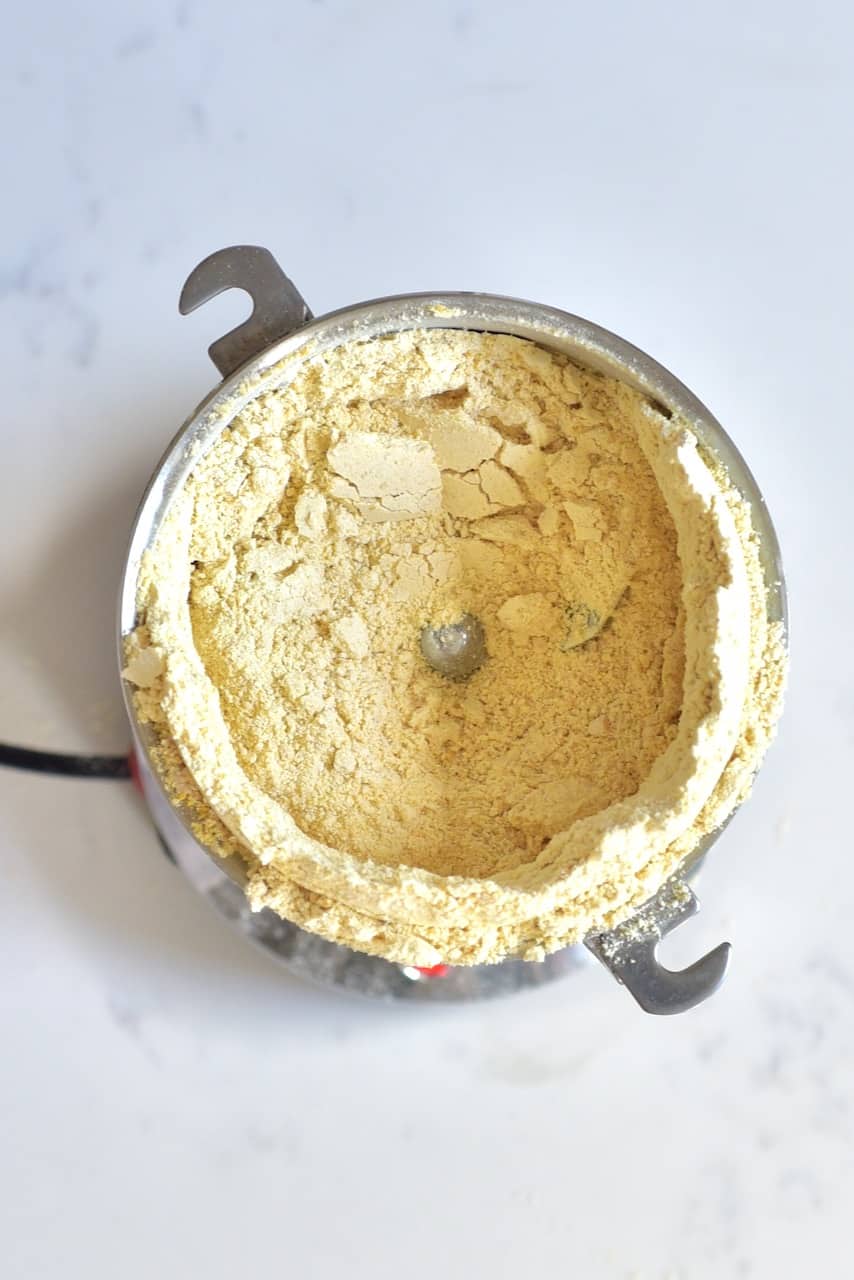
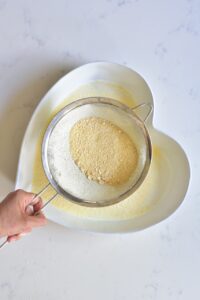
Sieve the flour, to remove any larger lumps, and then you can re-grind these too.
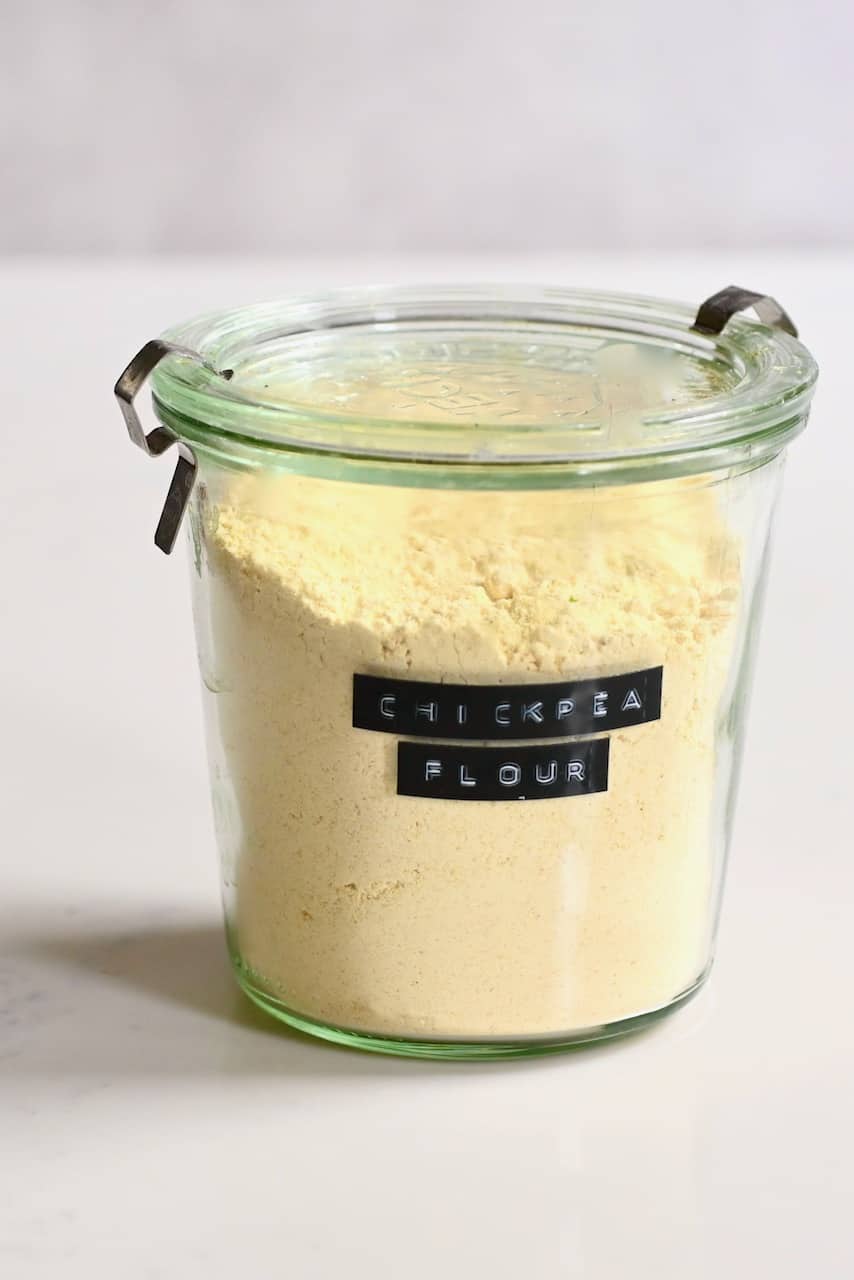
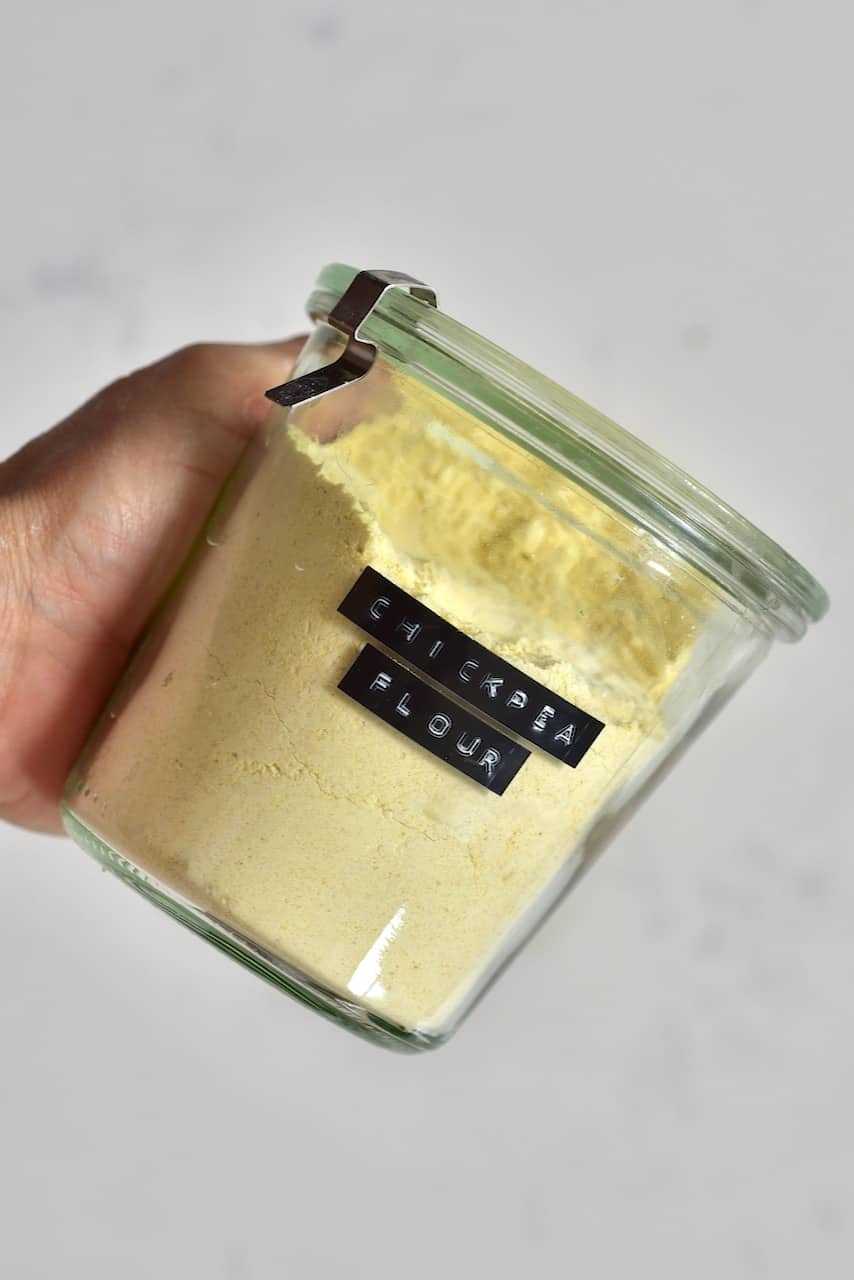
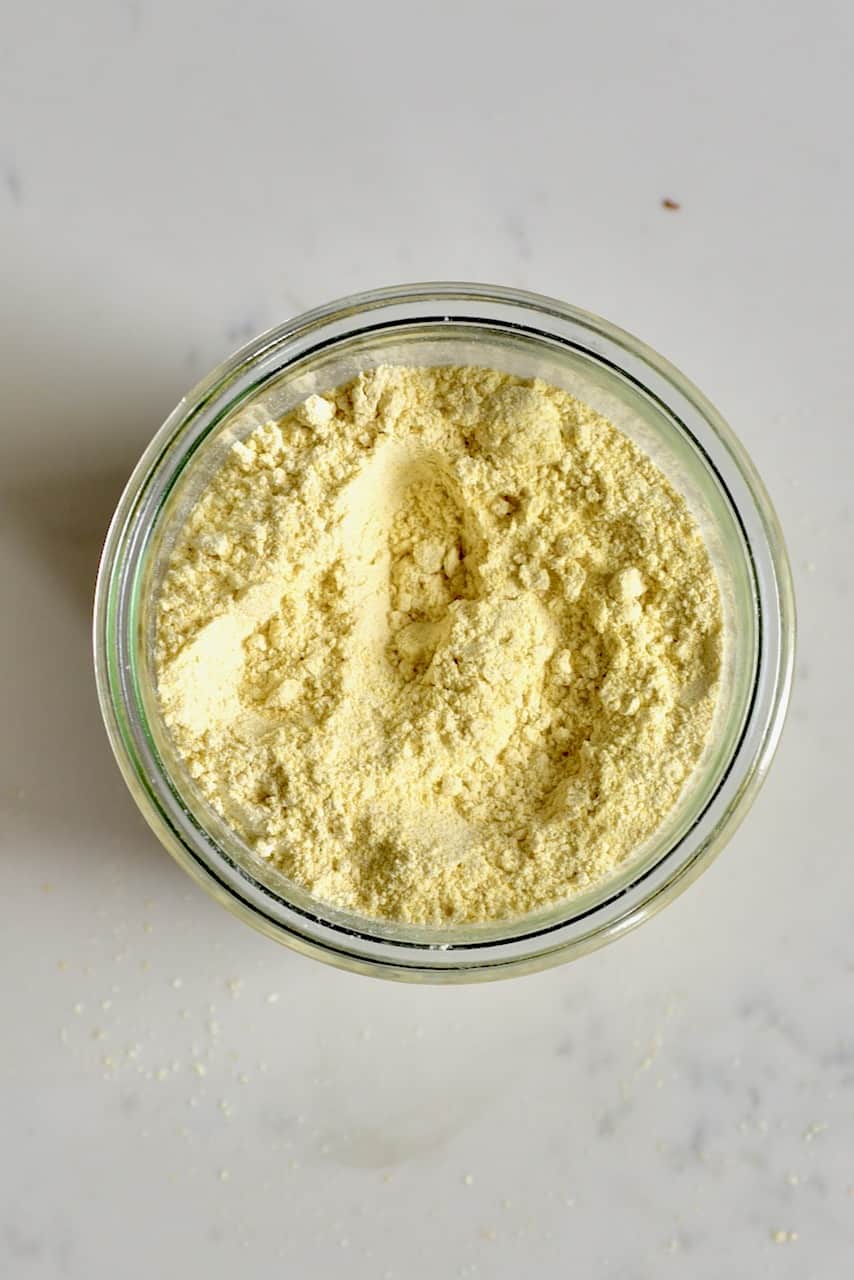
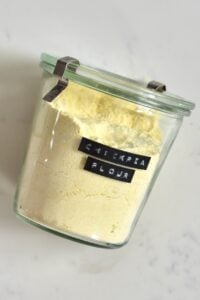
Once ready, store your chickpea flour in an airtight container for up to two months.
Option 2 (my preferred method):
This option is a longer process (although the actual hands-on time is near-identical), making sure that the chickpeas are cleaned and soaked, before being dried and ground into flour. This will make sure there’s no pesticide/nasty residue on the chickpeas and soaking is also said to increase their nutritional value and are easier digested.
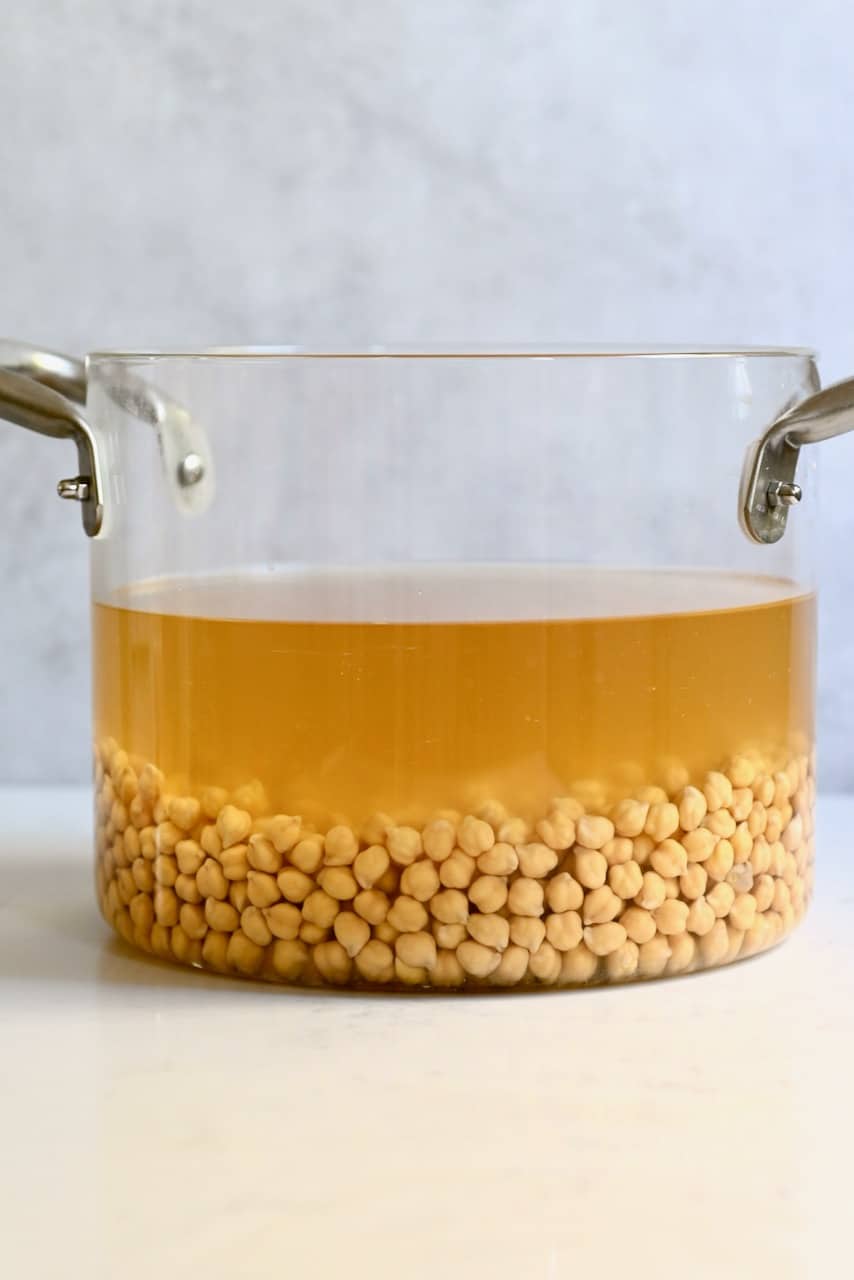
For this method, first, rinse your dried chickpeas.
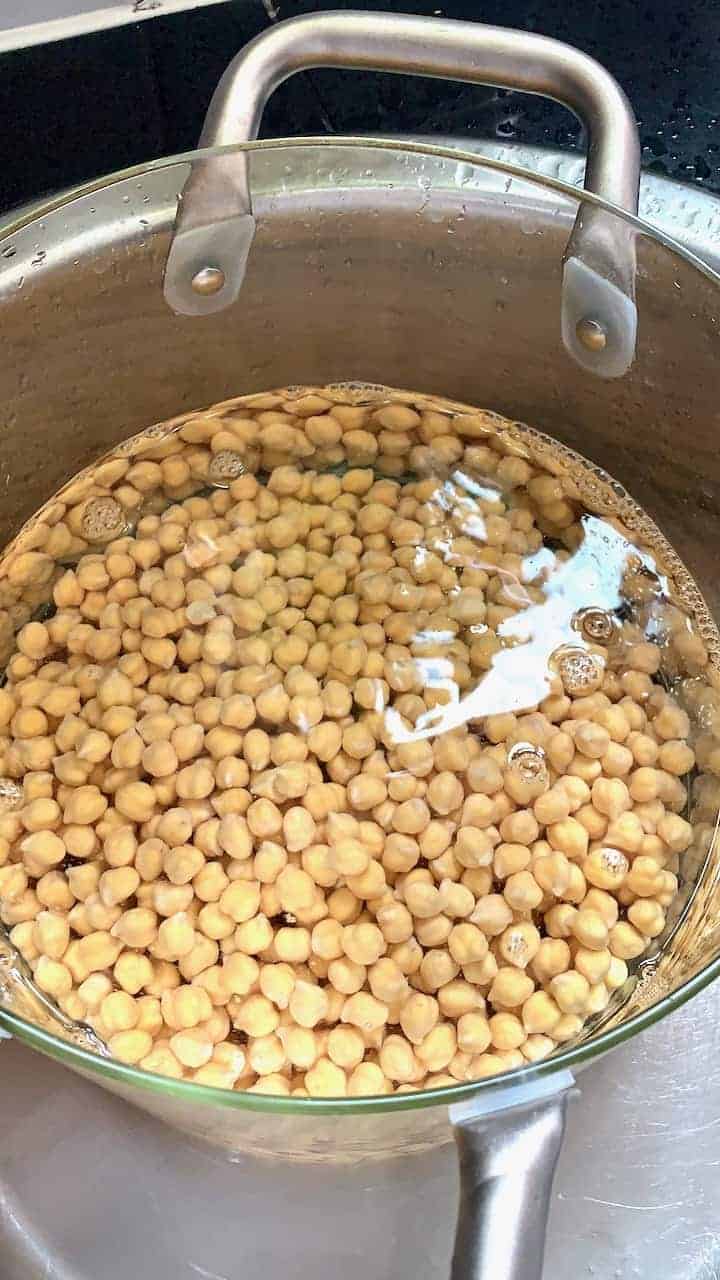
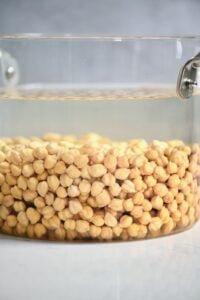
Then, soak them overnight (minimum of 8 hours, and you can go up to 24 hours). Make sure to cover them with enough water (usually a few inches of water above the chickpeas) as they will expand 2-3 times their size.
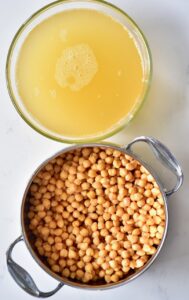
Once soaked, drain the water (or use it to water your plants) and pat them dry thoroughly.
Note* I’ll often soak enough chickpeas to make some flour as well as cook and freeze some for later dishes. You can see the full guide on how to cook dried chickpeas (as well as prep, freeze and even store the cooking liquid to use as aquafaba).
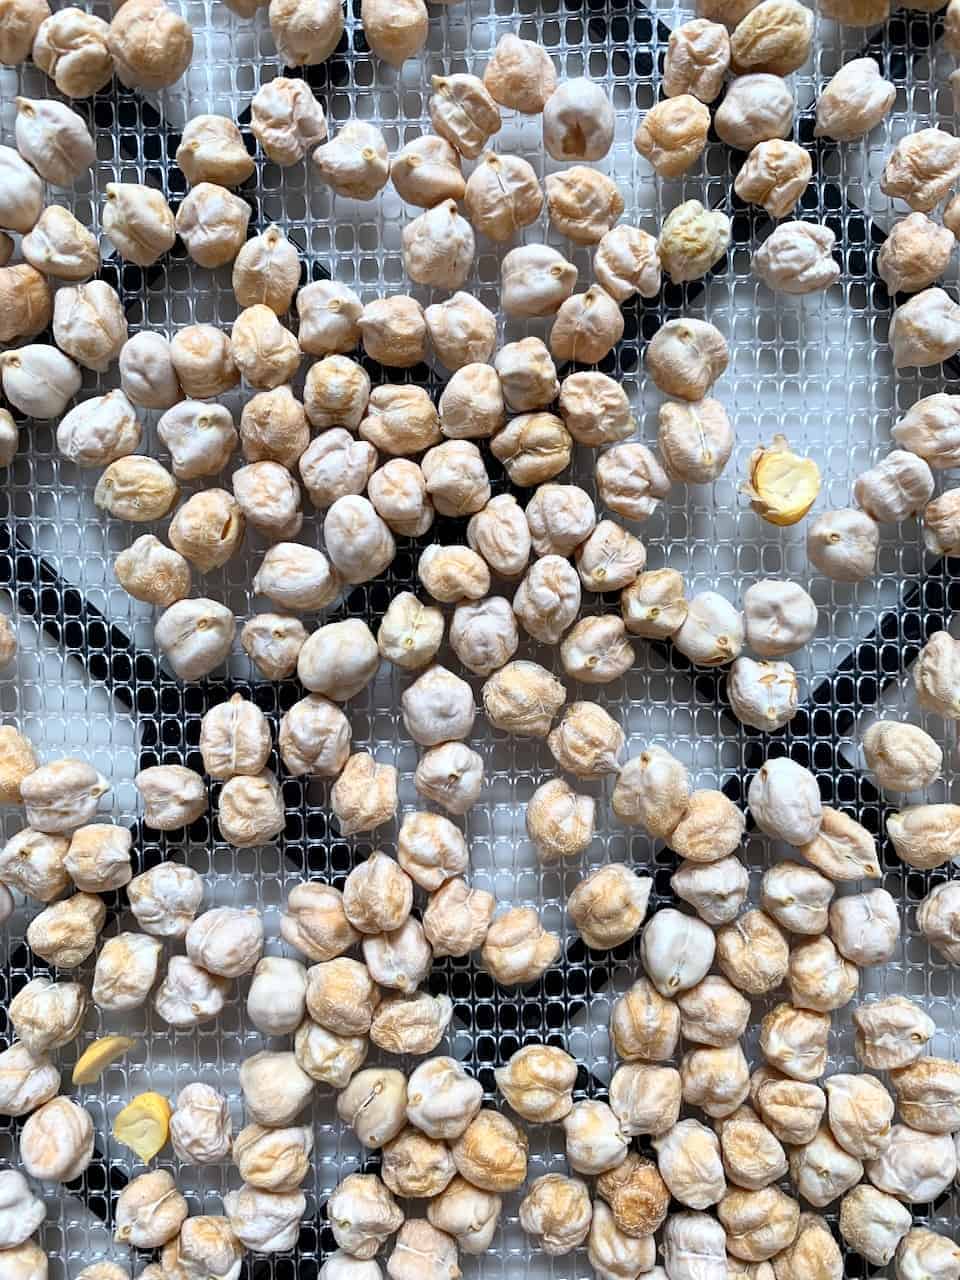
Now we need to dry (dehydrate) the chickpeas. Place them on a large tray (a baking sheet or dehydrator tray will work). Make sure to place them in a single layer (not overlapping at all); otherwise, the drying process can take far longer.
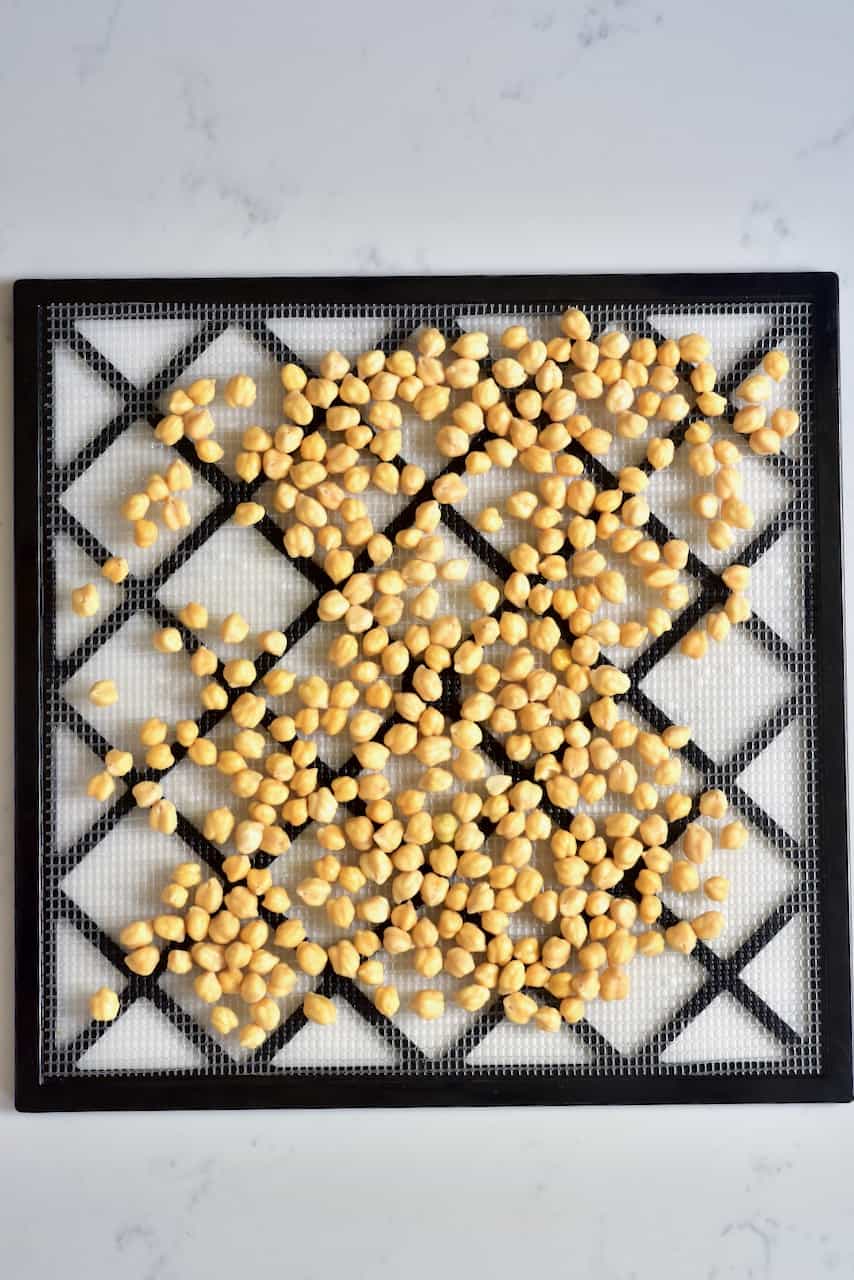
You can let them dry out in a sunny warm spot or dry them in the dehydrator or oven at 50ºC for 12 hours.
I dried mine in a dehydrator, just because it’s far quicker than letting them air out.
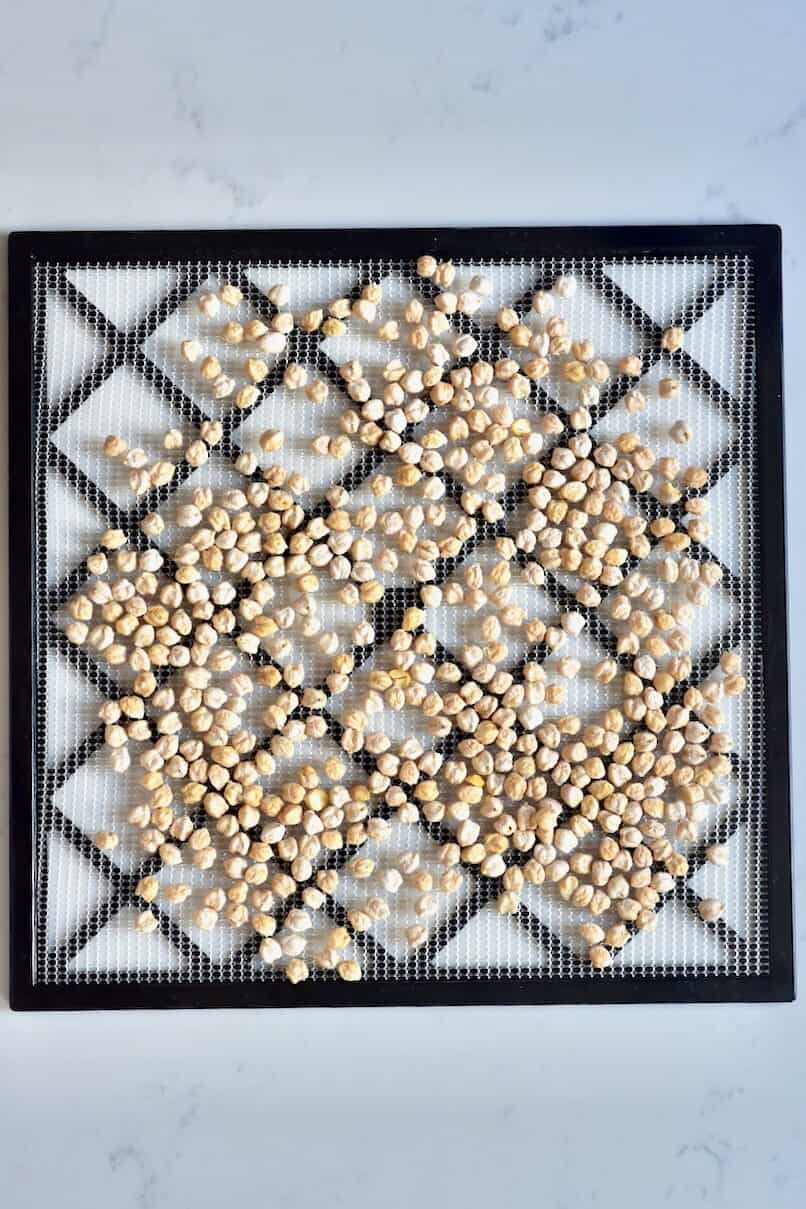
The chickpeas need to be completely dry before we grind them. Otherwise, they will be mushy, and you’ll end up with a mash and not a fine powder.
When the chickpeas are completely dry, grind them.
You can blend them in a high-speed food processor/blender or grind them to a fine flour in a spice grinder.
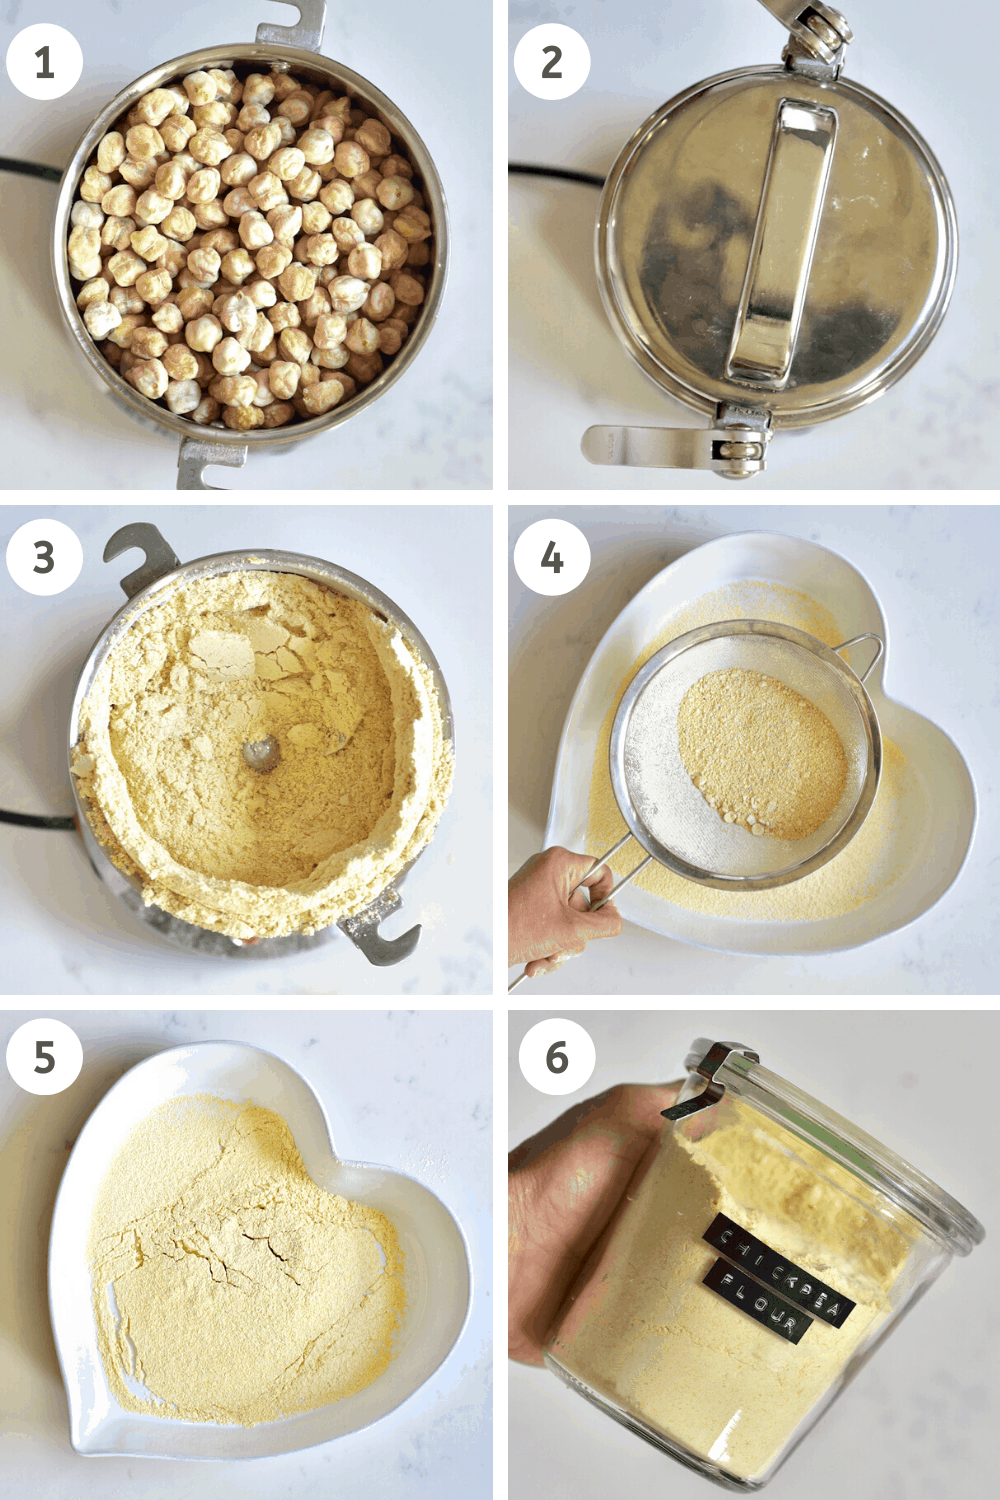
Sieve the flour to remove any lumps. Then, you can try grinding the larger particles again. If using a grinder, you’ll need to do this 2-3 tBsp at a time. Either method may require a few passes for all the chickpeas to become finely ground.

Once ready, transfer to an airtight jar of your choosing and store for up to two months.
Chickpea flour recipes and uses
There are tons of ways to use your freshly made chickpea flour, from using it to thicken up sauces and curries to an easy gluten-free flour swap.

Chickpea flour (gram flour) can also be used as a great binding agent (for fritters, veggie burgers, etc.) and is well-known for making pancake/crepe-like flatbreads (called Socca in France and Farinata in Italy). As well as other ‘bread’ – like tortillas, taco shells, etc.
But it can be used for so many recipe types: omelets, bread, cake, cookies, pizza, etc.
If you have any questions, feel free to ask them in the comments. You can also tag me in your recreations on Instagram @Alphafoodie.
How To Make Chickpea Flour
Equipment
- Dehydrator or oven
- Airtight jar or another container for storing
Ingredients
- chickpeas
Instructions
Option 1
- Directly blend the dried chickpeas in a high-speed food processor/blender or grind them in a spice grinder.

- Sieve the flour to remove any lumps. Then try grinding the larger particles again.Store in an airtight container for up to 2 months.
Option 2 (my preferred method)
- First, soak the chickpeas overnight (minimum of 8 hours, and you can go up to 24 hours). Make sure to cover them with enough water as they will expand 2-3 times their size.
- Drain the water (you can use this to water plants) and rinse well the soaked beans. Then, pat them dry as much as you can.

- Dry the chickpeas in a sunny warm spot or alternatively, dry them in the dehydrator or oven at 50ºC for 12 hours.Lay them out in single layers across baking sheets (or the dehydrator trays), for the quickest dry time.
- When the chickpeas are completely dry, grind them. If they're not completely dry then you'll end up with a 'paste' rather than flour- so be patient. You can blend them in a high-speed food processor/blender or grind them to a fine flour in a spice grinder.
- Sieve the flour to remove any lumps. Then, you can try grinding the larger particles again. This may take a few passes to all become fully ground.
- Store in an airtight container for up to 2 months.
Video
Notes
- Gluten-free flours often need slightly different amounts within a recipe. For example, substitute 1 cup regular flour for 3/4 cup chickpea flour
- I know some will ask why we don’t use cooked beans for this. Because we will cook the flour in whatever recipe it’s used in, the chickpeas don’t need to be pre-cooked.
- I’ll often soak enough chickpeas so I can use some for chickpea flour (gram flour) and will then cook some and freeze them for meals (saving the cooking liquid to use as aquafaba).


Can you use canned chickpeas and dry them?
Hi Laura! This recipe is really designed for dried chickpeas, since canned ones are already cooked and very moist. You can technically drain, rinse, and fully dehydrate canned chickpeas, but it takes a long time and they won’t grind down as fine or behave quite the same as flour from dried chickpeas. For the best results I’d recommend starting with dried chickpeas. 😊
Hi, thank you so much for the recipe! Since my husband has a sensitive stomach, I was a bit cautious and boiled the soaked chickpeas for a while to remove the foam. After that, I spread them out in a single layer in the oven to dry. They’re in the oven right now, hope they turn out great! 🙂
I wanted to ask: when you prepare them just by soaking, does it cause any stomach or digestive discomfort or bloating?
Best regards,
Hi Elif! Thanks so much for trying it, and what a thoughtful approach for your husband’s sensitive stomach. To answer your question: chickpea flour made simply from soaked-and-dried chickpeas is raw, so some people can find it a little harder to digest (chickpeas naturally contain compounds that can cause gas or bloating in sensitive tummies). Your method of boiling off the foam first and then drying is actually a lovely way to make it gentler. Just make sure they’re fully dried before grinding so the flour stores well. I hope it turned out great! 🙂
What would happen if you freeze dried your cleaned soaked chickpeas?
Hi! Fun question. 😊 Freeze-drying your cleaned, soaked chickpeas would remove the moisture while keeping them intact, and then you could grind them into flour, similar to the dried-then-milled method. Just make sure they’re fully dry before grinding so the flour isn’t damp or clumpy. It’s a bit of extra equipment, but it should work nicely if you have a freeze dryer. Let me know how it turns out!
Can I use a blender to.make chickpeaa flour or other grain flour?
Hi Krista,
Yes, you can use a high-speed blender, but it may not get as fine as a food processor or grain mill. If using a blender, sift the flour afterward and re-blend any larger pieces.
What is the resulting difference between grinding dry chickpeas and soaking them, drying them, and then grinding them? Thank you.
If you soak, dry, then grind, the chickpeas become lighter and more digestible as soaking removes phytic acid and inhibitors. I hope this helps.
Hi, I would like to make pasta from the chickpea flour. Can I skip drying the soaked chickpeas since we will add water to the flour anyway? Or would it have too much water content?
Hi these! Please don’t skip the drying step. Even though you’ll add water later for pasta, the soaked chickpeas hold too much moisture to grind properly, and you’ll end up with a paste instead of flour. I hope this helps.
Can the chickpeas be air dried?
Hi Kristina,
Yes, you can air-dry the chickpeas. Ensure they are completely dry before grinding them to prevent clumping.
Im new to veganism and want to make chickpea flour because it can be quite pricey. Can you tell me why did you rehydrate the chickpeas before dehydrating them?
Hi Karen,
Soaking them ensures the chickpeas are clean and improves their digestibility. I hope this helps and you give this DIY chickpea flour a try!
Sorry, this is not worth the effort! I thought that soaking would make them easier to grind. But once they’re dehydrated, they’re just dried chickpeas again. My blender isn’t strong enough to blend dried chickpeas. Nor do I have a dehydrator.
Just order (organic) chickpea flour online if you can’t find it locally!
Hi Kay, sorry this one didn’t work out for you! You’re right that a high-powered blender (or a grain mill) and a dehydrator really do make this much easier, without those, grinding dried chickpeas at home is tough. Thanks for the honest feedback, and your tip to buy organic chickpea flour online is a great shout for anyone in the same boat. 😊
Hi. I was wondering how to dry them in your oven! The temperature I should put them on and how long!
Hi there.
You can dry them in your oven at 120ºF (50ºC) for about 12 hours. If your oven does go that low, please select the lowest temperature and then leave the oven door a little opn (use a wooden spoon to keep it open to alow air flow). I hope this helps.