
This post may contain affiliate links. Please read our disclosure policy.
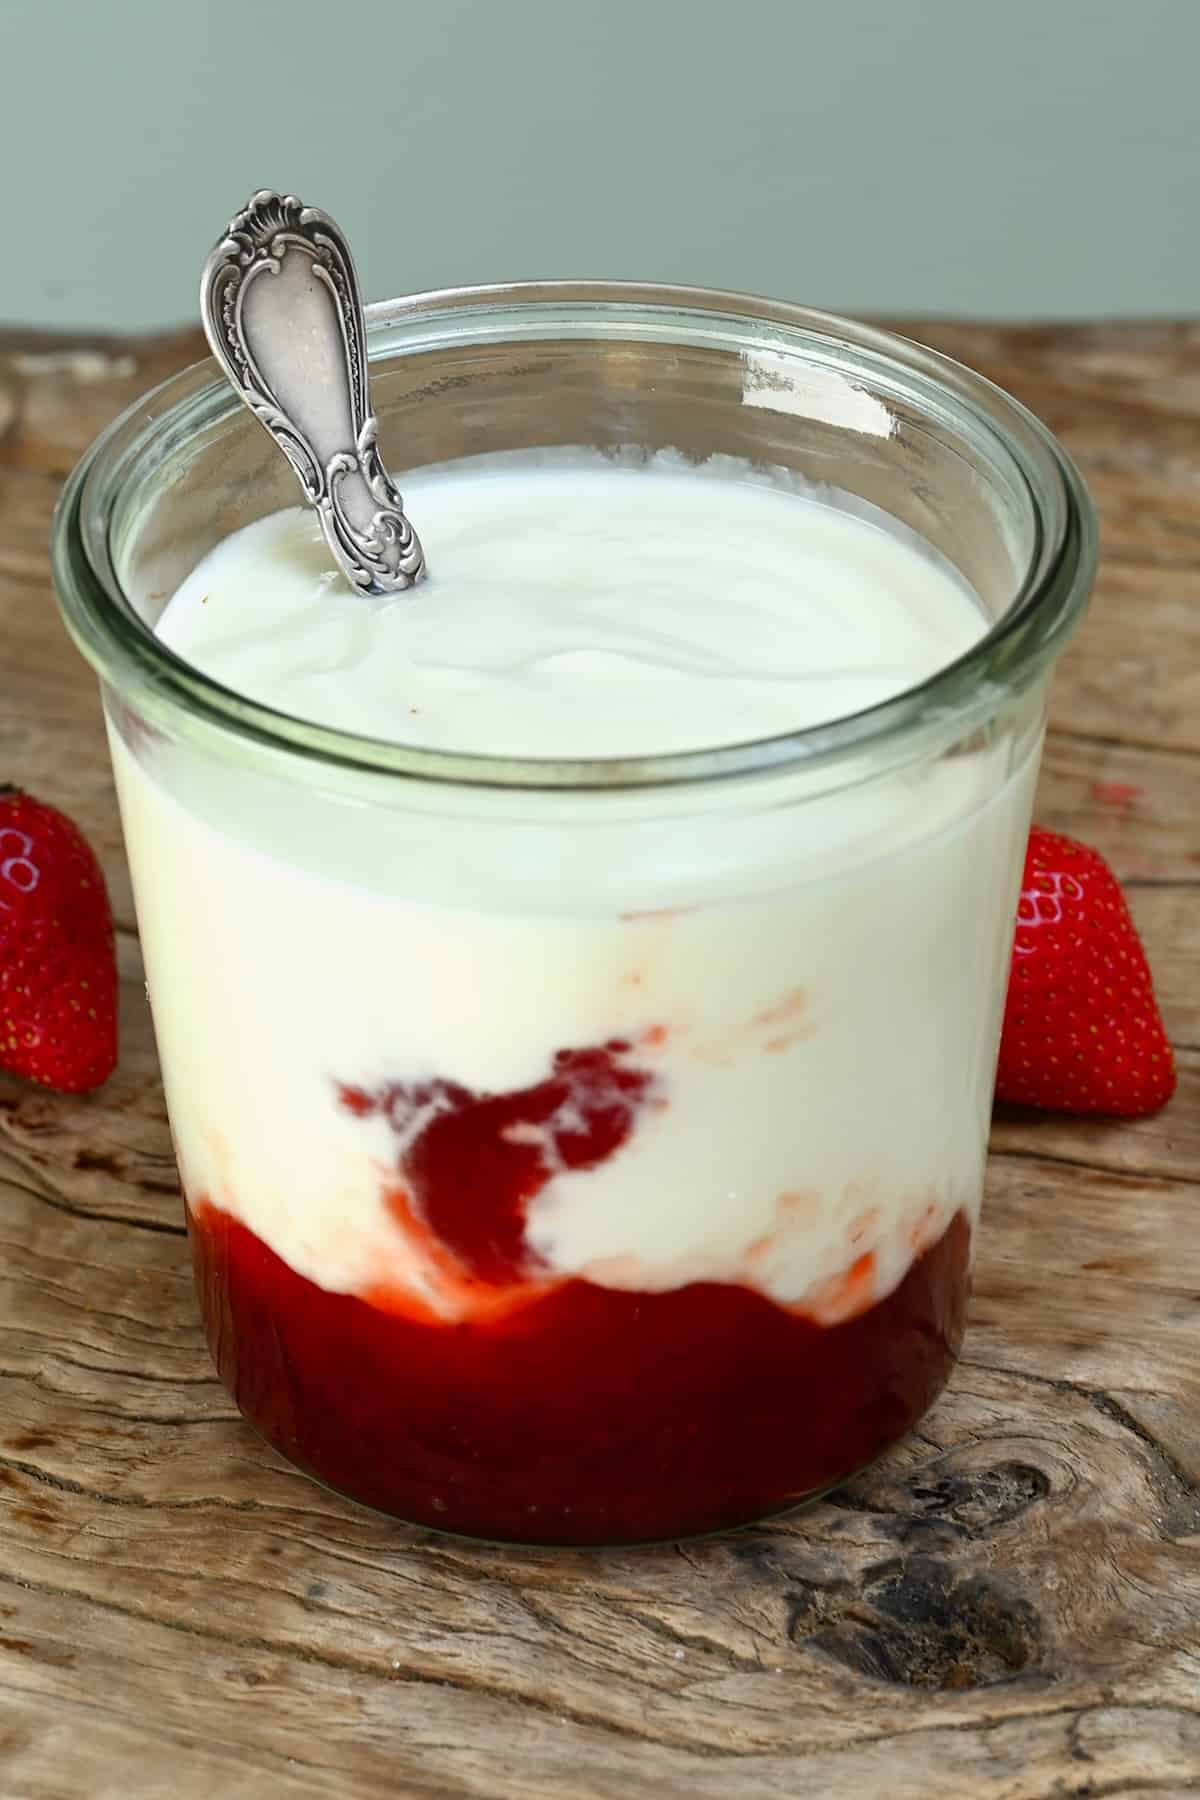
Thick, creamy, and tangy with just three ingredients — this coconut yogurt is a total keeper. No dairy, no fuss, and no fancy equipment (just a thermometer).
It took a few trial runs (and a couple of flops), but I finally landed on a version that’s smooth, spoonable, and perfectly balanced between subtle coconut flavor and that classic yogurt tang.
In this post, I’m sharing everything I’ve learned along the way — including what works, what to avoid, and the little tweaks that make a big difference. And if you’re after more dairy-free yogurt inspiration, check out my almond milk yogurt or soy yogurt recipes too.

Watch how to make it
Why you’ll love this recipe
- Only 3 ingredients. Full-fat coconut milk, probiotics, and a natural thickener — no artificial stuff or sweeteners.
- No special tools. No yogurt maker needed! A clean jar, a wooden spoon, and a warm spot in your kitchen are all you need.
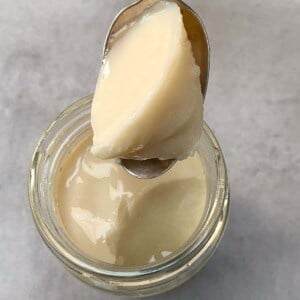
- Thick and creamy — like the real deal. Spoonable texture and perfect tang, without any dairy.
- Naturally vegan, gluten-free, and gut-friendly. Packed with probiotics and free from common allergens.
- Easy to customize. Stir in vanilla, maple syrup, or fruit purée when serving — or keep it plain and tangy.
Ingredients

- Full-fat canned coconut milk: Look for unsweetened versions with minimal ingredients. Brands with guar gum (like Whole Foods 365 or Savoy) often yield a creamier result. For an additive-free option, try Aroy-D or make your own at home.
- Optional homemade coconut milk: Blend 1 cup of coconut meat with 2 cups of filtered water, then strain out the solids. Here’s how to make coconut milk in detail.
- Cornstarch: Helps thicken the yogurt for that creamy, scoopable texture.
- Tapioca starch (optional swap): Also works — just double the amount if using this instead of cornstarch.
- A starter: Choose either one:
- Probiotic capsules or powder: Choose one with live active cultures and no added prebiotics or enzymes.
- Plain coconut yogurt: Make sure it contains live cultures and no unnecessary additives. (Regular dairy yogurt works too if you’re not fully dairy-free.)
You’ll also need:
- A non-reactive spoon: Wood or silicone is best — avoid metal.
- Sterilized glass jars: For incubating and storing your yogurt.
- A saucepan: For gently heating the coconut milk.
- An instant-read thermometer: To monitor fermentation temperature.
See the recipe card below for full ingredient details and measurements.
How to make coconut yogurt
Step 1: Sterilize Your Tools
Preheat your oven to 325ºF (160ºC). Wash your jars and tools in hot soapy water, rinse well, then place the jars (no rubber or plastic parts) on a clean baking tray. Heat in the oven for 10–15 minutes until fully dry.
Alternatively, boil everything (except lids with rubber) in a large pot of water for 10 minutes. Let cool before using.
Step 2: Prepare & Heat the Coconut Milk
Shake your can of coconut milk well to combine any separation, then open and whisk if needed. In a small bowl, whisk 1–2 tablespoons of the coconut milk with the cornstarch until smooth. (Tip: You can strain this to remove lumps.)
Pour the rest of the coconut milk into a saucepan, stir in the cornstarch slurry, and heat over medium until it reaches 180ºF (82ºC), stirring occasionally with a wooden or silicone spoon. Don’t let it boil — just heat until hot and slightly thickened.

Step 3: Cool & Add Your Starter
Take the pot off the heat and let the mixture cool to 108–111ºF (42–44ºC). This is warm enough to incubate, but not too hot for your cultures.
Add your starter:
- If using probiotic capsules or powder: Stir them into 1–2 tablespoons of cooled coconut milk first, then mix that into the pot.
- If using coconut yogurt as your starter: Just whisk it in gently until fully combined.

Step 4: Transfer & Incubate
Pour the coconut mixture into sterilized jars — one big jar or a few small ones is fine. Loosely cover with a lid or cloth.
Choose your incubation method:
- Warm kitchen corner (24–48 hours): Wrap the jar in a towel and let it sit undisturbed.
- Oven method (10–12 hours): Place the jar in the oven (turned OFF) with just the light on.
- Instant Pot (16–24 hours): Use the YOGURT setting.
- Yogurt maker (10–12 hours): Follow the machine’s instructions for around 104ºF (40ºC).
The longer it ferments, the tangier it gets.

Step 5: Chill to Set
Once the yogurt has finished fermenting, transfer it to the fridge for at least 6 hours. It will thicken as it chills and become even creamier. You might see some separation — that’s normal. Just stir it gently before serving.

Once the coconut yogurt has chilled and set, it’s ready to use. Add it to yogurt parfait with granola, swirl it into overnight oats, or dollop it over pancakes, waffles, or French toast with fresh fruit.
Save 2–3 tablespoons from your batch if you want to use it as a starter for the next round (you can usually do this 2–3 times before the cultures weaken).

Coconut yogurt tips
- Don’t stress if your first batch isn’t perfect. The texture and tang can vary depending on your coconut milk, starter, and fermentation time. Just tweak one thing next time — it’s all part of the learning process.
- The coconut milk really matters. Some brands work better than others. Choose full-fat coconut milk with as few additives as possible. (Or try making your own!)
- Add flavors later. Stir in vanilla, maple syrup, or fruit purées after the yogurt has set. Once flavored, aim to eat it within 3–4 days.
- Sterilize everything. Clean tools and jars help keep bad bacteria out and good cultures happy.
- Avoid metal tools. Use wood, silicone, or ceramic spoons — they’re gentler on the probiotics and won’t interfere with fermentation.
FAQs
You can — but it’s a bit of a gamble. When heating the milk, look for tiny bubbles forming around the edges (don’t let it boil). To check if it’s cool enough to add your starter, dip in a clean finger — you should be able to hold it there for 7–10 seconds without discomfort. Too hot? Just wait a little longer.
It usually keeps for 1–2 weeks in the fridge. For best freshness, store it in a few smaller jars instead of one big one — unopened portions will last longer that way.
If it smells off, tastes strange, or you see pink spots or discoloration, it’s safest to toss it. Some separation is normal, but if it looks or smells “wrong,” trust your gut. When trying again, try a different coconut milk brand and double-check your fermentation temps — that can make all the difference.
I’ve had the most consistent results using a powdered yogurt starter. Plain coconut yogurt (with live cultures and no additives) also works well as a backup. Probiotic capsules can do the job too, but they’re a bit more unpredictable — it might take some trial and error to find one that works for you.
Choose a probiotic with at least 30 billion CFUs total — I usually use two capsules with 15B each. Make sure it contains live active cultures and no added prebiotics or enzymes, which can interfere with fermentation. Look for strains like Lactobacillus acidophilus, Bifidobacterium bifidum, or other yogurt-friendly blends.
More Yogurt Recipes
Looking for more homemade yogurt ideas? Try these next:


Tried this coconut yogurt recipe? Let me know how it went in the comments below — and don’t forget to leave a 5-star rating in the recipe card! I’d love to see your yogurt creations too, so tag me on Instagram @Alphafoodie!

Homemade Coconut Yogurt (Dairy-Free)
Equipment
- 3 Mason jars (16 oz) (8 oz) or 1 larger (18 oz/500 ml)
- Silicone spatula or wooden spoon (avoid metal)
Ingredients
- 1 can full fat coconut milk high-quality coconut milk is best, like Whole Foods 365 or Aroy-D (13.5 oz/400 ml)
- 1 Tbsp cornstarch or 2 Tbsp tapioca starch/arrow root
- 1 tsp powder yogurt starter OR 2 Tbsp store-bought unsweetened coconut yogurt (with live cultures)
Instructions
- Sterilize jars and utensils by washing in hot, soapy water. Dry in a 325ºF (160ºC) oven for 10–15 minutes or boil for 10 minutes.
- Shake the can of coconut milk. In a small bowl, whisk 1–2 tablespoons of it with cornstarch until smooth. Strain to remove lumps if needed.
- Combine the rest of the coconut milk with the cornstarch slurry in a saucepan. Heat over medium until it reaches 180ºF (82ºC), about 5–10 minutes. Stir occasionally.
- Cool the mixture to 108–111ºF (42–44ºC).
- Add starter: – Powder or capsules: dissolve in 1 tbsp of cooled milk, then stir in. – Coconut yogurt: add directly and whisk to combine.
- Transfer to sterilized jars and cover loosely.
- Incubate using one of the following: – Room temp (warm spot): 24–48 hours – Oven (off + light on): 10–12 hours – Instant Pot (YOGURT mode): 16–24 hours – Yogurt maker: 10–12 hours at 104ºF (40ºC)
- Refrigerate for at least 6 hours to set. Stir before serving if separated.
Video
Notes
Store in the fridge for 1-2 weeks. Use small jars to help unopened portions stay fresher longer. Tips:
- Use a probiotic or starter with live active cultures and no added enzymes.
- Avoid metal utensils — stick with wood, silicone, or ceramic.
-
Results may vary slightly depending on your milk, starter, and incubation time.
See the full post for more helpful tips.
Nutrition
Nutrition information is automatically calculated, so should only be used as an approximation.


Hi!
I really want this recipe to work but after my 11hr inclubasion in the oven with the light on, it had a thicker firm top. It smelled slightly cooked but was at your suggested temperature. I put it in the fridge and it thicked the next morning but after 3 days it was liquidy again.
The taste had no tanginess and tasted like thick coconut milk. I did use tapioca flour not starch… could that be the reason, also how do I know the probiotics are in there if this didnt have any tanginess?
Hi Pamela, thanks for your detailed comment. A few things may have gone wrong here:
– Tapioca flour vs. tapioca starch: These terms are often used interchangeably depending on the brand, but if the product you used behaves more like flour (less refined), it may have thickened differently and separated over time. Please make sure to use a starch (either cornstarch or fine tapioca starch).
– Lack of tanginess: This usually means that the probiotics didn’t activate properly. Make sure your starter is fresh and active, and that the mixture stays within the optimal incubation range. Even a slightly higher temperature can reduce probiotic activity.
You could test probiotic activity by leaving a small batch at room temperature to ferment and checking for tang after 12–24 hours. I hope you give this recipe another try!
I don’t understand where the FAQ section is in order to find the best way to sterilize. Why can’t this just be put in the recipe????
Thank you so much for you feedback, Ashton. 🙂
Would it work to add unflavored gelatin to thicken it? If so, how much would you recommend using?
Hi Dana,
I haven’t tried with gelatin, but it should work and give you a firmer, spoonable texture. It’s best to follow the instructions on the gelatin as to how much to use based on the amount of liquid you have.