
This post may contain affiliate links. Please read our disclosure policy.
A two-ingredient dark chocolate recipe (bittersweet chocolate) using a super simple homemade chocolate process – plus it is naturally sugar-free and vegan, but can easily be customized!
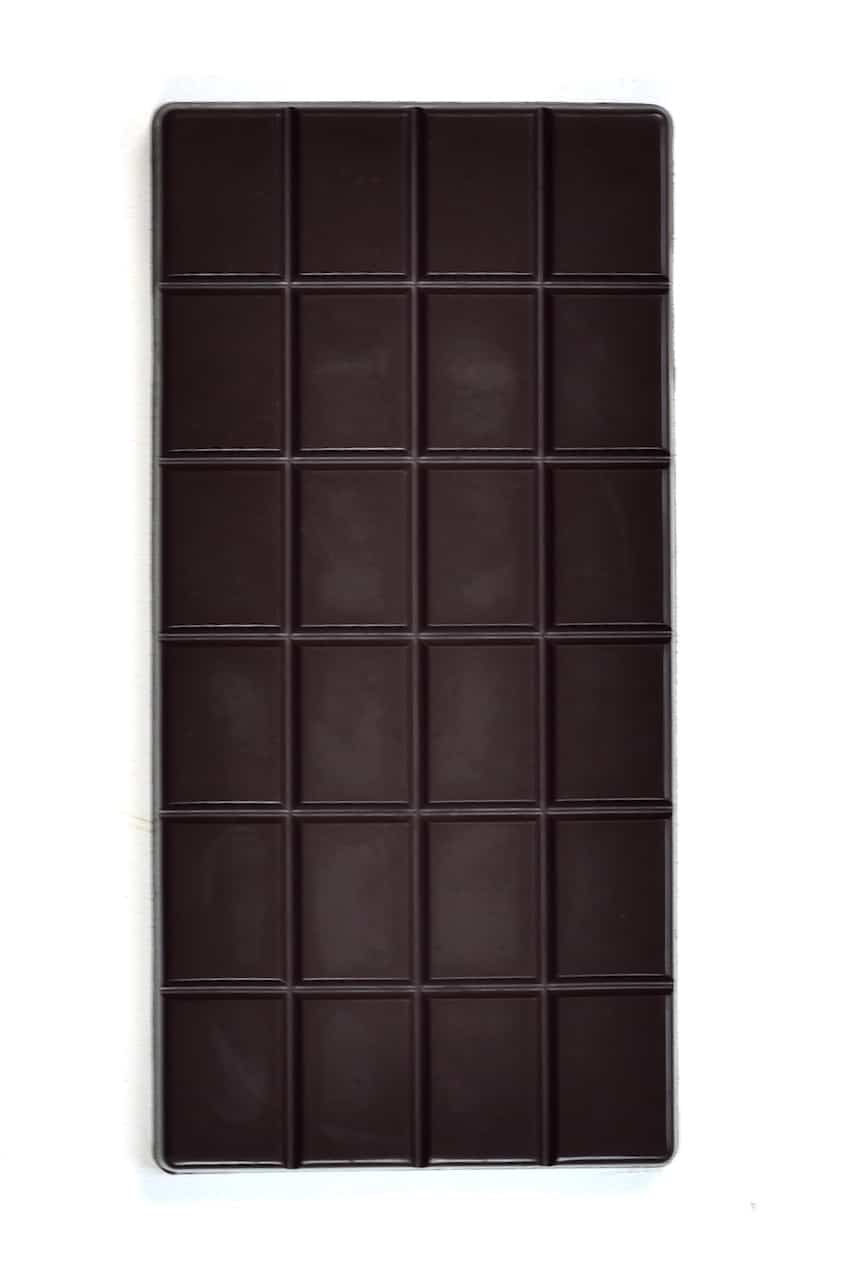
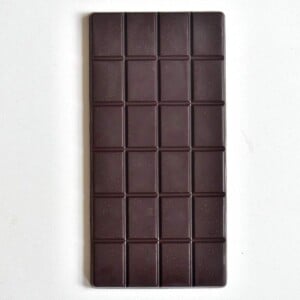
I think I may have discovered the best sugar-free dark chocolate (aka bittersweet chocolate/semisweet chocolate) you can make at home without going through the entire process of making chocolate from bean to bar! This dark chocolate is sugar-free, raw, and naturally dairy-free. Plus, it uses just two ingredients (that are easy to source!) and a simple process, for this vegan chocolate recipe.
This is rich chocolate and definitely somewhat bitter – but that’s just the way I like it. And, if you do find it a bit too bitter for your taste, then you can add a little natural sweetener to balance the flavors.
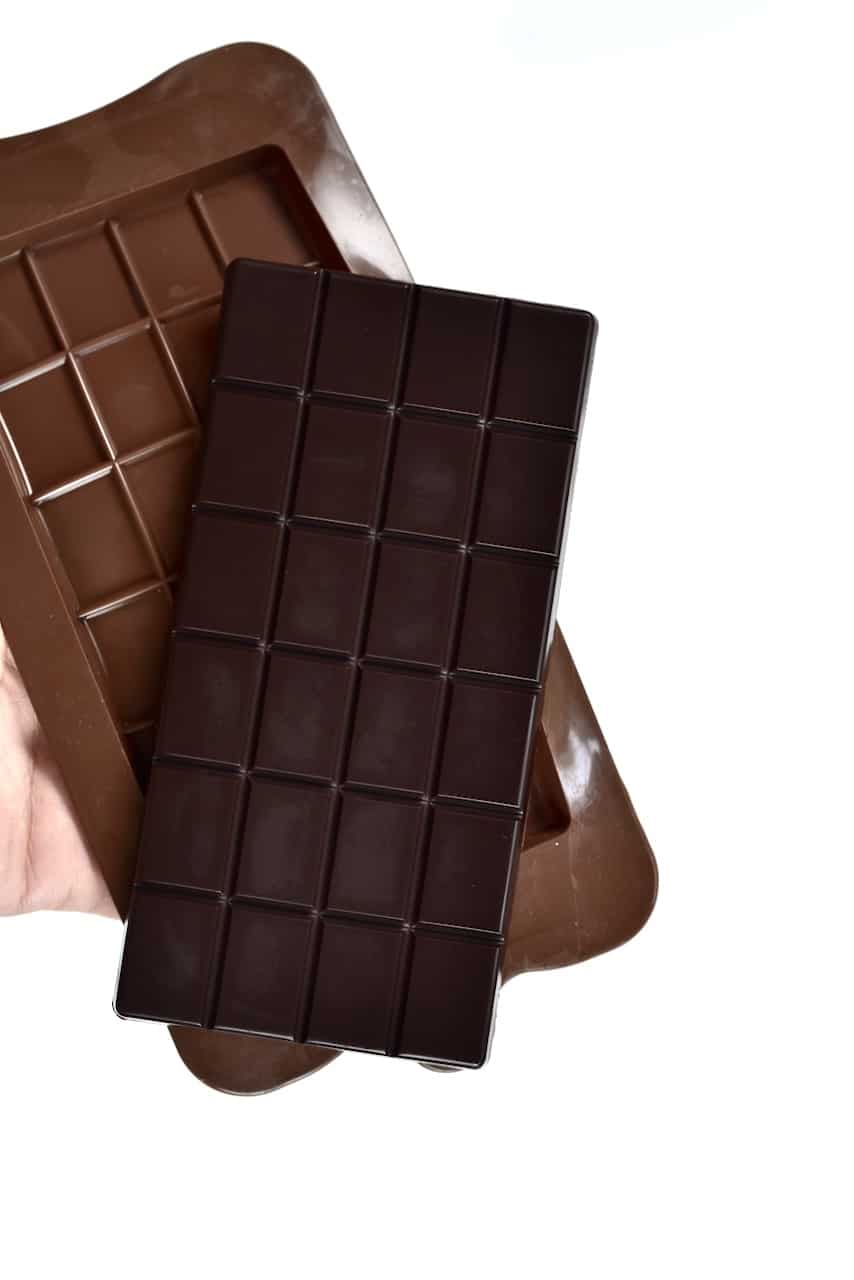
And, if you’re still in the mood for something a little sweeter, then you can check out my homemade milk chocolate and white chocolate recipes. These recipes come with options for dairy and vegan chocolate bars and are all refined sugar-free.
Want to save this recipe?
How To Make Dark Chocolate
This sugar-free chocolate uses just two ingredients (and a pinch of salt)!
The Ingredients
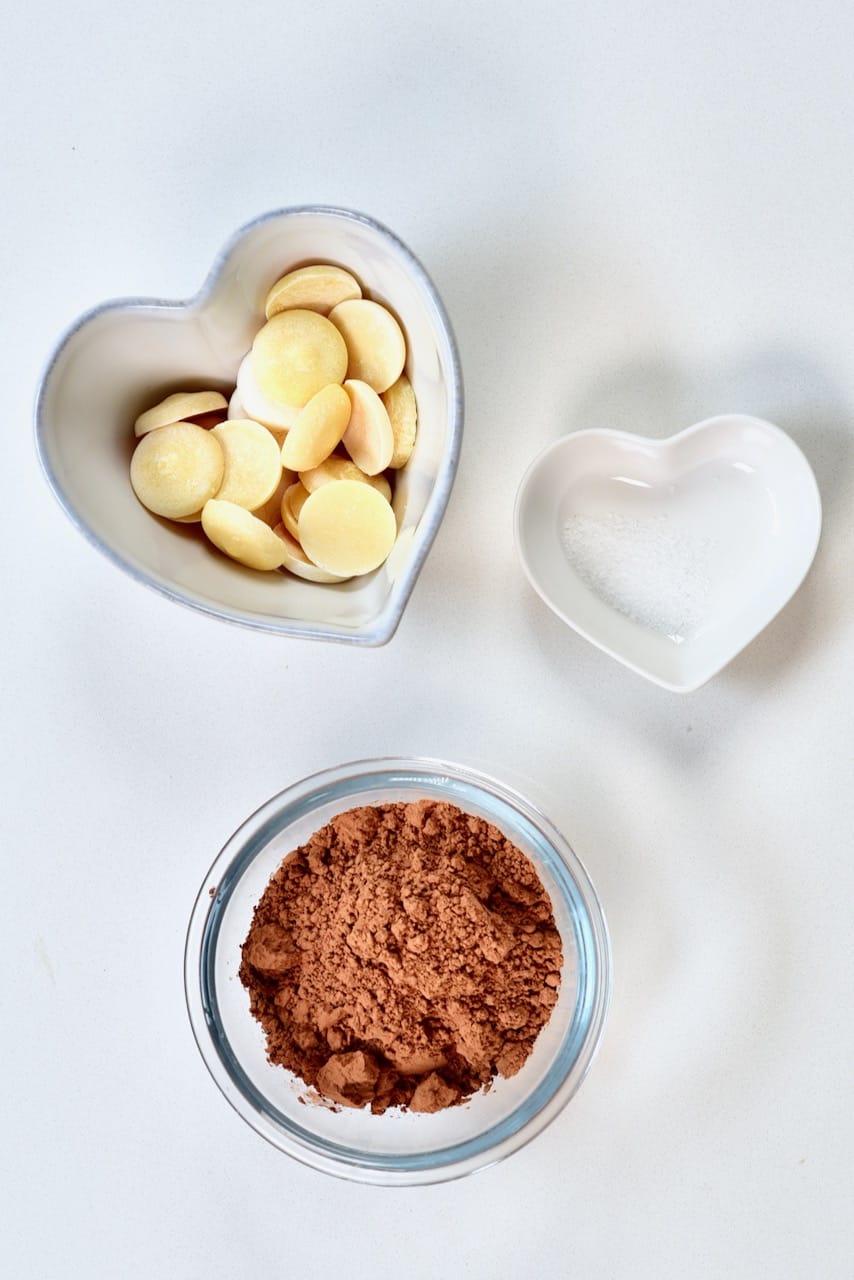
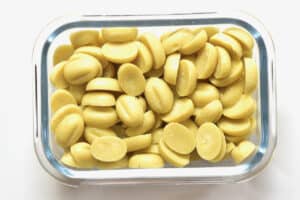
- Cacao Butter (or cocoa butter) – this can be bought online easily and in several health-food stores. Make sure to use food-grade cacao butter.
- Cacao Powder (or cocoa powder) – this is usually very easy to source in stores or online. You can even make it at home!
- Salt – just a pinch of salt really enhances the cacao flavor and adds depth to it.
- (Optional) Sweetener – use your favorite powdered sugar: coconut sugar, cane sugar, monk fruit powder, etc. If you only have granulated sugar, you can make your own powdered sugar. You can also use a sugar-free alternative such as powdered erythritol. AVOID liquid sweetener though, like maple, as they can cause the chocolate to seize.
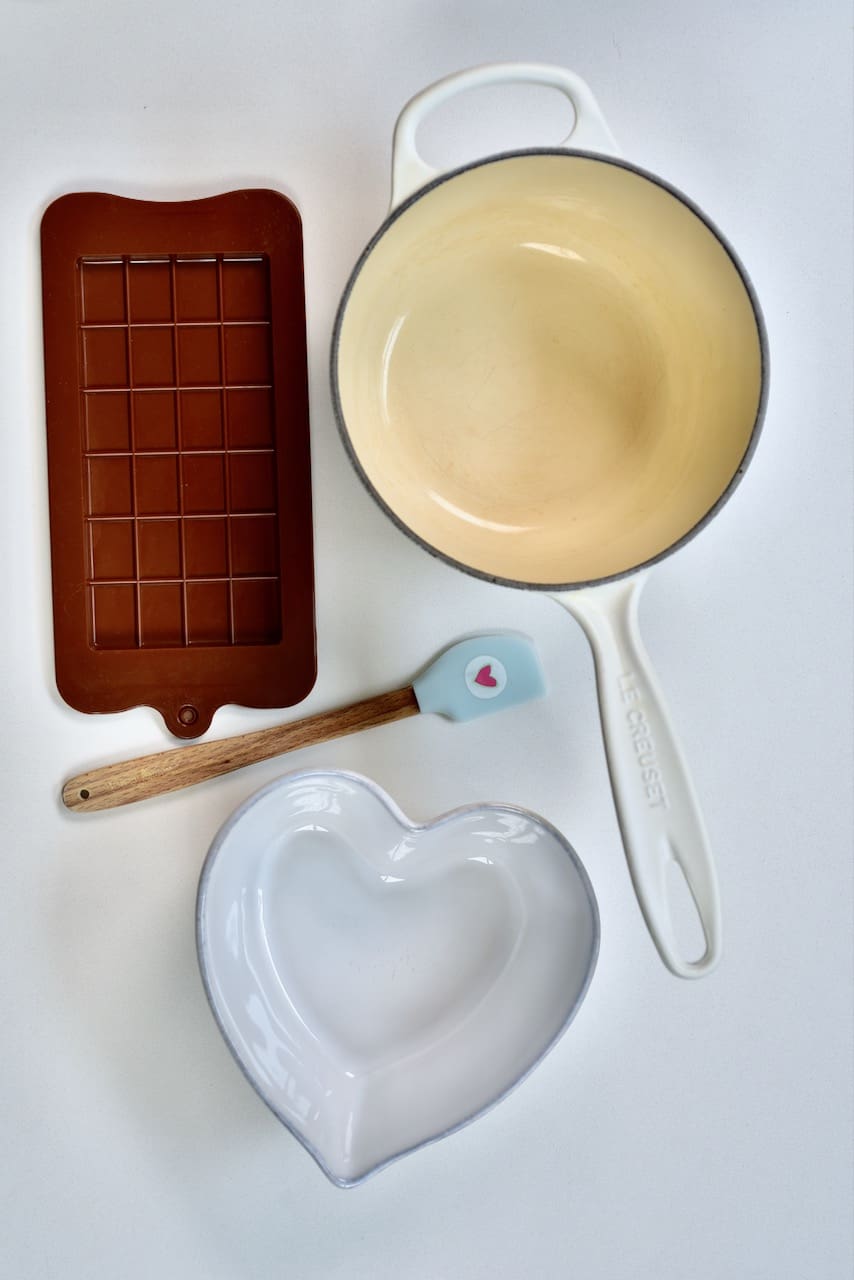
What Else Is Needed?
- Double boiler – using a double boiler method is the best way to melt the cacao butter.
- Chocolate mold – use a flexible silicone mold for this process unless you plan on tempering the chocolate, first. Otherwise, it won’t release from the mold. I use a silicone chocolate bar mold. Tip: You can also buy chocolate molds to make chocolate chips!
- Silicone spatula – I prefer to use a silicone spatula as it isn’t porous and thus there’s no risk of it containing water (like wooden utensils) and causing the dark chocolate to seize.
The Step-By-Step Process
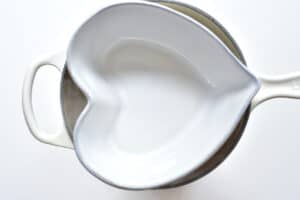
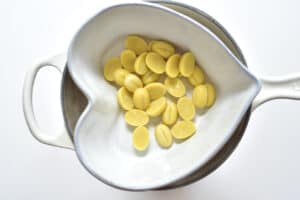
Step 1: Melt the cacao butter
Begin by setting up your double boiler by adding a few inches of water to a medium saucepan, and topping with a heat-proof bowl that is slightly larger than the circumference of the pan. Make sure the bottom of the bowl isn’t touching the water.
Bring the water to a gentle simmer over medium-low heat. Meanwhile, if you have a large piece of cacao butter, chop it into small, even pieces. This will help it to melt quickly and evenly without scorching.
Add the cacao butter to the bowl and whisk or stir gently but often, to reduce the risk of scorching.
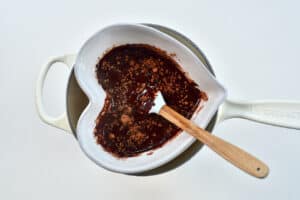
Step 2: Add the cacao powder
Once completely melted, then sift in the cacao powder and salt and stir to thoroughly combine.
If you want to add any sugar then add that at this point too. I usually prepare my own powdered sugar with my sugar of choice and stir that in, to avoid grittiness.
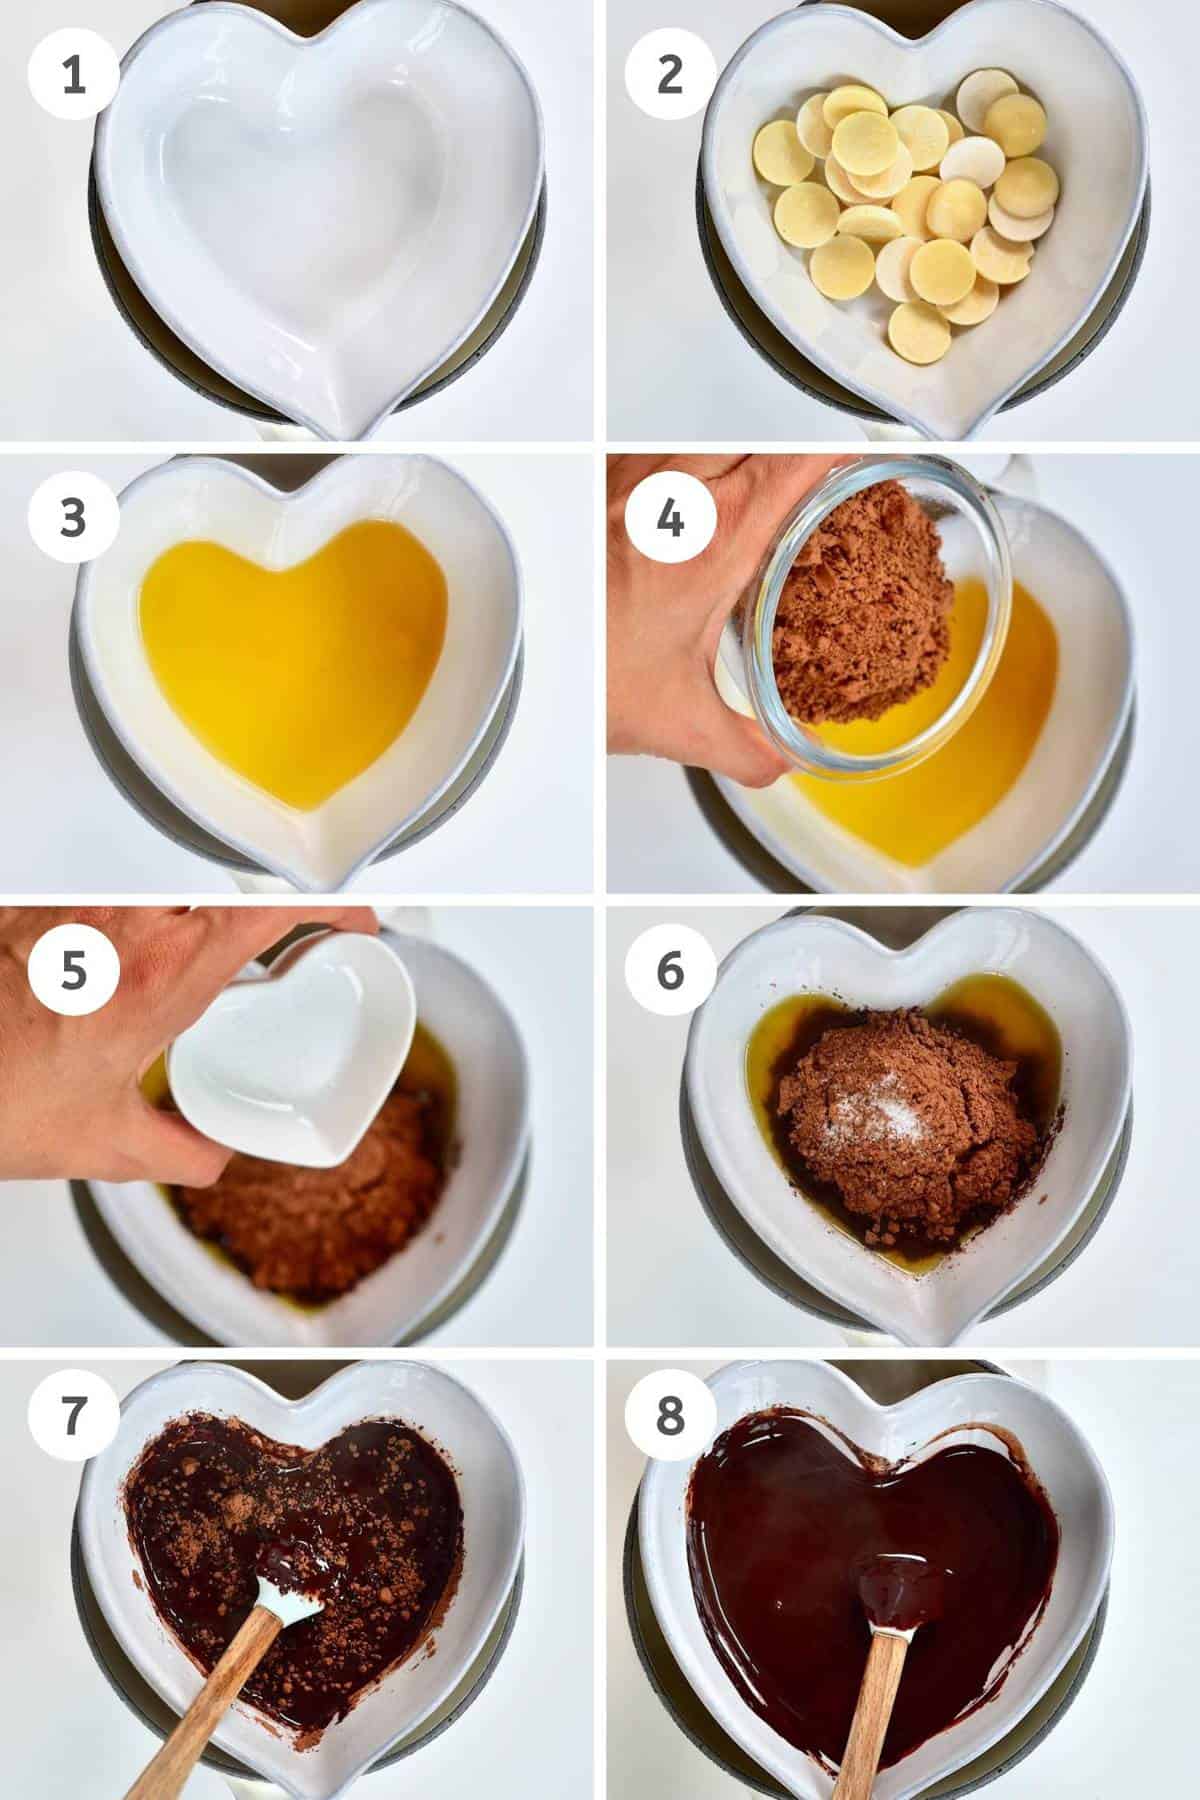
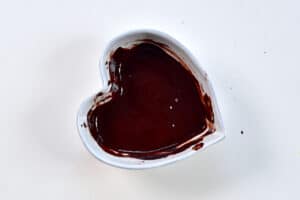
Turn off the heat and remove the bowl from the pan.
Add any additional flavorings at this point like vanilla powder or vanilla extract or other natural flavor oils such as mint, orange, etc. Make sure that they aren’t water-based otherwise the chocolate can seize.
Leave to cool for just a couple of minutes, before giving a final mix.
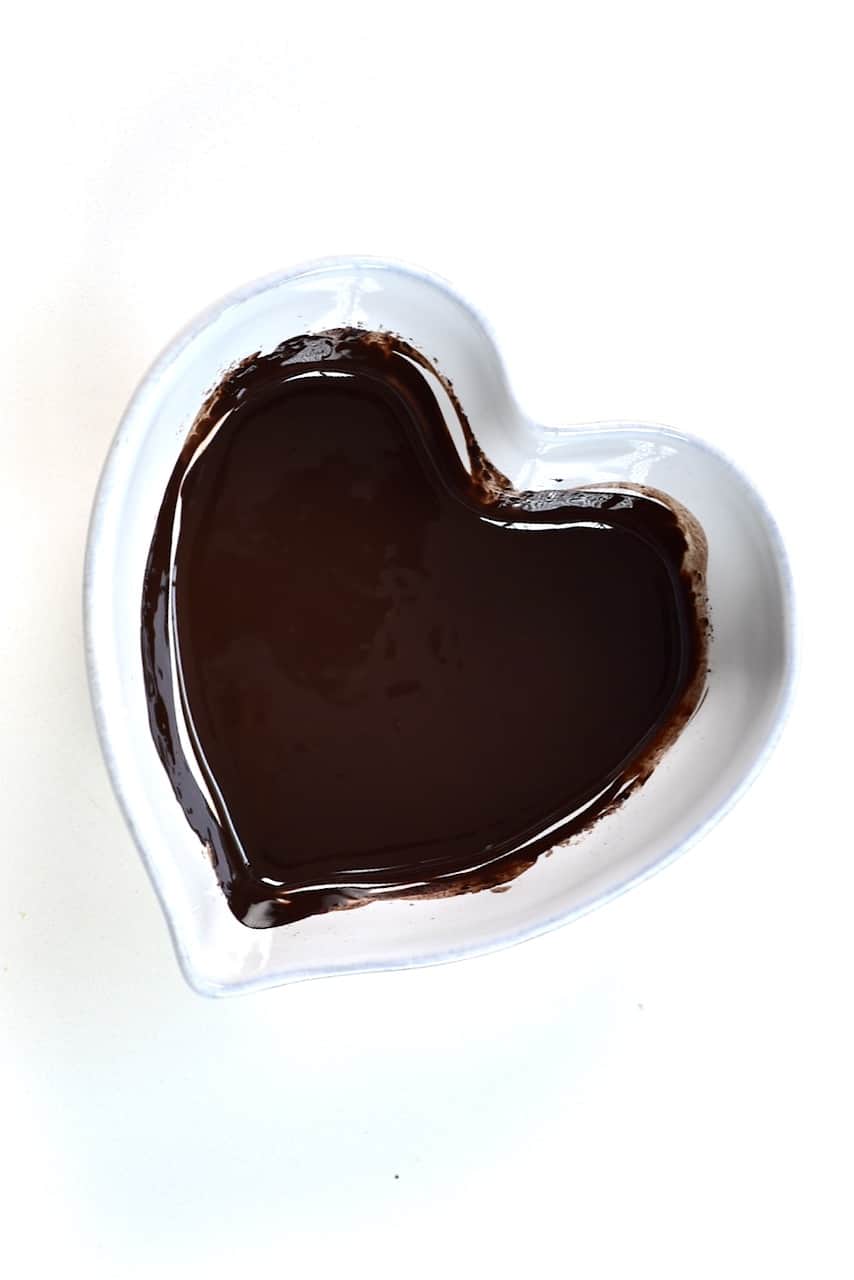
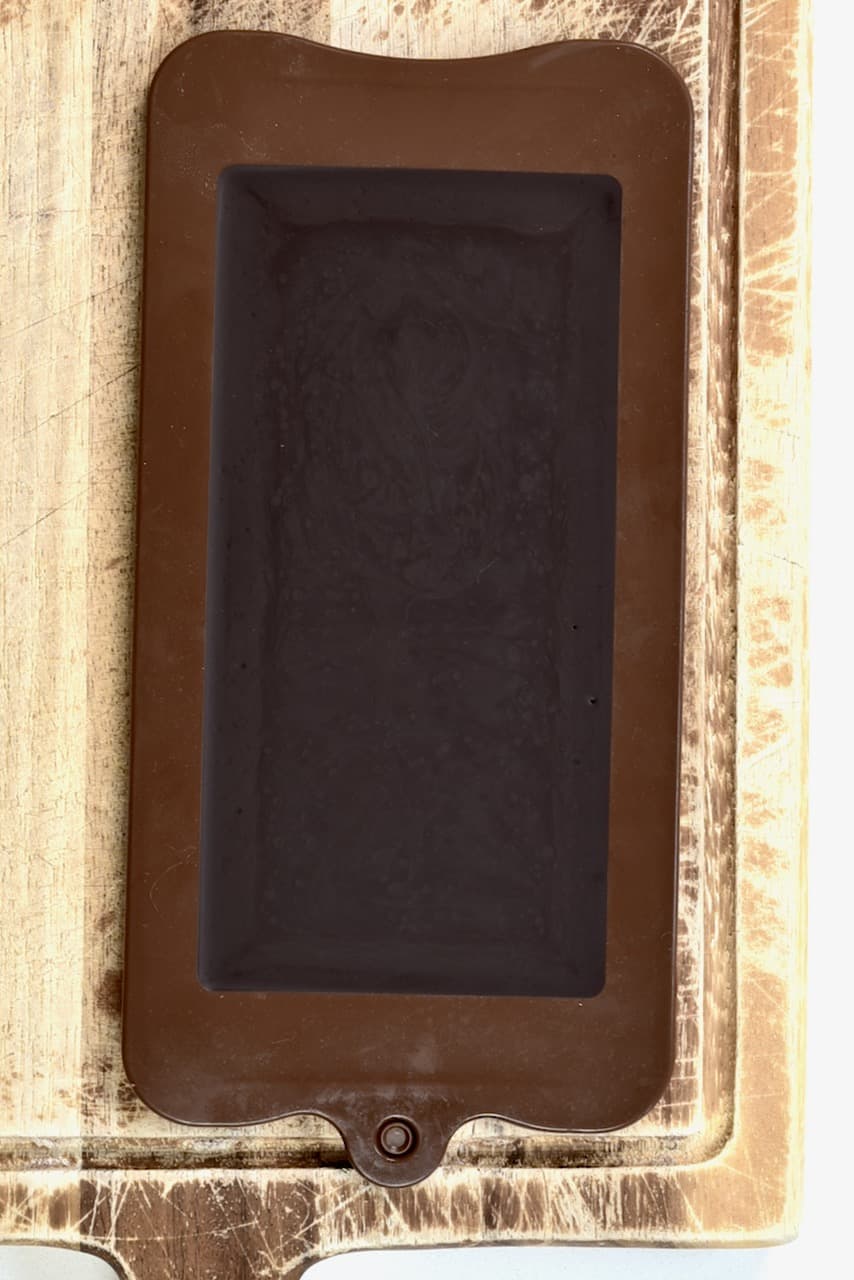
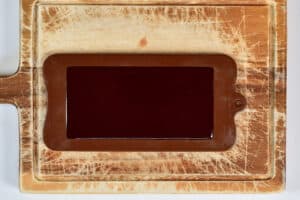
Pour the mixture into the candy mold(s) of your choice and leave in the fridge or freezer to set.
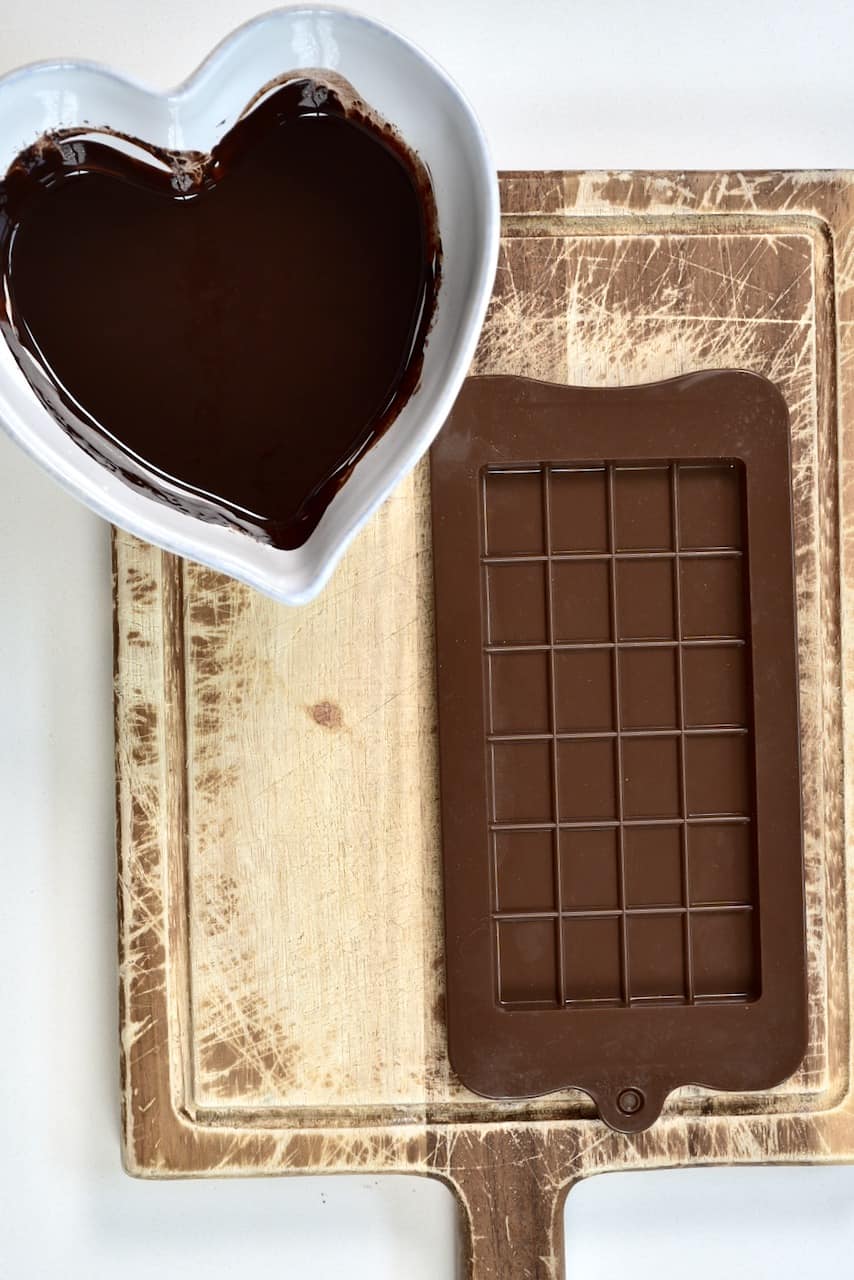
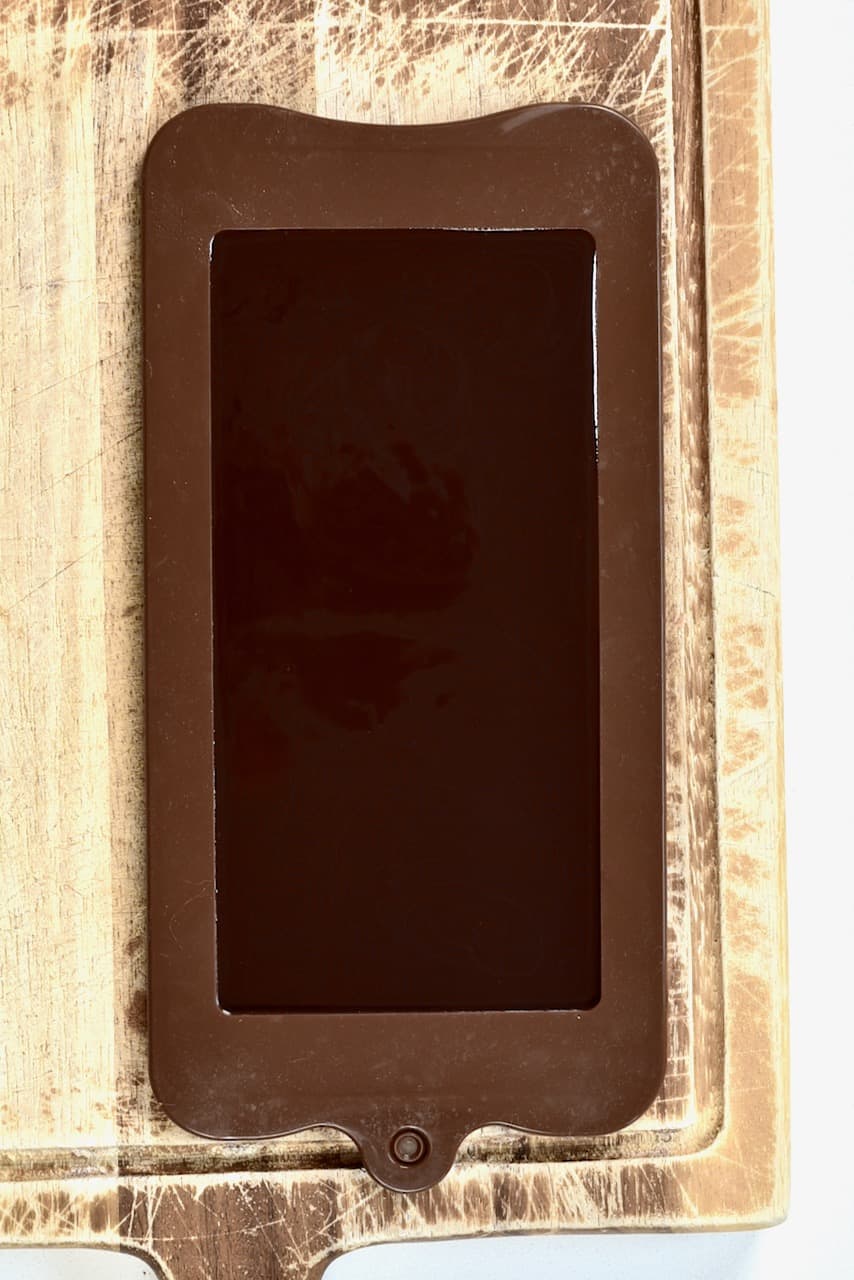
I prefer setting it in the fridge for about 2 hours. You can then transfer it/them to an airtight container in the fridge (or keep in the freezer).
How To Store
Due to being untempered, this homemade dark chocolate is best stored in the fridge. Untempered chocolate is more likely to melt at room temperature and doesn’t have the same ‘snap’ as tempered chocolate unless chilled.
I don’t know the exact shelf life of this 100% dark chocolate, due to it never lasting long enough before I eat it all. However, when comparing this to my white and milk chocolate recipes, I would imagine that you can store it in the fridge for between 2-3 months. You could also keep this stored in the freezer for 8-10 months, or possibly longer.
FAQs
It sure is – unlike milk and white chocolate, dark chocolate contains no milk powder. The % you see on dark chocolate (70%, etc.) is referring to the amount of cacao powder vs. sugar. Hence, this chocolate bar can be adapted to whatever % you’d like.
There are several ways to flavor this dark chocolate and several ingredients to avoid. Avoid ingredients with any water-content including water-based flavorings. Alcohol-based extracts are also a risk – although I admit I’ve used vanilla extract with this homemade dark chocolate before with no issues – but using vanilla powder is less risky.
It’s best to use oil-based flavorings, often called ‘candy/chocolate flavoring’. You can also use powdered ingredients such as spices: cinnamon, pumpkin spice, ginger, etc.
You can also mix in other dry ingredients such as dehydrated fruit pieces, nuts, and crushed snacks (biscuits like gingerbread, pretzels, etc.).
You sure can. In fact, any chocolate that contains cacao butter is able to be tempered. Tempered chocolate will improve the consistency of the chocolate, giving it the signature ‘snap’ and becoming shiny, rather than dull. To temper the chocolate, follow this process.
As the chocolate is untempered, it won’t hold its shape the same way that tempered chocolate does. To combat this you can either temper the chocolate or have it in the freezer for at least 30-40 minutes before using it (quickly getting it into the oven) and that may help it keep its shape.
Yes, you can. If for whatever reason your chocolate seizes due to water content, there are a couple of methods to try to fix it.
First, by the addition of extra fat. I use vegetable shortening and add 1 tsp at a time, mixing well. The chocolate should eventually loosen and un-seize.
You can also actually add MORE water (yes, I know that sounds odd) – 1 tsp at a time.
This ‘fixed’ chocolate will no longer be able to be tempered and, with the water method, I tend to use this as a sauce/drizzle rather than continue to process to try to make solid chocolate. However, if you use vegetable shortening, your SHOULD still be able to make bars.
Further Notes & Recipe Variations
- You can use coconut oil instead of cocoa butter if preferred. This can be somewhat easier to work with but can melt at room temperature – so keep chilled. Chocolate made with coconut oil won’t be able to be tempered.
- If you’re using powdered sugar, sift this into the chocolate to avoid any lumps.
- Make sure to use food-grade cacao butter as some are sold for cosmetic purposes only.
- For topped chocolate bars, simply sprinkle your toppings into the molds before pouring over the dark chocolate.
- You can add sweetener to your dark chocolate. I like using an unrefined sweetener such as coconut sugar. You could also use erythritol (sugar-free) or monk fruit sweetener.
- Chef’s Note: I originally wrote this recipe including maple syrup as an optional sweetener as it was actually something I’d done several times and had avoided the chocolate seizing (not sure how!). However, having had several people reach out to me to complain of seizing, I have since changed the recipe to use JUST dry powdered sugars!
Related Recipes & DIYs
- How To Make White Chocolate
- How To Make Milk Chocolate
- Homemade Filled Chocolates (Vegan Chocolate Candy)
- How To Temper Chocolate (Multiple Methods)
- Simple Hot Cocoa Recipe (+ Hot Chocolate Bar Ideas)
- How to make chocolate: from bean to bar!
If you use this method for how to make dark chocolate, then let me know your thoughts and questions in the comments. I’d also really appreciate a recipe rating and would love to see your recreations – just tag @AlphaFoodie.
How To Make Dark Chocolate
Ingredients
- 1.8 ounce cacao butter
- 1.8 ounce raw cacao powder
- ⅛ tsp sea salt
Instructions
- Set up your double boiler by adding a few inches of water to a medium saucepan, and topping with a heat-proof bowl that is slightly larger than the circumference of the pan. Make sure the bottom of the bowl isn't touching the water. Bring the water to a gentle simmer over medium-low heat.

- Meanwhile, if you have a large piece of cacao butter, chop it into small, even pieces. This will help it to melt quickly and evenly, without scorching.
- Add the cacao butter to the bowl and whisk or stir gently but often, to reduce the risk of scorching.
- Once completely melted then sift in the cacao powder and stir to thoroughly combine. *Turn off the heat and remove the bowl from the pan.**
- Leave to cool for just a couple of minutes, before giving a final mix.
- Pour the mixture into the candy mold/s of your choice and leave them in the fridge or freezer to set. You can then transfer the chocolate to an airtight container in the fridge (or keep it in the freezer).
Notes
- You can use coconut oil instead of cocoa butter if preferred. This can be somewhat easier to work with but can melt at room temperature – so keep chilled. Chocolate made with coconut oil won’t be able to be tempered.
- If you’re using powdered sugar, sift this into the chocolate to avoid any lumps.
- Make sure to use food-grade cacao butter as some are sold for cosmetic purposes only.
- For topped chocolate bars, simply sprinkle your toppings into the molds before pouring over the dark chocolate.
- You can add sweetener to your dark chocolate. I like using an unrefined sweetener such as coconut sugar. You could also use erythritol (sugar-free) or monk fruit sweetener.
- Chef’s Note: I originally wrote this recipe including maple syrup as an optional sweetener as it was actually something I’d done several times and had avoided the chocolate seizing (not sure how!). However, having had several people reach out to me to complain of seizing, I have since changed the recipe to use JUST dry powdered sugars!
Nutrition
Nutrition information is automatically calculated, so should only be used as an approximation.


love this post on chocolate making im keen to get back into it at some point but need tp buy new moulds etc.We have moved tp a new hpme new country and i left things behind back in NZ.Here in Chile currently can be difficult to find some ingredients so if i. need to find alternatives thats ok.
Thank you for your comment. I hope you manage to find all the ingredients.
it’s lovely because a simple recipe like this can upside down your whole day!!
Hi Samira. How many molds are used to make the recipe you provided (6 servings)?
I bought a 3-pack of molds for this recipe. I’ll tag you when I do it!
I made this today! Tips for anyone wondering:
– the recipe listed (6 servings) makes one(1) bar, if using the mold shown in the tutorial.
– I added about 1 Tablespoon of maple syrup at the time recommended by Samira, and it is Still quite bitter! I ate two pieces of chocolate with an orange, and the sweetness balanced out nicely.
– I added the 1/8 teaspoon salt when Samira recommends adding the sweetener. It turned out saltier than a normal chocolate bar, but not overwhelming… maybe next time I’ll use less.
– I placed in the freezer and it hardened very quickly!.. probably less than 20 minutes.
– one surprise was that it turned a bit melty/slippery as Soon as I touched it. Perhaps it needed longer freeze time, but more likely it’s just the nature of the beast with maple syrup.
– I LOVE the texture compared to store-bought chocolate. It feels very luxurious and special.
I’m very excited to try more with subtle adjustments, and maybe even ultimately give as gifts.
Thank you, Samira!
hi in terms of understanding the calories which is in ‘one piece’ is 80 calories. how many grams is in ‘one piece’?
I just want to know how much I can eat in one go Lol
thanks 🙂
Hi Louise,
The 100 gr chocolate bar was divided into 6 pieces so it’s ~16 g each. I hope this helps.
Good i did not do this but it’s healthy but can you include cocoa nibs
Hi, Azzam.
You can add some cocoa nibs at the very end. You could simply sprinkle your toppings (cocoa nibs or others) into the mold before pouring over the chocolate. I hope this helps.
Can’t wait to try! Do you think maple syrup will make it runnier and honey stickier? I would love to know your kind of ratio of liquid sweetener 🙂
Hi Nihan,
It’s best to use powdered sweeteners like stevia, erythritol, or monk fruit.
This is amazing! Thank you so much!!! I love all your posts! Keep at it! I am a forever fan! 5/5 star ⭐️
Thank you so much for your comment, Anajane.
Can it be used for baking
of course you can! That’s how chocolate is normally made!
Can i use ghee instead of cacao butter?
Hi Cansu,
I’ve never tried using ghee to make chocolate and while it sounds like you could do that, I can’t be sure this method would work.
Hello try liquid sweetener like stevia (i never tried it on chocolate but i always but it on everything i want to make it sweet
Hi, thank you for the recommendation, that sounds great!
Oh I tried your recipe tonight, it was all going well till I added Lakanto maple Flavoured syrup, as I am keto Vegetatian, everything just thickened up like a brownie paste, as I added more, the thicker it got. It was a disaster. Will try it again next time without any Sweetner. Can you suggest a keto Sweetner for this recipe please
Hi Nadia,
You could try using a bit of erythritol or monk fruit. I’d suggest just adding a tiny amount and adjusting it to your liking.
Also, depending on what you want to use it for, maybe you don’t need to add any sweetener (I usually never add). If the chocolate is just for snacking, I understand if you want to make it a bit sweeter 🙂 But if you want to add it to other dishes (like shredding some dark chocolate over breakfast or dessert), then maybe you don’t need sweeten it. I hope this helps.
You cannot use maple syrup. You cannot use any ingredient that has traces of water as chocolate is basically a NON-POLAR crystal. Even trace amounts of H20 will be a disaster for chocolate. That is why chocolate manufacturers only use powdered milk for example. I have used stevia, erythritol, honey crystals and monk fruit powder successfully. Bon Apetit.
Thank you very much for your comment and for sharing what’s worked for you, Rick.
Hi Rick,
You are completely right! Thank you for your comment. I also don’t recommend using maple syrup – after some trial and error and reading more about making chocolate 🙂