
This post may contain affiliate links. Please read our disclosure policy.


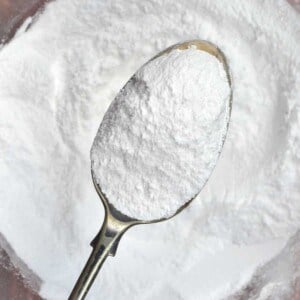
How to make powdered sugar at home using the sugar of your choice; this homemade powdered sugar is simple to make and perfect to use anywhere you would use regular icing sugar/confectioners sugar!
Whether you’re mid recipe and suddenly realize you’re out of powdered sugar or want to use an unrefined sugar as your sugar powder, then learning how to make powdered sugar at home is a must. Not only is it ready in just minutes (or even below a minute with super high-powered blenders!), but it’s also more cost-effective than store-bought confectioners sugar too!
All you need is just the granulated sugar of your choice, a high-speed blender or coffee/spice grinder, and a sieve – and you’re good to go! And yes, almost any granulated sugar will work (read notes for more info*).
powdered sugar has a bit of a bad reputation as a refined sugar combined with cornstarch, however, making powdered sugar at home you can use unrefined sugars and even skip the starch if you plan on using it immediately.
Once powdered, feel free to use the homemade powdered sugar immediately within a recipe (like this homemade milk chocolate or dark chocolate), to make homemade buttercream frosting, add a little to this vanilla butter, or combine it with a little starch and store it in the pantry for longer-term storage.
Want to save this recipe?
What You’ll Need
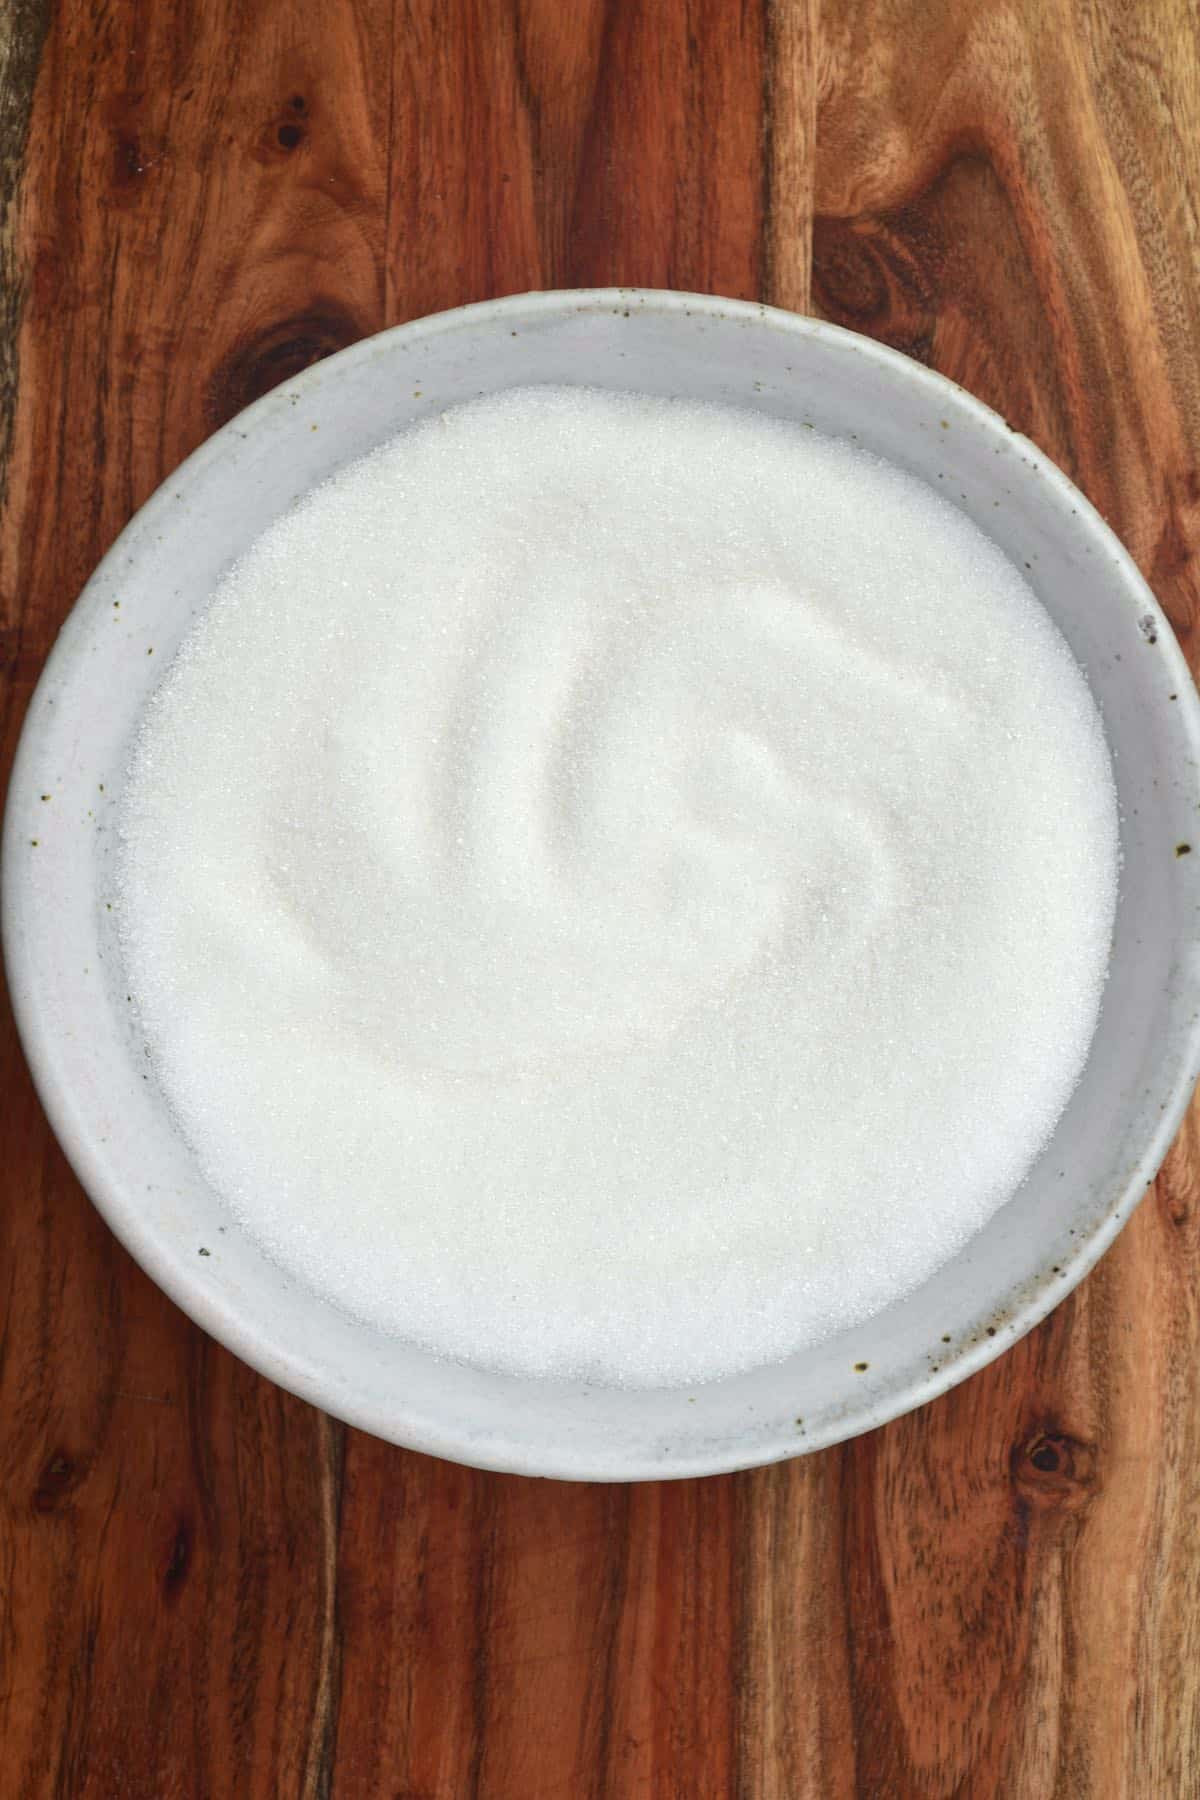
Granulated sugar: you can experiment with your sugar of choice. I’ve used cane sugar, turbinado sugar, and coconut sugar. Granulated sugar alternatives should also work. The only options I’m not sure about are brown sugar – which contains high levels of molasses, so it may be a bit too sticky to fully “powder.”
High-speed blender: or a coffee/spice grinder. You may also be able to use a food processor, but it may not work as well for super fine homemade powdered sugar. It’s important to note that if your blender isn’t powerful, then the process may not work as well.
Sieve: for super-fine DIY powdered sugar, I always use a sieve to make sure it’s as fine as possible.
How Much Sugar Do You Need?
Whether you want to make this homemade powdered sugar specifically for a recipe or make a large batch in advance, I suggest using around half the final yield that you want (i.e., 1 cup granulated sugar for 2 cups powdered). I’ve found that I tend to get anywhere between 1 3/4 cup to 2 cups per cup of granulated sugar.
It’s important to note that, when using this for specific recipes, it’s best to use the ‘weight’ amount rather than volume (i.e., if 10g icing sugar is needed, use 10g granulated).
How To Make Powdered Sugar
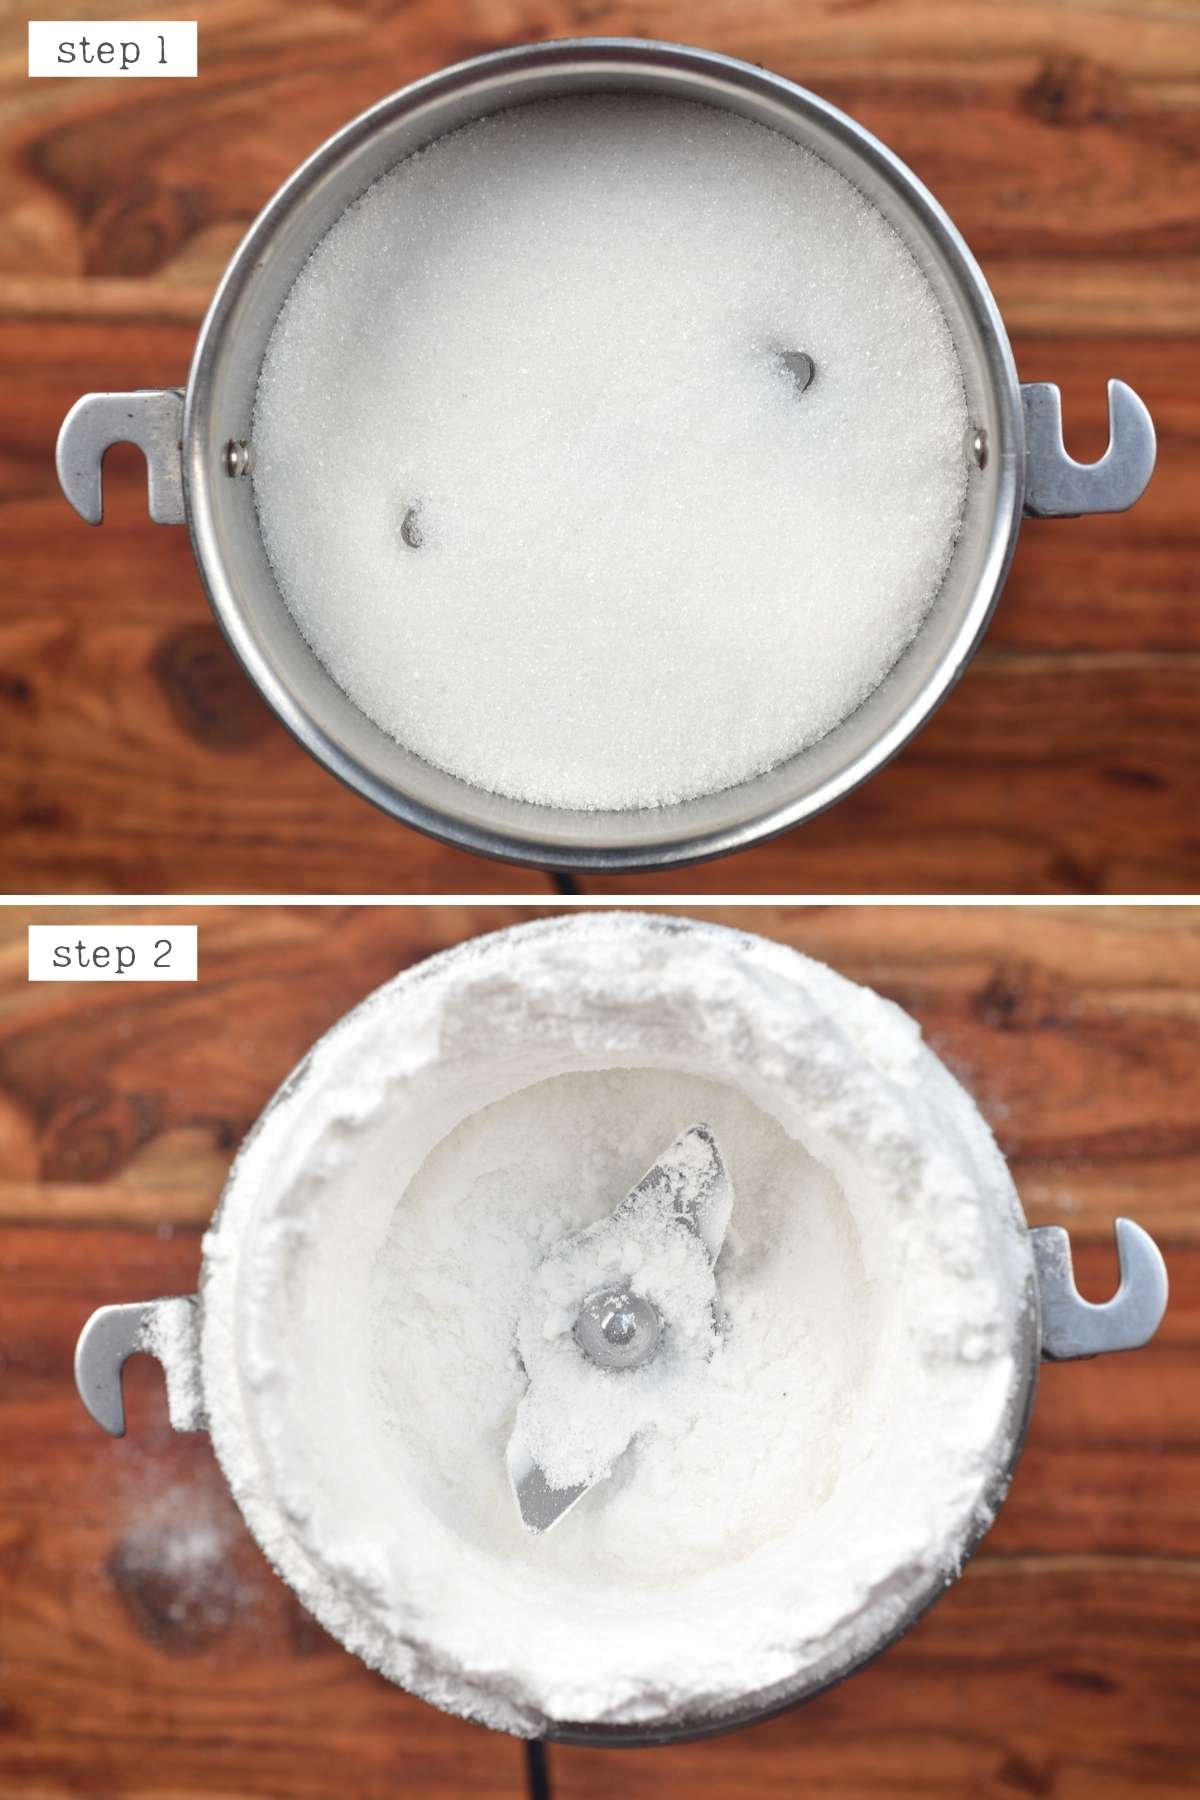
Measure out the sugar and add it to the blender or spice/coffee grinder. If you’re using a grinder, you may need to do this in several batches.
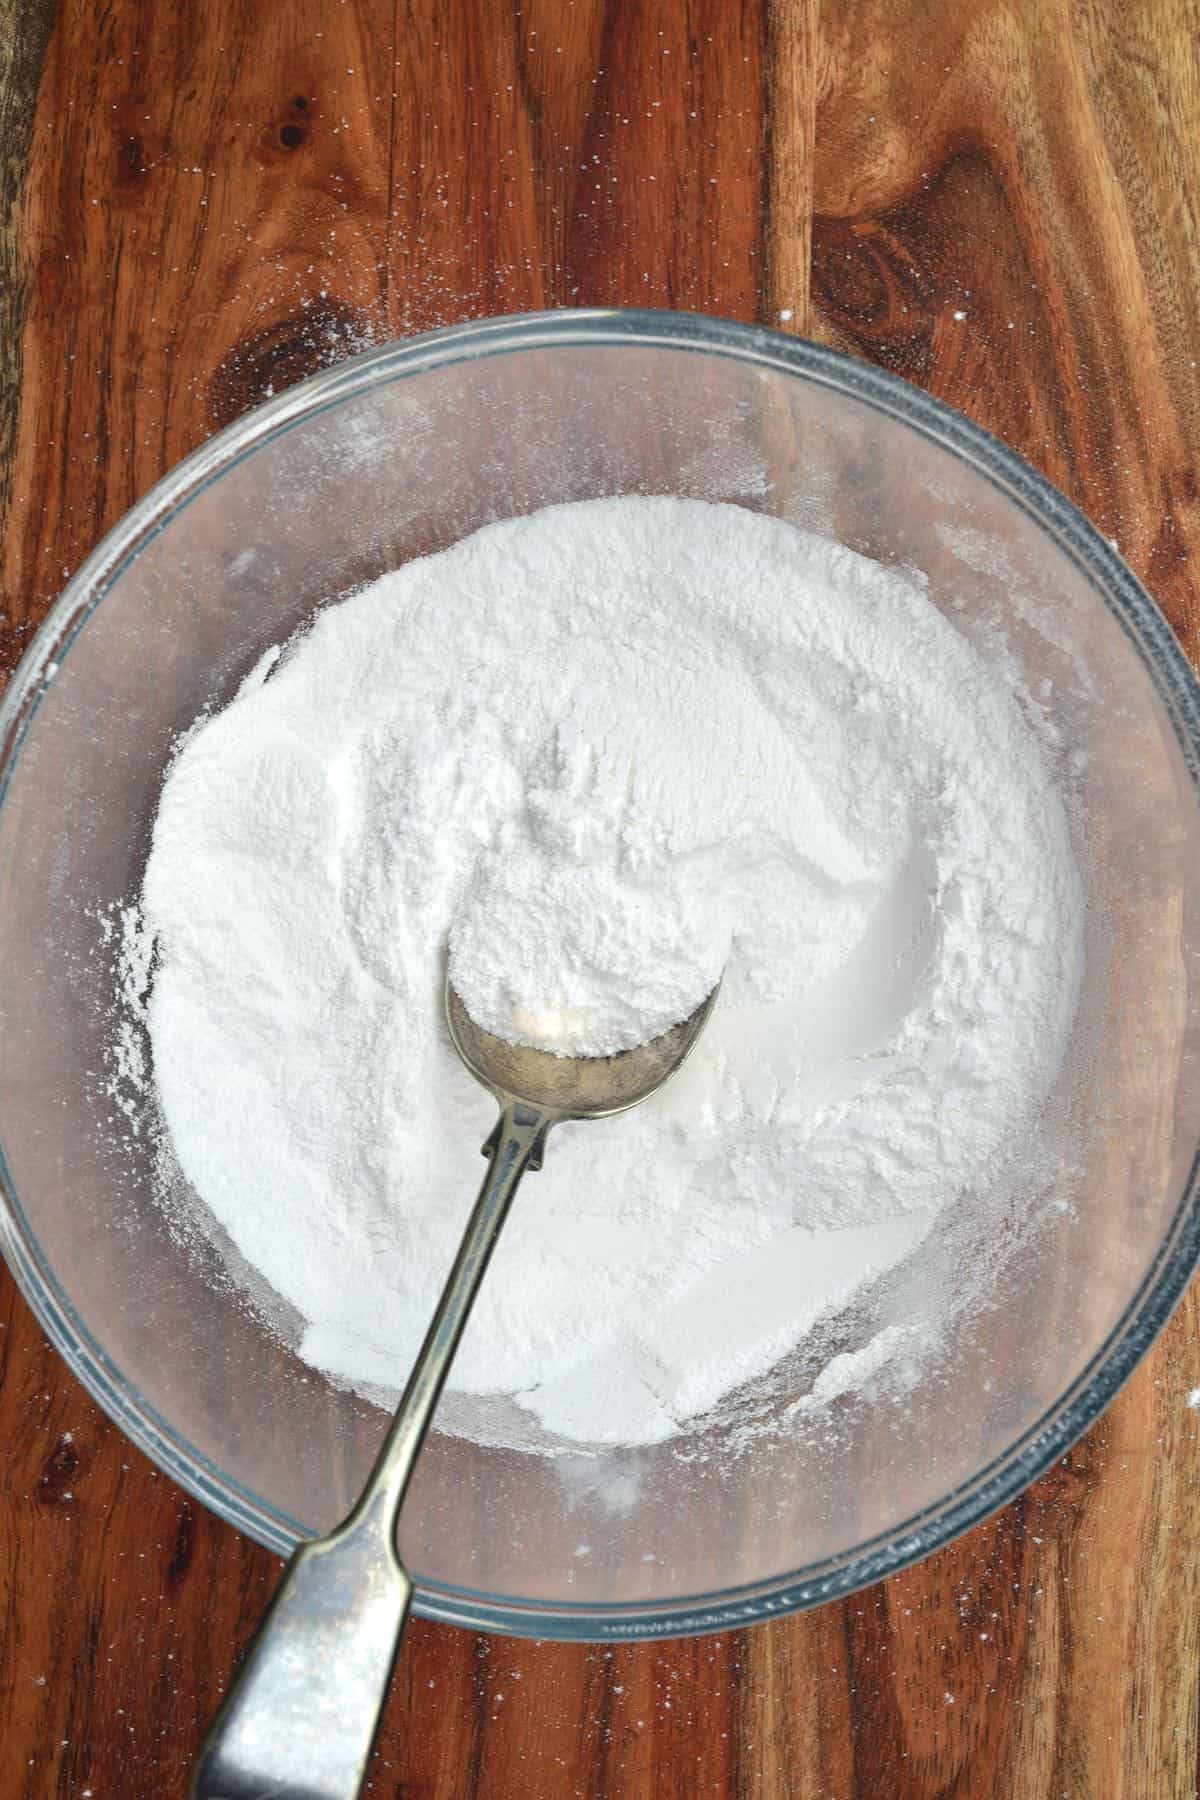
If you’re making homemade powdered sugar to store in the pantry for long-term storage, then it’s best to add cornstarch (or another starch that is safe to be eaten while raw) to the ground sugar. This will work as an anti-clumping agent. Add 1 Tbsp starch per cup of powdered sugar.
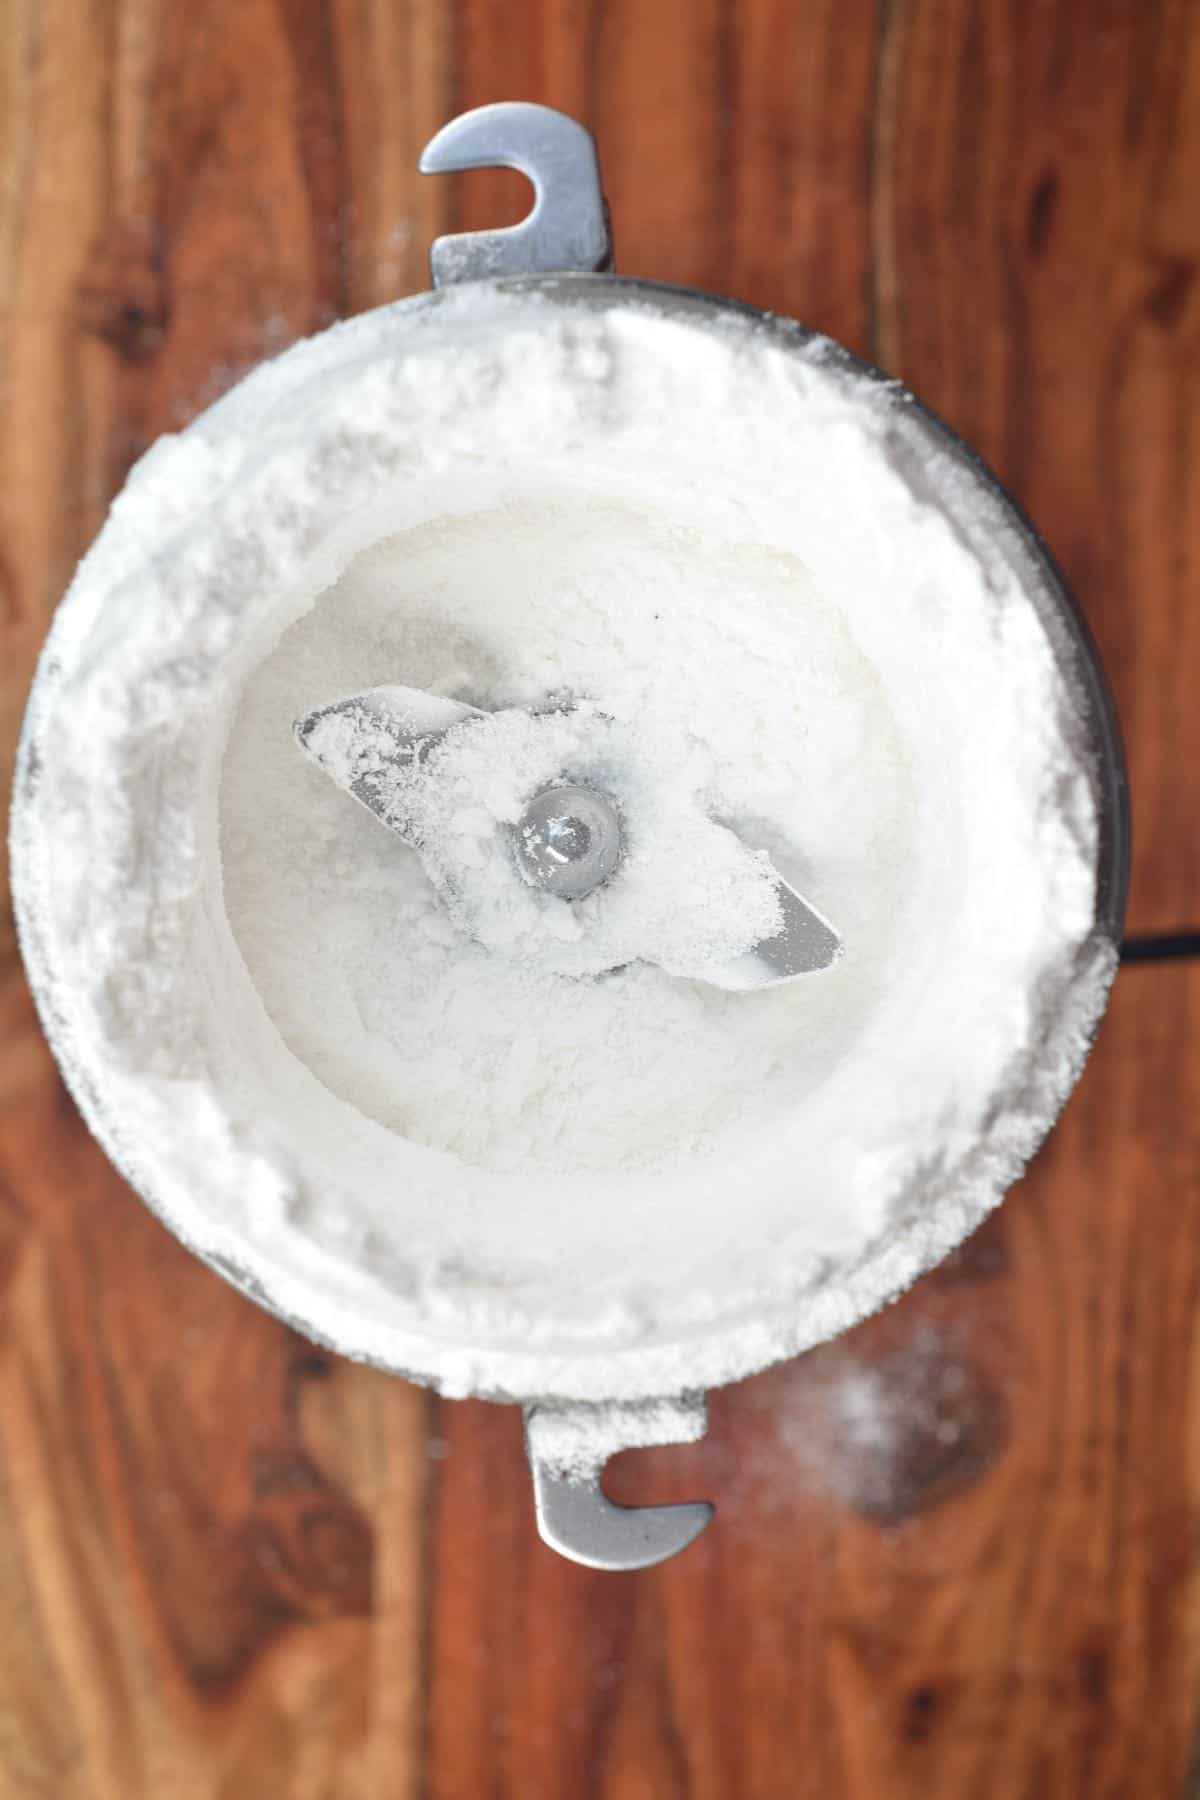
Blend/grind into a fine powder. In a high-speed blender, you may want to pause the machine and scrape down the sides with a spatula to make sure it’s all blended equally. This can take as little as 30 seconds up to 3-4 minutes based on the blender size and strength. Using a coffee/spice grinder, the process takes around 30 seconds.
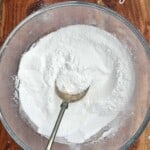
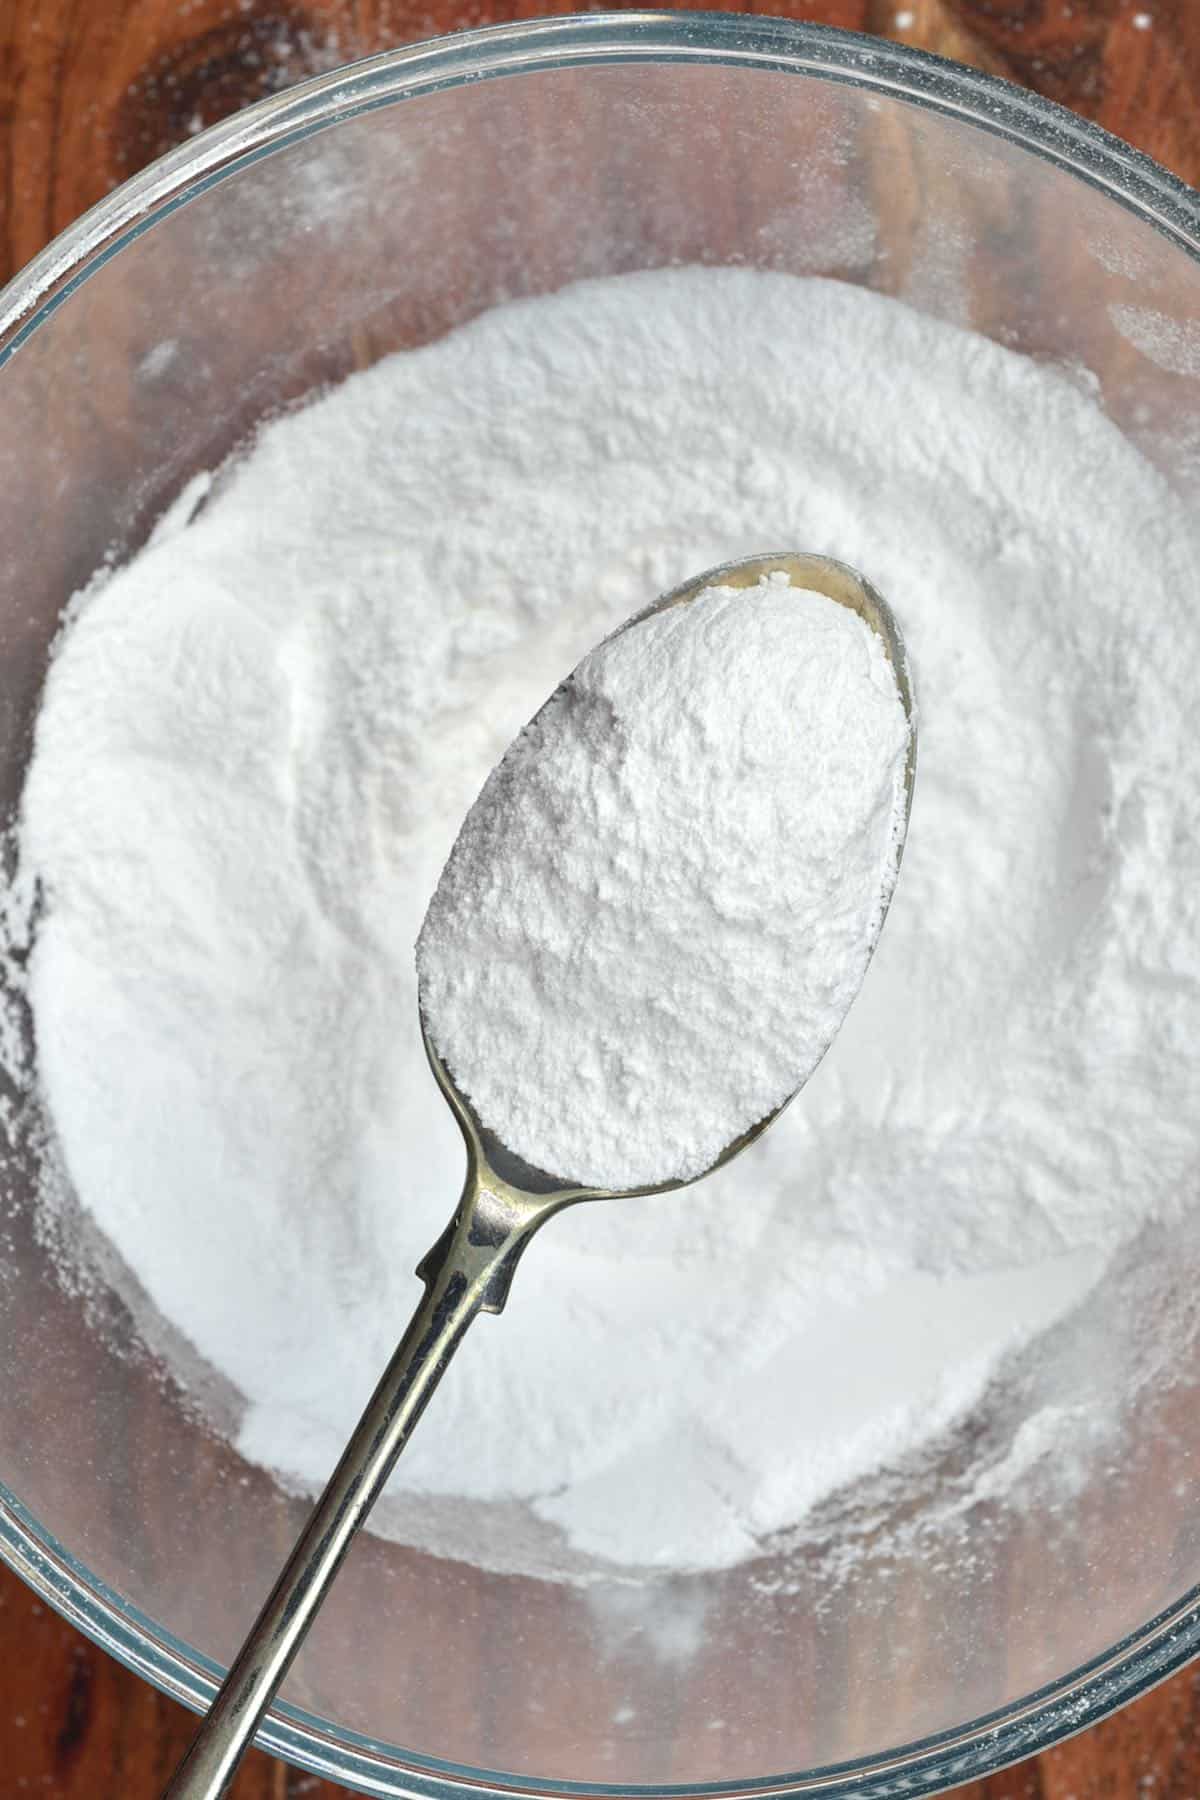
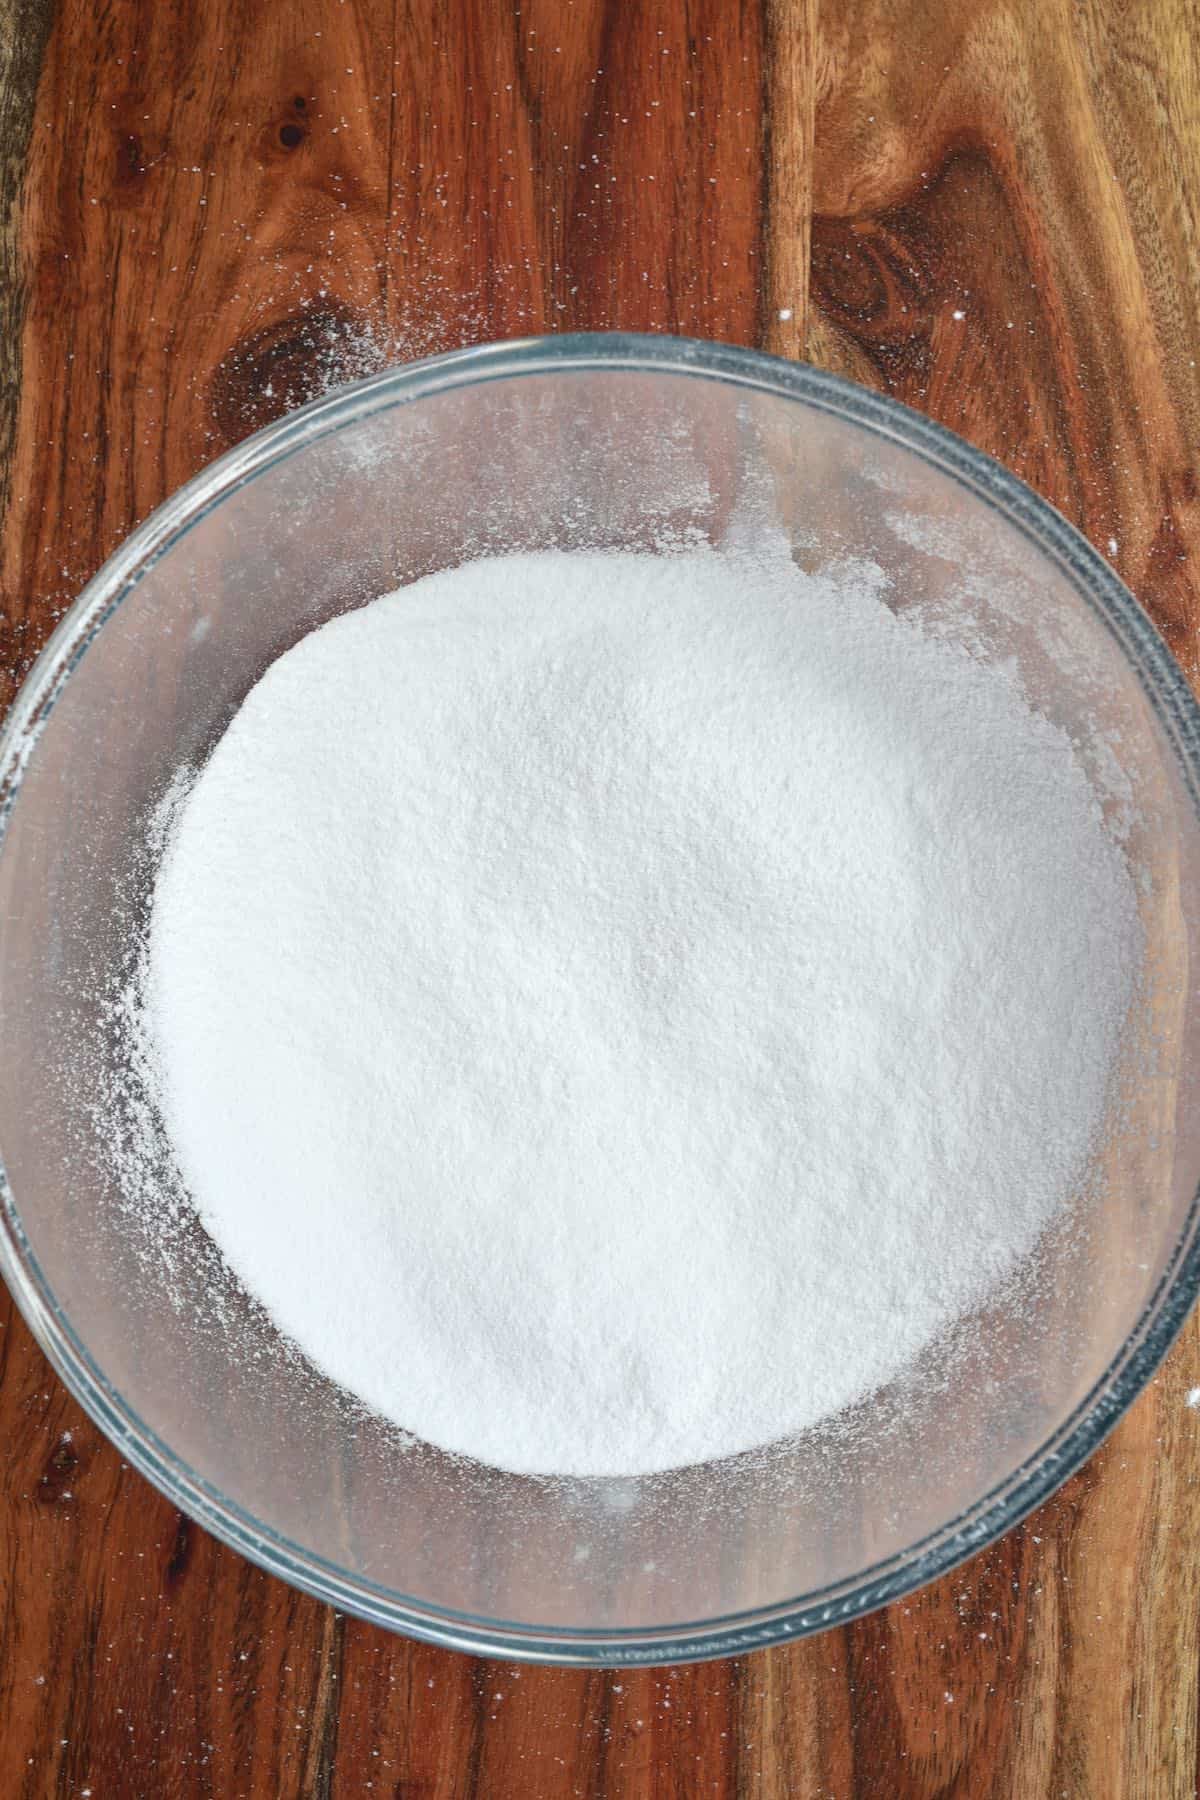
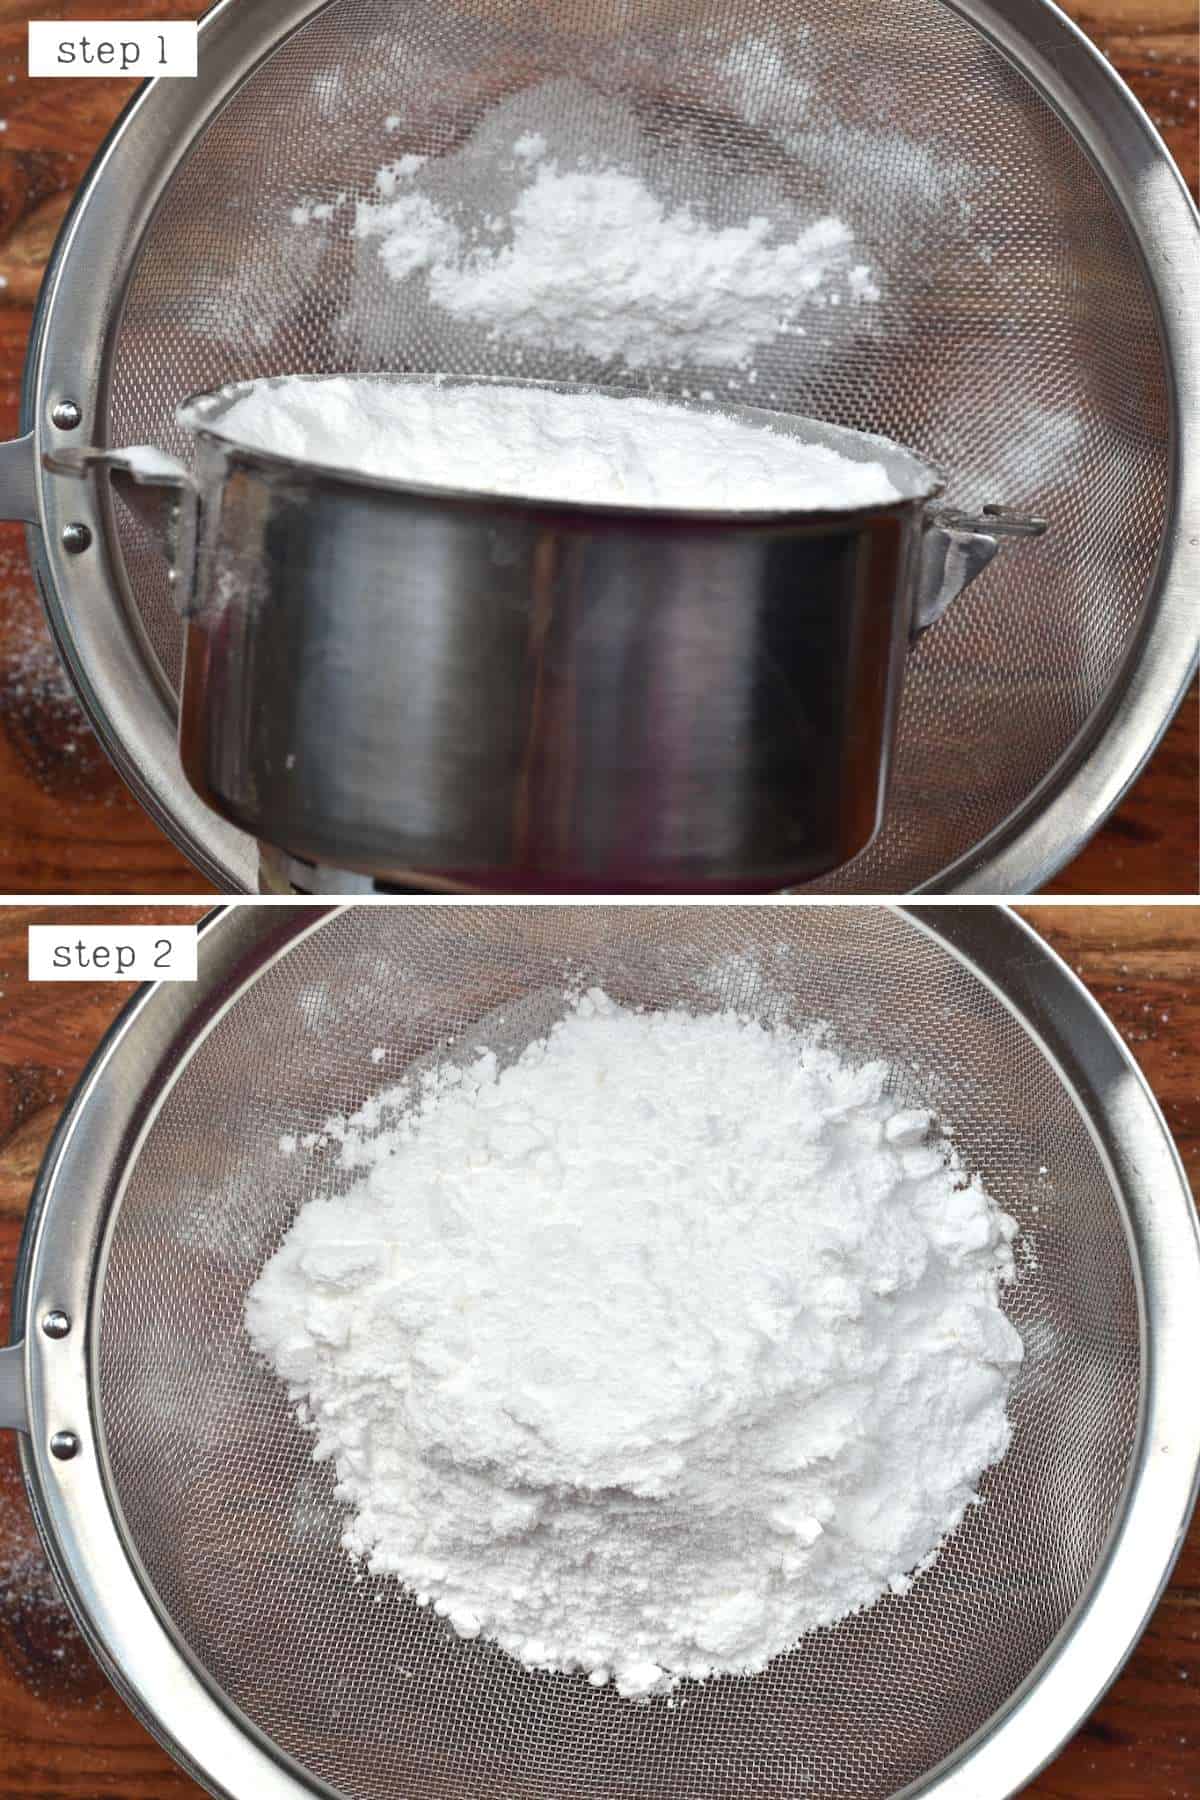
Sift the powdered sugar into a container, repeating the grinding process for the larger pieces until it is all fine. When rubbing a little of the powdered sugar between your fingers, it should feel super fine with very little, or even no grainy texture.
How To Store
Homemade powdered sugar without cornstarch is best used immediately to avoid clumping. However, if starch is added, the sugar can last years when stored in an airtight container.
FAQs
There are several names used globally, including powdered sugar, icing sugar, and confectioners sugar. All three are the same products, just using different names. In fact, there’s also fondant sugar which, to my knowledge, is powdered sugar minus any starch.
This really depends on the sugar used. Several sugar varieties are filtered through bone char. While there is no animal product within the sugar itself, its use in the processing still renders it non-vegan. For that reason, if you want vegan powdered sugar, double-check that your granulated sugar is vegan.
If you don’t have a blender or spice/coffee grinder, then you can still make homemade powdered sugar by hand. The method may be more laborious, but all you need is a mortar and pestle. You can then grind the sugar crystals by hand into a fine powder.
Sieve the mixture into a container and re-grind the larger particles until the entire amount is the correct texture.
Recipe Notes
- It’s best to use the smallest jug on your blender to make sure the sugar is properly blendable. The larger the jug, the more sugar you’ll need to use for it to work properly.
- I’ve tested this process with several sugar varieties, including cane sugar, coconut sugar, and raw turbinado sugar. Varieties with the most molasses content may be a bit too sticky, though (like brown sugar).
- If you don’t have cornstarch, you can substitute it with another starch; just make sure that it’s edible while raw or that you heat treat it first (i.e., arrowroot starch or tapioca starch).
- If your blender isn’t high-powered, this process can take longer or may not work – unfortunately, I don’t have a list of all the blenders/food processors that will and won’t work. However, I’ve always had GREAT results with my coffee/spice grinder, and they are low-cost too!
Related Recipes and DIYs
- How To Make White Chocolate
- Homemade Chocolate Mix
- How To Make Milk Chocolate
- How To Make Healthy Dark Chocolate
- Homemade Easy Vanilla Buttercream Frosting
- How To Make Powdered Milk At Home
- How to Make Unrefined Cane Sugar & Jaggery (Gur)
- An Introduction to Sugar and Sugar Substitutes (Natural)
- How to Make Simple Syrup (White, Cane, Brown, etc. Sugar Syrup)
- How to Make Baking Powder
- How to Make Brown Sugar at Home?
If you use this method on how to make powdered sugar at home, let me know your thoughts and questions in the comments. I’d also really appreciate a recipe rating and would love to see your recreations – just tag @AlphaFoodie.
How to make powdered sugar
Equipment
Ingredients
- 1 cup sugar granulated – of your choice (read notes)
Instructions
- Measure out the sugar and add it to the blender or spice/coffee grinder. If you're using a grinder, you may need to do this in several batches.
- If you're making homemade powdered sugar to store in the pantry for long-term storage, then it's best to add cornstarch (or another starch that is safe to be eaten while raw) to the ground sugar. This will work as an anti-clumping agent. Add 1 Tbsp starch per cup of powdered sugar.
- Blend/grind into a fine powder. In a high-speed blender, you may want to pause the machine and scrape down the sides with a spatula to make sure it's all blended equally. This can take as little as 30 seconds up to 3-4 minutes based on the blender size and strength. Using a coffee/spice grinder, the process takes around 30 seconds.
- Sift the powdered sugar into a container, repeating the grinding process for the larger pieces until it is all fine. When rubbing a little of the powdered sugar between your fingers, it should feel super fine with very little, or even no grainy texture.
How To Store
- Homemade powdered sugar without cornstarch is best used immediately to avoid clumping. However, if starch is added, the sugar can last years when stored in an airtight container.
Notes
- It’s best to use the smallest jug on your blender to make sure the sugar is properly blendable. The larger the jug, the more sugar you’ll need to use for it to work properly.
- I’ve tested this process with several sugar varieties, including cane sugar, coconut sugar, and raw turbinado sugar. Varieties with the most molasses content may be a bit too sticky, though (like brown sugar).
- If you don’t have cornstarch, you can substitute it with another starch; just make sure that it’s edible while raw or that you heat treat it first (i.e., arrowroot starch or tapioca starch).
- If your blender isn’t high-powered, this process can take longer or may not work – unfortunately, I don’t have a list of all the blenders/food processors that will and won’t work. However, I’ve always had GREAT results with my coffee/spice grinder, and they are low-cost too!
Nutrition
Nutrition information is automatically calculated, so should only be used as an approximation.


I do own a high powered food processor (I think 600w is high powered lol) and I certainly did not get superfine powdered sugar, and I processed it 3 ways, first in the Nutribullet, then food processor, then the coffee grinder..and still it’s got a tiny bit of grit..not the end of the world..just wanted to see if I could pull it off..clearly my coffee grinder isn’t powerful enough either..still will use it in my icing..but am anticipating a touch of grit for sure. What sort of coffee grinder did you use? Still giving this a high rating as it’s not your fault my equipment was not right..
Thank you!
So I just finished the icing..it is really good! Just the slightest hint of grit..but nothing that would bother me at all..so guess I overreacted 😛
Hi Harriotte,
I’m glad you managed and enjoyed the icing! There is a link on the shop page of the blog that will take you to the exact grinder I use. 🙂
Will this work with a small ninja ?
Hi Kim,
It shouldn’t be a problem, just make sure you give your blender breaks in between to ensure it doesn’t overheat and check that the blades don’t get stuck or struggle to rotate. Maybe work with smaller batches if needed.