
This post may contain affiliate links. Please read our disclosure policy.


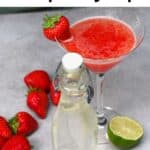
Keep your cakes moist, your coffee sweet or make a heat-busting lemonade – this two-ingredient homemade simple syrup is a versatile must-have for your pantry.
Want to save this recipe?
What is simple syrup
Making simple syrup might be one of the easiest things you can do in your kitchen – contrary to the myth. A homemade simple syrup doesn’t require a certificate from the Cordon Bleu or a science degree – it just needs a pan, two ingredients, and a spare ten minutes.
Simple syrup is a mixture of heated water and sugar, stirred until the sugar dissolves and a syrupy texture has formed. This is then used to add flavor and sweetness to food and drinks. It’s the base for a lot of famous cocktails and mocktails, used by pâtissiers to keep their cakes moist for long periods of time or used in a variety of desserts to bring a touch of sweetness.
It’s especially handy for customizing the sweetness in drinks — like in my favorite lemonade recipes where you can easily adjust the syrup to your taste.
Ingredients for simple syrup
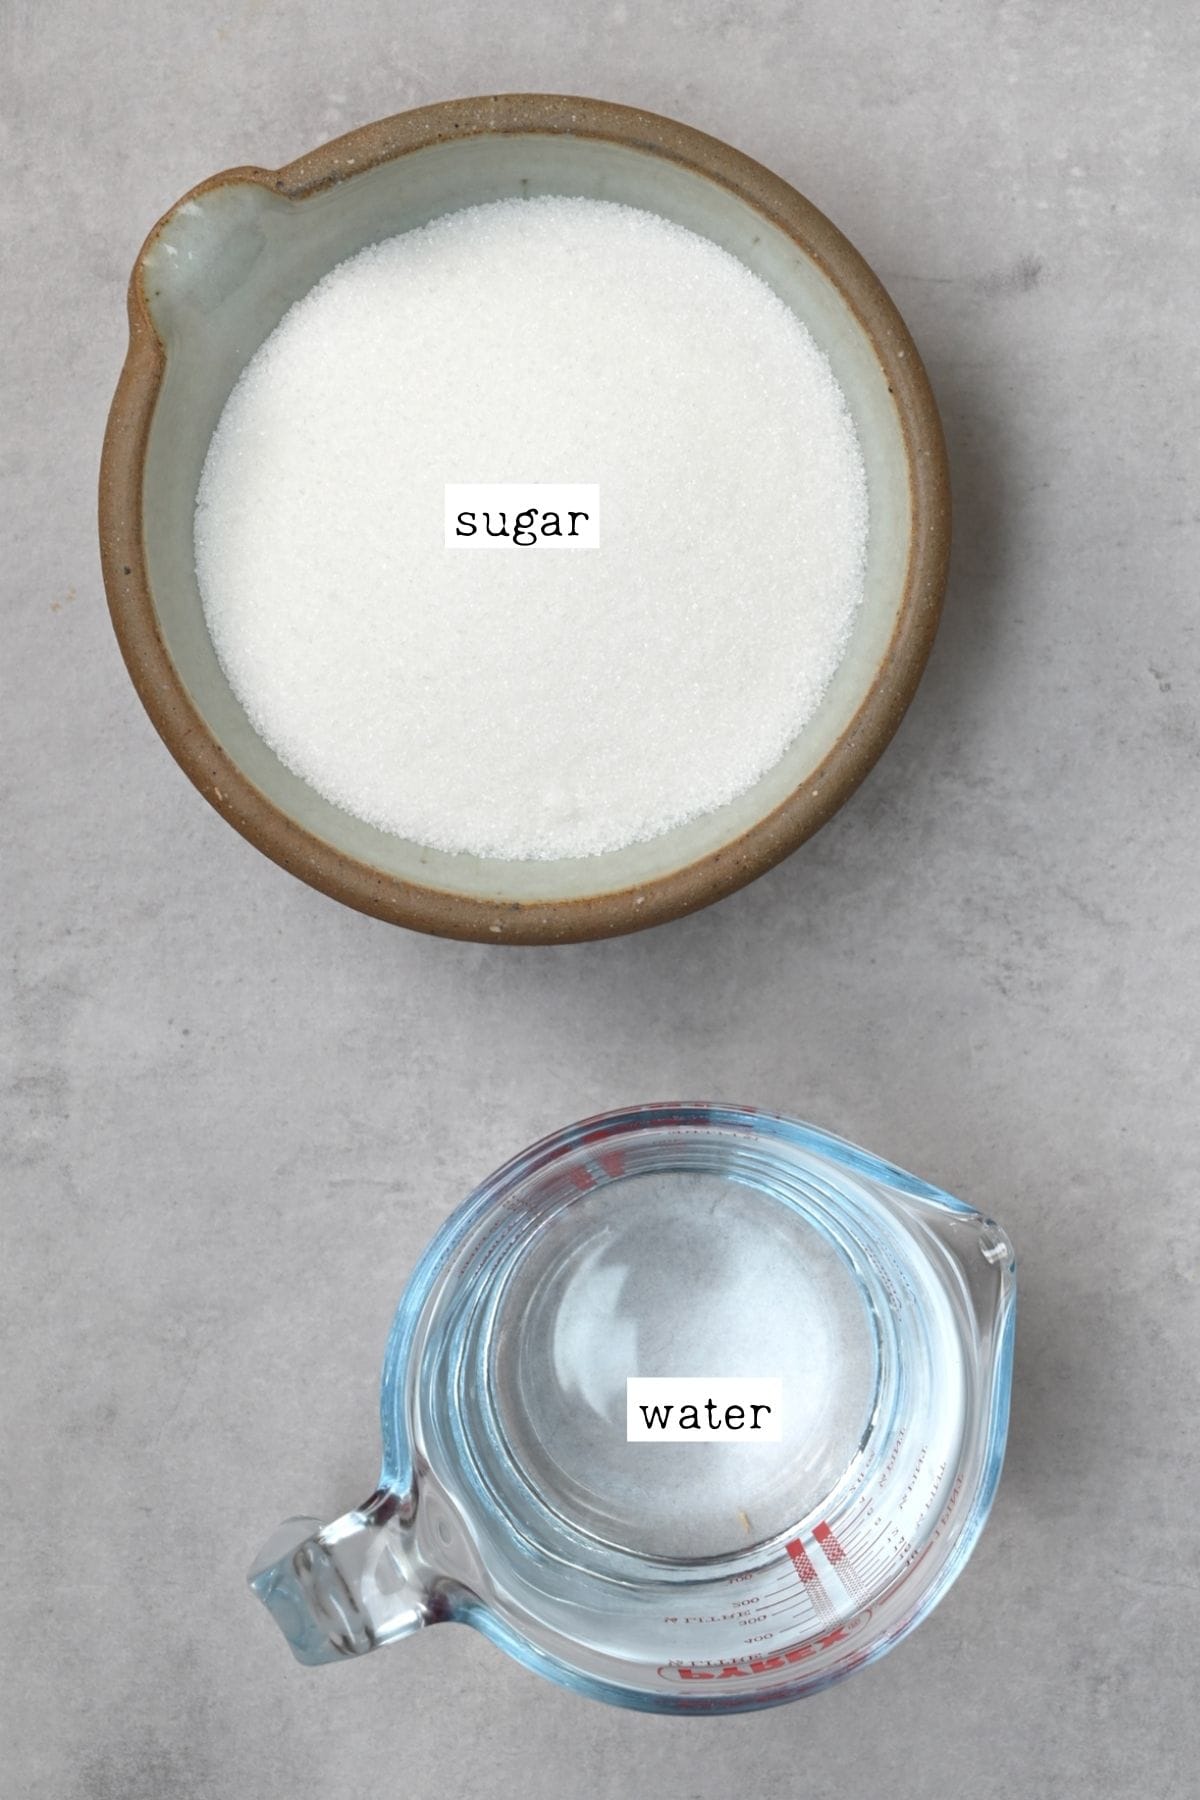
This simple recipe only needs two ingredients:
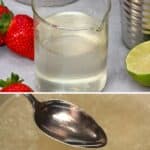
- Sugar: You can use any variety you like: white, cane, brown, coconut, demerara sugar, etc. You can even use sugar-free sweeteners like stevia. The sugar you use will affect the color and sugar-free options will make it thinner.
- Water: Ordinary tap water should work if you live somewhere with good tap water – otherwise, filtered water may give better-tasting results.
- Lemon juice: (Optional) Adding a dash of lemon juice helps to balance the sweetness by adding a touch of tanginess.
How do you make simple syrup
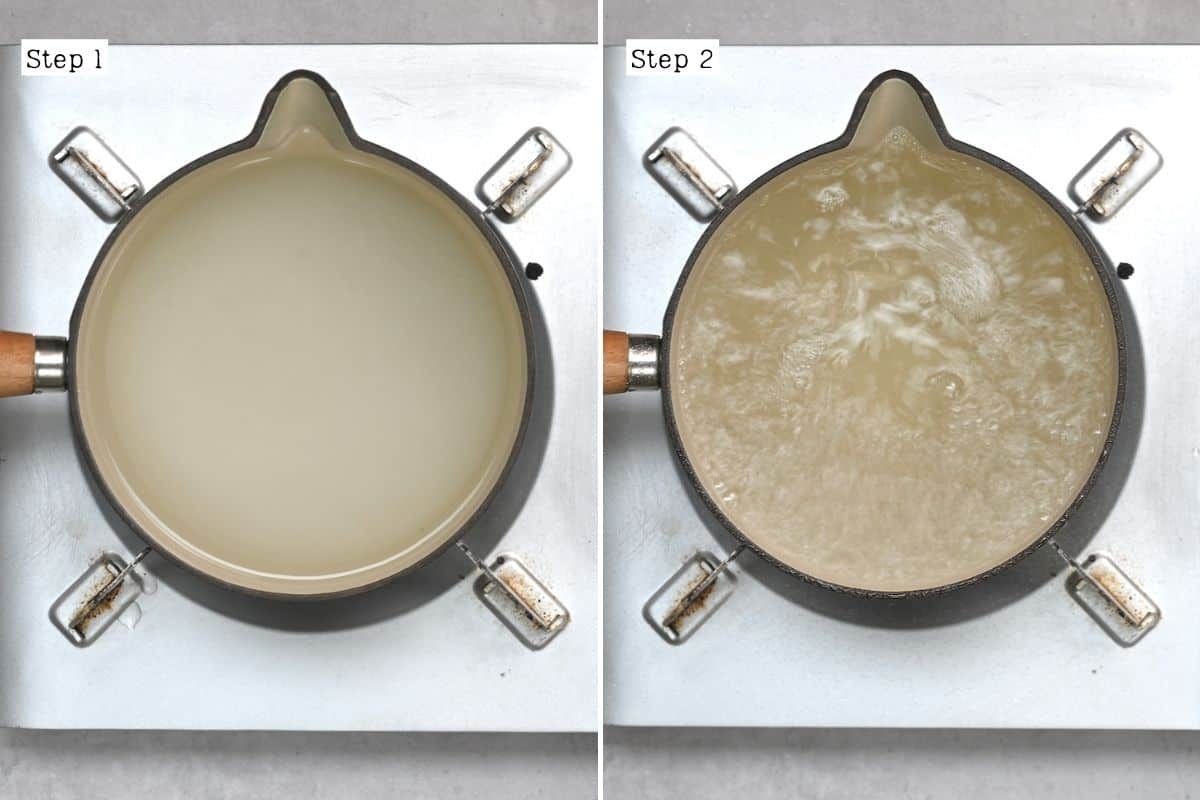
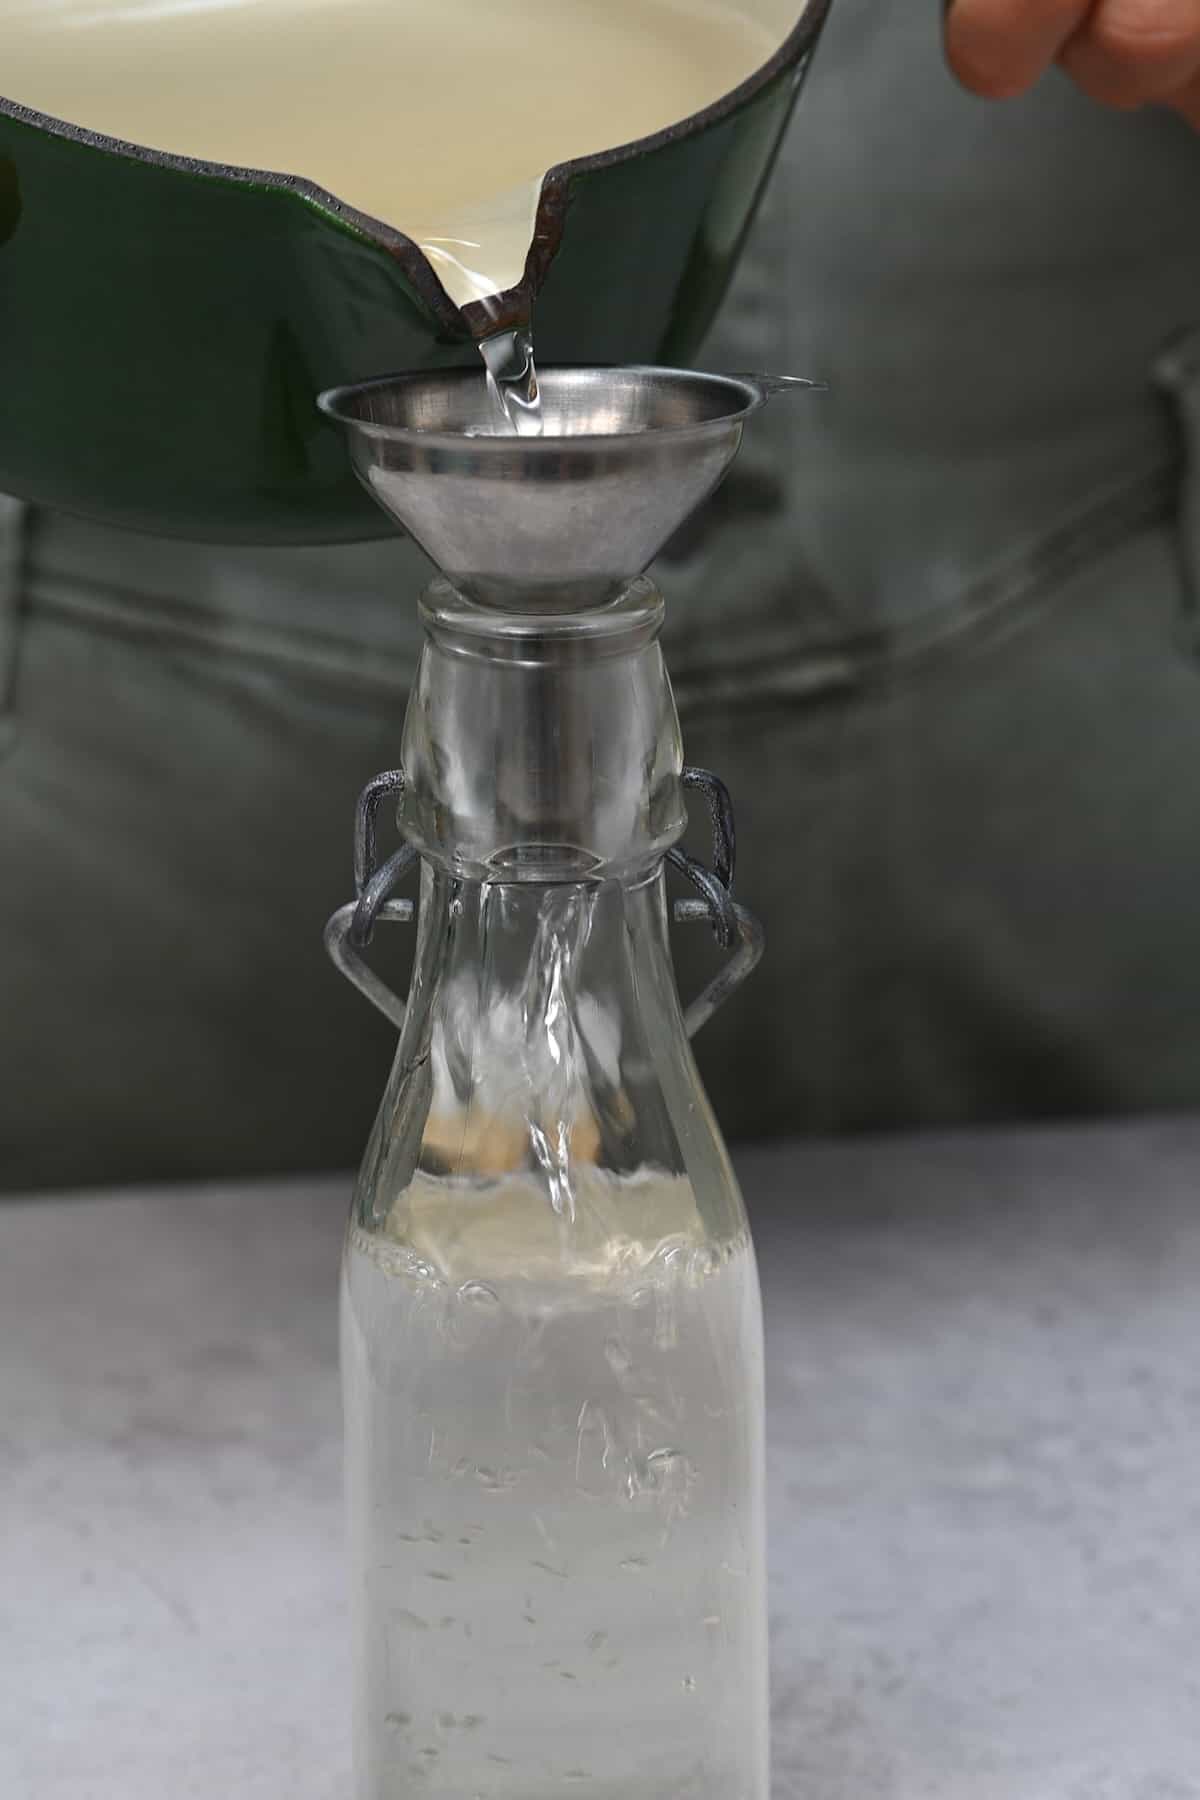
Add your sugar and water to a small saucepan over medium heat. Bring to a soft boil and stir constantly until the sugar completely dissolves. This will usually take 2-3 minutes to simmer. Be careful and keep an eye on the sugar and water so the sugar doesn’t burn.
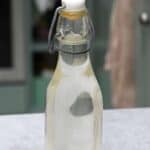
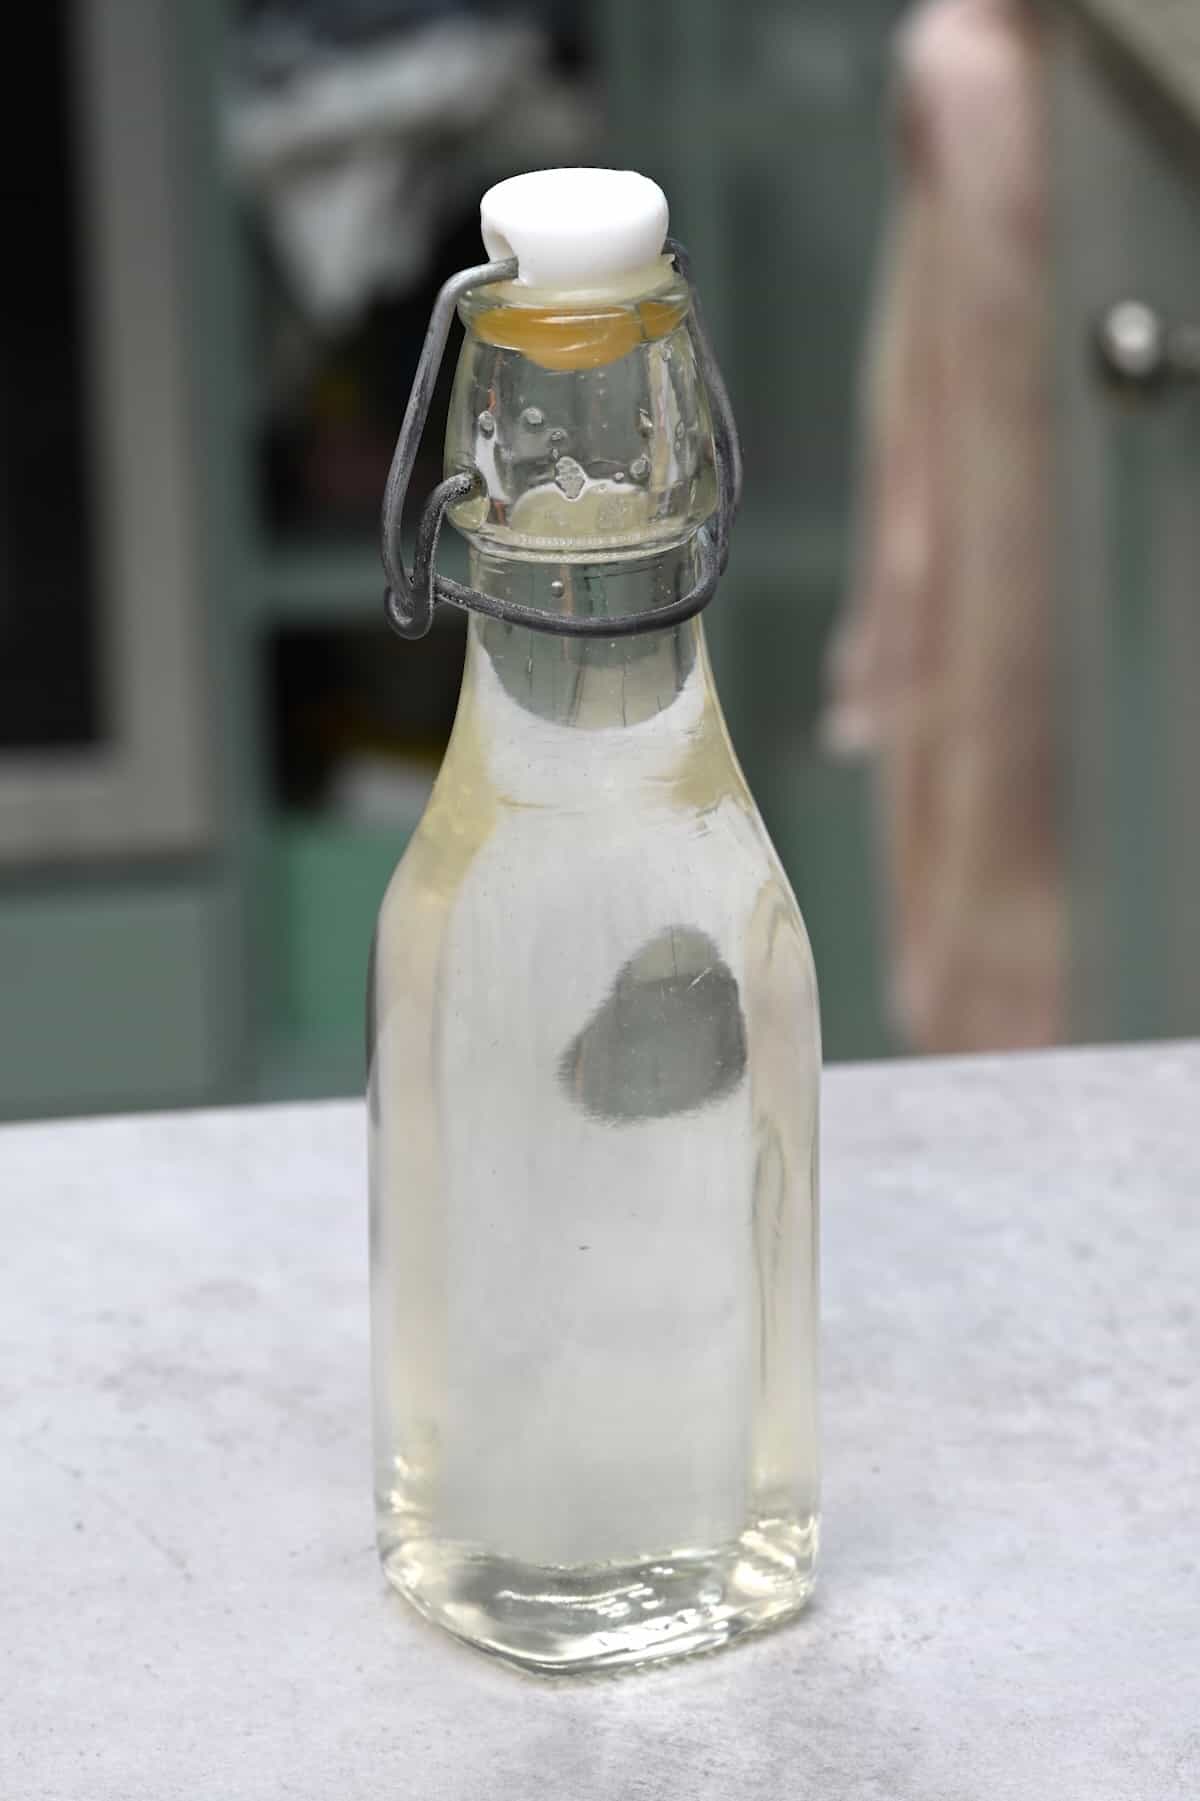
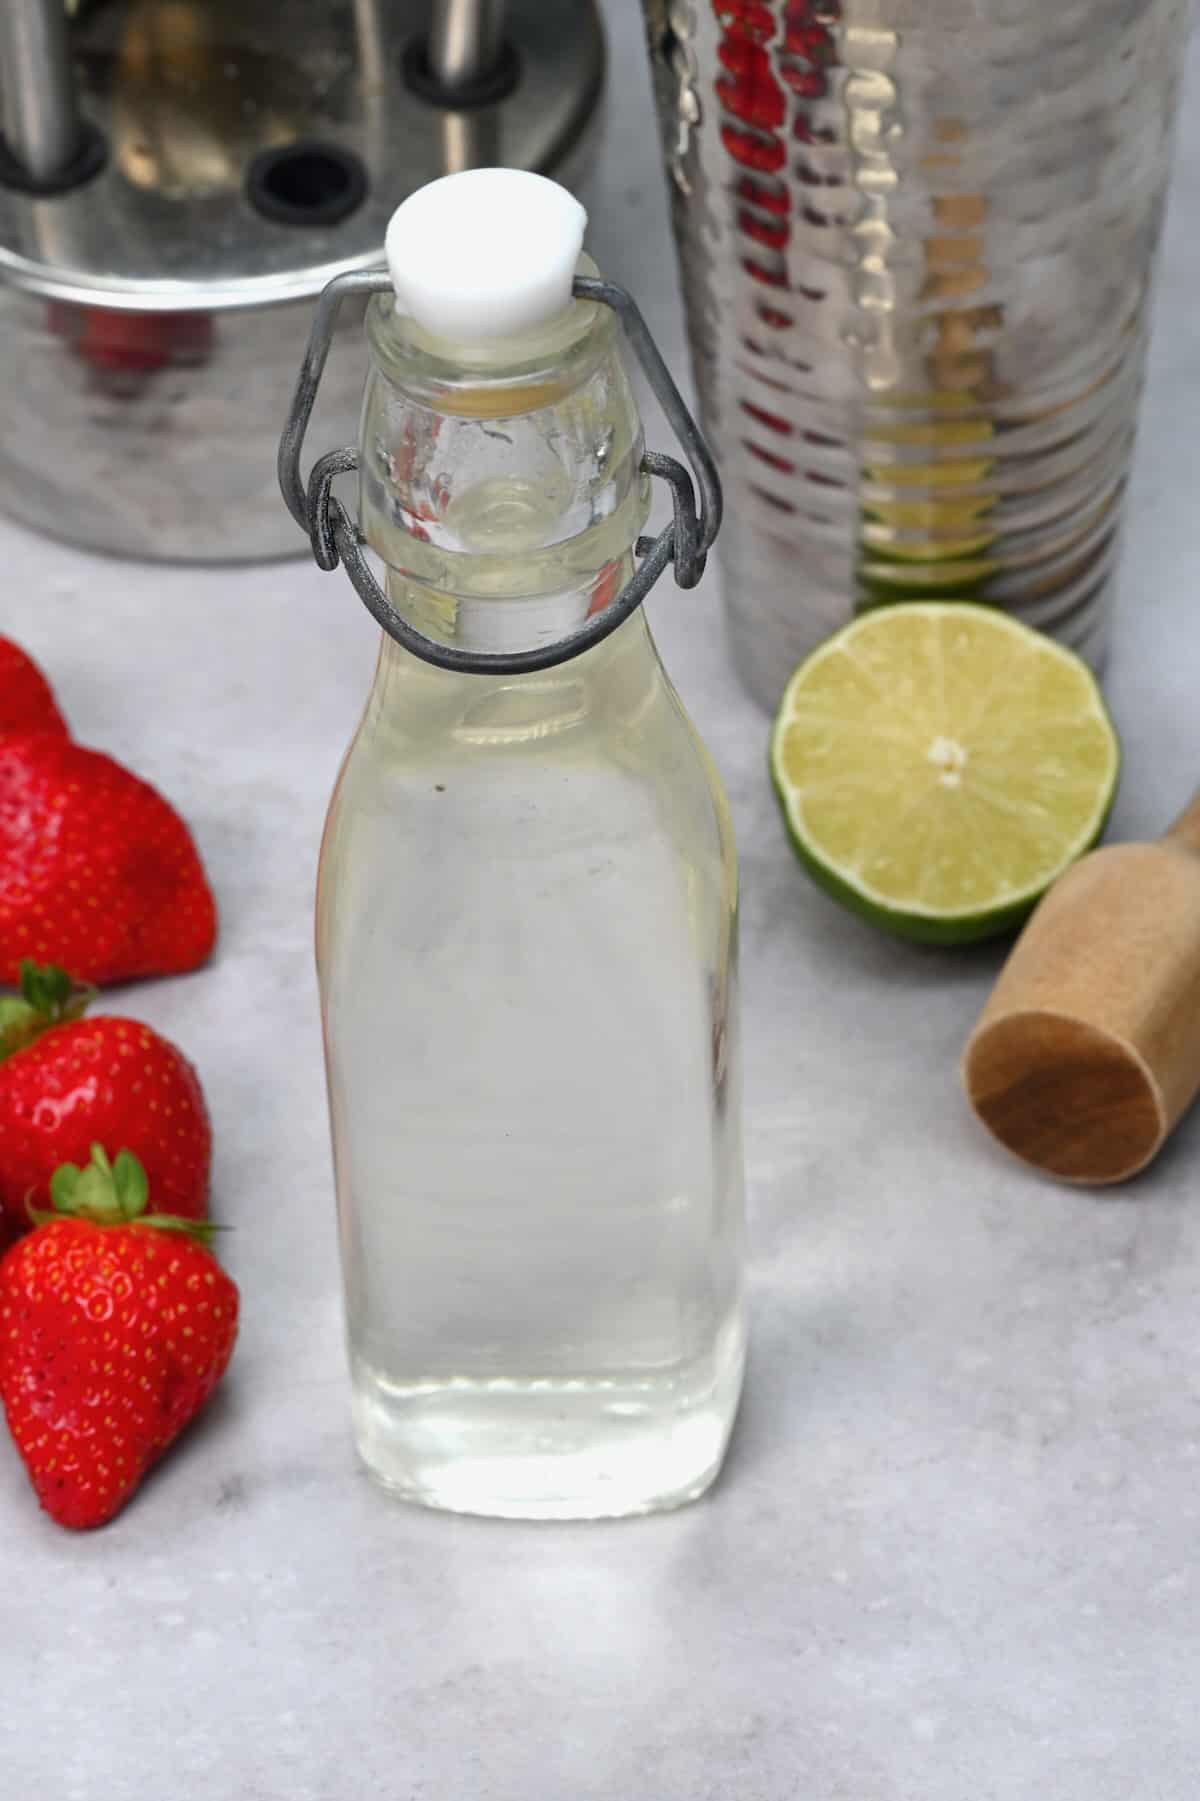
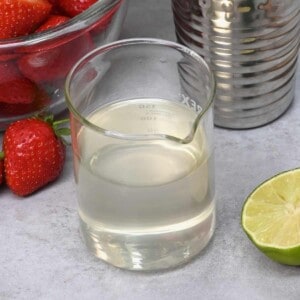
Once the sugar has completely dissolved, switch off the heat and allow the simple syrup to cool before transferring it to a sterilized, airtight glass jar. It should be thin and easy to pour – about the consistency of maple syrup.
Simple Syrup Ratio
Because this homemade recipe is so simple, the one thing you need to be accurate about is your ratios. If you want to make multiple batches, you can easily adjust the quantities of the ingredients – but make sure to follow the ratio. The best (and simplest!) ratio for simple syrup is 1:1 – equal parts sugar to water (in volume).
If you want a sweeter “rich sugar syrup”, then use a ratio of 2:1 of sugar to water. This is more commonly used by bartenders because it creates a richer mouthfeel in the drinks – so you can choose which ratio will best suit your dish.
How long does simple syrup last
Refrigerator: If you’ve made a classic 1:1 simple syrup, this can be stored in the fridge for 3-4 weeks in an airtight container. If you’ve made the rich version using the 2:1 method, this will keep for up to several months in the fridge. It’s also shelf-stable, so you can store it at room temperature if you prefer.
If your mixture has turned cloudy, this can mean the syrup has spoiled and should be disposed of.
There is a theory that adding a spoonful of vodka will extend its shelf life – but the amount needed can impact the flavor, so proceed with caution.
Freezer: If you want to preserve it for longer, it will keep in the freezer for up to 12 months. It may not freeze completely solid – this is normal, because of the high sugar content.
Uses for simple syrup
Here are my favorite ways to use it:
- It is the base for a great lemonade.
- Try it with a delicious summer mocktail or cocktail – especially mojitos, whiskey sours, and margaritas.
- Add to iced tea for sweetness – this recipe goes great with a blackberry earl grey or any kind of iced coffee.
- Use it to make your own boba at home.
- Add to a refreshing summertime sorbet or use to make candied fruit.
- In my kitchen, I’m always using it in my favorite Lebanese recipes, like pistachio baklava, Maamoul, Knafeh / Kunafa, and Qatayef Filled Pancakes.
More syrup recipes
If you try this simple syrup recipe, let me know how it goes in the comments below. I’d appreciate a recipe card rating and would love to see your recipe recreations – tag me on Instagram @Alphafoodie!
How to Make Simple Syrup
Ingredients
For traditional 1:1 simple syrup (1 part sugar to 1 part water)
- 2 cups sugar white, cane, brown, coconut, or sugar-free like monk fruit, stevia
- 2 cups water filtered works best
For 2:1 "rich" simple syrup, use 4 cups sugar to 2 cups water!
Instructions
Simple Syrup Ratio
- The best (and simplest!) ratio is 1:1 sugar to water. If you want a sweeter "rich sugar syrup", then use a ratio of 2:1 of sugar to water.
How to Make Simple Syrup
- Add the sugar and water to a saucepan over medium heat. Bring to a soft boil and stir constantly until the sugar completely dissolves. This will usually take 2-3 minutes. Be careful and keep an eye on the sugar and water so the sugar doesn't burn.
- Once the sugar has completely dissolved, switch off the heat and allow the syrup to cool before transferring it to a sterilized, airtight glass jar/bottle. The syrup should be thin and easy to pour.
How To Store
- Fridge: The classic 1:1 syrup can be stored in the fridge for 3-4 weeks. The rich version using the 2:1 ratio will keep you in the fridge for up to several months. It's also shelf-stable, so you can store it at room temperature if you prefer. If your mixture has turned cloudy, this can mean the simple syrup has spoiled and should be disposed of.
Video
Notes
- What consistency is simple syrup? The basic syrup is fairly thin and easy to pour. However, rich s syrup will be thicker.
- For a thicker syrup: bring the mixture to a boil and allow some of the water to evaporate. This will create a thicker syrup but will also change the water-to-sugar ratio.
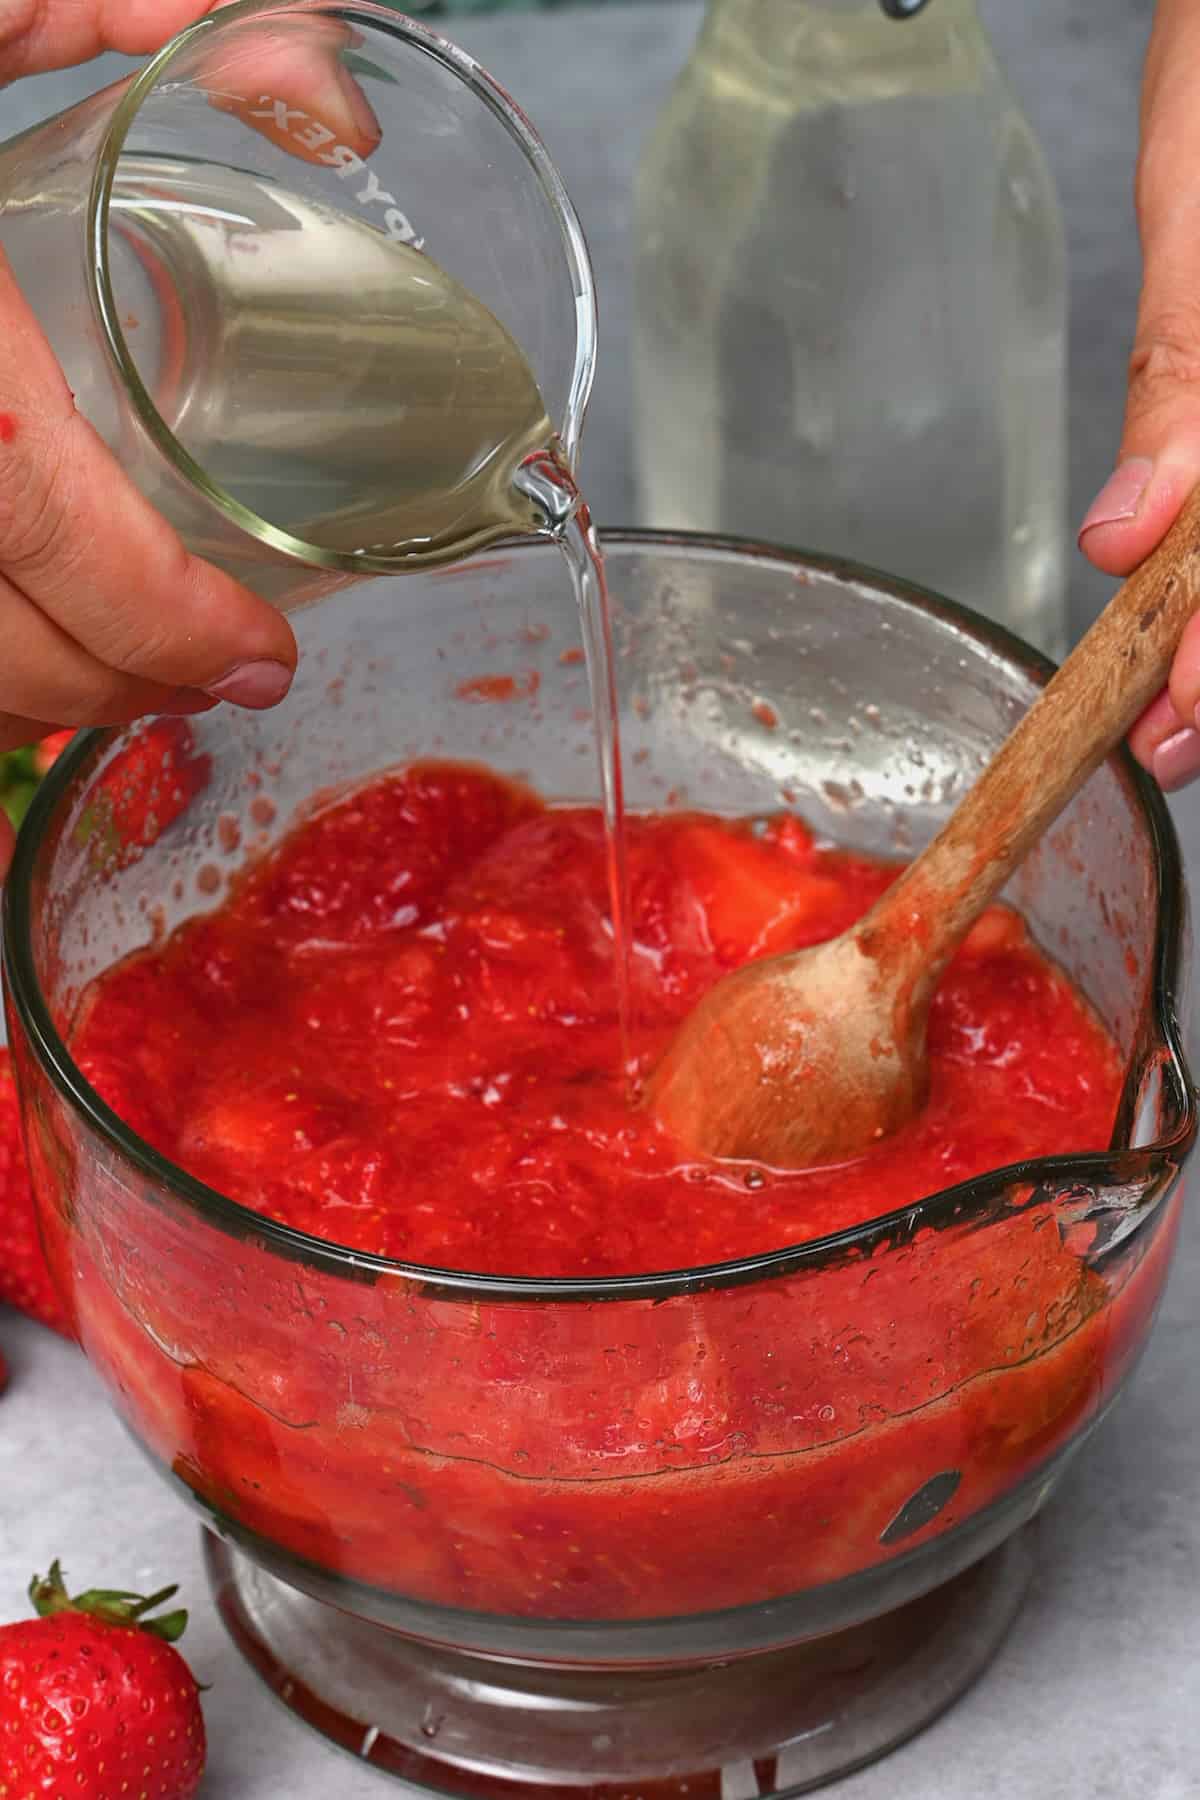
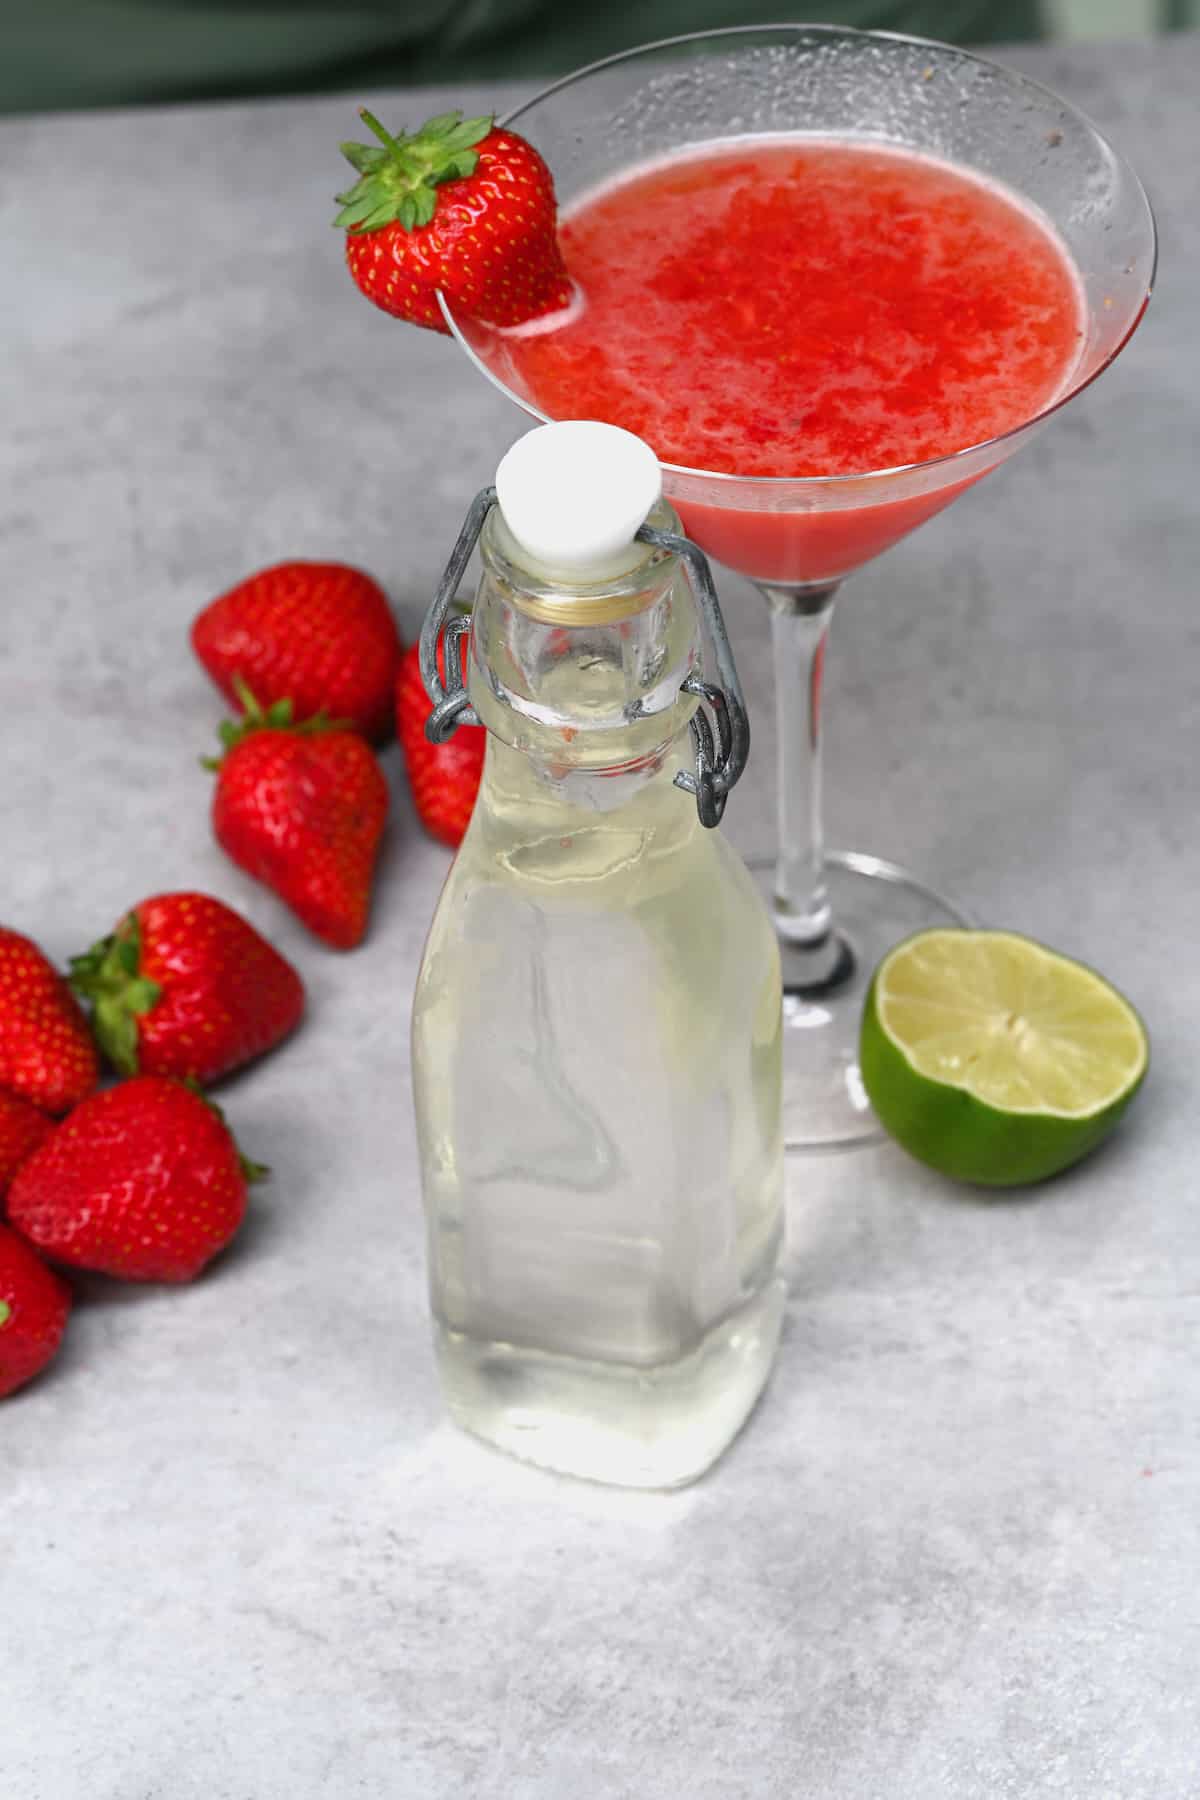
- Making flavored simple syrups: There are tons of ways to flavor your syrup using vanilla and other herbs and spices, alcohol, fruits, etc. Check the blog for my favorite variations.
Nutrition
Nutrition information is automatically calculated, so should only be used as an approximation.


Will the above simple syrup crystallize if monk fruit sugar is used since it has erythritol as an ingredient? Was xanthan gum used to make it a sugar-free simple syrup?
Hi Bilal!
Using monk fruit sweetener that contains erythritol can lead to crystallization in simple syrup, especially upon cooling or storage. Erythritol has a tendency to crystallize more than other sweeteners. To minimize this, you might consider adding a small amount of xanthan gum, which can help maintain a smooth consistency. Alternatively, using sweeteners like allulose, which are less prone to crystallization, can be effective. Keep in mind that xanthan gum isn’t typically used to make the syrup sugar-free; it’s more about improving texture and stability.
Hope this clarifies things!
– Samira
We own a coffee shop and mistakenly received a shipment of cane brown sugar We could not get information on who sent it, how it was paid for or why we received it, nor how to return the product. So, needless to say, finding this information has opened a whole new product for which may very well become a signature menu item. So, when I read, “I may even share a whole series of flavored syrups. Let me know if that’s something you’d be interested in, in the comments.” PLEASE CONSIDER THIS COMMENT AS AN INDICATION OF INTEREST.”
Hi Alex,
Oh wow, lucky you! 🙂 I’ve already posted several flavored syrups here on the blog – vanilla, lavender, lemon, peach, ginger, coffee. Check them out here: https://www.alphafoodie.com/recipes/?_search=syrup
I hope you give some of these recipes a try 🙂