
This post may contain affiliate links. Please read our disclosure policy.
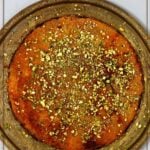
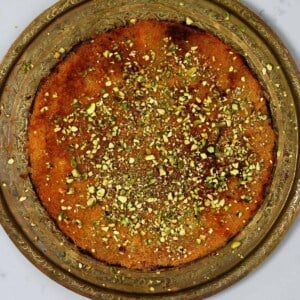
This is the knafeh I grew up with: a crisp, buttery kataifi crust and a stretchy, cheese-forward center soaked with lightly floral syrup. It’s simple to make and slices with that satisfying pull.
We bake hot for deep color, keep the layer thin, and add warm syrup so every bite stays crisp and gooey.
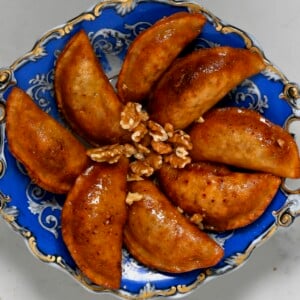
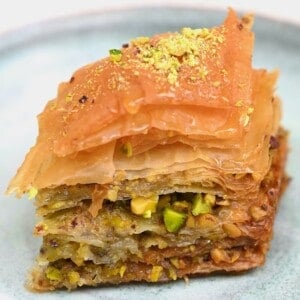
If you’d like more Middle Eastern desserts, try my qatayef, ashta, or pistachio baklava next.
What you’ll need
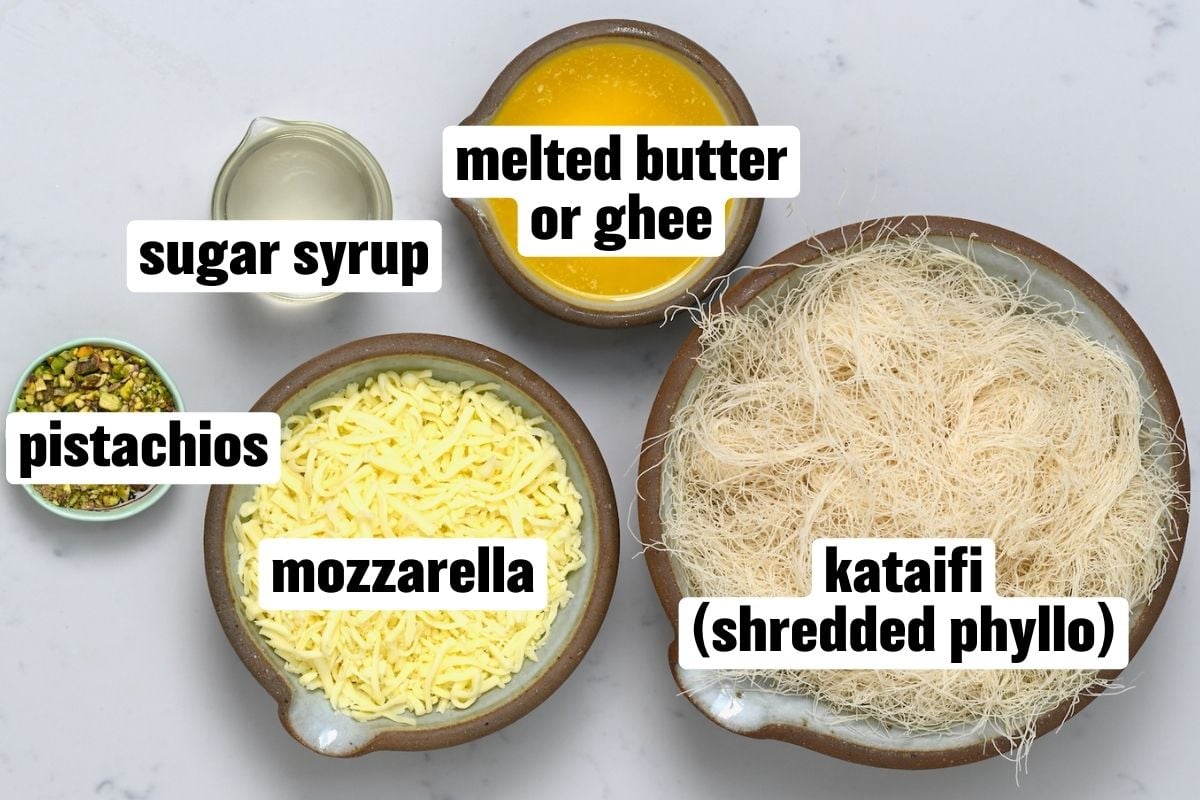
- Kataifi (shredded phyllo): Thaw, then shorten the strands. Pulse briefly in a food processor (short bursts) or chop with a sharp knife; don’t run the processor continuously or it can turn floury.
- Ghee or melted unsalted butter: Ghee gives extra‑crisp strands; butter also works.
- Cheese: I use low‑moisture, full‑fat mozzarella (homemade mozzarella or store‑bought). Shred and dry it very well so the filling melts stretchy, not watery. If you swap, replace equal weight of mozzarella with Akkawi or Nabulsi (desalted) for classic flavor, or a small portion with ricotta or queso fresco for a creamier, less stretchy center. For this version, I stick to mozzarella only.
- Granulated sugar: For a clear, smooth syrup.
- Water: The base of the syrup.
- Lemon juice: Brightens and helps keep the syrup smooth.
- Rose water or orange blossom water (optional): Add to taste; see my rose water guide for how to choose and use it.
- Pistachios: Finely chopped for color and crunch.
- Pan: A 9×13‑inch dish or similar surface area keeps the layer under 1 inch for even soaking.
How to make
Shred low‑moisture mozzarella and pat it very dry between paper towels. If using a traditional brined cheese, soak briefly to reduce salt, then drain and dry well.
Place thawed kataifi in a food processor and pulse in short bursts to shorten the strands. Stop, open the lid, drizzle in melted ghee or butter, then pulse again briefly to evenly coat. Do not run continuously; you want short strands, not crumbs.
Prefer not to use a processor? Chop the dough with a sharp knife, then toss with the melted fat by hand.
 1.
1. 3.
3. 2.
2. 4.
4.Grease your pan. Press in about two thirds of the kataifi to form a compact base, pushing a little up the sides to create a rim. Keep the overall thickness under 1 inch for thorough baking and even syrup absorption.
Spread the mozzarella evenly, staying inside the border so it doesn’t touch the pan edge. Cover with the remaining kataifi and press firmly again. The tighter you pack, the crisper it bakes.
 5.
5. 7.
7. 6.
6. 8.
8.Bake at 450°F for 20–25 minutes until deeply golden with crisp edges and the pastry just pulling from the sides.
While it bakes, simmer sugar, water, and lemon juice until clear and lightly thickened. Remove from the heat and stir in a little rose water or orange blossom water to taste. Keep the syrup warm.
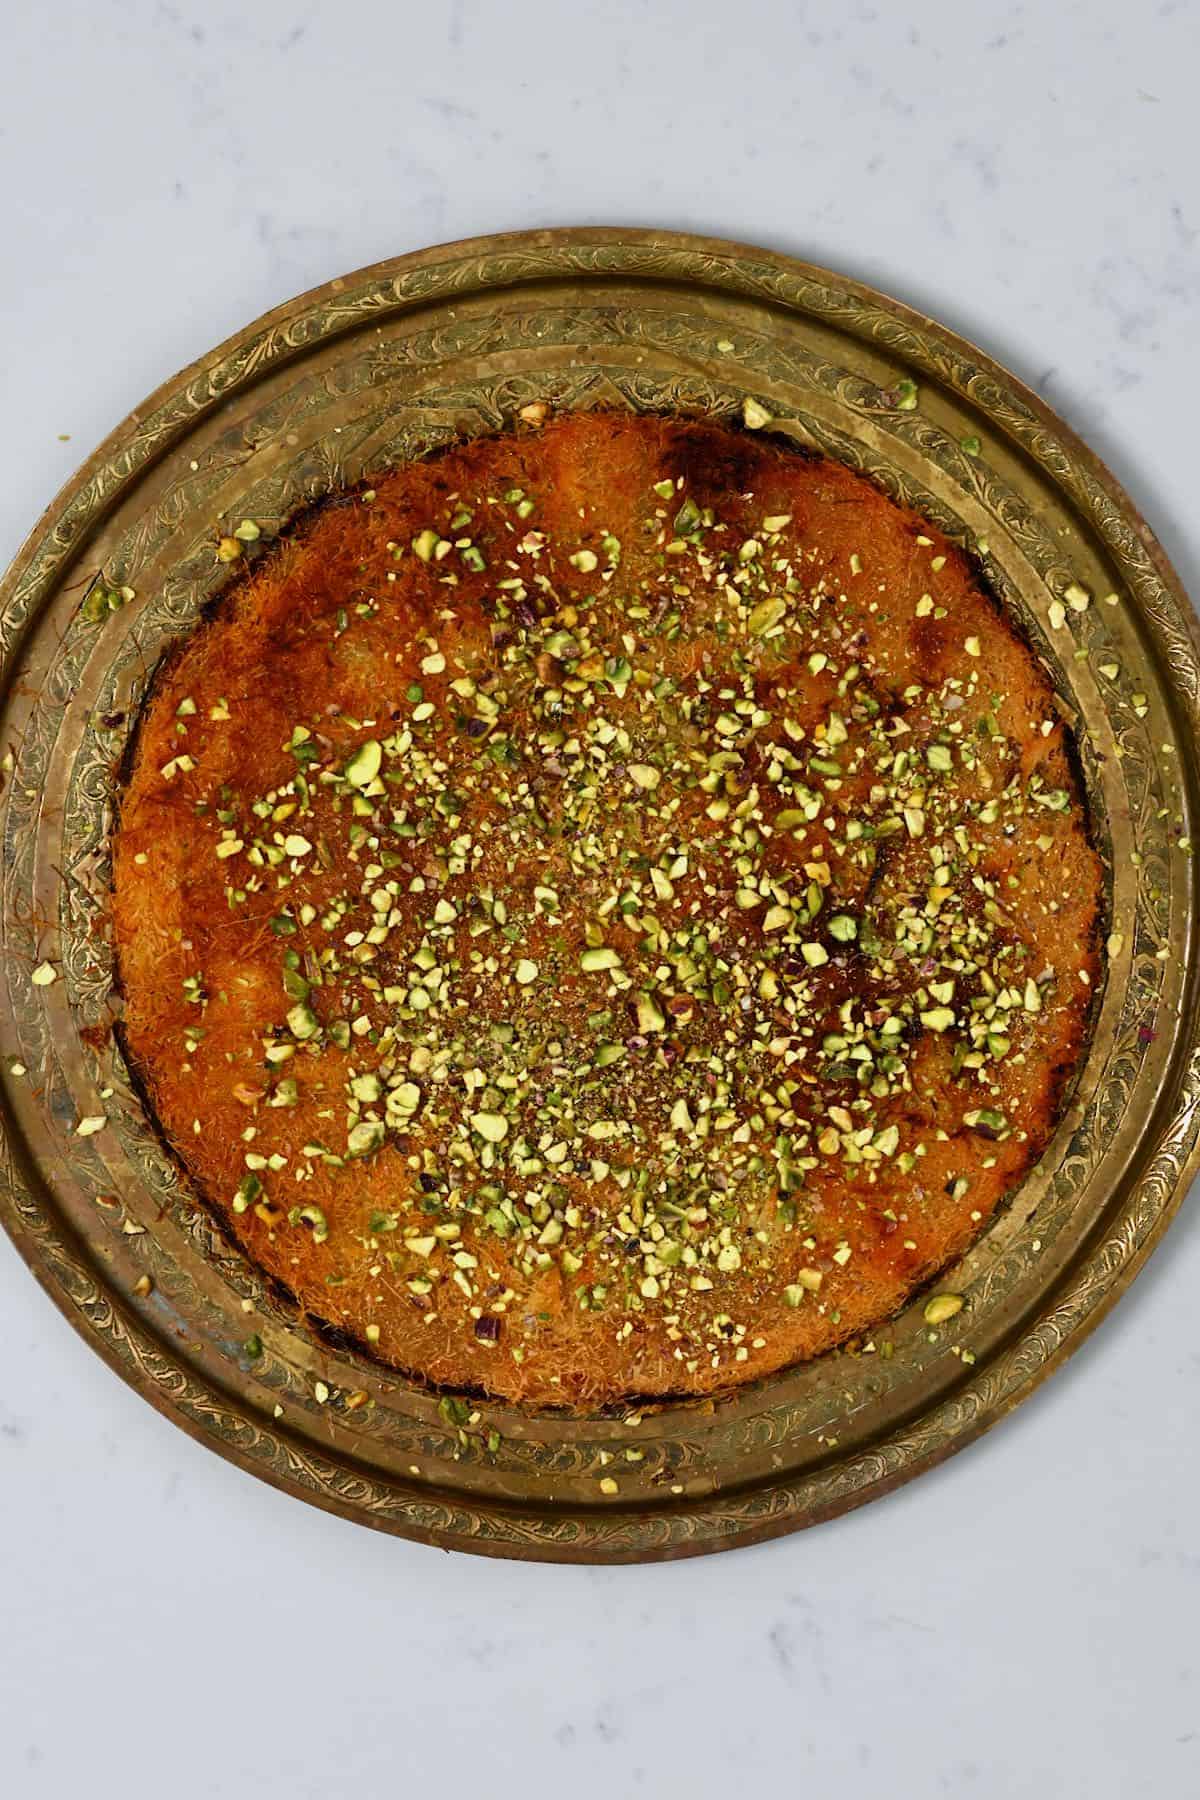
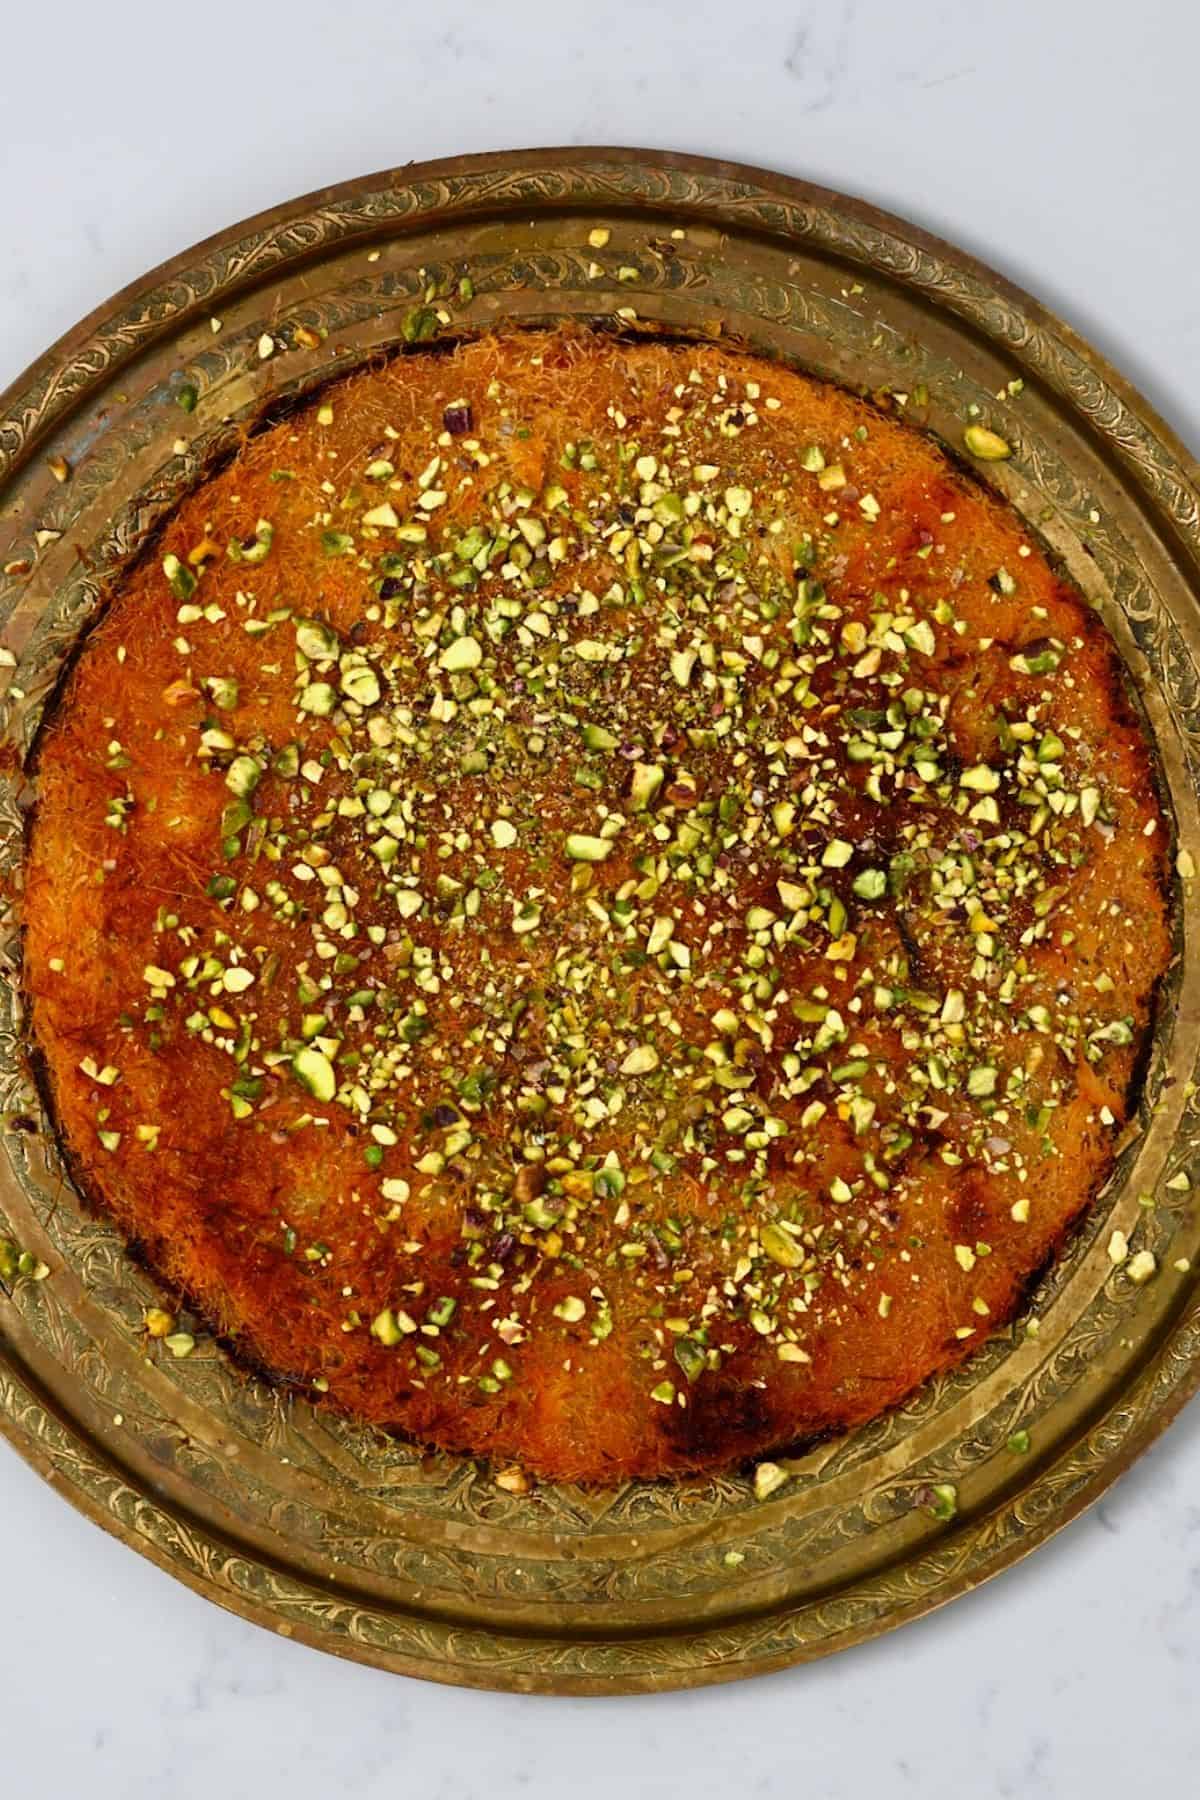
Loosen the edges, invert onto a rimmed platter, and spoon warm syrup slowly and evenly over the surface until glossy and well saturated but not soggy. Top with pistachios. Serve warm for the best cheese pull.
 9.
9. 10.
10.Let leftovers cool, then cover and refrigerate. Keep in the fridge for up to 3 days. To reheat, warm in a 350°F oven for 8–10 minutes until the crust re‑crisps.
My tips

Pulse, don’t process: Use short bursts to shorten kataifi. If it starts to look powdery, you’ve gone too far.
Dry the cheese well: Moisture dulls the stretch and softens the crust.
Keep it thin: Under 1 inch gives full crisping and even soak.
Leave a border: Keep cheese away from the pan edge to prevent leaks.
Warm on warm: Pour warm syrup over hot pastry for ideal absorption.
Consider ghee: Its low moisture helps the strands crisp.
Troubleshooting
- Leaking cheese: The filling likely touched the pan edge. Next time, leave a small border of kataifi around the sides.
- Soggy crust: The bake was too light or the syrup too hot/heavy. Bake until very golden and spoon on warm syrup gradually.
- Not enough stretch: The cheese was too wet or blended with too much soft cheese. Press mozzarella drier and keep swaps partial.
- Pale top: The kataifi wasn’t compact or the oven wasn’t hot enough. Pack firmly and bake at 450°F until deeply golden.
FAQs
I prefer to keep it natural. A hot bake gives a deep golden crust without dye.
Yes. Scale the recipe down so the assembled layer stays under 1 inch and watch the bake time. A 9‑inch round is roughly half the batch.
More Middle Eastern dessert recipes

Tried this recipe? Leave a comment below!
Easy Knafeh / Kunafa
Equipment
- Food Processor optional
Ingredients
- 1 pound kataifi (shredded phyllo), thawed
- 3/4 cup ghee or unsalted butter melted (plus extra for greasing)
- 1 pound mozzarella cheese low‑moisture, full‑fat, shredded and pressed very dry
- 1 ⅓ cups granulated white sugar
- 1 ⅓ cups water
- 1 Tablespoon lemon juice
- 1-2 teaspoons rose water or orange blossom water, to taste
- ¼-½ cup pistachios finely chopped
Instructions
- Shred the low‑moisture mozzarella and press it very dry between paper towels.If substituting, replace equal weight of mozzarella with Akkawi or Nabulsi (desalted) for classic flavor, or swap a small portion for ricotta or queso fresco for a creamier, less stretchy center. Keep the total cheese weight the same.
- Place thawed kataifi in a food processor and pulse in short bursts to shorten the strands. Open the lid, drizzle in the melted ghee or butter, then pulse briefly again to evenly coat. Do not run continuously; stop while strands are short and wispy, not powdery. Alternatively, chop the kataifi by hand with a sharp knife, then toss with the melted fat.
- Grease a 9×13‑inch baking dish. Press in about two thirds of the kataifi to form a compact base, pushing a little up the sides to create a border.
- Distribute the mozzarella evenly, keeping it inside the border. Cover with the remaining kataifi and press again to compact.
- Bake at 450°F for 20 to 25 minutes until deeply golden and crisp on the edges.
- Meanwhile, simmer sugar, water, and lemon juice just until clear and slightly thickened. Remove from the heat and stir in rose water or orange blossom water to taste. Keep warm.
- Loosen the edges and invert the knafeh onto a rimmed serving platter. Spoon warm syrup slowly and evenly over the surface until glossy and well saturated but not soggy.Top with pistachios. Slice and serve warm for the best cheese pull.
Notes
Nutrition
Nutrition information is automatically calculated, so should only be used as an approximation.


I followed your recipe and it turned out delicious! Thank you!
So glad it turned out well for you, Cris. Thank you for trying it! 😊
With just the mozzarella cheese it was very crunchy. I dont know if the cheese needed to be patted or what, I followed the directions but the cheese hardened alot.
Hi Saher! Sorry the cheese turned out crunchy and hardened on you. 😊 That usually happens when the kunafa is cooked a bit too long or on too high a heat, so the cheese tightens up instead of staying soft and stretchy. For the best texture, serve it warm right away (the cheese firms up quickly as it cools), and using a good low-moisture mozzarella helps. No need to pat it dry. Hope your next batch comes out gooey!
I followed your recipe and ended up with the best dessert! So flavorful… it was a hit, so much so that we couldn’t stop eating it! The simple syrup crystallized a bit. I have to remember to add lemon juice next time. Thanks a sharing such a great recipe !!
So happy to hear this, Amy! Glad you liked it! 🙂
Hi, well done , very simple instructions to follow.
Thank you so much, Salim!
Wooow thank you its perfect! Wht i need!!! i wroted much more before and got deleted! So just thanks for sharing!
Thank you so much for your comment, Marisita. So happy you tried the recipe! 🙂