
This post may contain affiliate links. Please read our disclosure policy.

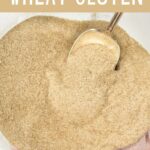


How to make vital wheat gluten (in its wet and dry form) and wheat starch from wheat flour. It’s perfect for making homemade seitan, adding gluten to doughs, and making starch noodles. All you need is wheat flour and water!

You may have seen the recent viral videos going around showing you how to make seitan using the flour-washing method. Well, this post takes you through how to make vital wheat gluten, the ingredient needed to make seitan, both in its wet form (the washed flour form) and dried (powdered) for later usage. At the same time, the process allows us to also make use of the waste product – flour starch, which can be used for noodles and various other uses.
I’ve already shared several flour-making recipes, including rye flour, lentil flour, and chickpea flour. Now it’s the turn of this vital wheat gluten flour and wheat flour starch using just flour, water, and a dehydrator (to dehydrate and powder the VWG).
The below process of making the VWG also takes you through all the beginning steps for homemade seitan – though, I have a dedicated post for that and how I flavor and cook it if that’s what you’re interested in!
Want to save this recipe?
What is Vital Wheat Gluten?
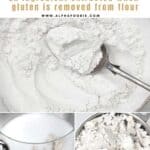
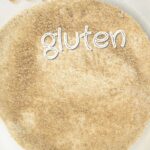
Vital wheat gluten (also called “wheat gluten” and “wheat protein”) is essentially like a super-powered, high-gluten flour where almost all the starch is removed to leave almost only gluten behind.
The way this is done is by combining the flour with water to activate the gluten before it’s processed to remove the starch. This is done by washing/rinsing the dough. As gluten is water-insoluble, the starch in the dough will dissolve, whereas the gluten will stay behind as a solid.
Once you have the remaining vital wheat gluten, you can then turn this into seitan immediately. Alternatively, you can dry and grind it into vital wheat gluten flour/powder (as I do below).
Vital wheat gluten can be added in small amounts to all sorts of doughs to improve the texture. The added gluten can help with dough elasticity, chew, and crumb. Even better, only a tiny amount is needed per recipe.
Unfortunately, vital wheat gluten can be tricky to find (usually in health food stores) and pricy. However, it’s remarkably simple to make the gluten powder at home, low-cost, and it can be stored for months to come.
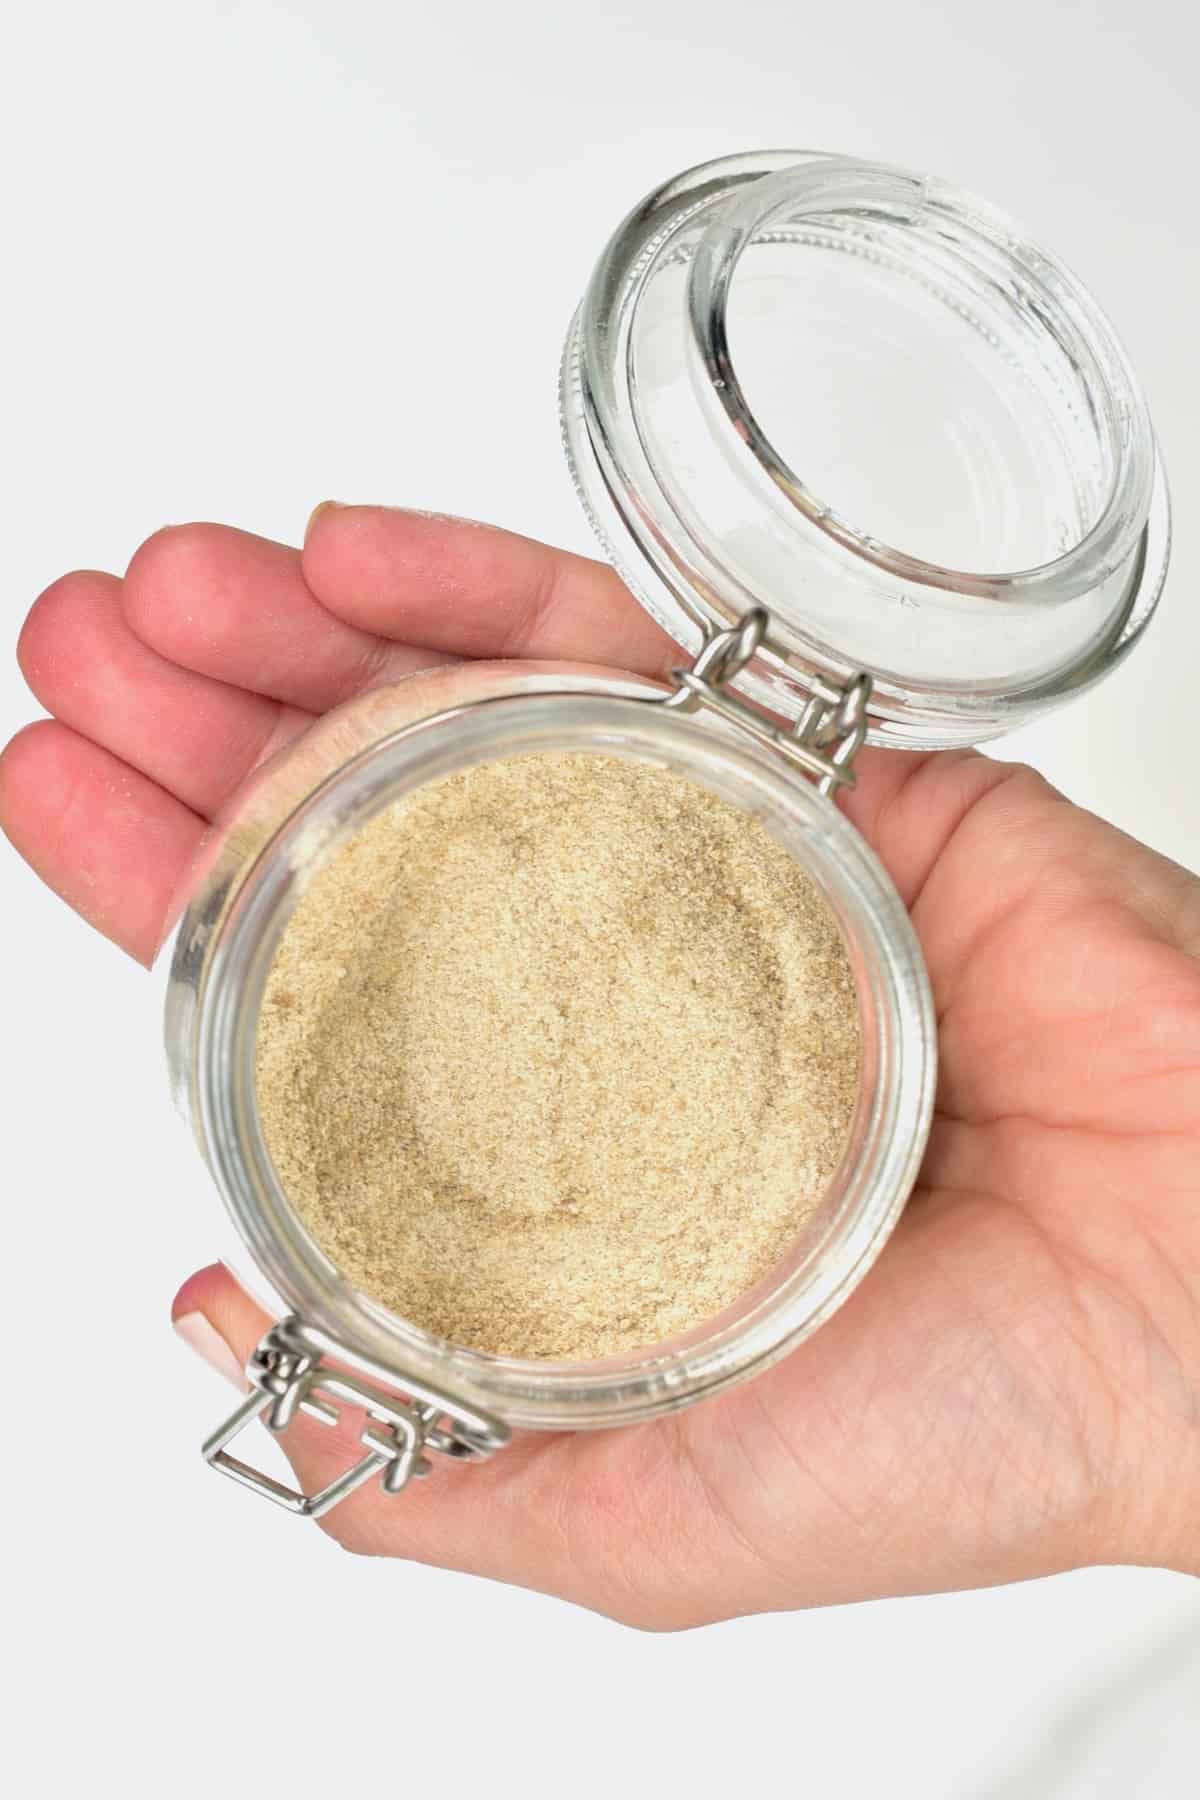
What Is Needed?
- Flour: you can use any flour with a high protein content (I’d aim for 10%+) – regular all-purpose, whole wheat, bread flour, etc.
- Water: you can use filtered or tap water for this – if it’s safe to consume where you live.
How to Make Vital Wheat Gluten and Flour Starch
For Vital Wheat Gluten
Step 1: Create a Dough
First, combine the flour and water into a dough either by hand or with a stand mixer – until it’s a stiff dough.
Allow the dough to rest for 30-60 minutes for the gluten strands to develop. The dough will be very sticky – this is normal.
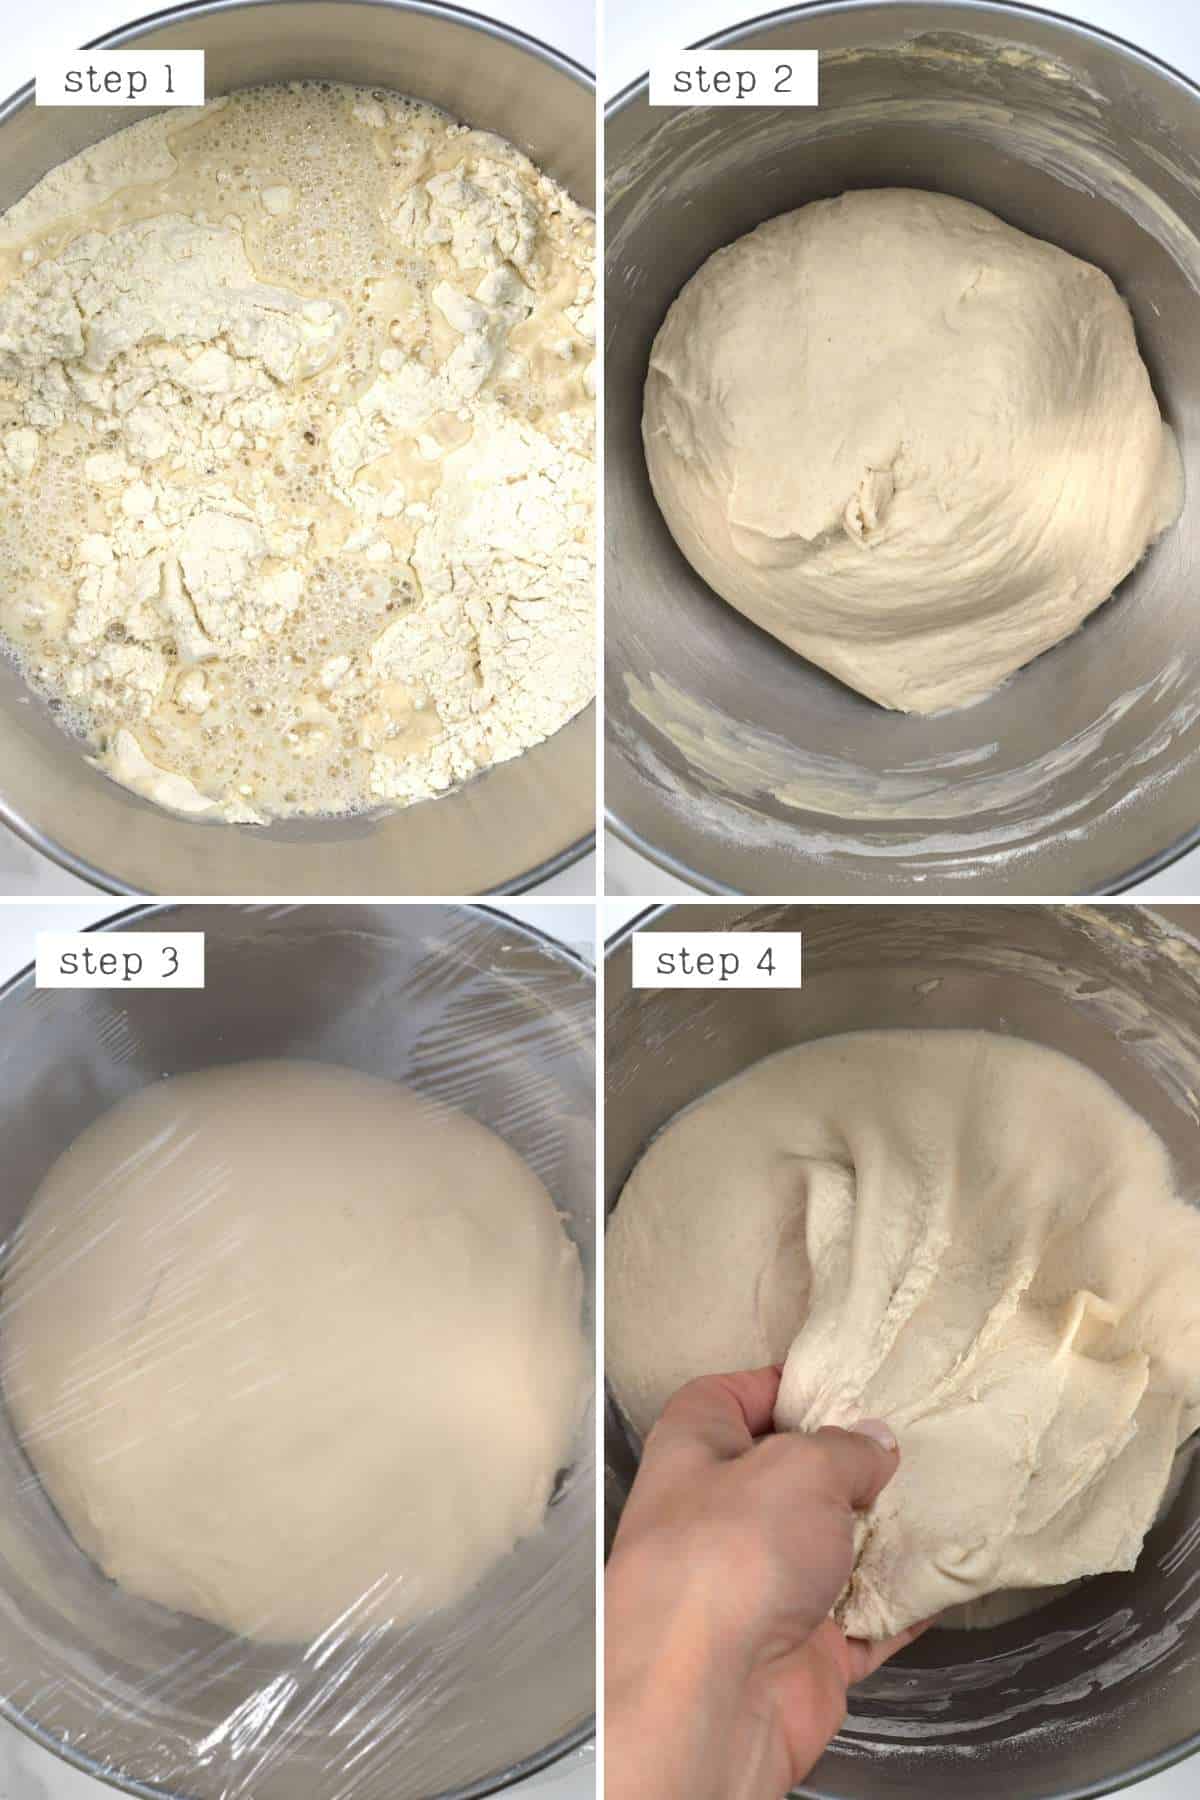
Step 2: Wash the Dough
Fill a large container 2/3 way with cold water and add the dough to it.
Work the dough, stretching, folding, and squeezing it to release as much of the starch from the dough as possible. During this time, the water will become white as the starch leaches into it.
Some methods ask you to let the dough stand for several hours before kneading the dough (3-4 hours at least to allow the gluten to develop). If you test both ways and find that you prefer one over the other, please use whatever you prefer.
As the starch releases, the amount of dough will reduce and go through several changes: becoming spongy and stringy, falling apart, before eventually coming back together as a single mass. The water will become a very murky white, too, as the starches release into the water.
When making the VWG powder you want to get rid of as much of the starch as possible. For washed flour seitan, you don’t need to get rid of it all (read notes).
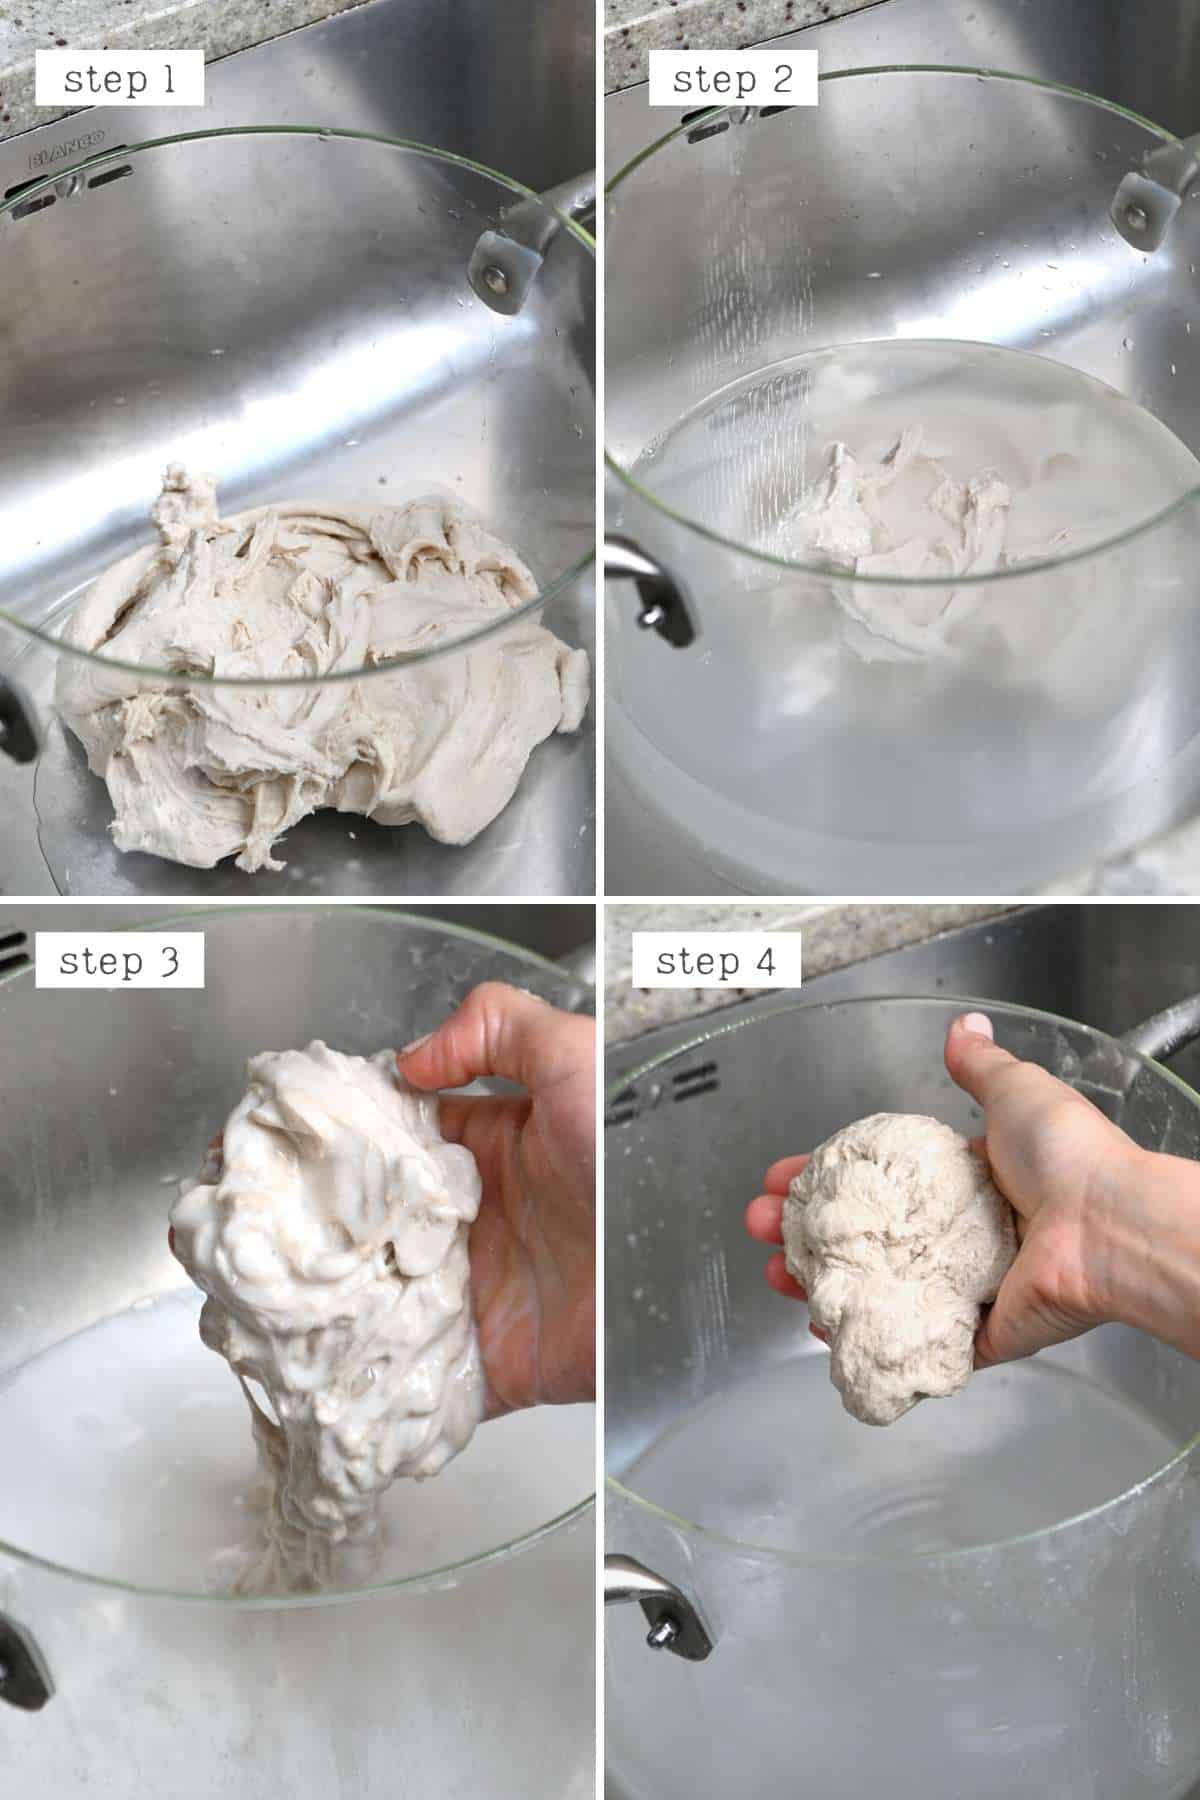
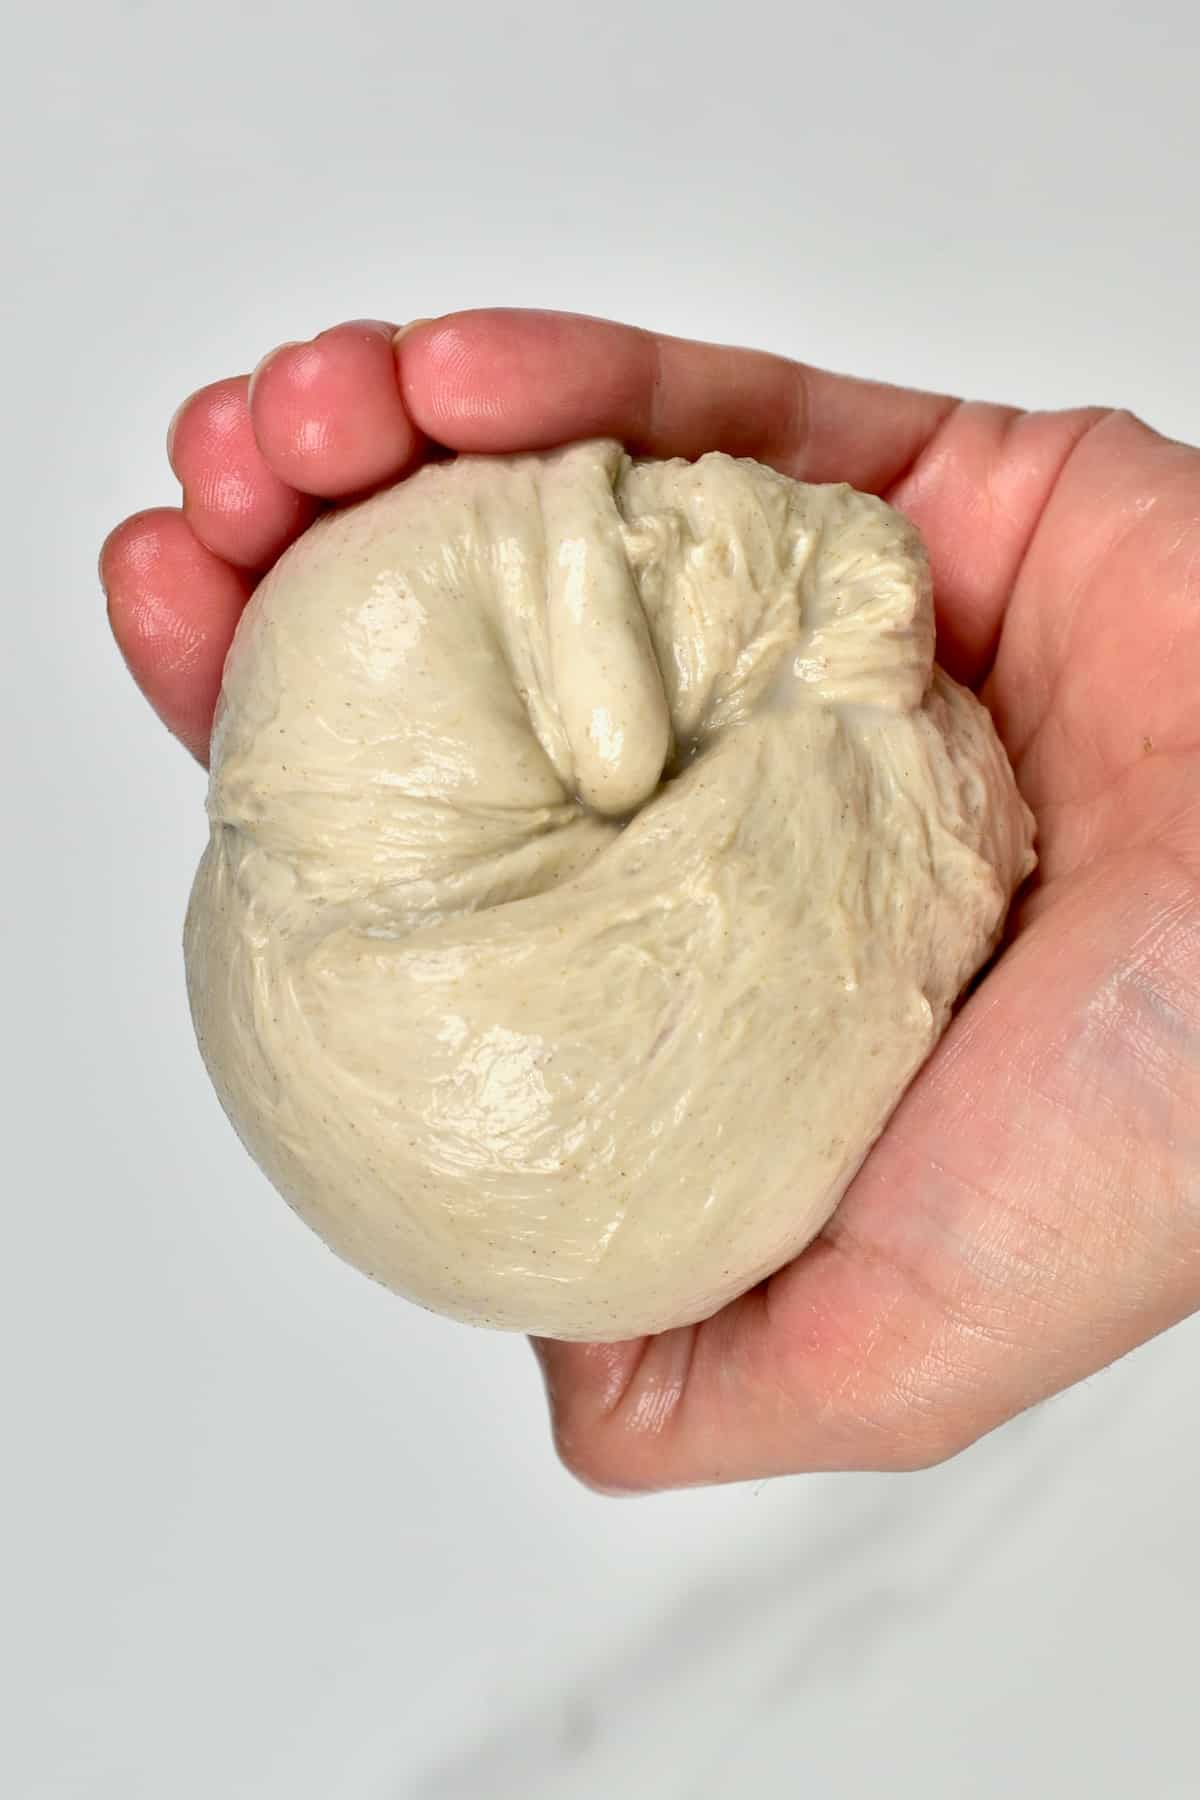
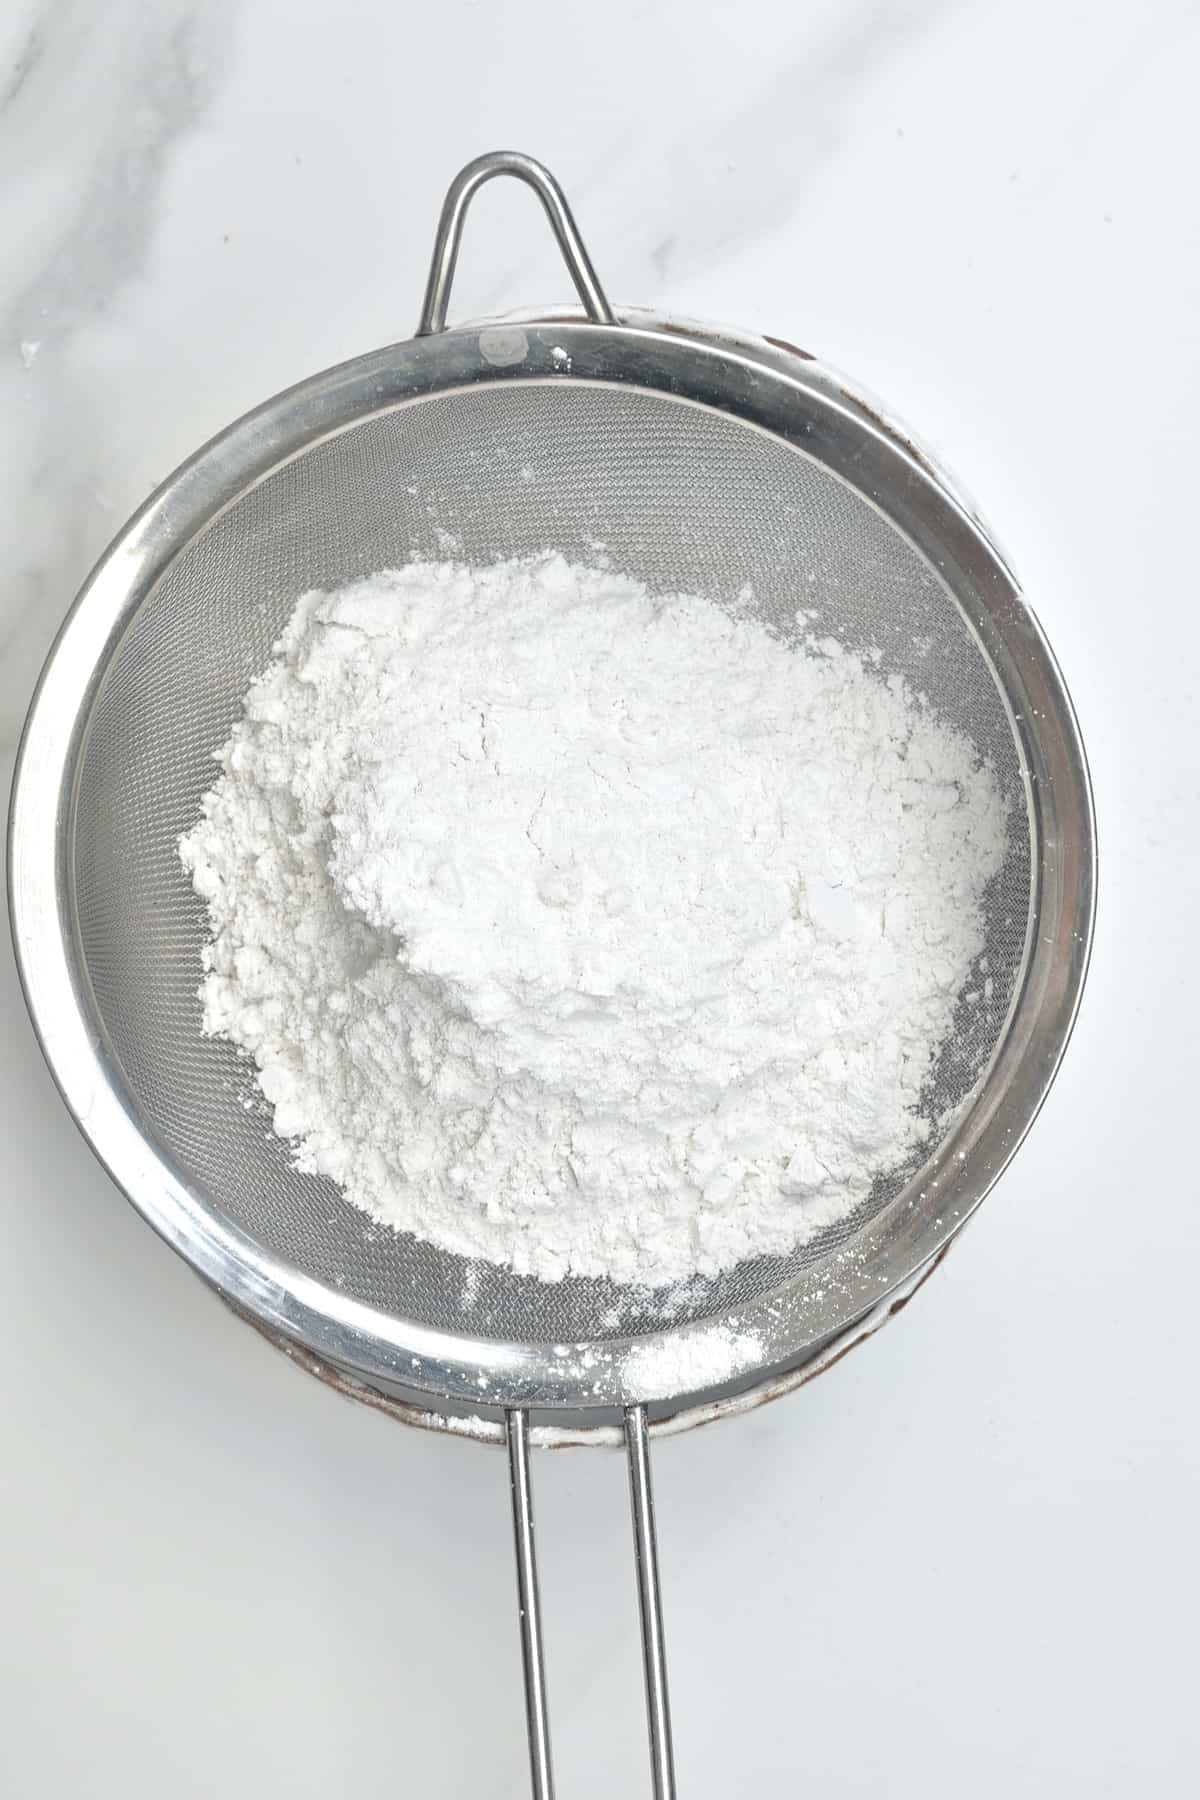
At this point, you need to rinse the dough to get rid of all the remaining starch. To do this, it’s easiest to place the dough (which may still be a little stringy and possibly not all in one piece) into a sieve or fine colander when rinsing, continuing to knead, until it comes together as a single stretchy mass of gluten.
Leave the container with the starchy water to one side (don’t drain it!)
At this point, you can go on to make seitan by flavoring and cooking the VWG – it will be the vegan “chicken” in your recipes. Alternatively, follow the instructions below to make the vital wheat gluten flour.
First, you can allow the dough to rest in the colander for 15-20 minutes to allow the excess water to strain (this isn’t necessary as much when dehydrating – though it will speed up the process. However, when making seitan, it will help the gluten relax, so it becomes stretchier to shape/twist/knot).
Step 3: Dehydrate the Vital Wheat Gluten
Cut the dough into smaller slices and lay them in a single layer across a dehydrating tray.
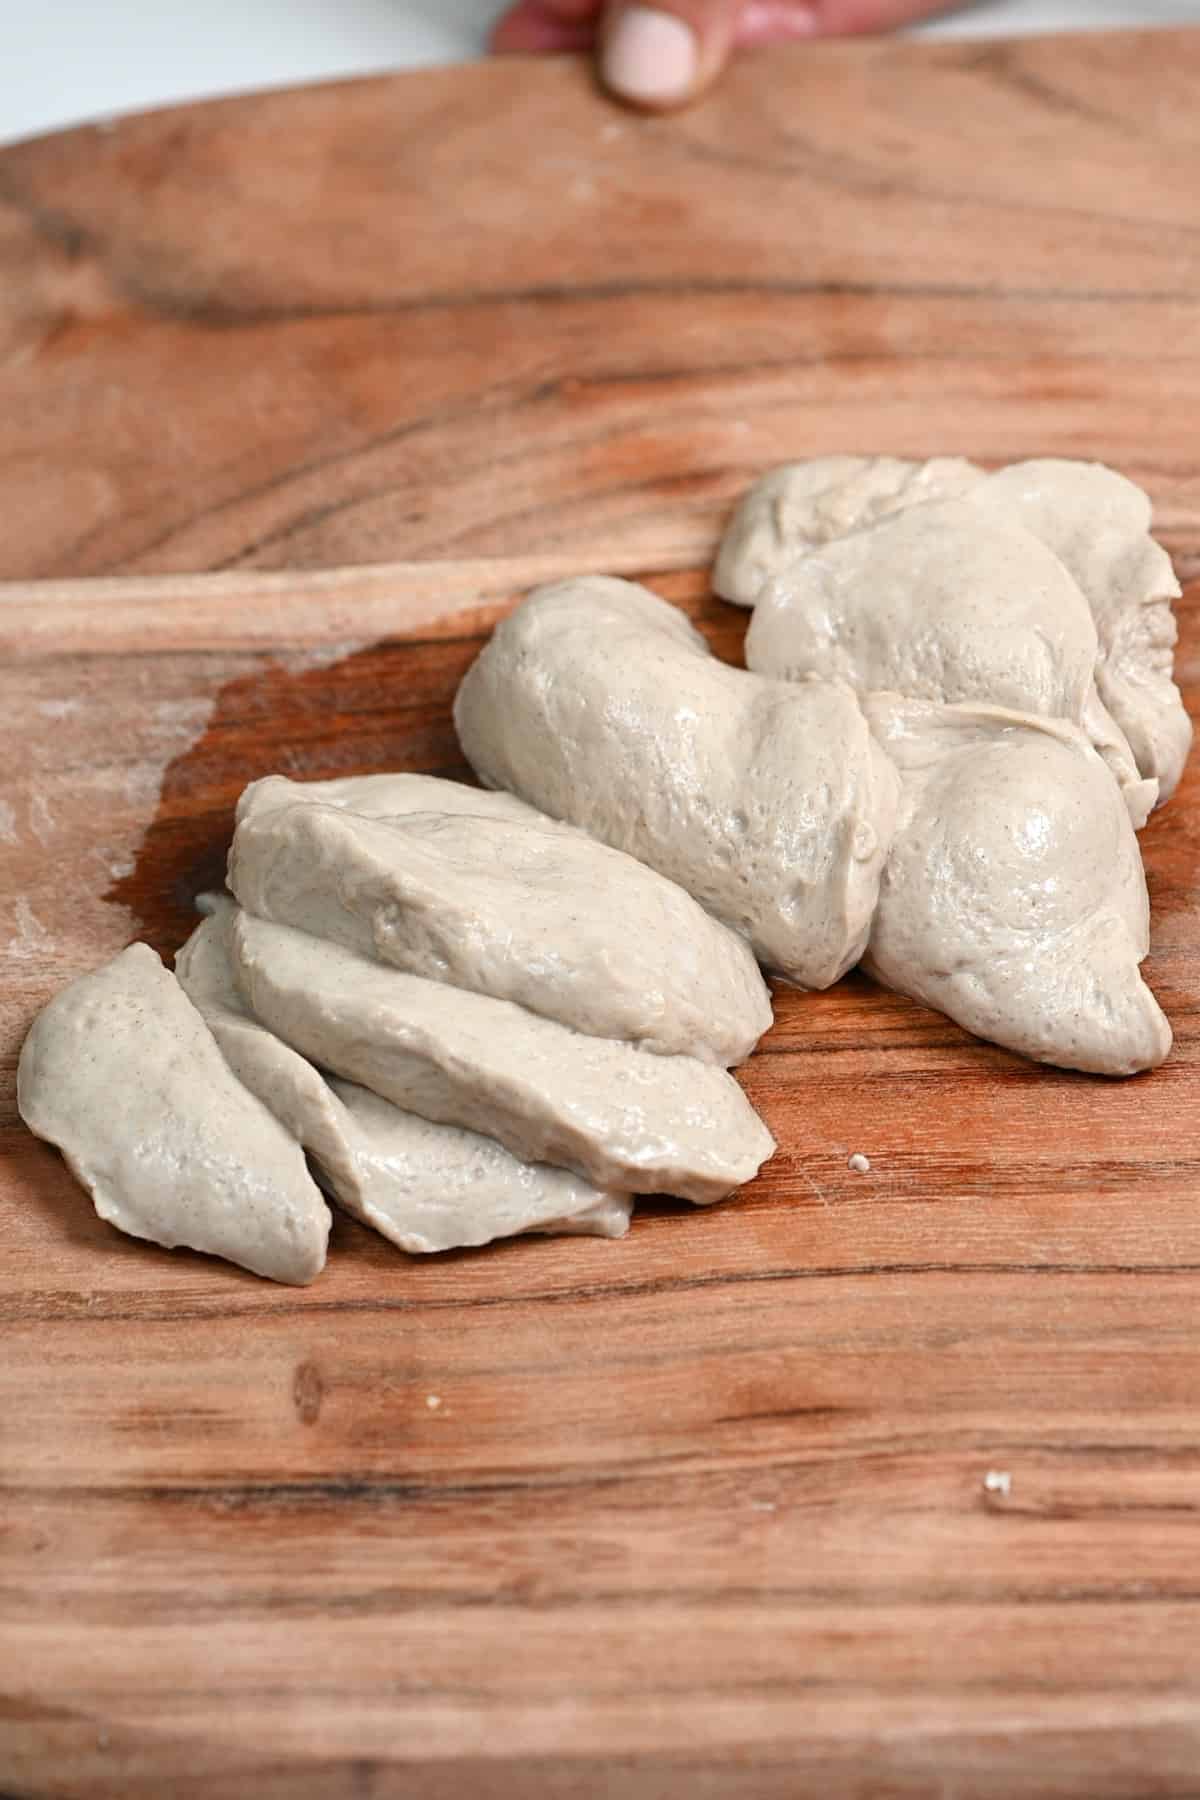
Dehydrate the dough at 125ºF/50ºC until the vital wheat gluten is completely dry. During this time, it will darken and shrivel up – looking a little like jerky.
The time it will take to fully dry the gluten will vary depending on the size and thickness of your dough pieces.

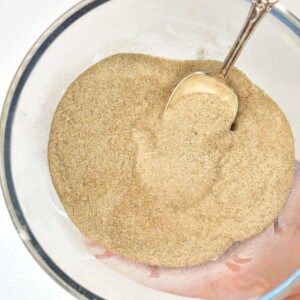
Step 4: Grind the Gluten into Powder
Once dried, add the pieces of dried vital wheat gluten to a coffee/spice grinder (or a high-powered blender/food processor).
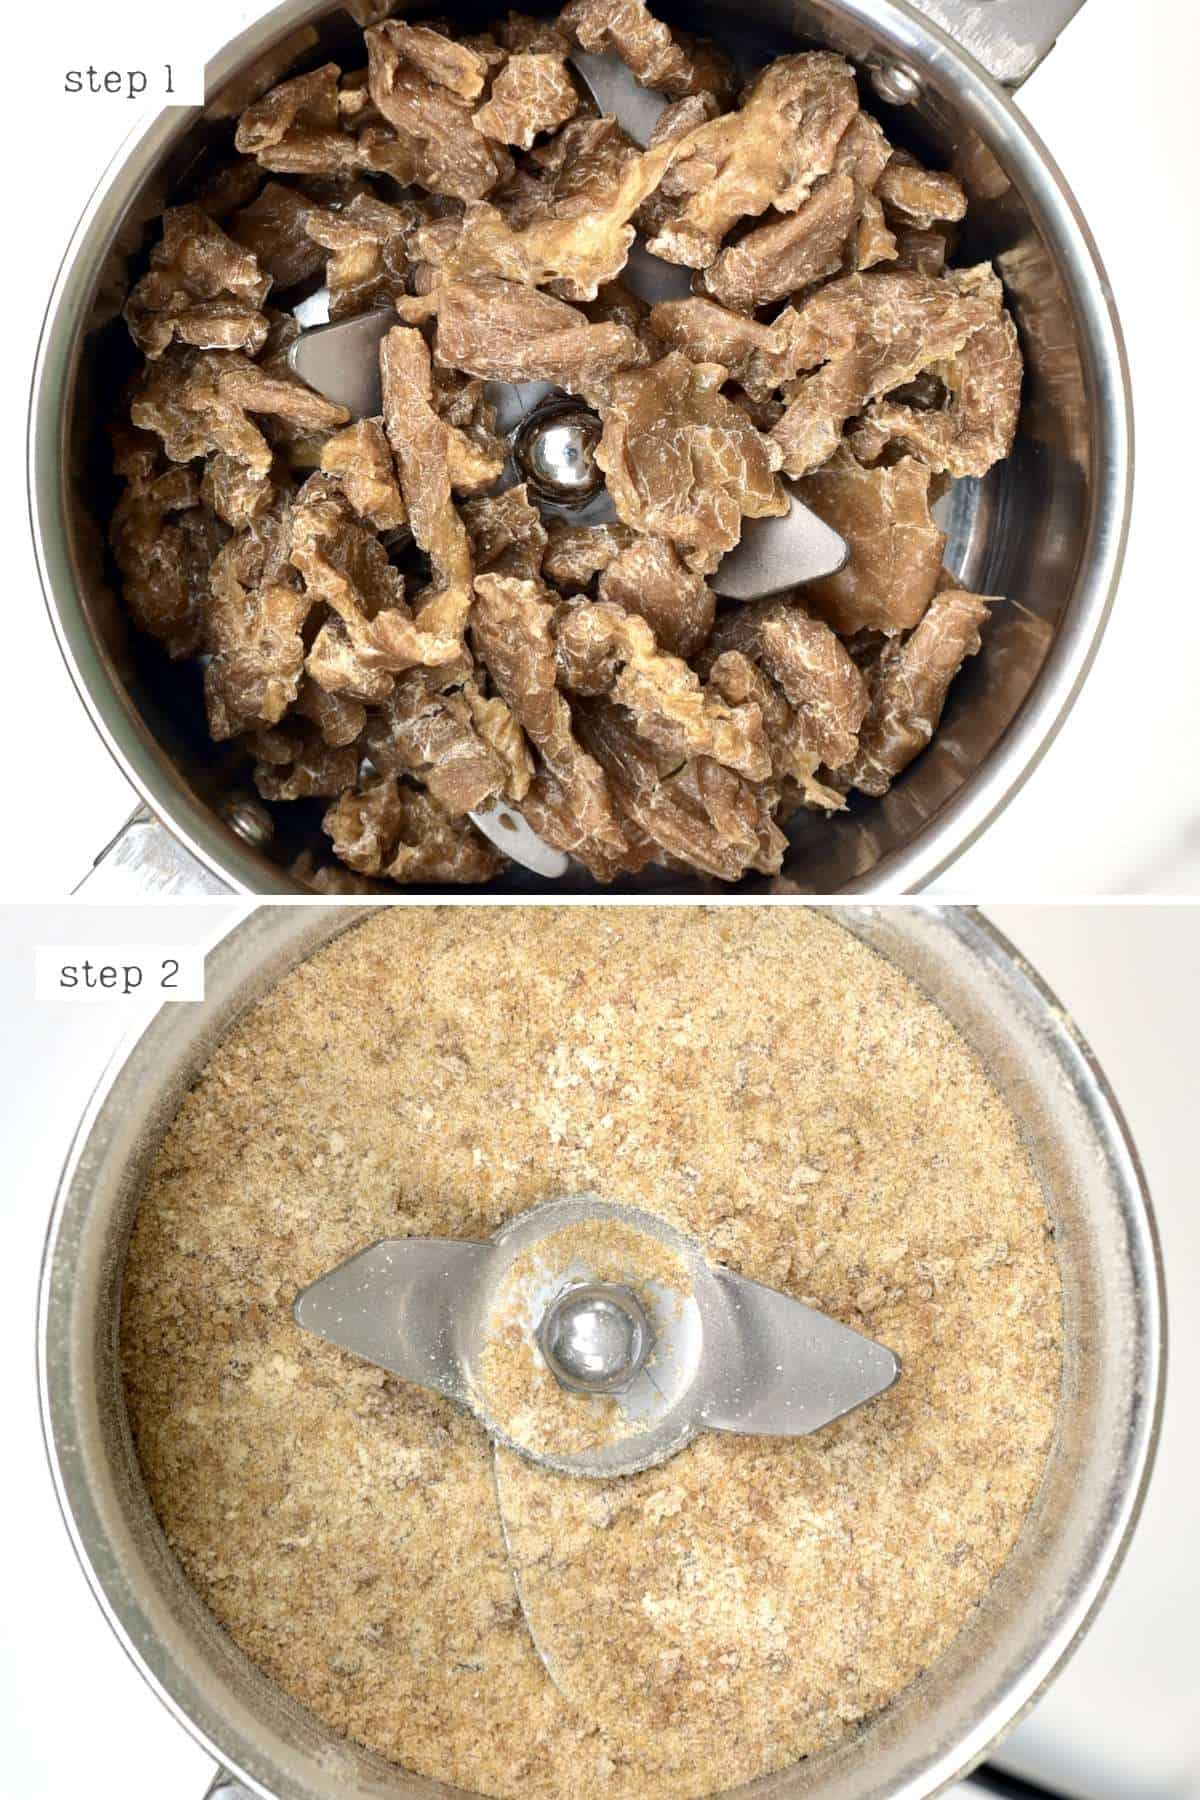
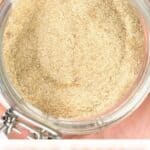
Grind into a powder, sieve it into a bowl, and re-grind the larger pieces – until you have a uniform powder.
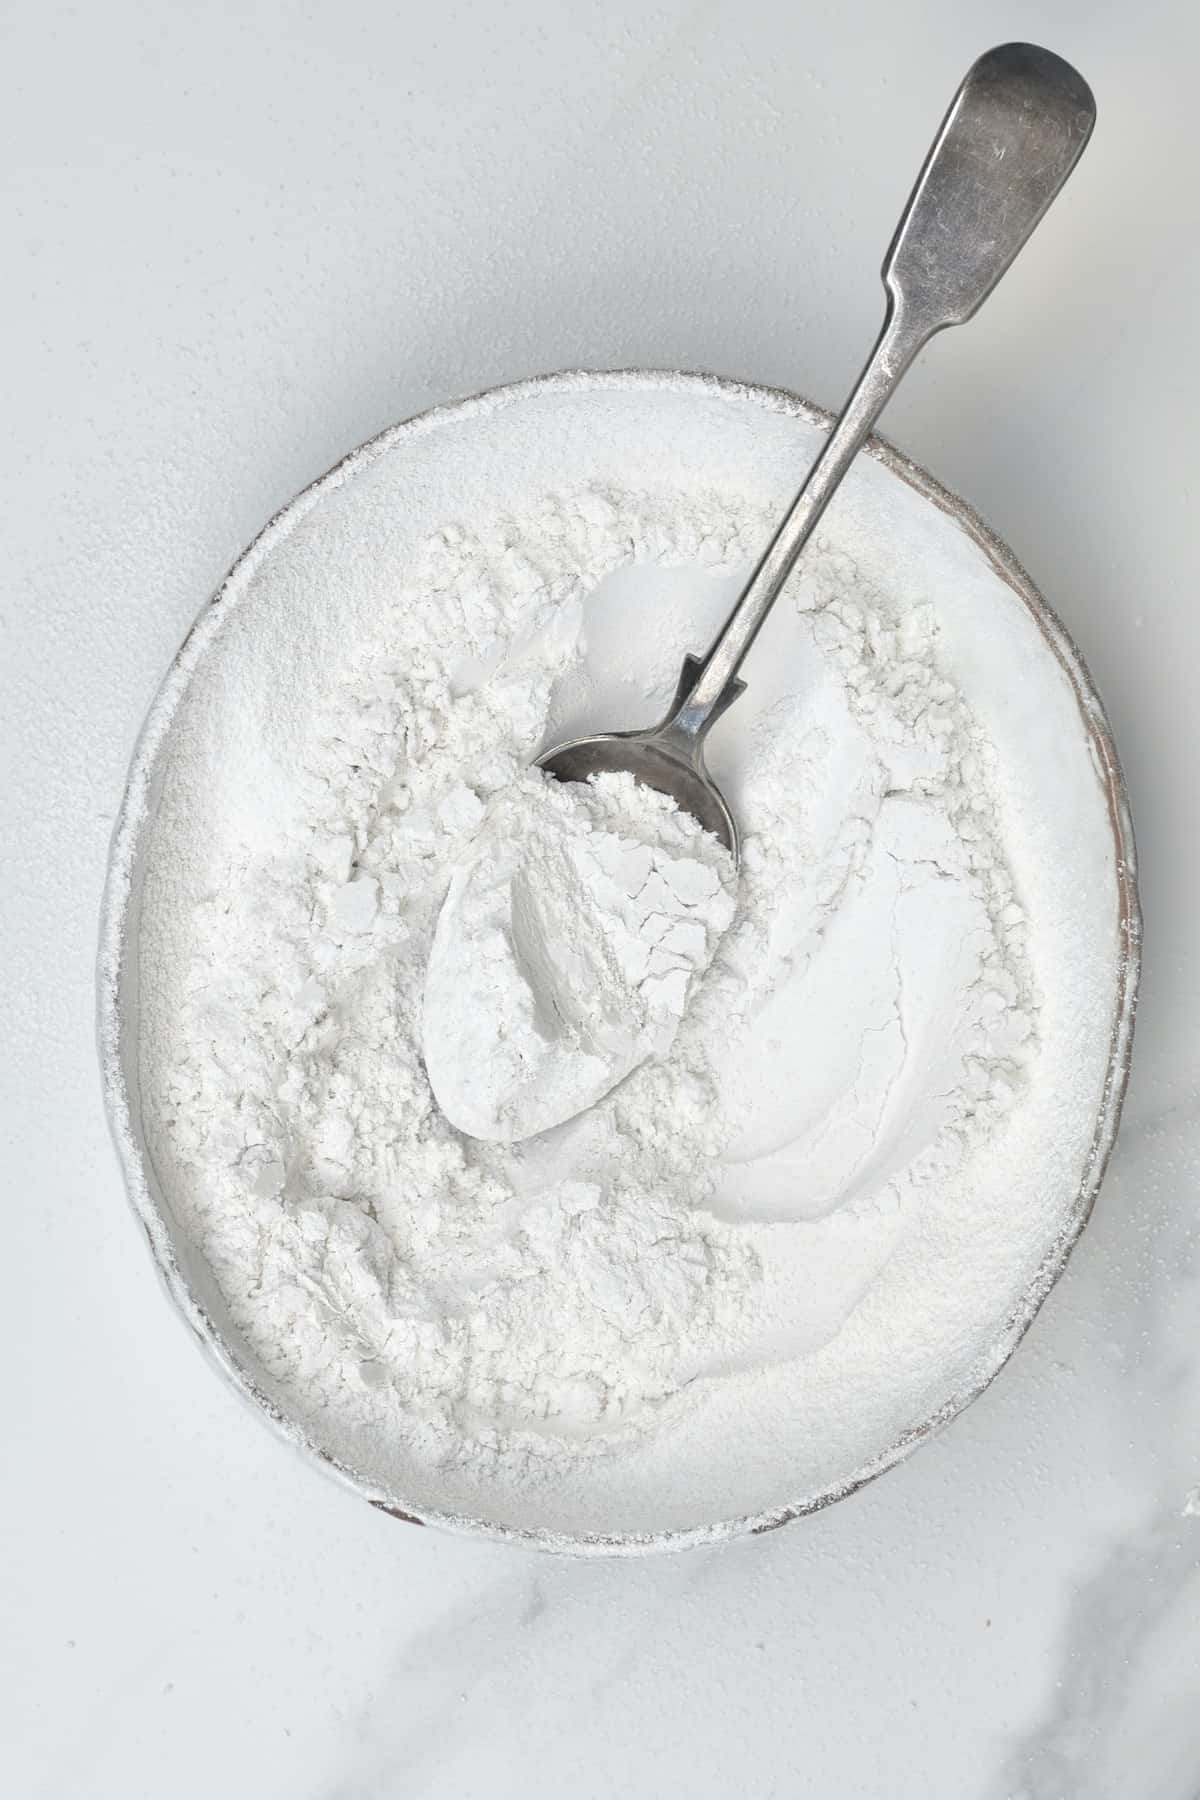
This is your vital wheat gluten flour.

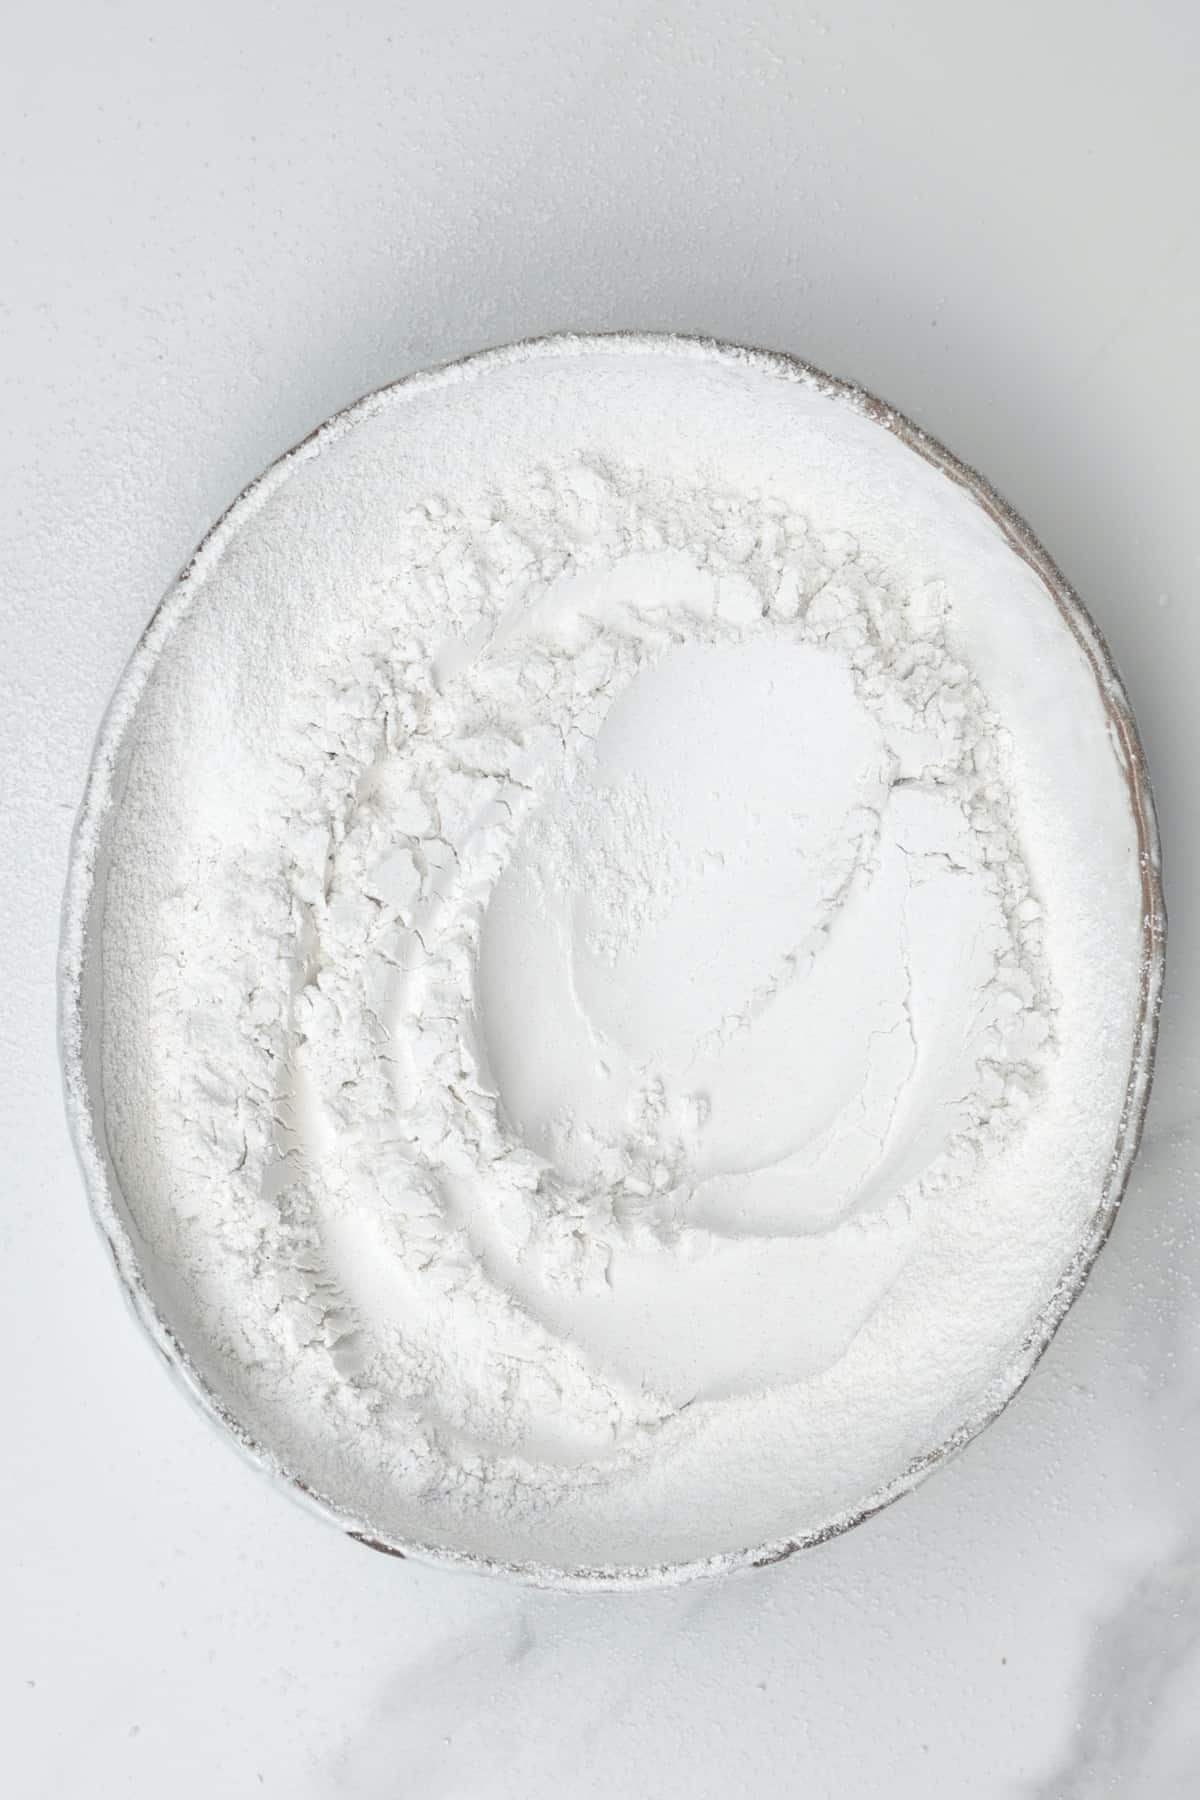
For Flour Starch
With the remaining starchy water, set it to one side. You can leave it in this container or transfer it to another, lidded, one and place it in the refrigerator to rest.
As it sits, the starch will fall to the bottom of the container while the water remains on top.
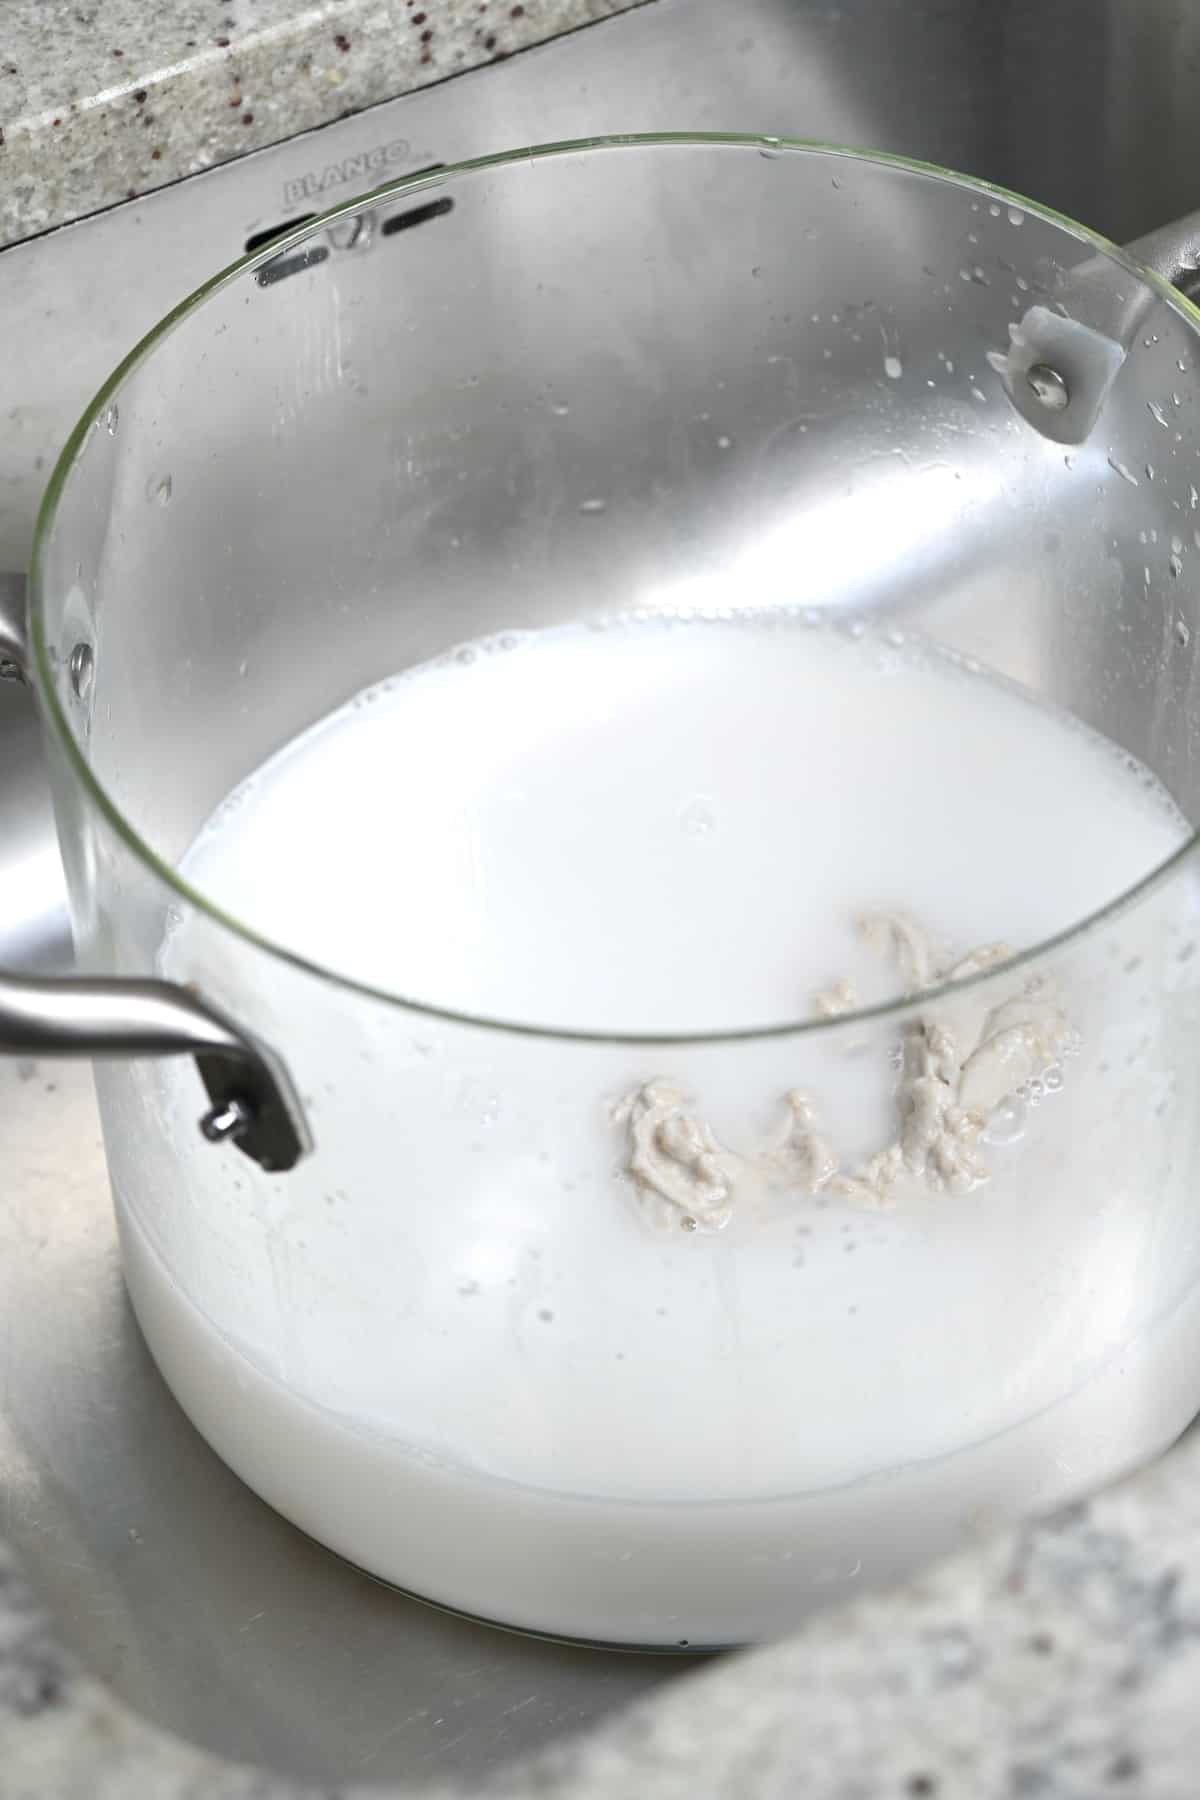
You can then drain the water off the top and use the liquid starchy water to help thicken sauces. Alternatively, allow the starch to dry first.
To do this, drain the water from the top of the container and leave the remaining wet starch mixture behind. Leave this to one side, and it will dry out over time.
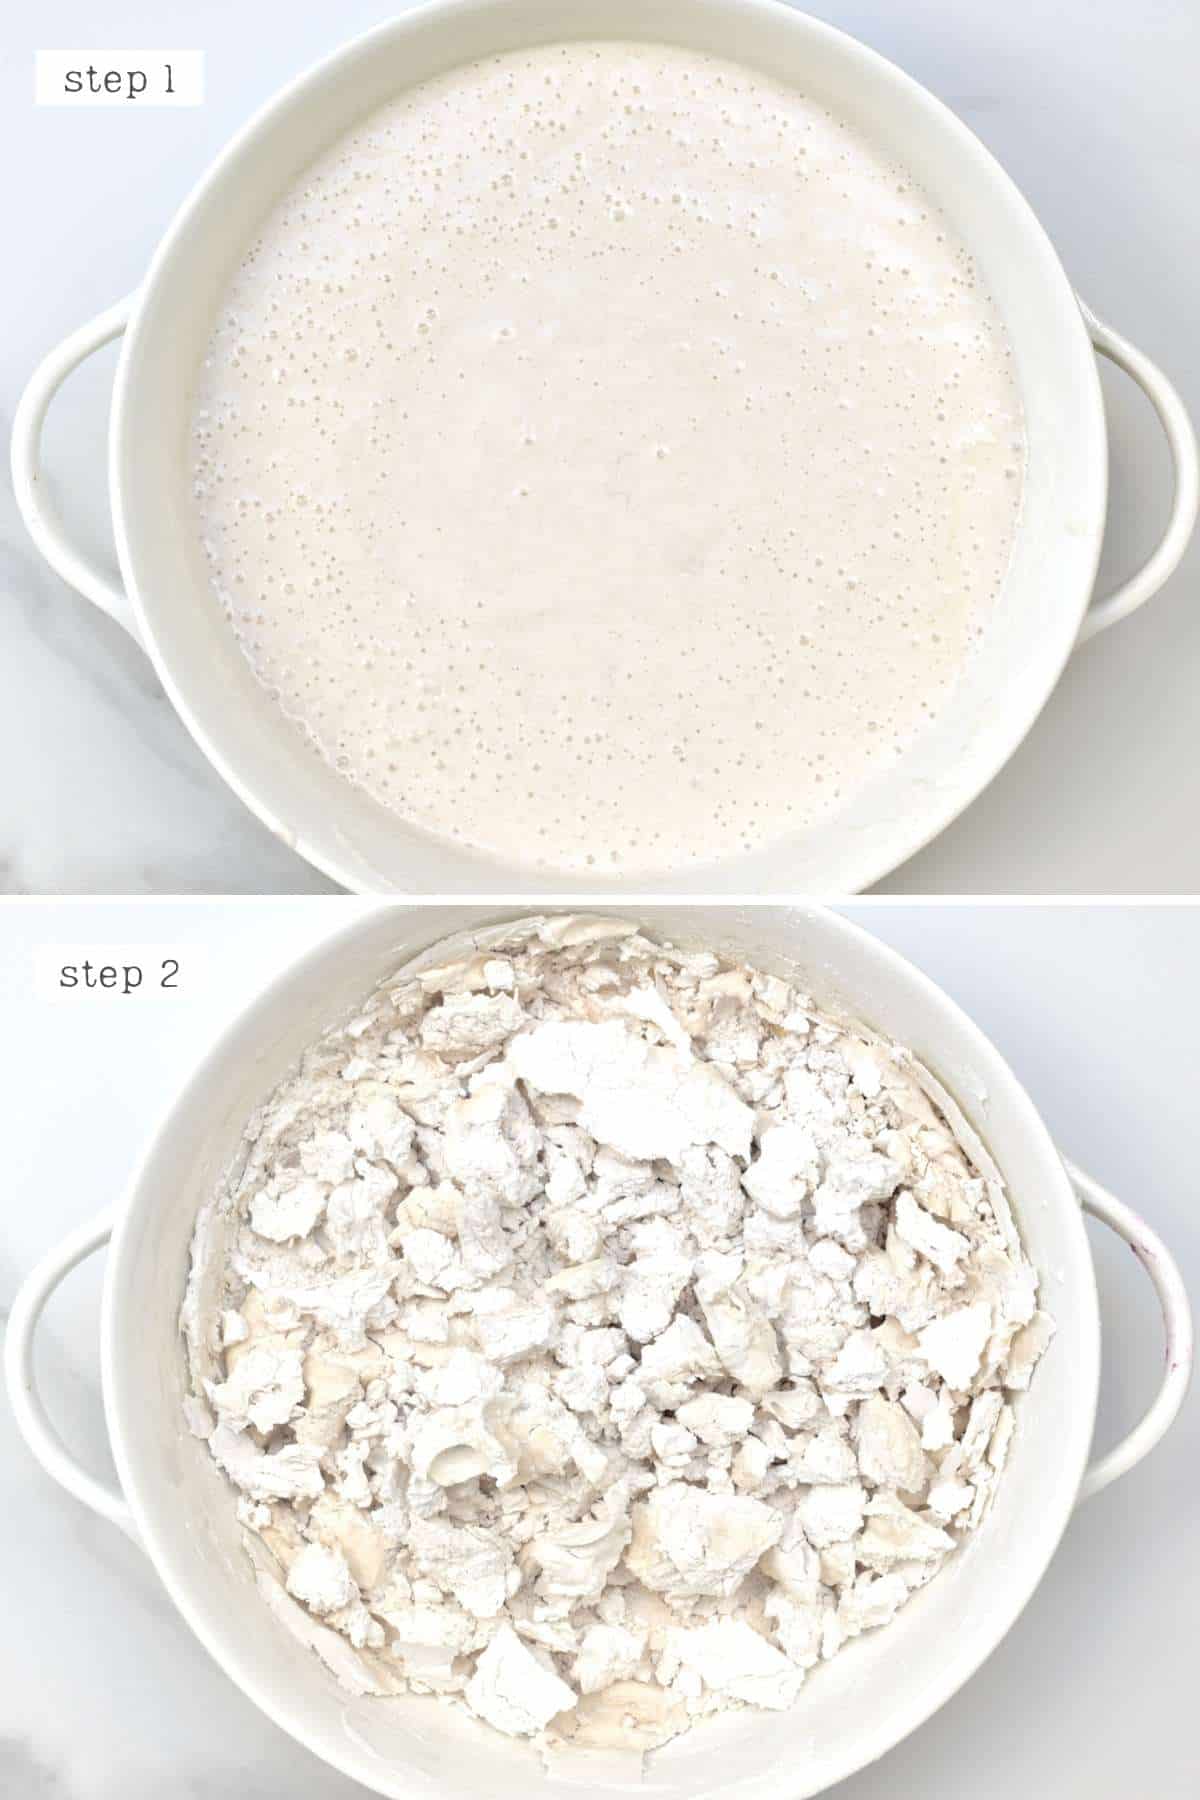
Once dry, you can gather the starch and process it in the spice grinder (or blender) into a powder.
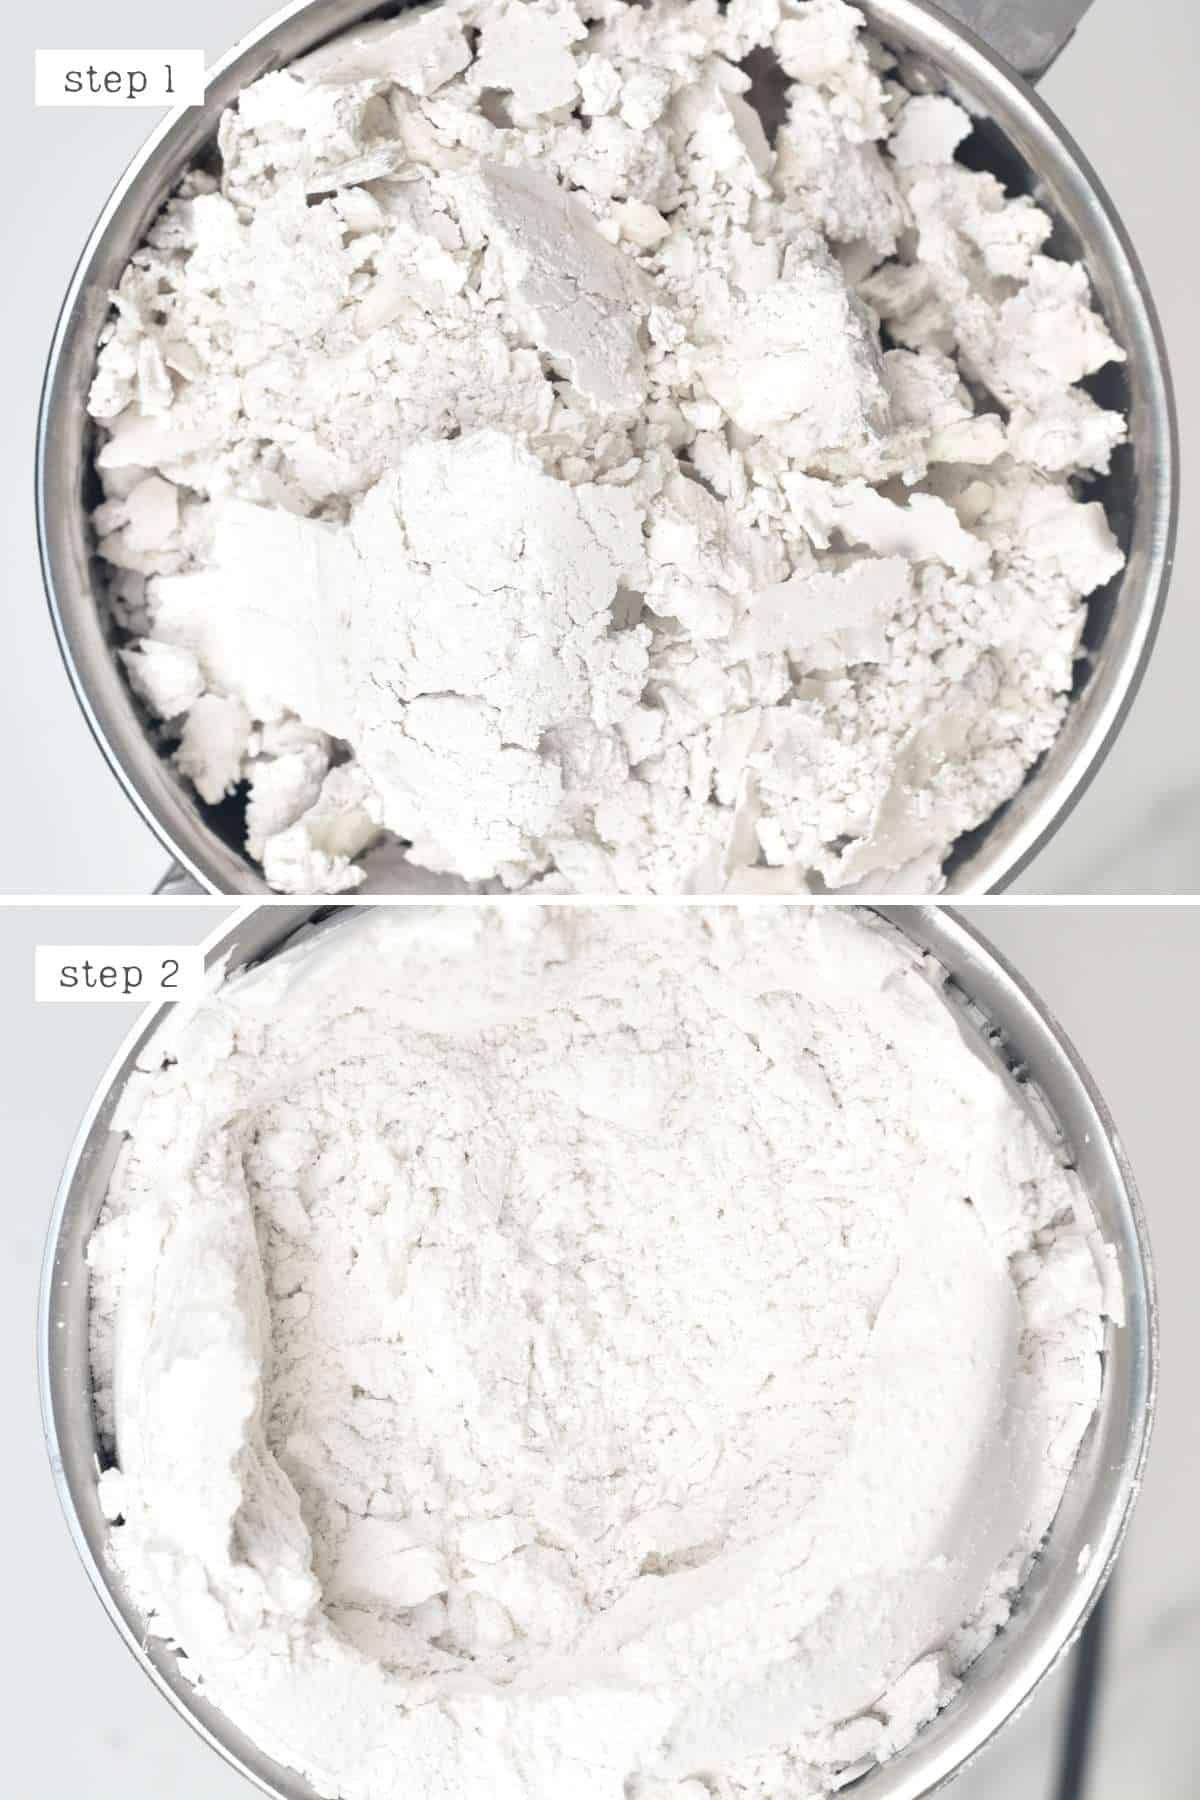
Finally, sieve the powder. Then the starch is ready to be stored ready to use later.
How to Store
Store both the vital wheat gluten and wheat starch flour in clean, airtight containers. Store in a cool, dry location for up to 6 months, for the best results.
You may be able to store the VWG powder in the freezer to further extend its shelf life, though it isn’t something I’ve tried.
How to Use Vital Wheat Gluten and wheat starch?
There are several vital wheat gluten uses, including:
- You can use Vital wheat gluten in small amounts in many bread recipes – especially when using low-protein flour. Friends have let me know that it can help to control bread density at high altitudes.
- You can also use vital wheat gluten to create a strong bread flour when all you have in the cupboard is regular all-purpose flour!
- Vital wheat gluten is also an ingredient to use as a binder within various meat alternatives like meatballs and veggie burgers.
- Let’s not forget that vital wheat gluten is also the key ingredient in seitan and can make vegan pepperoni and other meat alternatives.
You can use wheat starch/ flour starch to thicken sauces, fillings, soups, stews, etc. It is also an ingredient in recipes like Liang pi noodles, silver pin noodles, and sometimes Chinese dumpling wrappers.
The starch can also be used when making homemade facial masks as its absorbency means it’s a good ingredient for leeching impurities and oil from our skin.
FAQs
If you’re wanting to make a stronger flour, then the general ratio that’s recommended is:
1 tablespoon vital wheat gluten to every 2 cups of flour
There are differing opinions on this, though some facts are clear.
If you are celiac or have a gluten sensitivity or allergy, this is a product you should avoid as it’s almost 100% gluten.
If you don’t have a tolerance, this is fine to eat though it is highly processed. For that reason, I recommend using it in moderation – just like most things in your diet
Any flour with over 10% protein content should work well. This includes all-purpose flour, whole wheat, and other strong flours like bread flour.
More Recipe Notes and FAQs
- How to tell the starch level: if you find it hard to gauge if you have enough starch out of the dough, you can do several ‘washes’ of the dough. To do this, use just enough water to cover the dough. After kneading for several minutes, drain the liquid into another container and re-fill the first one with more water. Do this 3-4 times- that way, you can see how much starch is remaining, based on how milky the water becomes. Repeat this process until the water is only slightly cloudy or almost clear (get out as much as possible when making VWG powder. You don’t need to get rid of as much when making seitan).
- It’s best to use a dehydrator: while I like to include options whenever possible, too much heat with VWG can affect the gluten. For that reason, a dehydrator at low heat is definitely better than trying to use an oven for this method.
Other Dehydrator Recipes
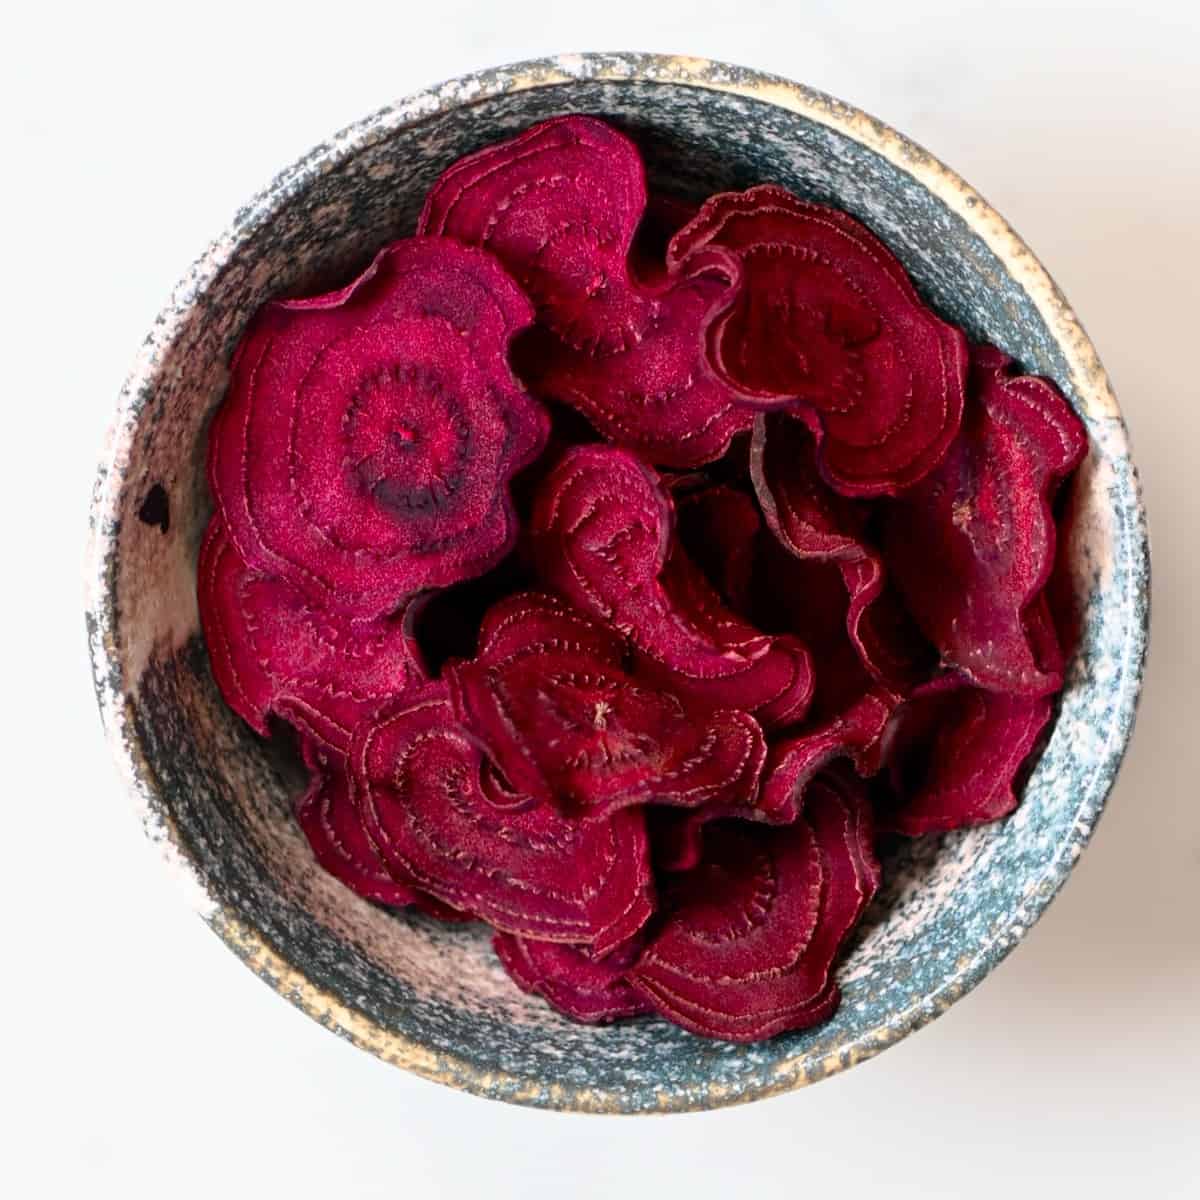
- How to Make Beetroot Chips (Baked or Dehydrated)
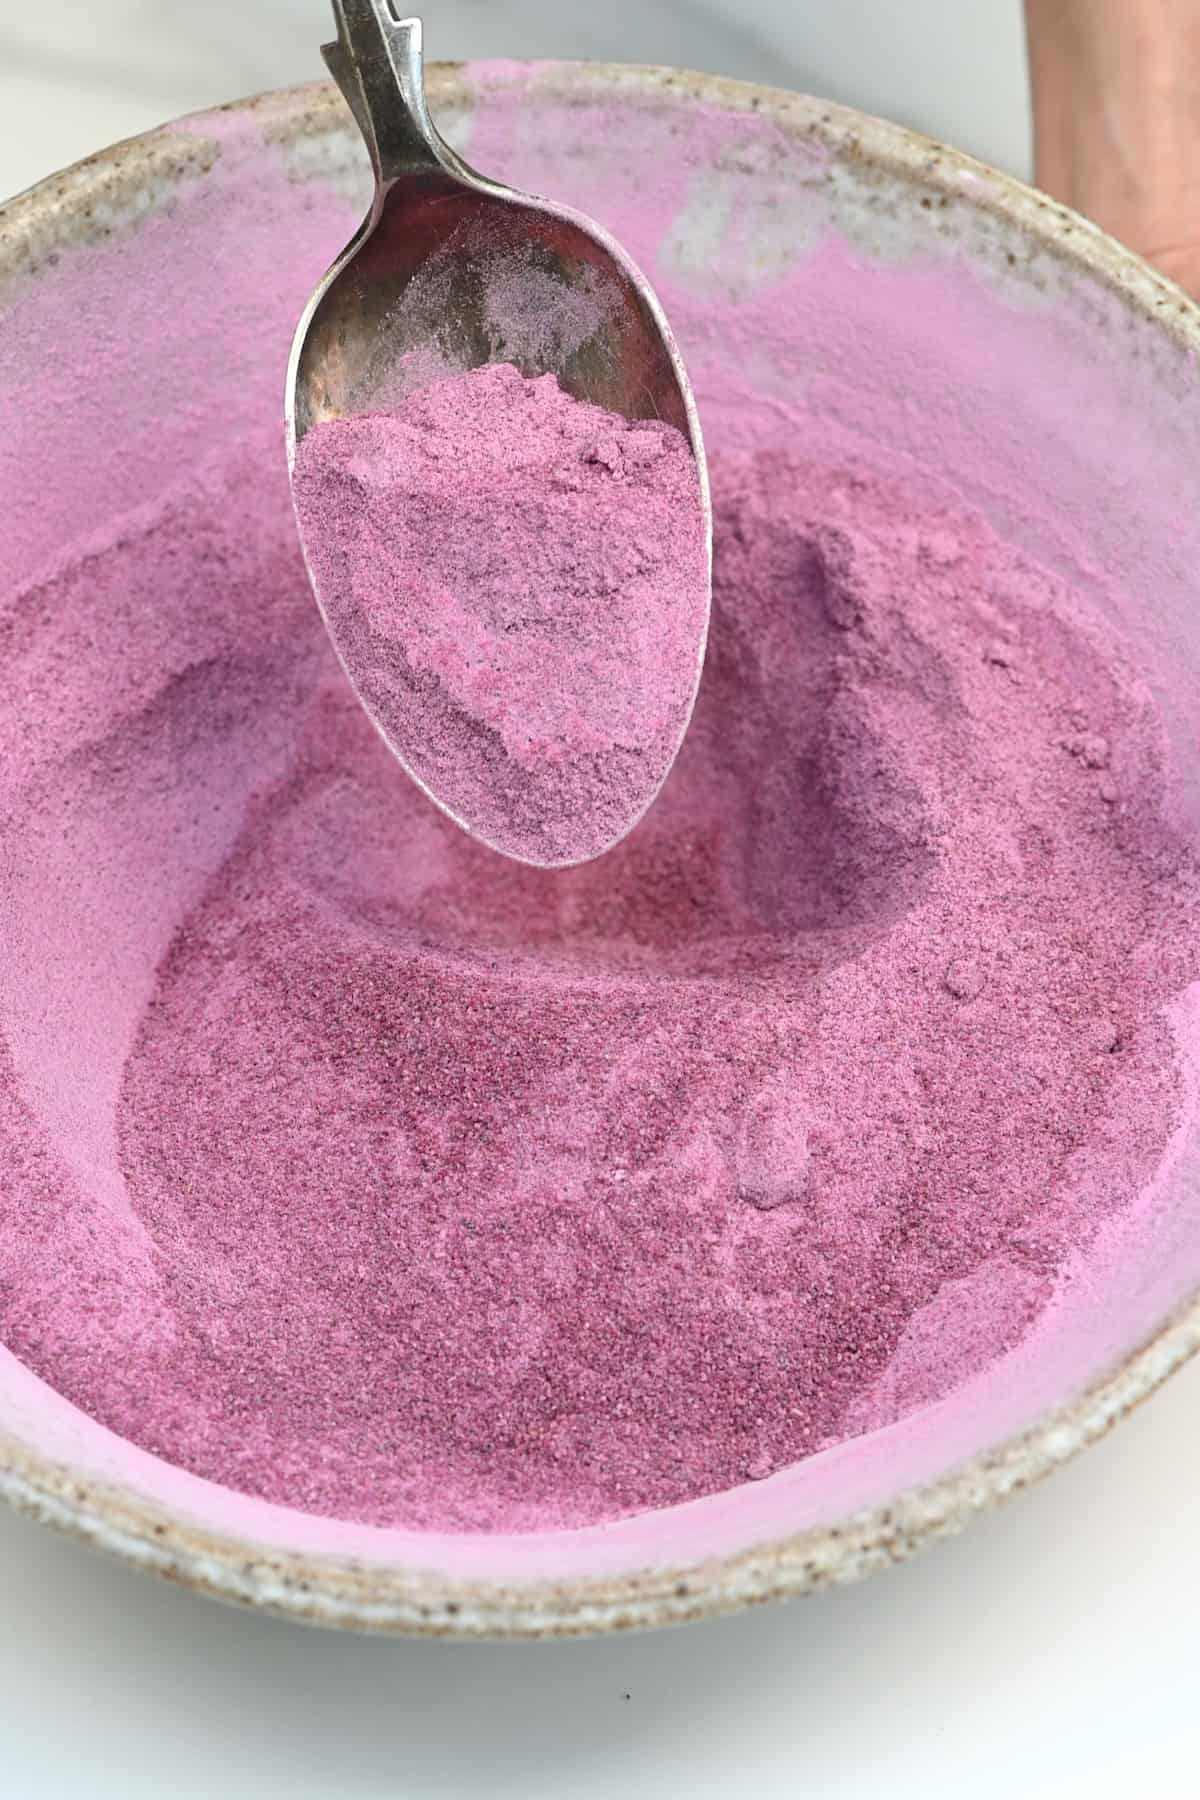
- How to Make Ube Powder / Purple Sweet Potato Powder
- Dried Mushrooms (In Oven or Dehydrator)
- How to Make Garlic Powder or Garlic Flakes
- How to Make “Sun-Dried” Tomatoes (In Oven or Dehydrator)
- Homemade Chili Flakes (Oven + Dehydrator)
If you try this method for homemade vital wheat gluten powder and flour starch, I’d love to hear your thoughts/questions below. Also, I’d appreciate a recipe card rating below, and feel free to tag me in your recipe recreations on Instagram @Alphafoodie!
How to Make Vital Wheat Gluten (and Wheat Flour Starch)
Equipment
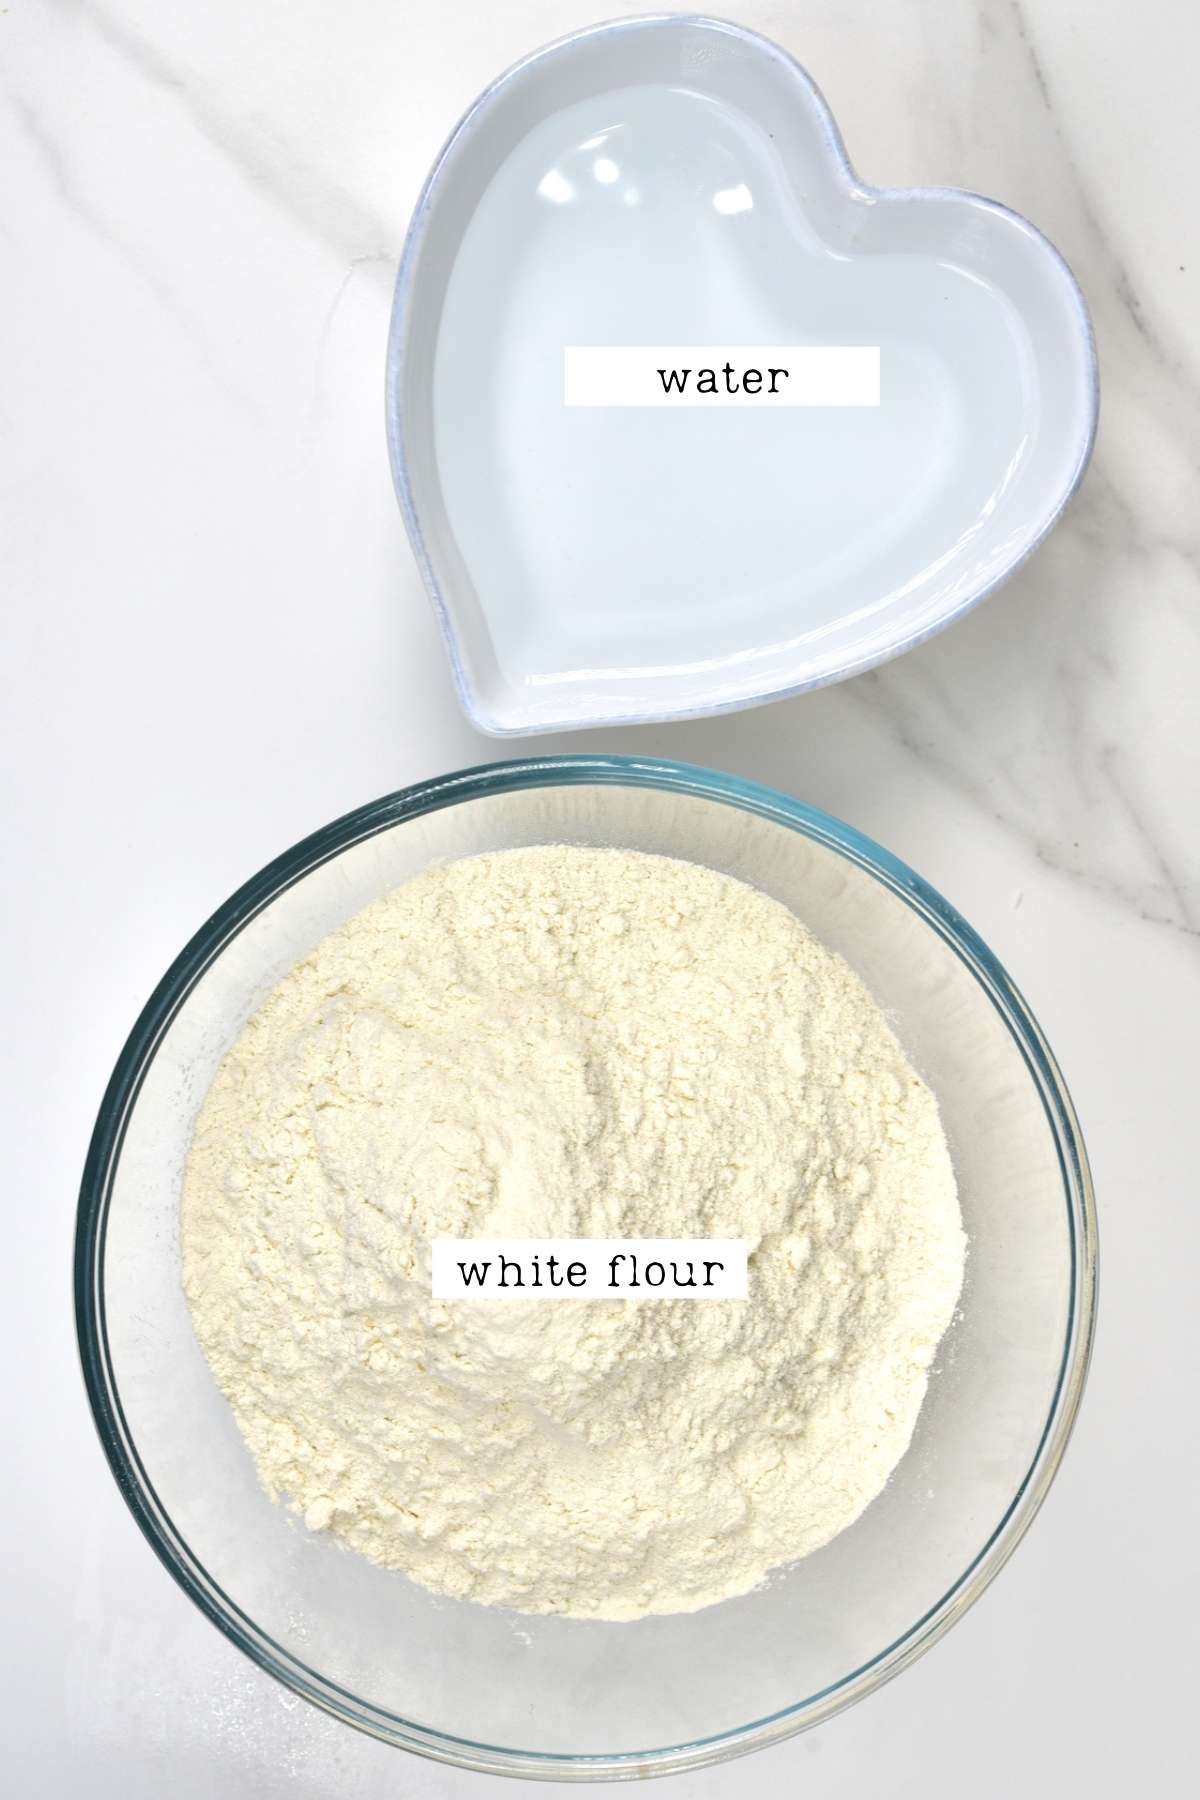
Ingredients
- 21 oz white flour above 10% protein
- 14 oz water filtered or tap (cold)
This will yield about 2 oz/60 g vital wheat gluten
Instructions
For Vital Wheat Gluten
Step 1: Create a Dough
- Combine the flour and water into a dough either by hand or with a stand mixer – until it’s a stiff dough.
- Allow the dough to rest for 30-60 minutes for the gluten strands to develop. The dough will be very sticky – this is normal.
Step 2: Wash the Dough
- Fill a large container 2/3 way with cold water and add the dough to it.
- Work the dough, stretching, folding, and squeezing it to release as much of the starch from the dough as possible. During this time, the water will become white as the starch leaches into it.Some methods ask you to let the dough stand for several hours before kneading the dough (3-4 hours at least to allow the gluten to develop). If you test both ways and find that you prefer one over the other, please use whatever you prefer.
- As the starch releases, the amount of dough will reduce and go through several changes: becoming spongy and stringy, falling apart, before eventually coming back together as a single mass. The water will become a very murky white, too, as the starches release into the water.When making the VWG powder you want to get rid of as much of the starch as possible. For washed flour seitan, you don't need to get rid of it all (check the notes below).
- At this point, you need to rinse the dough to get rid of all the remaining starch. To do this, it’s easiest to place the dough (which may still be a little stringy and possibly not all in one piece) into a sieve or fine colander when rinsing, continuing to knead, until it comes together as a single stretchy mass of gluten.Leave the container with the starchy water to one side (don’t drain it!)
- At this point, you can either go on to make seitan by flavoring and cooking the VWG (it will be the vegan "chicken" in your recipes) OR follow the instructions below to make the vital wheat gluten flour.Note: you can allow the dough to rest in the colander for 15-20 minutes to allow the excess water to strain (this isn’t necessary as much when dehydrating – though it will speed up the process. However, when making seitan, it will help the gluten relax, so it becomes stretchier to shape/twist/knot).
Step 3: Dehydrate the Vital Wheat Gluten
- Cut the dough into smaller slices and lay them in a single layer across a dehydrating tray.
- Dehydrate the dough at 125ºF/50ºC until the vital wheat gluten is completely dry. During this time, it will darken and shrivel up – looking a little like jerky.The time it will take to fully dry the gluten will vary depending on the size and thickness of your dough pieces.
Step 4: Grind the Gluten into Powder
- Once dried, add the pieces of dried vital wheat gluten to a coffee/spice grinder (or a high-powered blender/food processor).
- Grind into a powder, sieve it into a bowl, and re-grind the larger pieces – until you have a uniform powder. This is your vital wheat gluten flour.
For Flour Starch
- With the remaining starchy water, set it to one side – you can leave it in this container or transfer it to another, lidded, one and place it in the refrigerator to rest.As it sits, the starch will fall to the bottom of the container while the water remains on top.
- You can then drain the water off the top and use the liquid starchy water to help thicken sauces. Alternatively, allow the starch to dry first.To do this, drain the water from the top of the container and leave the remaining wet starch mixture behind. Leave this to one side, and it will dry out over time.
- Once dry, you can gather the starch and process it in the spice grinder (or blender) into a powder.
- Finally, sieve the powder, and then the starch is ready to be stored ready to use later for recipes like Liang pi noodles, etc.
How to Store
- Store both the vital wheat gluten and wheat starch flour in clean, airtight containers in a cool, dry location for up to 6 months, for the best results.You may be able to store the VWG powder in the freezer to further extend its shelf life (up to 12 months likely), though it isn’t something I’ve tried.
Notes
- How to tell the starch level: if you find it hard to gauge if you have enough starch out of the dough, you can do several “washes” of the dough. To do this, start with less water, and after kneading for several minutes, drain the liquid into another container and re-fill the first one with more water. Do this 3-4 times – that way, you can see how much starch is remaining in your dough based on how milky the water becomes. Repeat this process until the water is only slightly cloudy or almost clear (get out as much as possible when making VWG powder, you don’t need to get rid of as much when making seitan).
- It’s best to use a dehydrator: While I like to include options whenever possible, too much heat when dealing with VWG can affect the gluten. For that reason, a dehydrator at low heat is definitely better than trying to use an oven for this method.
Nutrition
Nutrition information is automatically calculated, so should only be used as an approximation.


I followed this as best as I could & used the vital wheat gluten powder added to whole wheat ordinary flour in my breadmaker. I wish I could share the picture with you.
Thank you so much for your comment, Janet!
How much gluten flour do you get with that repice? Looking for a ratio flour vs result. Thanks 🙂
Hi Caroline,
21 oz white flour turned into about 2 oz vital wheat gluten. So the ratio would be about 10:1.
I’m having a hard time finding vital wheat gluten. I googled how to make my own and found this site. Many moons ago I watched a friend “wash” flour and didn’t fully understand the process until reading your explanation. I’m going to give your method a try today and let you know how it turns out.
Thanks for sharing, Sheila. Let me know how it goes. 🙂
Very helpful, thank you for the information!
Thank you for your comment.
I have a dehydrating tip. It helps a lot to first dry one side of the gluten in the oven on something nonstick like parchment on a cookie sheet or a silicone mat. Then you can put it in your dehydrator with the shiny, set side facing down and finish off the drying, that way it doesn’t cement itself onto the dehydrator racks. I don’t think it’s actually worth doing versus buying vwg/gluten flour from a time and aggravation standpoint. I had a major accident with flour and water and wanted to salvage the situation.
Thank you so much for the suggestion, Gisele.
In some places, it’s hard to find vital wheat gluten, so people have to make their own. But indeed, if it’s available, it’s easiest to buy. 🙂
Samira
Excellent thanks for the recipe. So much cheaper than buying gluten powder
Thanks for the comment, Jeremy. Glad you are enjoying it.
Can I make my own bread using homemade vital wheat gluten?
Hi there,
Yes, you can use the homemade vital wheat gluten to make bread if the recipe calls for it.