
This post may contain affiliate links. Please read our disclosure policy.


How to make Chili Flakes at home either using an oven or food dehydrator. This simple DIY is a great way to use up extra chilies and pack some heat and flavor into all sorts of dishes!
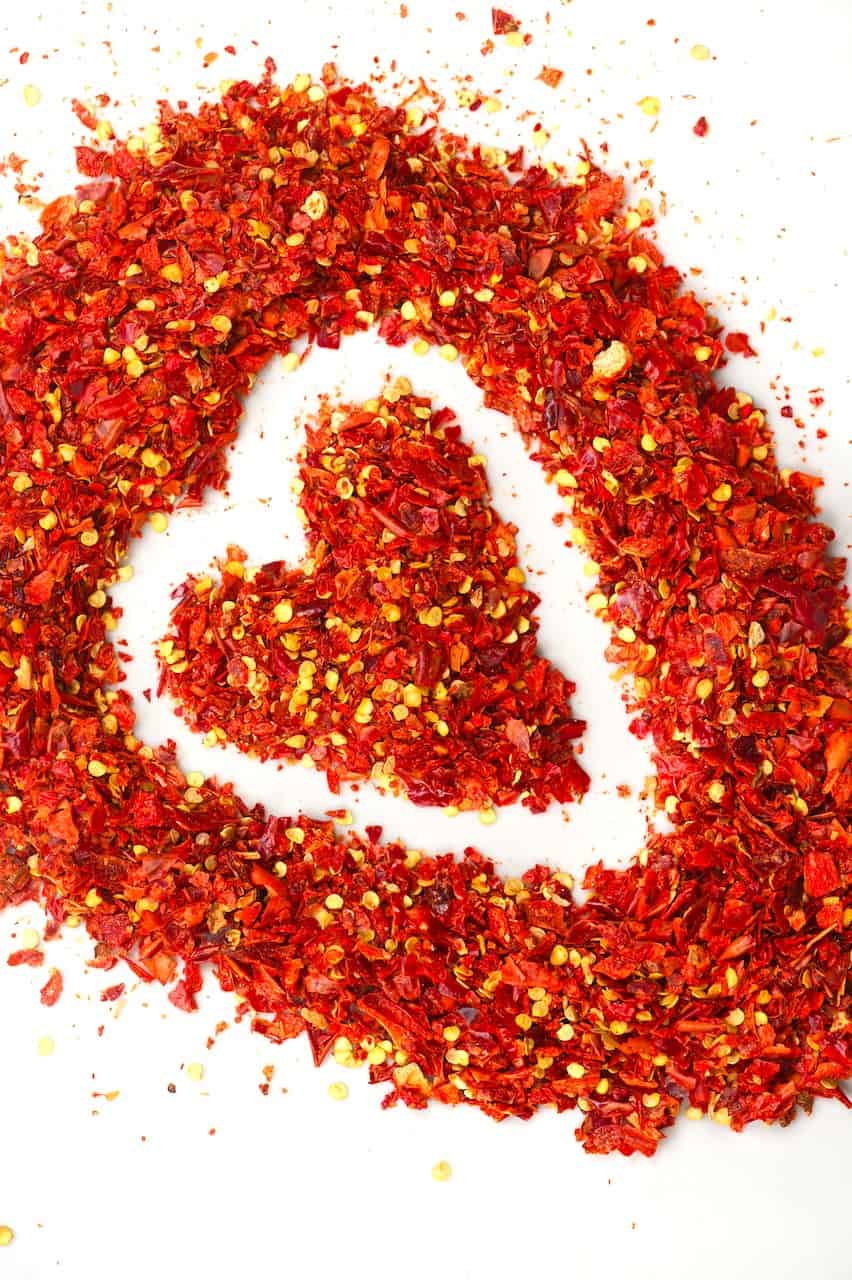
Herbs and spices are magical for turning a dish from just okay to ‘oh yay!’ and these homemade chili flakes (aka chile flakes) are no different. Sprinkled over, or mixed into meals, these red chili flakes pack a fiery heat and add tons of flavor to a dish.
Having spent more time than ever indoors this year, I’ve finally decided to start focusing on what I can start growing indoors – to add to my mini London apartment ‘indoor-plot’ (i.e., a bunch of plant pots on my windowsills). During my research, chili peppers/ hot peppers came up repeatedly.
Although I missed the boat on getting them grown this year (I would have had to sow the seeds in February) – I’ve become obsessed with the idea of adding a chili plant to my collection. That being said, I’ve had tons of ideas on how I’ll use my homegrown chilis, and I’m way too impatient to wait a year to share them with you.
I’ve already shared a simple DIY for Homemade Chili Oil that uses red pepper flakes or different chili pepper flakes varieties. Now, here is the even simpler DIY of how to make chili flakes at home with either oven-drying or a dehydrator.
Want to save this recipe?
What Are Chili Flakes?
Chili flakes, red pepper flakes, and crushed red pepper flakes all refer to the same type of product: a condiment/spice that is made up of dried and crushed whole peppers (seeds and all).
From what I’ve been able to tell over the years – red pepper flakes can often be made up of a combination of different peppers. Meanwhile, chili flakes are usually a single type of pepper. They are most often made with cayenne peppers, though they can use various chilis, such as Anaheim, jalapeno, etc. – usually within the 30k-50k Scoville range.
Best of all – unlike with many store-bought options, when making dried chili flakes at home, you can experiment with varieties of chile peppers and even blends variety is the spice of life, after all.
How to Dry Chili Peppers
What Is Needed
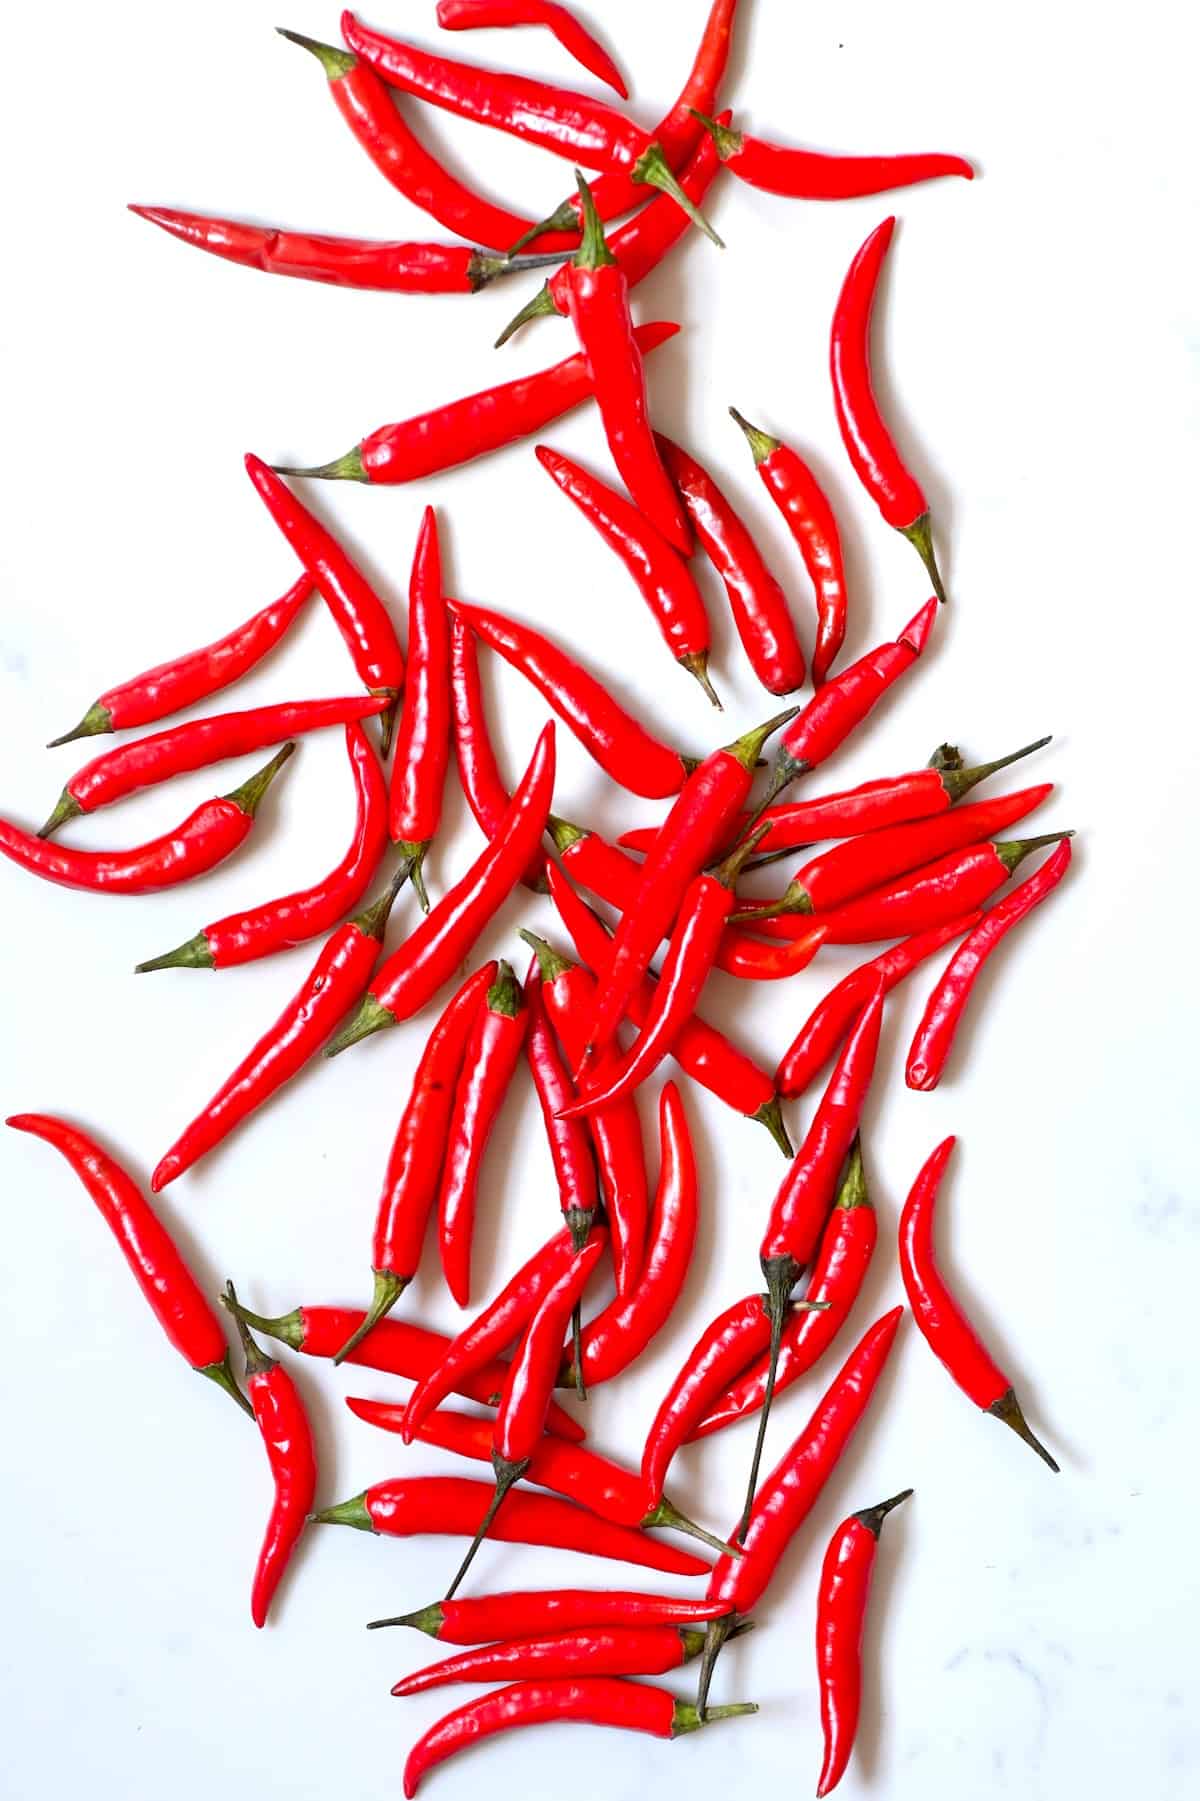
Red chili peppers – It’s best to use mature pods. Varieties like Red Cayenne, Jalapeño, Anaheim, Yellow and Red Chili work great.
It’s best to choose peppers that are damage-free, don’t have white/grey/black dots, or any softness (use these immediately, fresh instead).
The Step By Step Instructions
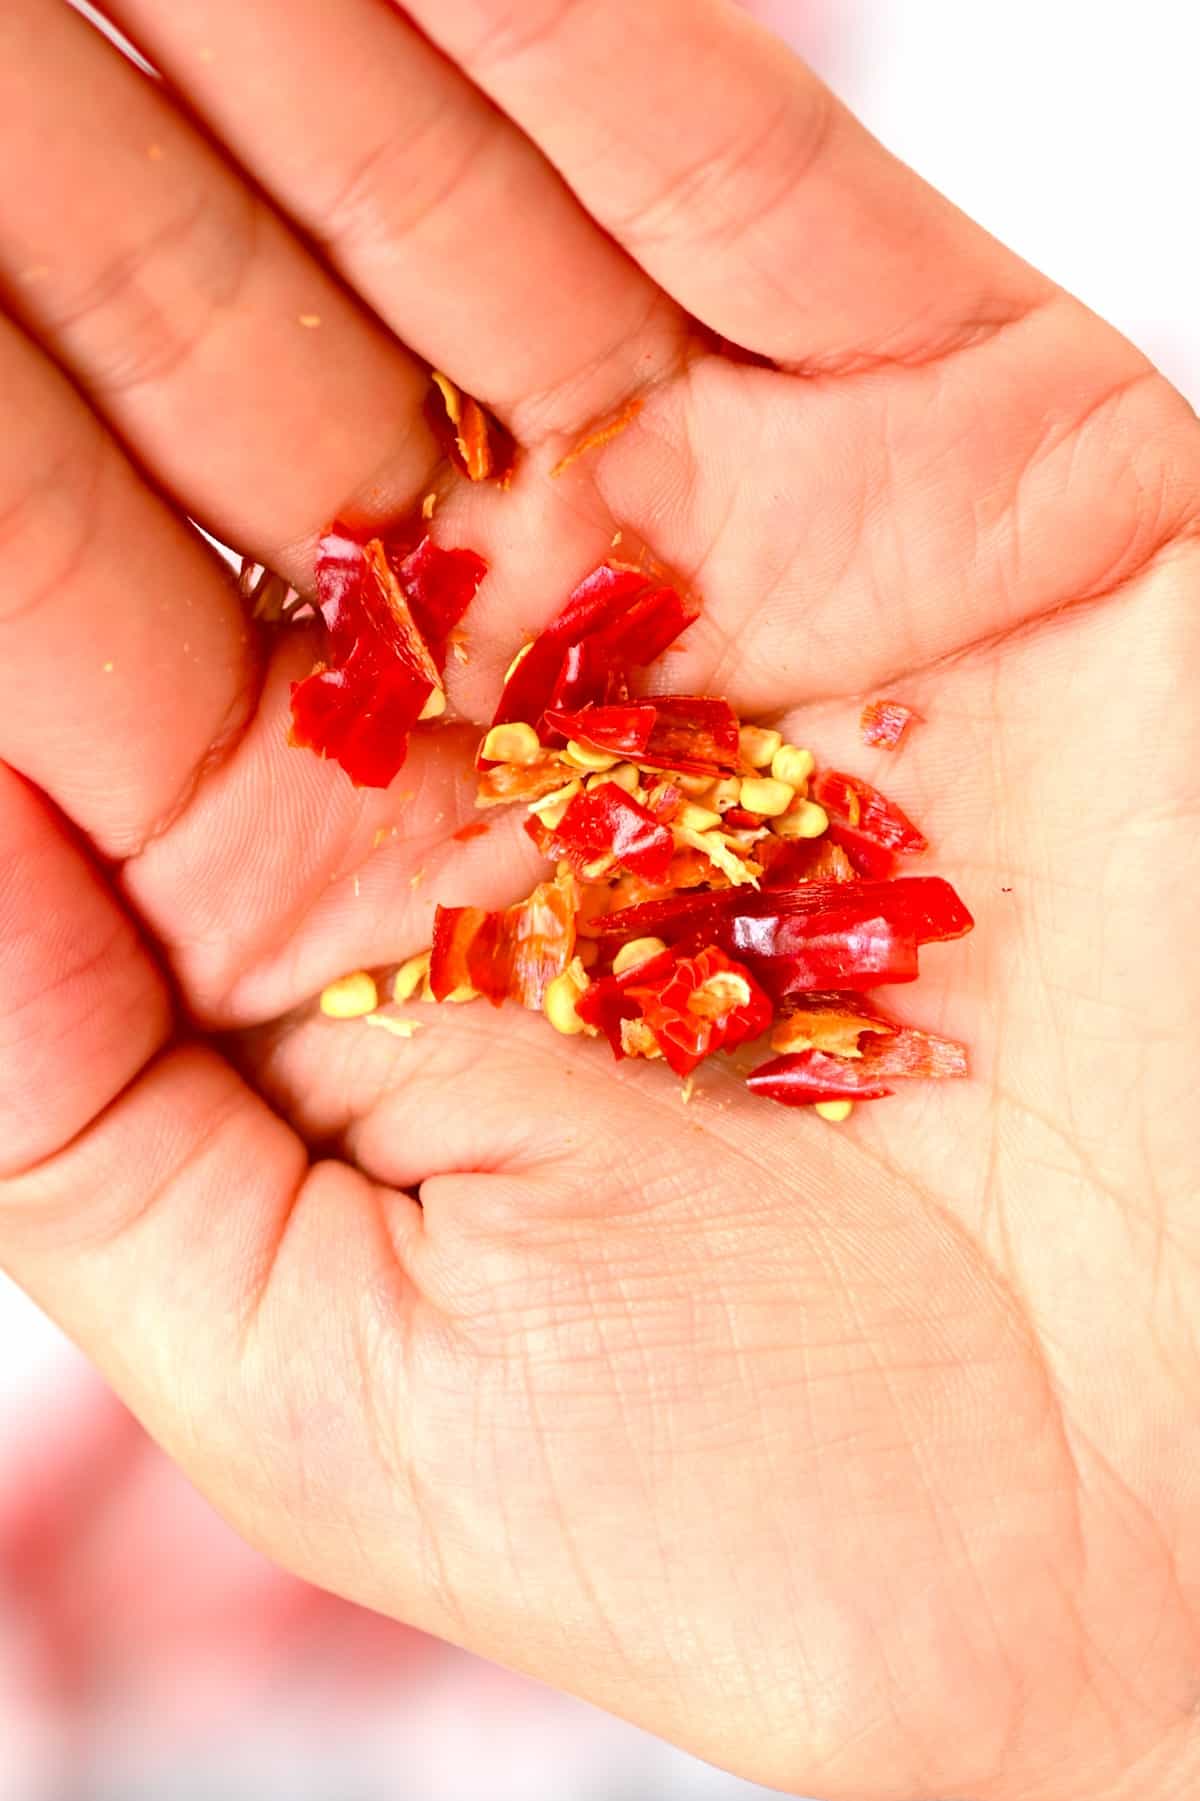
Make sure to wear gloves whenever handling hot peppers/chilis and avoid contact with your eyes, nose, and mouth. The capsaicin within the peppers can linger on your skin even after multiple hand washes- so even more reason to wear gloves.
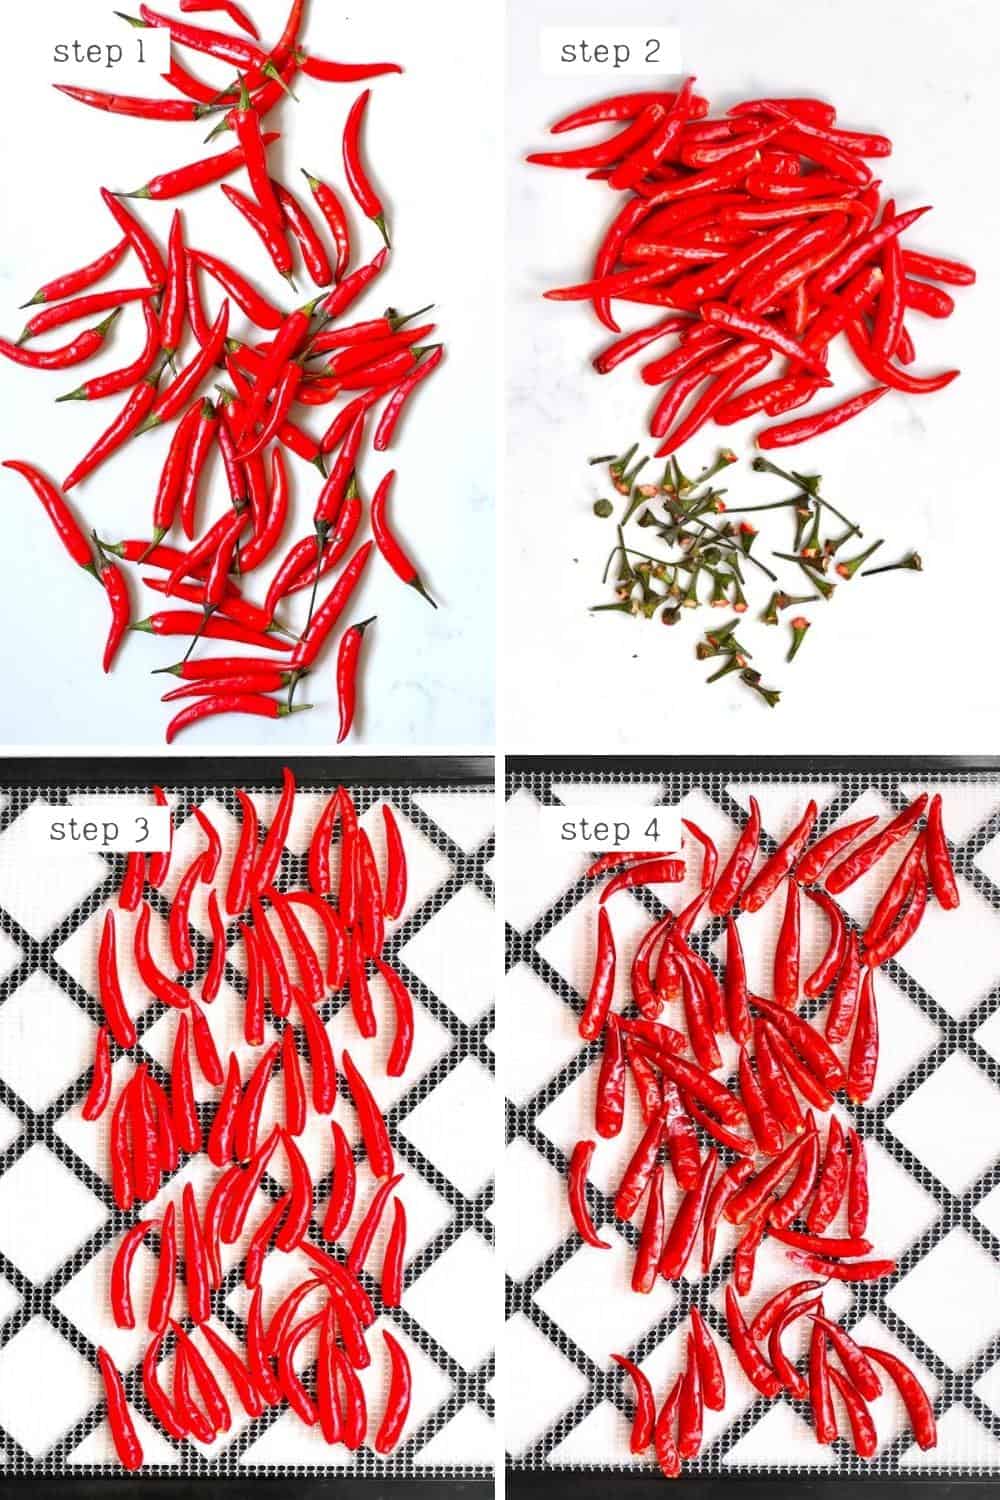
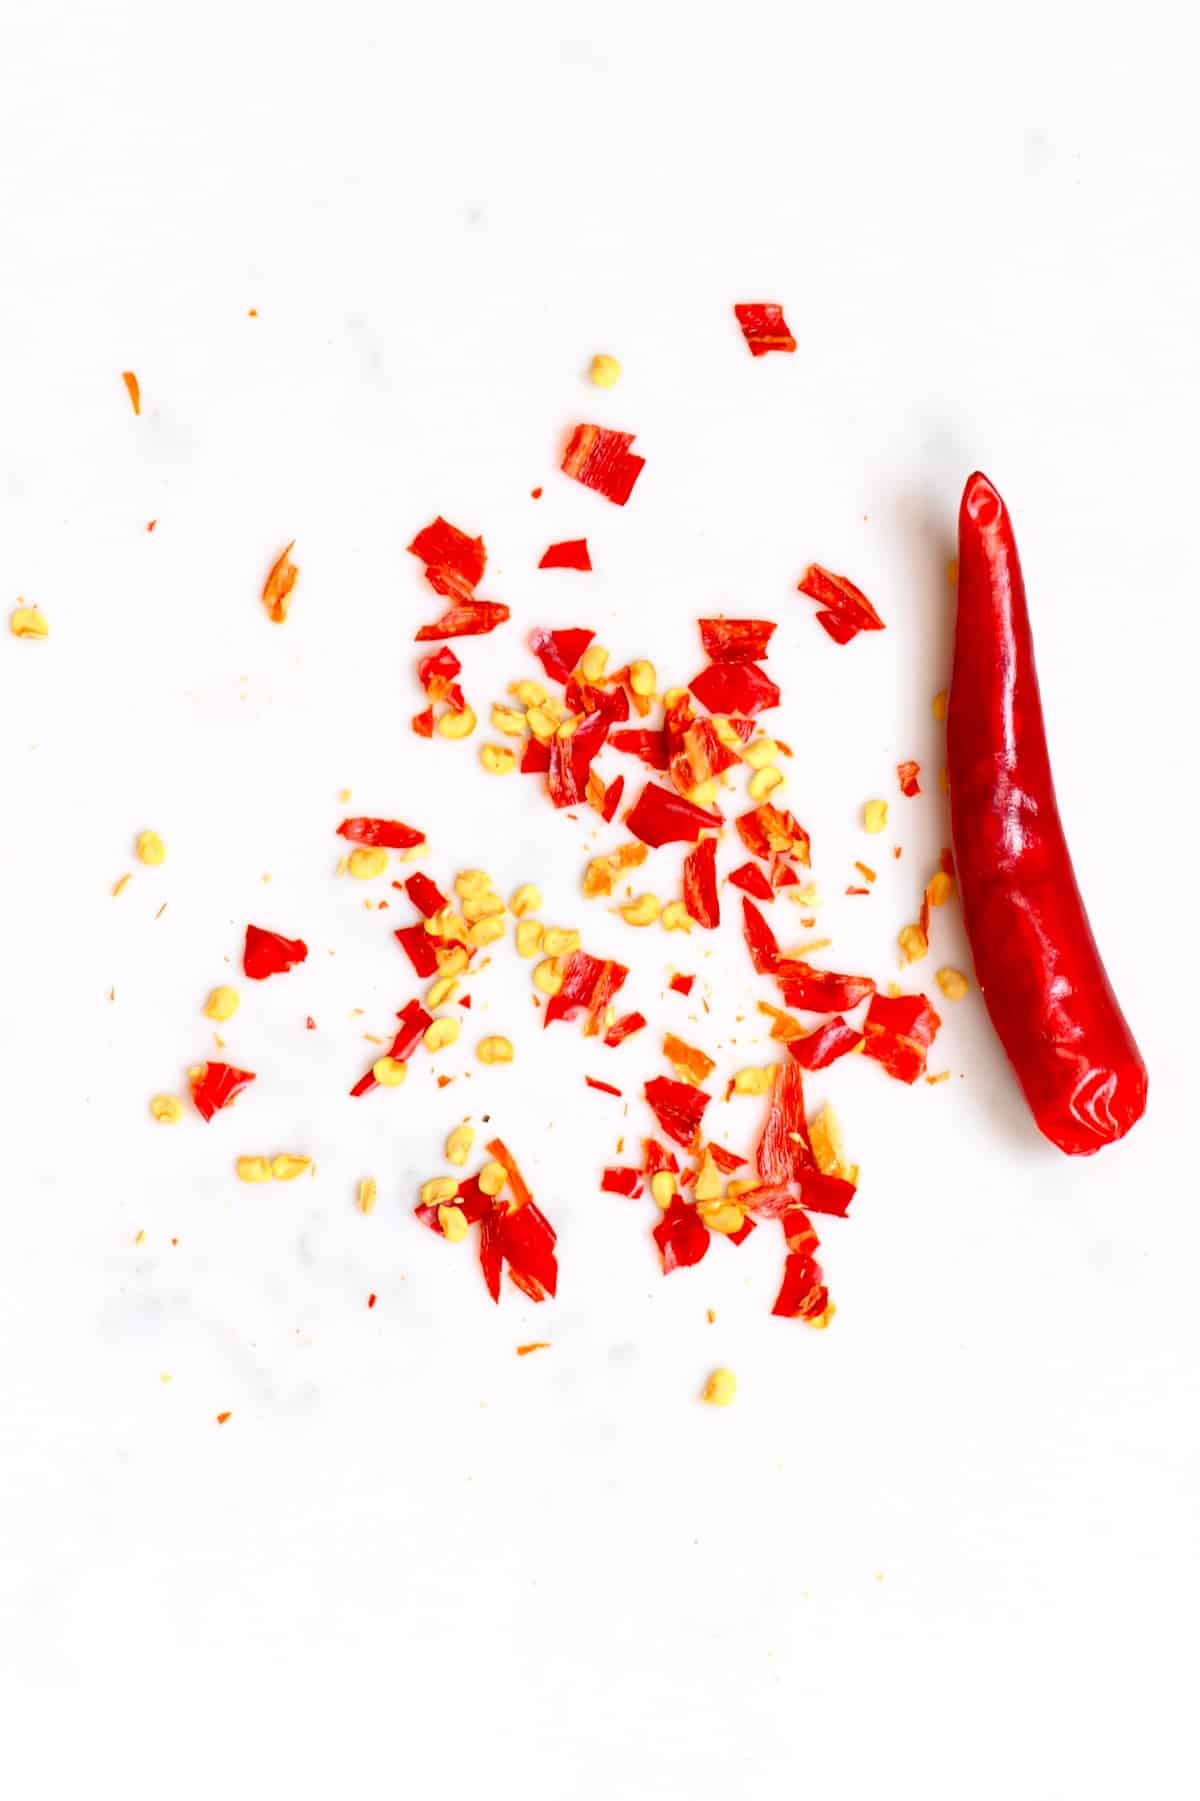
First, rinse the chilies, wipe dry, and remove the stems. You can either keep them whole or chop in half (which will reduce the oven/dehydrator time). Remove some of the seeds if you’d prefer a less spicy flake mix.
To dry in a dehydrator
Dehydrate the chili’s at 52ºC/125ºF for about 6-8 hours. The time will depend on the type and freshness of the peppers and the overall humidity.
Dehydrate until the peppers are slightly darkened and have become fully dry and crispy. They should snap when you break them, not bend (at all).
To dry in the oven
If your oven goes as low as 50-60ºC/120-140ºF, then dry for about 6-8 hours, but keep an eye on them and crack open the oven, if the chilis begin to ‘cook’ in any way.
If the oven’s temperature doesn’t go as low, select the lowest possible temperature, and crack open the door while drying them. This will allow for better airflow and will remove all water vapor quickly.
You can use a wooden spoon or another heatproof utensil to help keep the oven door open just 1-2cm.
Allow the dried chilies to cool down before making the chili flakes.
To make the flakes
Once dehydrated, you can crush the peppers to make the chili flakes. To do this, place them in a bag and crush them by hand. Alternatively, grind them in a blender or coffee grinder for just a few seconds.
How to Store
Dried chilis have a fantastic shelf life of at least 12 months if stored properly. Make sure to keep them in a dark, cool environment that is moisture-free, in an airtight container.
How to Use
These dried chili flakes can be sprinkled over or mixed into countless meals. Here are some of my favorite options for you:
- Over pizza – like this Homemade Neapolitan pizza (Marinara style) or Butternut Squash Pizza.
- Over Pasta – like this Vegetarian One-Pot Pasta bake or Fresh Home-made Spinach Green Pasta Salad.
- Or even faux pasta – like these ‘Zoodles’ With Home-made pistachio Pesto
- To top soups like Japanese-inspired Ramen Noodle Soup.
- Sprinkle over salads and sides – like this Easy Potato Salad With Egg (Mashed Potato Salad)
- Sprinkle over noodle dishes – like these Fresh Summer Rolls (+ Dipping Sauces)
- Add to curries and Mexican dishes – like this Best Vegan Chilli Recipe or Rainbow Vegan Tacos
- Add to marinades/dressings – like this Quick Mango Sweet Chili Sauce
DIY Notes and FAQs
- If you want less heat, then you can use varieties of pepper with less heat and/or remove some of the seeds from the mixture.
- Certain peppers can be air-dried in your kitchen (though this takes a lot longer)- usually, if they have a thinner skin (i.e., tabasco, Thai peppers, pequin, cayenne, etc.). To do that, you can thread the chilis onto a string or spread in a single layer over a baking sheet and keep in a well ventilated, dry, warm area.
- To make chili powder, simply grind the peppers in a food processor or coffee/spice grinder after drying them.
- Very hot chilis can give off a ‘stinging’ hot steam when opening the oven door, so be aware and possibly crack open a window.
- Any peppers that don’t completely dry in the oven (i.e. there’s a little bend to them rather than snapping), then either place them back in the oven, or you could also use these to infuse oil.
Related DIYs
- How to Make Chili Oil
- How to Make Flaky Salt (Plain and Infused)
- How To Make Crispy Ginger Chips
- How to Make Ginger Powder (Two Methods)
- How to make Kale Chips In The Oven
- How to Make Cornmeal
- How to Make Rye Flour (Pumpernickel Flour)
- How To Make Chickpea Flour
- How To Make Almond Flour
If you give this recipe a go, then let me know your thoughts and any questions in the comments. Also, feel free to tag me in your recreations @AlphaFoodie.
How to Make Chili Flakes
Equipment
Ingredients
- 10 oz chili peppers Varieties like Red Cayenne, Jalapeño, Anaheim, Yellow and Red Chili work great.
Instructions
- TOP TIP: Make sure to wear gloves whenever handling hot peppers/chilis and avoid contact with your eyes, nose, and mouth. The capsaicin within the peppers can linger on your skin even after multiple hand washes- so even more reason to wear gloves.
- First, rinse the chilies, wipe dry, and remove the stems. You can either keep them whole or chop in half (which will reduce the oven/dehydrator time). Remove some of the seeds if you’d prefer a less spicy flake mix.
To dry in a dehydrator
- Dehydrate the chili’s at 52ºC/125ºF for about 6-8 hours. The time will depend on the type and freshness of the peppers and the overall humidity.
- Dehydrate until the peppers are slightly darkened and have become fully dry and crispy. They should snap when you break them, not bend (at all).
To dry in the oven
- If your oven goes as low as 50-60ºC/120-140ºF, then dry for about 6-8 hours, but keep an eye on them and crack open the oven, if the chilis begin to ‘cook’ in any way.If the oven’s temperature doesn’t go as low, select the lowest possible temperature, and crack open the door while drying them. This will allow for better airflow and will remove all water vapor quickly.
- You can use a wooden spoon or another heatproof utensil to help keep the oven door open just 1-2cm.
- Allow the dried chilies to cool down before making the chili flakes.
To make the flakes
- Once dehydrated, you can crush the peppers to make the chili flakes. To do this, either place them in a bag and crush them by hand. Alternatively, grind them in a blender or coffee grinder for just a few seconds.
How to Store
- Dried chilis have a fantastic shelf life of at least 12 months if stored properly. Make sure to keep them in a dark, cool environment that is moisture-free, in an airtight container.
Video
Nutrition
Nutrition information is automatically calculated, so should only be used as an approximation.


I will definitely be making this – I don’t have a dehydrator (yet) so will try doing it in my over. What dehydrator do you use?
Hi Nadia,
The dehydrator is linked in the recipe card of this blog post if you want to give it a look.
Drying them in the oven can still work – just be careful that the temperature is not too high 🙂