
This post may contain affiliate links. Please read our disclosure policy.


How to make lentil flour at home – a cost-effective, gluten-free, high-protein flour for pasta and baking. This red lentil flour uses just one ingredient and a simple four-step process (5 for soaked/sprouted lentil flour!).
It’s no secret that lentils are incredibly popular in plant-based cuisine, particularly within Indian dishes like red lentil daal, soups (like this red lentil soup), and curry dishes. In fact, there are several varieties of lentils including Puy, green, and red lentil – which each taste and cook up slightly differently. However, this little legume is also excellent for a simple gluten-free flour option – perfect as a gluten-free pasta flour or for baked goods.

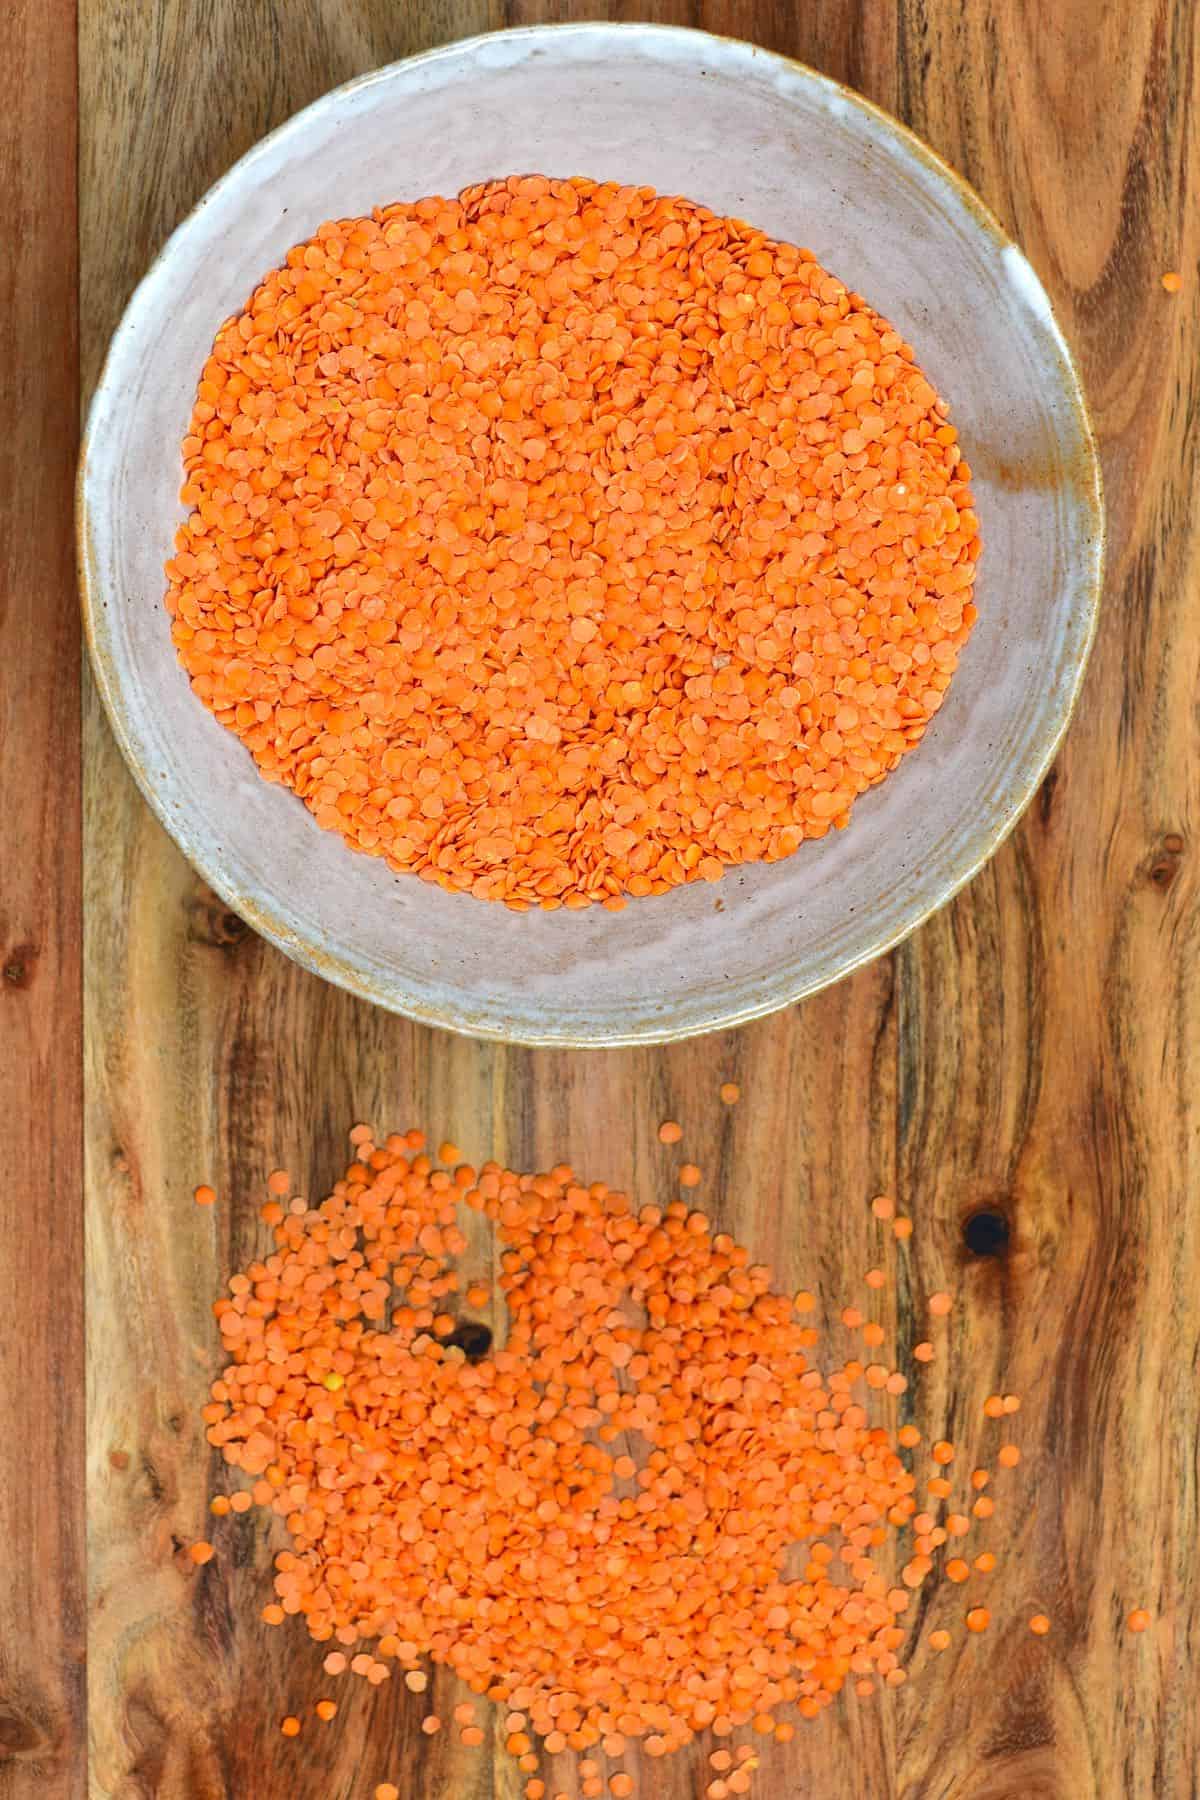
So, what is lentil flour, you ask? It’s exactly what it sounds like – all you need are some uncooked, dried lentils that are ground into a fine flour, and voila, you have lentil flour, ready to use. For this particular method, I’ve used red lentils, though all lentils will work similarly (though they may take longer to break down, depending on which you use.)
Even though you can buy this flour in a store, you’ll find that the price difference between buying a large bulk bag of lentils and buying a bag of lentil flour is ridiculous in most cases. All the better to stock up on your dry lentils and make your own lentil flour as and when needed for a cost-effective, flavourful alternative.
Not to mention that, especially if you follow a gluten-free diet, many GF goodies require a blend of several different flours. Rather than having to buy each individual flour at a high price, making whatever you can at home is a great way to be more frugal.
Want to save this recipe?
How To Make Lentil Flour
There are technically three ways lentil flour can be made by tweaking the process or adding/removing a single step. To give everyone the full options, I’ll include every option below for you to choose from.
Step 1: Rinse the lentils
First, rinse your lentils well within a fine-mesh sieve. Remove any discolored lentils and any debris that may be in with the lentils.
Step 2: Soak the lentils (Optional)
If you want to soak the lentils to decrease the effect of the anti-nutrients, you can do that at this stage.
Place the lentils in a large bowl with enough water (room temp or cold) to cover them by 1-2 inches. Leave them to soak for around 4 hours, or overnight if preferred.
Note* You can go one step further and essentially ’sprout’ the lentils, which is said to maximize the bioavailability of the vitamins, minerals, and nutrients within them. To sprout the lentils, you can follow the process outlined here – which will take 2-3 days.
Once soaked, drain and rinse the lentils once more.
Step 3: Dry the lentils
Spread out across a large surface area (like baking trays lined with kitchen roll or a kitchen towel) and allow to either air-dry or you can place in a dehydrator or the oven (on the lowest temperature, with the door propped open with a wooden spoon) until fully dehydrated.
If you’ve soaked the lentils, they will take longer to dehydrate – so be patient or use the oven/dehydrator method. As long as you use low heat, the lentils won’t lose nutrients.
Step 4: Toast the lentils (Optional)
This is technically an optional step, but if you want a more flavorful, nutty lentil flour, it’s a good idea to toast the lentils lightly. You can do this with one of two methods.
- Place them in a large skillet and toast for a few minutes until fragrant but not burnt. This should take 3-5 minutes.
- Alternatively, lay the lentils across a baking tray and place in the oven for 10-12 minutes at 200ºC/400ºF, mixing them up halfway.
Then allow the lentils to cool entirely.
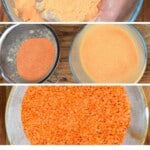
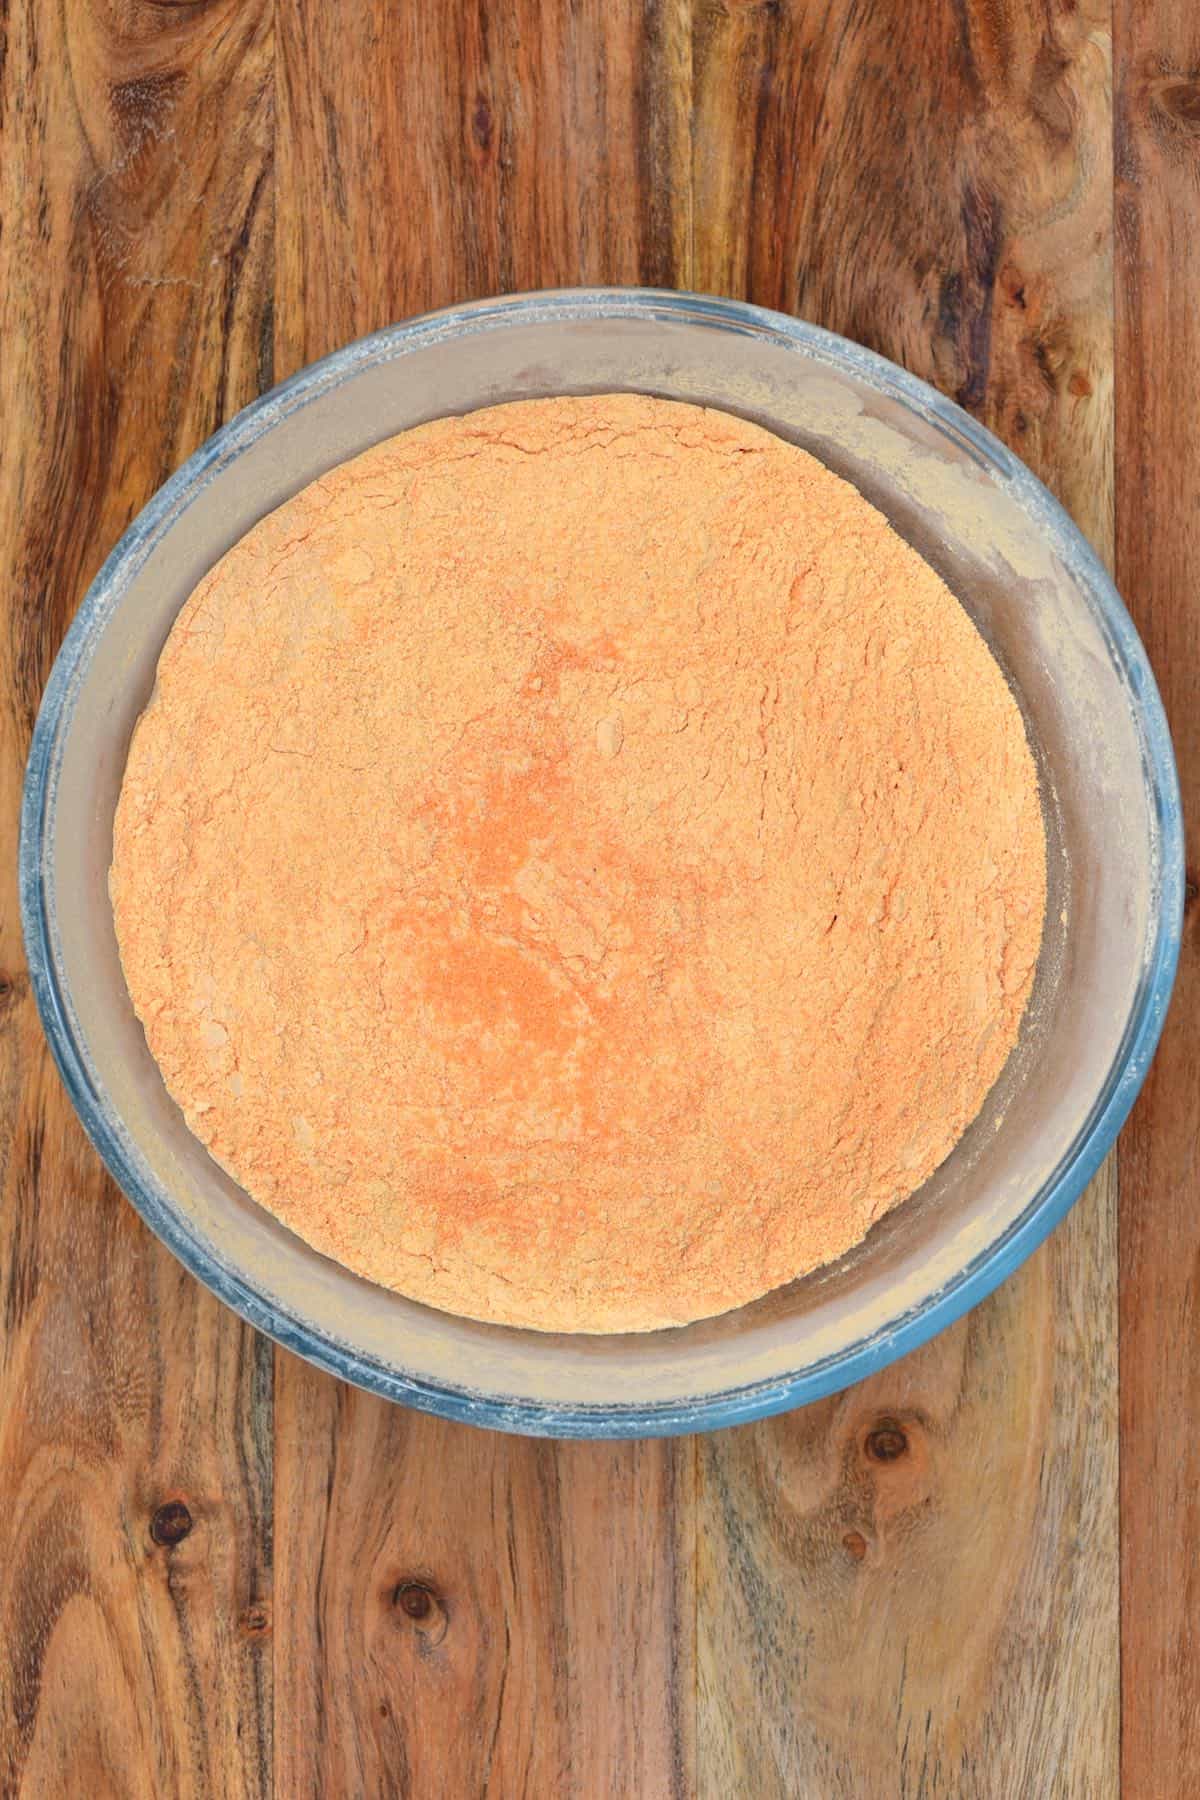
Step 5: Grind the lentil flour
Transfer the lentils to your grinding tool of choice. You can use a high-speed food processor or blender (with a small jug), a mill, or a spice/coffee grinder. Depending on which tool you use, you may need to do this in multiple batches.
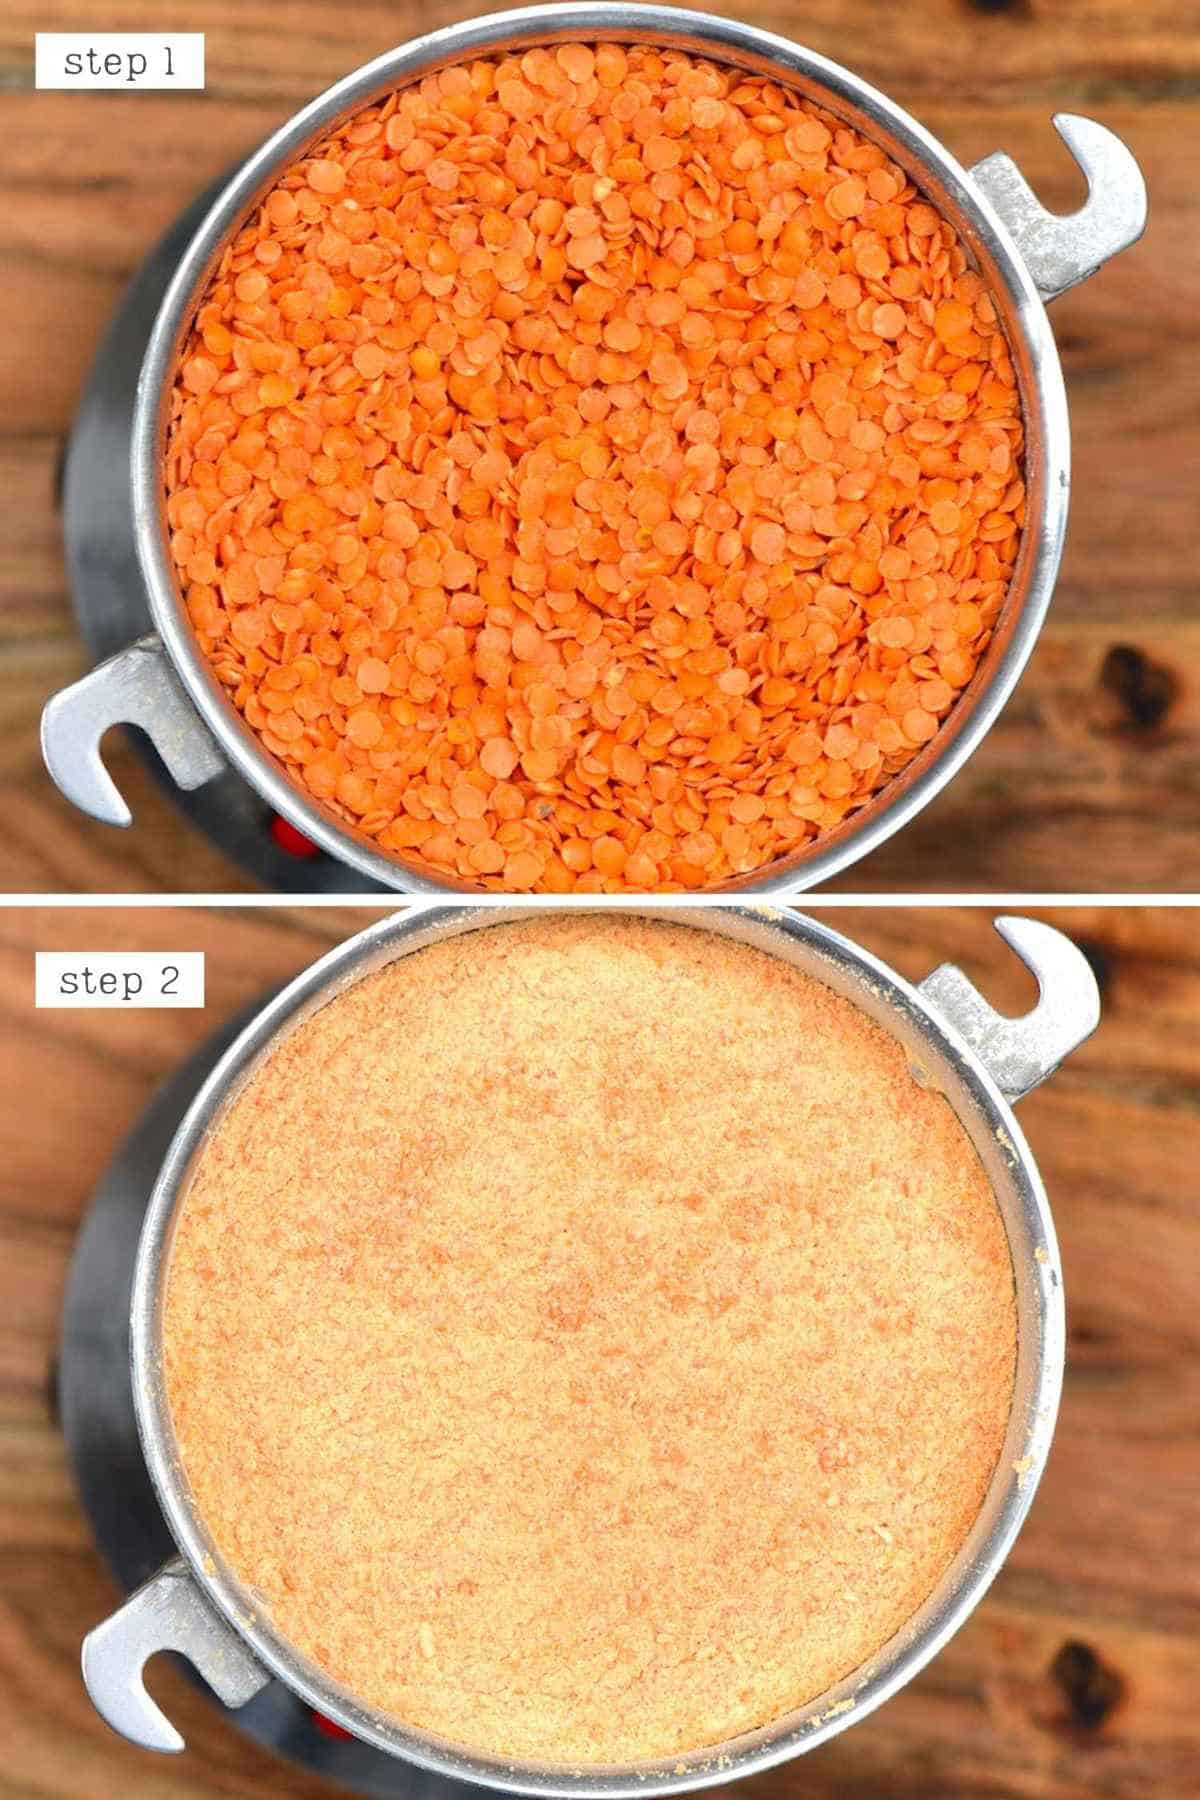
If you’re using a food processor, it will take longer, and you’ll have to stop the machine to give it a break now and then. You also need to make sure that you add enough lentils to the jug, depending on the jug size. Otherwise, it simply won’t break down.
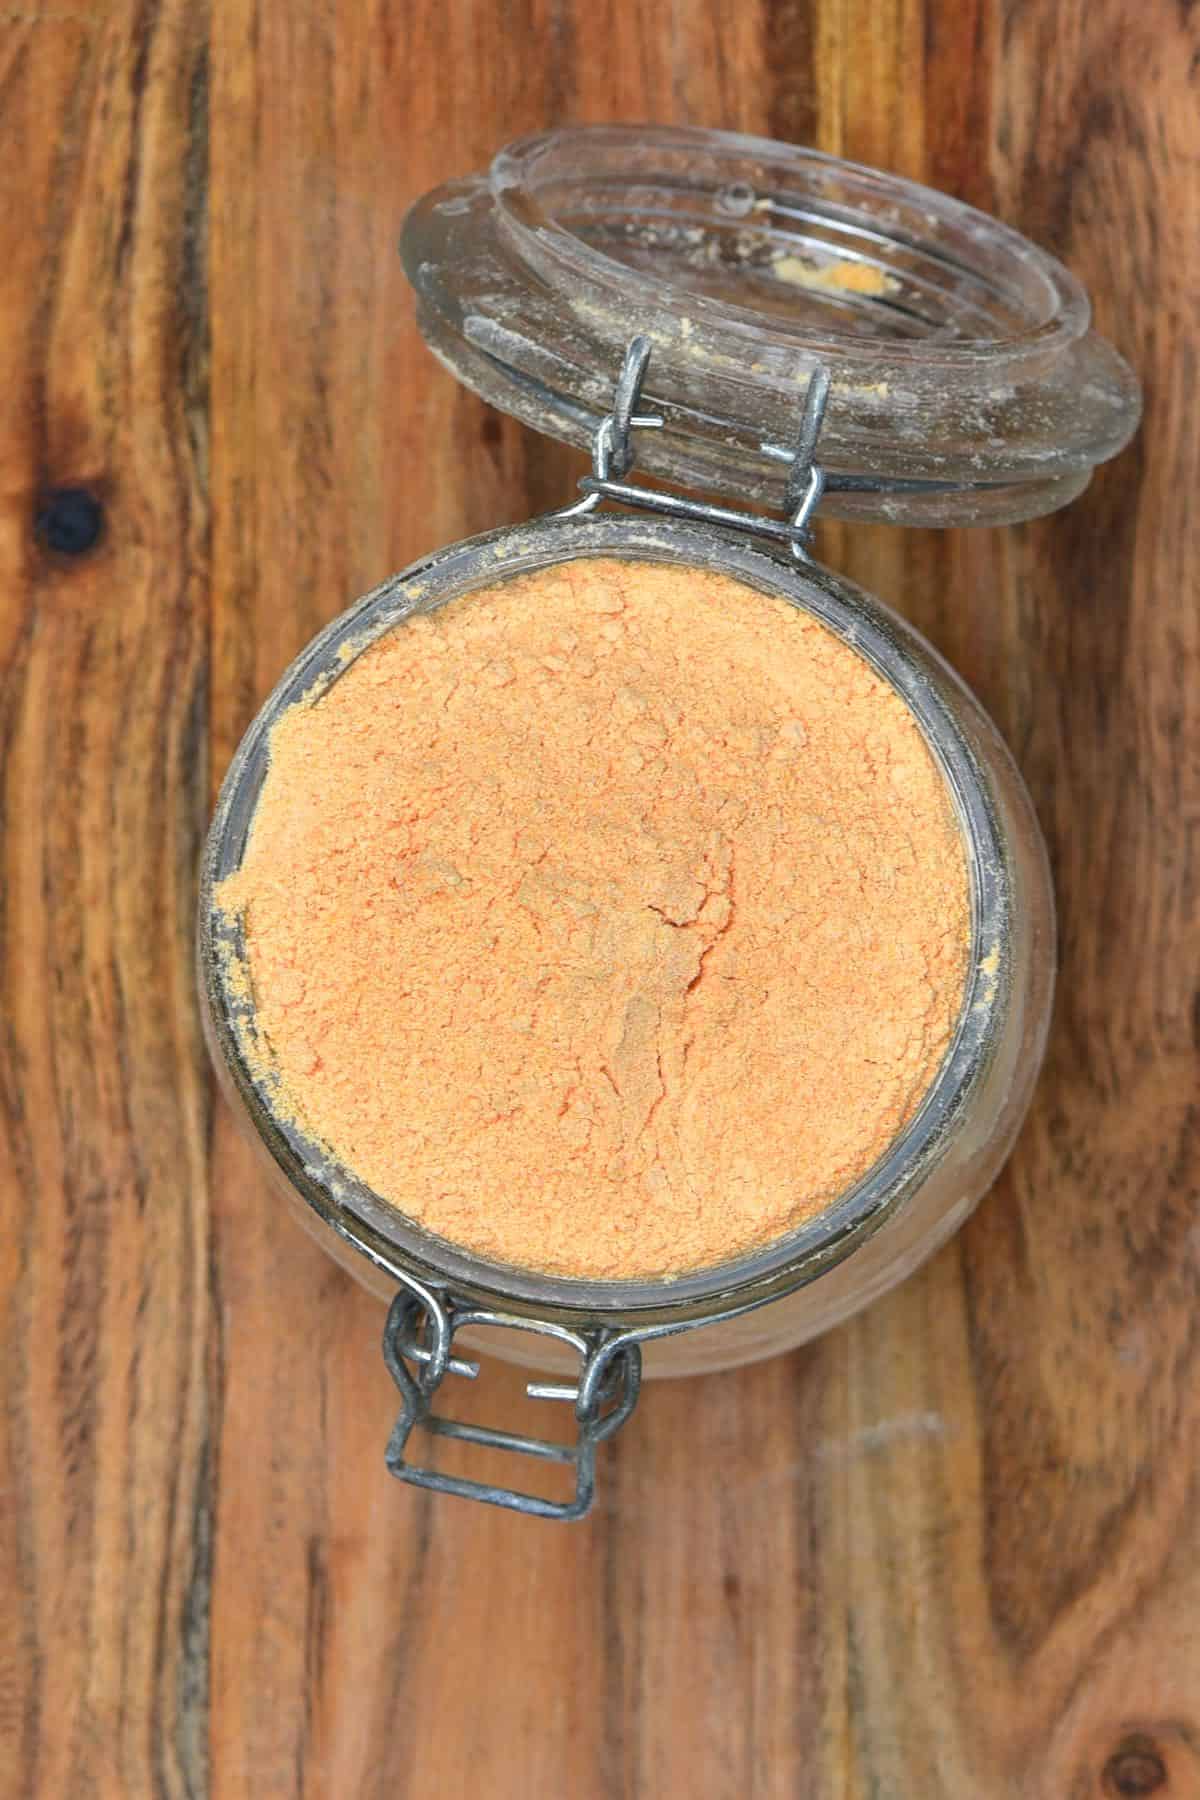
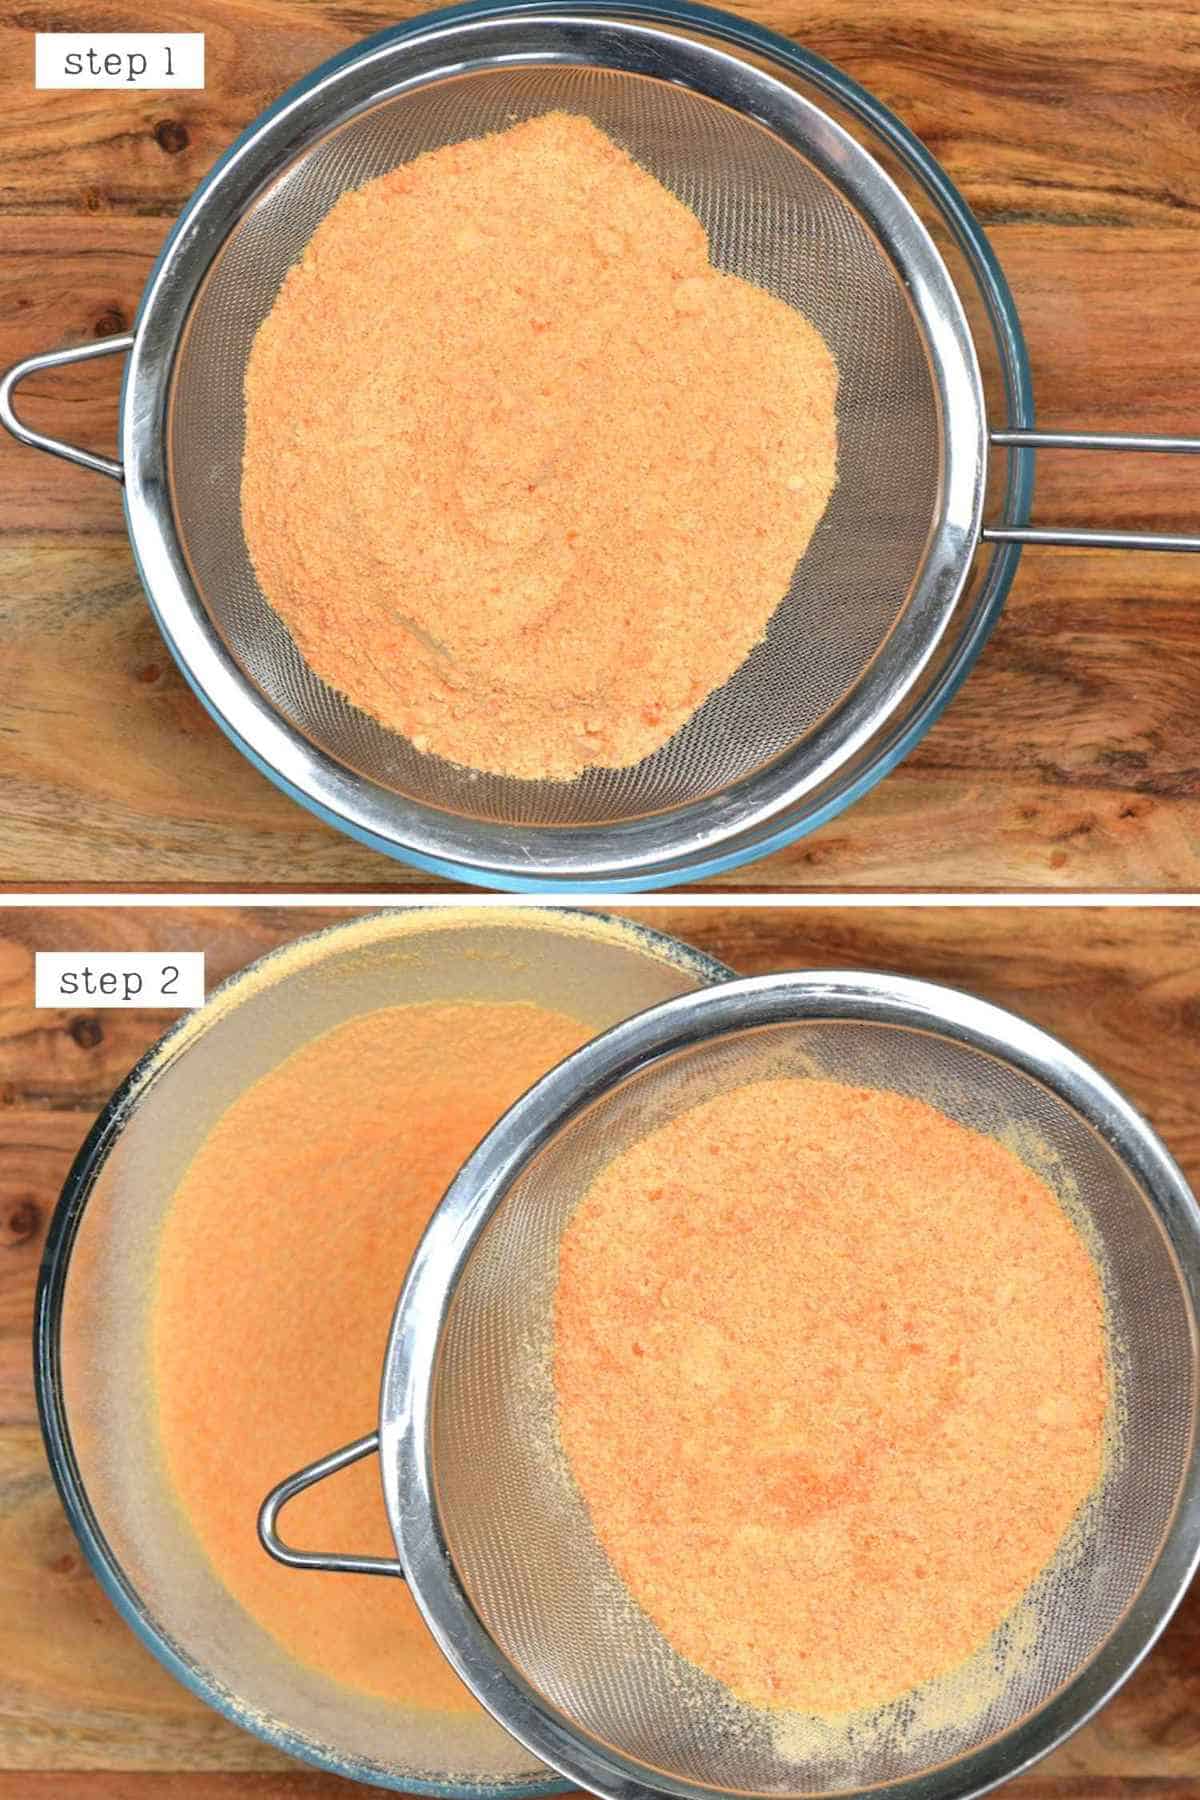
Sieve the resulting lentil powder, then return the larger bits to be re-ground. Once ready, transfer the lentil powder to a large airtight container, like a glass jar.
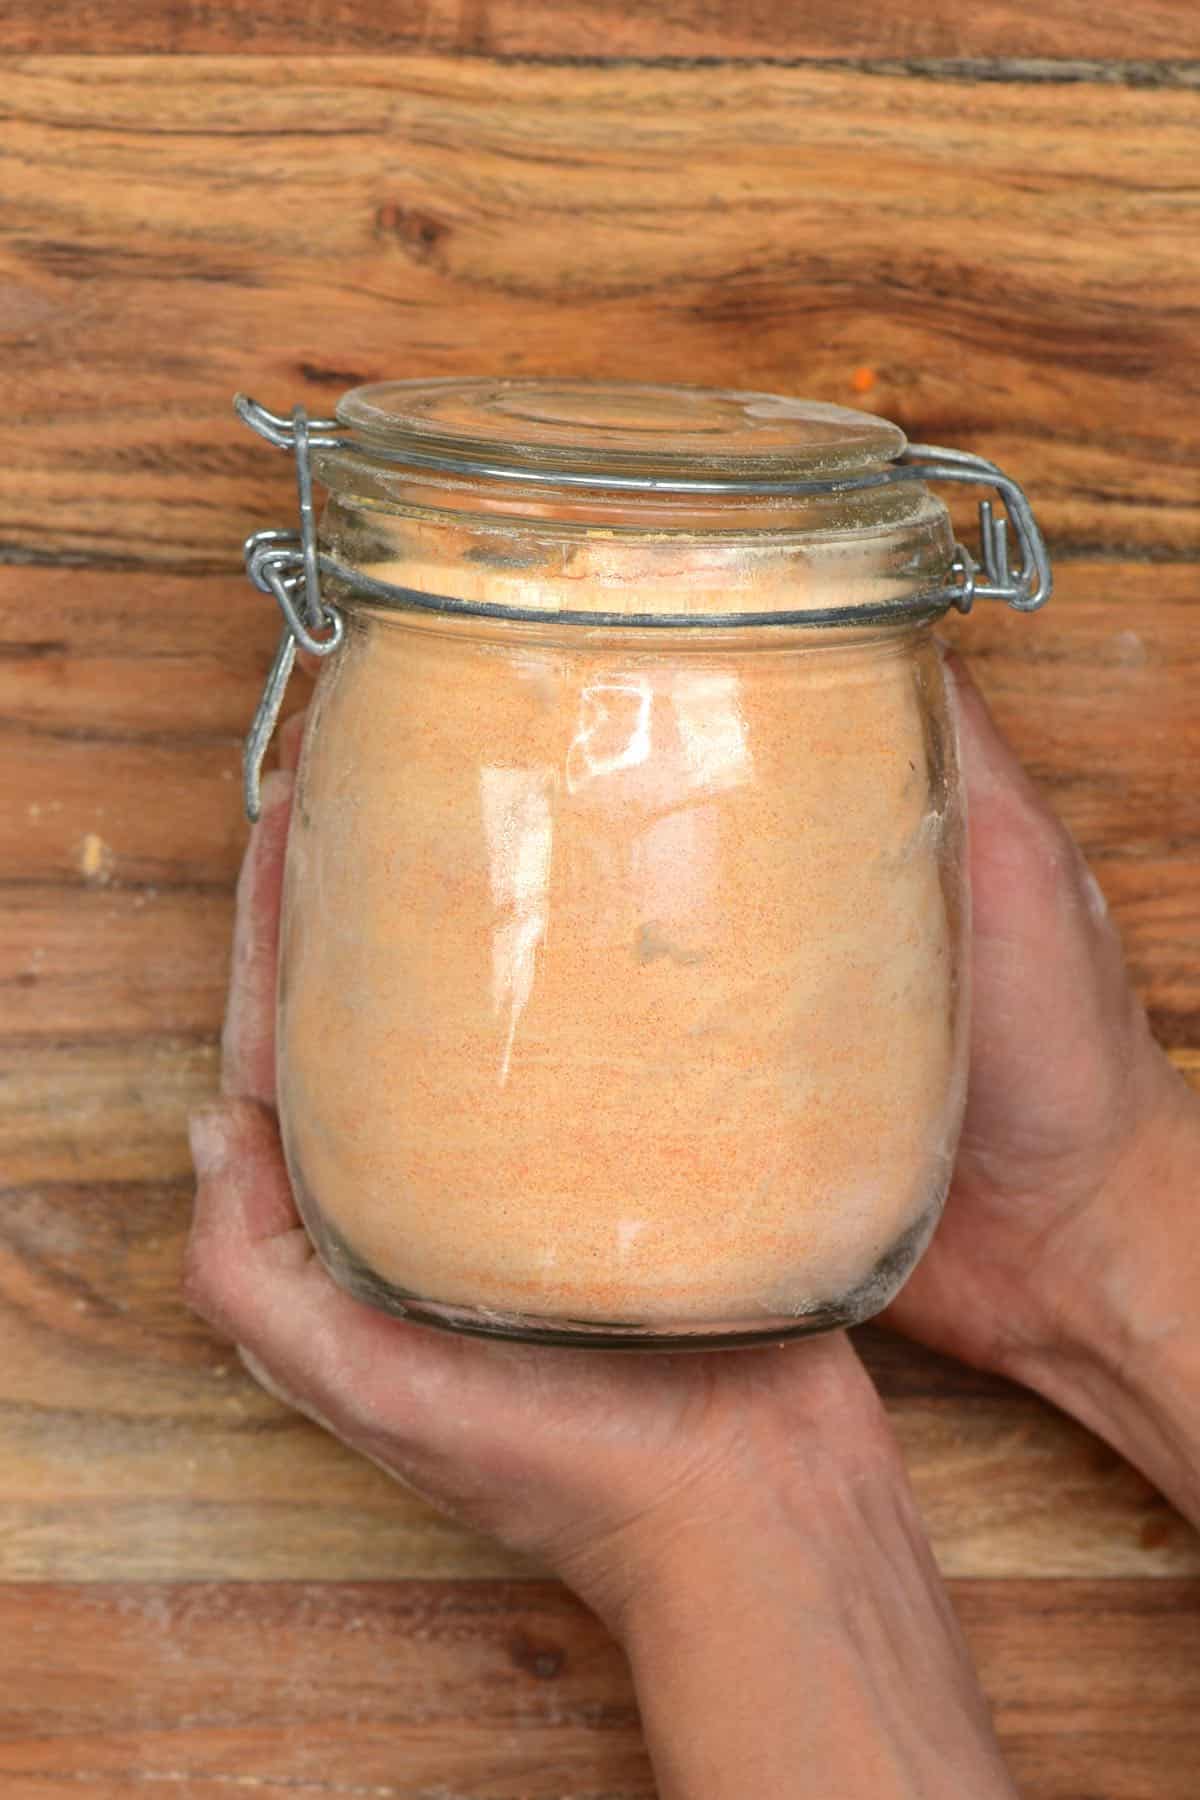
How To Store
Homemade lentil flour will last several months when stored in an airtight, moisture-free container. You can even store the flour in the freezer for up to a year.
The shelf life really depends on the best-before date of the lentils that you used to make the flour in the first place.
How To Use
- As a gluten-free pasta flour – to make this red lentil pasta.
- Within flatbread and tortilla recipes
- For pancakes, muffins – and other baked goods
- As a thickener/ binder for recipes like vegetarian meatballs or burgers.
- For other bread recipes – though it’s best to use it alongside other flours, the lentil flour can add flavor and protein to the bakes.
Lentil flour can easily be added to baked goods in smaller quantities to boost the nutritional value without compromising the texture and flavor. This is something that would require experimentation, but is great for doing when you have this flour to hand.
FAQs
Though lentils are rich in fiber, they are still relatively high in net carbs. For that reason, you wouldn’t be able to consume a lot of lentil flour on a keto diet. Though adding a little to the diet may work, in smaller portions.
No, legumes are not allowed on the Whole30 diet, so any lentil product wouldn’t be allowed.
This is slightly tricky to answer. Monash, one of the best sources for testing the FODMAP levels in food, doesn’t seem to have tested all the various lentils in flour form. However, as a general rule, lentils are low FODMAP in small quantities. Thus a small amount of red lentil flour within baked goods should be fine.
No – the paleo diet isn’t a fan of beans and legumes. There is some debate on this though, so it depends on how strict you are with the diet.
Yes, you can read more about lectins and various other anti-nutrients and how to minimize them here. I’ve also discussed this further above, including a method of soaking/sprouting the lentil flour’s lentils.
Toasting the lentils before processing them into flour is beneficial for the flavor of the flour. It really brings out the nutty, lentil flavor in the legume. Thus, you can choose to use raw or toasted lentils for your homemade flour.
Yes, it is. It’s a great alternative for using in pasta dough and using with a combination of gluten-free flours within baked goods.
Related recipes
- How to Make Rye Flour (Pumpernickel Flour)
- Homemade Almond Flour
- How To Make Chickpea Flour
- How To Make Powdered Milk At Home
- Homemade Ginger Powder (Two Methods)
- How to make Turmeric powder at home
- How to Make Garlic Powder
- Gluten-Free Red Lentil Crackers (Lentil Chips)
If you try this DIY red lentil flour recipe, then let me know your thoughts and any questions in the comments. I’d also really appreciate a recipe rating and would love to see your recreations – just tag @AlphaFoodie.
How to Make Lentil Flour
Equipment
Ingredients
- 1 pound Lentils of your choice; red, green, brown
Instructions
Step 1: Rinse the lentils
- Rinse your lentils well within a fine-mesh sieve. Remove any discolored lentils and any debris that may be in with the lentils.
Step 2: Soak the lentils (Optional)
- If you want to soak the lentils to decrease the effect of the anti-nutrients, you can do that at this stage.Place the lentils in a large bowl with enough water (room temp or cold) to cover them by 1-2 inches. Leave them to soak for around 4 hours, or overnight if preferred.Note* You can go one step further and essentially ’sprout’ the lentils, which is said to maximize the bioavailability of the vitamins, minerals, and nutrients within them. To sprout the lentils, you can follow the process outlined here – which will take 2-3 days.
- Once soaked, drain and rinse the lentils once more.
Step 3: Dry the lentils
- Spread out across a large surface area (like baking trays lined with kitchen roll or a kitchen towel) and allow to either air-dry or you can place in a dehydrator or the oven (on the lowest temperature, with the door propped open with a wooden spoon) until fully dehydrated.If you've soaked the lentils, they will take longer to dehydrate – so be patient or use the oven/dehydrator method. As long as you use low heat, the lentils won't lose nutrients.
Step 4: Toast the lentils (Optional)
- This is technically an optional step, but if you want a more flavorful, nutty lentil flour, it's a good idea to toast the lentils lightly. You can do this with one of two methods.Place them in a large skillet and toast for a few minutes until fragrant but not burnt. This should take 3-5 minutes. Alternatively, lay the lentils across a baking tray and place in the oven for 10-12 minutes at 200ºC/400ºF, mixing them up halfway.Then allow the lentils to cool entirely.
Step 5: Grind the lentil flour
- Transfer the lentils to your grinding tool of choice. You can use a high-speed food processor or blender (with a small jug), a mill, or a spice/coffee grinder. Depending on which tool you use, you may need to do this in multiple batches.If you’re using a food processor, it will take longer, and you’ll have to stop the machine to give it a break now and then. You also need to make sure that you add enough lentils to the jug, depending on the jug size. Otherwise, it simply won’t break down.
- Sieve the resulting powder, then return the larger bits to be re-ground. Once ready, transfer the lentil flour to a large airtight container, like a glass jar.
How To Store
- Homemade lentil flour will last several months when stored in an airtight, moisture-free container. You can even store the flour in the freezer for up to a year.The shelf life really depends on the best-before date of the lentils that you used to make the flour in the first place.
Notes
- You can purchase a grain mill attachment for certain mixers too, which is helpful if you make a lot of your own flours.
- You can use this same process for all varieties of lentils, though they will take different amounts of time to break down when ground into flour.
Nutrition
Nutrition information is automatically calculated, so should only be used as an approximation.


Thank you so much for these clear instructions.
Thank you, Karen. I hope you enjoyed making lentil flour.
More a question than a comment but can I use already dried store bought lentils and skip the soaking drying stage.
Regards
Dorothy
Hi Dorothy,
Yes, you can skip the soaking stage. However, since you need to rinse the lentils, they need to be dried before grinding. However, if you don’t soak them, they will dry much faster. I hope this helps.
Thank you sounds delightful & I can’t wait to try it. Occasionally I make chicken pea flour
I like lintel flat bread which is from a wet batter not dry but i see much potential from lintel flour
Thank you for your comment, Rachel! I hope you have this a try!
Is it ok to just grind the lentils into flour with out soaking or will it make me sick
Hi Jeri,
It’s totally fine to grind lentils into flour without soaking them. I hope you give this a try!
I was wondering the same.
Hi Kyra,
You can grind the lentils directly. I hope this helps.
Do you really need to soak the lentils at all? I want to just grind the dry-from-the-bag lentils right away to make a flour and then use them in a pancake batter. Won’t that work just as well?
Hi John,
Soaking is optional but I highly recommend rinsing them before you blend them.
I mill my lentils using a coffee grinder into flour. I don’t soak them until I prepare batter and then I leave the batter sit overnight to soak up the water. It seems to work well. Wouldn’t this also remove the anti-nutrients from the lentils?
Thanks for your comment. Soaking the flour in the batter doesn’t have the same effect as soaking the lentils in advance.
Hi!
I have some red lentil flour that I bought from Wellbee’s, but I’m struggling to find recipes. It seems like most recipes use red lentils. Do you have any recipes to share?
Cecilie
Hi Cecilie,
You could make red lentil pasta – https://www.alphafoodie.com/how-to-make-red-lentil-pasta/
And then you can accompany the pasta with different sauces or add to different dishes as wanted.