
This post may contain affiliate links. Please read our disclosure policy.
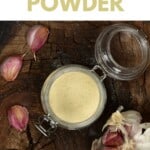
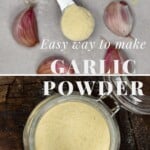

How to make garlic powder at home with one of three methods (dehydrator, oven, or air drying) – perfect for flavoring and garnishing tons of recipes and food!
If you haven’t already spied my garlic flakes, onion flakes & onion powder, and everything bagel seasoning, then you may not be aware that I’m currently on a bit of a garlic and onion craze – leading to this garlic powder.
I love garlic powder and how handy it is for those days when you’re going for effortless meals and don’t want to handle fresh garlic. Not only is it cost-efficient (especially if you’re able to find cheap bulk garlic cloves), but you get to avoid any fillers and anti-caking chemicals used in various grocery store options, and the quality and flavor are usually far better, too!
Even better, all you need to make this garlic powder is fresh garlic and either a food dehydrator, oven, or a well-ventilated room with sunlight (for those in warmer climates!).
Want to save this recipe?
The Step By Step Instructions
No matter which method you use to dehydrate the garlic, there are just three steps: peeling, slicing, and dehydrating. The only things that change are the method of dehydration and how finely you mince/slice the garlic.
Step 1: Prepare the garlic
First, peel the garlic cloves. I like to make this step faster by placing them in a large lidded container and shaking for 20-30 seconds, to loosen the skins.
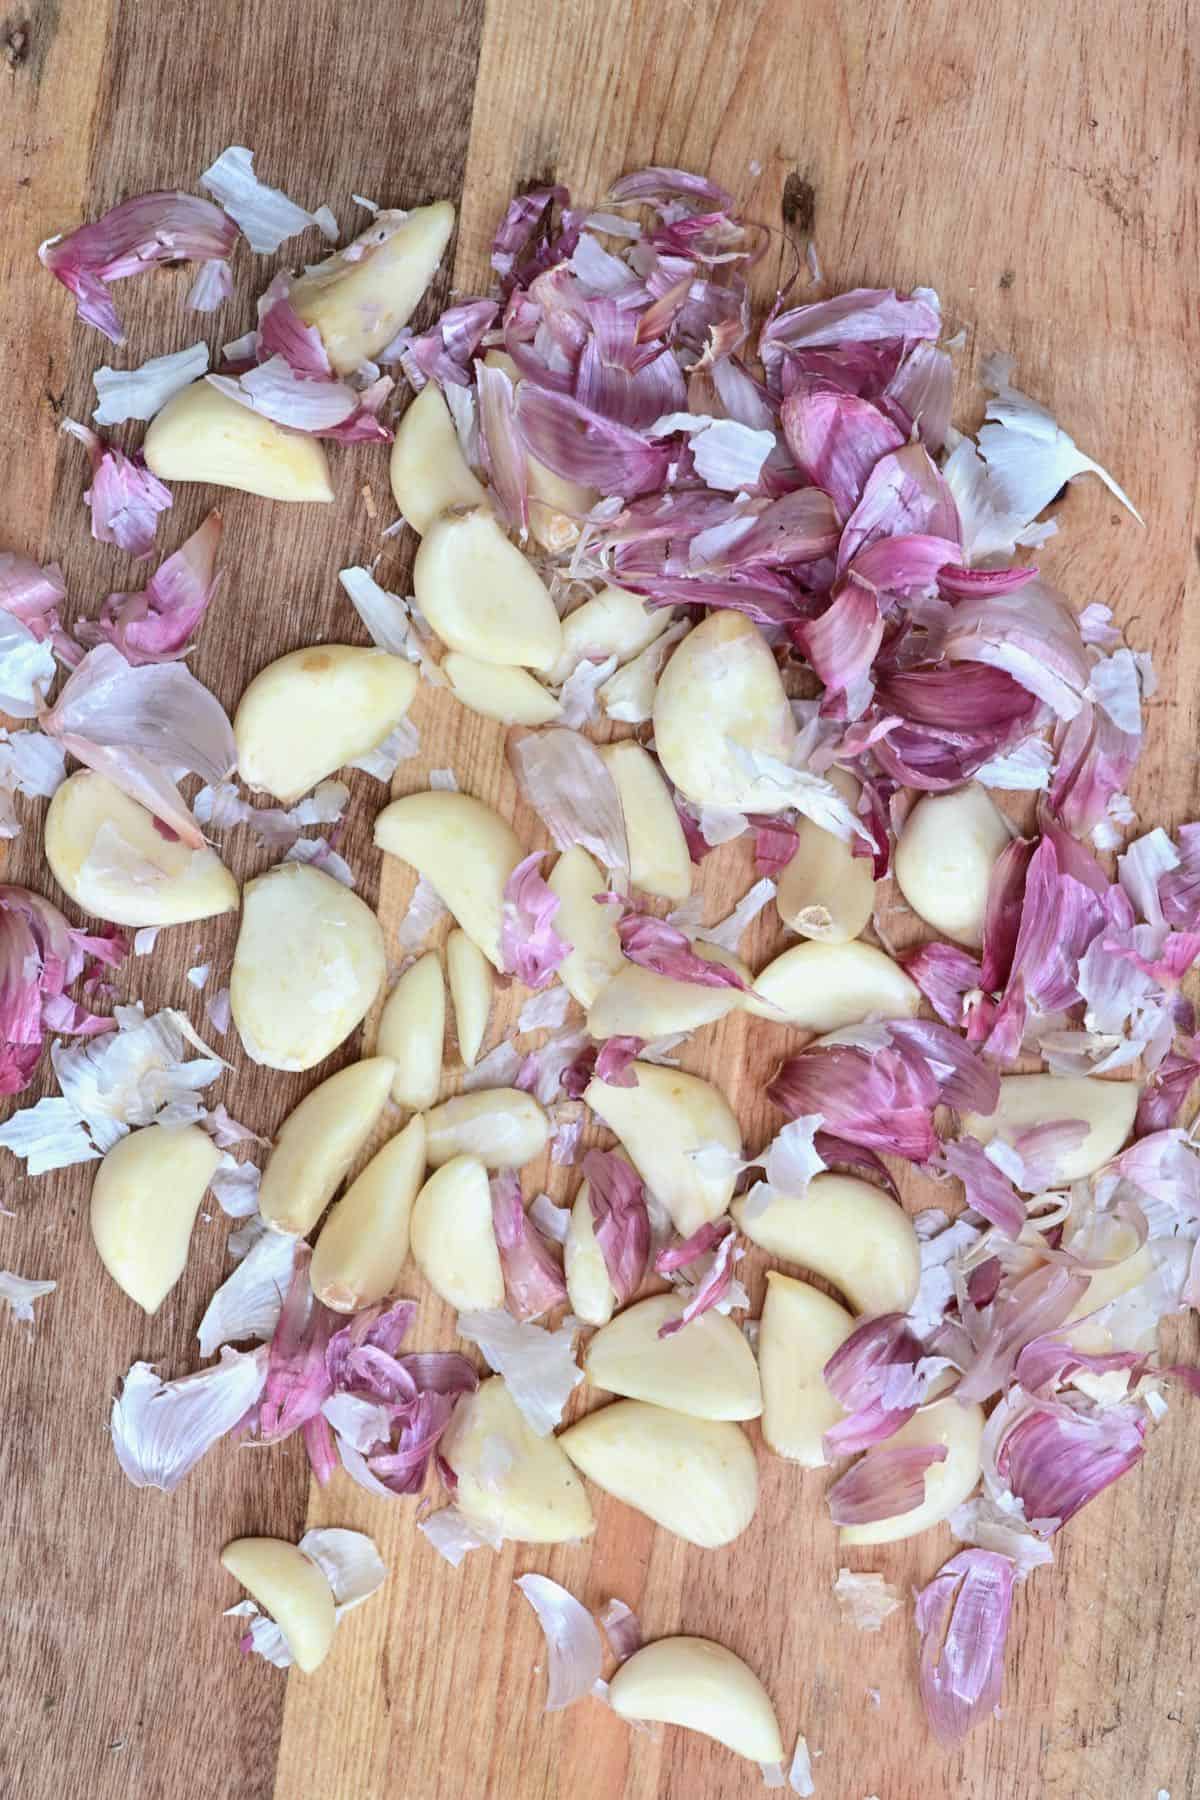
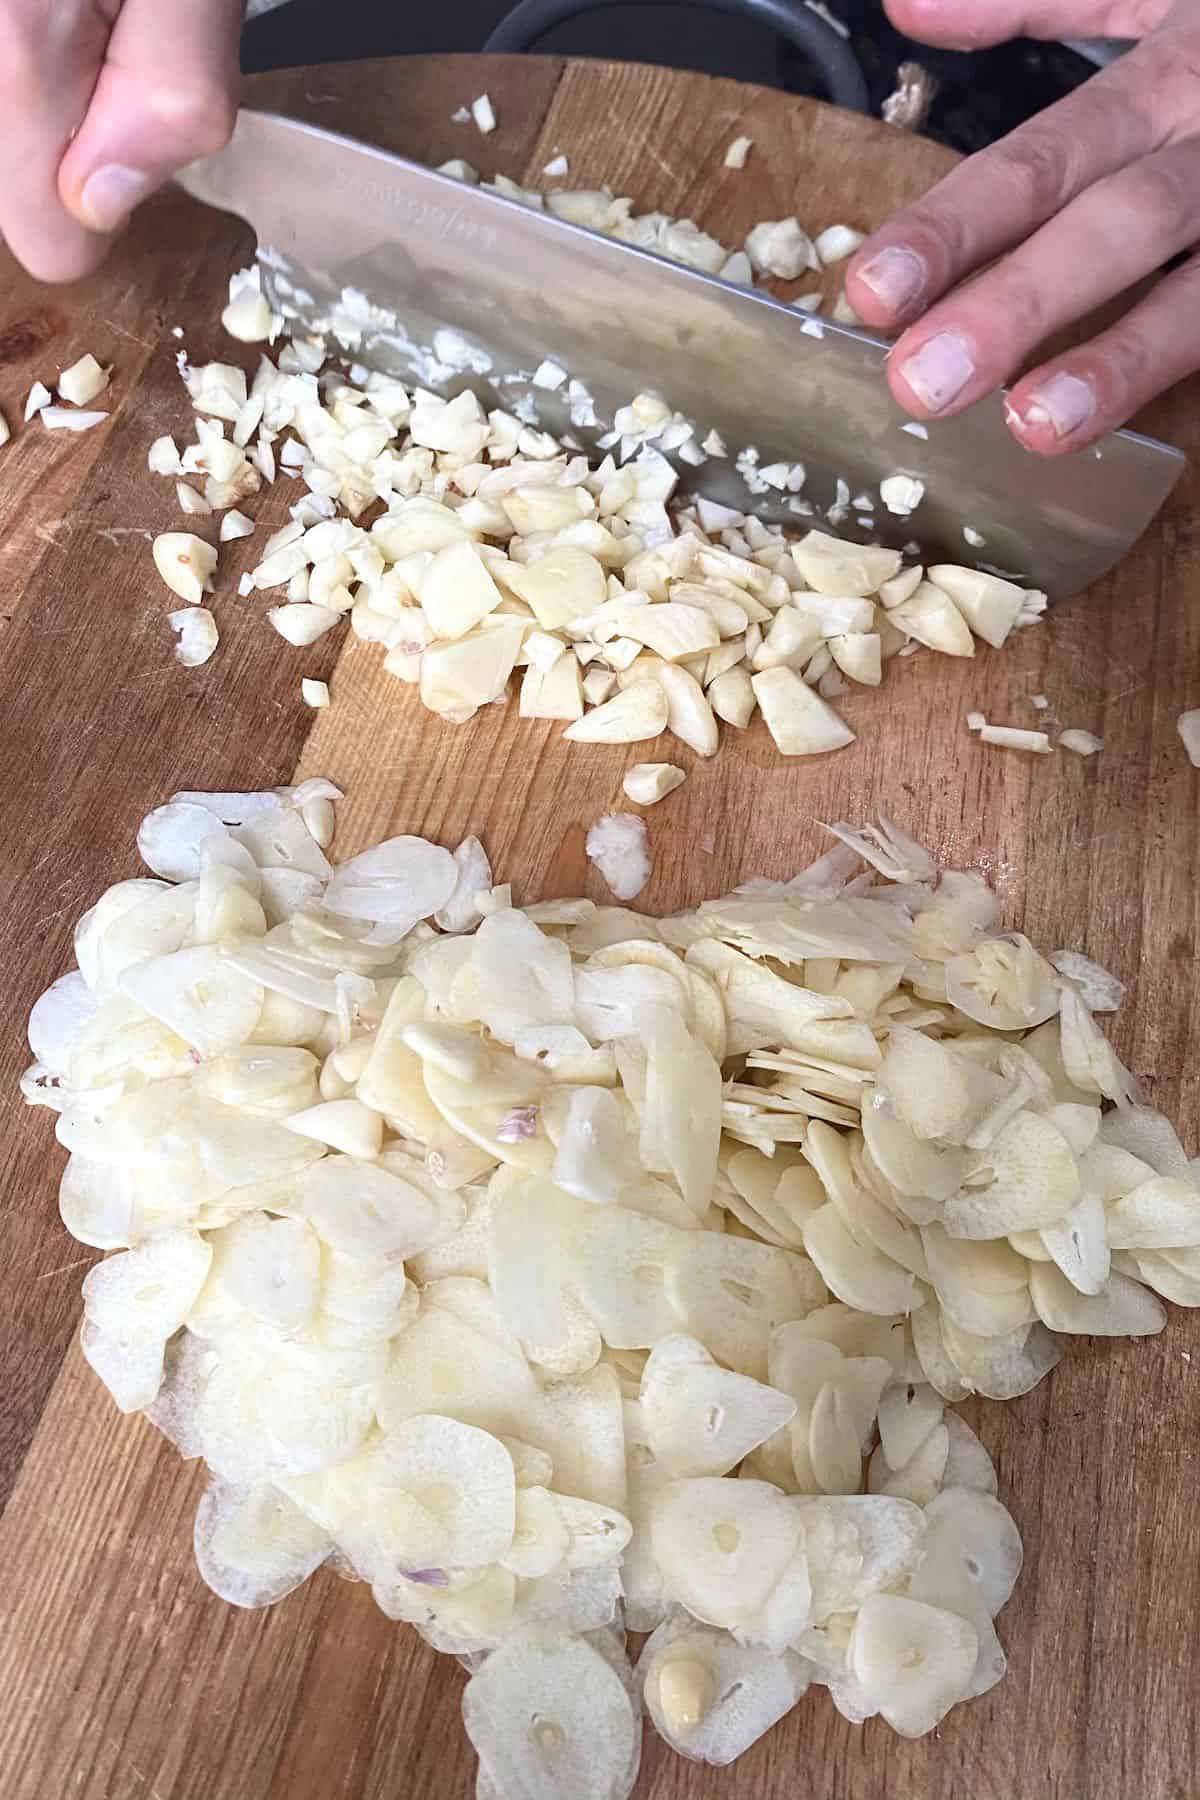
Then, slice or mince the garlic. You can slice it with either a garlic slicing tool, peeler, mandoline, or sharp knife. Alternatively, use a food processor/chopper and pulse until you have a chunky minced garlic consistency.
Try to keep the slices even in thickness and no thicker than 1/8 inch at absolute maximum, 1/16 inch if you can manage it.
Step 2: Dehydrate the garlic
In a dehydrator
Lay the garlic onto the dehydrator trays, making sure that they don’t touch too much and are in a single layer. The more space between them, the quicker they will dry.
Dry in the dehydrator at 66ºC/150ºF for 6-8 hours (if high humidity, around 80%) or 4-6 hours (if low humidity).
To check if they’re ready, pick one up. If it’s bendy at all, then it’s not ready. If it snaps, then it’s ready.
In An Oven
Spread the garlic over parchment-lined baking sheets, making sure the pieces don’t touch.
Place the trays in the oven at the lowest temperature your oven goes to. It’s best if it’s between 54-66ºC/130-150ºF. If your oven doesn’t go as low as that, then choose the lowest temperature and prop open the door a few mm’s to allow the steam to escape as the garlic dries and help the process along.
Chef’s note: To prop the door open, you can use the handle of a wooden spoon or something else reasonably heat-proof (though it won’t get too hot)

Check the garlic every hour (it takes 4-6 hours for me at 66ºC/150ºF) and remove it from the oven when it is either dry and snappable or at the very least barely bendy and lightly golden. It will continue to crisp up as it dries on the baking sheet.
Once cool, it should snap rather than bend. If not, then it’ll have to go back into the oven again.
To Air Dry
You can place the garlic pieces on a cloth or paper-lined baking sheet. I prefer to use a kitchen cloth.
Leave in a well-ventilated area, even better if it’s next to a window that gets plenty of sunshine. This is best for warmer, non-humid climates, as the weather and humidity will affect the amount of time they take to dry completely.
Turn over the garlic a couple of times. This will help speed up the drying process and stop them from sticking to the cloth/tray.
This method can take between 2-3 days based on the garlic slices’ thickness, the weather, and the humidity.
At this point the garlic flakes are ready.
Step 3: Grind the flakes into garlic powder
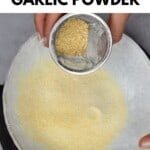
Grind the dehydrated garlic using a coffee or spice grinder, high-speed blender, food processor, or mortar and pestle.
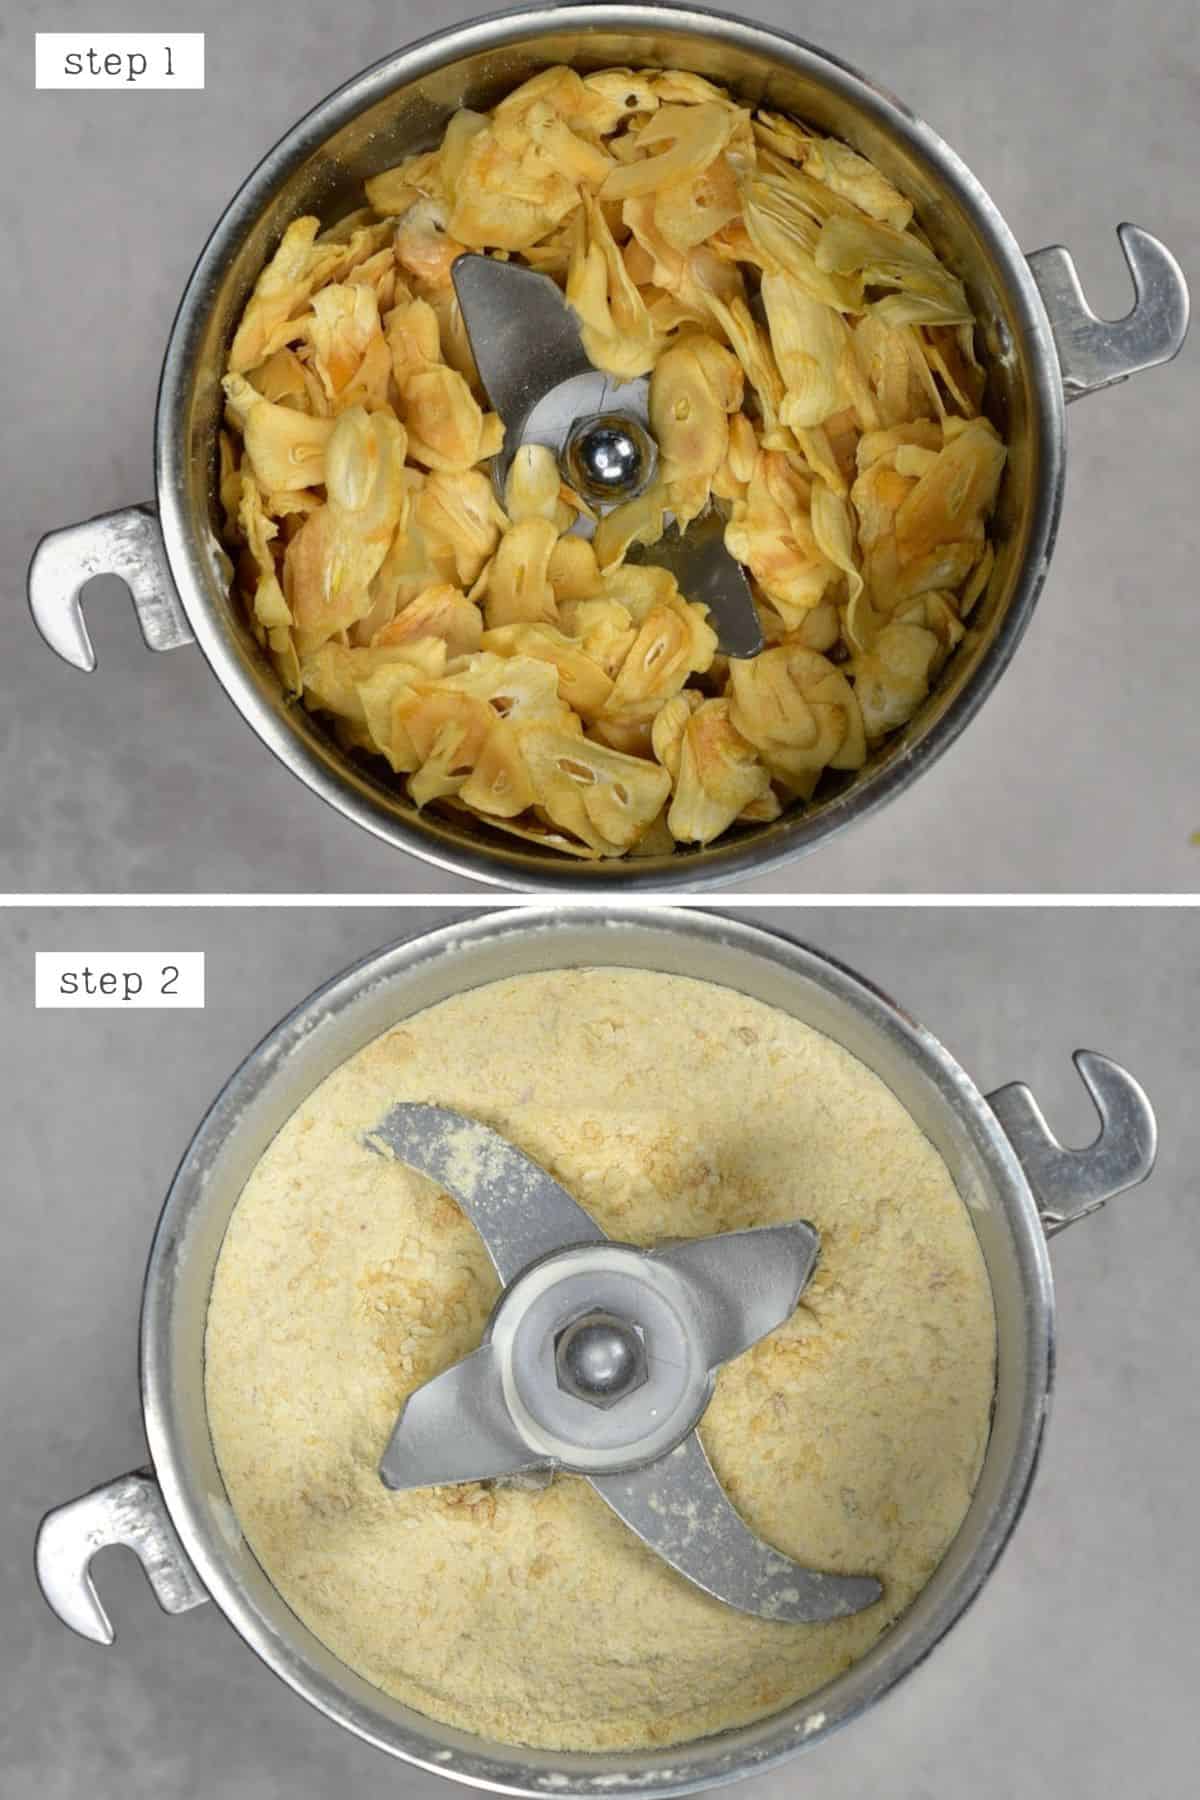
Once ground into a fine powder, sift it through a sieve, as there is always a few larger garlic ‘pebbles’ leftovers. These can be re-ground and sifted once more.
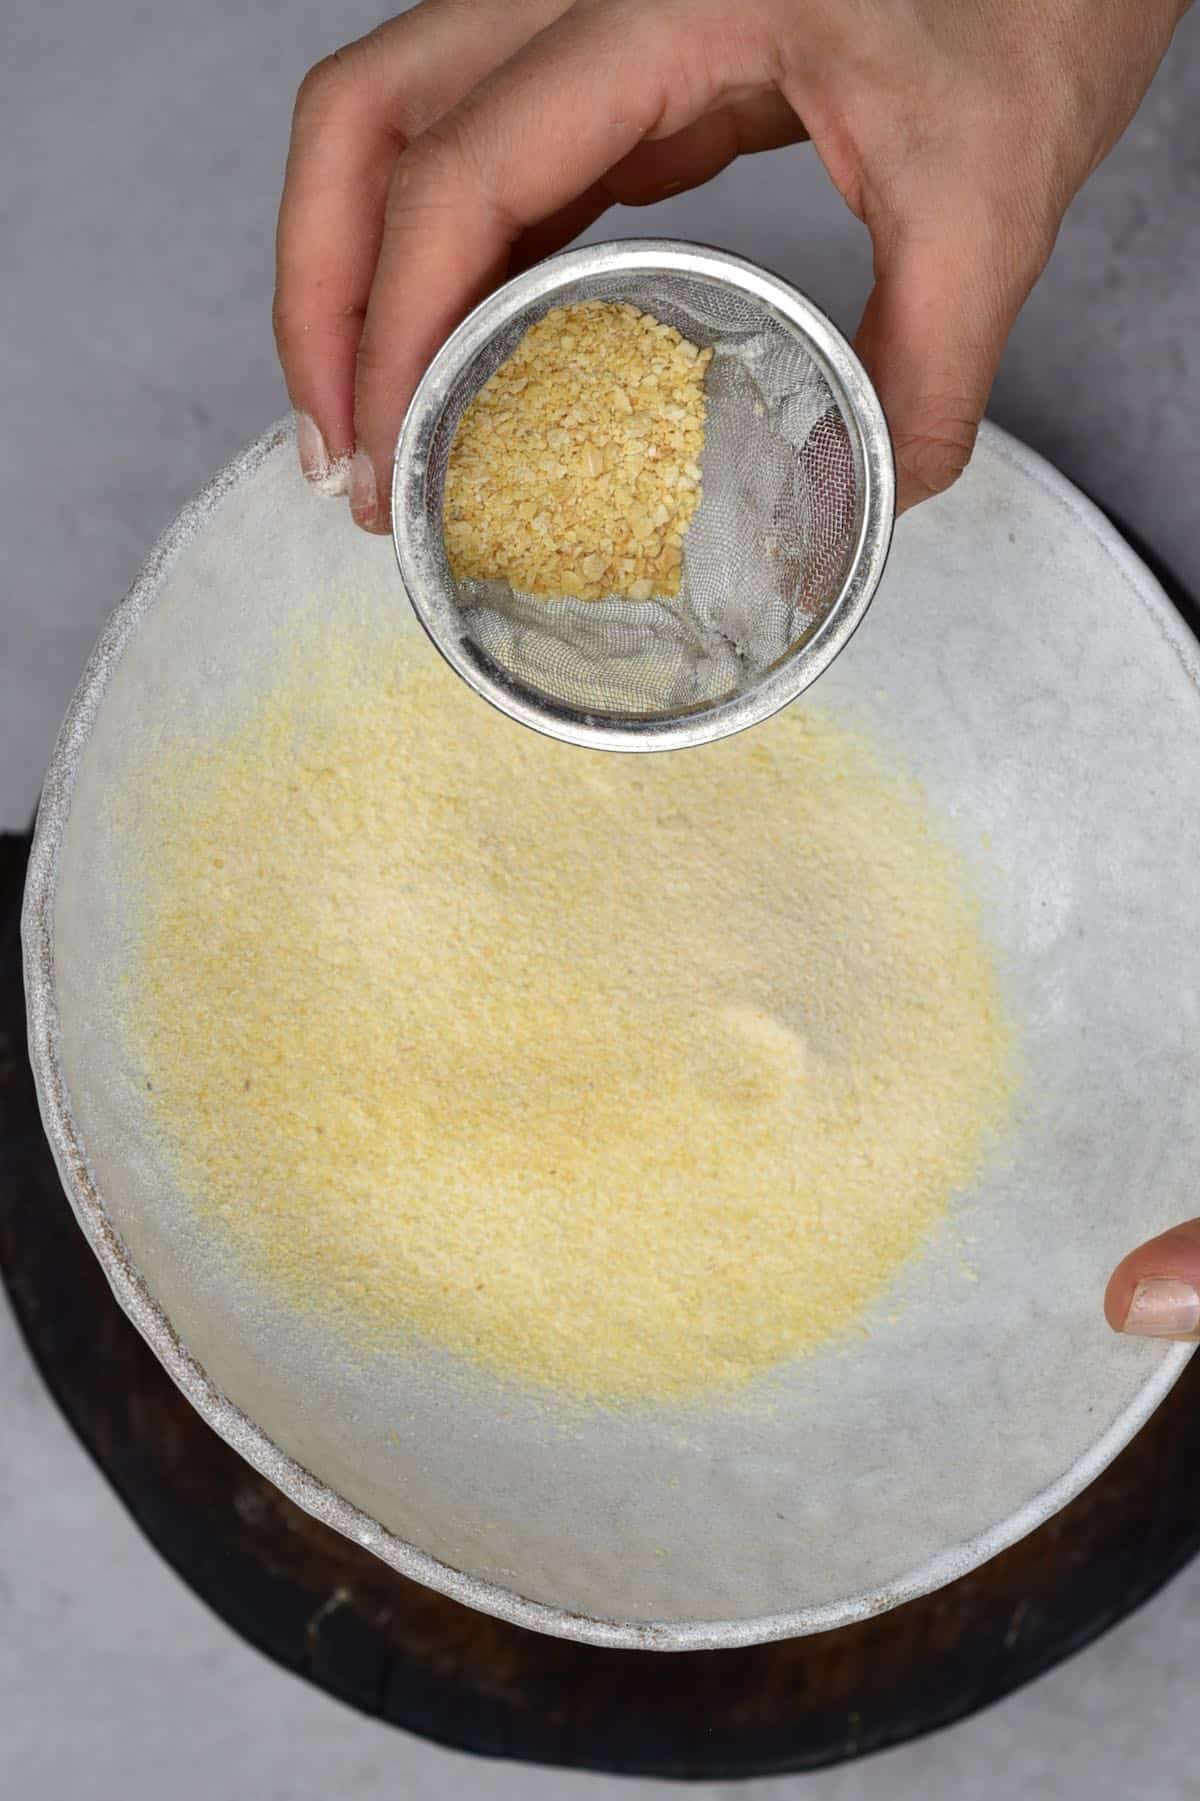
Any remaining chunkier pieces can be kept to one side to use in stocks or soups (as the liquid will rehydrate them, so they aren’t too hard) .
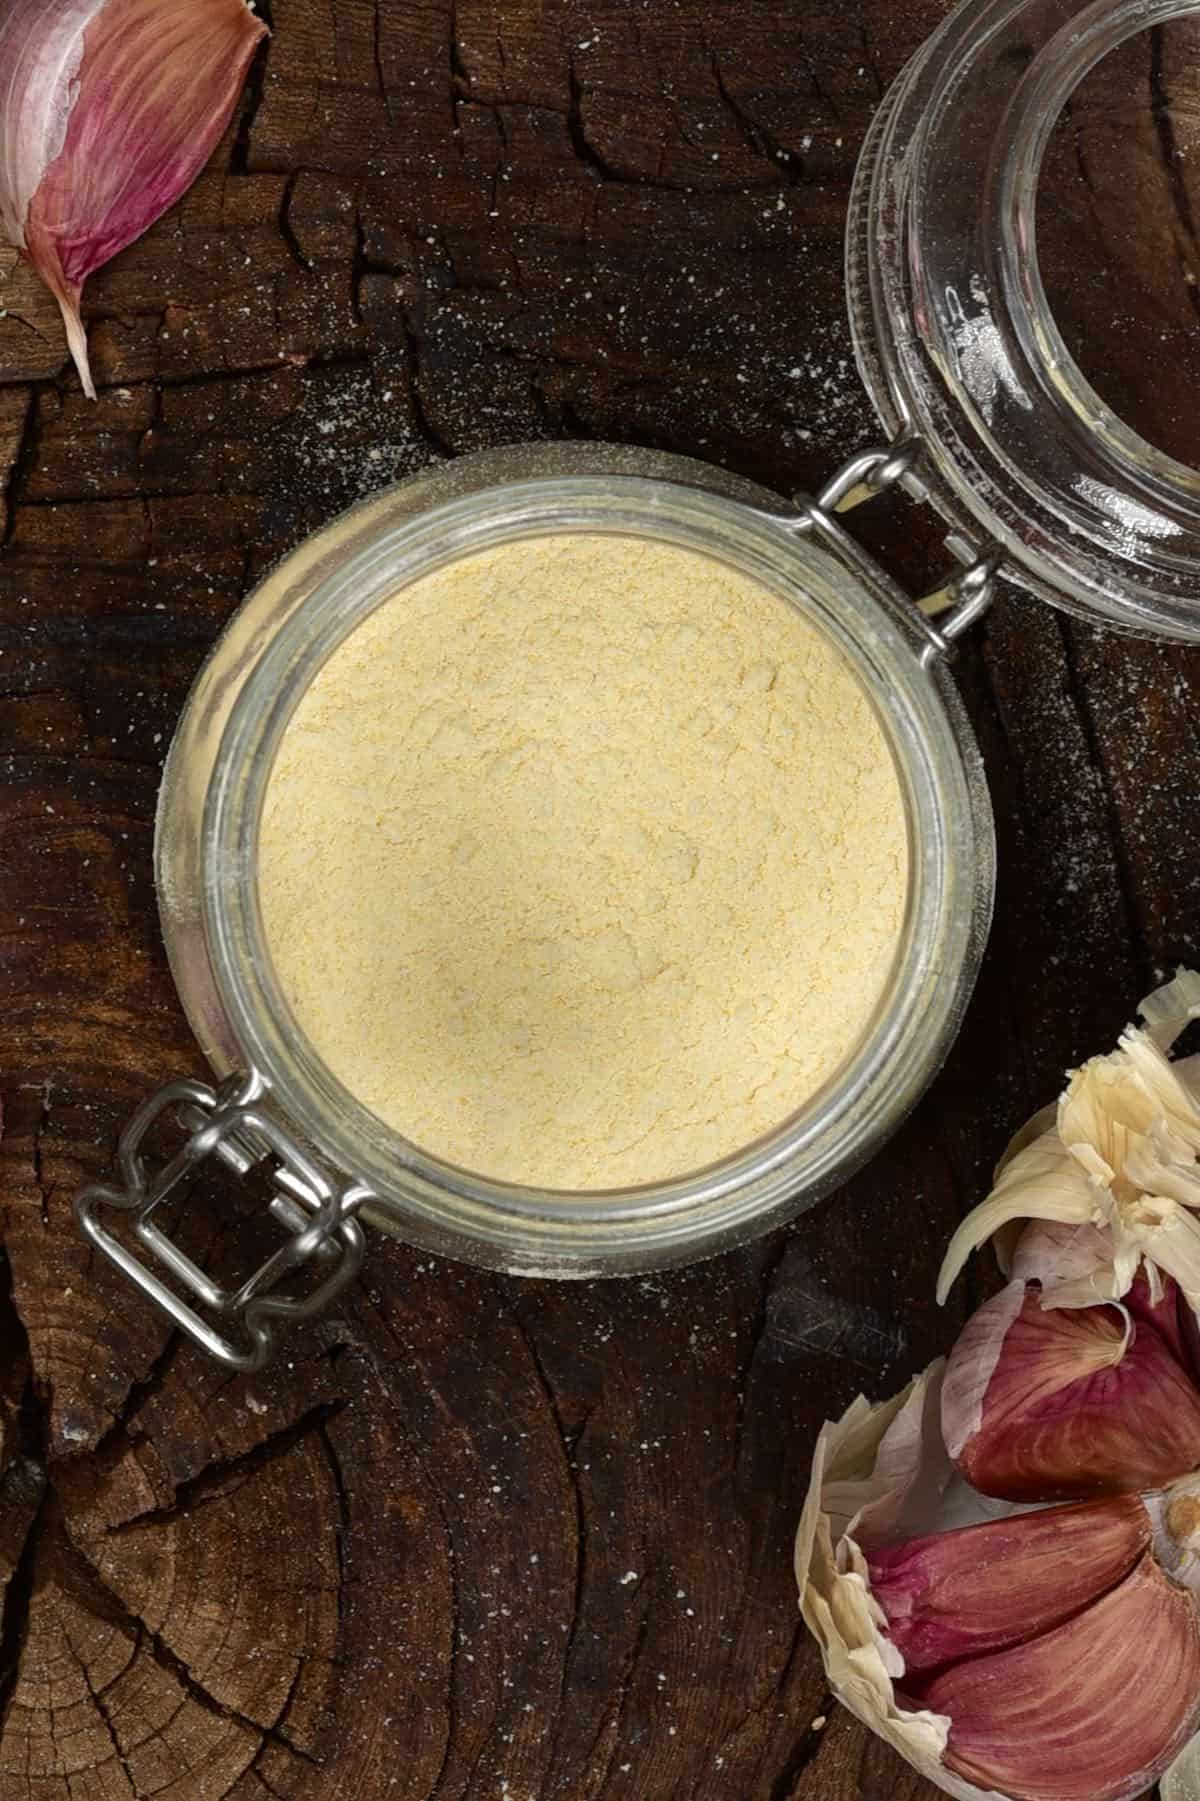
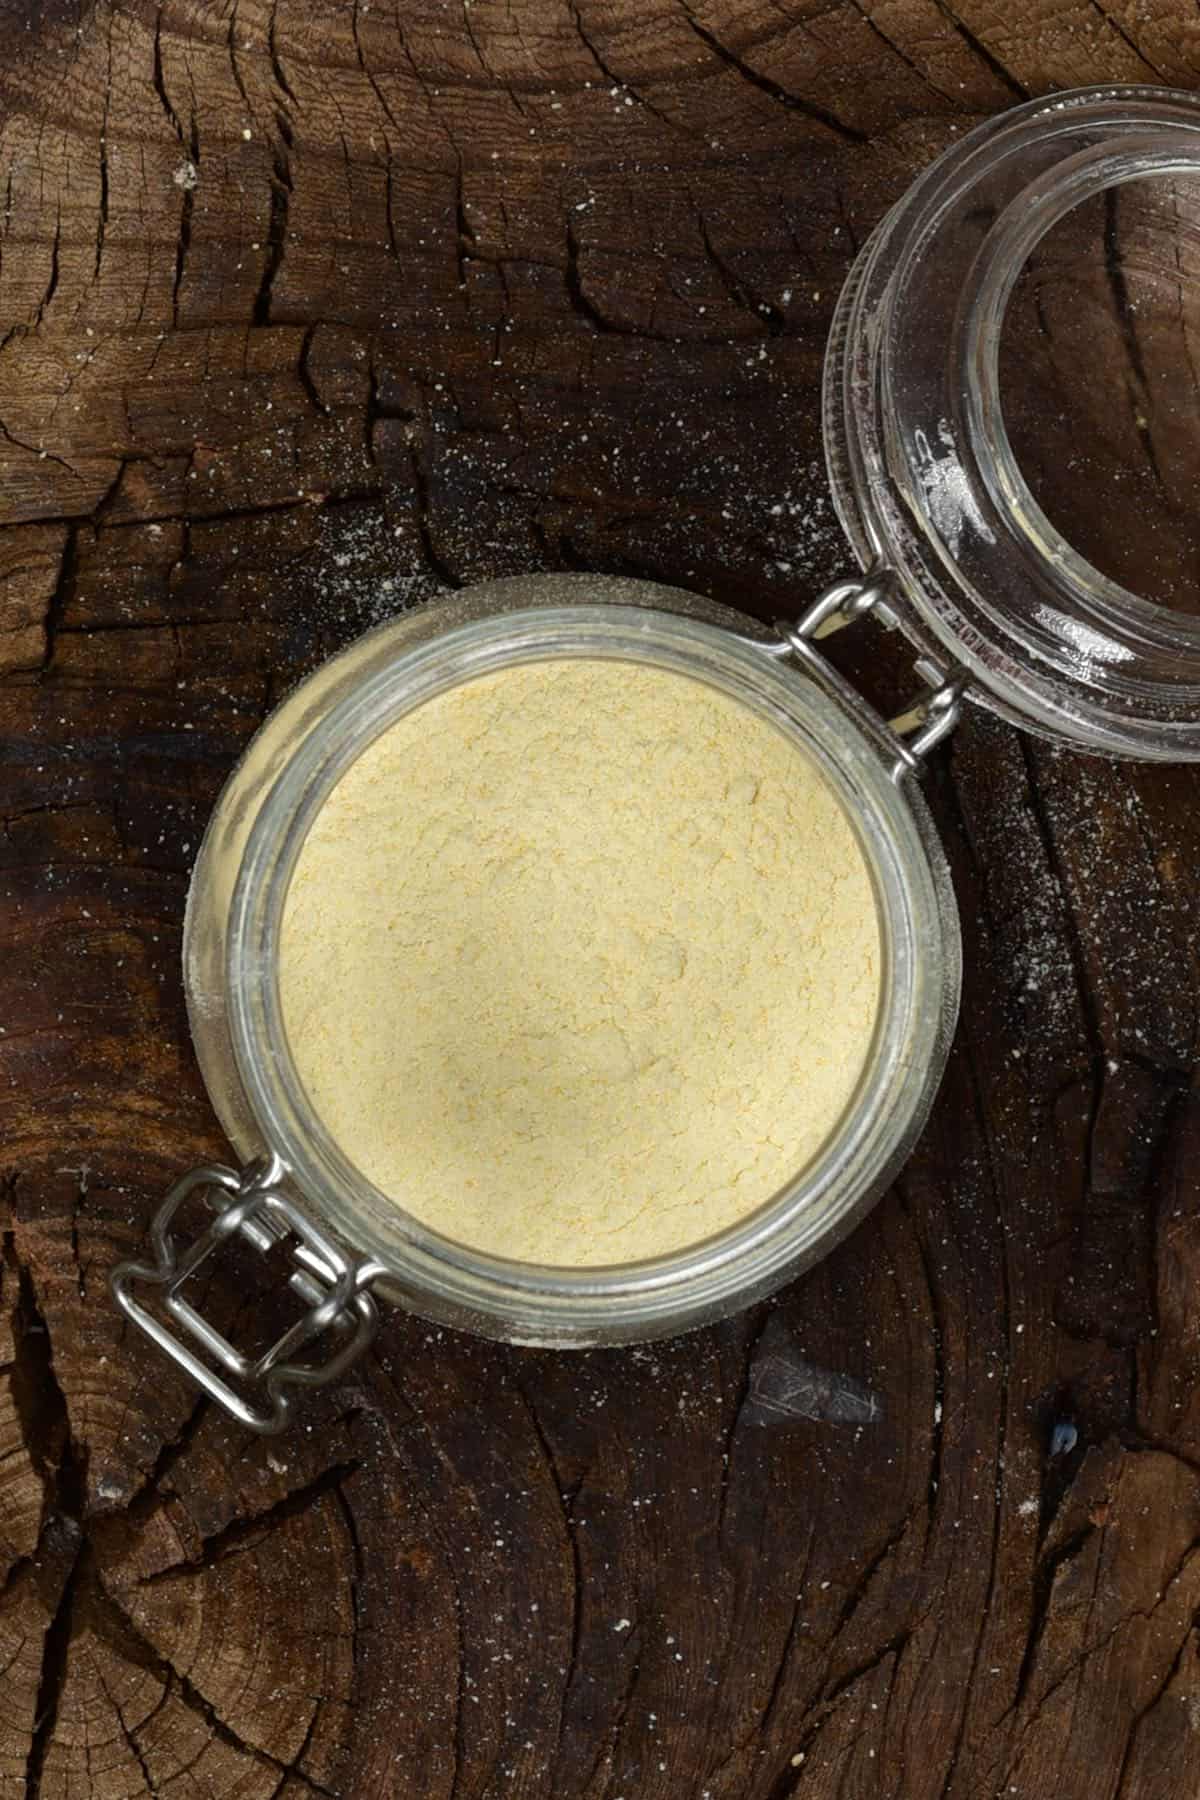
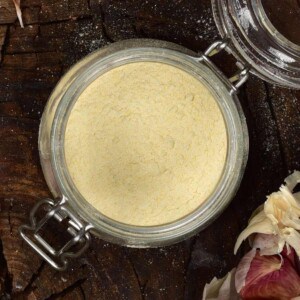
How To Store
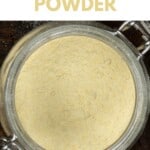
The homemade garlic powder should be stored in an airtight glass jar/container in a cool, dry location – like the kitchen cupboard and will last indefinitely if stored well. Though, they are best used within a year as the flavor does begin to deteriorate after that.
Within the first few days, I like to give the jar a shake daily to mix it all up. I’ve found this helps reduce any clumping, just in case there’s a little bit of moisture left in the garlic powder. You can also place some uncooked rice or beans into the container, which will absorb excess moisture.
How To Use
- In place of fresh garlic in recipes
- To season veggies and proteins – like these Crispy Roasted Potatoes or this simple Turmeric Roasted Cauliflower Head
- As part of a marinade for proteins– like homemade tofu.
- Within seasoning/ spice blends– like this Simple Homemade Italian Seasoning
- Dissolve into salad dressings, marinades, and sauces – like this Lemon Herb Tahini Sauce, Marinara Sauce, or Simple Roasted Red Pepper Sauce.
- Over or in egg dishes (F&P) – like scrambled, fried, soft/hard-boiled, as well as veggie Omelettes.
- Sprinkle over snacks – like popcorn and pretzels.
- In dips or used to garnish (F&P) – like Simple Spinach Yogurt Dip (Borani).
- In or over bread and other savory baked goods (F&P) – like bagels, buns, or breads – like this Simple Homemade Multigrain Bread Recipe.
I practically use it as an all-purpose seasoning here. I sprinkle a little over lasagnas and pasta dishes, baked potatoes, over roasted veggies, and more!
FAQs
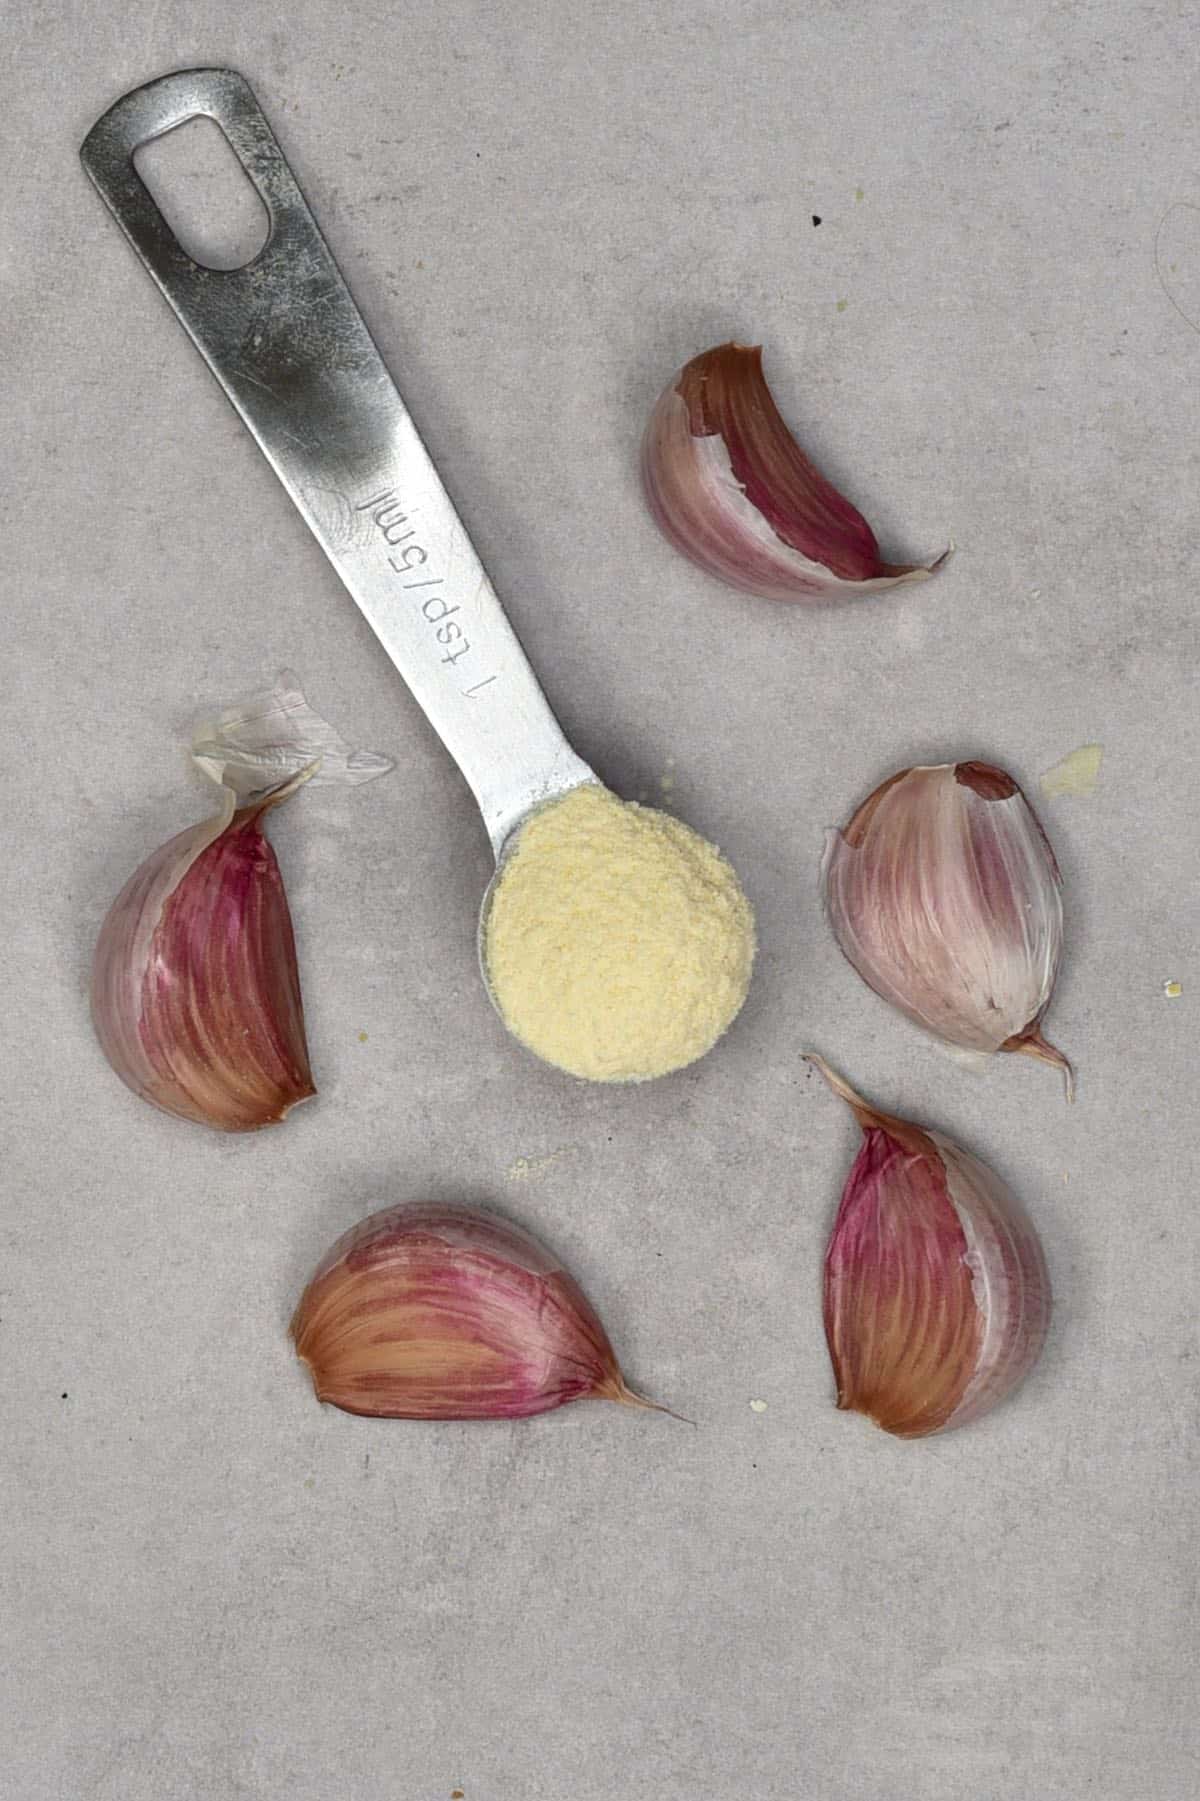
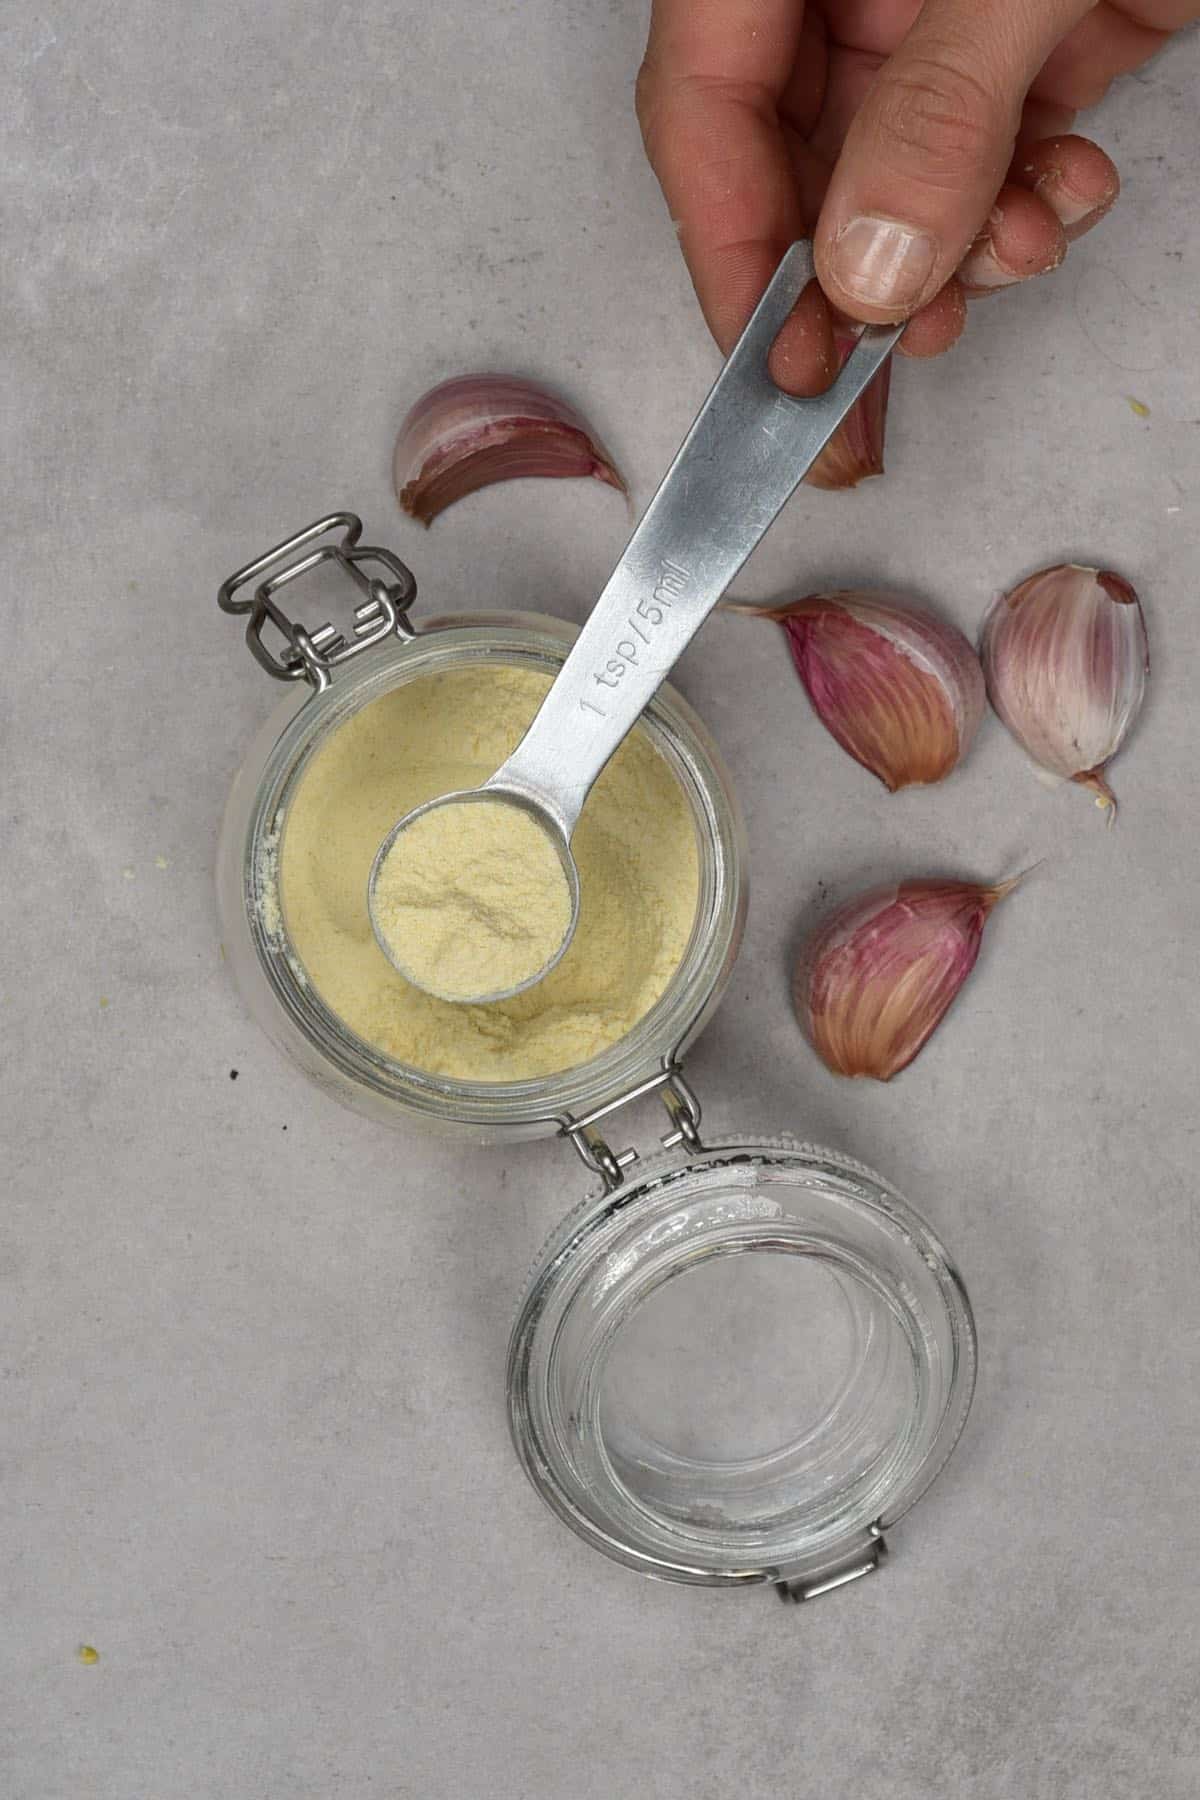
Yes, of course. It’s often more concentrated in flavor, so you’ll need less of it (see below question).
When substituting garlic cloves for powder, approximately 1/8 teaspoon of garlic powder is the equivalent of one clove of garlic.
Garlic salt is a product that combines garlic powder and salt. To make garlic salt, mix them at a ratio of 3:1 parts salt to part garlic powder (i.e., 3 Tbsp salt to 1 Tbsp garlic powder).
Recipe Notes
- If you use the oven and the garlic browns, then the temperature is/was too high and the garlic will likely be bitter.
- It’s okay to turn the dehydrator/oven off overnight and restart the dehydrating process the following morning.
- Make sure the garlic is completely dry otherwise, it will clump. This is critical and makes a massive difference – so try not to be too impatient.
- During the dehydration period, the smell of garlic will be very prominent in your house – to be aware.
- Don’t throw out the ends and skins of the garlic. Place them in a bag in the freezer and use them the next time you make some homemade veggie stock.
- You can use a coffee grinder to grind this into powder. However, I only suggest doing so if you use it exclusively for spices and food uses.
- You can reduce the dehydrator’s temperature to preserve as much of the nutrition from the garlic as possible. However, the drying process will then take far longer. Use 38-43ºC/100-110°F (anything below 48ºC/118ºF will maintain as much of the nutritional properties as possible), and it will take between 1-3 days, depending on your particular dehydrator.
Related Recipes/DIYs
- DIY Garlic Flakes
- Simple Golden Spice (Golden Milk Powder)
- How to Make Onion Powder
- How To Make Onion Flakes
- How To Crush, Chop, And Mince Garlic
If you try this garlic powder, then let me know your thoughts and questions in the comments. I’d also really appreciate a DIY rating and would love to see your recreations – just tag @AlphaFoodie.
Homemade Garlic Powder (3 Easy Ways)
Ingredients
- 3 heads garlic
Instructions
- Peel the garlic cloves. Use your hands, or shake in a sealed container to loosen skins.
- Slice thinly and evenly, about 1/16–1/8 inch thick.
- Dry the slices:– Dehydrator: Dry at 110ºF (43ºC) for a slower, more nutrient-preserving process (may take up to 12 hours or more), or use 150ºF (66ºC) for a faster dry (4–6 hours). Garlic is ready when it’s completely dry and snaps cleanly.–Oven: 130–150ºF with the door slightly open, for 4–6 hours.– Air-dry: 2–3 days in a warm, sunny, well-ventilated spot, laid out on a clean towel or tray.
- Cool fully, then grind into powder using a spice grinder or blender.
- Sift to remove any coarse bits and store in an airtight jar.
Notes
Store in an airtight jar in a cool, dry, dark place. Best flavor within 1 year. Tips (optional):
– Make sure garlic is fully dry — it should snap.
– Grind in batches and sift for even texture.
– Use a spice-only grinder to avoid lingering garlic smell. 3 heads fresh garlic (about 230g), yields ~1/2 cup powder
Nutrition
Nutrition information is automatically calculated, so should only be used as an approximation.


This looks a fool-proof recipe to do your own garlic , of which you may know the source, unlike the ready-made bought in stores, most which comes from some Asian countries where pesticides are used indiscriminately.
Now my question is what can you use instead of a dehydrator, if you don’t have one ?
Thanks
Nic
Hi Nic,
The post also has instructions on how to dehydrate the garlic in the oven or even air drying. Set the oven to a low temperature (130-150ºF/54-66ºC) and let the garlic dry for 4-6 hours, checking on it regularly. I hope this helps.