
This post may contain affiliate links. Please read our disclosure policy.


How to make garlic flakes (aka dried minced garlic – for smaller flakes) at home with one of three methods (dehydrator, oven, or air drying). The resulting dried garlic can be used in tons of ways to flavor and garnish food!
You may have noticed that I’ve recently made several powders and paste DIY’s, including garlic powder. This DIY for garlic flakes was the next on my list. Using a simple dehydrating process, you can get simple, flavourful fresh garlic substitutes with just one ingredient and little effort.
Not only is it cost-efficient (especially if you’re able to find cheap bulk garlic cloves), but you get to avoid any fillers and anti-caking chemicals used in various grocery store options, and the quality and flavor is usually far better too!
Best of all, dehydrating the garlic massively increases the shelf life by removing all of the ‘water’ content that leads to spoilage. That way, you’ll always have garlic to add to recipes whenever needed.
This post takes you through making larger garlic flakes and smaller flakes (aka dried minced garlic). As well as usage suggestions, how to store, and more.
Want to save this recipe?
The step-by-step instructions
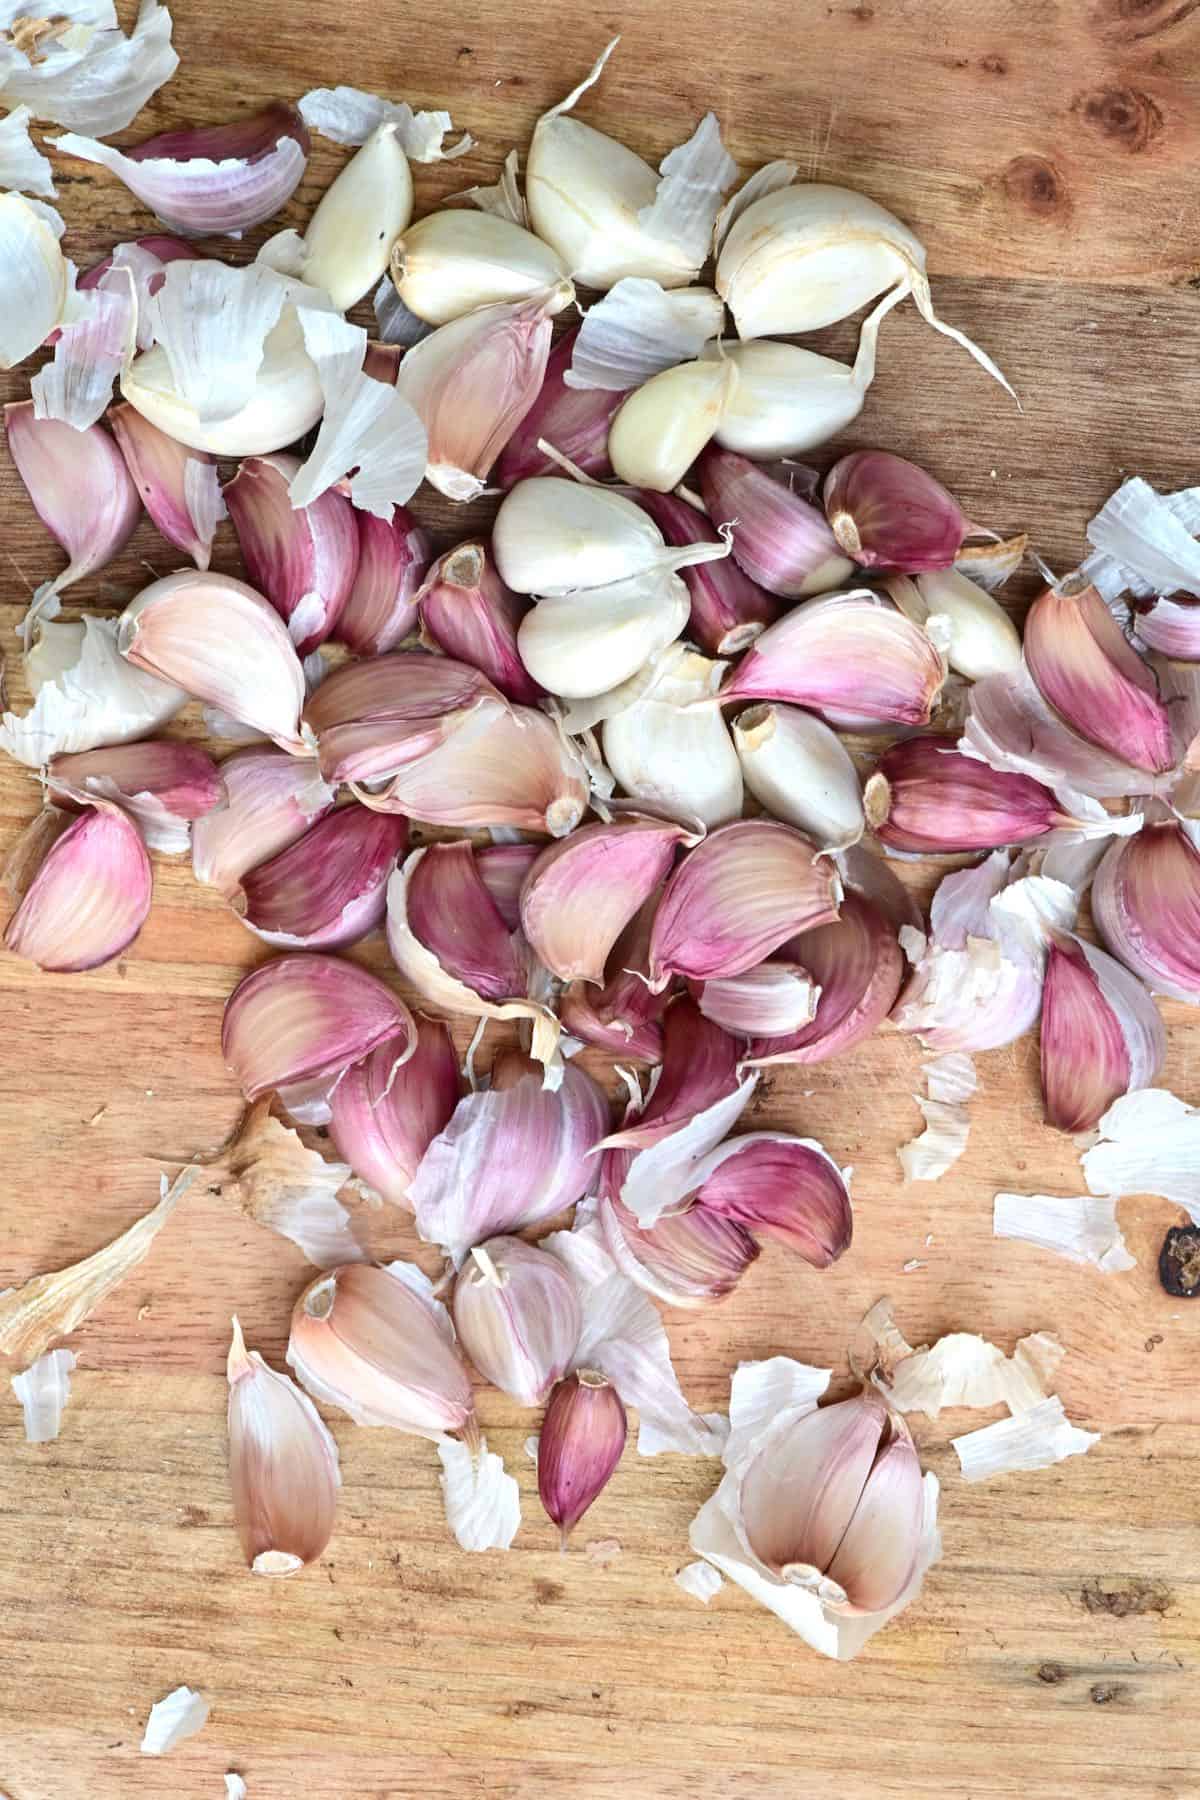
Step 1: Prepare the garlic
First, you’ll need to peel the garlic cloves.
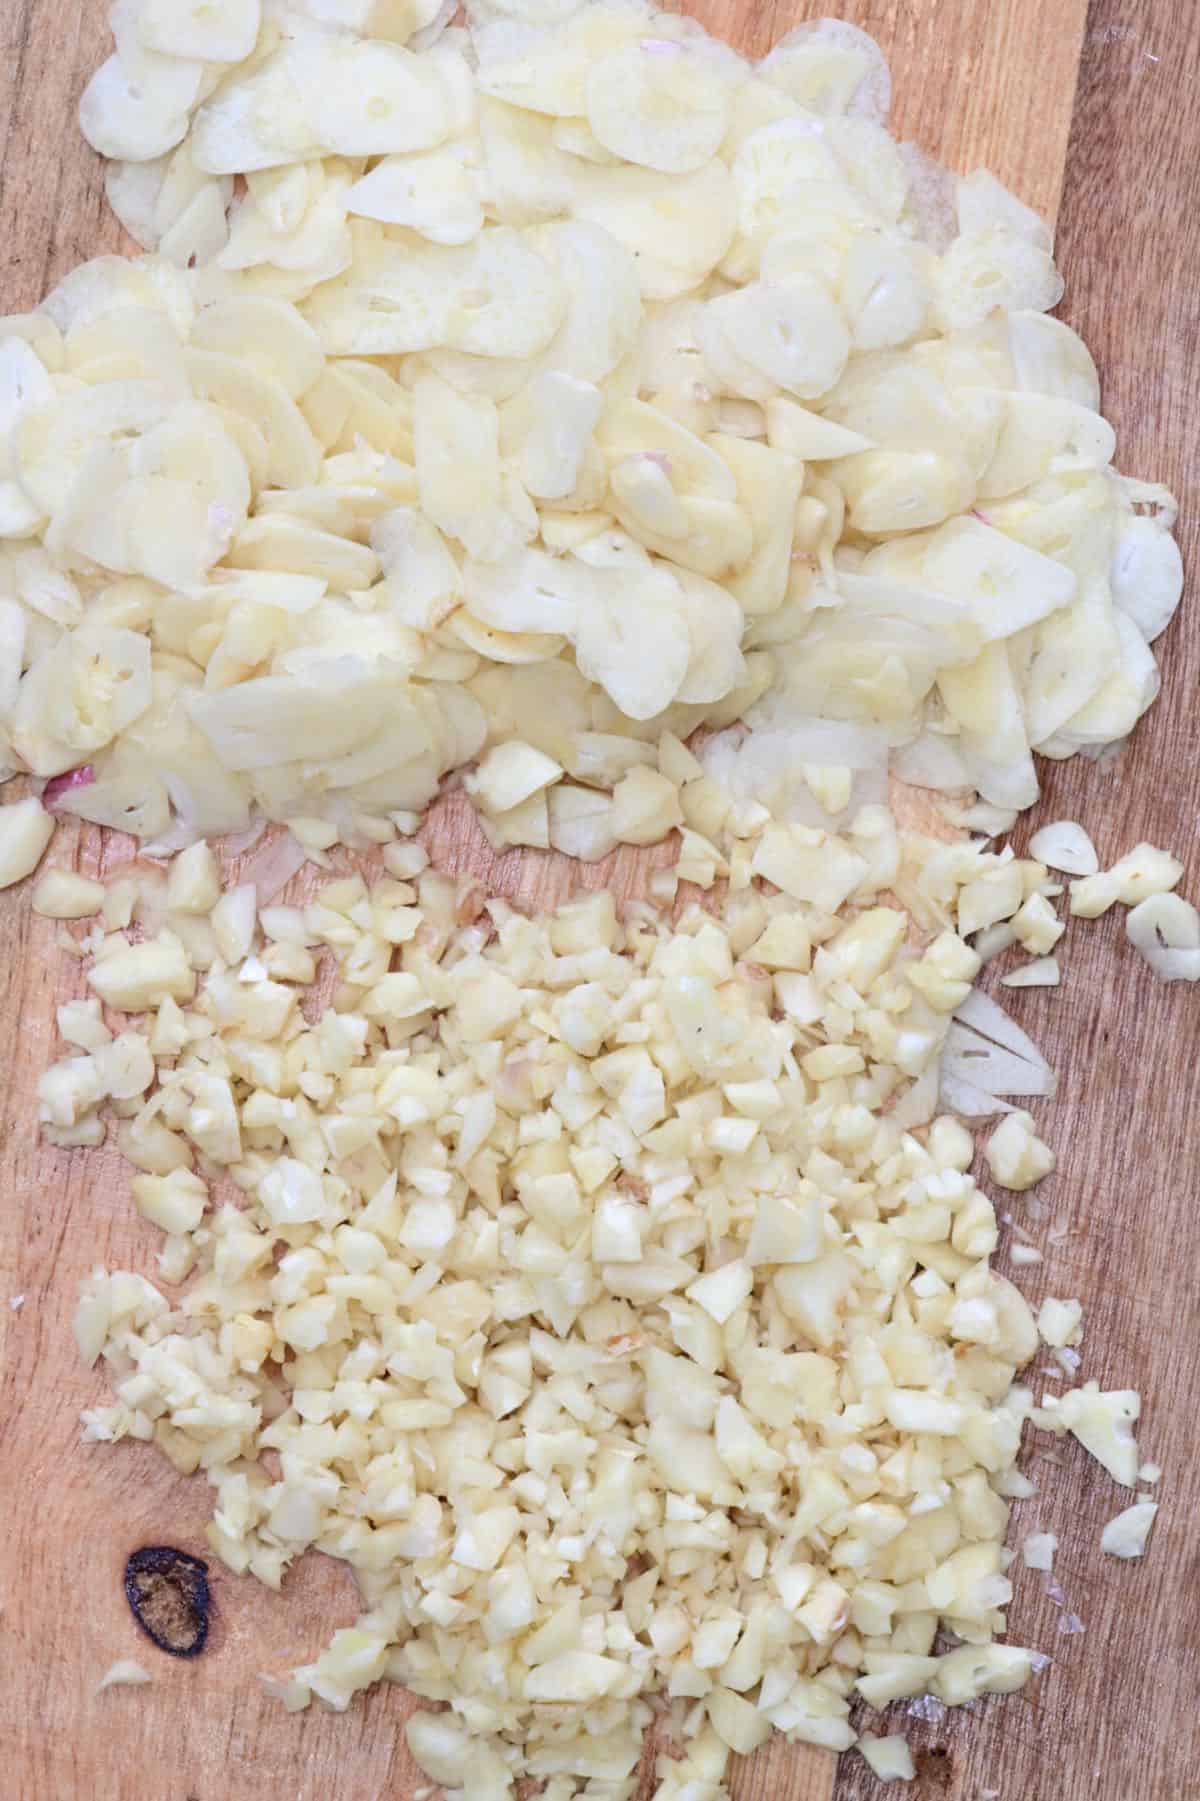
Then, slice the peeled garlic using a garlic slicing tool, mandoline, or a sharp knife. Try to keep the pieces even in thickness and no thicker than 1/8 inch at absolute maximum, 1/16 inch if you can manage it.
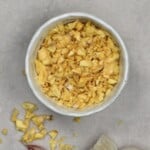
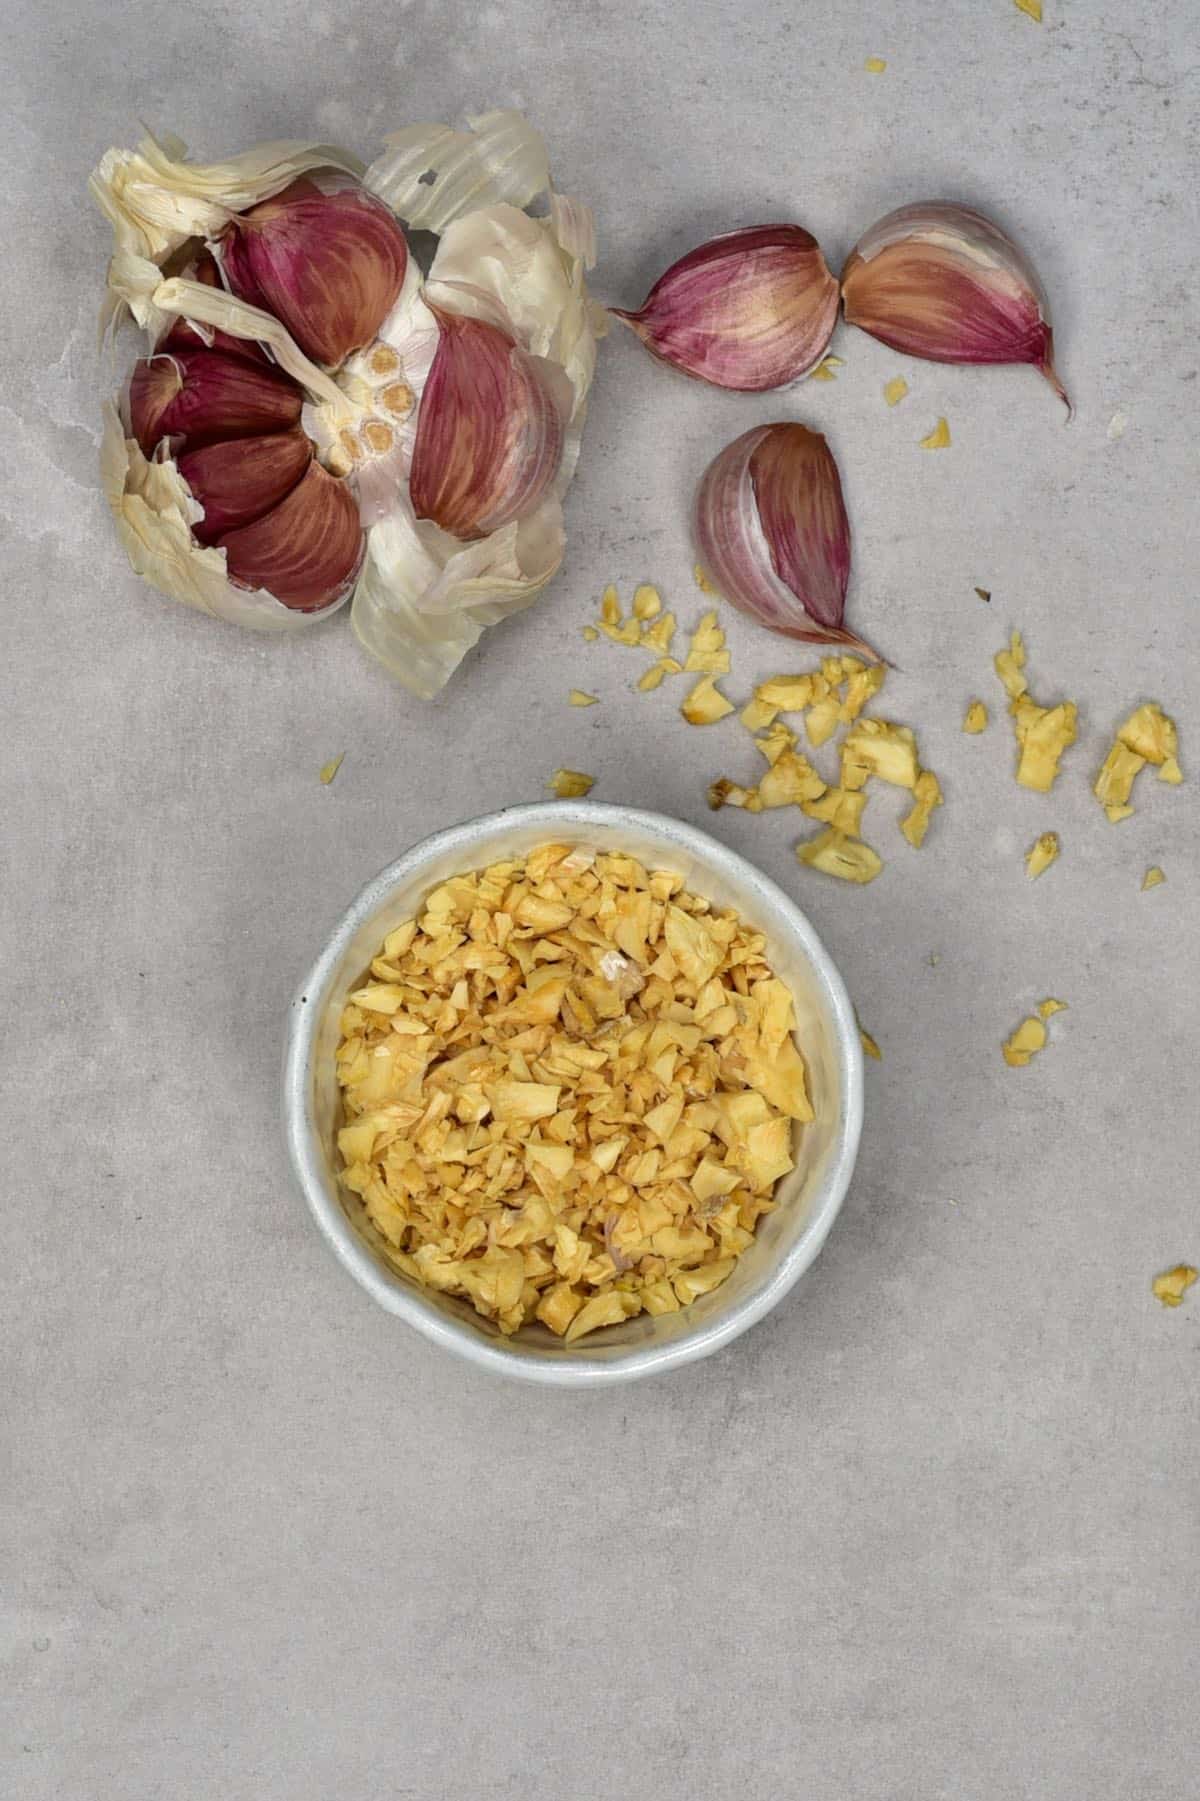
For dried minced garlic you can use a food processor/chopper for just a few seconds to roughly chop the garlic or mince the garlic by hand with a sharp knife.
Step 2: Dehydrate it
Using a dehydrator
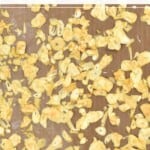
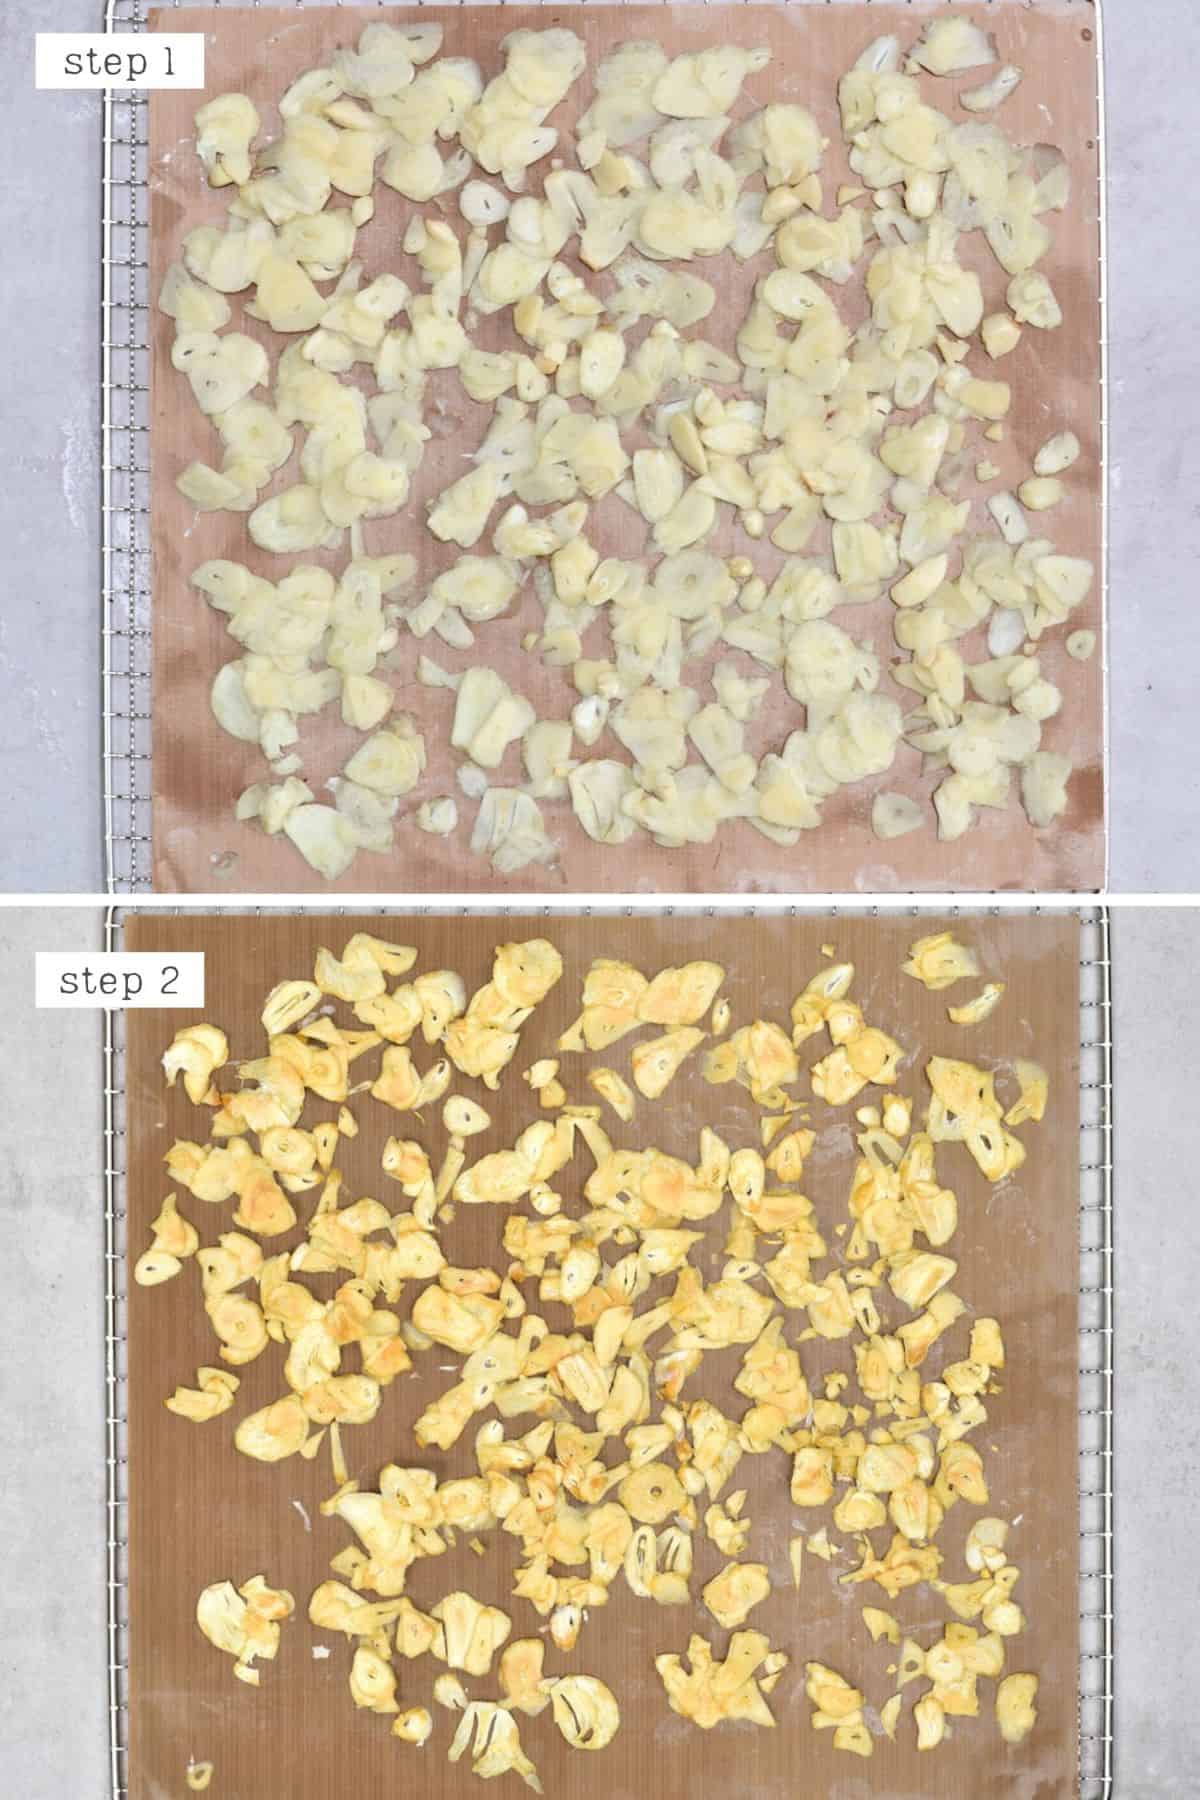
Lay the garlic slices/ mince onto the dehydrator trays, making sure that they are in a single layer and dehydrate at 66ºC/150ºF for 6-8 hours (in high humidity areas, around 80%) or 4-6 hours (if low humidity).
To check if they’re ready, pick one up. If it’s bendy at all, then it’s not ready. If it snaps, then it’s ready.
Using An Oven
Spread the garlic over parchment-lined baking sheets, and place in the oven at 54-66ºC/130-150ºF (the lower the better). If your oven doesn’t go as low as that, then choose the lowest temperature and prop open the door a few mm’s with a wooden spoon, to allow the steam to escape as the garlic dries and speed up the process.
Check the garlic every hour (it takes 4-6 hours for me at 66ºC/150ºF) and remove it from the oven when it is either completely dry or very almost dry (it crisps more as it cools).
Once cool, it should snap rather than bend. If not, then it’ll have to go back into the oven again.
To Air Dry
Spread the pieces over a cloth or paper-lines baking sheet and leave in a well-ventilated area, even better if it’s next to a window that gets plenty of sunshine. This is best for warmer, non-humid climates, as the weather and humidity will affect the amount of time they take to dry completely.
Turn over the garlic a couple of times. This will help speed up the drying process and stop them from sticking to the cloth/tray.
This method can take between 2-3 days based on the garlic slices’ thickness, the weather, and the humidity.
If you want to go one step further and make garlic powder, then check out this tutorial on how to Make Garlic Powder!
How to store
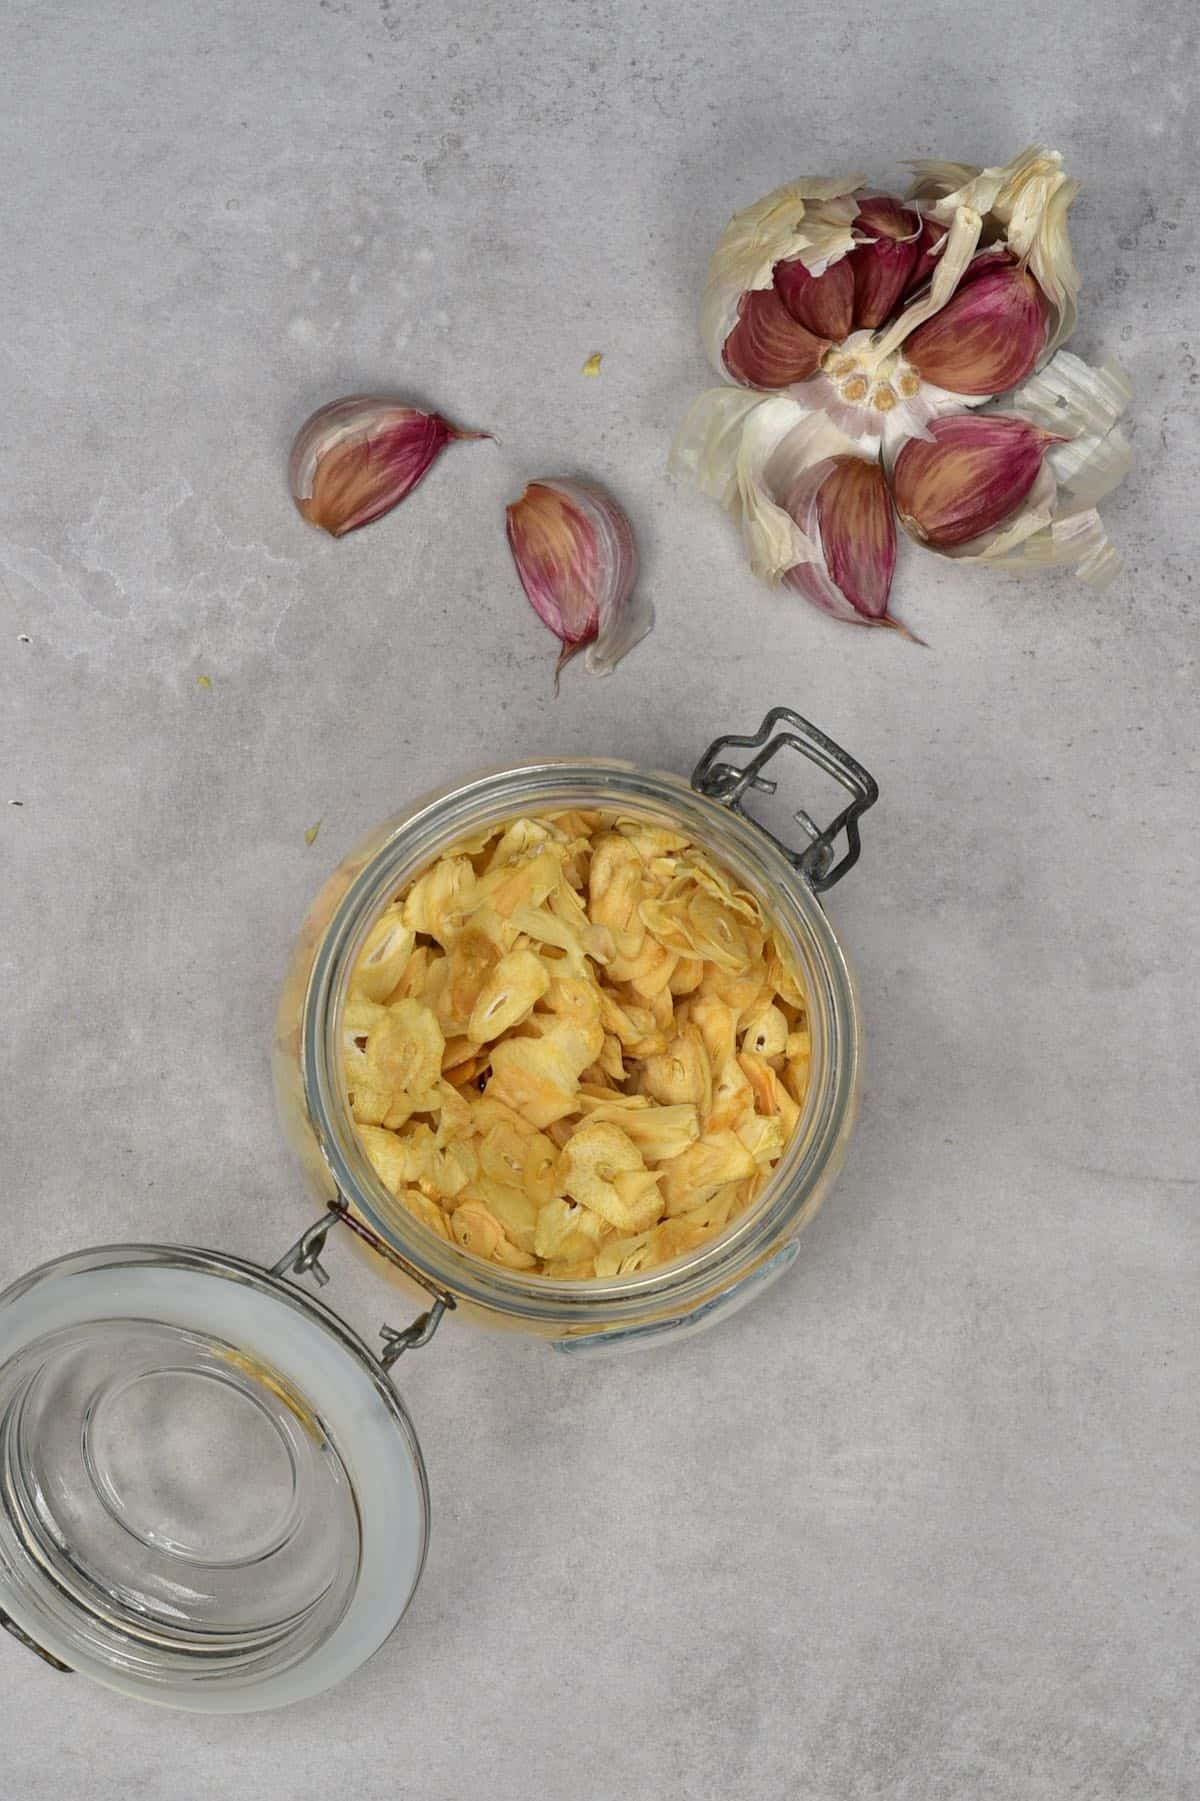
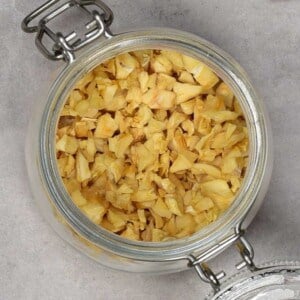
Store the homemade garlic flakes in airtight containers like glass jars, and keep them in a cool, dry, and dark location – like a cupboard.
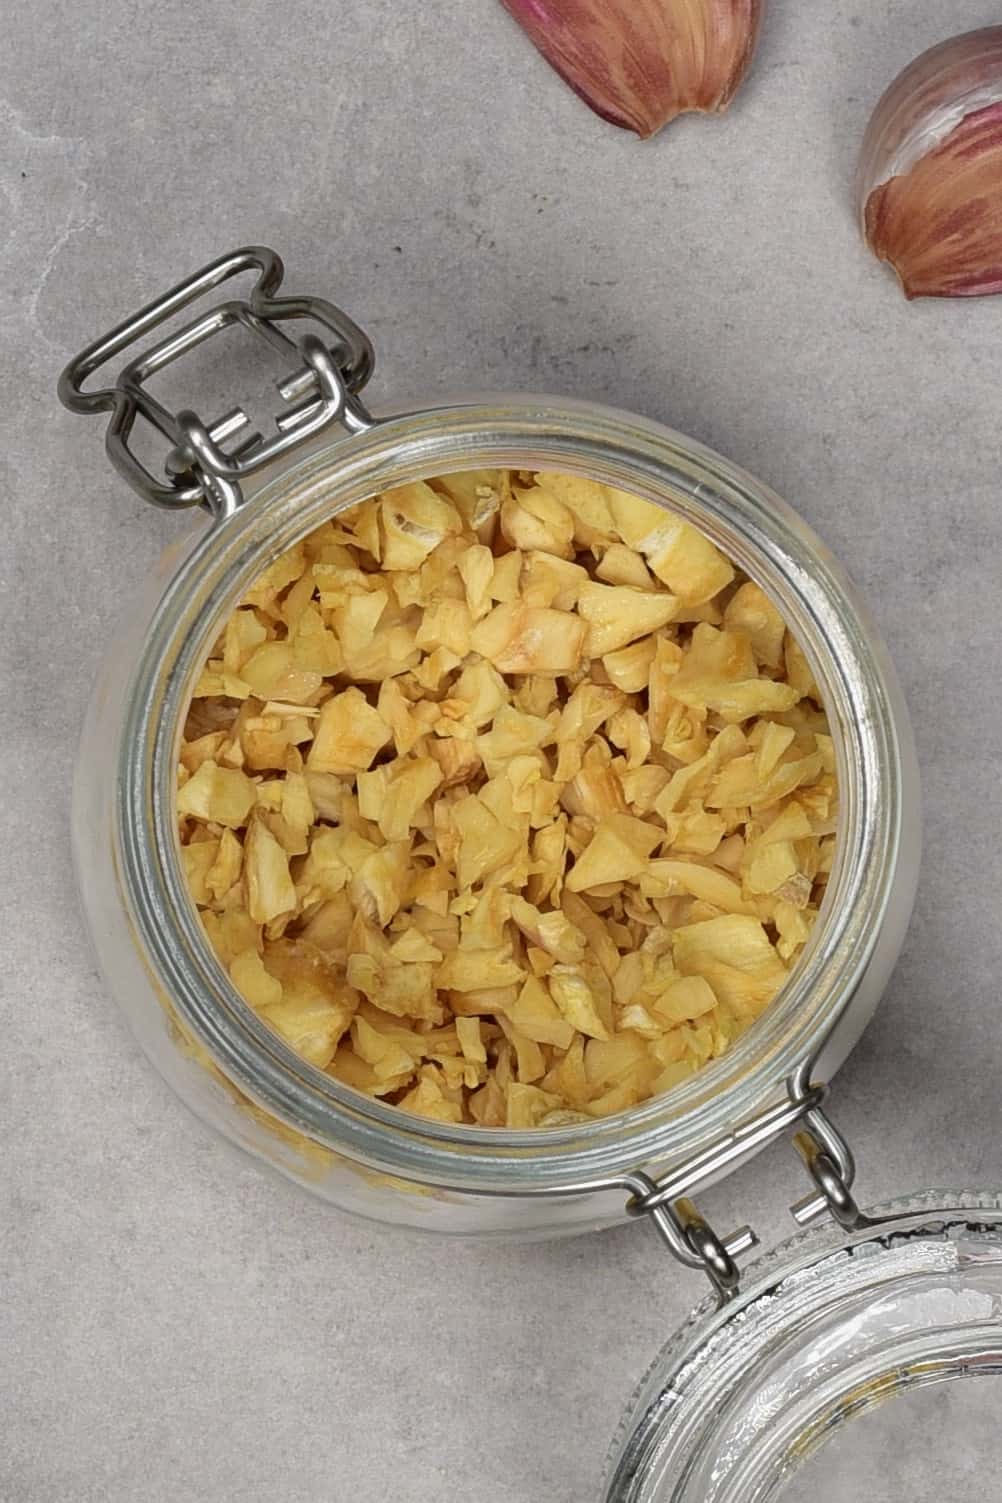
The flakes will keep well indefinitely in an airtight jar in your kitchen, as long as it remains dry. You can also place some uncooked rice or beans into the container, which will absorb excess moisture and stop them from clumping. They’re best when used within the first year, though, as the flavor will deteriorate after that, I’ve found.
How to use dried minced garlic & garlic flakes
There are tons of ways to use dried garlic flakes to add garlic flavor to dishes. Here are just a few of my top options.
- Within liquid dishes like soups, stews, etc. – the liquid will soften and re-hydrate the pieces within the meal and release the flavor. like this mushroom soup, Chicken Ramen, or Lebanese Green Beans (Loubieh Bi Zeit).
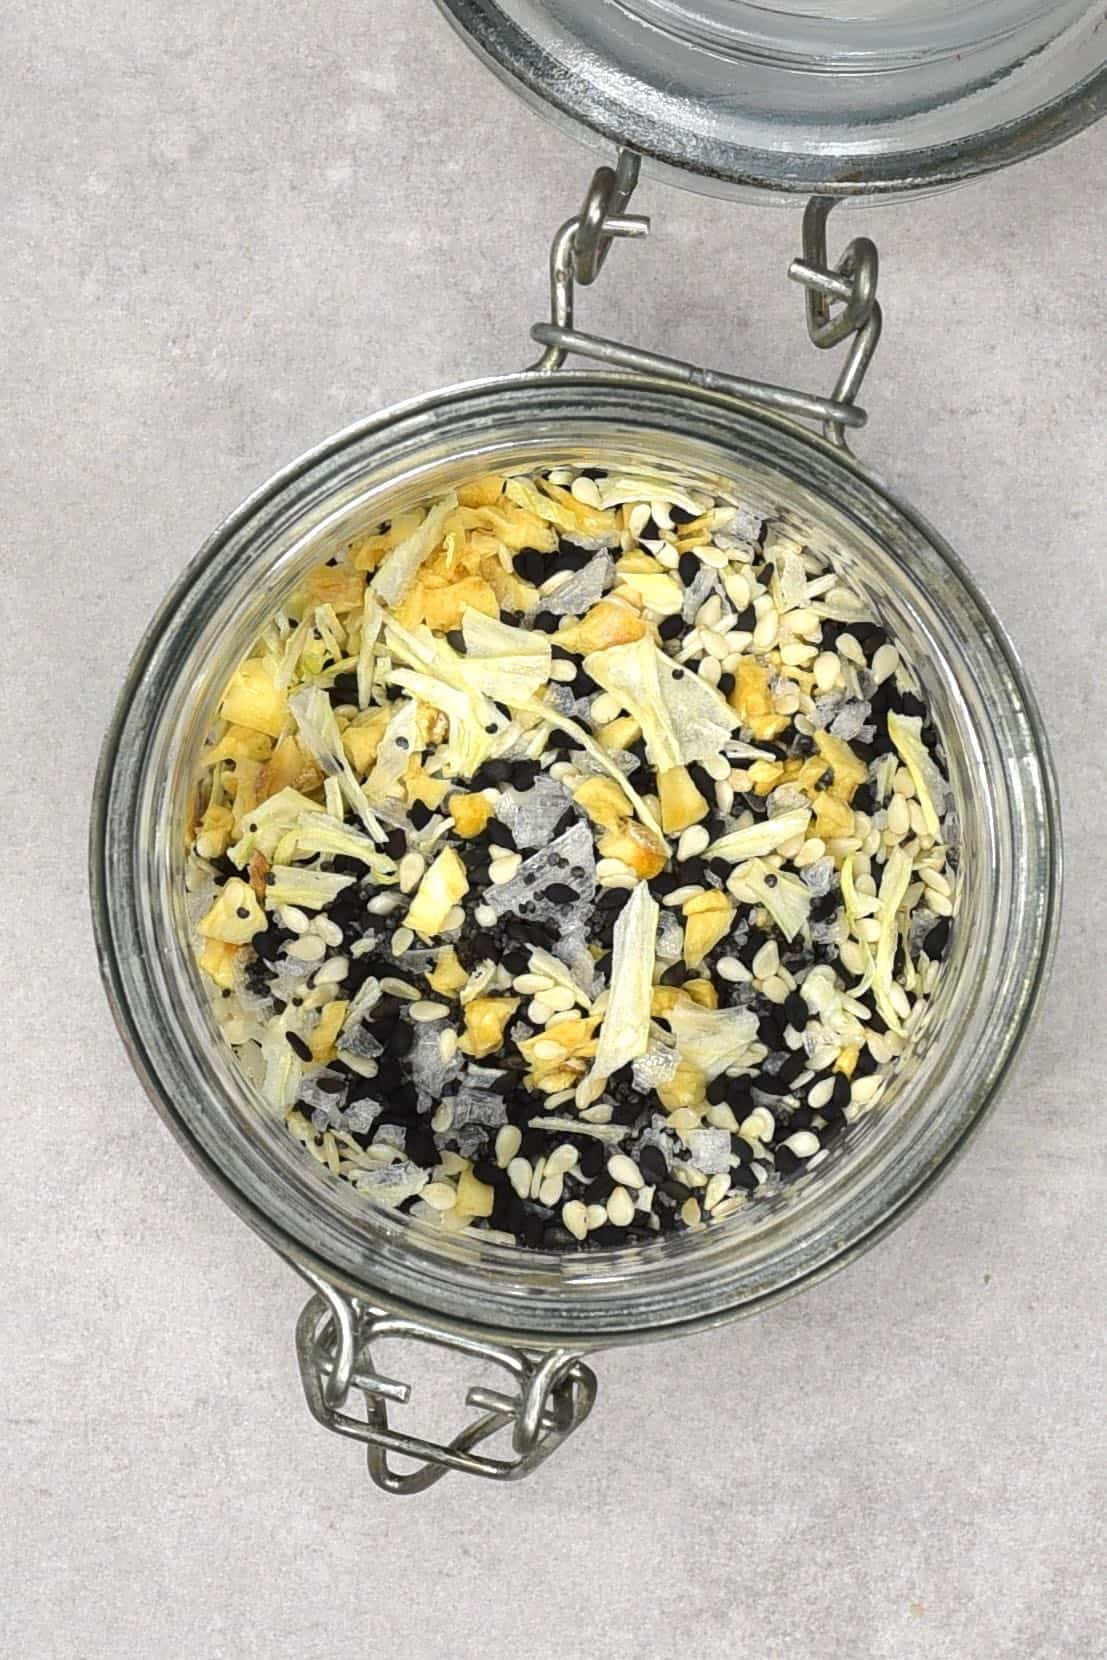
- Within seasoning and spice blends – like this everything bagel seasoning or Simple Homemade Italian Seasoning.
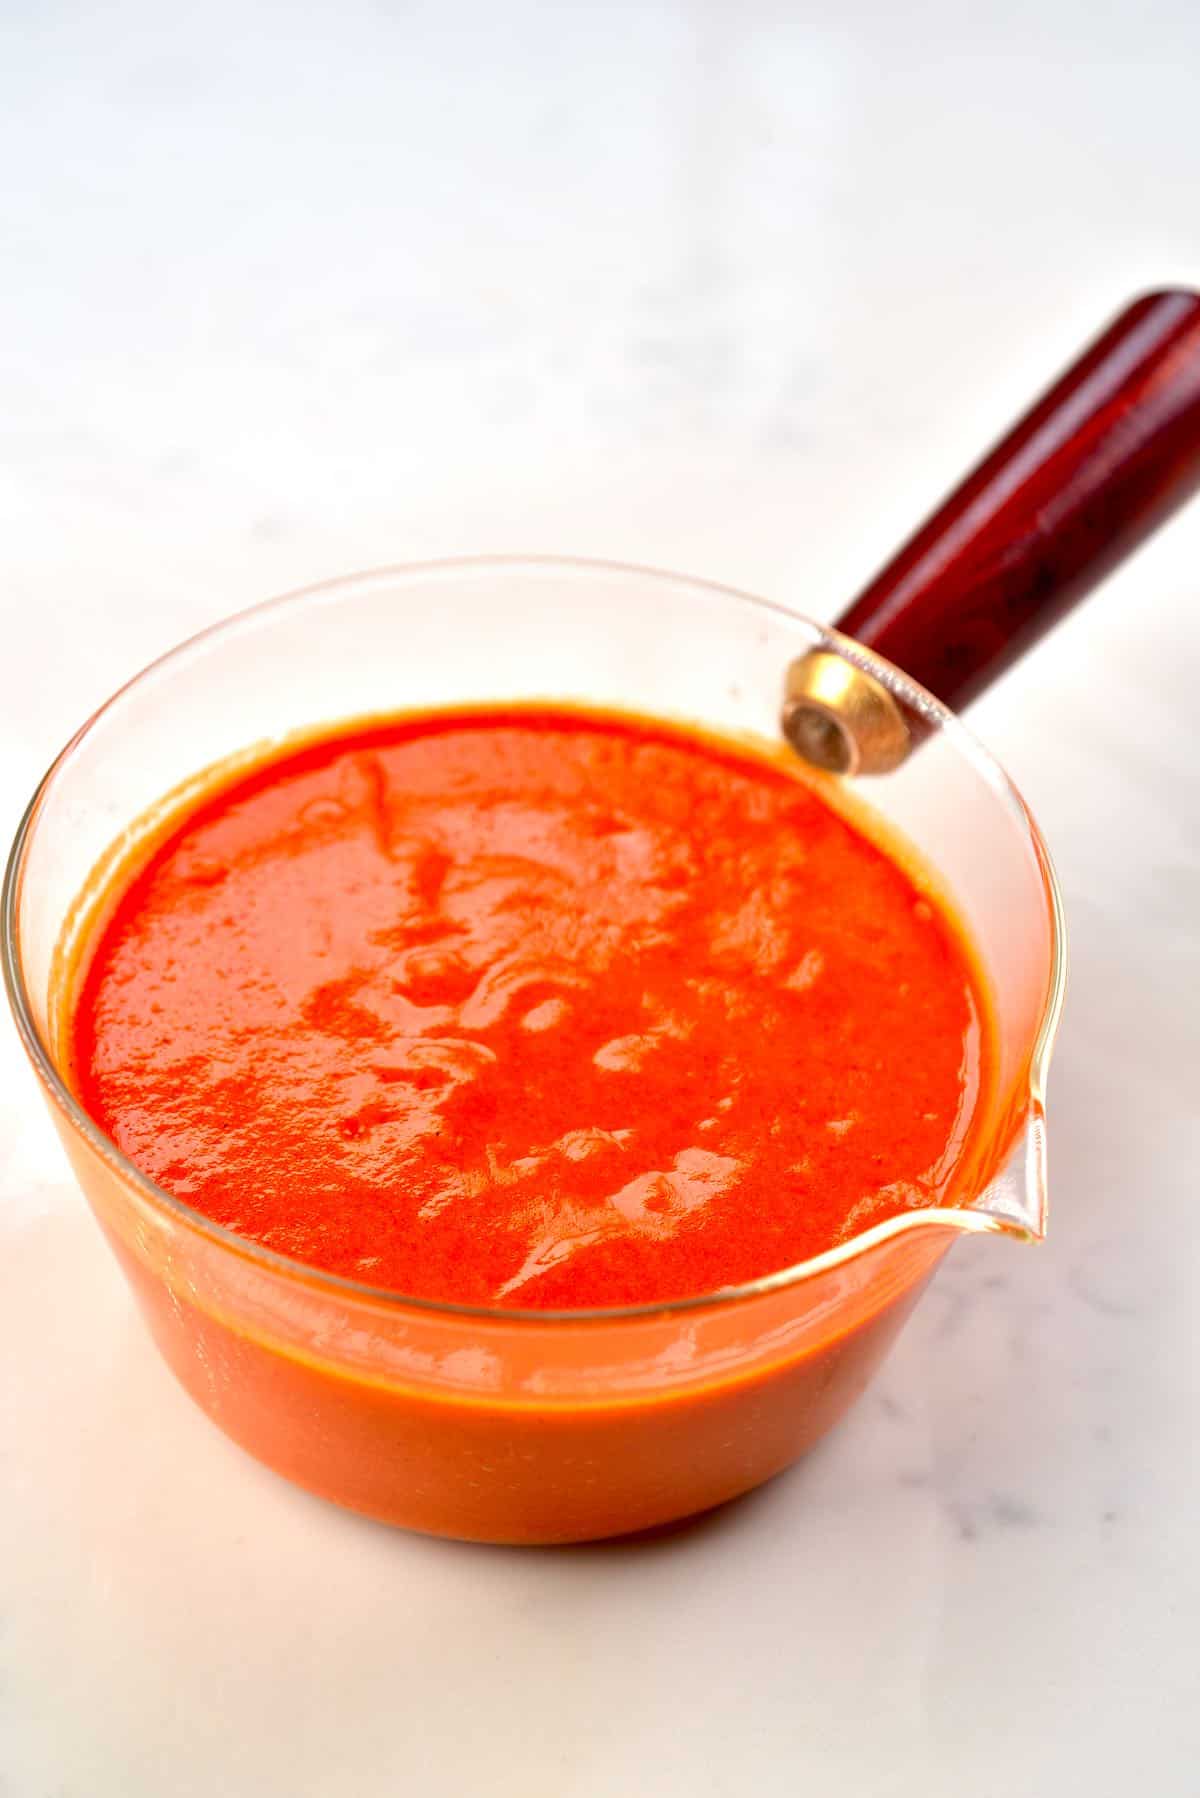
- Mixed into sauces – like this Lemon Herb Tahini Sauce, Marinara Sauce, or Simple Roasted Red Pepper Sauce.
- Sprinkled over rice and other cooked grains – like this Fluffy Perfect Jasmine Rice (Stove-top method), Easy Coconut Rice Recipe, or Lebanese rice with vermicelli.
- Sprinkled over sushi and sushi bowls
- Sprinkle the smaller minced pieces in or over bread and other savory baked goods – like bagels, buns, or breads – like these Simple Homemade Multigrain Bread Recipe or Whole Wheat Bread.
- Sprinkle over Neapolitan pizza (above sauce but below cheese and/or other toppings), before baking – it will rehydrate as it cooks, to add flavor.
Though garlic flakes work well in sauces and dressings, it’s best to avoid using them in olive oil-based dressings as they won’t re-hydrate so will remain in very hard pieces. Only use the smaller minced flakes for any recipe where they won’t be rehydrated (such as for everything bagel seasoning).
Recipe notes
- How much dried minced garlic equals a clove? Use around 1/2 teaspoon of minced garlic and just under 1/2 teaspoon garlic minced in place of a single fresh garlic clove. You can also use it in place of 1/8 teaspoon of garlic powder (akin to 1 clove).
- Whats the difference between dried minced garlic and garlic flakes? Both names are used to desribe the same product, while minced garlic specifically refers to smaller garlic flakes.
- If you use the oven and the garlic browns, then the temperature is/was too high and the garlic will likely be bitter.
- It’s okay to turn the dehydrator/oven off overnight and restart the dehydrating process the following morning.
- Make sure the garlic is completely dry otherwise, it will clump. This is critical and makes a massive difference – so try not to be too impatient.
- Don’t throw out the ends and skins of the garlic. Place them in a bag in the freezer and use them the next time you make some homemade vegetable stock.
- You can reduce the dehydrator’s temperature to preserve as much of the nutrition from the garlic as possible. However, the drying process will then take far longer. Use 38-43ºC/100-110°F (anything below 48ºC/118ºF will maintain as much of the nutritional properties as possible) and it will take between 1-3 days, depending on your particular dehydrator.
More easy tutorials
- How to Make Garlic Powder
- How to Make Onion Powder
- How To Make Onion Flakes
- Simple Golden Spice (Golden Milk Powder)
- How to Make Ginger Powder (Two Methods)
- How to make Turmeric powder at home
- Powdered Milk At Home
- How to make Vanilla Powder
If you try these garlic flakes, let me know your thoughts and questions in the comments. I’d also really appreciate a DIY rating and would love to see your recreations – just tag @AlphaFoodie.
How To Make Garlic Flakes
Equipment
Ingredients
- 3 whole garlic heads
232 grams fresh garlic yielded 90 grams of powder for me
Instructions
Step 1: Prepare the garlic
- Peel the garlic cloves.
- Slice the peeled garlic using a garlic slicing tool, mandoline, or a sharp knife. Try to keep the pieces even in thickness and no thicker than 1/8 inch at absolute maximum, 1/16 inch if you can manage it.For dried minced garlic you can use a food processor/chopper for just a few seconds to roughly chop the garlic or mince the garlic by hand with a sharp knife.
Step 2: Dehydrate the garlic
Using a dehydrator
- Lay the garlic slices/ mince onto the dehydrator trays, making sure that they are in a single layer. The more space between the pieces, the quicker they will dry.Dry in the dehydrator at 66ºC/150ºF for 6-8 hours (if high humidity, around 80%) or 4-6 hours (if low humidity).To check if they're ready, pick one up. If it's bendy at all, then it's not ready. If it snaps, then it's ready.
Using An Oven
- Spread the garlic over parchment-lined baking sheets, making sure the pieces don't touch.Place the trays in the oven at the lowest temperature your oven goes to. It's best if it's between 54-66ºC/130-150ºF. If your oven doesn't go as low as that, then choose the lowest temperature and prop open the door a few mm's with a wooden spoon, to allow the steam to escape as the garlic dries and help the process along.Check the garlic every hour (it takes 4-6 hours for me at 66ºC/150ºF) and remove it from the oven when it is either dry and snappable or at the very least barely bendy and lightly golden. It will continue to crisp up as it dries on the baking sheet.Once cool, it should snap rather than bend. If not, then it’ll have to go back into the oven again.
To Air Dry
- You can place the garlic pieces on a cloth or paper-lines baking sheet. I prefer to use a kitchen cloth.Leave in a well-ventilated area, even better if it's next to a window that gets plenty of sunshine. This is best for warmer, non-humid climates, as the weather and humidity will affect the amount of time they take to dry completely.
- Turn over the garlic a couple of times. This will help speed up the drying process and stop them from sticking to the cloth/tray.
- This method can take between 2-3 days based on the garlic slices' thickness, the weather, and the humidity.
How To Store
- Store the homemade garlic flakes in airtight containers like glass jars, and keep them in a cool, dry, and dark location – like a cupboard.The flakes will keep well indefinitely in an airtight jar in your kitchen, as long as it remains dry. You can also place some uncooked rice or beans into the container, which will absorb excess moisture and stop them from clumping. They’re best when used within the first year, though, as the flavor will deteriorate after that, I've found.
Notes
- If you use the oven and the garlic browns, then the temperature is/was too high and the garlic will likely be bitter.
- It’s okay to turn the dehydrator/oven off overnight and restart the dehydrating process the following morning.
- Make sure the garlic is completely dry otherwise, it will clump. This is critical and makes a massive difference – so try not to be too impatient.
- During the dehydration period, the smell of garlic will be very prominent in your house – to be aware.
- Don’t throw out the ends and skins of the garlic. Place them in a bag in the freezer and use them the next time you make some homemade vegetable stock.
- You can use a coffee grinder to grind this into powder. However, I only suggest doing so if you use it exclusively for spices and food uses.
- You can reduce the dehydrator’s temperature to preserve as much of the nutrition from the garlic as possible. However, the drying process will then take far longer. Use 100-110°F (anything below 118ºF will maintain as much of the nutritional properties as possible). and it will take between 1-3 days, depending on your particular dehydrator.
Nutrition
Nutrition information is automatically calculated, so should only be used as an approximation.


Please recommend a garlic slicing tool. What do yu use? Your slices look so nice and evenly thin.
Hi Denise,
I usually use a mandoline, slowly and carefully, with the protection on 🙂
The one I have is linked on the Shop page – here’s the link as well.
Ill bet this would be better to put your dehydrator outside?
Hi Judy,
That can work too 🙂