
This post may contain affiliate links. Please read our disclosure policy.


This post shows you a straightforward DIY for how to make soap at home with various soap-making ingredients, using a melt & pour soap recipe. Plus 2 simple homemade soap DIY’s.
With all the recent DIY’s I’ve been doing recently; from homemade yogurts including Natural yogurt to extra virgin coconut oil – I’ve started to find myself intrigued in giving non-food-related DIYs a go. One thing that has always fascinated me is how to make soap at home, what soap-making ingredients you need, and the various methods available. After a little time scouring the internet, I decided that melt & pour soap recipes are the way to go and HAD to share how easy the method is with you!
I won’t pretend to be an expert or anything- If anything I’d like to show how anyone can learn to make your own handmade soap with simple melt and pour soap recipes. Once you have the basics down, then the sky is the limit for what you’re able to do – patterns, scents, mixes, etc.
I aim to give you a straightforward overview of the basics; an introductory guide on how to make soap at home. I’ll also be including two simple DIY’s for homemade soap into rose-infused spheres and a DIY loofah soap.
The very first note I should probably make is that the soap-making method I’m using here is with melt & pour soap base rather than a cold-process version. This will allow you to quickly make customized soaps that you can either use yourself or for a gift and the melt & pour soap method is so simple that ANYONE can do it.

Want to save this recipe?
Why would you want to make your own soap, you ask?
Not only can handmade soap be customized to your exact needs, but it is also a fantastic gift. Plus, when making your own soaps – you can create them as low-chemical as you’d like, yet still with the color/scent of your choosing, which may be quite tricky to find in store-bought varieties.
Melt and pour bases also tend to have more glycerin than some other soaps – which gives a fantastic feel to them when used. Glycerine helps moisturize and hydrate your skin.
However, the glycerine can also cause your soaps to “sweat” in very humid climates. There are a few ways you can avoid this through storage, but it’s worth mentioning.
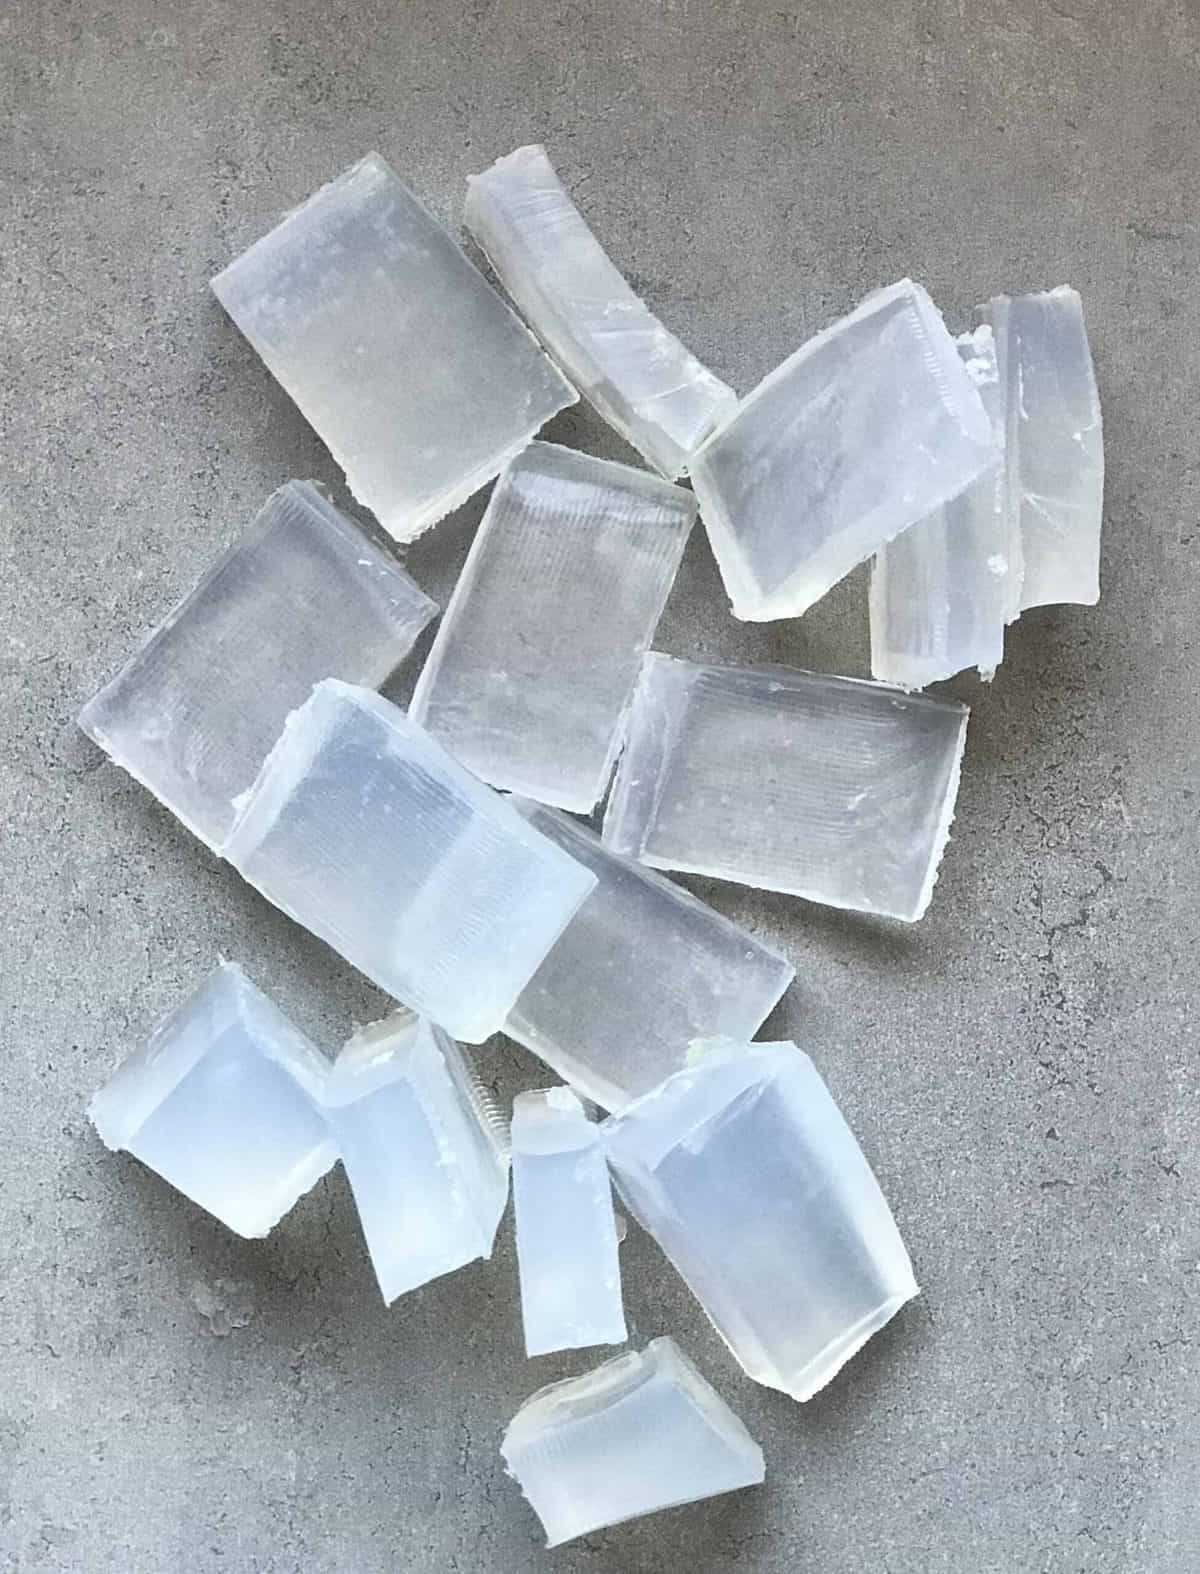
What is melt & pour?
Melt and pour is just that – a soap base called ‘melt & pour’ that you can then cut into chunks and then melt and pour into molds and customize the soaps however you like. When researching how to make soap at home, I came across the cold process method too, however, melt and pour recipes seem far easier for beginners and save you from having to try to make soap from scratch.
Melt and pour soap bases are easy to buy online; however, there are a few things to look out for. As the base is a soap, the ingredients can vary from store to store. Some use preservatives that are a little questionable and even have ingredients that can cause skin irritation – which is the last thing you want!
Also, it’s worth noting that is quite a large variety of different bases available – Including clear (good for suspending items), white (great for coloring), natural, organic, goat’s milk, and a variety of different bases made from various oils.
Depending on who you’re making the soap for and how you’d like to customize it with various soap-making ingredients, then your choice of the base can be important. However, for the sake of remaining simple; I knew that I wanted a transparent soap base that I could color and decorate with dried flowers.
With that in mind, my choices were a simple, clear soap base or something called clear suspending formula soap base. The latter helps stop your suspended items from falling to the bottom of the soap. This would be great if you want to suspend something like a little toy or something else reasonably heavy.
There are a couple of other important factors that go into choosing a base, though. For instance, I like to make sure that any soap base I use is SLS and SLES free – which help skincare products to lather up yet are also skin irritants. SLS/SLES free soap bases are less irritating to sensitive skin while still able to lather well and maintain great clarity.

If I can, I also like to use soap bases that are Paraben-free as these preservatives are not only toxic for the environment but also have some fairly negative side effects for humans! Side note – I am now actively avoiding the above ingredients in my shampoo and skincare products too. I won’t go too much into the details so if you want to know more about why you should avoid parabens, then here is a useful article from TeenVogue.
For a longer list of chemicals to avoid and why then this post from Force Of Nature, may be useful to you.
Another choice to make with your soap base is whether or not to use organic or non-organic. I like to use Organic soap bases, whenever possible. However, organic oils can make it take on a slightly “caramel”-like color. So this may not work well depending on how you want to color and customize it.
My Advice: try to purchase a soap base that is as chemical-free as you can get it for how you want to customize it. I always try to choose a soap base that is at least paraben, SLS- and SLES-free!
How to make soap at home using melt & pour
It probably wouldn’t surprise you to know that it is incredibly simple to make soap using this method. There are only a few steps to it
- Cut the base into smaller chunks of how much you need.
- Melt the soap either in the microwave or in a double boiler (a heat-resistant bowl placed over a pan with simmering water)
- Customise with fragrance, colour, and any other additives.
- Pour into your moulds of choice and leave to harden.
What you can add to melt & pour soap
There are various soap-making ingredients you can choose to experiment with.
Adding Fragrances: My favorite fragrances to add are essential oils as they are entirely natural. You can buy fragrance oils of all varieties if you’d prefer. However, it’s just worth noting that these are made with lots of chemicals. If you want a reasonably natural product, then it may be best to avoid them.
If you want to know precisely how much fragrance to put into your soap for a light, medium, or heavy scent per lb/oz/g then you can use a Fragrance Calculator.
Adding Colour: If you want to stick to natural colorants, then clays are the best option. However, you can also buy skin-safe soap colorants or use mica powders or even activated charcoal.
Other soap-making ingredients you can include: Really, there are way too many options to list here. However for a bit of inspiration for what to add to your next batch of homemade soap:

Dried flowers & petals
Note* Certain flowers can change over time within the soap. For example, lavender is known for turning brownish or even black and bleeding color into the soap. Unfortunately. This is the case for lots of other flowers too, so do your research before you use any.
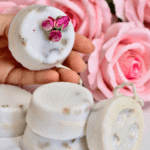
Rose petals and buds are quite a good choice to use. However, I like to have them only partially submerged, so they are more of a “topping”. That way they maintain their prettiness and take a lot longer to bleed any colors into the soap.
Dried Herbs: Like with flowers, certain herbs will work best so research is key.
Exfoliants include ground oats and other grain powders, coffee grounds, fruit seeds, fruit fibers, natural salts, sugars, etc.
Note* Most exfoliants will likely sink to the bottom of your molds. That is where choosing a ‘suspension formula’ base would be a good choice!
Suspended items: Such as a little toy or something. A great way to encourage children to wash their hands more! This also includes loofah sponge
Butters & liquid Oils: There are various options you can mix into the soap bases. These will add more moisturizing properties to the soap. However, this will also affect the clarity, and you need to make sure not to add too much as it will affect how hard the final set is- so be aware!
And, of course, you can also make two-layered ( or more) soaps with a moisturizing opaque base layer and transparent layer on top that you can color and decorate. These not only look adorable but give you the best of both worlds; customization and moisturizing qualities.
As a general rule, when adding any powders to your soaps, it’s best to mix these into a slurry with a bit of water or alcohol first before mixing thoroughly into the melted base. Otherwise, it can end up very clumpy.
Now that we have all the essential information in hand. It’s time to share my first experimental melt and pour soap recipe for how to make soap at home.
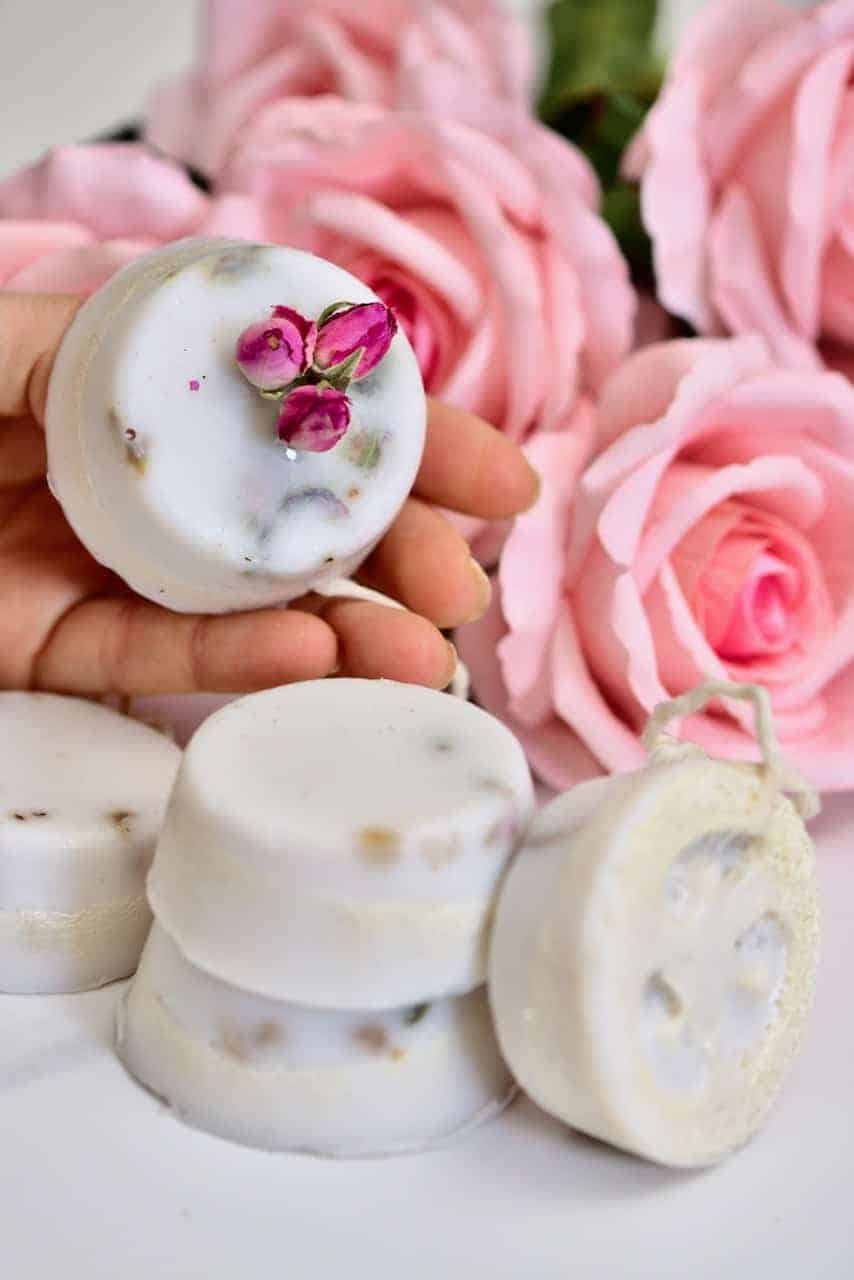
How to make DIY Loofah Soap Recipe at home
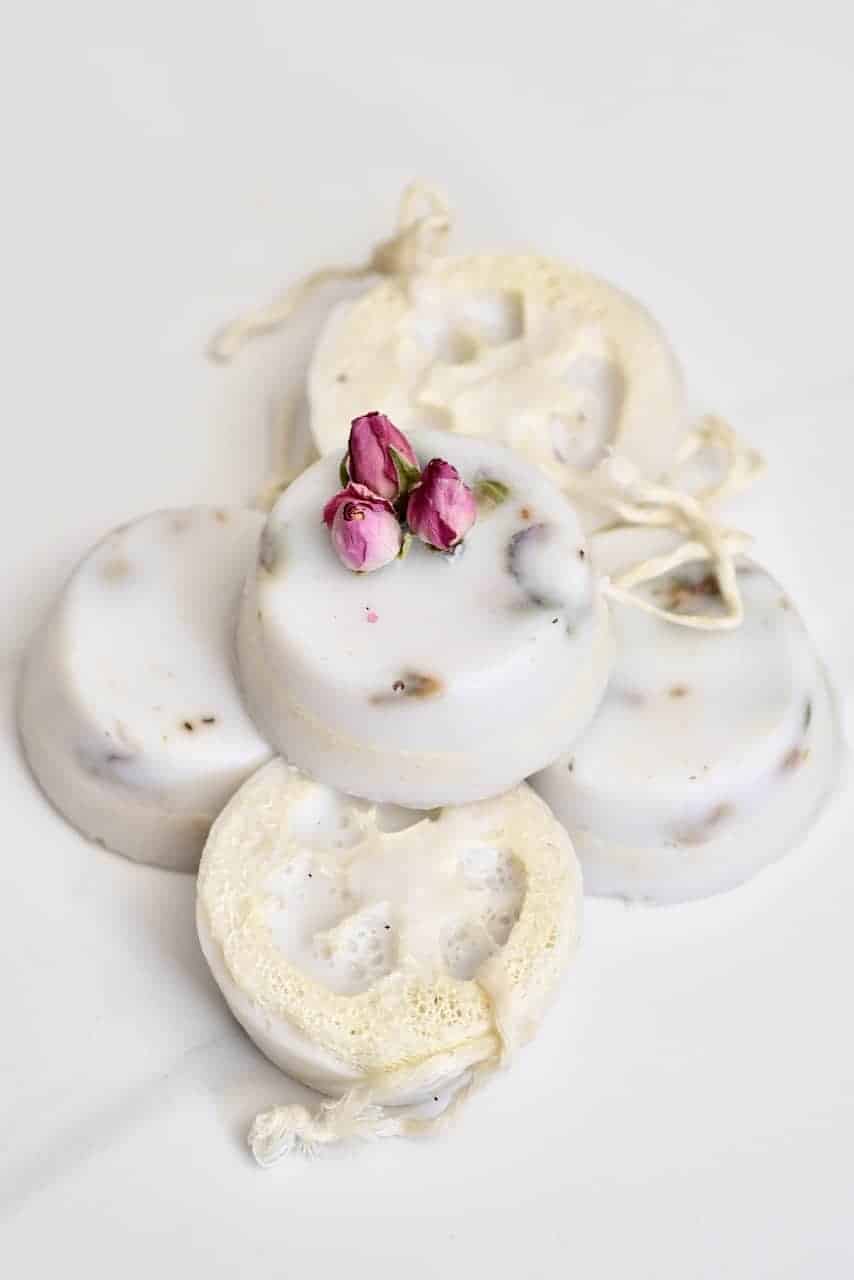
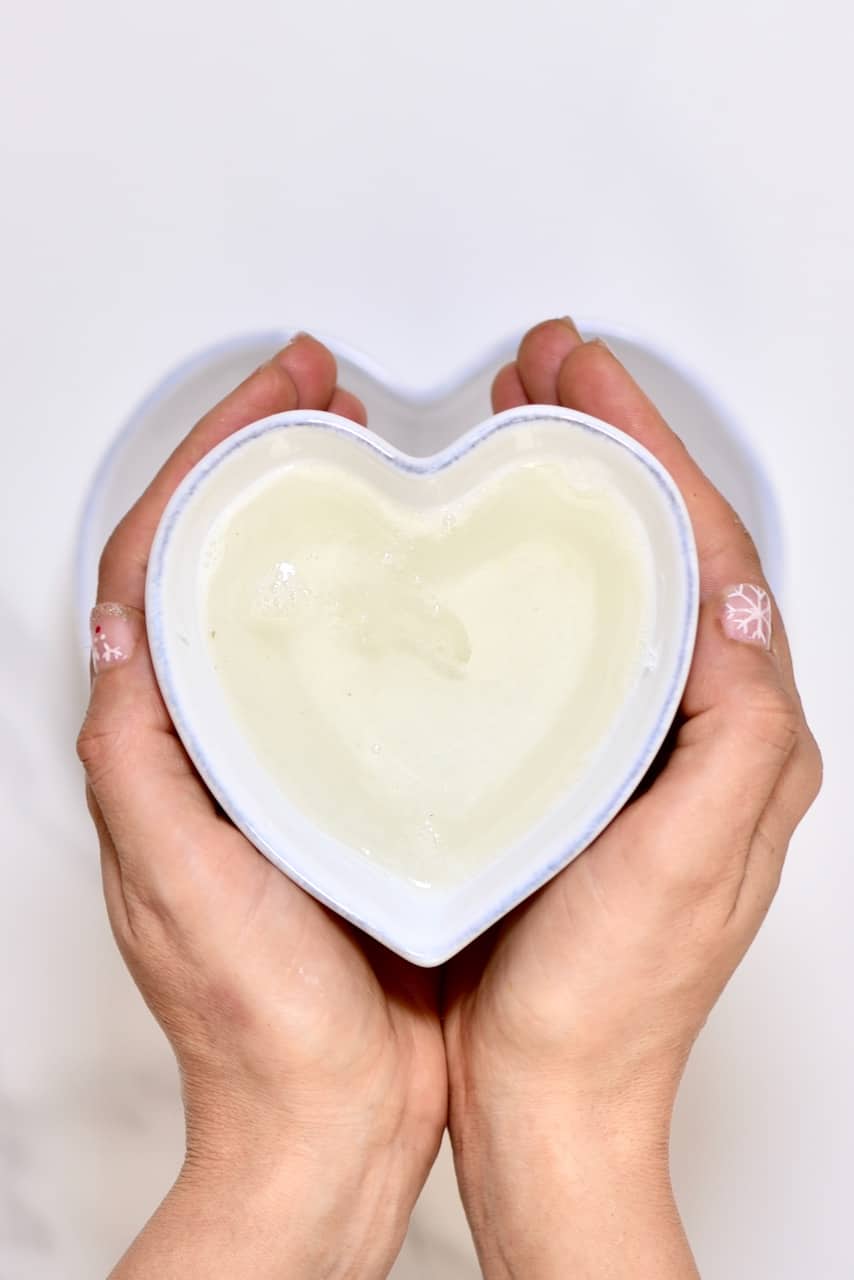
This DIY loofah soap is an easy soap recipe to make at home, made up of a moisturizing melt and pour soap base with coconut milk, rose essential oil, dried roses, and a loofah sponge on a string.
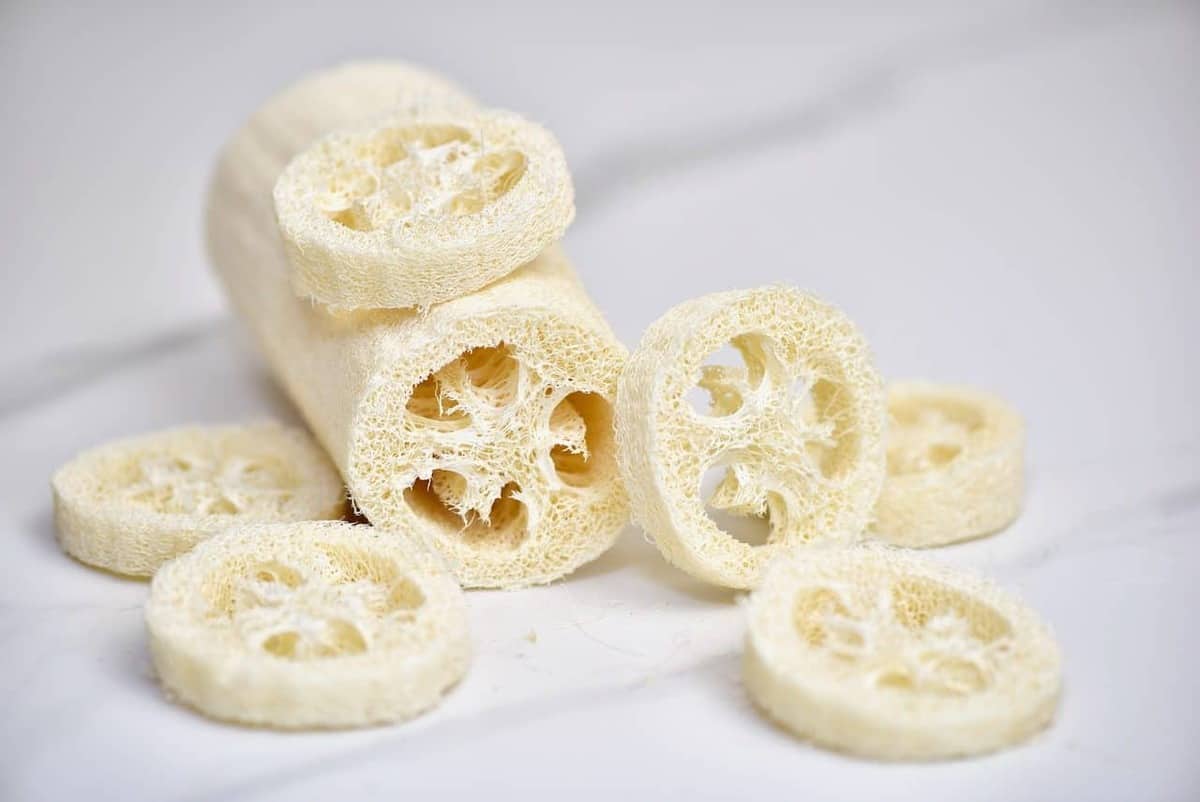
Loofah sponge is a 100% natural, dried-out tropical gourd that can be used to exfoliate the skin- scrubbing away any dirt. They are hard when dry and soften and expand when wet and work perfectly to scrub your skin in the shower. Meanwhile, coconut milk is a great soap additive for its moisturizing properties and is wonderful for dry skin.
I have tried a few soap-making recipes before, but this handmade soap has become a favorite of mine. It is quick, easy, and makes 6 amazing soap bars- perfect for a DIY gift.
I’ve also included a ‘string’ for this soap DIY – it isn’t 100% necessary but this works well for me. When storing loofahs, it’s a good idea to keep them away from too much excess moisture. Just like any shower poof/ scrunchy – it’s a good idea to hang them up after using so they can air dry to avoid any bacteria or mold growth.
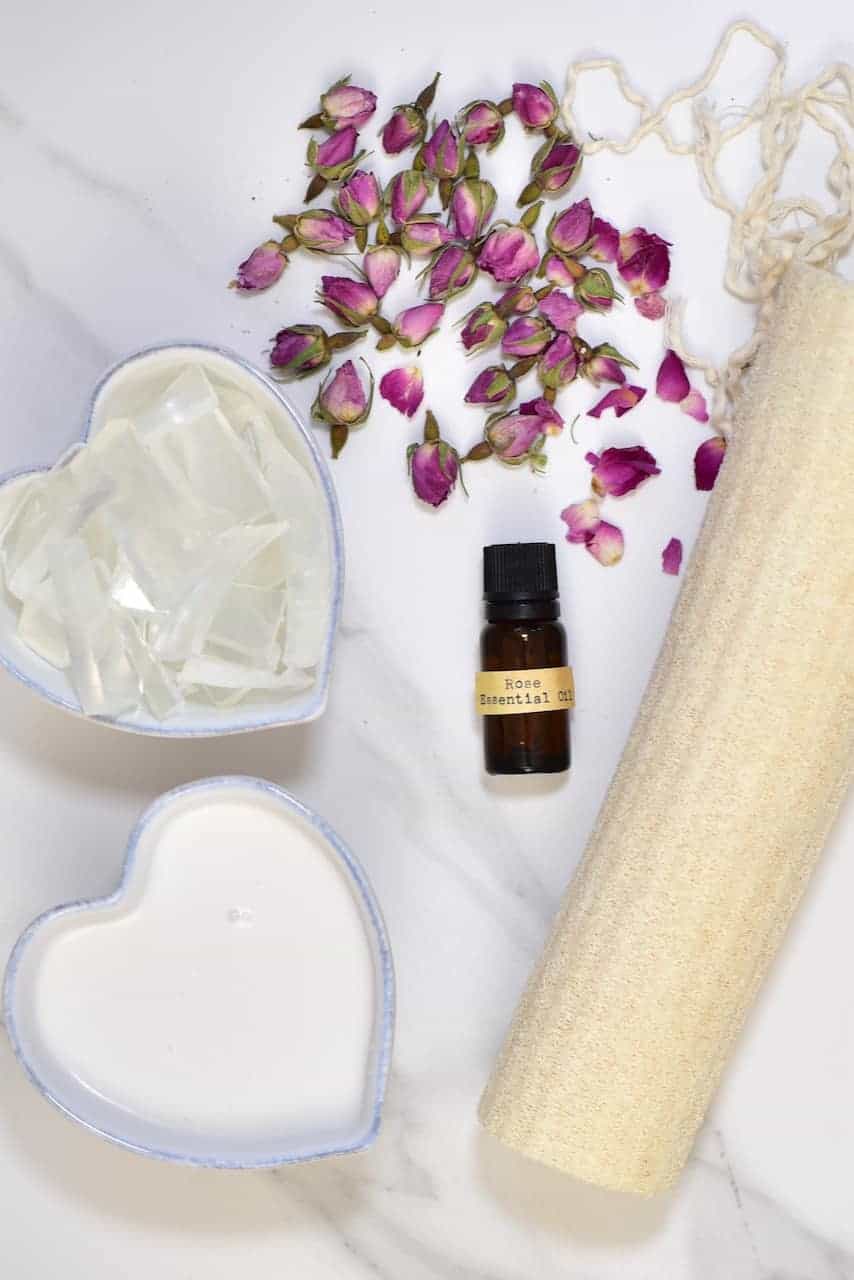
Loofah Soap Ingredients
Soap Making Ingredients:
- Natural loofah sponge
- Crystal soap base, chopped into pieces (ready-made “melt and pour soap base”)
- Full-fat coconut milk
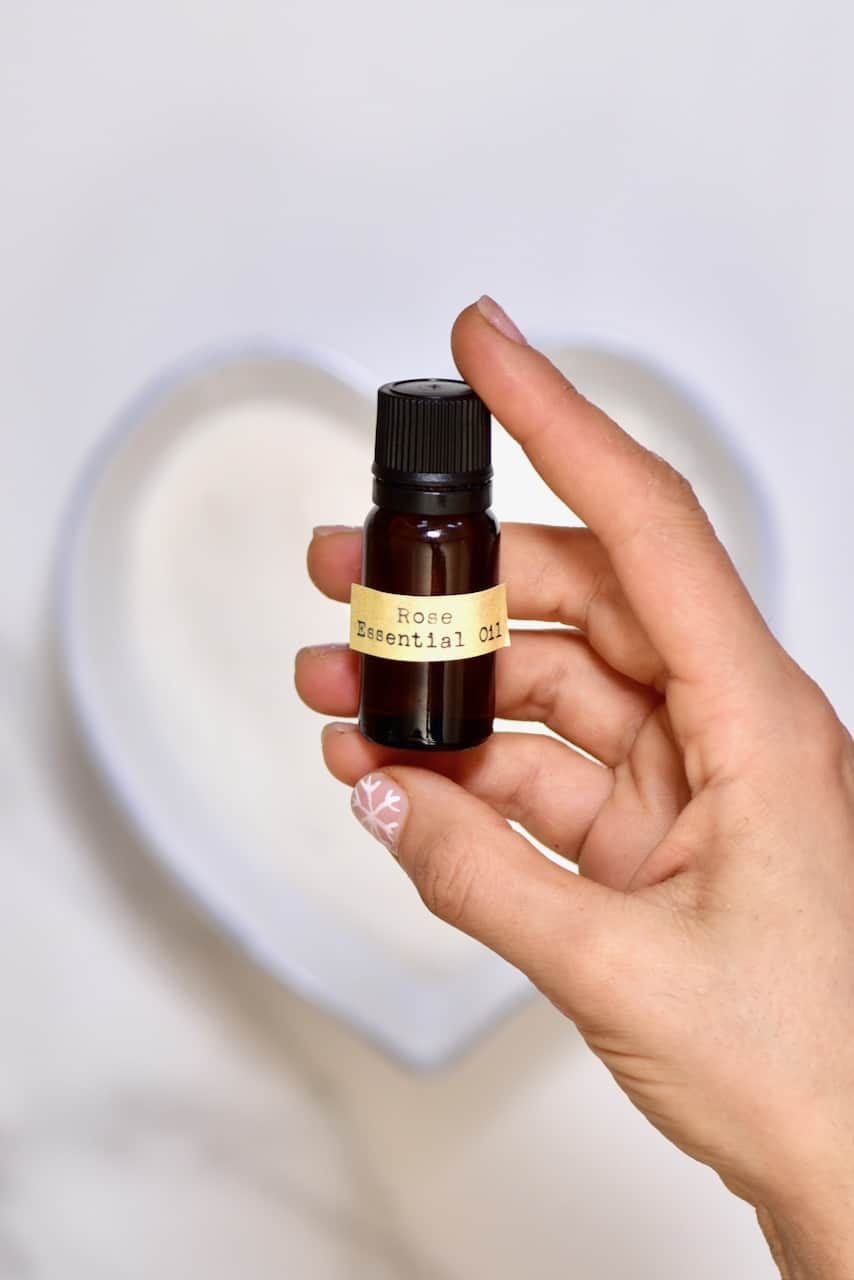
- Rose essential oil *
- dried rose petals (optional)
Also needed:
- soap mould or muffin tin/mould
- strings
*Note You can use essential oils of your choice. However, make sure that they are skin-safe. Check labels, online or speak to a professional before choosing.
The Method
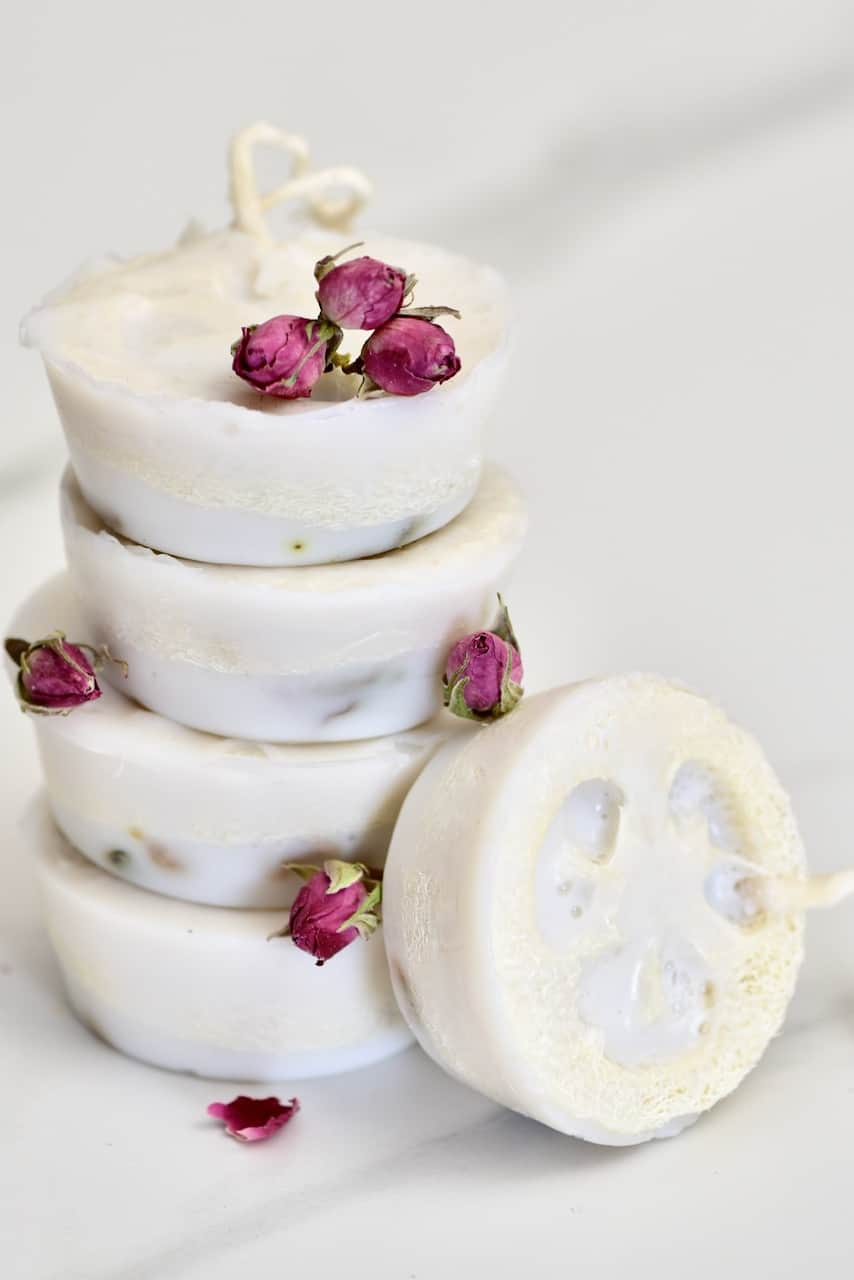
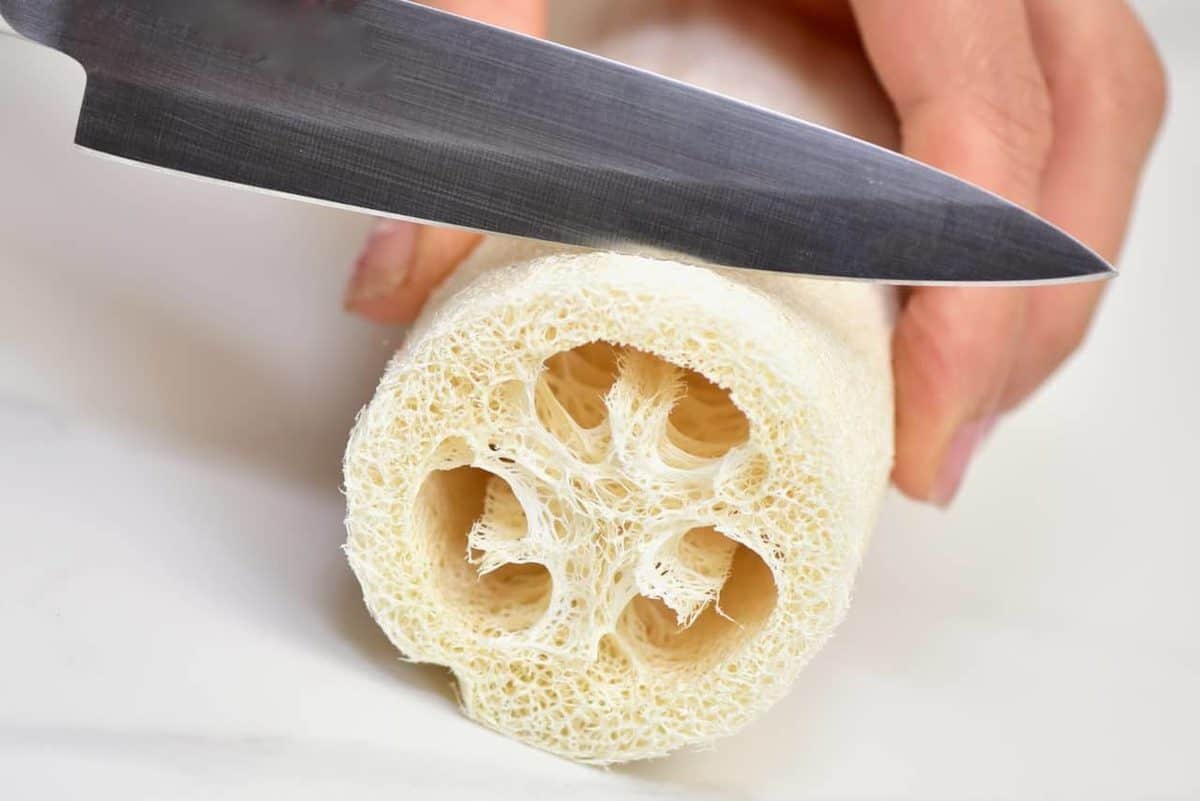
The first step for making this DIY loofah soap is to prepare the loofah sponge. Begin by cutting slices from the loofah sponge. Make sure that they are just thick enough to fit your mold. I used a deep muffin tin as my mold.
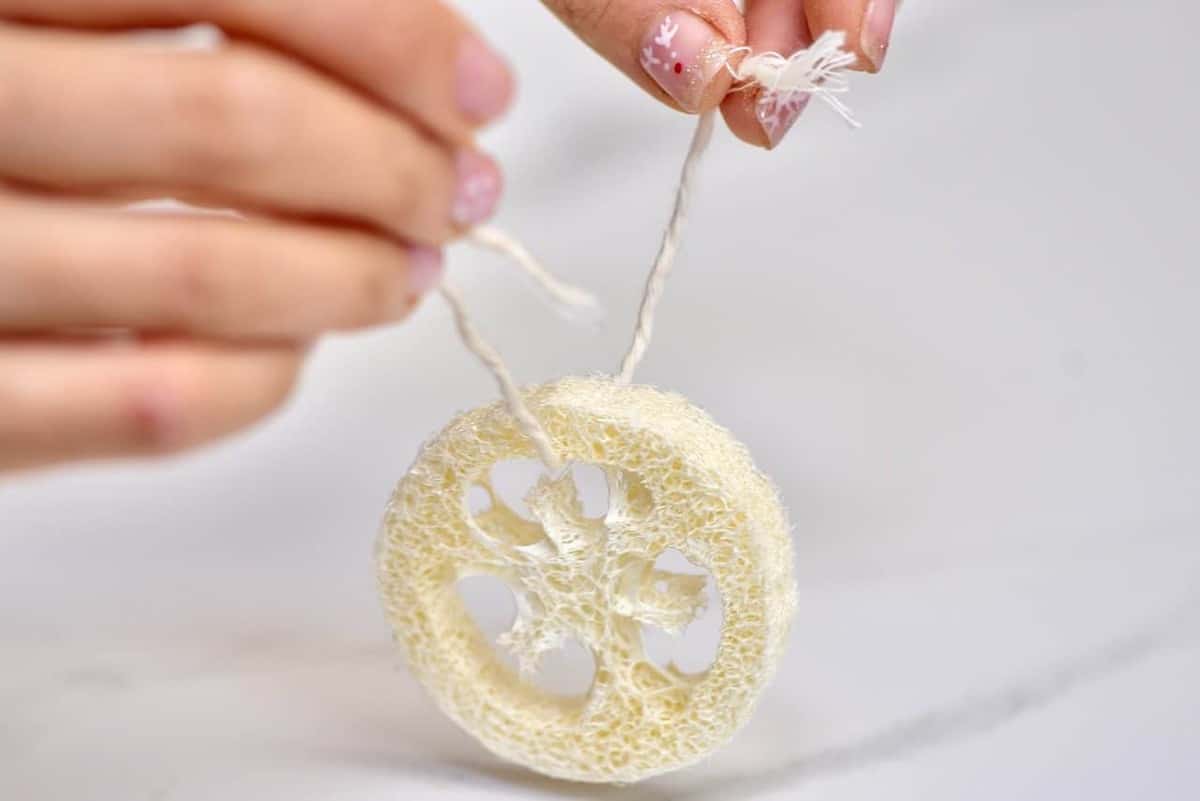
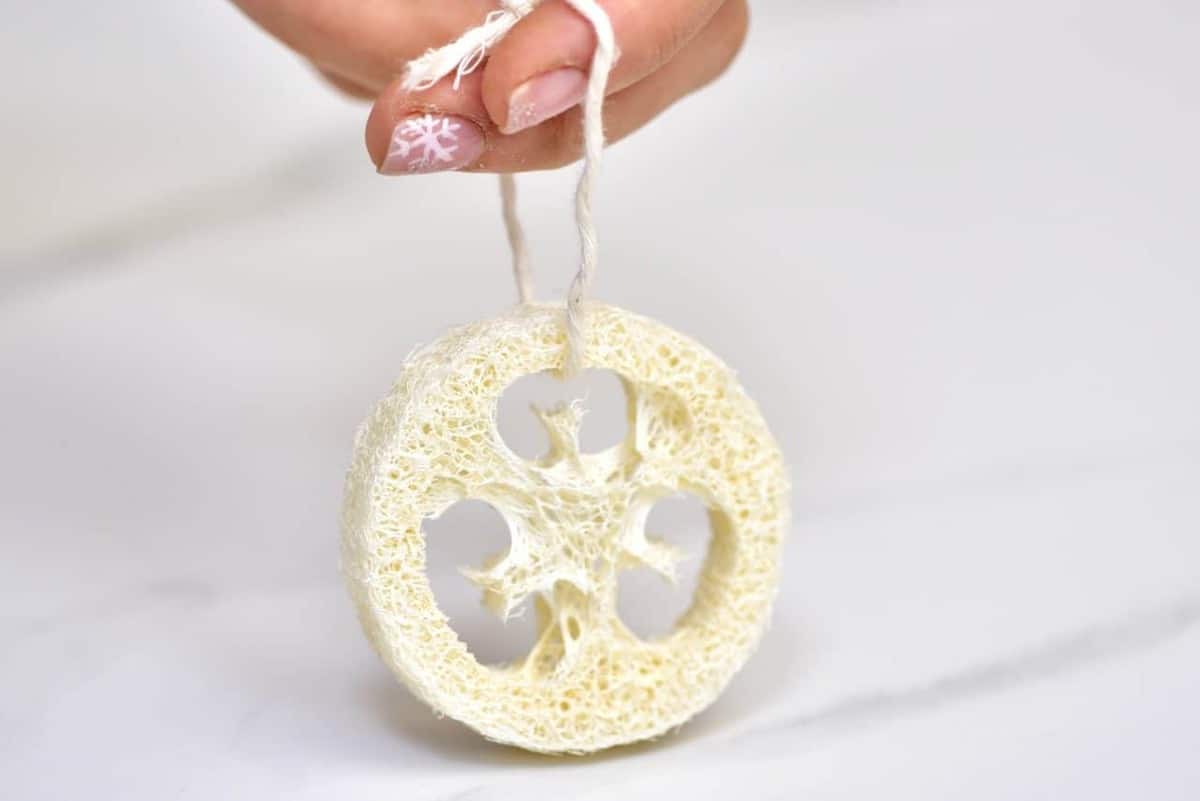
Tie a string through each of them. This step is optional but a great addition to the loofah soap so you can hang it to dry after every use. This will help reduce unnecessary moisture from clinging to the loofah sponge.
Next, melt the melt & pour soap base by placing your chopped soap base pieces into a large heat-proof bowl and melt either in the microwave or using a double-boiler method over low heat. I used a microwave and heated it in 30-second increments, till all the pieces had melted entirely.
Note, It’s a good idea to get all your soap-making ingredients and additives together so that you can work with the melted soap quickly.
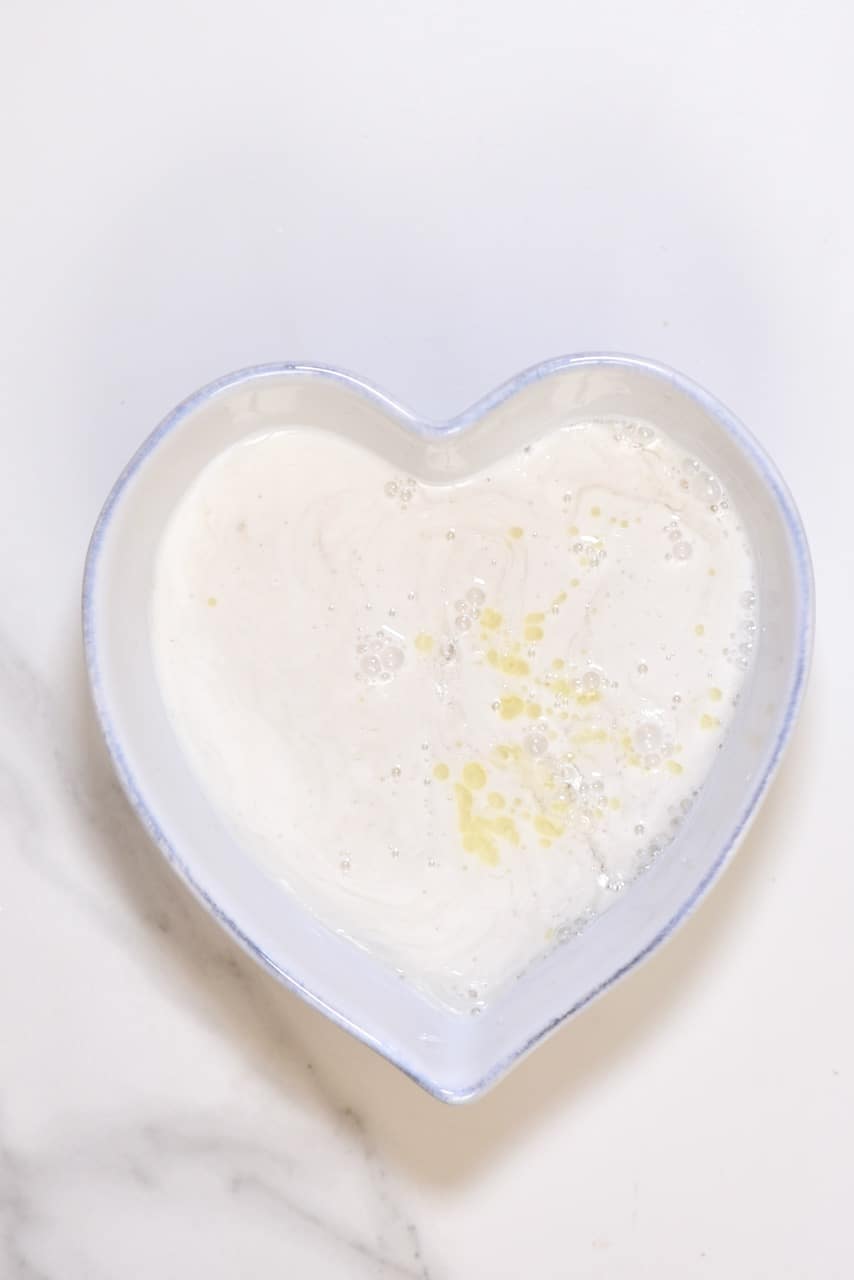
As soon as it’s all liquified, add the coconut milk & 8-10 drops of rose essential oil. For a more intense scent, you can double the amount.
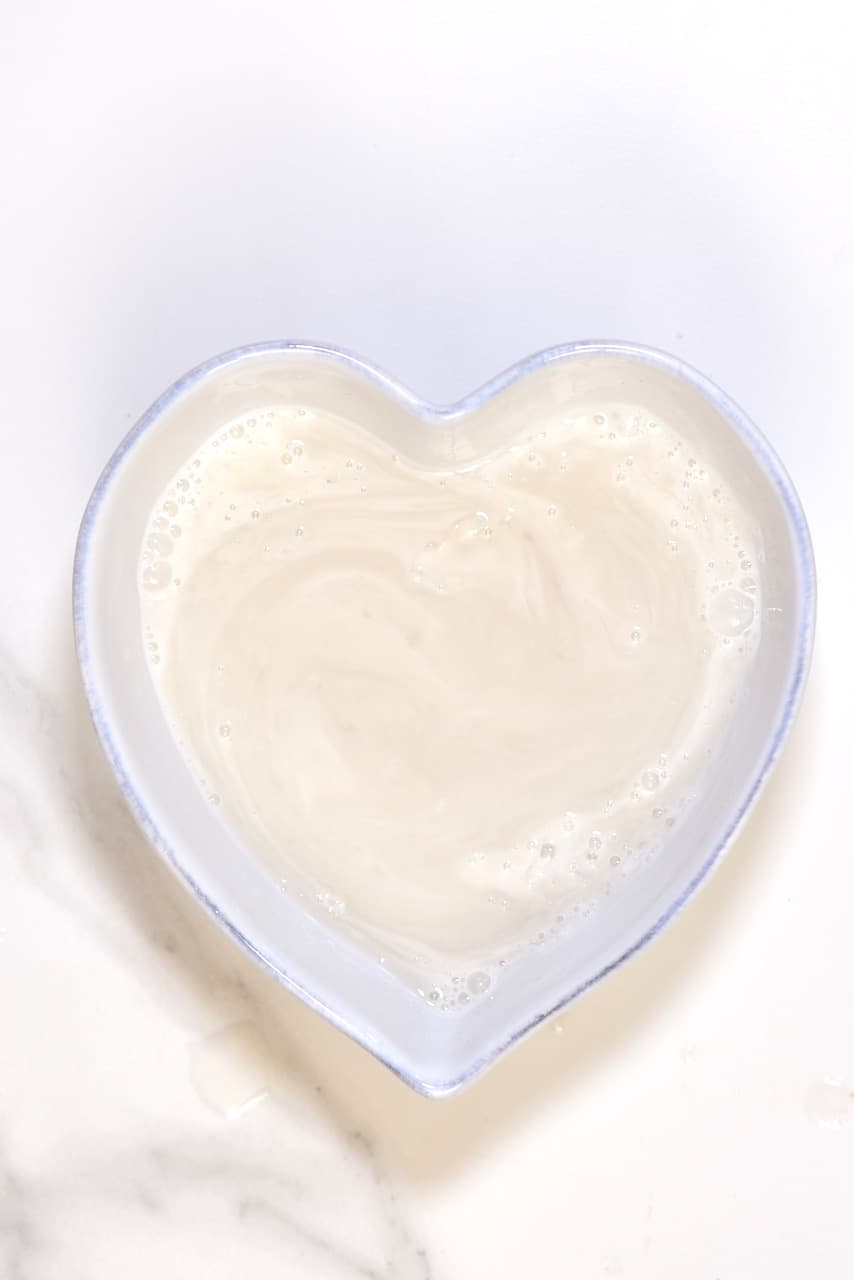
Stir well to mix the liquid soap and coconut milk, working quickly, as the mix will begin to set fairly quickly.
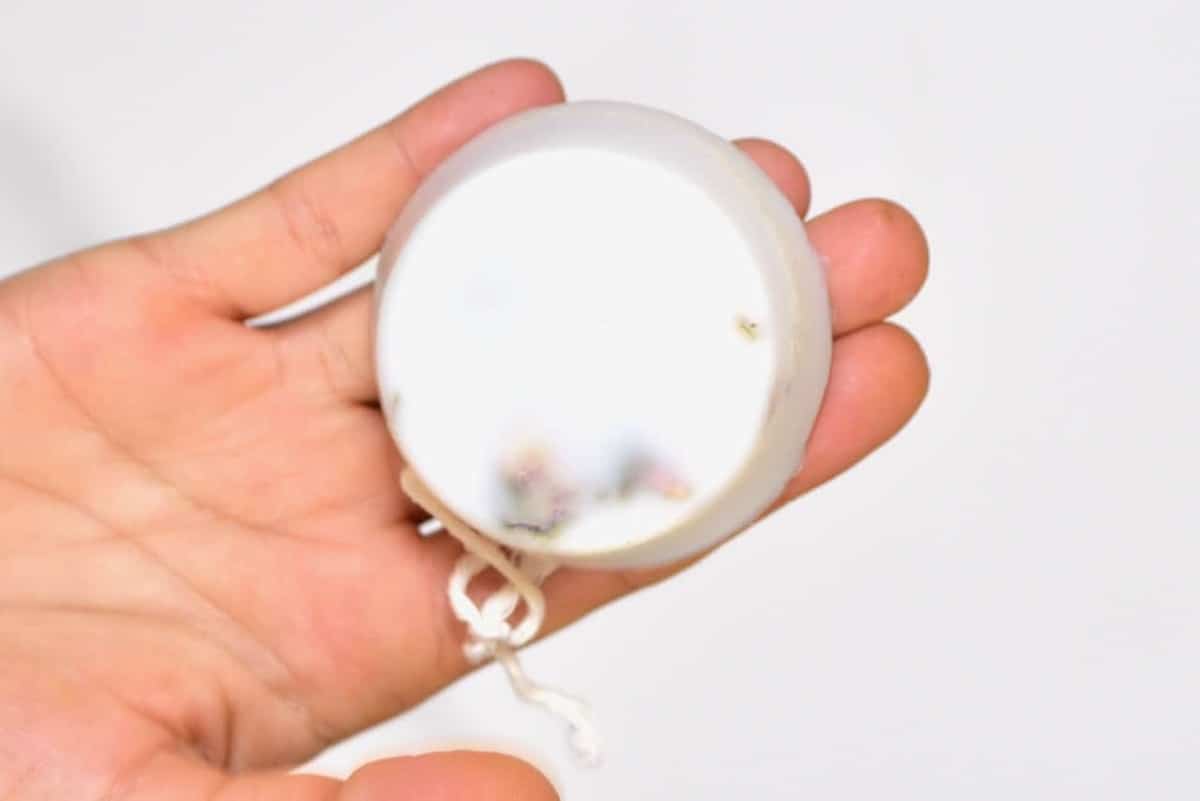
I then assembled the soap mold. First I added a few dry rose petals into each mold and then placed the loofah slice over them.
Carefully pour the DIY soap mix into the mold compartments, over the loofah slices. You might need to gently press over the loofah slices so they absorb the liquid without coming out of the mold.
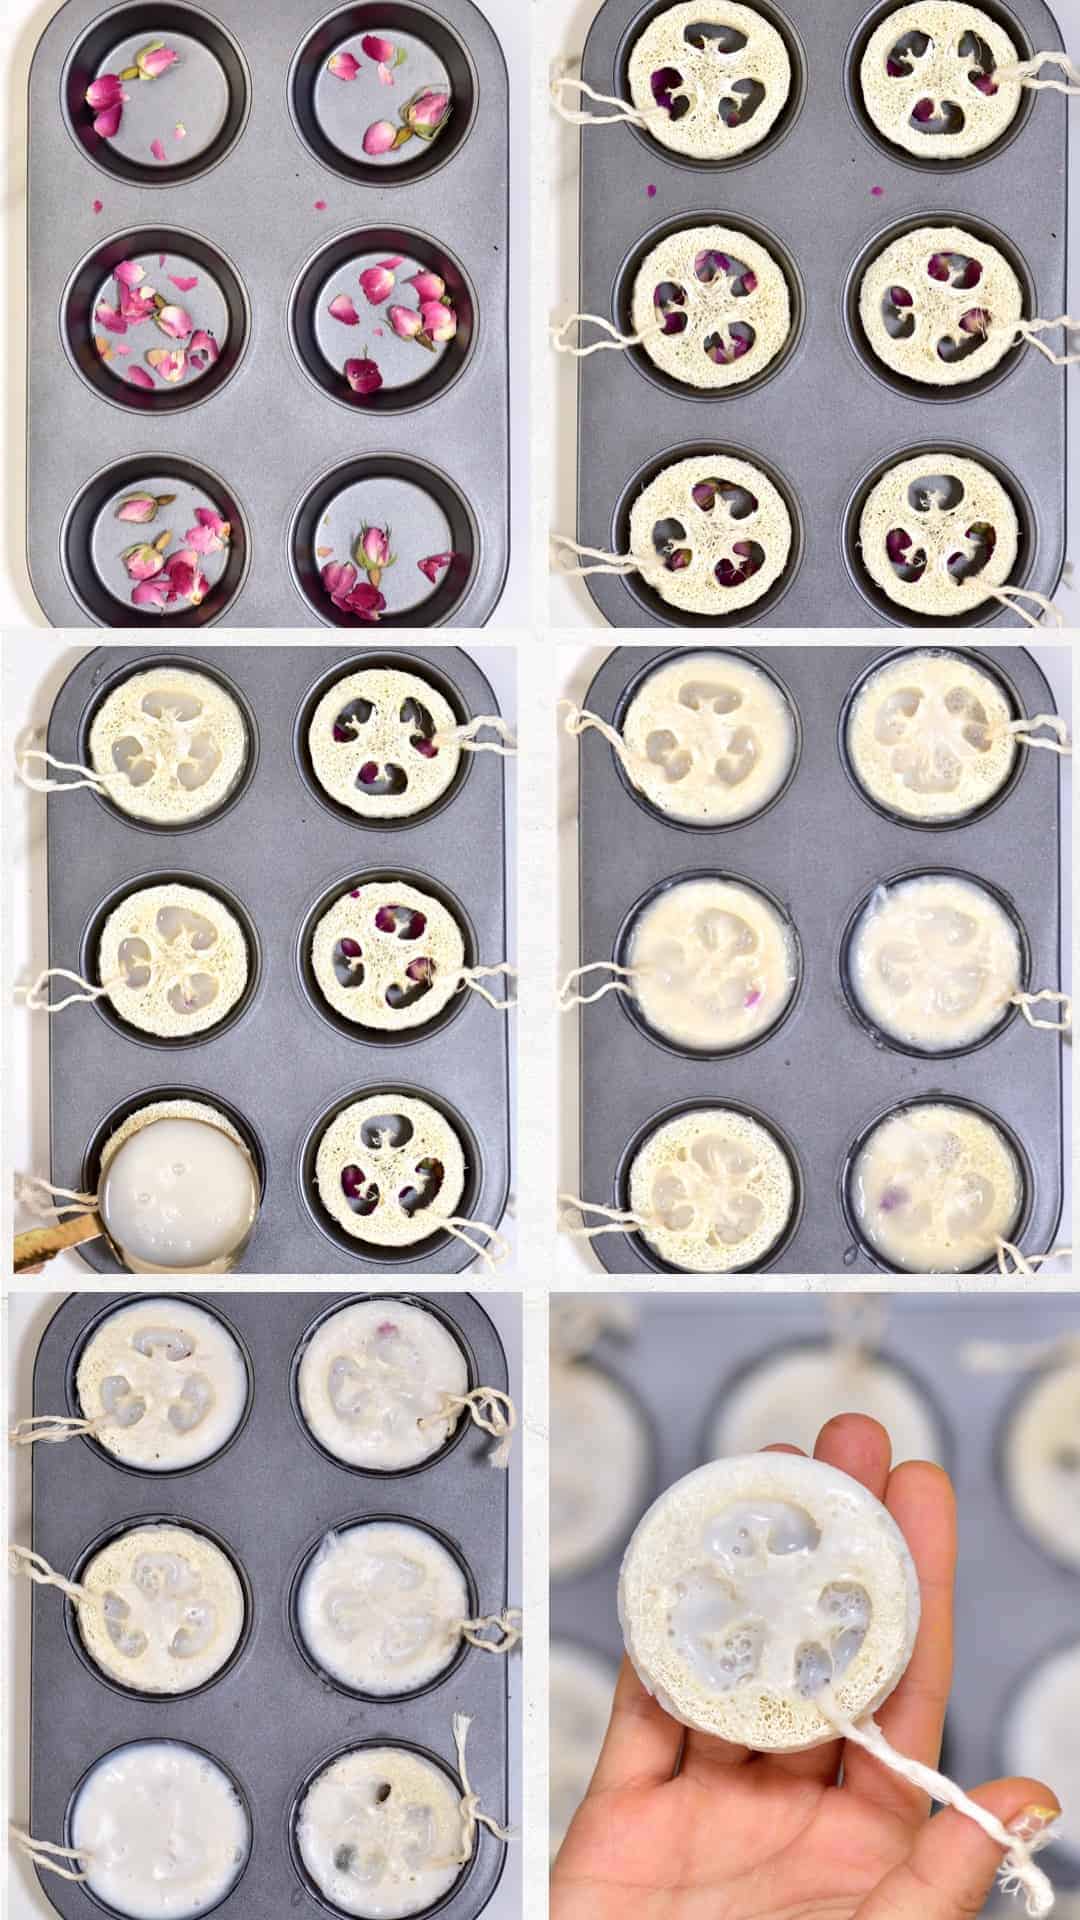
The soap will begin to harden in just a couple of minutes. However, you can also place your molds in the fridge to help them set faster.
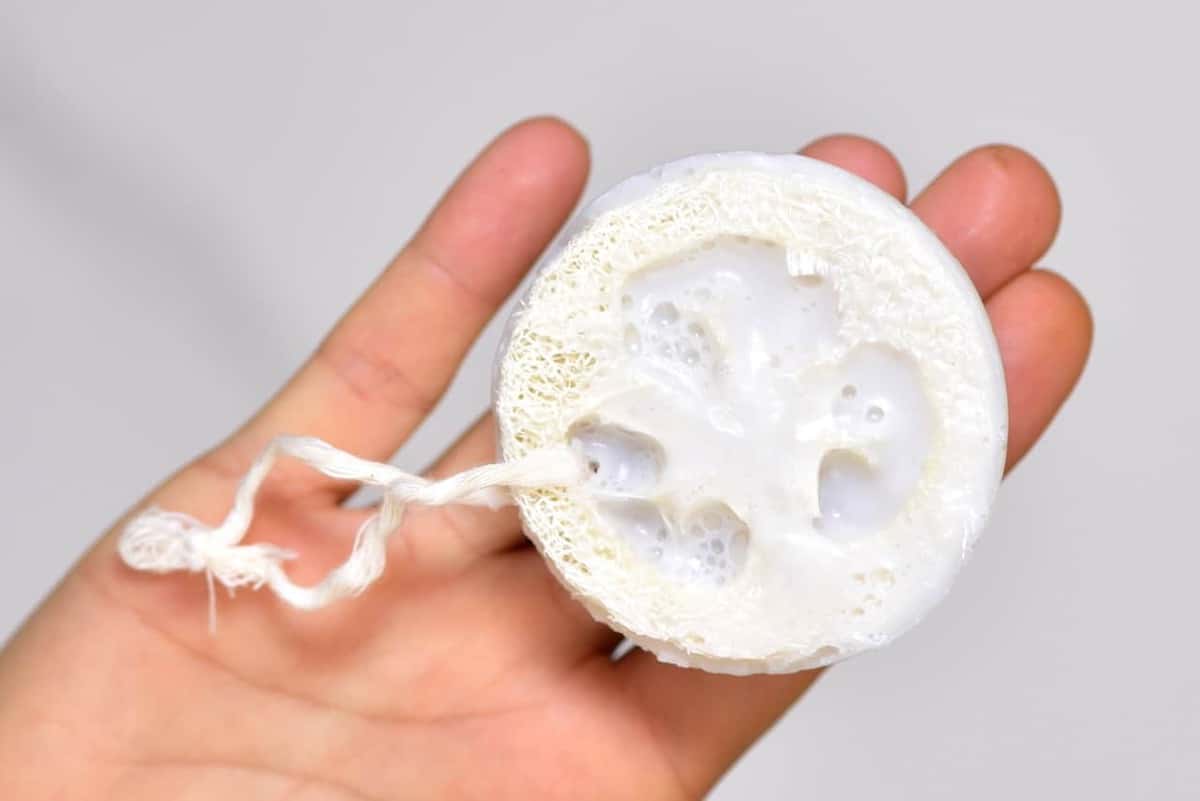
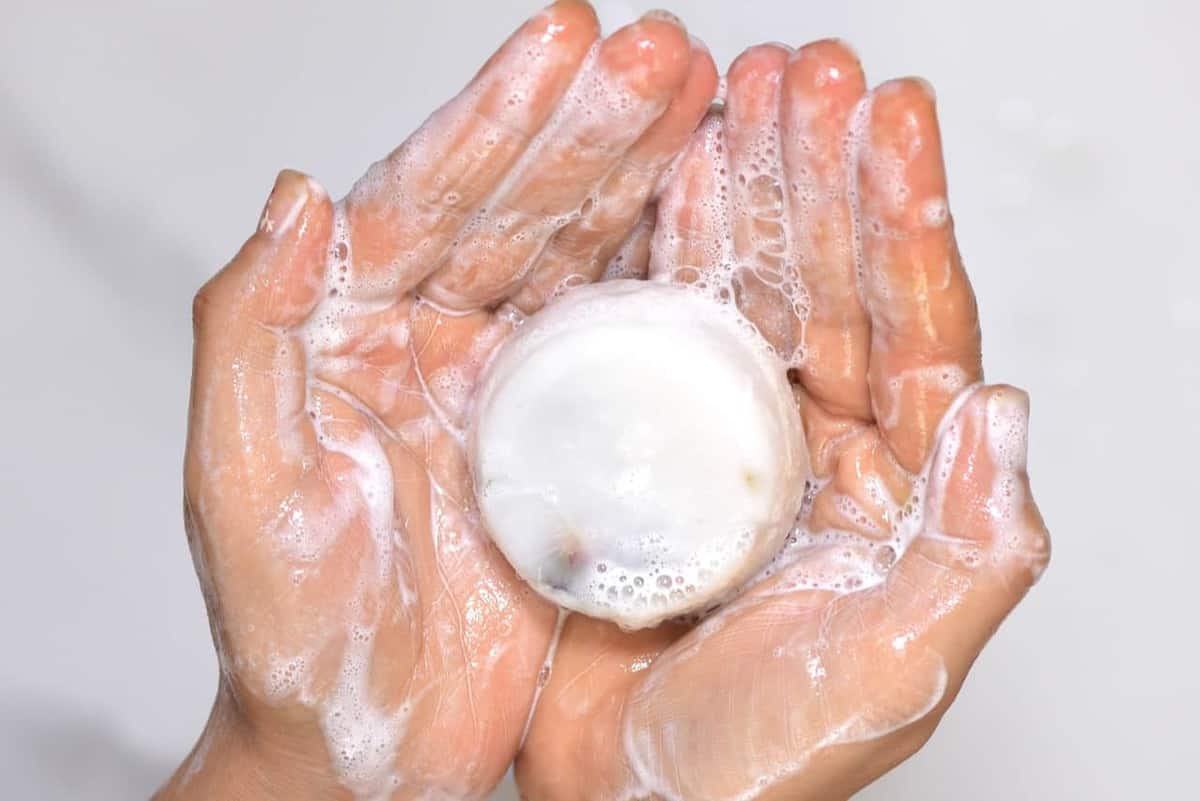
The loofah soap is then ready to use. As you use it repeatedly, the loofah sponge will be revealed more and exfoliate while cleansing.
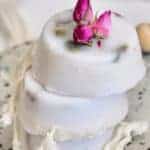
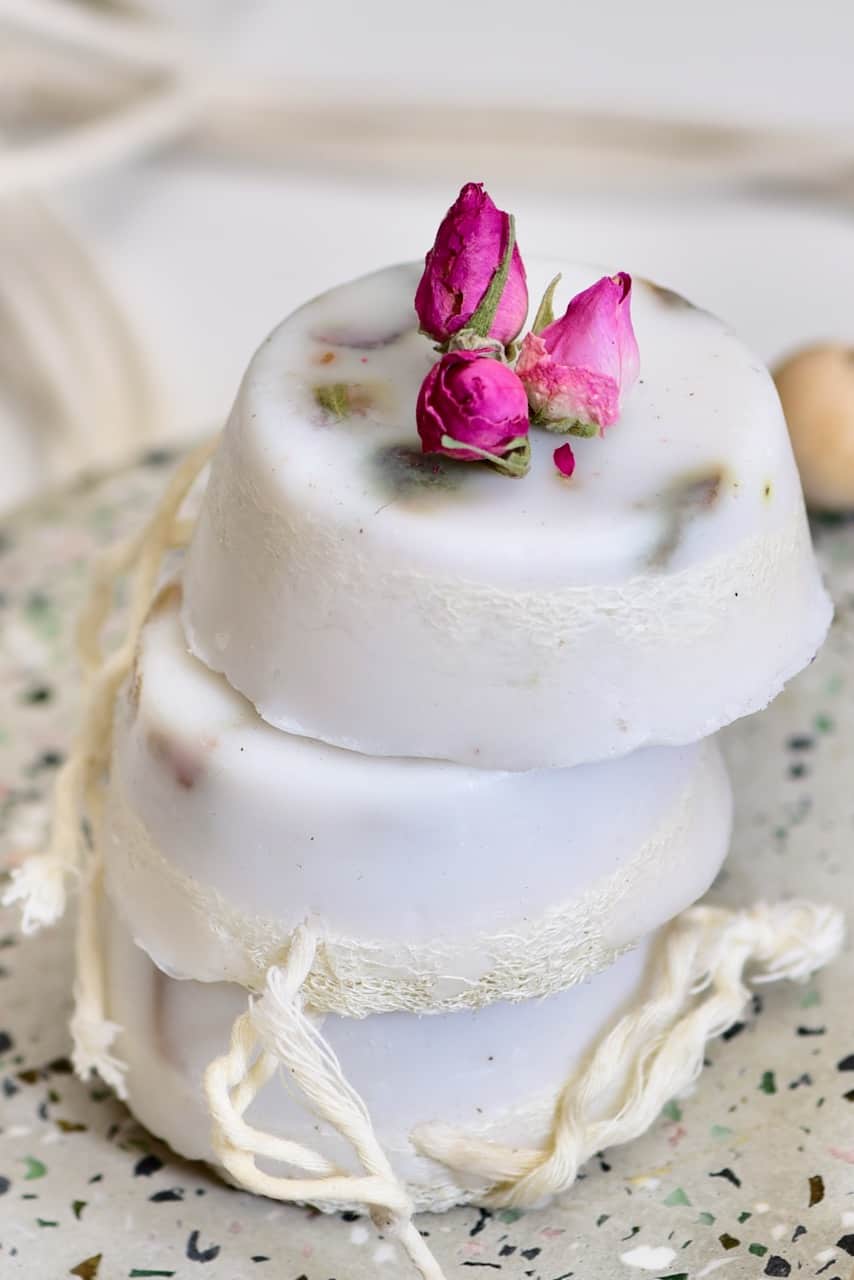
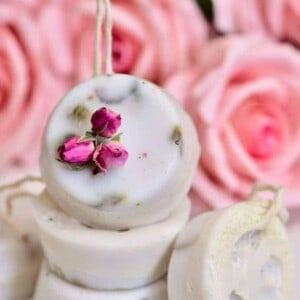
Rose infused soap spheres
This recipe makes six half-spheres – 2 large, two medium & 2 small and takes around 10 minutes to prepare, not including the setting time.

The soap making ingredients
- Melt And Pour Soap Base
- Rose essential oil
- A little bunch of dry organic roses
- Red, skin-safe, natural colorant
- Soap mould or a silicone mould (preferable). I didn’t have any at the time, so I used these handy bath bomb moulds, which worked okay.
The Method
The first step to making any homemade soap is to set up everything you need in a little “workstation”. As all the additives are mixed into the melted liquid, you need to work fairly quickly to incorporate everything you want and pour it into the molds, before it starts to set.
Within my workstation, I include all my ingredients – the measured out fragrance, color ( in a pipette), and any exfoliants or additives, so they’re ready to go.
Once your workstation is ready, you need to cut and weigh your melt and pour base, till you have the required amount.
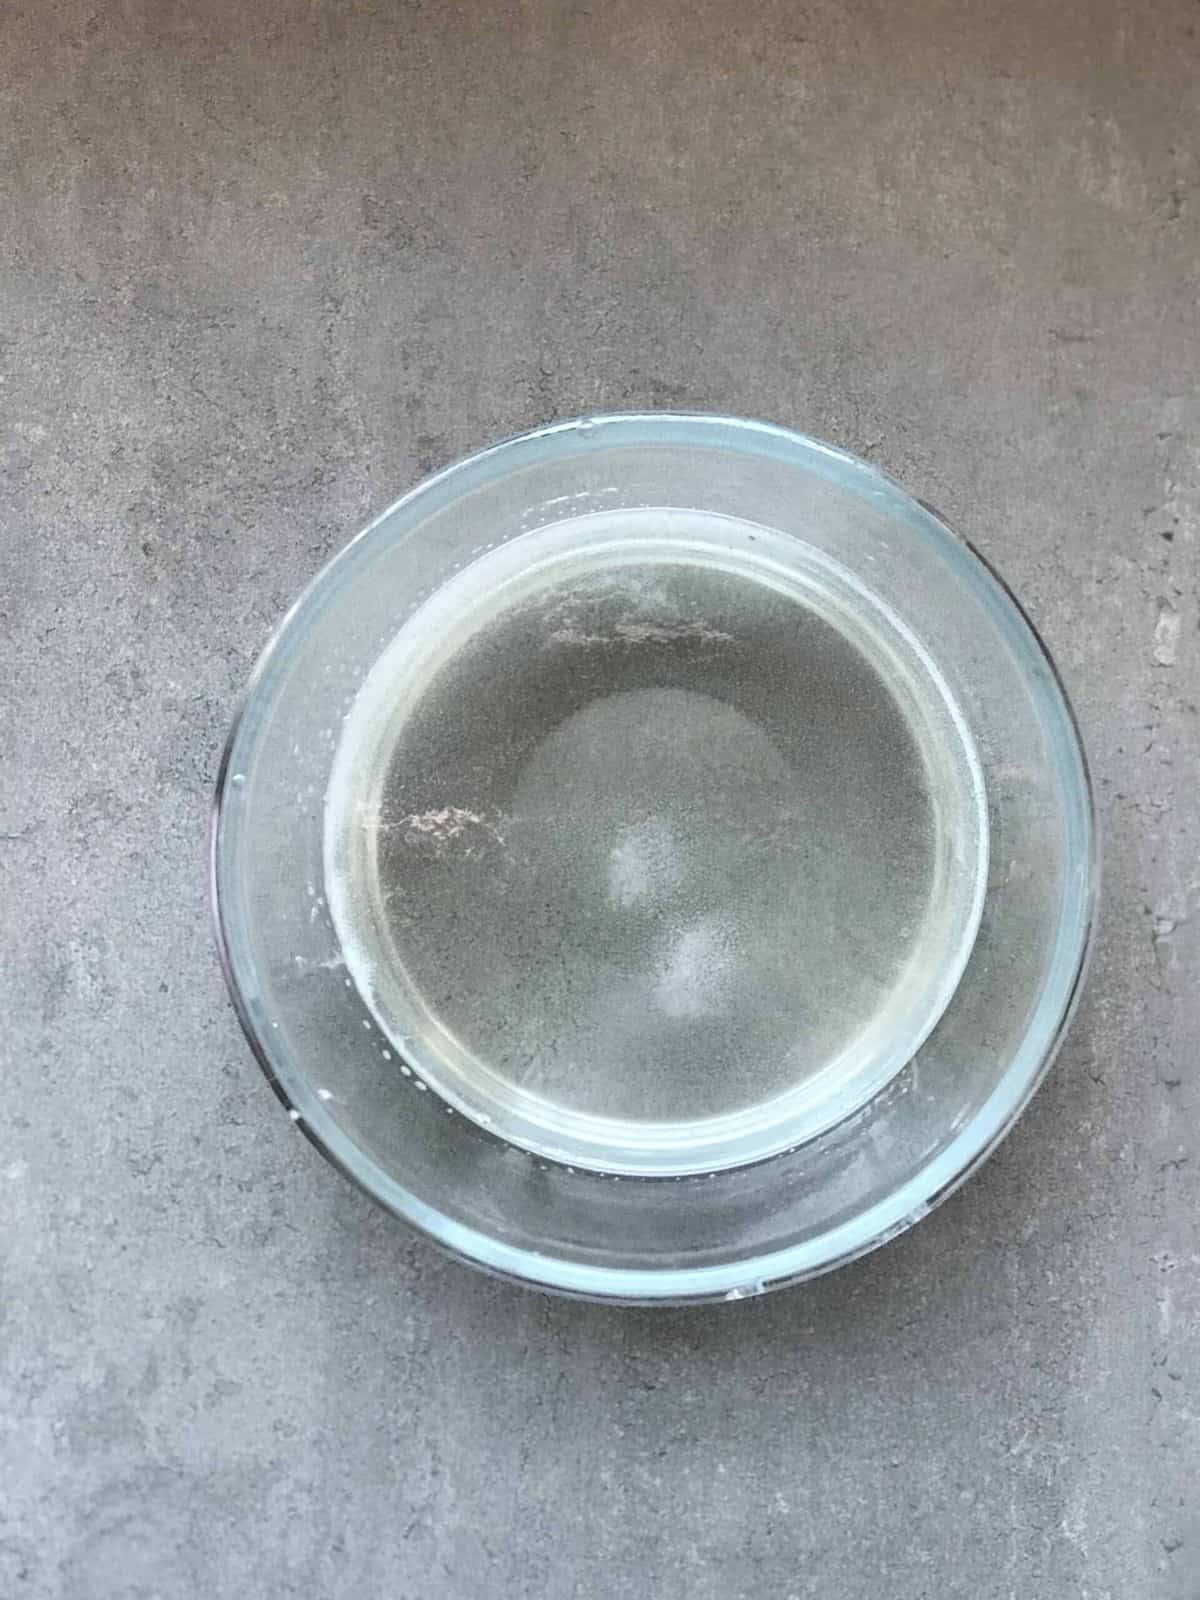
Place the melt & pour base pieces into a large heat-proof bowl and melt either in the microwave or using a double-boiler method over low heat. I used a microwave and heated it in 30-second increments, till all the pieces had melted entirely. I have heard that microwaving it can sometimes cause the soap to dry out. However, I was delighted with the results I got.
Note* Be careful when you get the bowl out of the microwave as it will likely be quite hot!
It’s best to work fast while the melt & pour is melted, so you then add a drop of red coloring into the base and mix thoroughly. Increase the number of drops depending on how intense you want the color to be. I like only to add a few drops maximum if using any non-natural colorants.
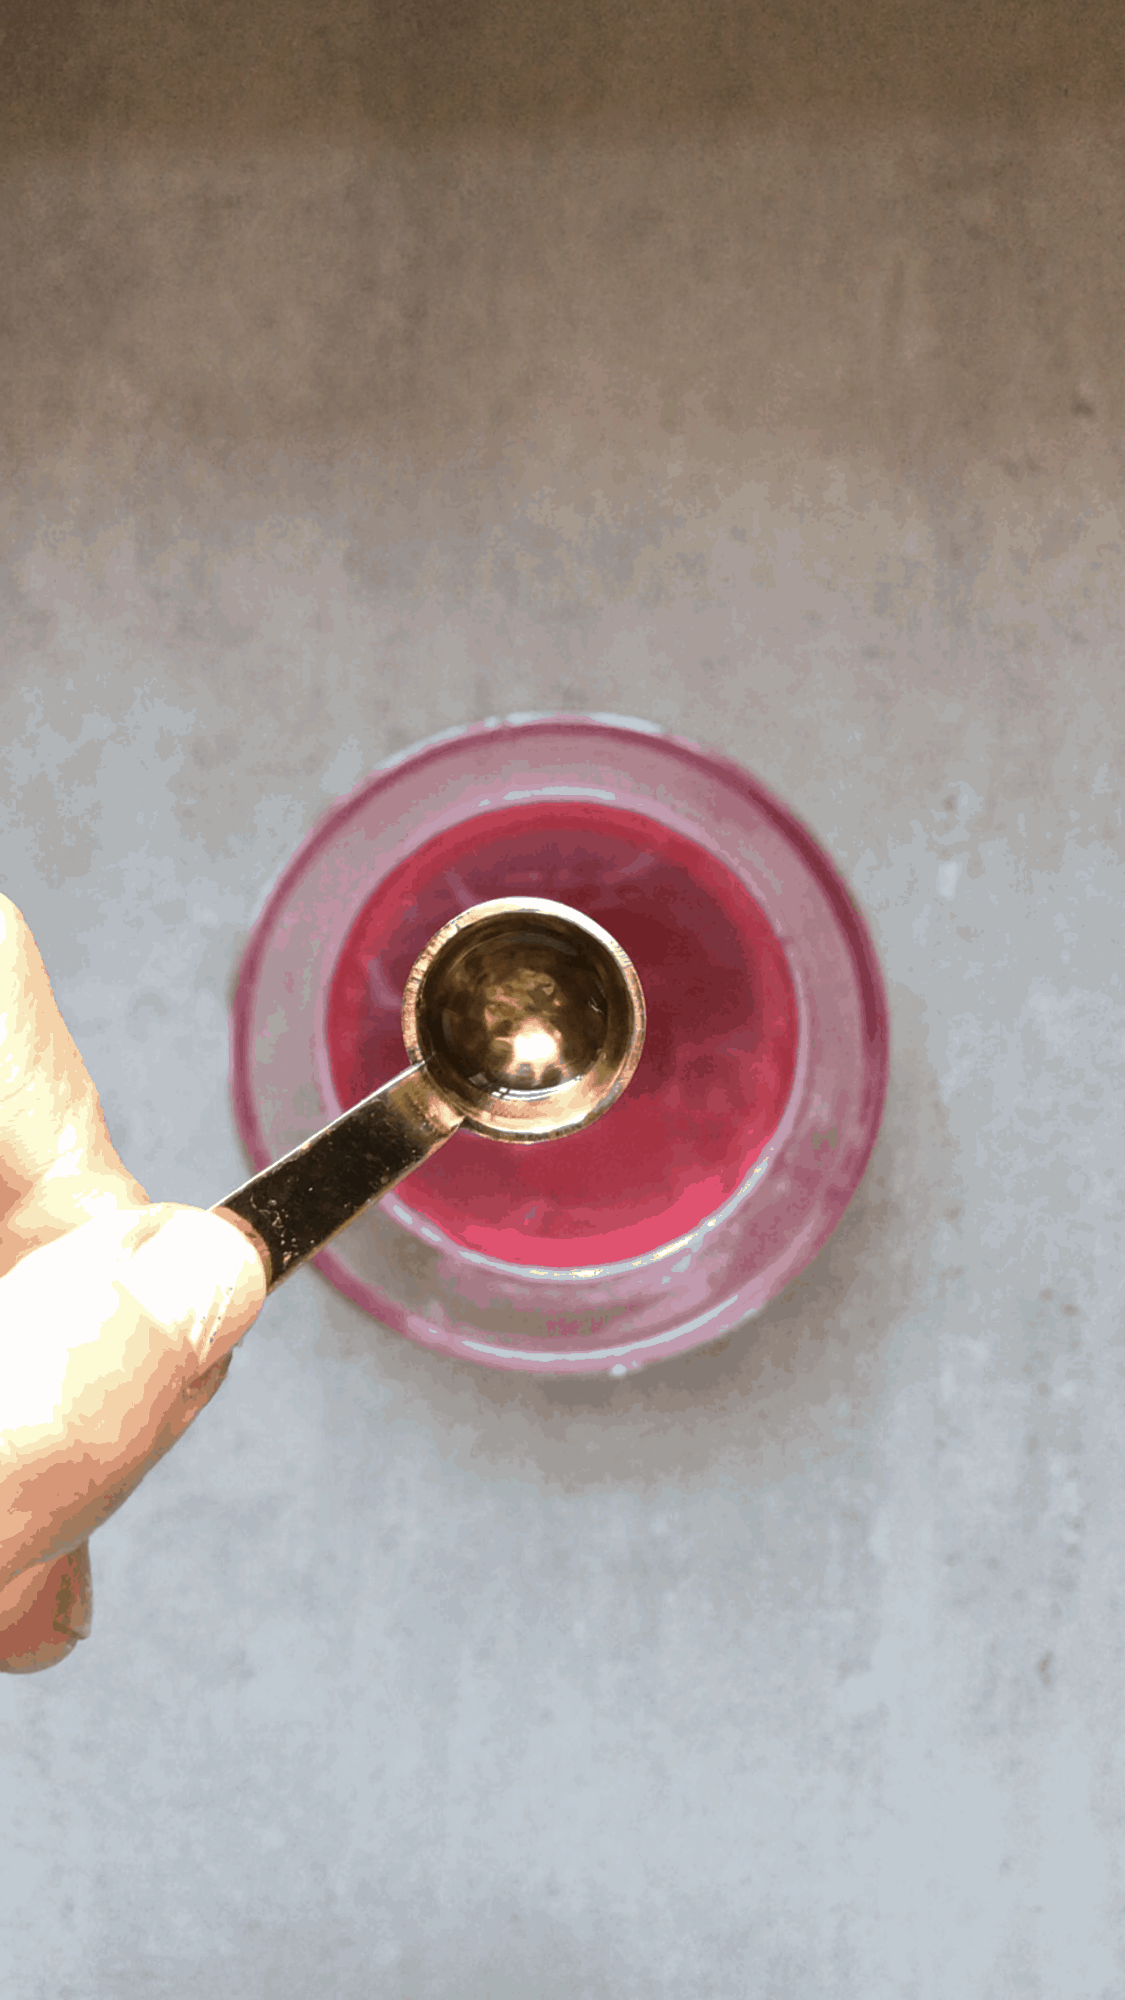
Next, stir in the rose essential oil till thoroughly combined.
Finally, it’s time to pour the liquid into your molds. I prepared the molds by adding a few dried roses to each half-sphere. Because I didn’t use a “suspension formula” base, I knew that my roses would mostly sit above, as a decoration. Luckily this works excellently for dried roses anyway as it keeps them looking pretty for longer.
As I mentioned in the blog post above, roses can bleed color into the soap over time. Having the flowers as decoration will delay that effect.
Carefully pour the base into your molds and give each mold a gentle tap to remove any air bubbles. You can top them up with a few more dry roses, then put them aside to set and harden.
Once set, pop them out of their molds and they can be used immediately or stored somewhere cool and dry. If you find the top surface uneven and wish to fix this, then you can pour a little amount of extra-base over the surface to level it. Leave that to set before removing them from their molds.

Let me know if you’d like me to add more melt & pour soap recipes to my blog and if you enjoyed learning how to make soap at home. Also, if you have any queries ask away. As always, I love to see your creations too so tag me @AlphaFoodie!
Beginners Guide: How to make soap at home
Equipment
- Sphere Soap mold or a silicone mould (preferable). I used bath bomb moulds, which worked okay.
Ingredients
DIY Loofah Soap
- 1 natural loofah sponge
- 1 cup crystal soap base chopped into pieces
- 1 cup full-fat coconut cream
- 10-15 drops rose essential oil *
- dried rose petals optional
Rose Infused Spheres
- 1 cup Melt and Pour soap base
- 10 drops rose essential oil
- 1 drop of red skin-safe natural colorant
- A little bunch of dry organic roses
Instructions
For the DIY Loofah Soap:
- Cut slices from the loofah sponge. Make sure that they are just thick enough to fit your mould.
- Tie a string through each of them. This step is optional but a great addition to the loofah soap so you can hang it to dry after every use. This will help reduce unnecessary moisture from clinging to the loofah sponge.
- Melt the soap base by placing your chopped soap base pieces into a large heat-proof bowl and melt either in the microwave or using a double-boiler method over low heat. I used a microwave and heated it in 30-second increments, till all the pieces had melted entirely.
- As soon as it’s all liquified, add the coconut cream & 10-15 drops of rose essential oil. For a more intense scent, you can double the amount.
- Stir well to mix the liquid soap and coconut cream, working quickly, as the soap will begin to set fairly quickly.
- I then assembled the soap mould. First I added a few dry rose petals into each soap mould and then placed the loofah slice over them.
- Carefully pour the DIY soap mix into the mould compartments, over the loofah slices. You might need to gently press over the loofah slices so they absorb the liquid without coming out of the mould.
- The soap will begin to harden with just a couple of minutes. However, you can also place your moulds in the fridge to help them set faster.
- The loofah soap is then ready to use. As you use the soap more, the loofah sponge will be revealed more and exfoliate while cleansing.
For The Rose-Infused Spheres:
- The first step to making any homemade soap is to set up everything you need in a little ‘work station’. As all the additives are mixed into the melted liquid, you need to work fairly quickly to incorporate everything you want and pour it into the moulds, before it starts to set.
- Once your work station is ready, you need to cut and weigh your melt and pour base, till you have the required amount.
- Place the base pieces into a large heat-proof bowl and melt either in the microwave or using a double-boiler method over low heat. I used a microwave and heated it in 30-second increments, till all the pieces had melted entirely. I have heard that microwaving it can sometimes cause the soap to dry out. However, I was delighted with the results I got. *
- It’s best to work fast while it’s melted, so you then add a drop of red colouring into the base and mix thoroughly. Increase the number of drops depending on how intense you want the colour to be. I like only to add a few drops maximum if using any non-natural colourants.
- Stir in the rose essential oil till thoroughly combined.
- Finally, it’s time to pour the liquid into your moulds. I prepared the moulds by adding a few dried roses to each half-sphere. Because I didn’t use a ‘suspension formula’ base, I knew that my roses would mostly sit above, as a decoration. Luckily this works excellently for dried roses anyway as it keeps them looking pretty for longer. **
- Carefully pour the base into your moulds and give each mould a gentle tap to remove any air bubbles. You can top them up with a few more dry roses, then put them aside to set and harden.
- Once set, pop them out of their moulds and they can be used immediately or stored somewhere cool and dry. ***


Hi Samira! Love your soap DIY video on instagram stories.. I tried the recipe but without colour added.. It turned out great for a while, but after i keep it in a plastic box for one night, i found a layer of “crystal” covered the soap.. and the crystal reappeared everytime i wipe it off.. have you experienced it before? Fyi i’m from Indonesia, do you think it’s because of the humid weather? Thank you! Have a nice weekend =)
Oh no! I can only imagine that this must be because of the weather. I know that these types of DIY’s definitely differ depending on the climate where you’re making them.
Hi Samira !
Can you please tell me the quantity of coconut milk for loofah soap.
Thank you !
Hi Sankalpani,
You need 1 cup of coconut milk – all the ingredients are listed in the recipe card at the bottom of this post. I hope this helps.
Hi! I’m a professional soap maker and I came across your recipe on Pinterest. I love when people try new things especially when it’s so related so I commend you for trying this! It’s fun and relaxing! I did want to let you know that adding coconut cream to a soap base could result in mold, yeast or bacteria and other funky things that you don’t want on your skin. Soap base is already saponified so adding milks, purees, and even some botanicals basically just sit suspended in the soap base. It would be like letting it sit out on your counter. To make wonderful milk soaps, you’ll either need to buy a milk soap base, or you’ll need to make cold or hot process soap with milk. I’m happy to teach you, just reach out! ❤️
Hi Krystal,
Thanks for sharing, I will keep it in mind 🙂
Dear you may want to try without the cream as melt and pour base can only take small amount of add in items and food/ fresh items don’t make it very long. Try less and dry flowers on top so that they don’t distort brown or green. Good luck and keep diy fun
Thank you for your advice. 🙂
Where did you purchase your soap from ?
Hi Marcella.
The Melt and Pour soap base can be found online. It’s linked on the guide card of this post.