
This post may contain affiliate links. Please read our disclosure policy.


How to make coconut oil at home and how to use your homemade coconut oil – from food & baking to hair & beauty to household uses, the choices are practically endless!
Did you know that it’s possible to make homemade coconut oil? Not only that, but you can make it in a variety of ways – from regular coconut oil to virgin coconut oil, using a heated method or cold-processed. I know some might be wondering why even try this DIY but I love learning how to make any kitchen staples. Plus, I like knowing what goes into the items I consume – no unnecessary chemicals, additives, preservatives, etc.
Want to save this recipe?
How to make coconut oil
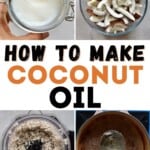
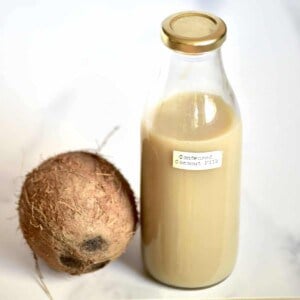
The process of making coconut oil takes some time, however, the majority of the process is fairly hands-off. In short, you need to use coconut milk or coconut cream, then heat it over low heat to extract the oil! But in this post, I’ll be showing you how to extract coconut oil from scratch, using whole coconuts.
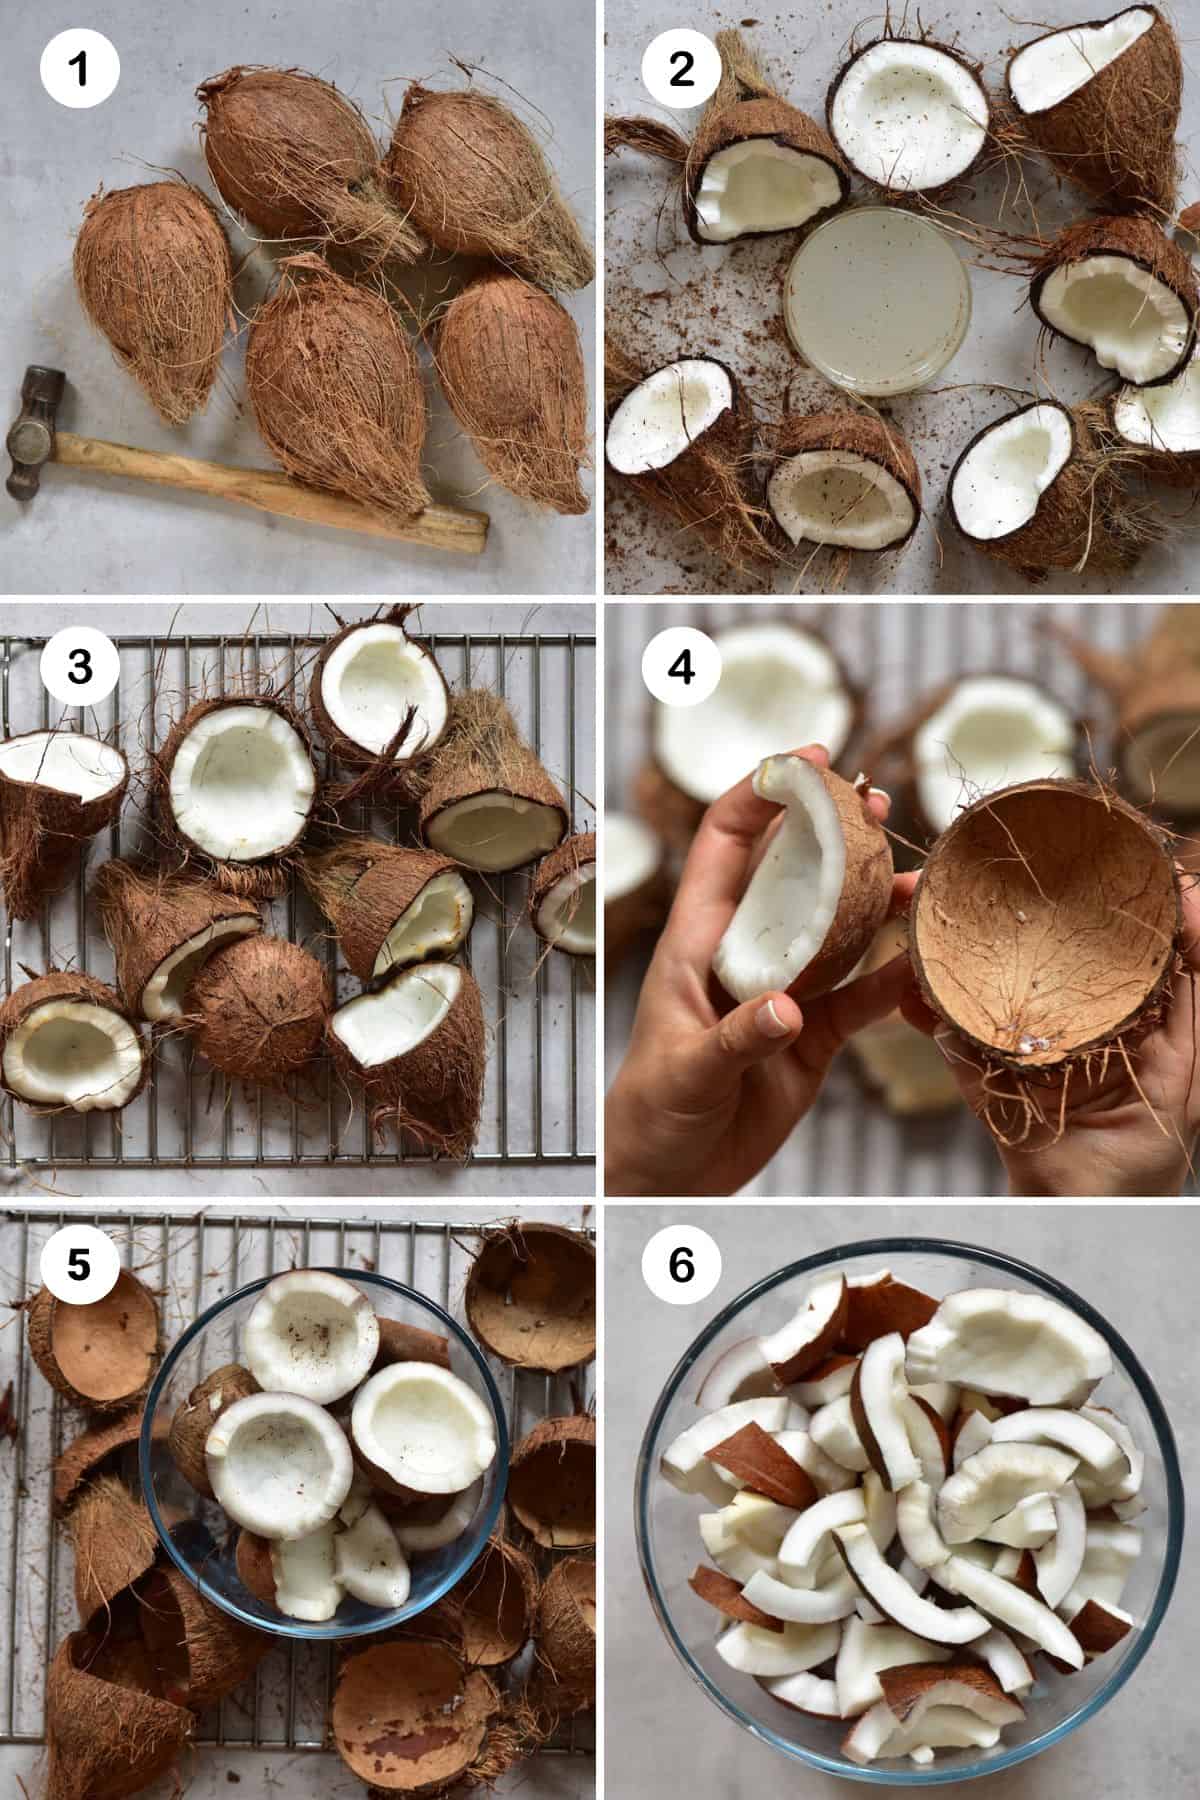
Retrieve the coconut flesh: Crack open the coconuts – you can do that with a hammer or check one of my other methods of how to open a coconut. You can save the coconut water to drink or use in smoothies. Then extract the coconut meat from the shell. An easy way to do so is to place the coconut halves in the oven for 10 minutes at 325ºF/170ºC. You can then use a coconut tool or a blunt knife to remove the meat easily.
Make coconut milk: Shred the coconut meat in a high-speed blender or food processor. Then add water and blend for between 1-2 minutes until you get creamy milk. Next, separate the pulp from the liquid. Use a nut milk bag (or cheesecloth or fine mesh strainer) and strain the milk over a large bowl. Squeeze out as much liquid as possible.
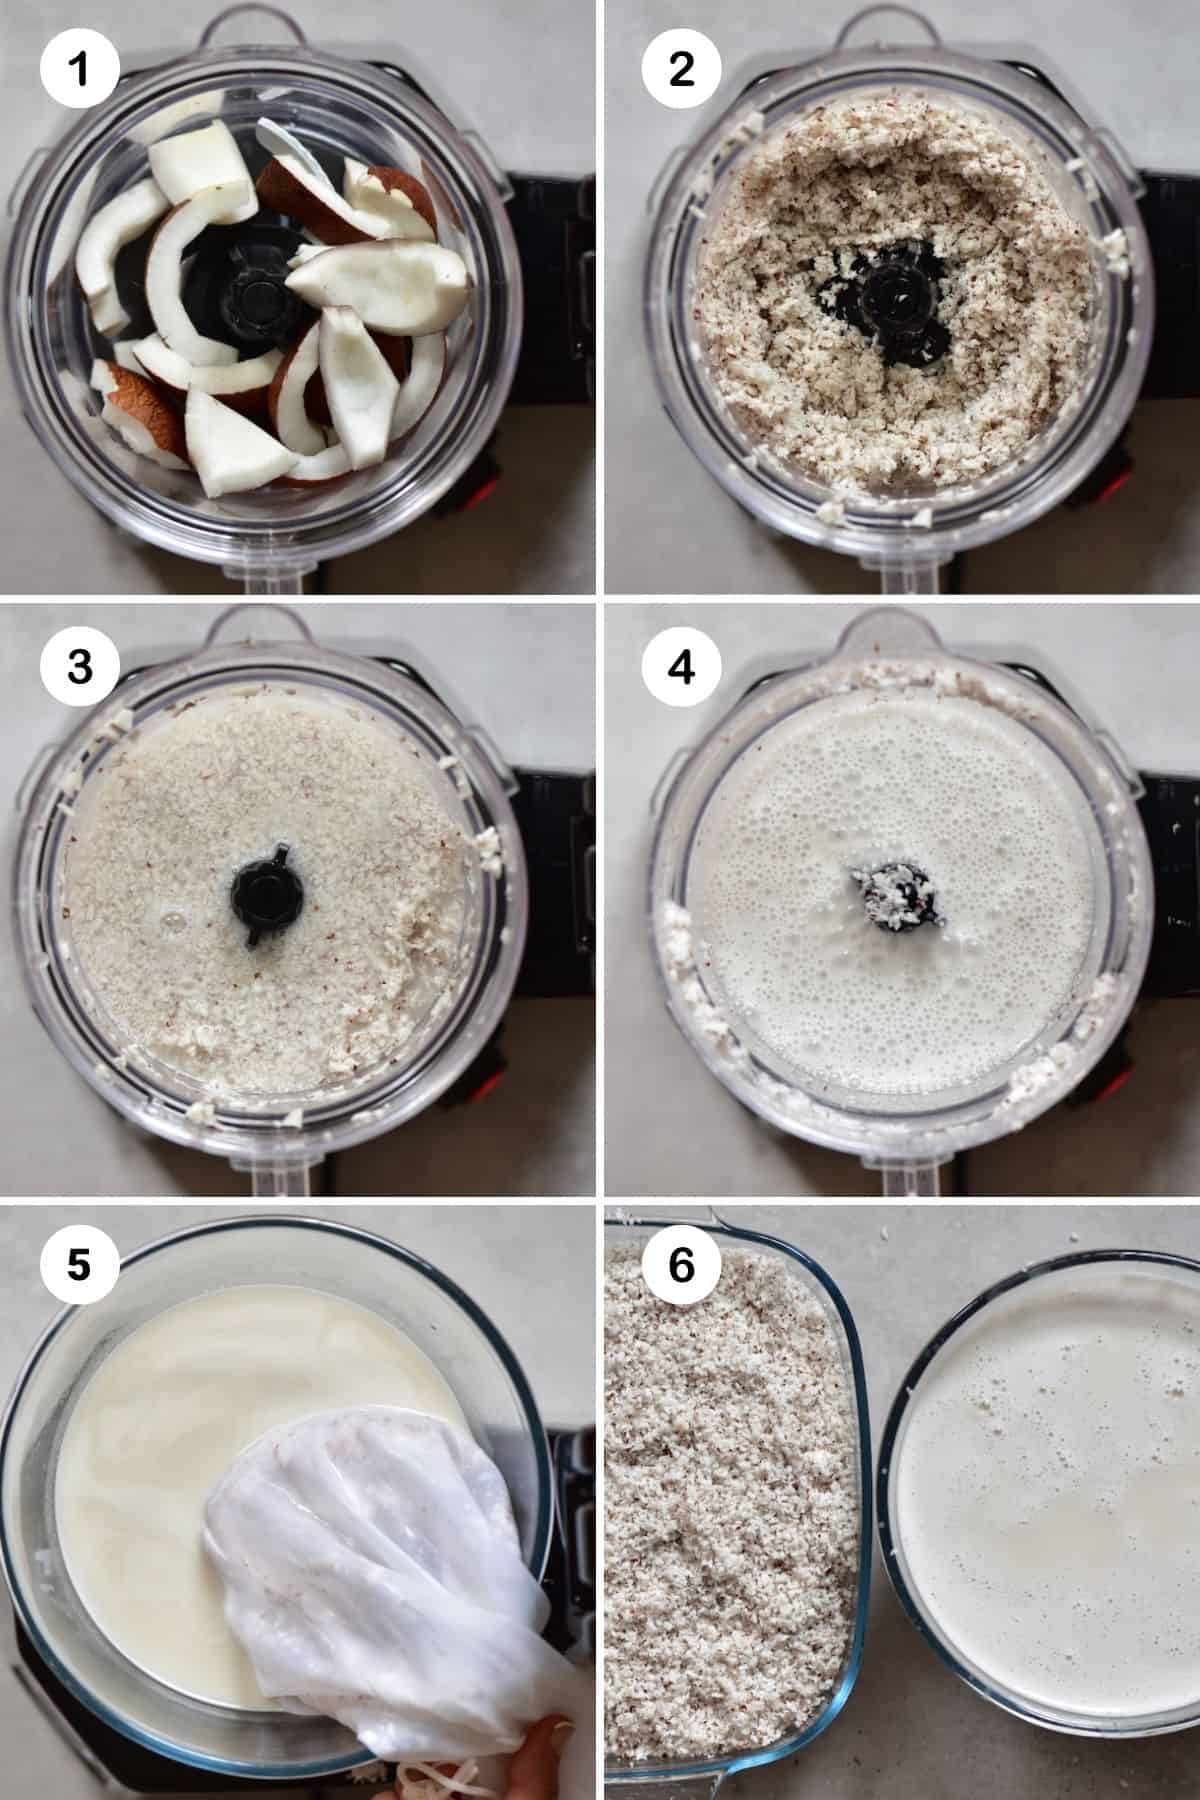
The remaining coconut pulp can be dried out into coconut flour and used in all sorts of baked recipes.
Boil the coconut milk: Pour the milk into a large, heavy-based pan and heat it over low temperature – just enough to simmer lightly. Little by little the water content from the milk will evaporate. The coconut will begin to get crumbly in texture and solidify, the color will darken a bit as well. This is when you’ll begin to notice the oil separating from the solids. Keep in mind that this process can take between 1-2 hours, if not even longer. So just be patient!
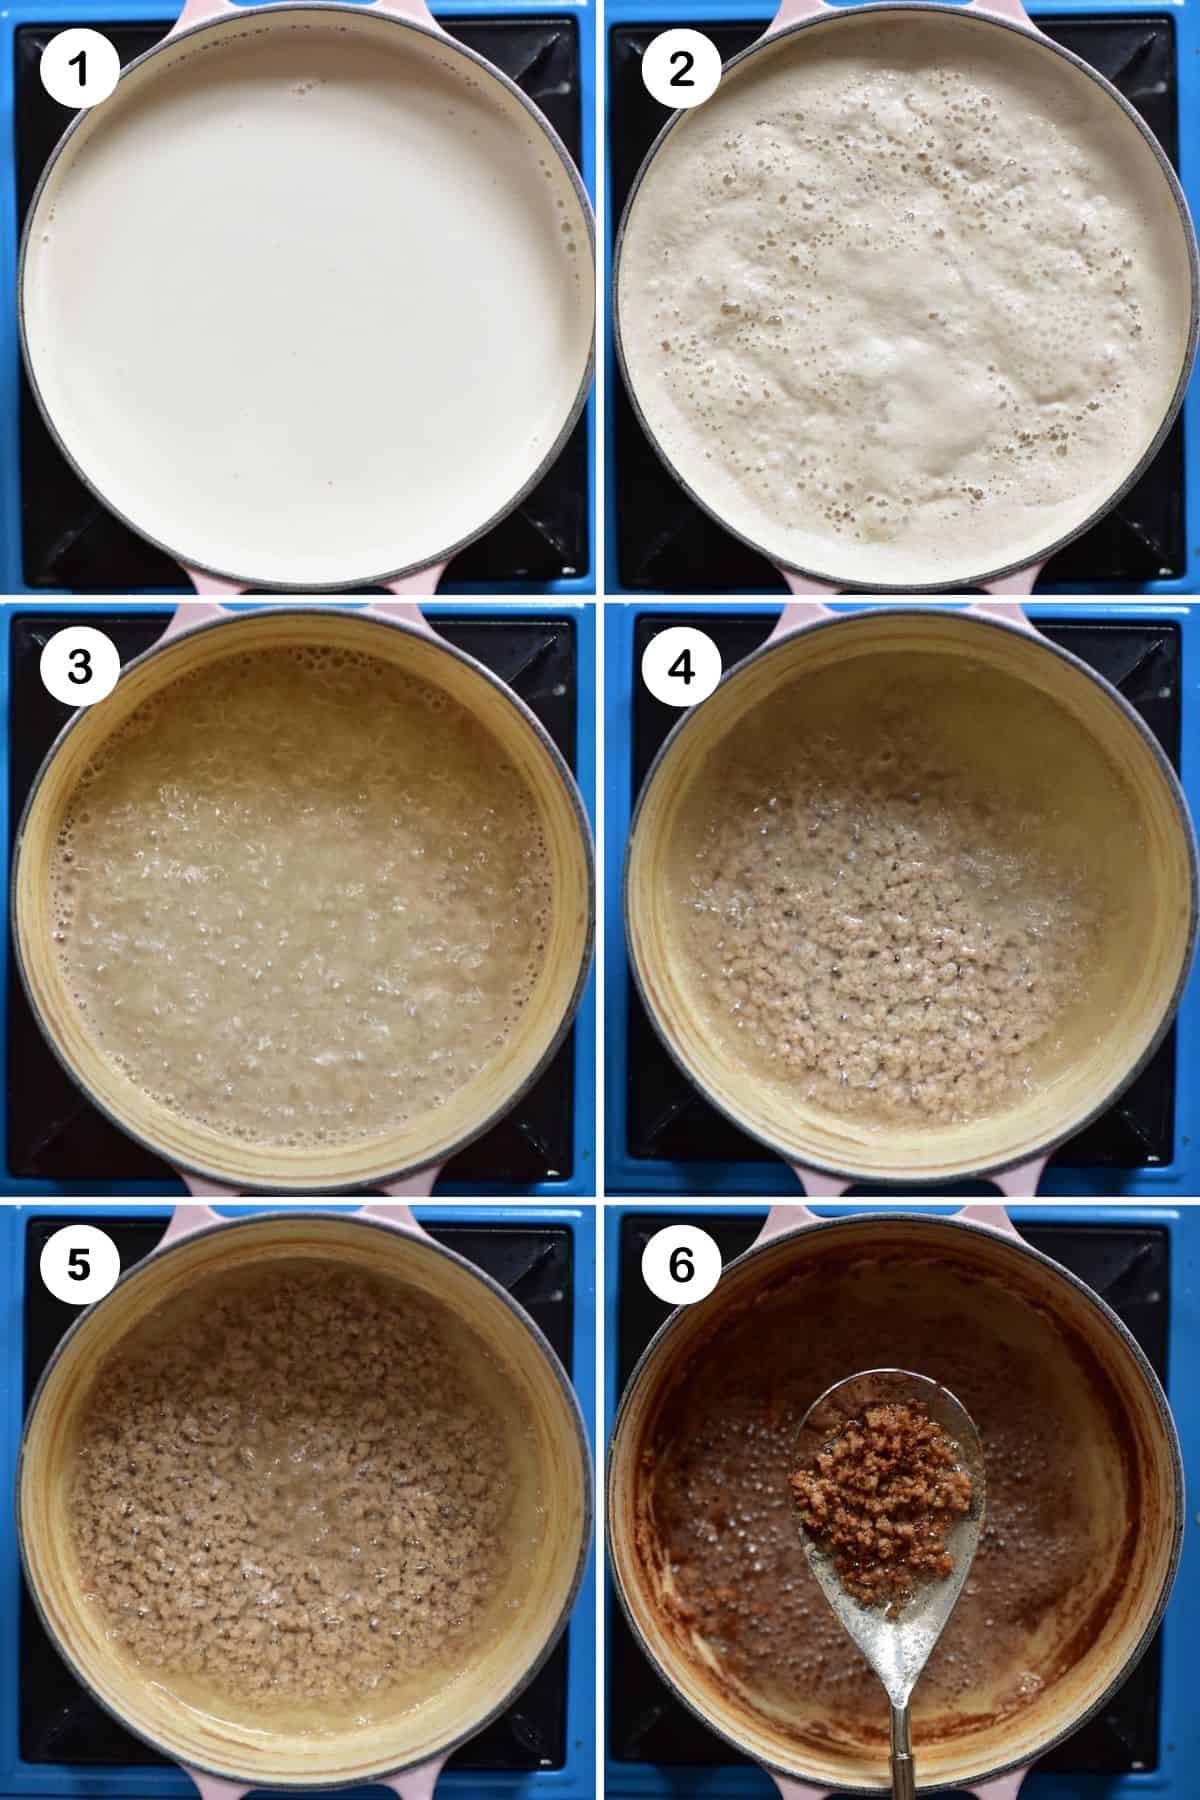
Make sure to simmer the coconut milk at a low, consistent temperature. If you try to use higher temperatures, to cut down the time it takes to make this oil, then you run the risk of ruining the oil.
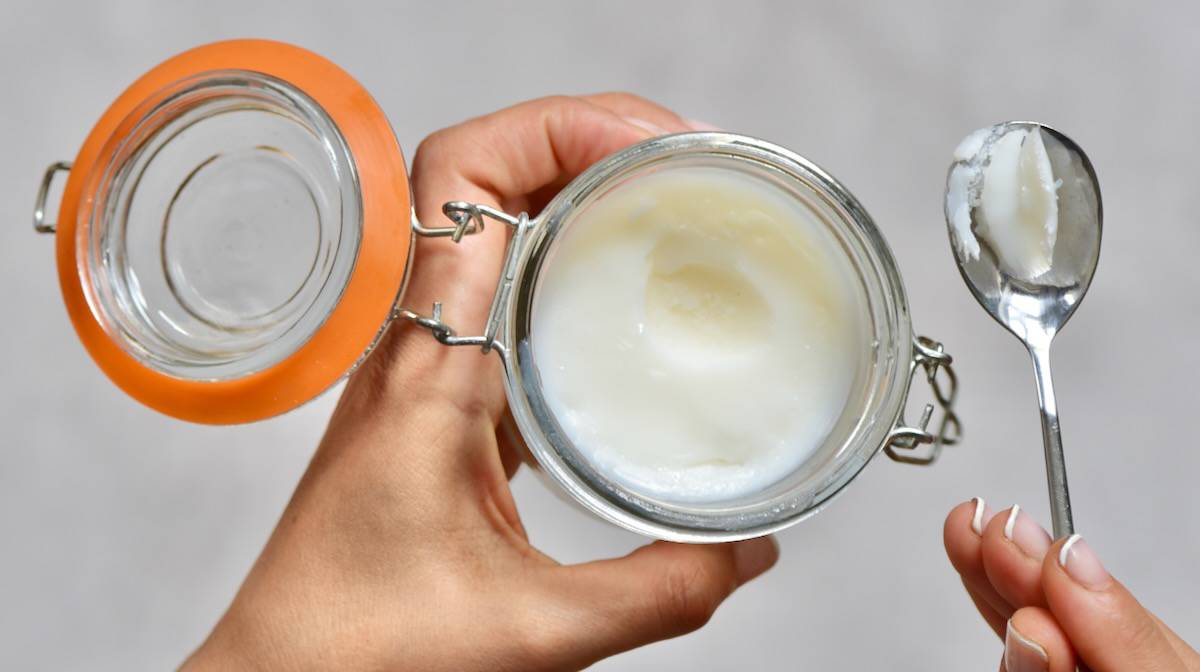
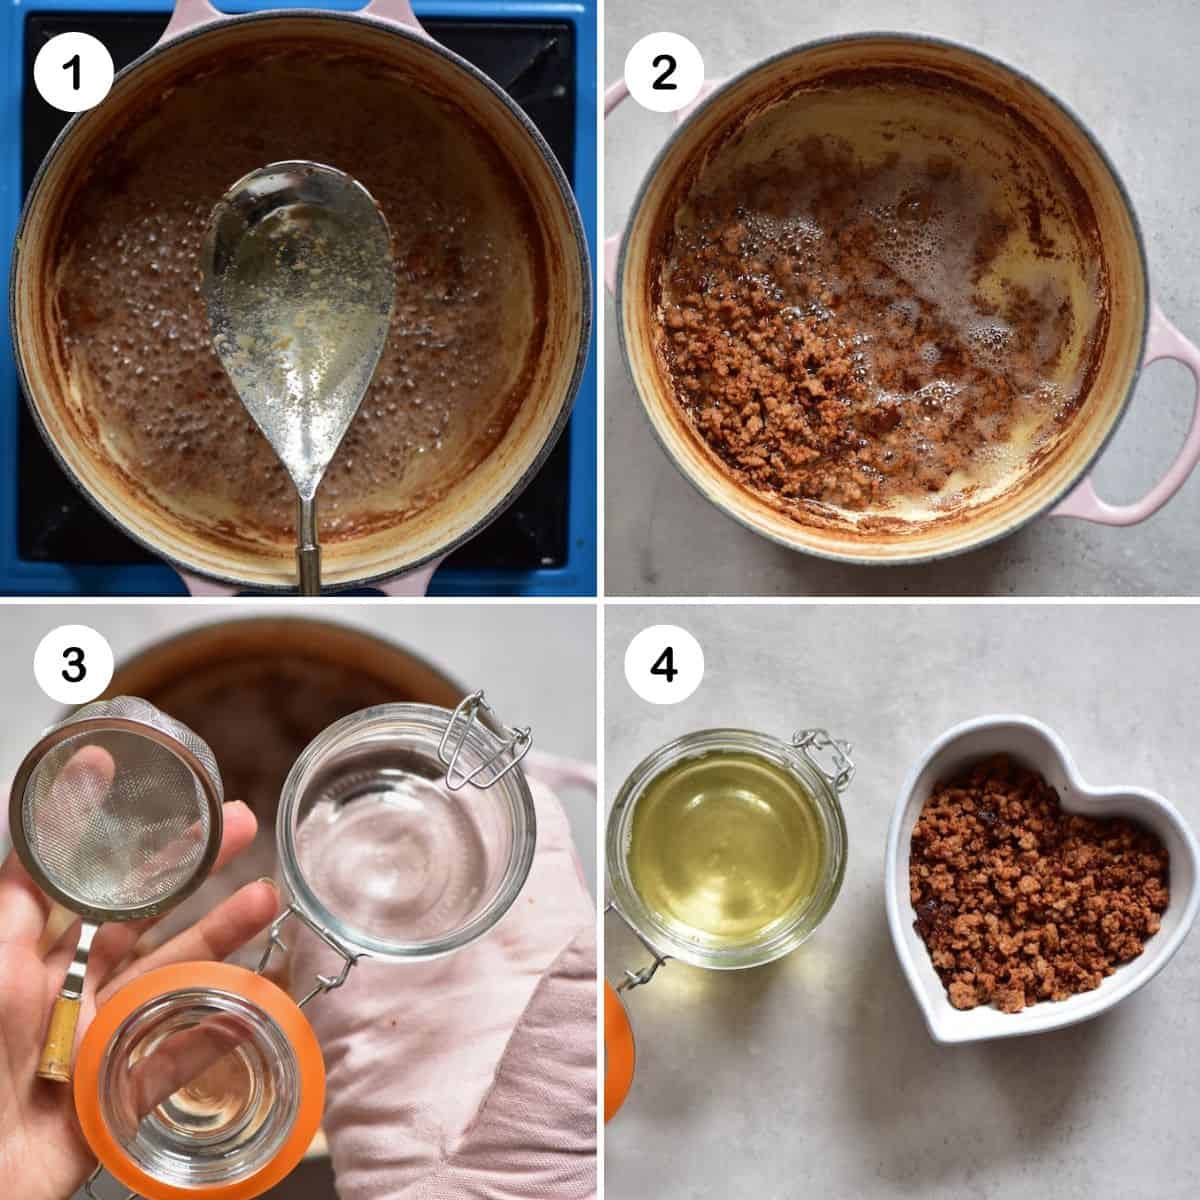
Strain and store the DIY coconut oil: Once the mixture has completely separated into solids and oil, gather all the solids and discard them if they are too “burnt”. Alternatively, these can be snacked on, used over desserts, etc. Then pour the oil through a strainer, into an airtight container, making sure to press down on the solids to release as much oil as possible.
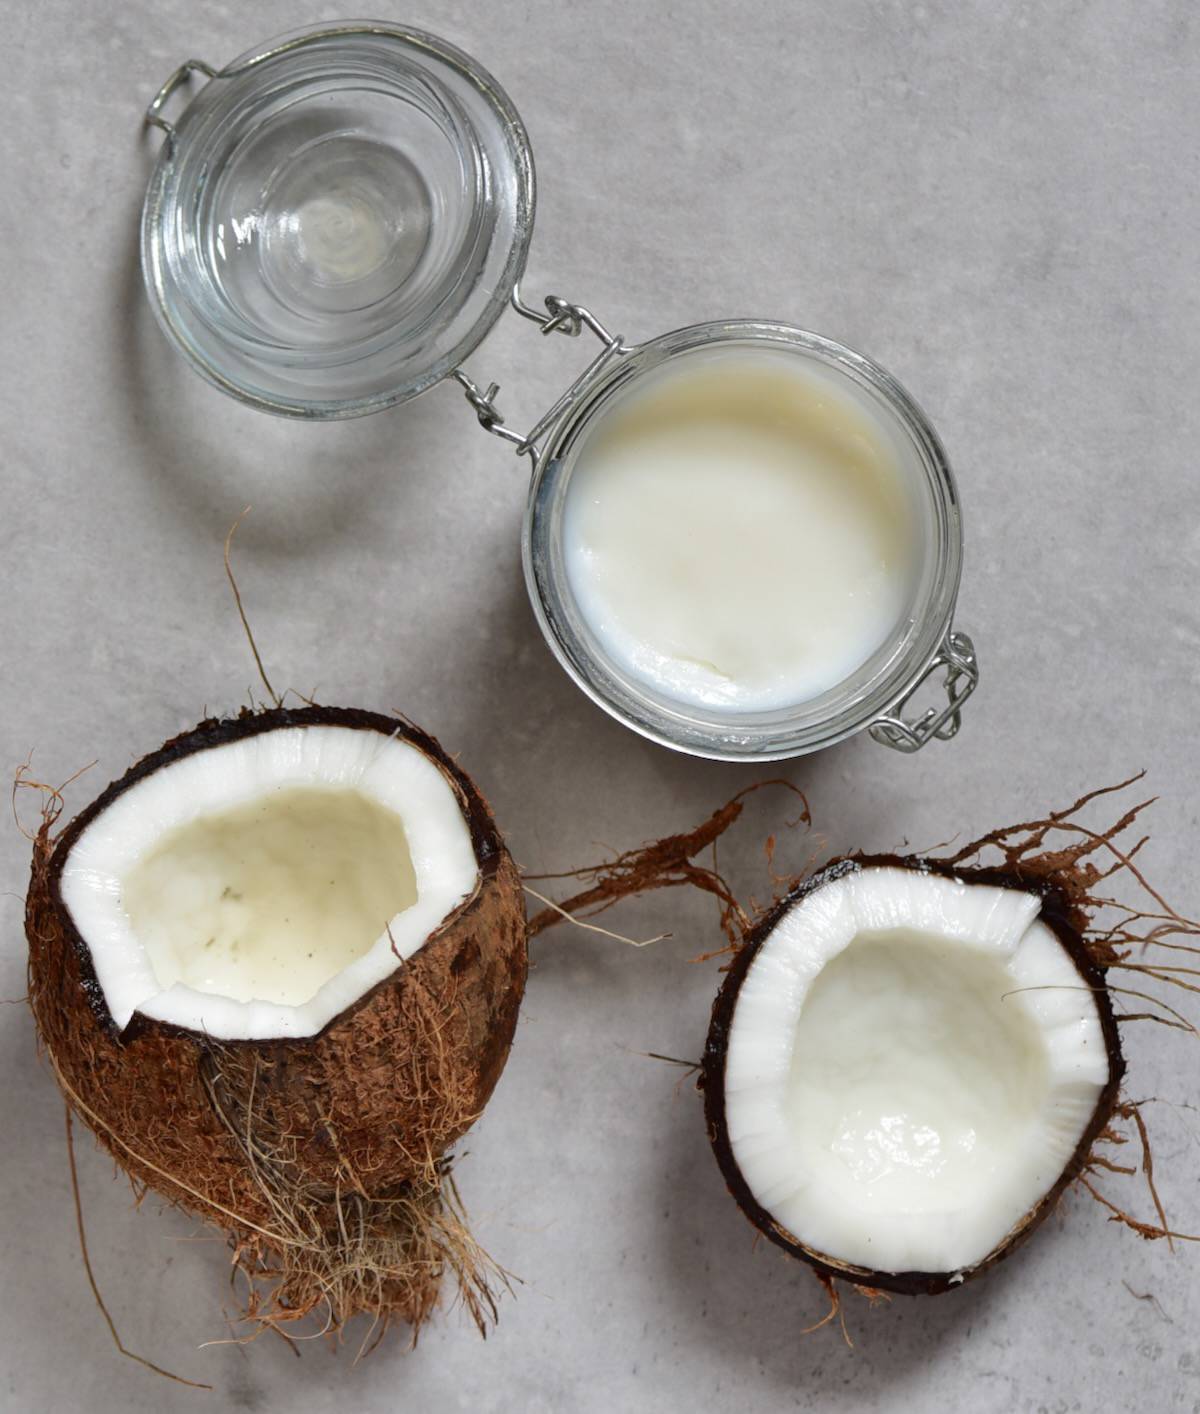
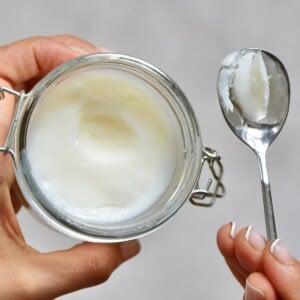
Let it cool down on your countertop, then place it in the refrigerator. And voila, this is how to make coconut oil! Remember: coconut oil will go solid when kept in the fridge. However, it remains fairly soft and will melt again at warm temperatures.
Video tutorial
How to use coconut oil
There are many uses for coconut oil – it’s such a versatile ingredient.
- In cooking: Due to its high smoke point, it’s great to use for cooking. You can replace butter or other oil in your baked goods (like cookies or cakes), add it to savory dishes (like curries or scrambles), use it for frying and roasting vegetables, use it in salad dressings, or even add it to a cup of tea or coffee.
- Skincare: Coconut is a wonderful ingredient when it comes to beauty uses. Use it as a face mask, a moisturizer, for nail cuticles, a body scrub, or body cream or lotion. It can be used as a simple moisturizer or to help remove makeup.
- Haircare: Use coconut oil for hair, for example, as a hair conditioner or as a hair mask. You can even add it to homemade shampoo bars or use it to tame flyaways.
- Mouth health: Coconut oil can be used for oil pulling and in homemade toothpaste.

FAQs
It’s best to store homemade coconut oil in an airtight jar or container in the fridge. It will last for about 8-10 months!
Yes, coconut oil can be used for cooking at high temperatures as it has a high smoke point and won’t release harmful free radicals. You can use it for pan-frying and sauteeing as well as baking your favorite dishes.
More coconut DIYs


If you try this DIY for how to make coconut oil, let me know how it goes in the comments below. I’d appreciate a recipe card rating and would love to see your recipe recreations – tag me on Instagram @Alphafoodie!
How to Make Coconut Oil
Equipment
- Nut milk bag or cheesecloth or fine mesh strainer
Ingredients
- 5 mature coconuts
- 7 cups filtered water
This will yield about 1 cup of coconut oil.
Instructions
- Crack open the coconuts – you can do that with a hammer or check one of my other methods here.
- Extract the coconut meat from the shell. An easy way to do so is to place the coconut halves in the oven for 10 minutes at 325ºF/170ºC. You can then use a coconut tool or a blunt knife to easily remove the meat.
- Shred the coconut meat in a high-speed blender or food processor.
- Add water and blend for between 1-2 minutes until you get a creamy milk.
- Separate the pulp from the liquid. Use a nut milk bag (or cheesecloth or fine mesh strainer) and strain the milk over a large bowl. Squeeze out as much liquid as possible.
- Pour the milk into a large, heavy-based pan and heat it over low temperature – just enough to simmer lightly. Keep simmering for 1-2 hours.
- While heating, the water will evaporate from the milk mixture. The coconut will begin to get crumbly in texture and solidify, the color will darken. The oil will begin to separate from the solids.
- Once the mixture has completely separated into solids and oil, remove all the solids. Pour the oil through a strainer, into an airtight container or jar, making sure to press down on the solids to release as much oil as possible.
- Let it cool down on your countertop, then place it in the refrigerator and use it within 8-10 months.
Video
Notes
Nutrition
Nutrition information is automatically calculated, so should only be used as an approximation.


Hi
What is the max temperature for the oil? Just a question because i’ve tried following your recipe but when i got to where the “coconut-mixture” is supposed to cook, i’m left with a water-like fluid and something that looks like fat or something like that. What am i doing wrong?
Hi Chris,
You need to heat it over low temperature – just enough to simmer lightly. Little by little the water content from the milk will evaporate. Then the oil will start to separate from the solids. The Keep in mind that the process can take between 1-2 hours, if not even longer. The clear fluid is the coconut oil that you will need to strain. The dark brown bits are the fat solids which are edible but you can discard them. I hope this helps.
Thank you so much for your time to explain in details, can’t wait to try it.
Hope you give it a try, Martha.