

This post may contain affiliate links. If you buy through them, I earn a small commission at no extra cost to you. As an Amazon Associate I earn from qualifying purchases. Read my disclosure policy.
A simple multigrain bread recipe for beginners – whole wheat and spelt bread recipe topped with seeds, using a simple process for beginner bread makers.
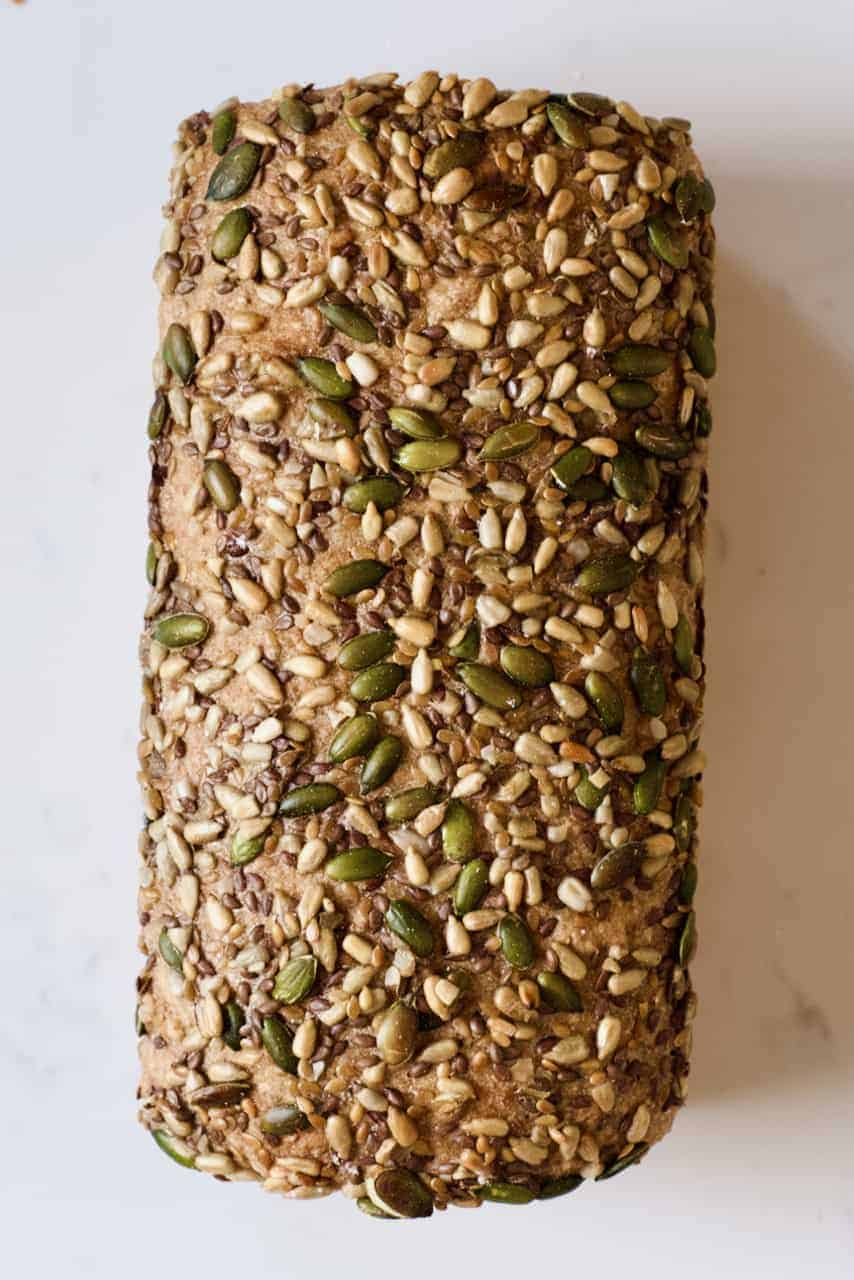
If you’ve been following my Instagram stories recently, then you’ll have noticed that I’ve been up to my elbows with home baking, did live cook-along, and other fun kitchen-based activities to pass the time. That includes teaching how to make homemade bread – and this simple multigrain bread recipe using whole wheat and spelt flour- which is naturally vegan.
If you’re late to the party (or don’t follow me on Instagram), then have no fear as I save all my DIYs/recipes in my Instagram highlights for you to peruse. I often actually show my recipes there first, before they even make it to the blog. In fact, I’ve currently been working on showing you how to make your very own sourdough starter for the sourdough recipe, coming soon.

Learning how to make homemade bread loaves had been on my ‘list’ (along with at least 750678 other things) for months, so with the extra indoor time I’ve been having, I thought now would be the perfect time to get started with it.
Now, I’m not going suddenly to become the next top blogger for turning out artisanal bread loaves or anything. However, that’s also not ever going to be my goal. I aim to provide you all with simple homemade bread recipes that anyone can make – in fact, I’ve already got up recipes for these Authentic Homemade Pita Bread, and a Delicious Homemade Neapolitan pizza dough, and even a simple Whole Wheat Bread recipe.
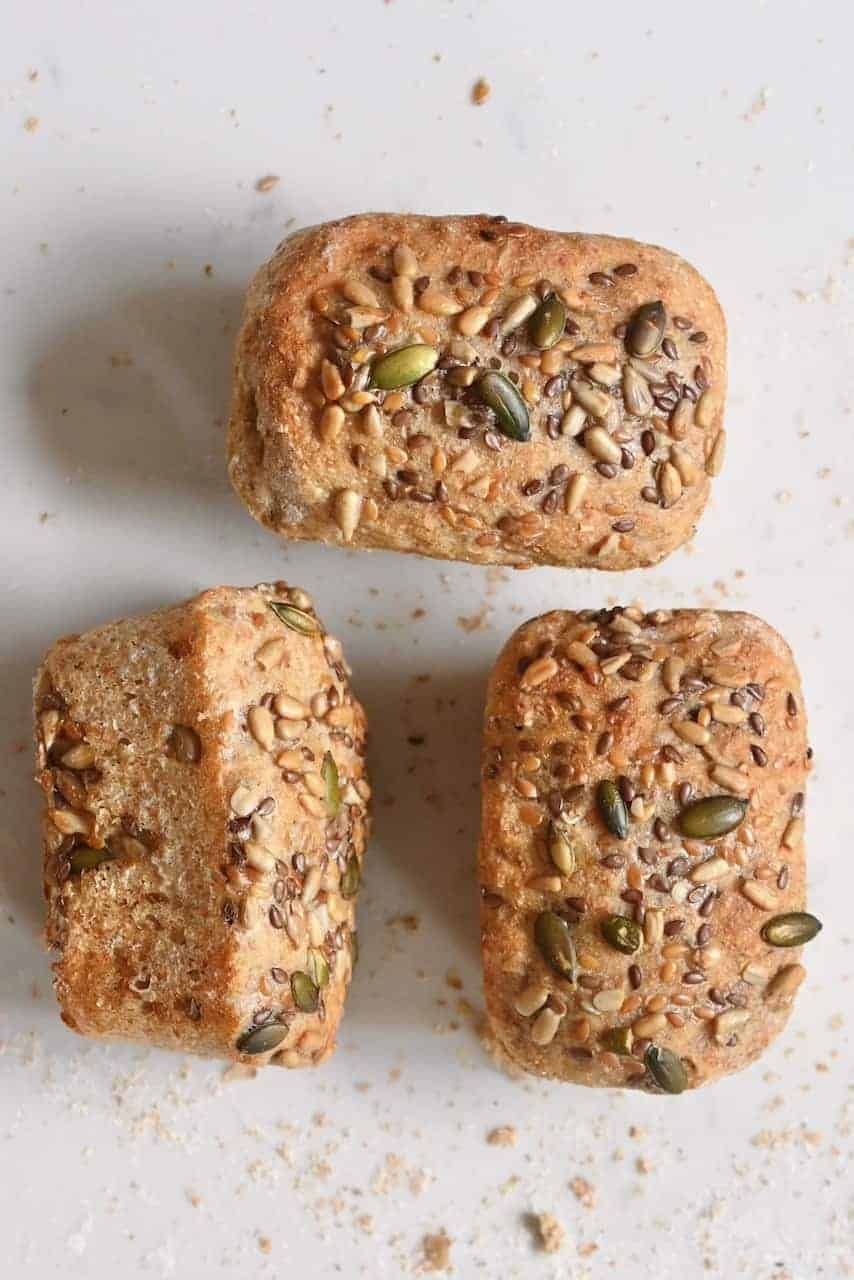
All you need for this whole wheat and spelt bread recipe are a few simple pantry ingredients, methods, and some loaf pans (no dutch oven needed here!), and you’ll be churning out delicious bread loaves and feeling like a pro. After all, there’s nothing quite like a slice of warm bread fresh from the oven to make you wish you’d taken up bread-making years ago.
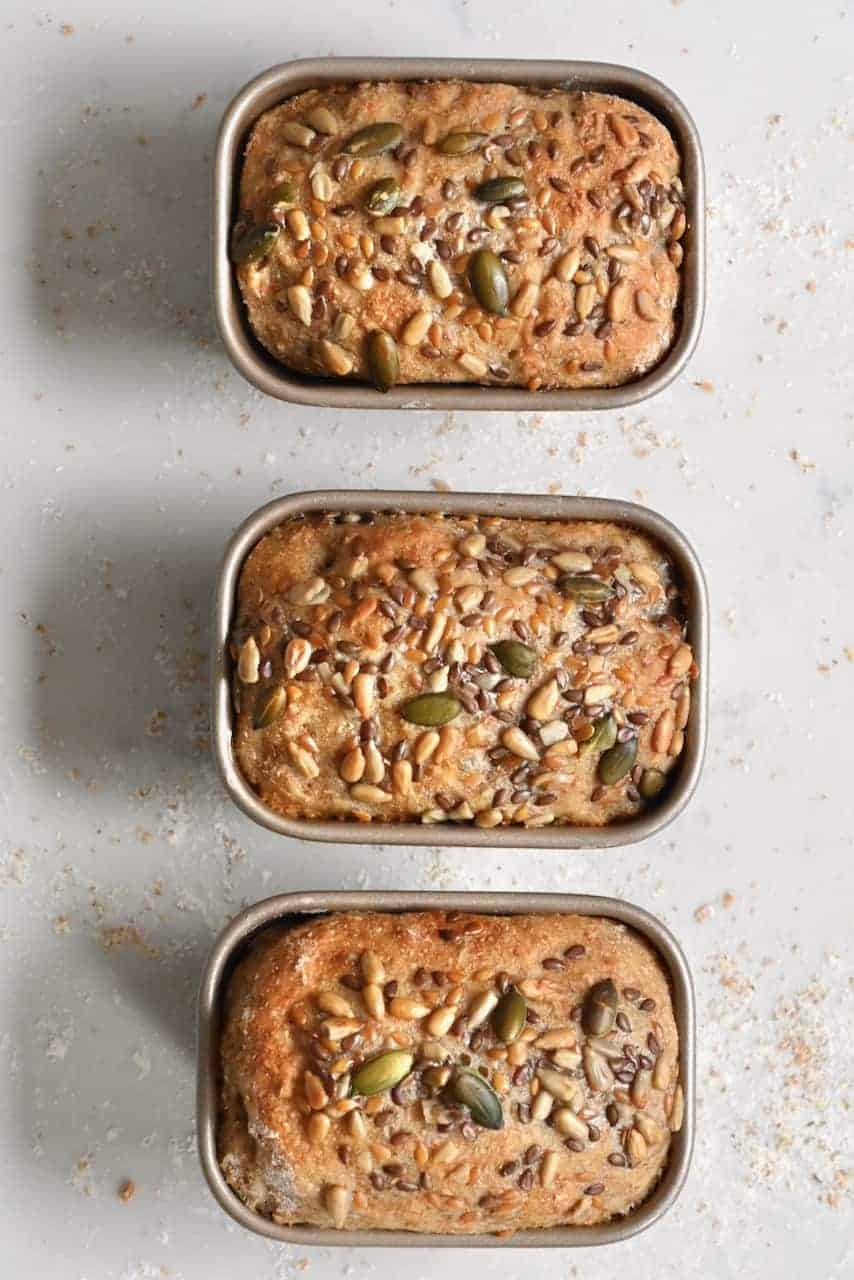
Plus, you can use this recipe to either make one large loaf or even smaller, individual loaves. The smaller ones go perfectly when served warm with some homemade butter and Soup – like this Thai Inspired Vegan Green Pea Soup.
Want to save this recipe?
A few notes on this homemade bread recipe
Homemade bread can be really simple, once you wrap your head around the ingredients and methods. In fact, this recipe is fairly versatile and lends a hand to what you have available to you. For example:
- I topped this whole wheat bread loaf with mixed seeds, however, you can also add seeds/grains into the bread mixture itself (I usually add just a couple of Tbsp). Simply wait until after you’ve proved your dough the first time (which is when you leave it to rise) then mix the seeds in before transferring the dough to a loaf tin. You could use Pumpkin, Flax (flax seeds that have been blended are easier to digest), Sesame, Hemp, Poppy, and Sunflower seeds, or even things like whole Oats.
- Toasting any seeds before adding them to the dough can also add extra flavor – however, be aware that if you’re using them for a topping or a very dry dough then the seeds need to be soaked so that they don’t burn in the oven.
- If you find whole wheat bread a little bitter then you can add in a natural sweetener such as agave, maple (or honey as a non-vegan option). 2-3 tBsp should be more than enough and added when the yeast mixture and dry ingredients are combined in a bowl.

- You can knead this dough by hand, or leave a stand mixer with a dough hook to do the job. Just make sure you knead for the full time until the dough is smooth and elastic, as this will massively impact taste and texture.
- If you don’t have any spelt flour to hand, then you can use all-purpose flour instead.
- The temperature and weather can affect the time it takes for your dough to rise and how wet the dough is. If your apartment/house is particularly cold, you can either leave the bowl dough to prove nearby a heater OR turn the oven on for a few minutes, switch it off and then leave the dough to rise inside the oven (as the heat will be trapped in there for a long time, without being too hot).
Multigrain bread ingredients
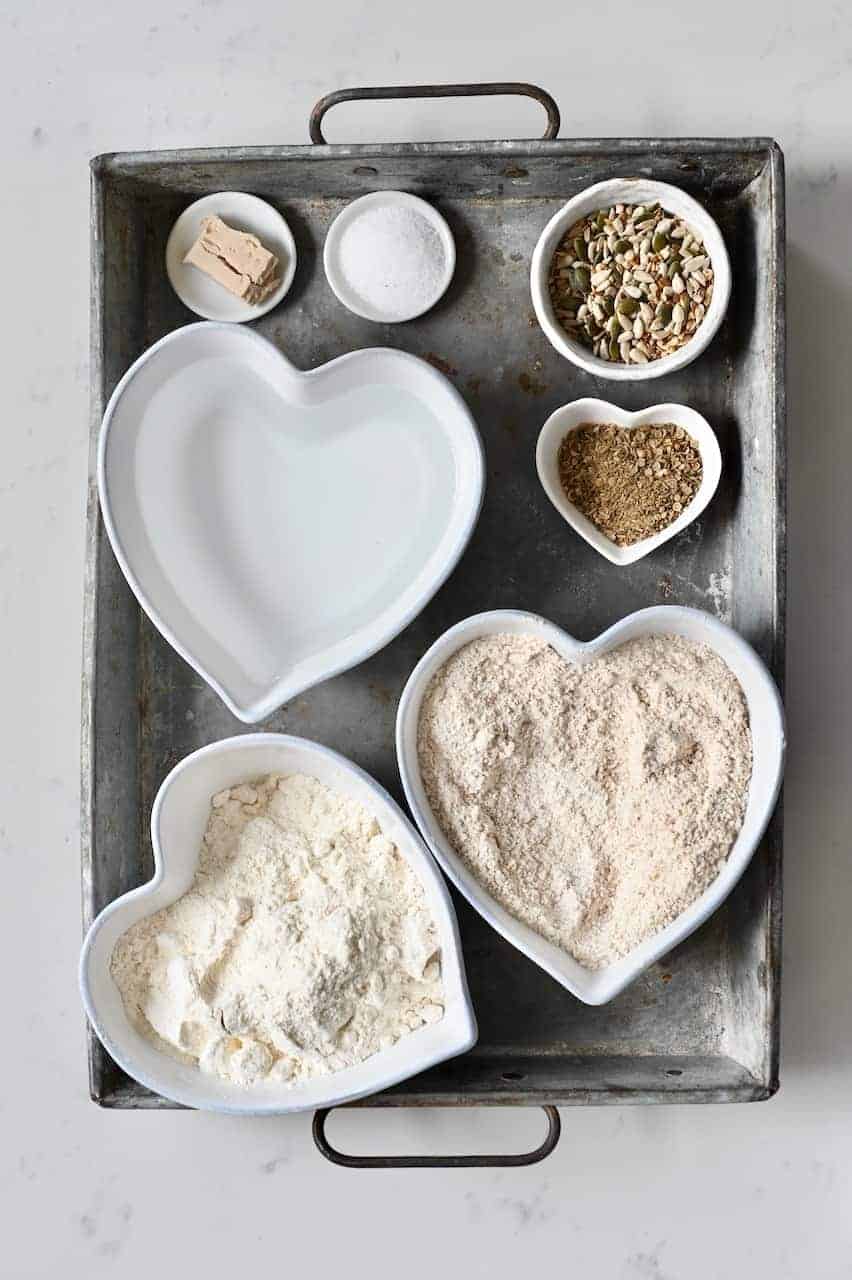
- whole wheat flour and spelt flour (or all-purpose flour)
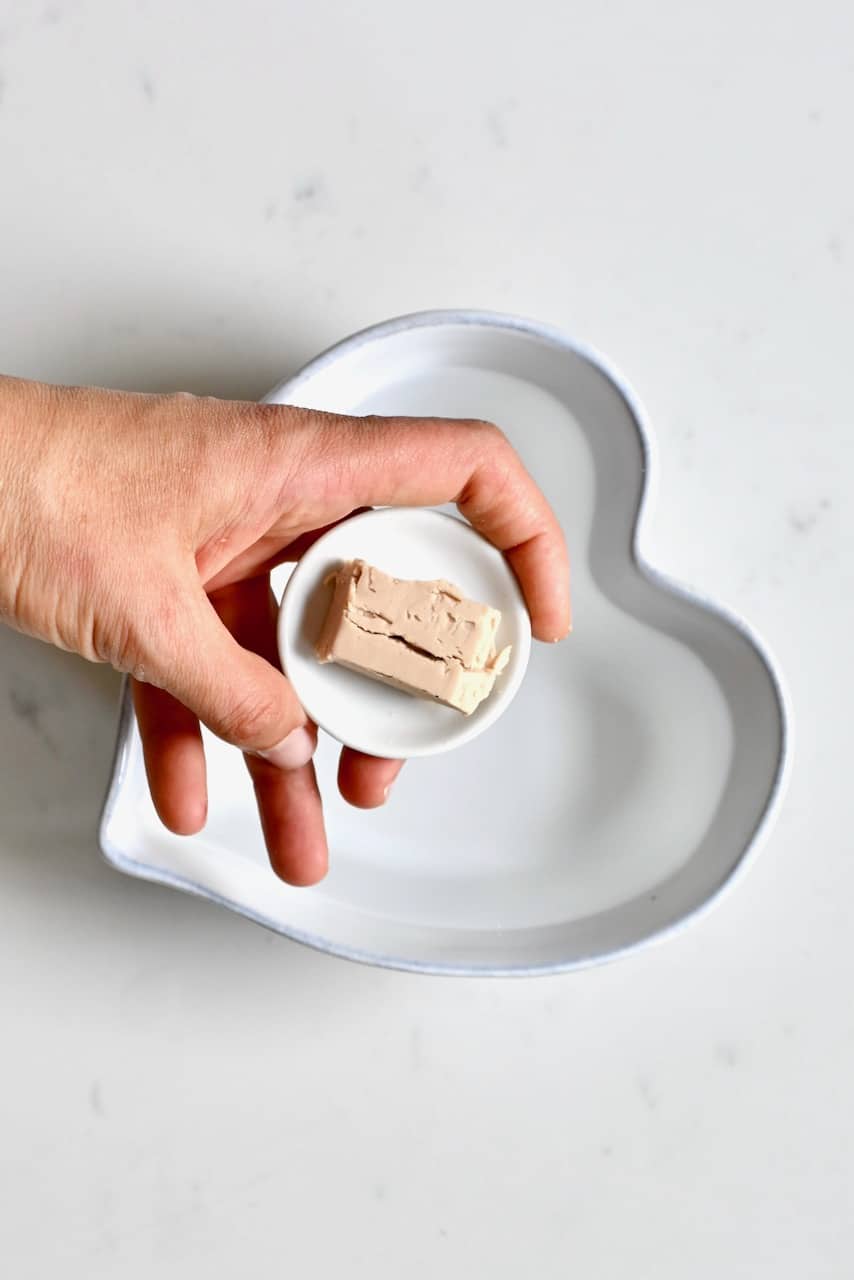
- yeast (I used fresh yeast but you can use dried yeast)
- salt, mixed spices of choice (like coriander seeds, caraway seeds)
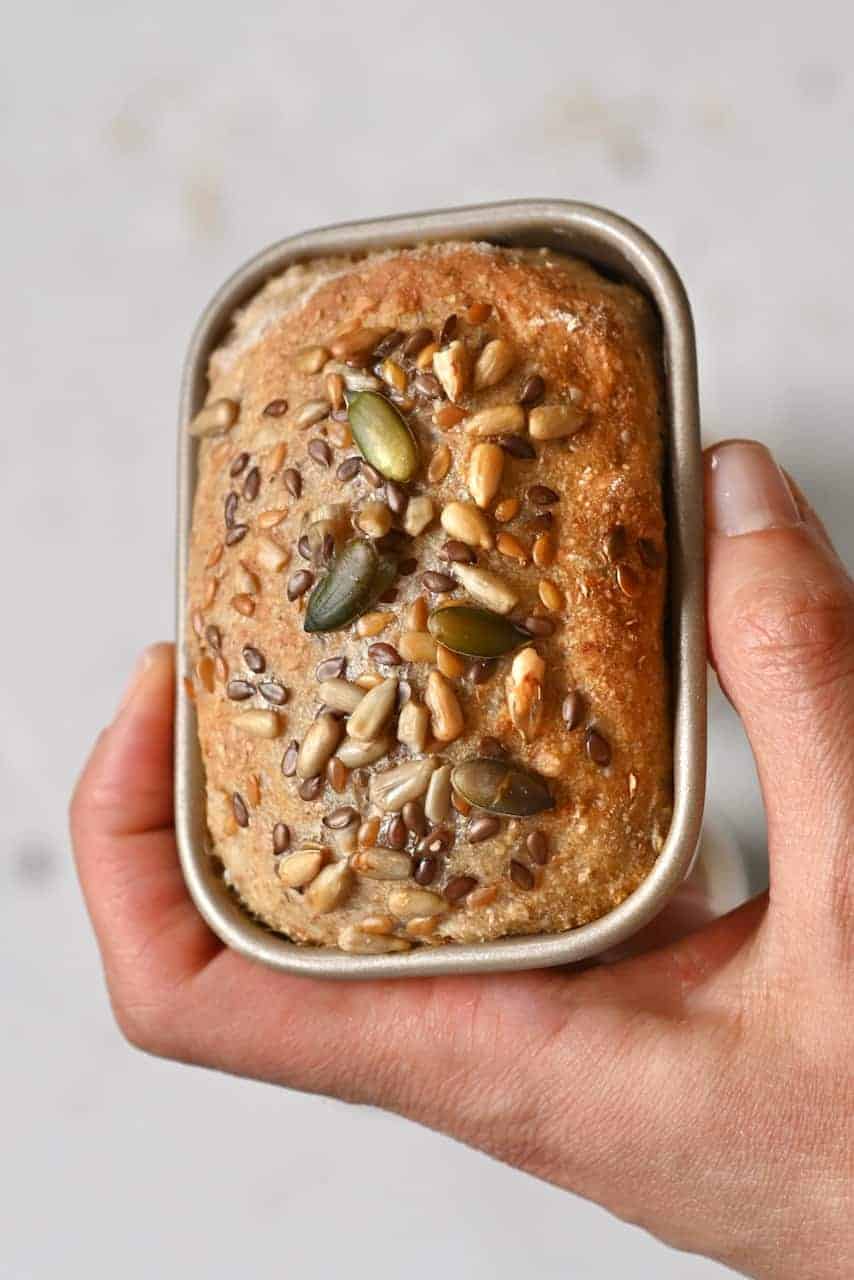
- mixed seeds of choice (I used: sunflower, pumpkin, brown flaxseed, and golden flaxseed)
It’s important to note that, by nature, this wholewheat multigrain bread will be denser than regular white flour bread. If you want to make it more fluffy and airy, you can use white flour instead of the spelt.
How to make multigrain bread
Start by soaking the seeds in 1 cup of water. This step is necessary so that they don’t burn while baking the bread.
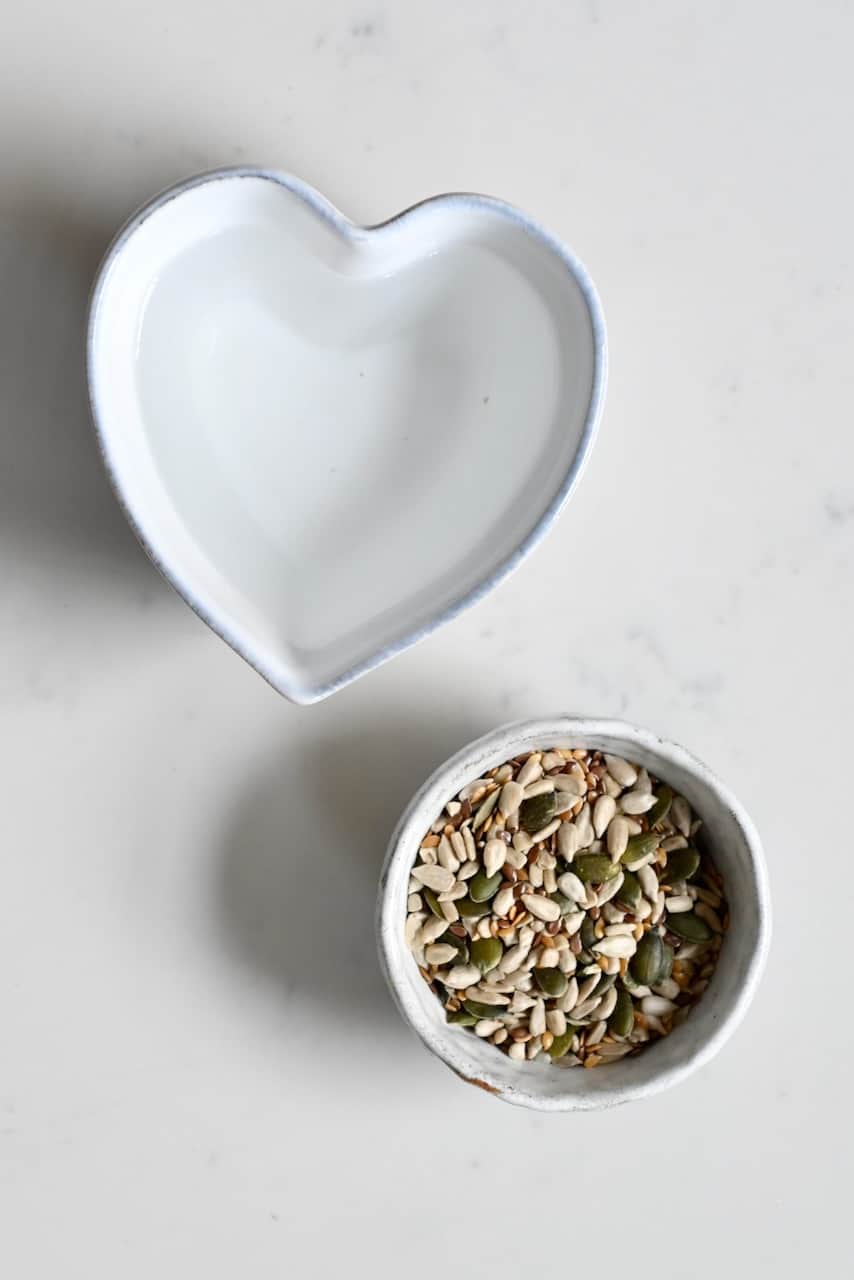
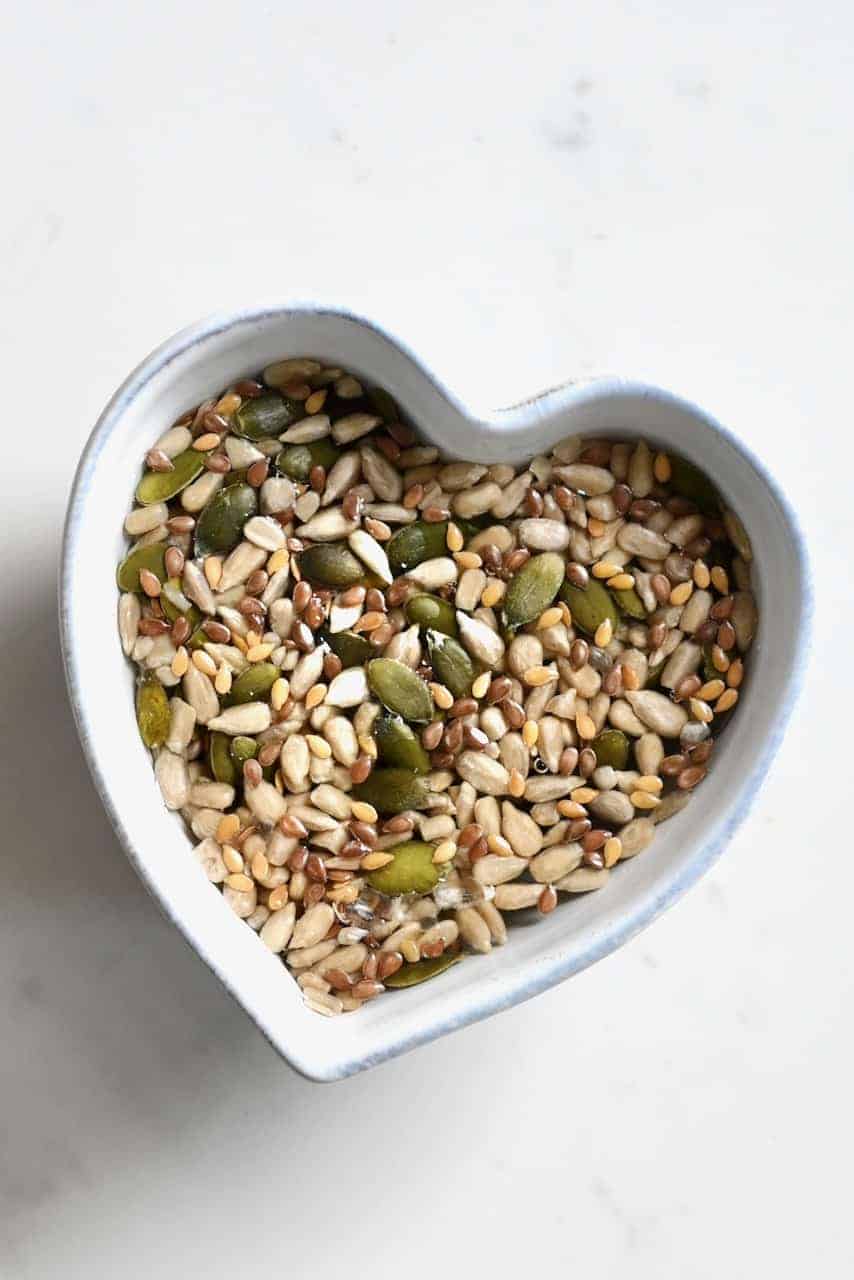
Next, mix the whole wheat flour and the spelt flour in a large bowl. Add the spices and salt and incorporate them well.
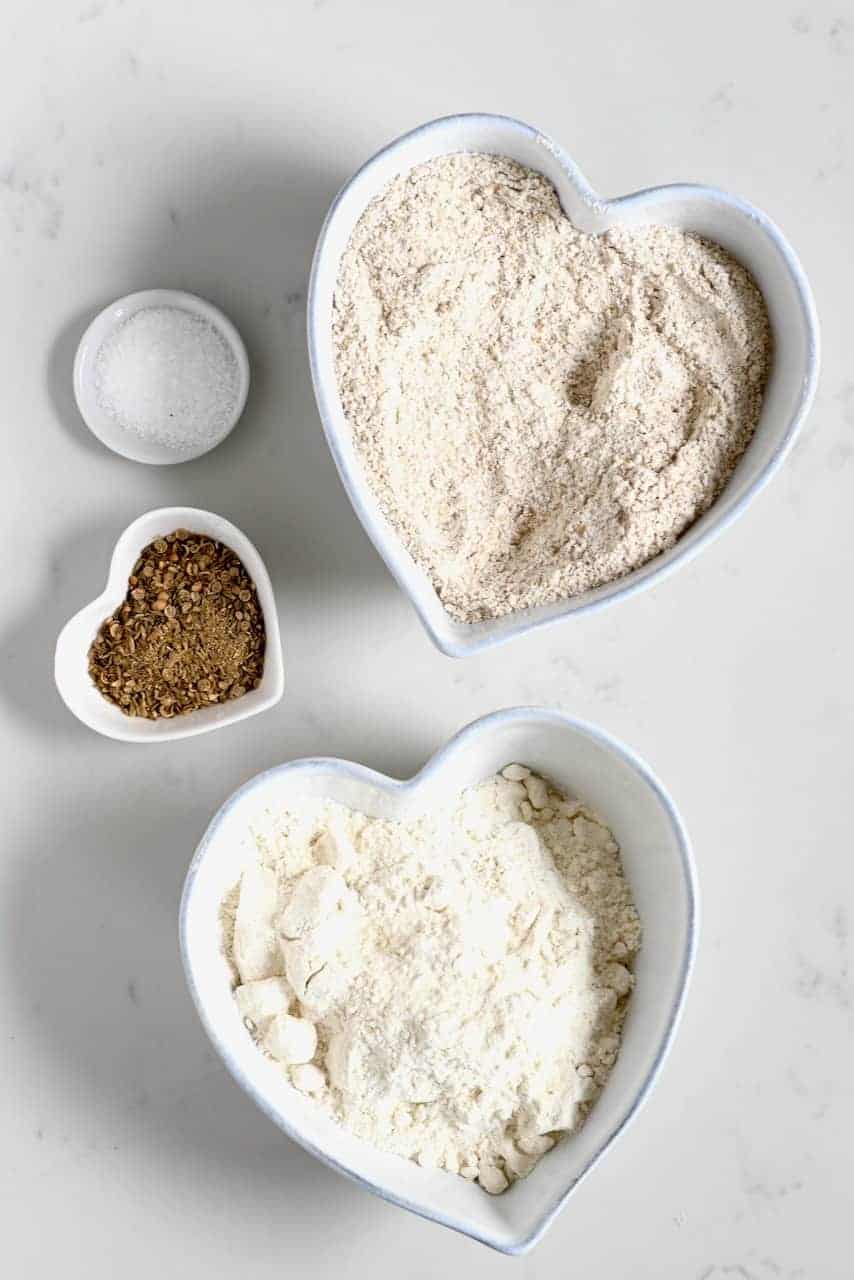
In a small bowl, dissolve the yeast in lukewarm water. If it’s too hot then it can kill the yeast, so it’s best to stick to lukewarm water (around 110ºF/43ºC). This usually takes around 5 minutes,

Add the yeast mixture into the flour bowl and mix until you obtain a sticky dough. (If you want to add some natural sweetener then add that at this point)
Then, knead the dough for about 10-15 minutes until it becomes uniform, soft, and elastic. This can also be done in a stand mixer for between 8-10 minutes.
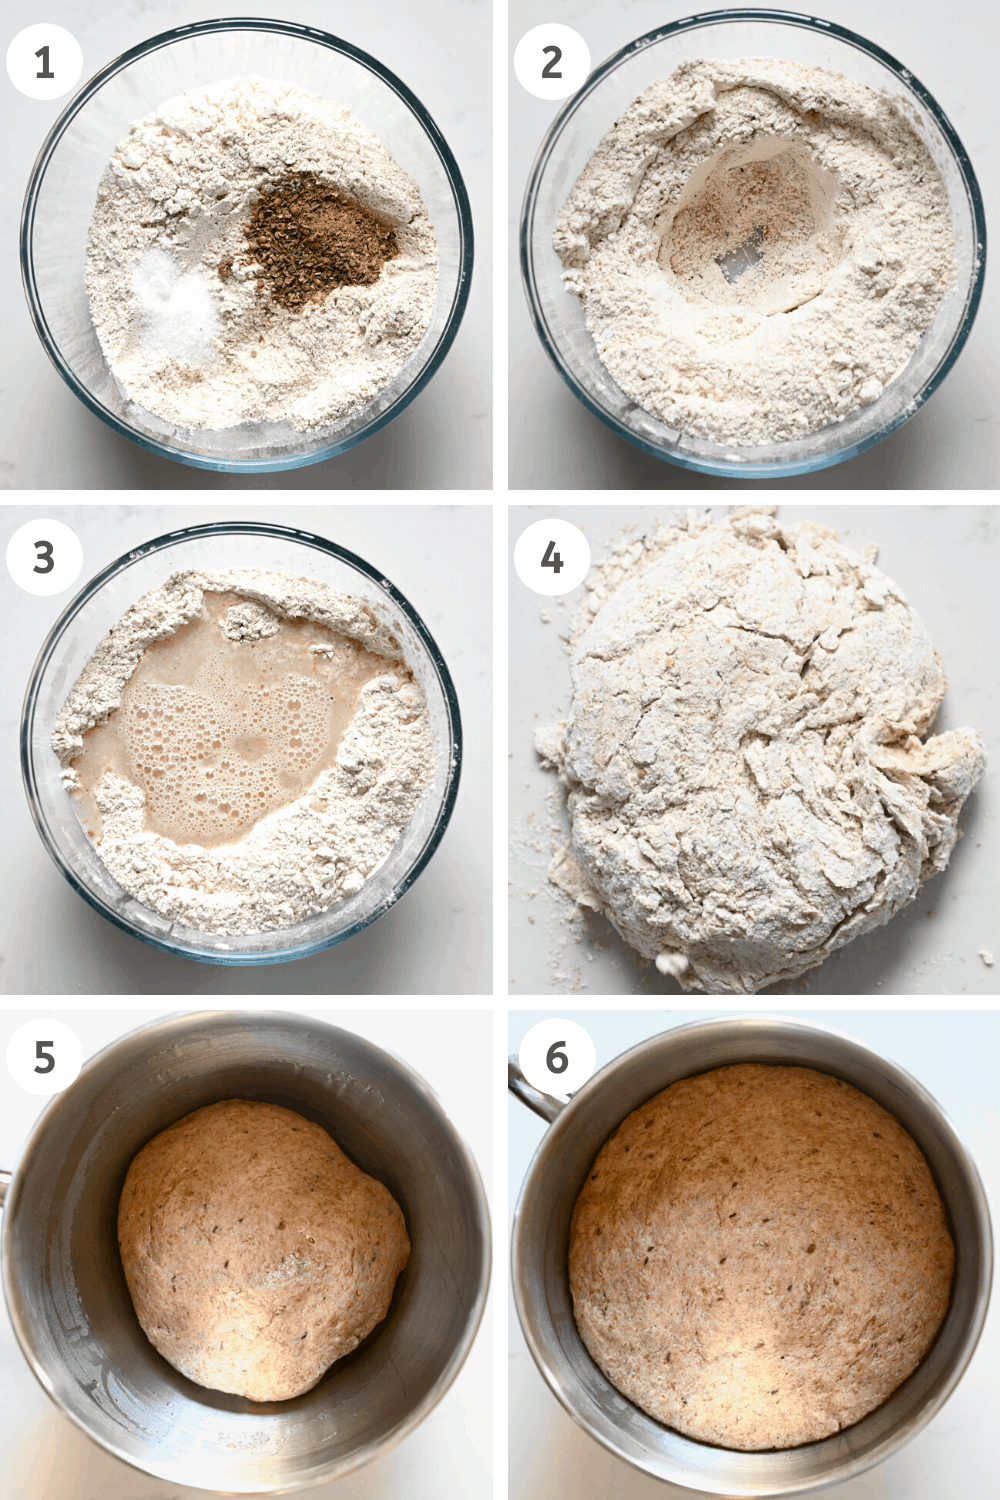
Roll the dough into a ball, wet it with some olive oil, and place it in a lightly oiled bowl. Cover the bowl with a damp tea towel and set aside for 1 hour so the dough can rise to around double its size.
Remove the dough from the bowl, knocking out some air while you shape the dough into a ‘loaf’ shape that is slightly thinner than the width of your loaf tin. The same goes for individual loaves – simply divide your dough evenly and shape accordingly.
Note* If you want to add any seeds/additives into your bread, then you’d add them at this point, just after the first proving.
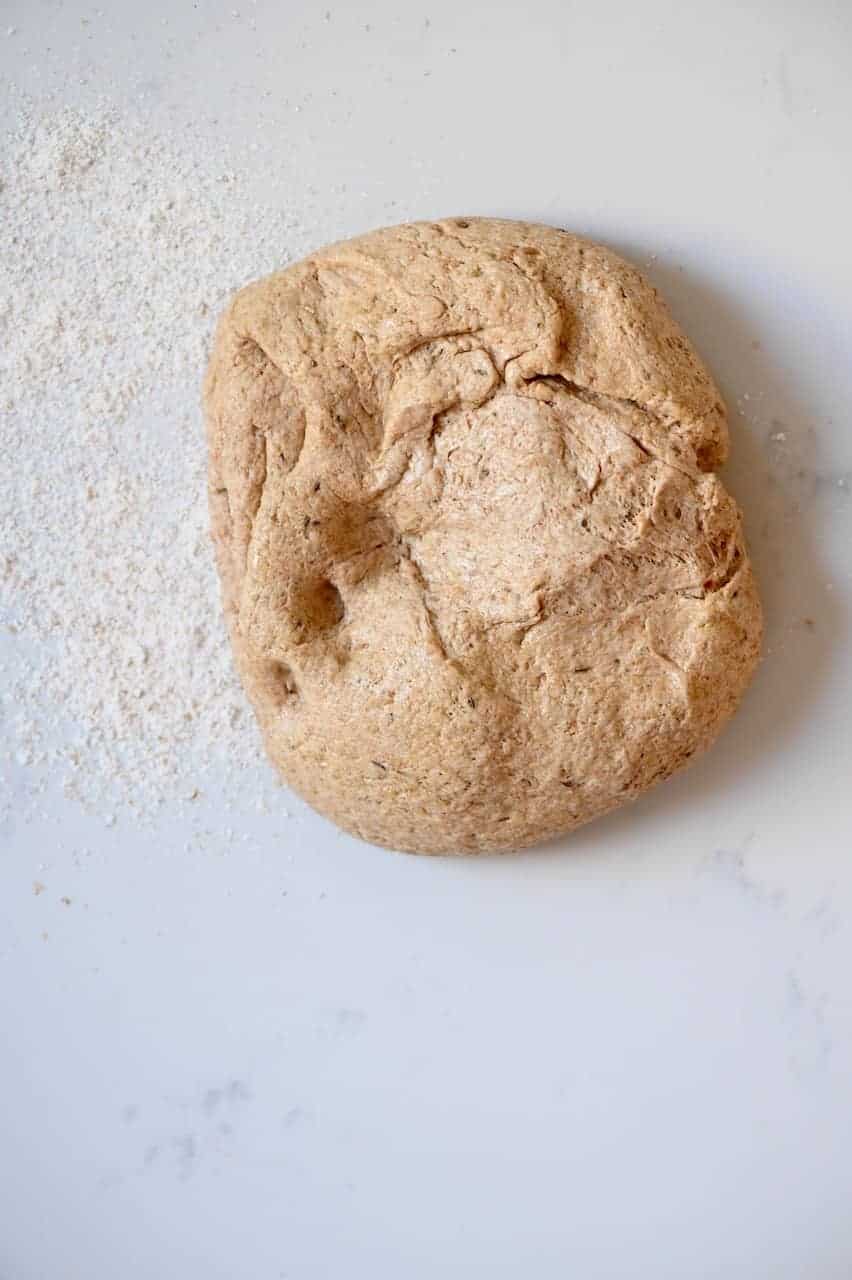
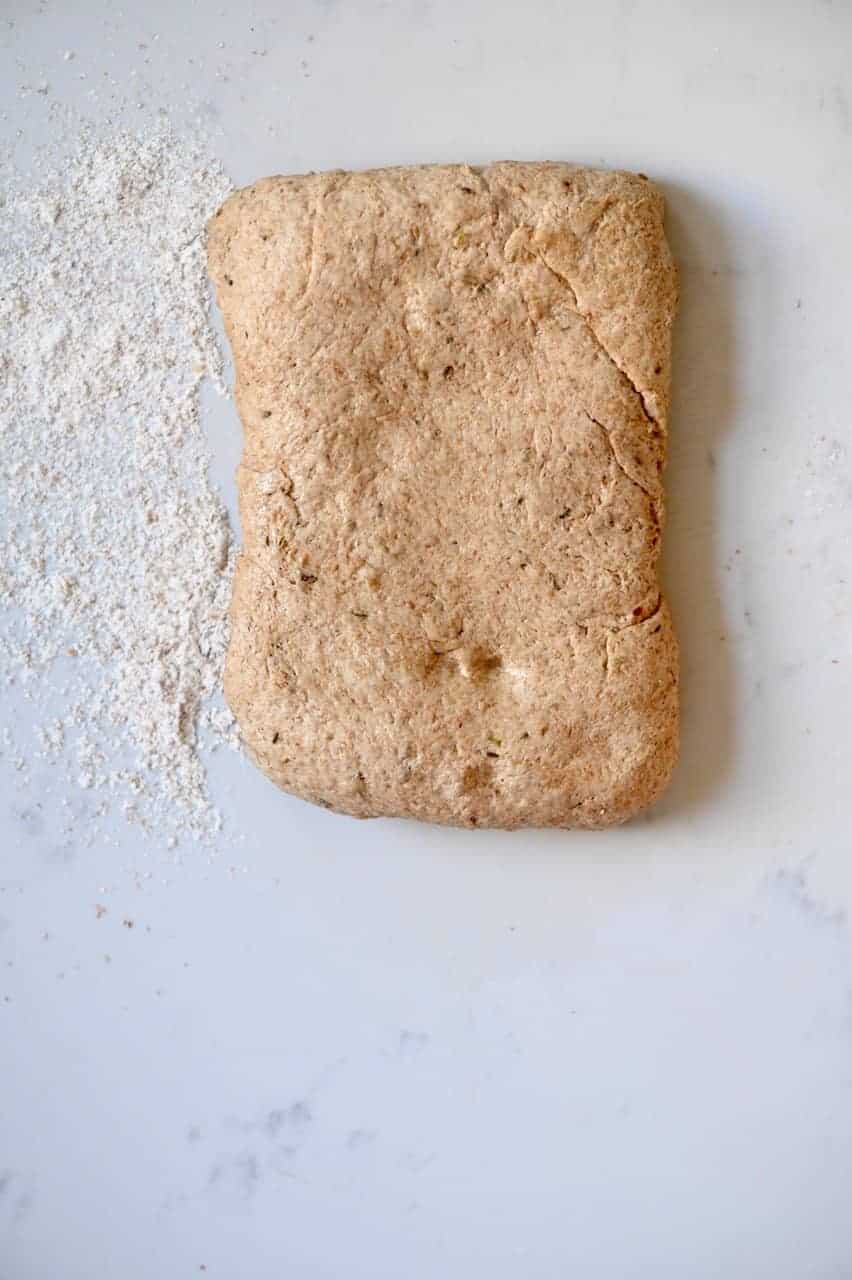
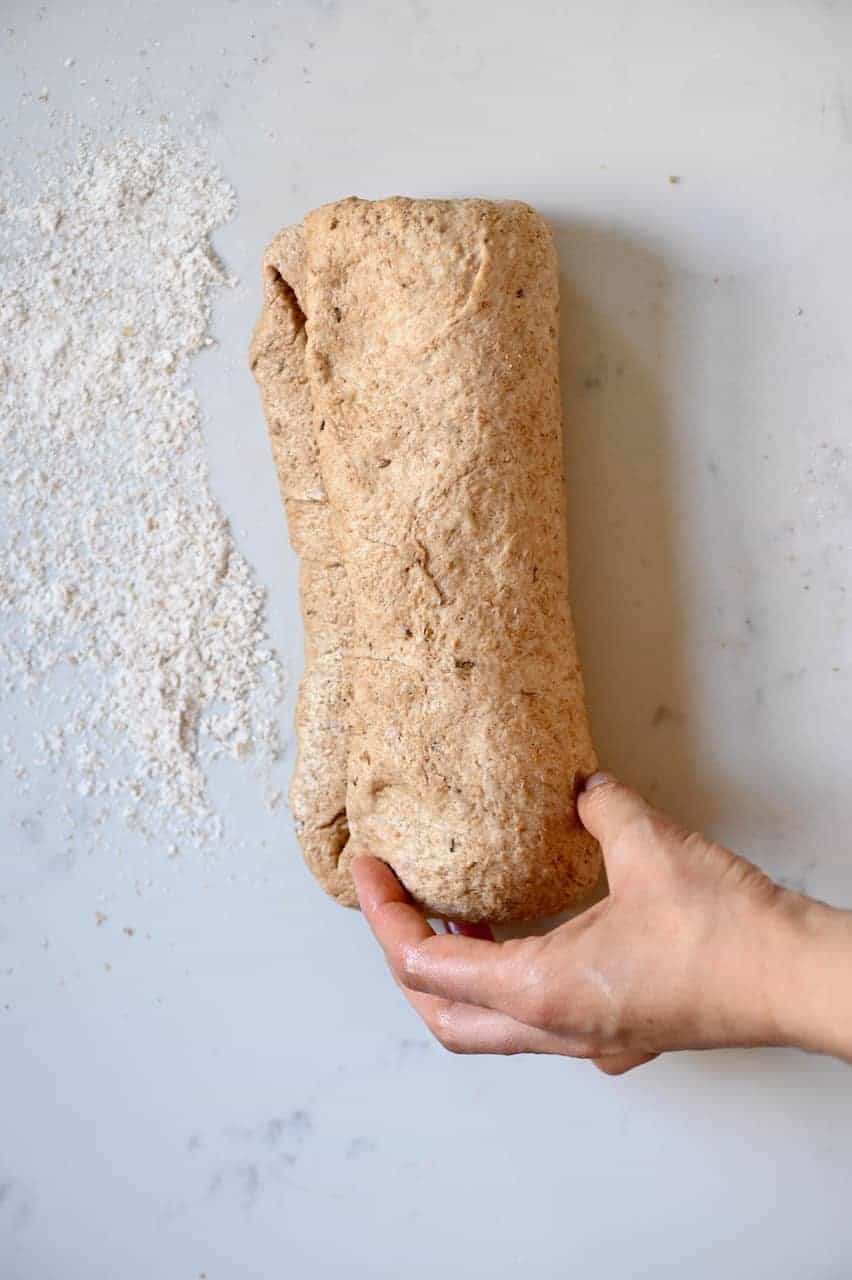
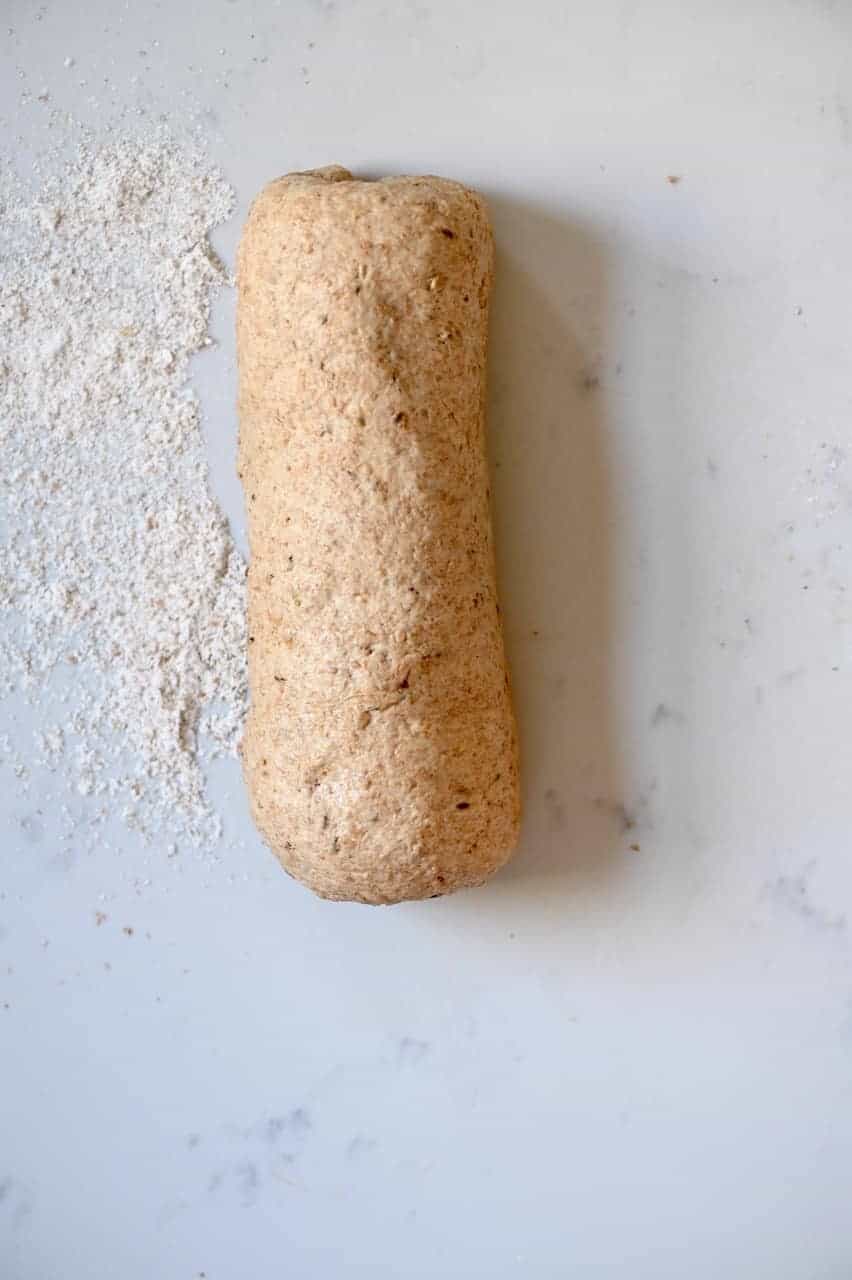
Prepare your bread loaf tin and grease it or line it with baking paper or a bread tin liner. I use a paper liner, which I lightly flour.
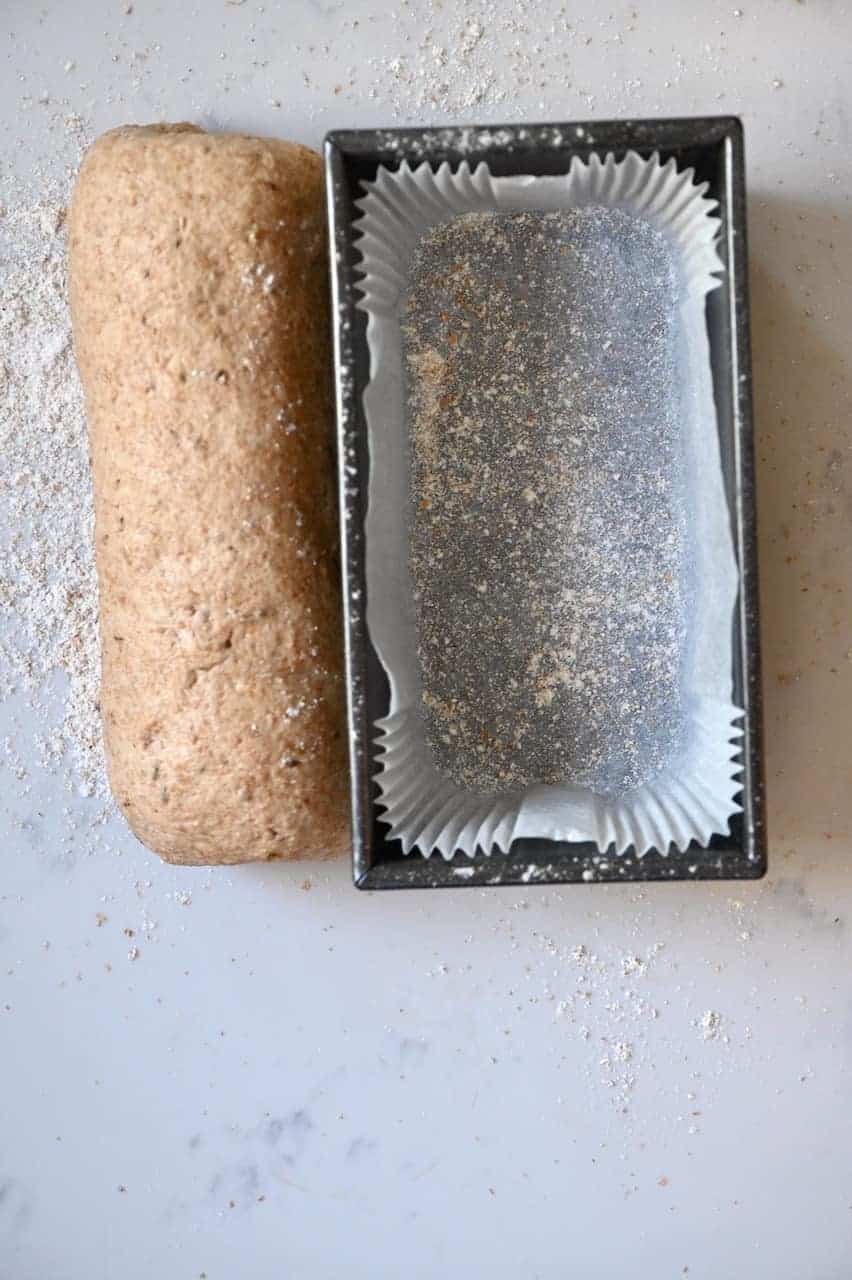
Place the shaped dough inside the tin. Then drain the presoaked seeds from any excess water and place them on top of the dough.
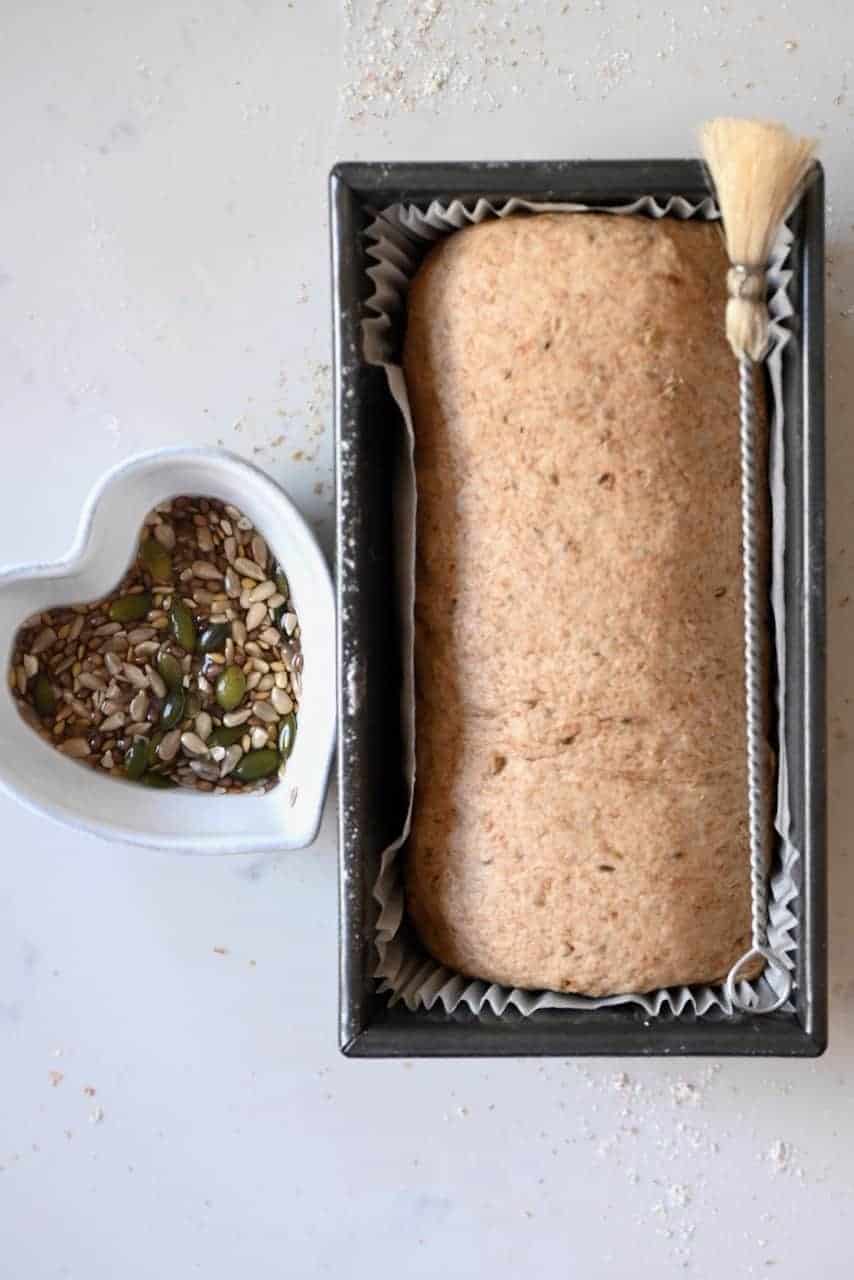
Let the bread proof for another 45 minutes, covered with a damp tea towel. It should double in size, but make sure to not overprove as this can lead to deflated bread with a coarse texture.
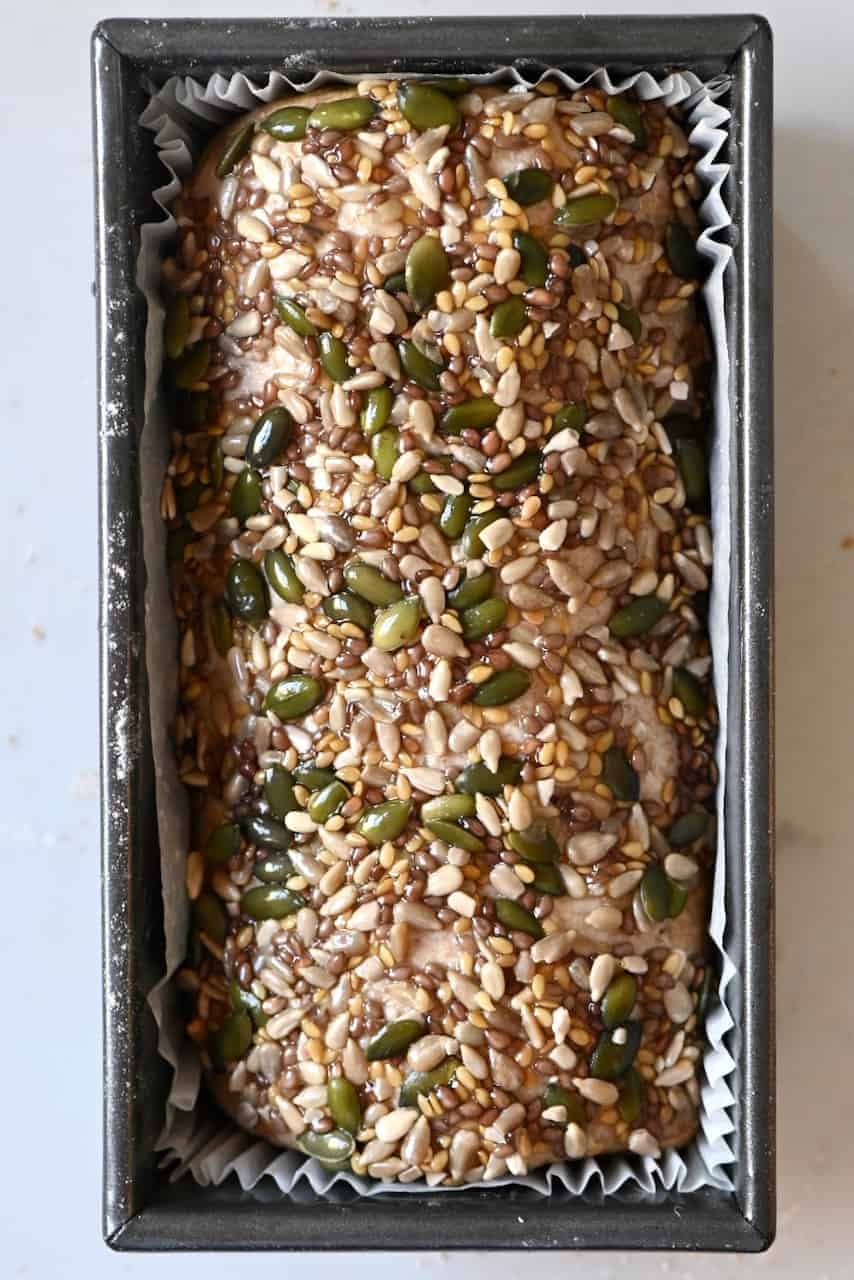
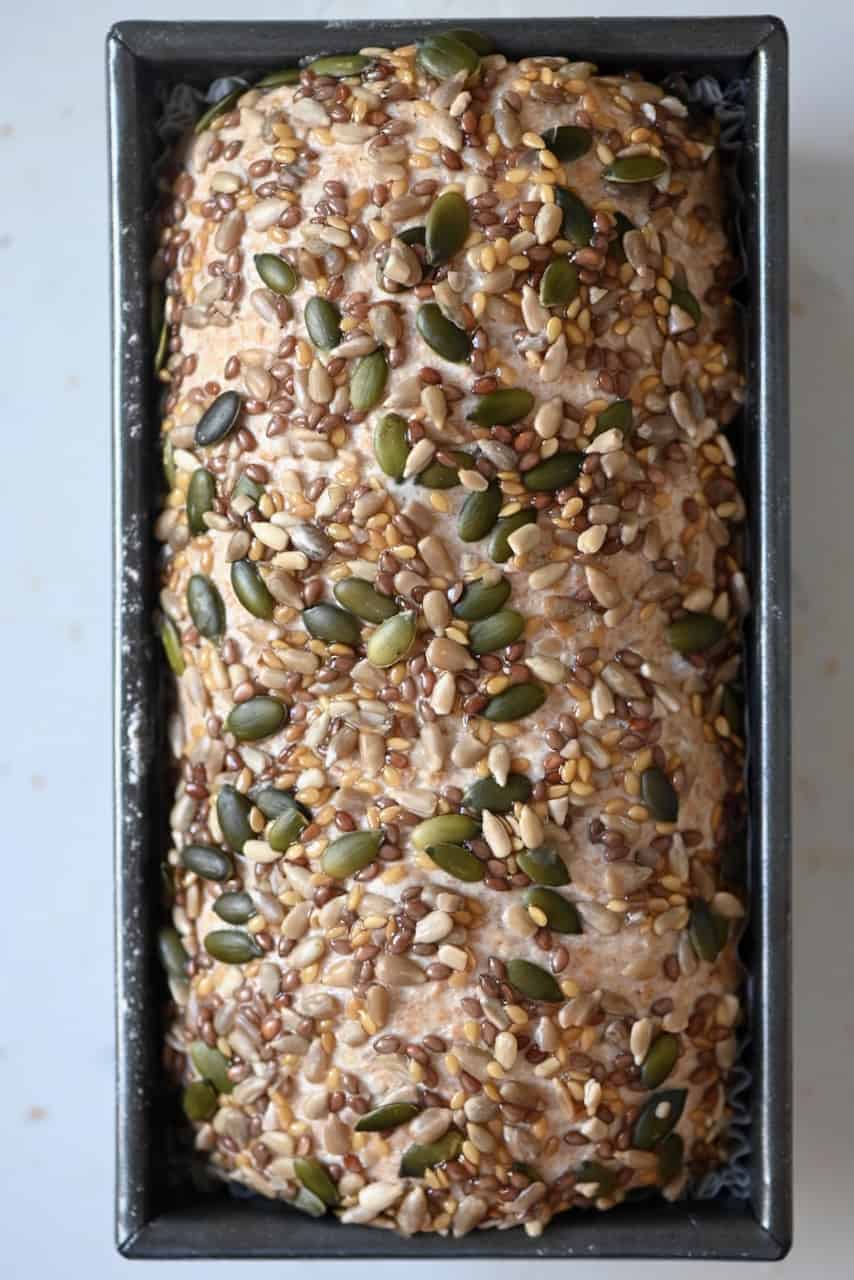
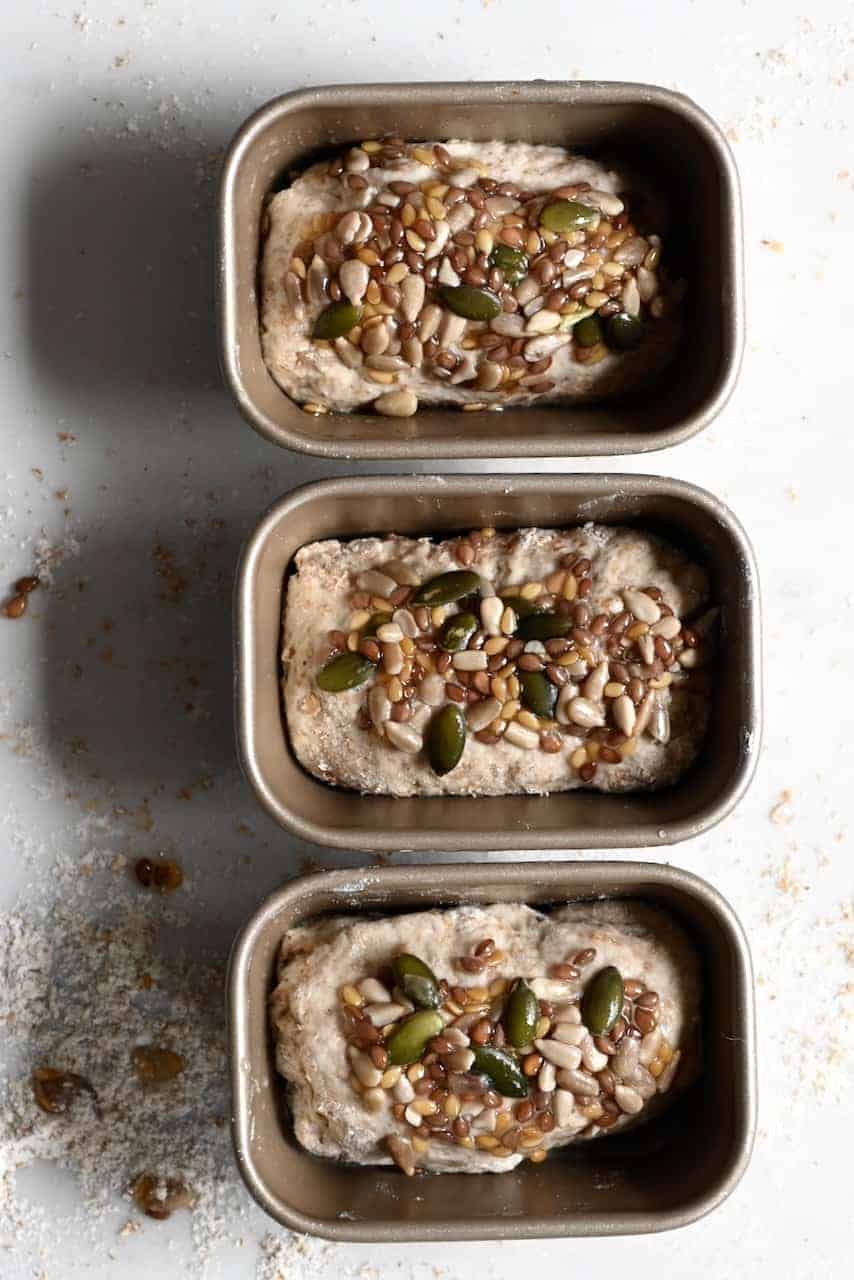
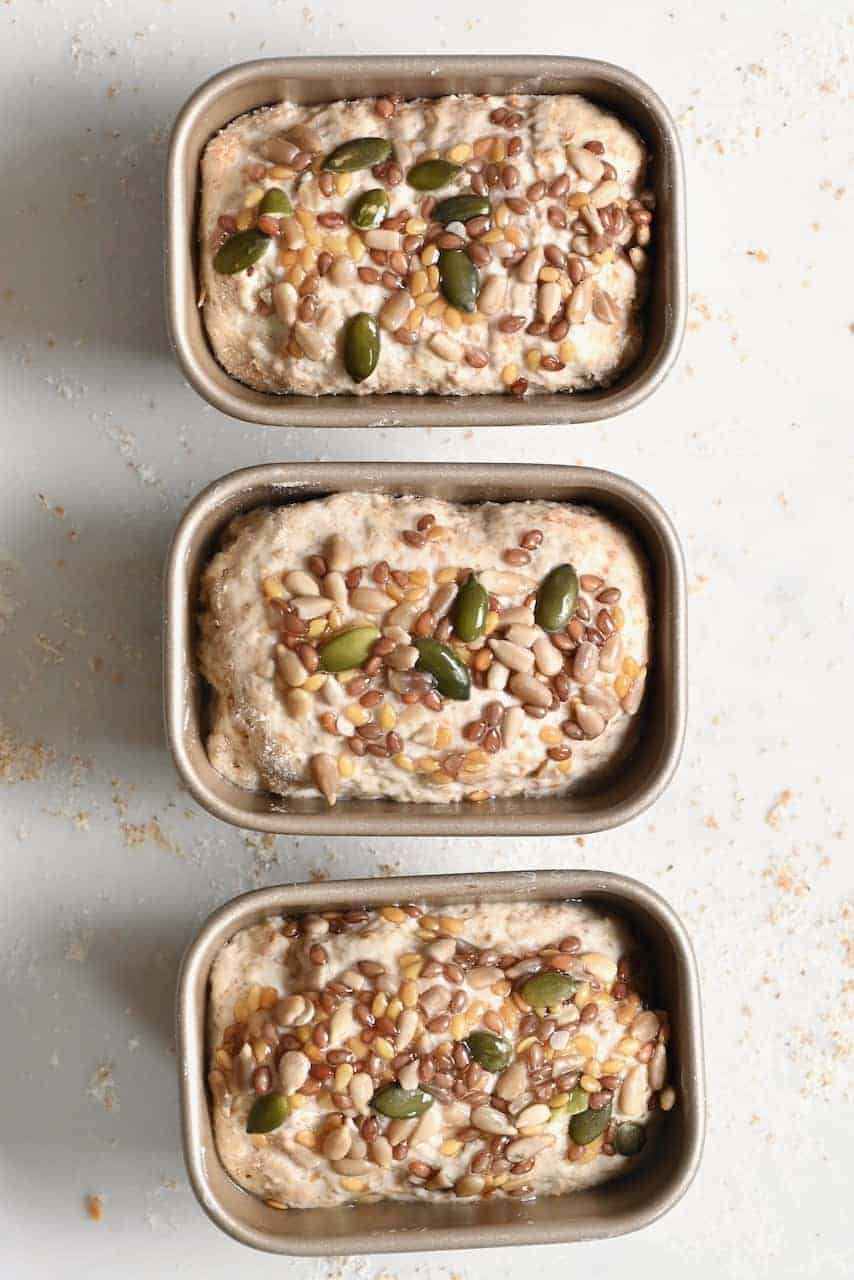
In the meantime, preheat the oven to 480ºF/250ºC. First place 2 baking trays as follows:
- One tray in the middle of the oven – this is where the bread loaf tin goes
- One tray in the bottom of the oven – this is where a bit of hot water goes just before baking the bread. The water helps keep the environment moist and will create a nice crispy crust for the loaf.
When you are ready to bake, carefully pour a cup of water into the bottom tray (it will be hot so can steam immediately). Then place the bread on the middle shelf.
Bake time will be between 15-20 minutes. If you want to be double sure that it has baked all the way through then you can use a thermometer and check for a temperature between 190-200ºF/~90ºC (although, I’ve never found this necessary).
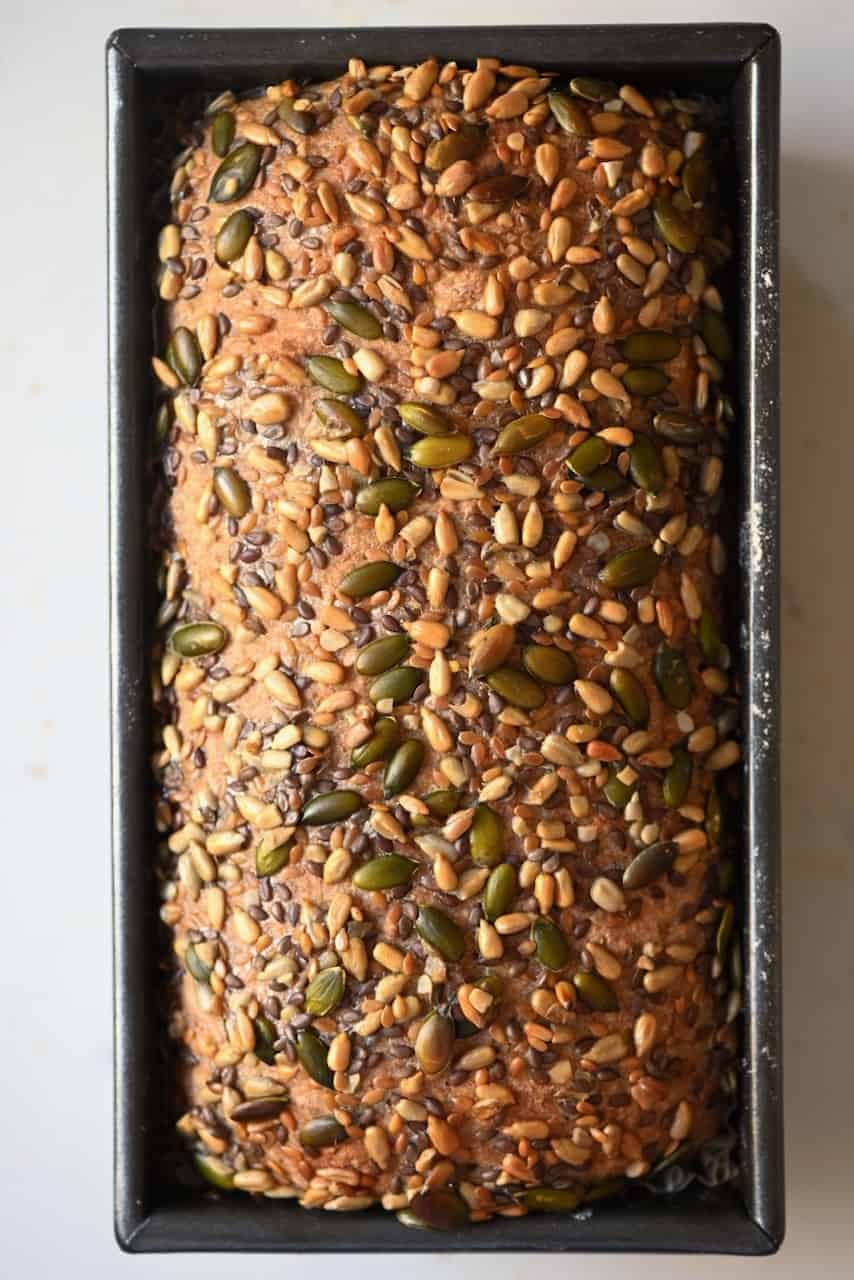
Once baked, set aside to cool down before you cut the bread.
Storage
If the bread is not sliced yet, you can keep it unwrapped at room temperature. This way it will retain its freshness.
Once sliced, keep well wrapped with a tea towel or foil at room temperature for 2-3 days. Alternatively, you can keep it in a bread box as those are meant to trap the moisture inside, so the bread doesn’t dry out.
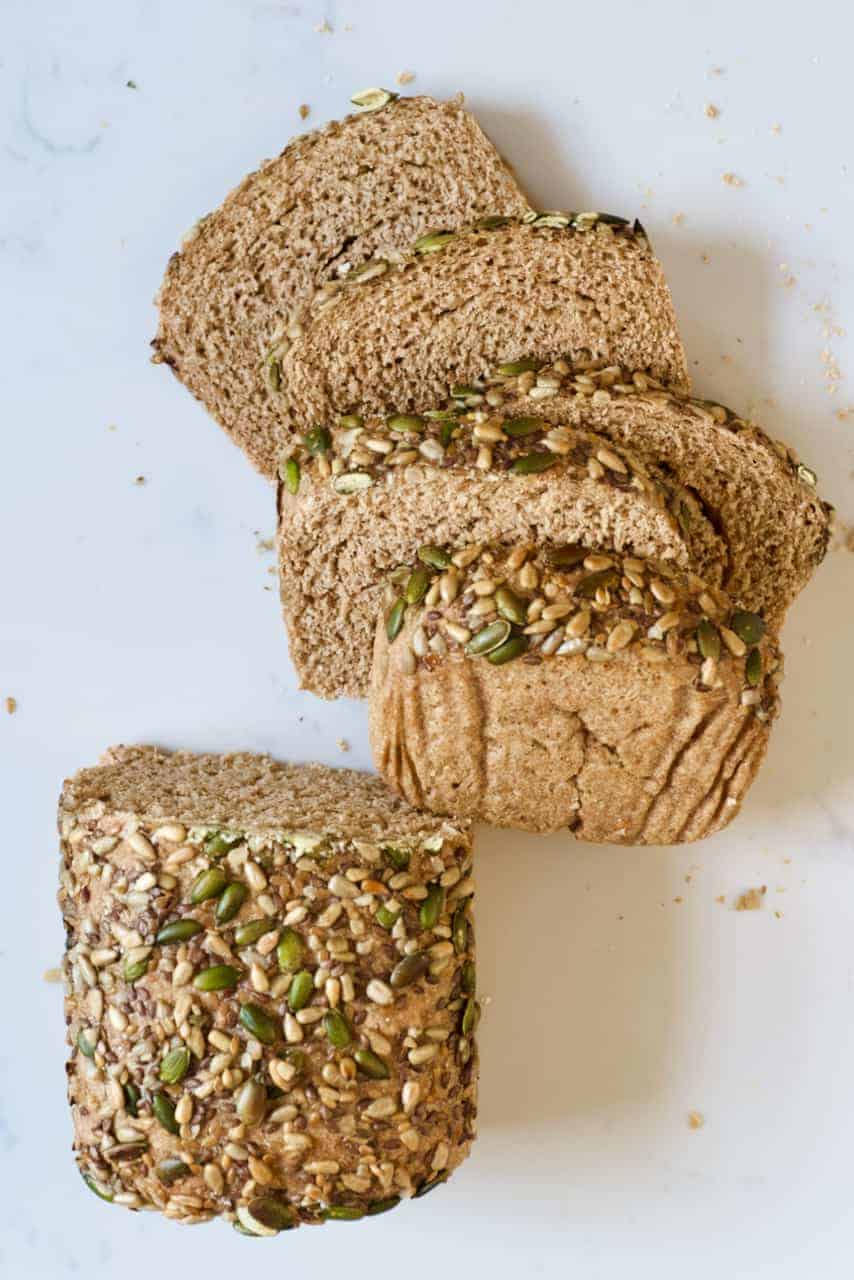
To keep longer, freeze for up to 3 months. You can freeze the bread cut into slices, that way it’s easy to take out and unfreeze as many as need.
Remember, even if your bread has gone a bit stale then you can still use it for various things including croutons and bread pudding.
If you have any questions, leave a comment below Also, I love seeing your recreations so feel free to tag me on Instagram @AlphaFoodie.
Simple Multigrain Bread (for beginners)
Equipment
- Loaf pan 9 x 5 inch (23 x 13 cm)
- Mixing bowls
- Baking sheet or tray (for the steam)
- Instant-read thermometer optional
Ingredients
- 2 cups whole wheat flour (250 g)
- 2 cups bread flour (250 g) or strong white flour
- 1 teaspoon instant yeast (or 10 g fresh yeast, crumbled)
- 2 teaspoons fine sea salt
- 1/2 tablespoon whole coriander seeds optional
- 1/2 tablespoon whole caraway seeds optional
- 1 1/3 to 1 1/2 cups lukewarm water (340 to 360 ml)
- 2 to 3 tablespoons mixed seeds for the top (optional), such as sunflower, pumpkin, flaxseed or sesame
Instructions
- Place the mixed seeds in a small bowl and cover with a little water. Leave to soak while you make the dough.
- Activate the yeast (optional). Instant yeast can go straight into the flour. To check that it is active, stir it into the lukewarm water and leave it for 5 to 10 minutes until slightly foamy. If using fresh yeast, crumble it into the water and stir until dissolved.
- In a large bowl, combine the whole wheat flour, bread flour, salt, coriander seeds, and caraway seeds. Mix well.
- Add the water and mix to a rough dough, then knead for 8 to 10 minutes by hand, or 6 to 8 minutes in a stand mixer, until smooth, elastic, and slightly tacky.If the dough feels dry, add water, a tablespoon at a time.
- Transfer to a lightly oiled bowl, cover, and leave until doubled in size, about 1 to 1½ hours. This will be the first rise.
- Press the dough down gently but thoroughly to release the air, roll it up tightly, and place it seam-side down in a greased 9 x 5 inch loaf pan. Drain the soaked seeds and press them over the top.
- Cover loosely and leave until the dough sits just above the rim of the pan, about 45 to 60 minutes. This is the second rise.
- Place an empty baking tray on the bottom rack. Preheat to 390ºF (200ºC), conventional, no fan, with the tray inside.
- Place the loaf on the middle rack. Carefully pour ½ to 1 cup of hot water into the hot tray to create steam and close the door immediately. Reduce the oven to 375ºF (190ºC). Bake for 35 to 40 minutes, until deeply golden and hollow-sounding underneath, and the internal temperature reads 200-205ºF (93-96ºC).
- Remove from the pan straight away and cool completely on a wire rack before slicing.
Video
Notes
- 100 percent whole grain version: use whole wheat flour for both quantities, 4 cups (500 g) in total. Use the higher amount of water and add more if needed, and allow a longer second rise. Expect a denser, nuttier loaf.
- Active dry yeast: the same amount as instant, but bloom it in the lukewarm water with a pinch of sugar for 5 to 10 minutes first.
- Pan size: an 8.5 x 4.5 inch pan also works. The loaf will be taller and more domed, so allow a few extra minutes and check the internal temperature.
- All-purpose flour can replace the bread flour. The loaf will be softer and slightly less tall.
- Seeds inside the loaf: add 2 to 3 tablespoons just after the first rise.
- Cool completely before slicing, or the crumb will be gummy.









I made it and it tastes so good, but when I cut it, I had a hole going the whole length of the loaf. Do you know why?
Hi Melanie,
This usually happens when there is trapped air or uneven shaping before baking. Gently degassing and shaping the dough more tightly next time should help prevent the tunnel. Let me know how it goes if you give it another try!
Delicious
Glad you liked it, Kathleen!
I have active dry yeast do I still use 10 grams?
Hi Sabrina! 😊 Yes, you can use active dry yeast. One thing to adjust: active dry is more concentrated than the fresh yeast in the recipe, so you’d use less, roughly 4g (a bit over 1 tsp) in place of the 10g fresh. Bloom it first in a little of the warm water from the recipe with a pinch of sugar for 5-10 minutes until foamy, then mix it in. Give the dough a little extra rising time if it needs it. Happy baking!
Hello,
I made this bread this afternoon and it is absolutely delicious! I added some sunflower, pumpkin seeds and sesame seeds to the dough as well as on top per your recipe. I baked at 450F for 27 minutes. This recipe is definitely a keeper and I will be making this bread very often. Thank you!
So happy to hear you liked it, Elisa! 🙂
This is my go to bread recipe at the moment! I did end up changing the baking temperature and time (it was not ready when I tried the 480 degrees and baking trays method).
I do 425 degrees Fahrenheit for 30 minutes covered, and then an additional 5 minutes uncovered (35 minutes total). It has come out perfectly every time since then!
Thank you so much for the lovely feedback, Ashley! I am glad that you found a baking temperature and timing that works perfectly for you – that kind of adjustment is exactly what home baking is all about. Happy baking! 🙂
Hi there!
How will the recipe change if I use a Dutch oven?
Hi Marilena,
A Dutch oven works beautifully. Preheat it first, bake the bread covered for the first half to trap steam, then uncover it toward the end for browning.