
This post may contain affiliate links. Please read our disclosure policy.


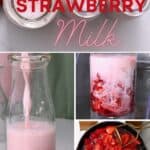

How to make strawberry milk at home with fresh strawberries. Plus, this sweet and fruity drink can be prepared sugar-free and dairy-free/vegan, if preferred!
I have already shared my recipe for a simple homemade banana milkshake. Now I’m back at it again, but this time with a refreshing, sweet, and wonderfully pink homemade strawberry milk loaded with fresh berries.
With a combination of ripe strawberries, sugar (or sugar-free sweetener), water, and milk, you can learn how to make a delicious drink that’s ready to impress!
This drink is so fruity, subtly sweet, creamy, and beautifully pink to boot. Best of all, though, it is not loaded with preservatives, chemicals, and artificial flavors, like powdered versions. You get fresh strawberry milk that tastes so much better than any powdered or store-bought version!
And while we’re appreciating strawberries, you might also enjoy these recipes for strawberry chips, strawberry sorbet, or strawberry jam.
Want to save this recipe?
Strawberry Milk Ingredients
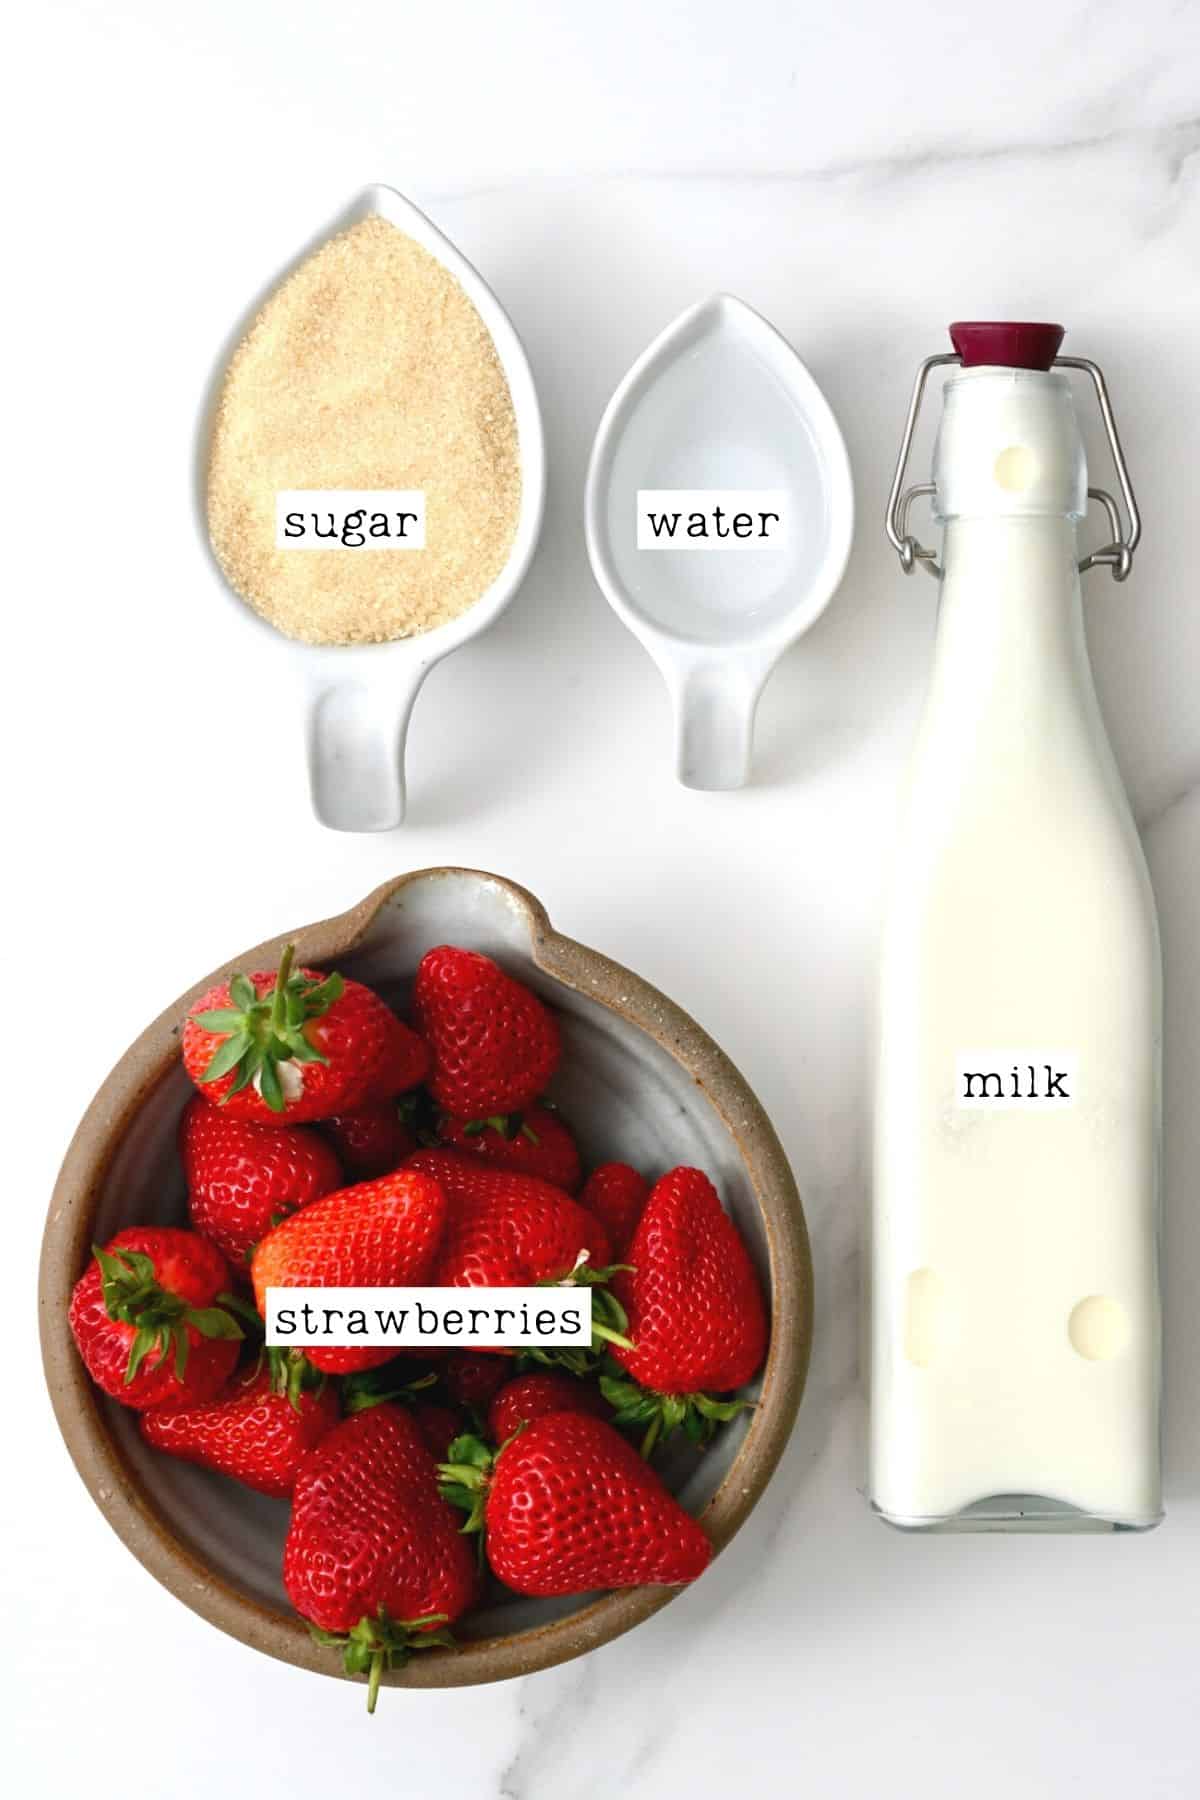
This best strawberry milk requires just three ingredients plus water:
- Strawberries: you can use fresh or frozen strawberries, though fresh, ripe in-season strawberries are superior.
- Sugar: I used organic raw cane sugar, but you can use the sugar (regular, coconut sugar, etc.) or sugar-free sweetener (erythritol, stevia, etc.) of your choice. Note that different sweeteners will affect the taste and color of the drink.
- Water: to help break down the strawberries while simmering.
- Milk: use the milk of your choice, dairy or dairy-free, and at the fat level of your choice (whole, semi-skimmed, skimmed).
I used dairy milk this time around, but I’ve had great success with almond milk, cashew milk, and coconut milk.
Optional Add-ins and Variations
There are several ways to transform this simple fresh strawberry milk recipe:
- Vanilla: a small amount of vanilla extract brings out the berry flavor even more.
- Rosewater: just a tiny amount of rosewater will delicately scent the milk and will taste lovely with the strawberries.
- Boba: turn this into a strawberry bubble “milk tea” (minus the tea 😝) with the addition of some boba.
- Chia seeds: stirring some chia seeds into the syrup helps to make a kind of strawberry chia “jam,” but also provides the drinks with extra protein, nutrients, and staying power – to keep you full for longer.
- Whipped cream: for serving. Use coconut whipped cream for a dairy-free option.
- Ice cream: top the drink with a scoop of ice cream (vanilla is great, but strawberry would also work).
- Keto strawberry milk: use a keto-friendly sweetener (like erythritol) and milk (like coconut milk or almond milk).
- Vegan strawberry milk: ensure the sugar is vegan and use the dairy-free milk of your choice.
How to Make Strawberry Milk
Prepare the Strawberries
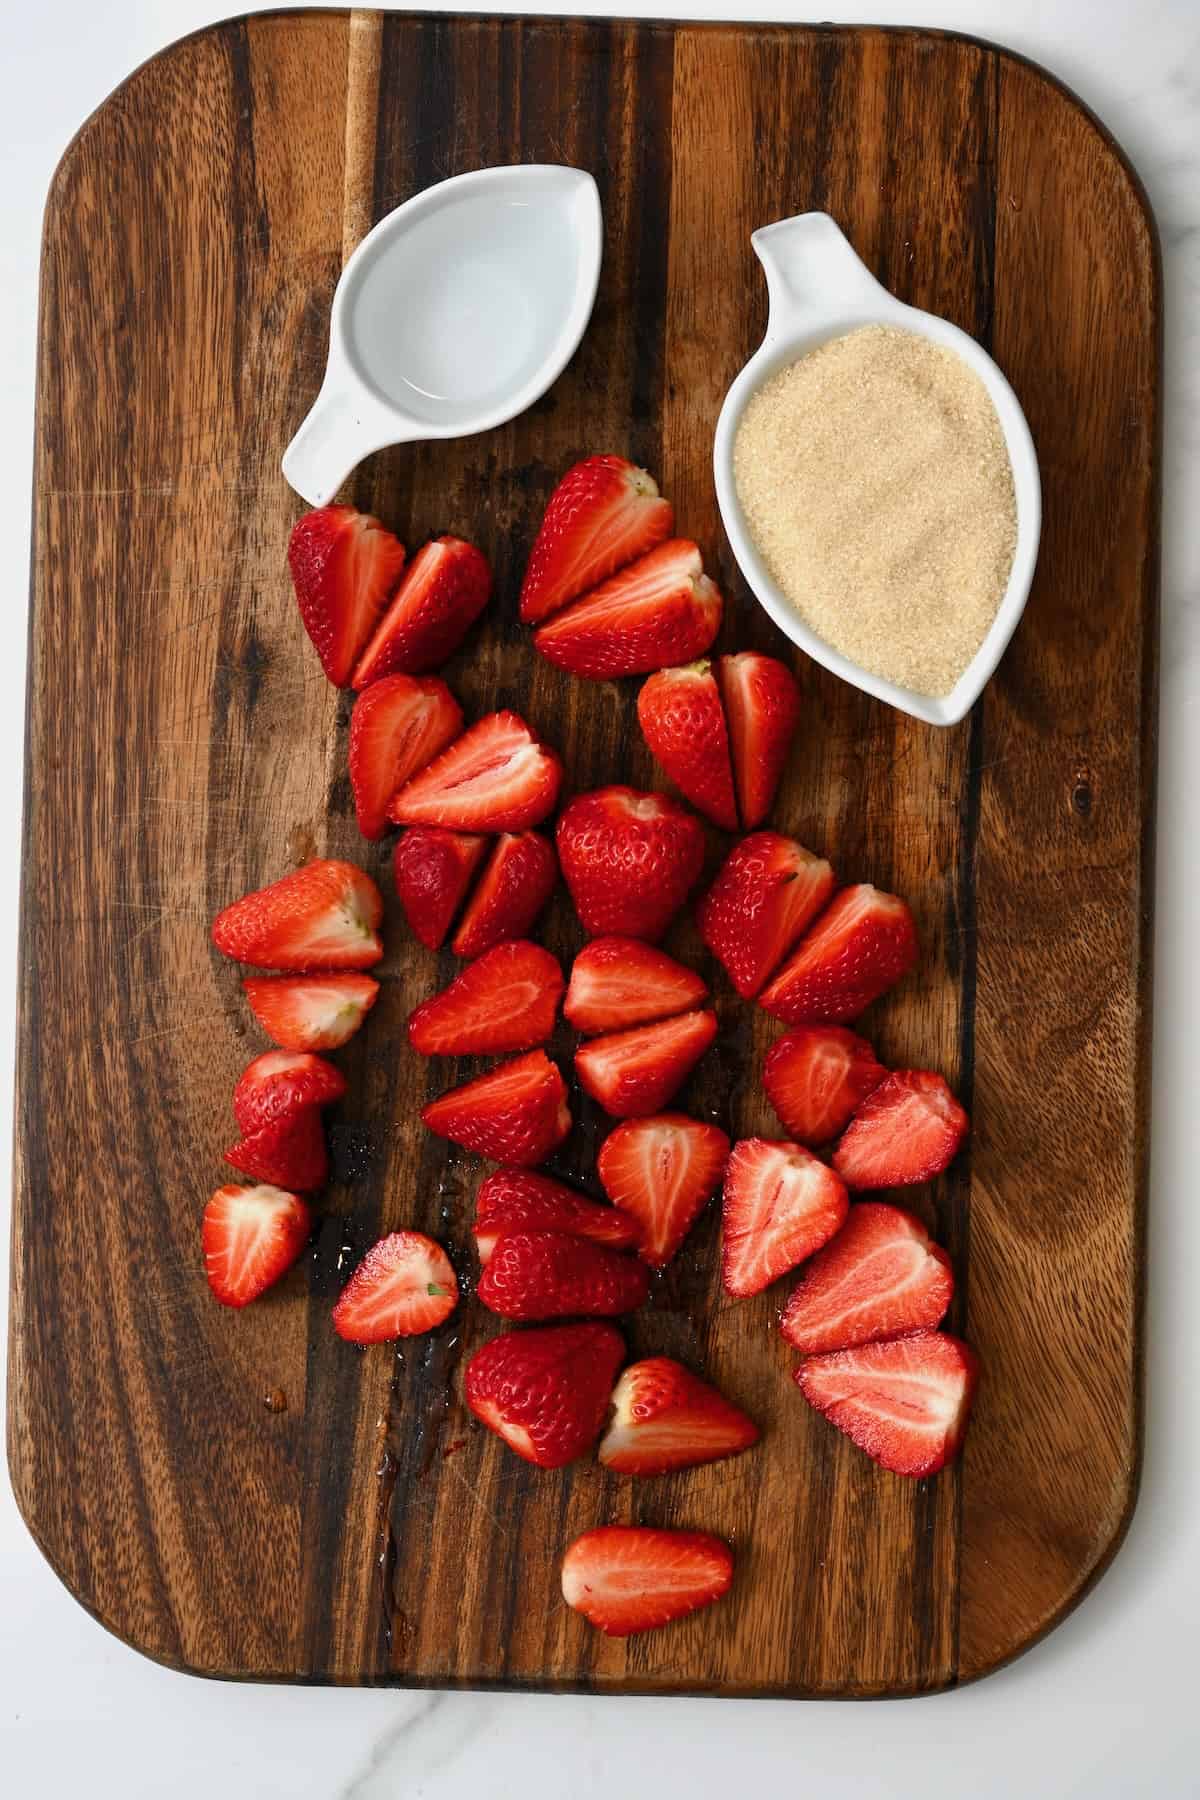
First, rinse all the fruit well. Discard any that look under/overripe or have any spoilage.
Then remove the green stems and cut all the strawberries in half (or quarters if preferred).
Make the Strawberry Syrup
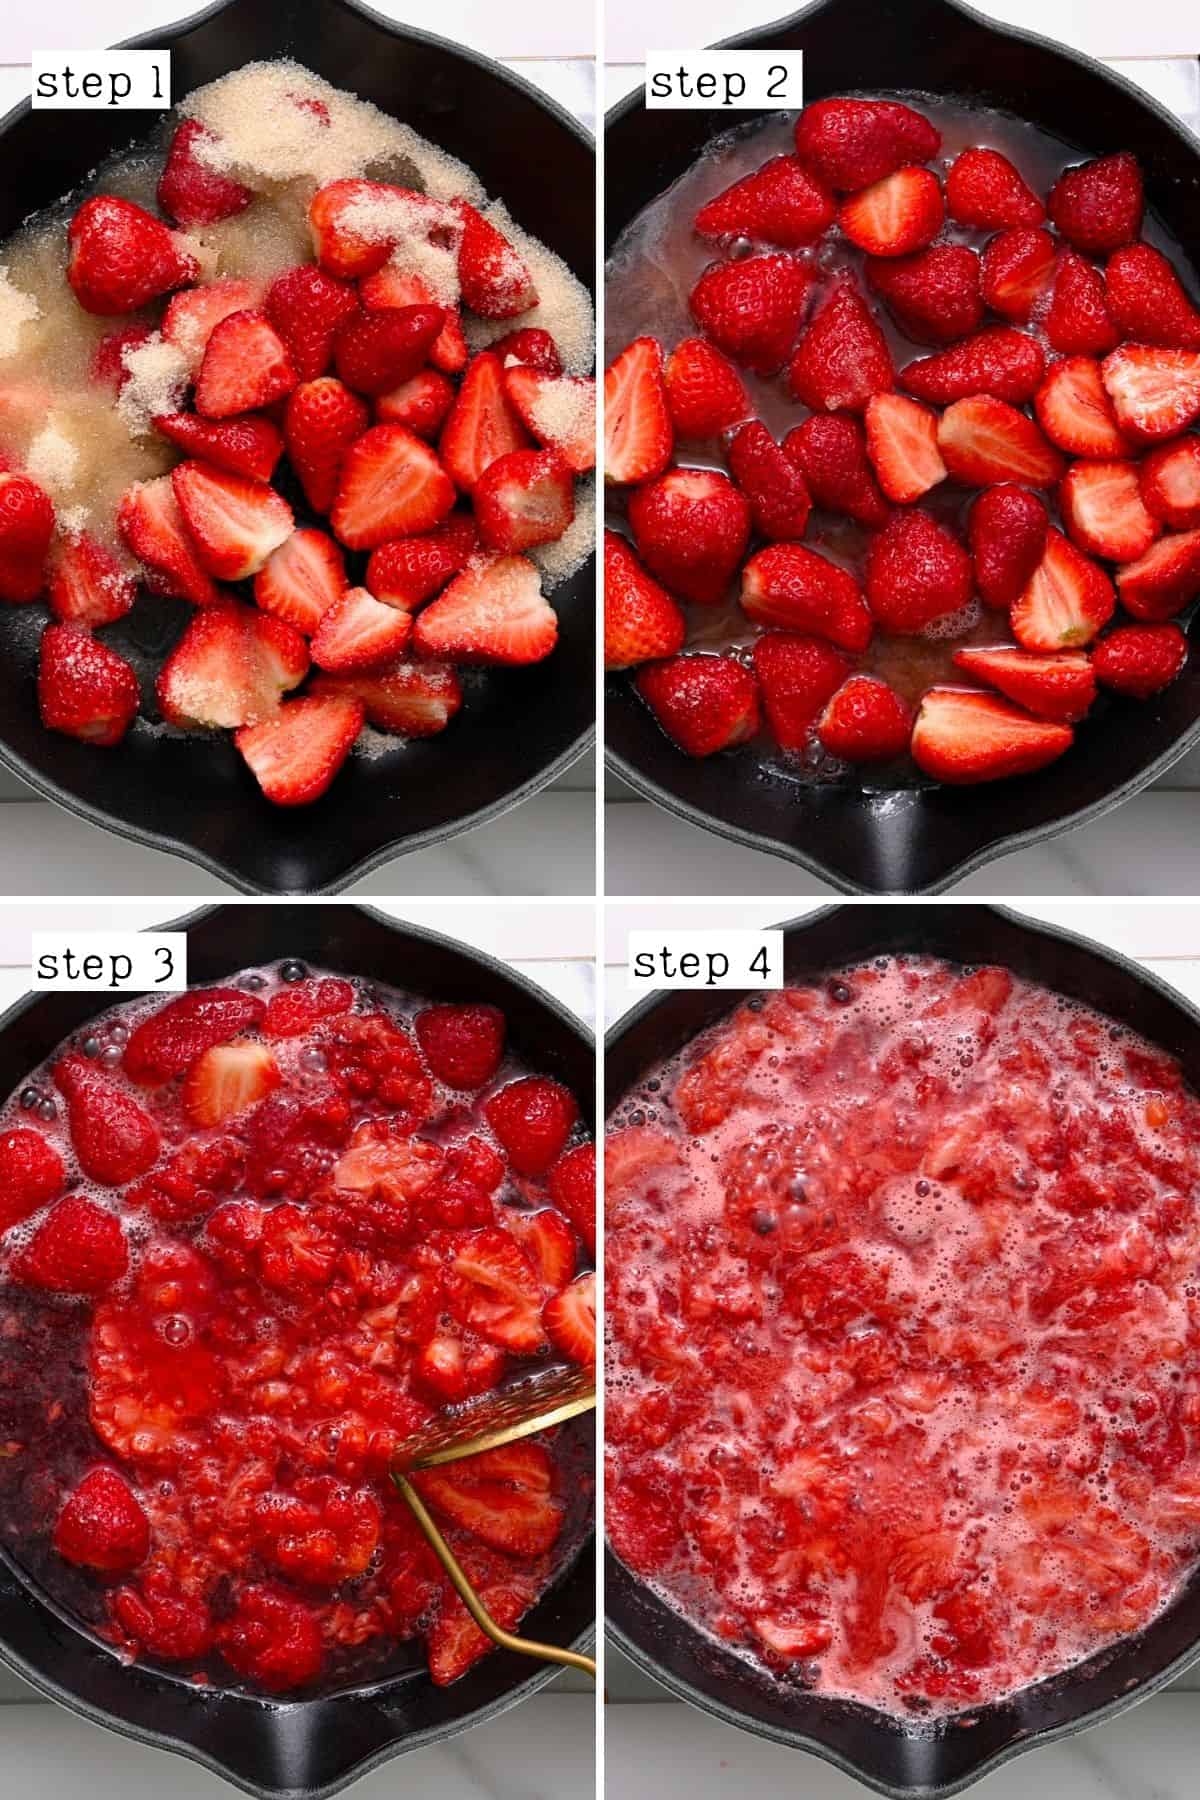
In a large saucepan or skillet, add the strawberries, water, and sugar, and mix.
Bring to a soft boil over medium heat, mashing the strawberries into the mixture as they soften.
Then simmer for about 10 minutes to allow the mixture to reduce and slightly thicken.
When making a smaller batch, the simmering time will also be reduced.
Assemble the Strawberry Milk
Once ready, remove it from the heat and allow it to cool down for a bit.
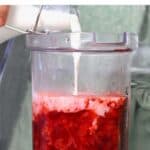
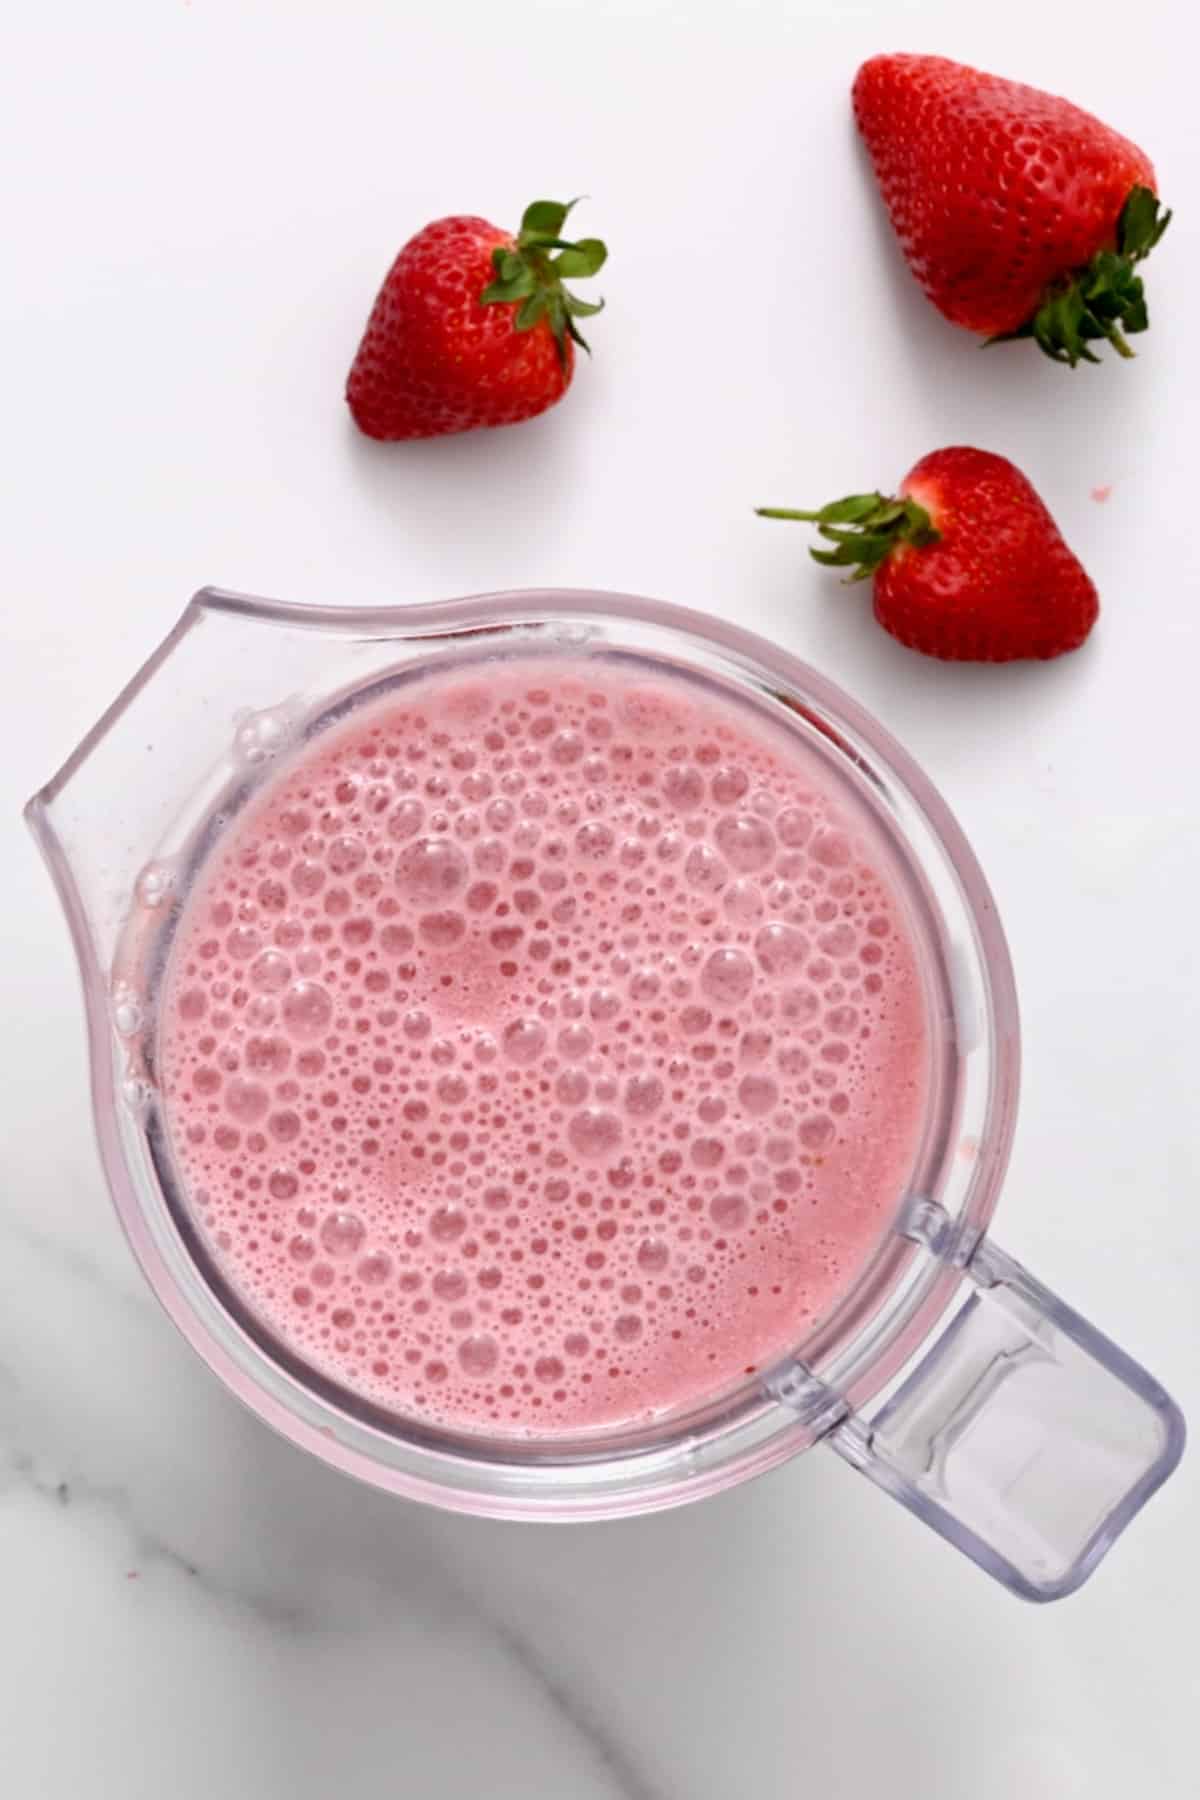
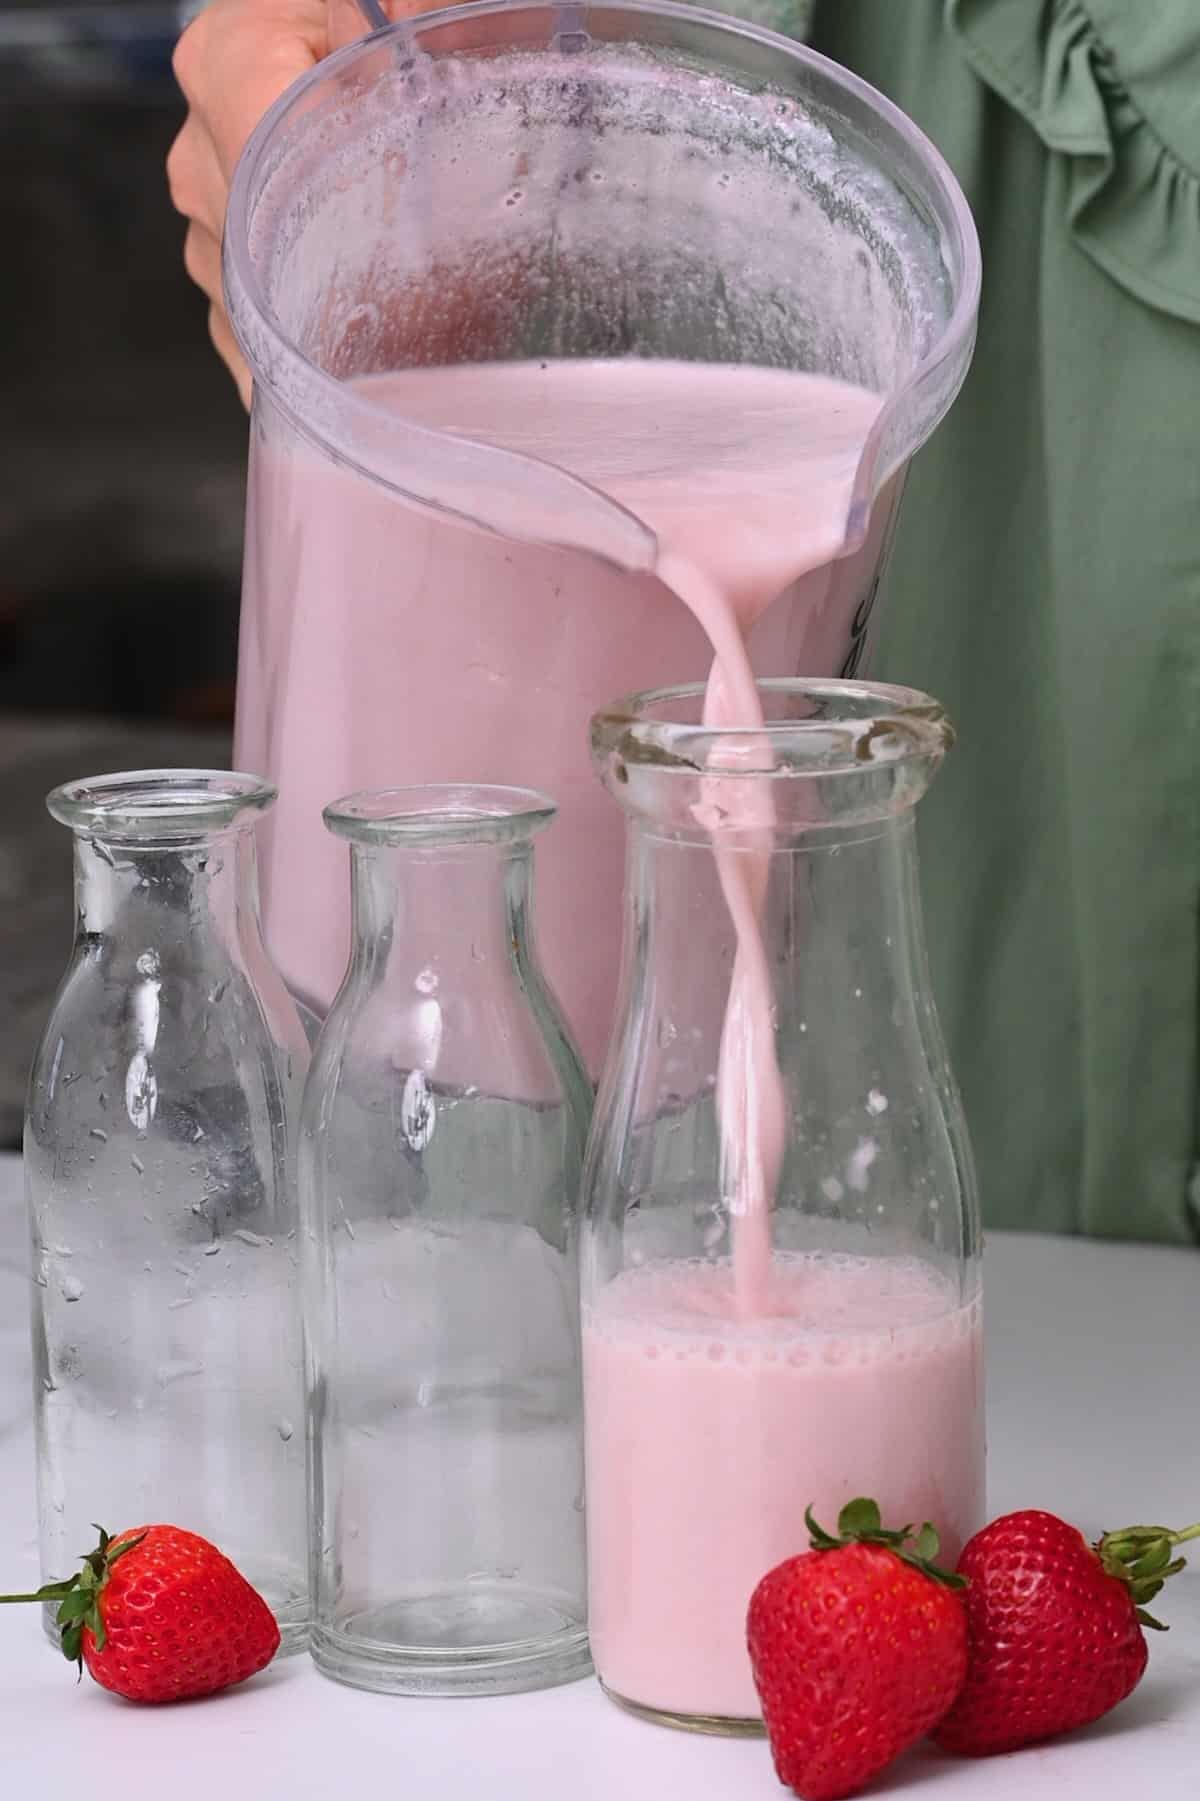
Transfer all the strawberry syrup to a blender or food processor and add the milk. Then blend until smooth.
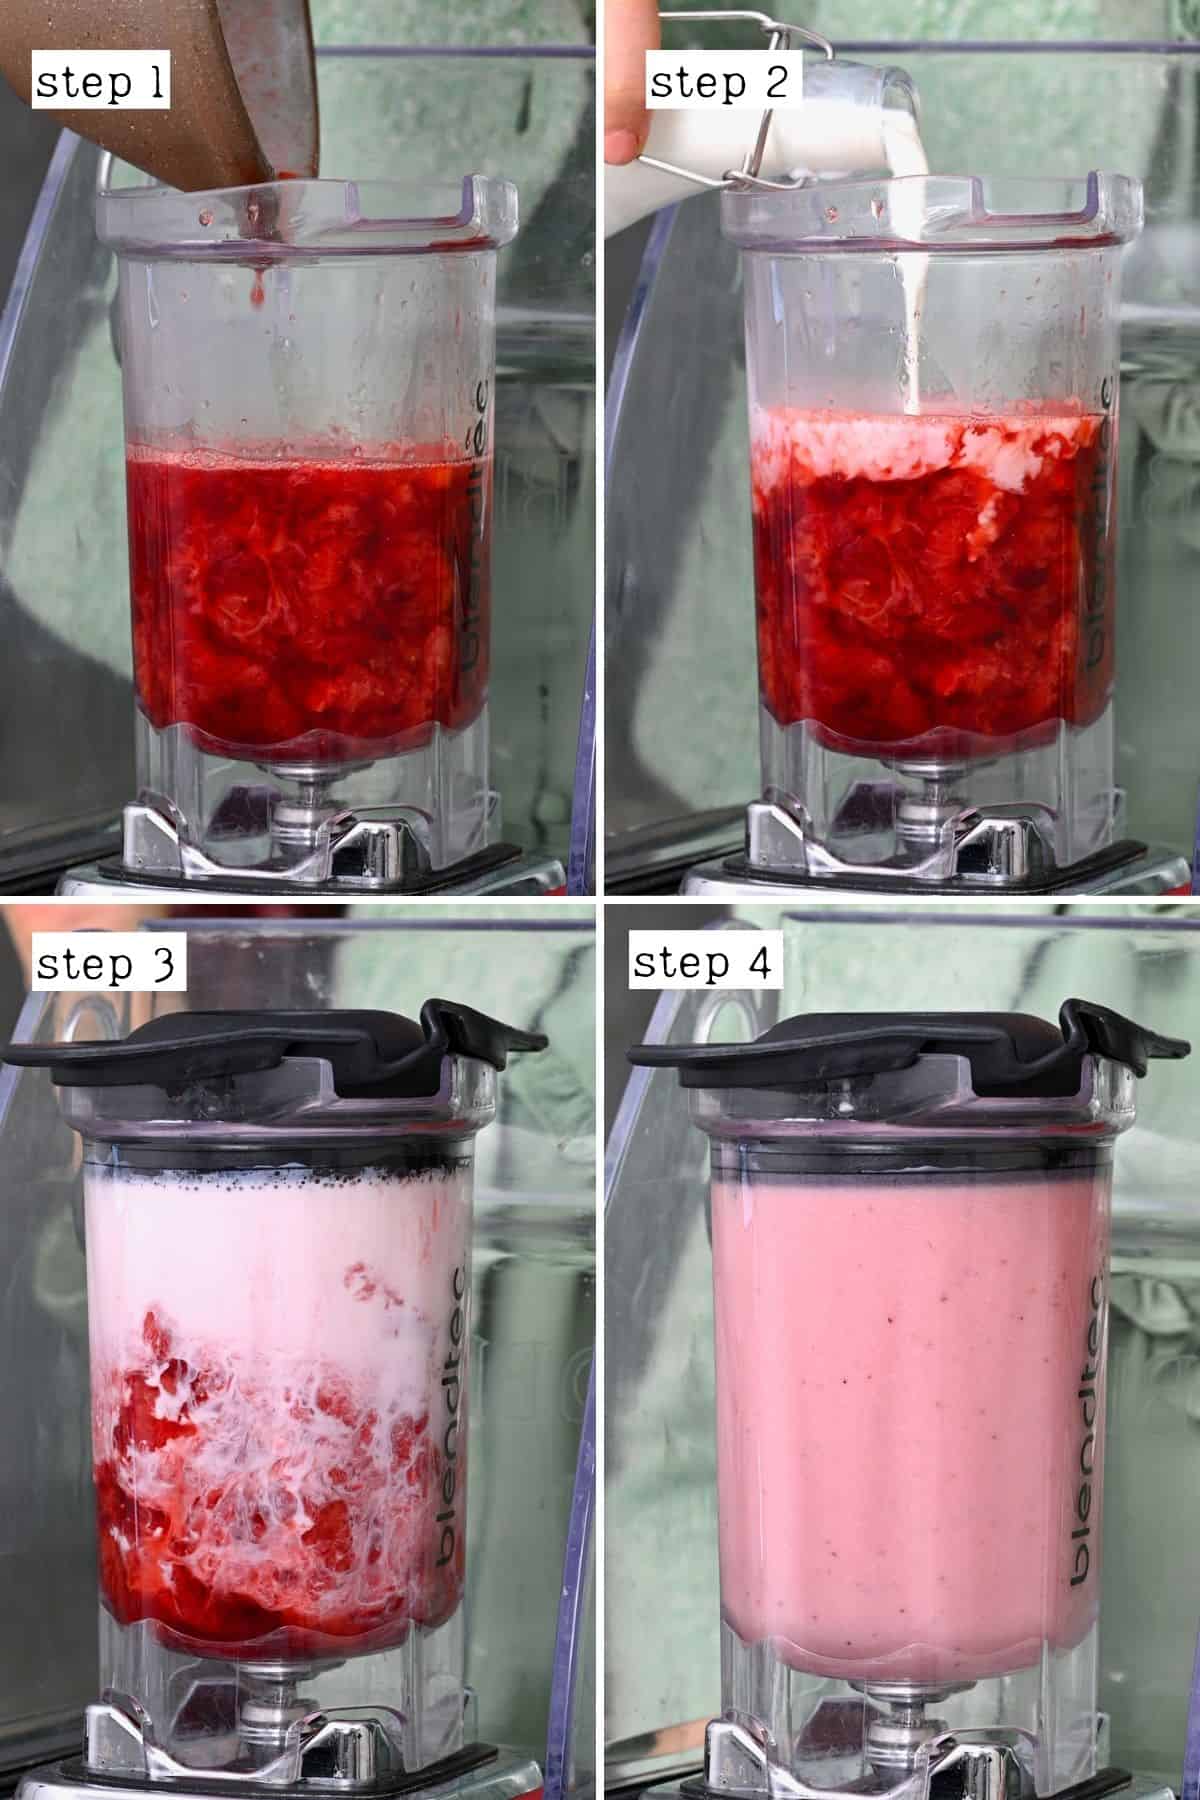
Alternatively, you could add the milk to the saucepan and use an immersion blender to blend it directly in there (and save extra washing up).
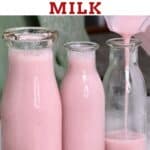
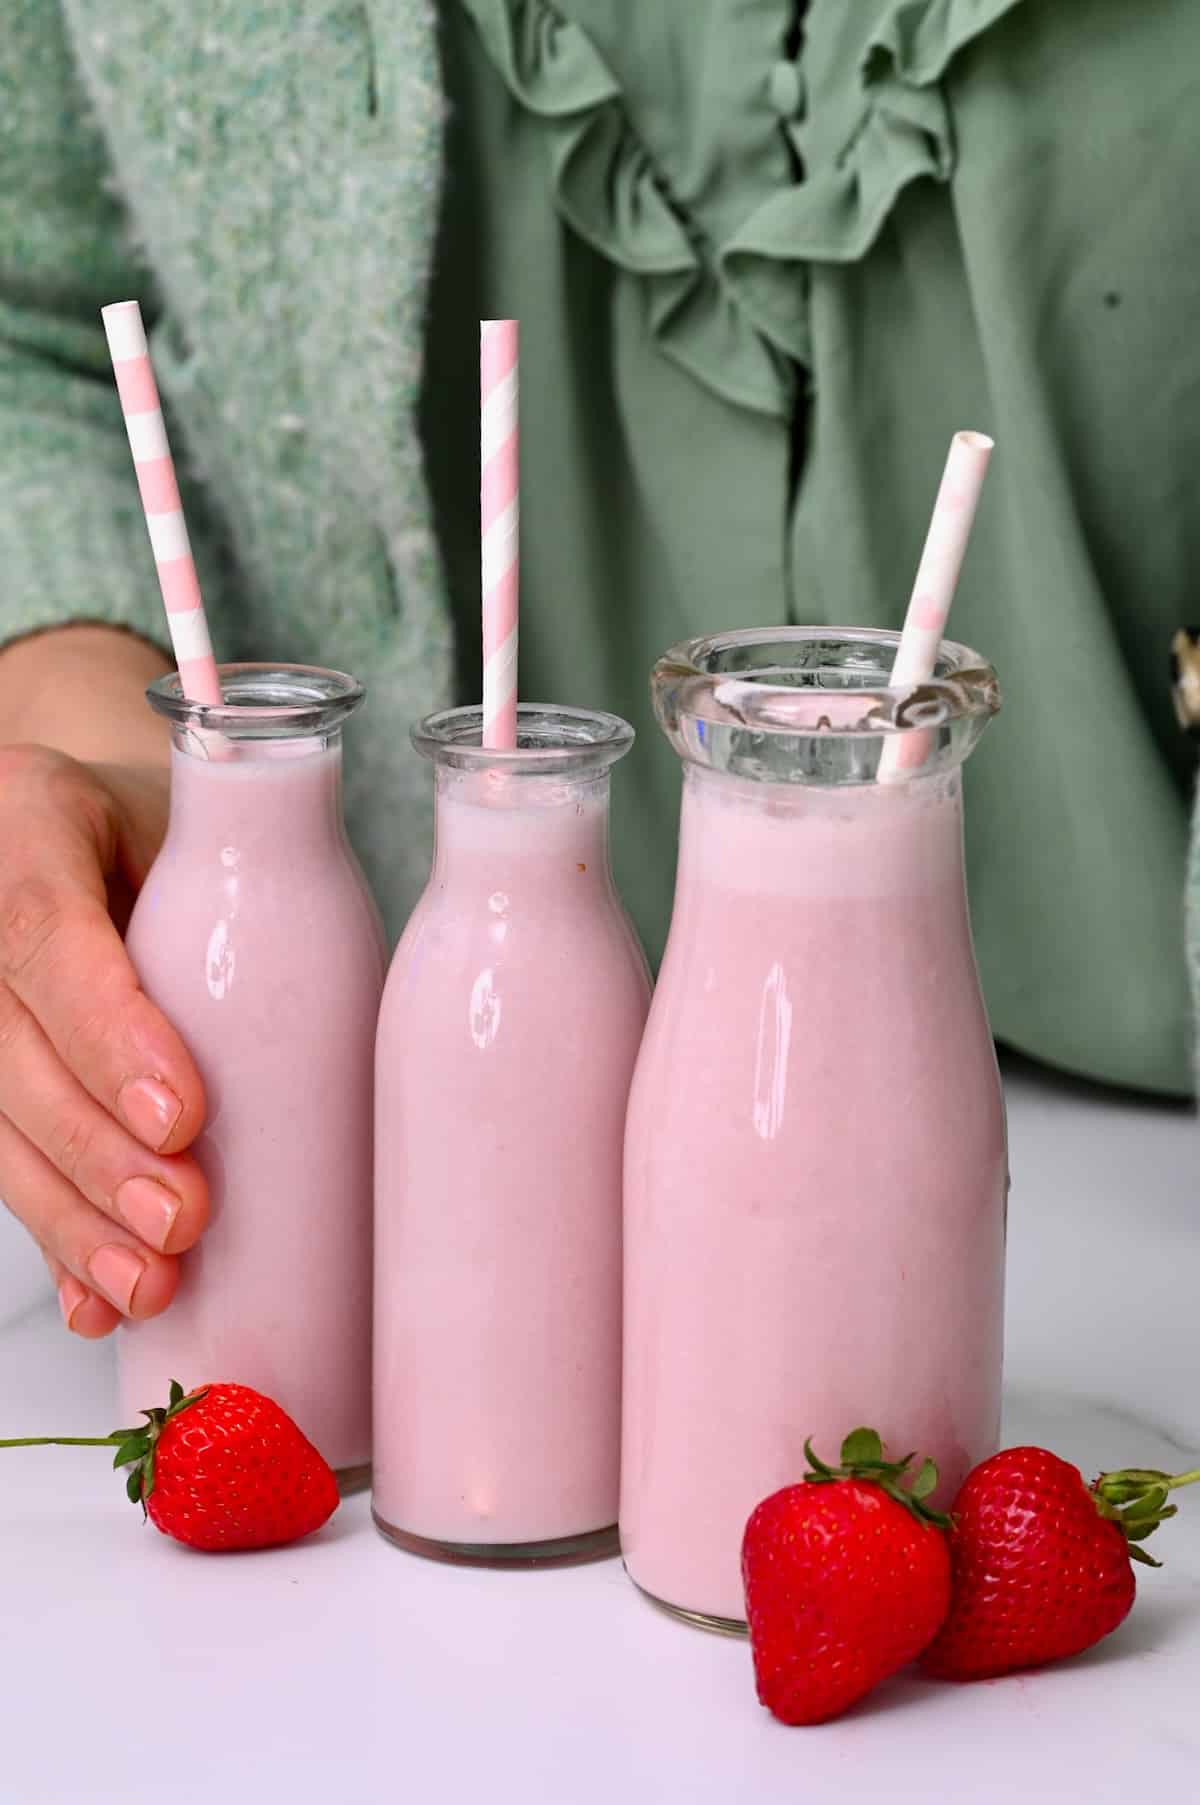
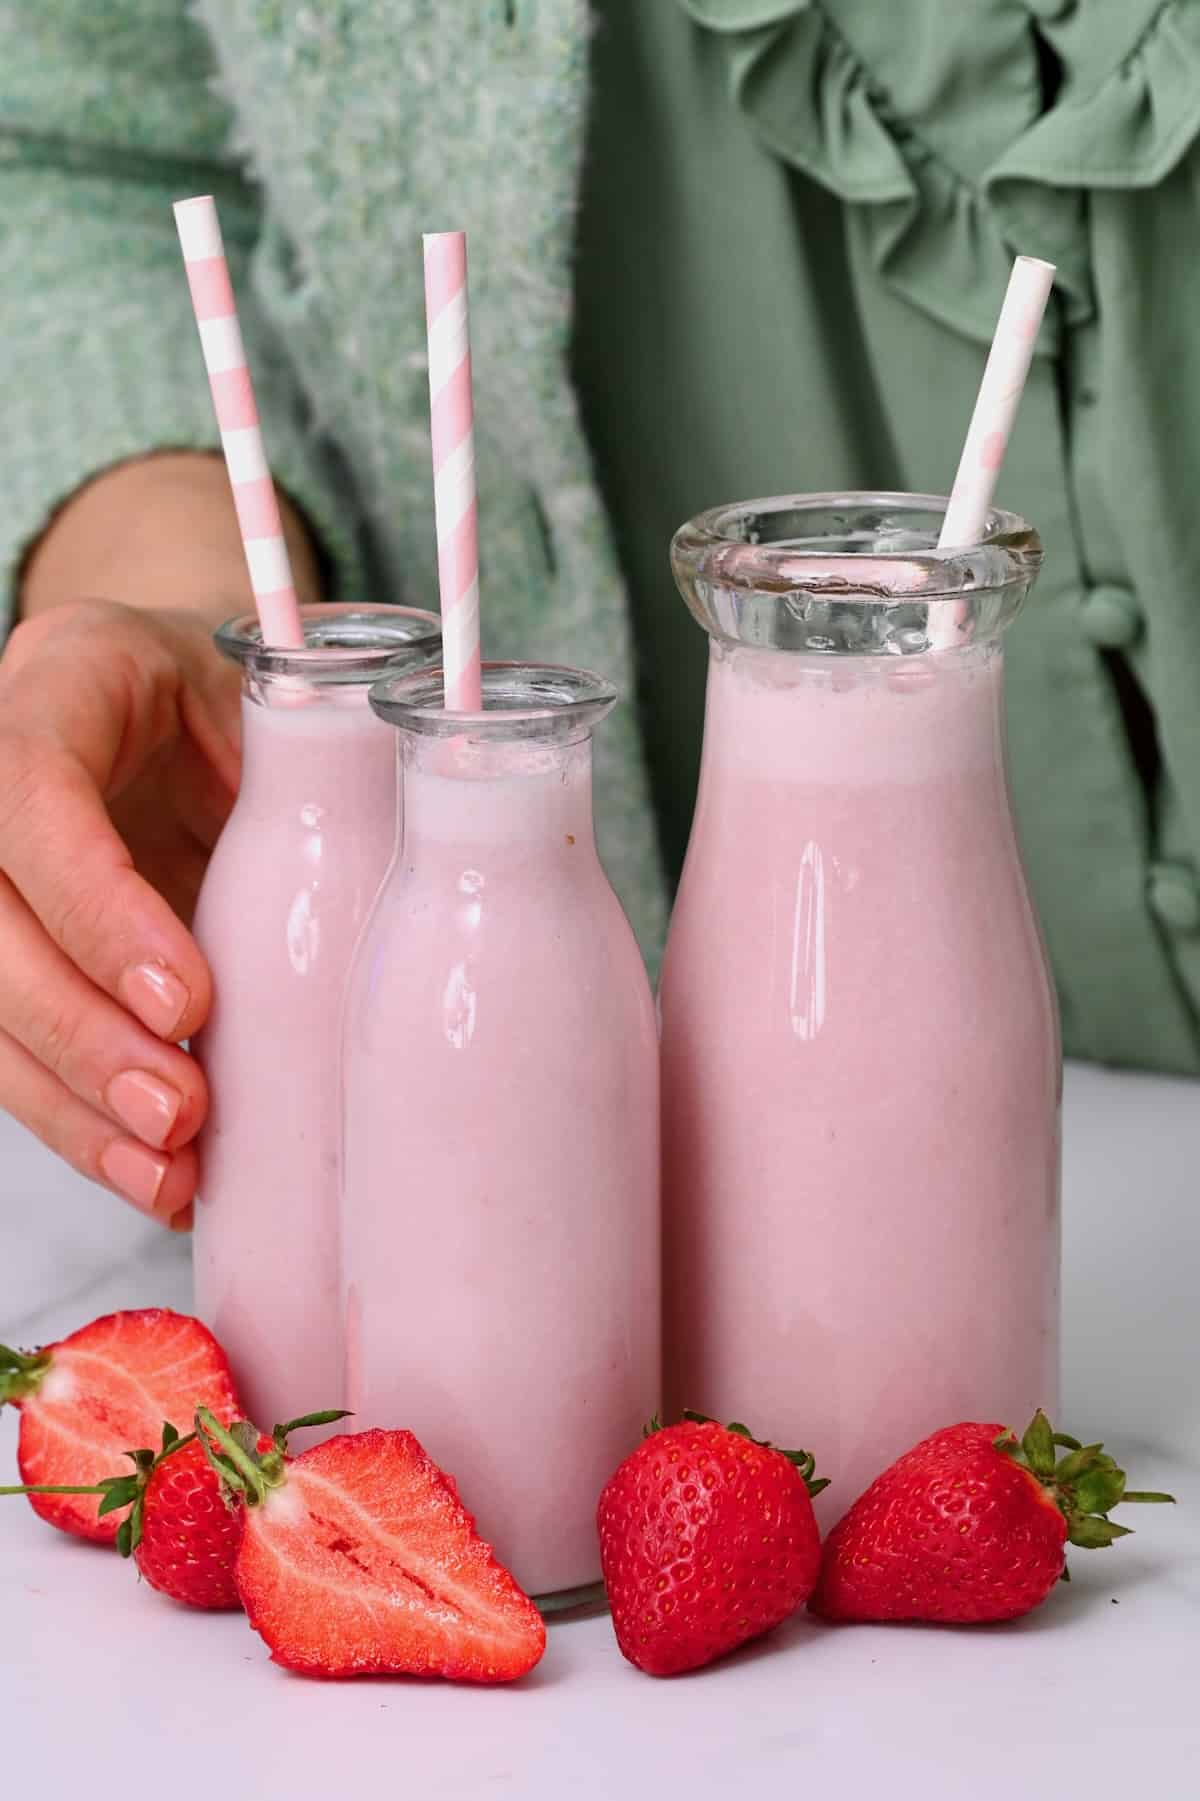
Transfer to the drinking glasses/jugs of your choice and enjoy!
Chef’s Tip: not only can you enjoy it on its own, but you can also pour it over your morning cereal/granola/muesli or mix it into chia pudding or overnight oats for more flavor.
How to Make Ahead and Store?
Make ahead: because you need to wait for the strawberry syrup to cool before assembling the drink, I highly recommend making it in advance by an hour or two or even up to 3-4 days.
Store: you can store the prepared strawberry mixture in an airtight container in the refrigerator for 3-4 days. Depending on the amount of sugar you use, the shelf life is extended. For a 1:1 ratio, it would last up to 2 weeks.
The blended strawberry milk will last 2-3 days in an airtight container in the fridge.
And if you have any leftover strawberry syrup, you could use it to drizzle over protein pancakes, cheesecake, and ice cream. It will also work stirred into a hot chocolate, spooned over stovetop oatmeal, and added to yogurt bowls/a parfait.
More Creamy Drink Recipes
If you try this strawberry and milk recipe, let me know how it goes in the comments below. I’d appreciate a recipe card rating and would love to see your recipe recreations – tag me on Instagram @Alphafoodie!

Strawberry Milk (Fast & Delicious!)
Equipment
- Blender/Food processor – OR –
Ingredients
- 15 oz strawberries fresh or frozen
- 1/3 cup cane sugar adjust the amount to taste; use the sugar or sugar-free sweetener) of your choice
- 1/4 cup water
- 4 cups milk dairy or dairy-free (coconut milk, almond milk, oat milk, etc.)
Instructions
Prepare the Strawberries
- Rinse all the fruit well. Discard any that look under/overripe or have any spoilage.
- Remove the green stems and cut all the strawberries in half (or quarters if preferred).
Prepare the Strawberry Syrup
- In a large saucepan or skillet, add the strawberries, water, and sugar, and mix.
- Bring to a soft boil over medium heat, mashing the strawberries into the mixture as they soften.
- Simmer for about 10 minutes to allow the mixture to reduce and slightly thicken.When making a smaller batch, the simmer time will be reduced.
- Once ready, remove it from the heat and allow it to cool down for a bit.
Assemble the Strawberry Milk
- Transfer all the strawberry syrup to a blender or food processor and add the milk. Then blend until smooth. Transfer to the drinking glasses/jugs of your choice and enjoy!Alternatively, you could add the milk to the saucepan and use an immersion blender to blend it directly in there (and save extra washing up).
How to Make Ahead and Store?
- Make ahead: because you need to wait for the strawberry syrup to cool before assembling the drink, I highly recommend making it in advance by an hour or two or even up to 3-4 days.Store: you can store the prepared strawberry mixture in an airtight container in the refrigerator for 3-4 days (depending on the amount of sugar you use, the shelf life is extended; for a 1:1 ratio, it would last up to 2 weeks).The blended strawberry milk will last 2-3 days in an airtight container in the fridge.
Video
Notes
- For a super-smooth drink: you could use a fine-mesh strainer to strain the seeds and any chunky flesh from the strawberry syrup (like this homemade strawberry syrup does). However, I like the additional fiber and nutrients. Plus, once blended, you won’t even notice the seeds.
- Adjust the amount of sugar: reduce the amount if preferred (especially if the berries are sweet on their own).
- When making sugar-free strawberry milk: note that the sweetener won’t make the syrup as thick and syrupy, and the amount of sweetener you use will vary, to taste (so don’t add it all to the pan immediately).
- Adjust the syrup to milk ratio: based on how strong you want the flavor to be, plus how thick you want the drink to be.
- Experiment with berries: this super simple method will work the same with other berries (blueberries, raspberries, etc.).
- When making dairy-free strawberry milk: I prefer using milk that isn’t too thin and watery for the best results.
Nutrition
Nutrition information is automatically calculated, so should only be used as an approximation.


