
This post may contain affiliate links. Please read our disclosure policy.


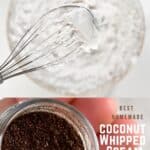
A simple DIY for homemade coconut whipped cream. This ingredient is a delicious dairy-free whipping cream alternative, takes just minutes to prepare, and is vegetarian, vegan, gluten-free, nut-free, Whole30, paleo, and keto-friendly!
If you’re looking for a delicious dairy-free whipped ream that works in the same way and has a wonderfully light and airy texture, then look no further than coconut whipped cream.
All you need is a can of coconut milk (or homemade coconut cream), a little vanilla extract, and some sweetener of your choice. Plus it takes just minutes to whip up! Although you do need to chill the coconut milk first, so make sure to pop your cans in the fridge a day in advance.
Why do you need to do this? Well the coconut milk inside the can is made up of a thick cream and the liquid that make a milk when combined. However, for this recipe all we need is the thick cream. By placing it in the fridge, this will not only help to separate the layers, but will also thicken up the cream section – for easier whipping.
Unfortunately, coconut milk can be a bit of an annoyance to those who haven’t had time to experiment with brands and find their perfect match. Certain brands lack consistency, and some fail to whip up at all. Check out my FAQs section for a few suggestions for some US brands. However, I suggest also experimenting with different brands to find your perfect match.
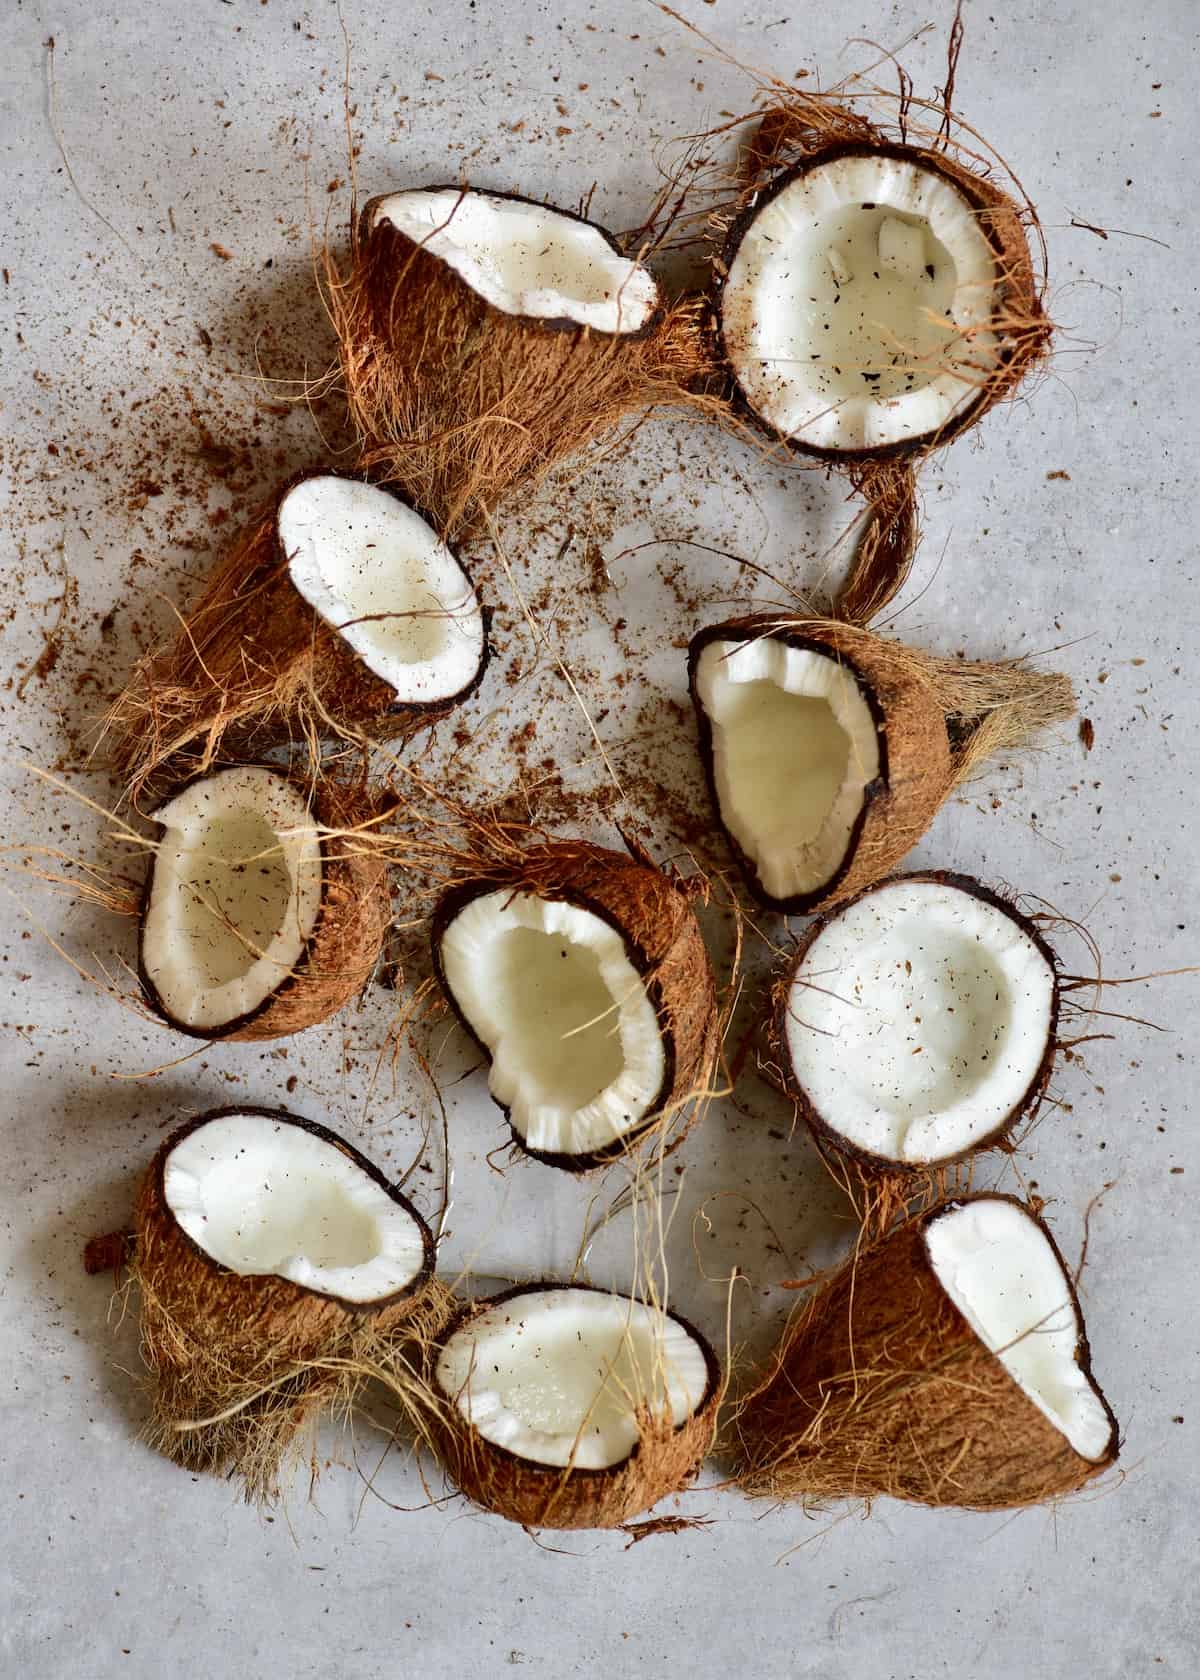
And, of course, if all else fails, you can make your own coconut cream, which also works!
Best of all, this dairy-free whipped cream has no dairy, no eggs, and depending on what brand you use can contain no gums or stabilizers either! Plus, depending on what additional ingredients and flavorings you add, this is gluten-free, vegan, low-carb, paleo, Keto, and Whole30 friendly.

Want to save this recipe?
The Ingredients
Coconut cream: I use homemade coconut cream, however, you can also use tinned full fat coconut milk. Check the FAQs section below for brand suggestions and other helpful tips.
Vanilla Extract: You can use homemade vanilla extract or store-bought. Or, optionally, omit this entirely. Though I find that it does a great job and helping the ream imitate dairy sweet cream.
Sweetener: Use the sweetener of your choice – granulated sugar, icing sugar, liquid sweeteners (though be careful with how much you add as it can affect the whipping texture) or even keep it sugar free with sweeteners like powdered erythritol.
The Method
Step By Step Instructions
If using tinned coconut milk then refrigerating overnight is crucial (or even two days in advance) in the fridge.
If you’re using homemade coconut cream, then this will also need to be chilled in the fridge – though only for a few hours. I like to chill it in the same mixing bowl I’ll be whipping it in.
Step 1:
Remove the cans from the fridge and flip the can upside down then open (this should now have the coconut liquid at the top, to easily drain). Pour out the liquid and what you have remaining is a thick coconut cream, which is what’s needed.
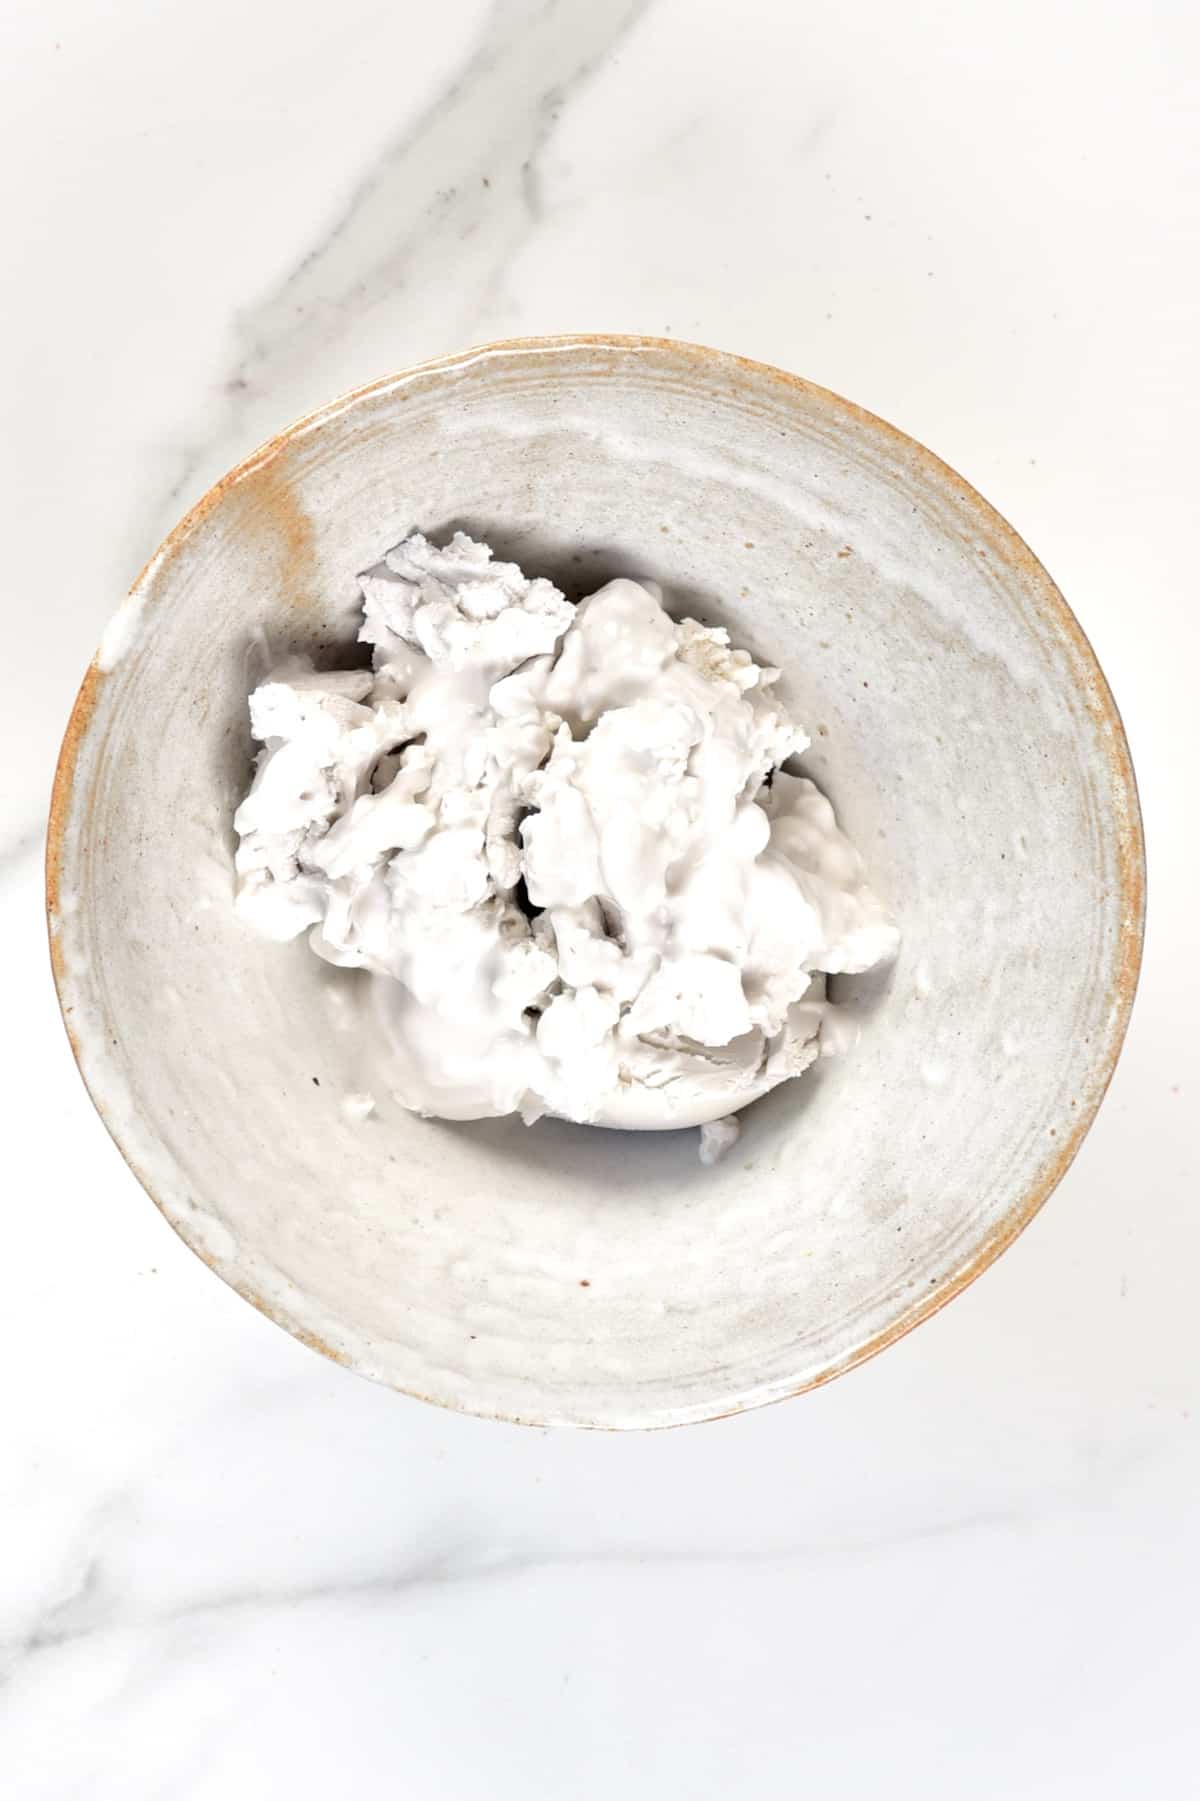
You could also open the can upright and scoop out the cream.
Step 2:
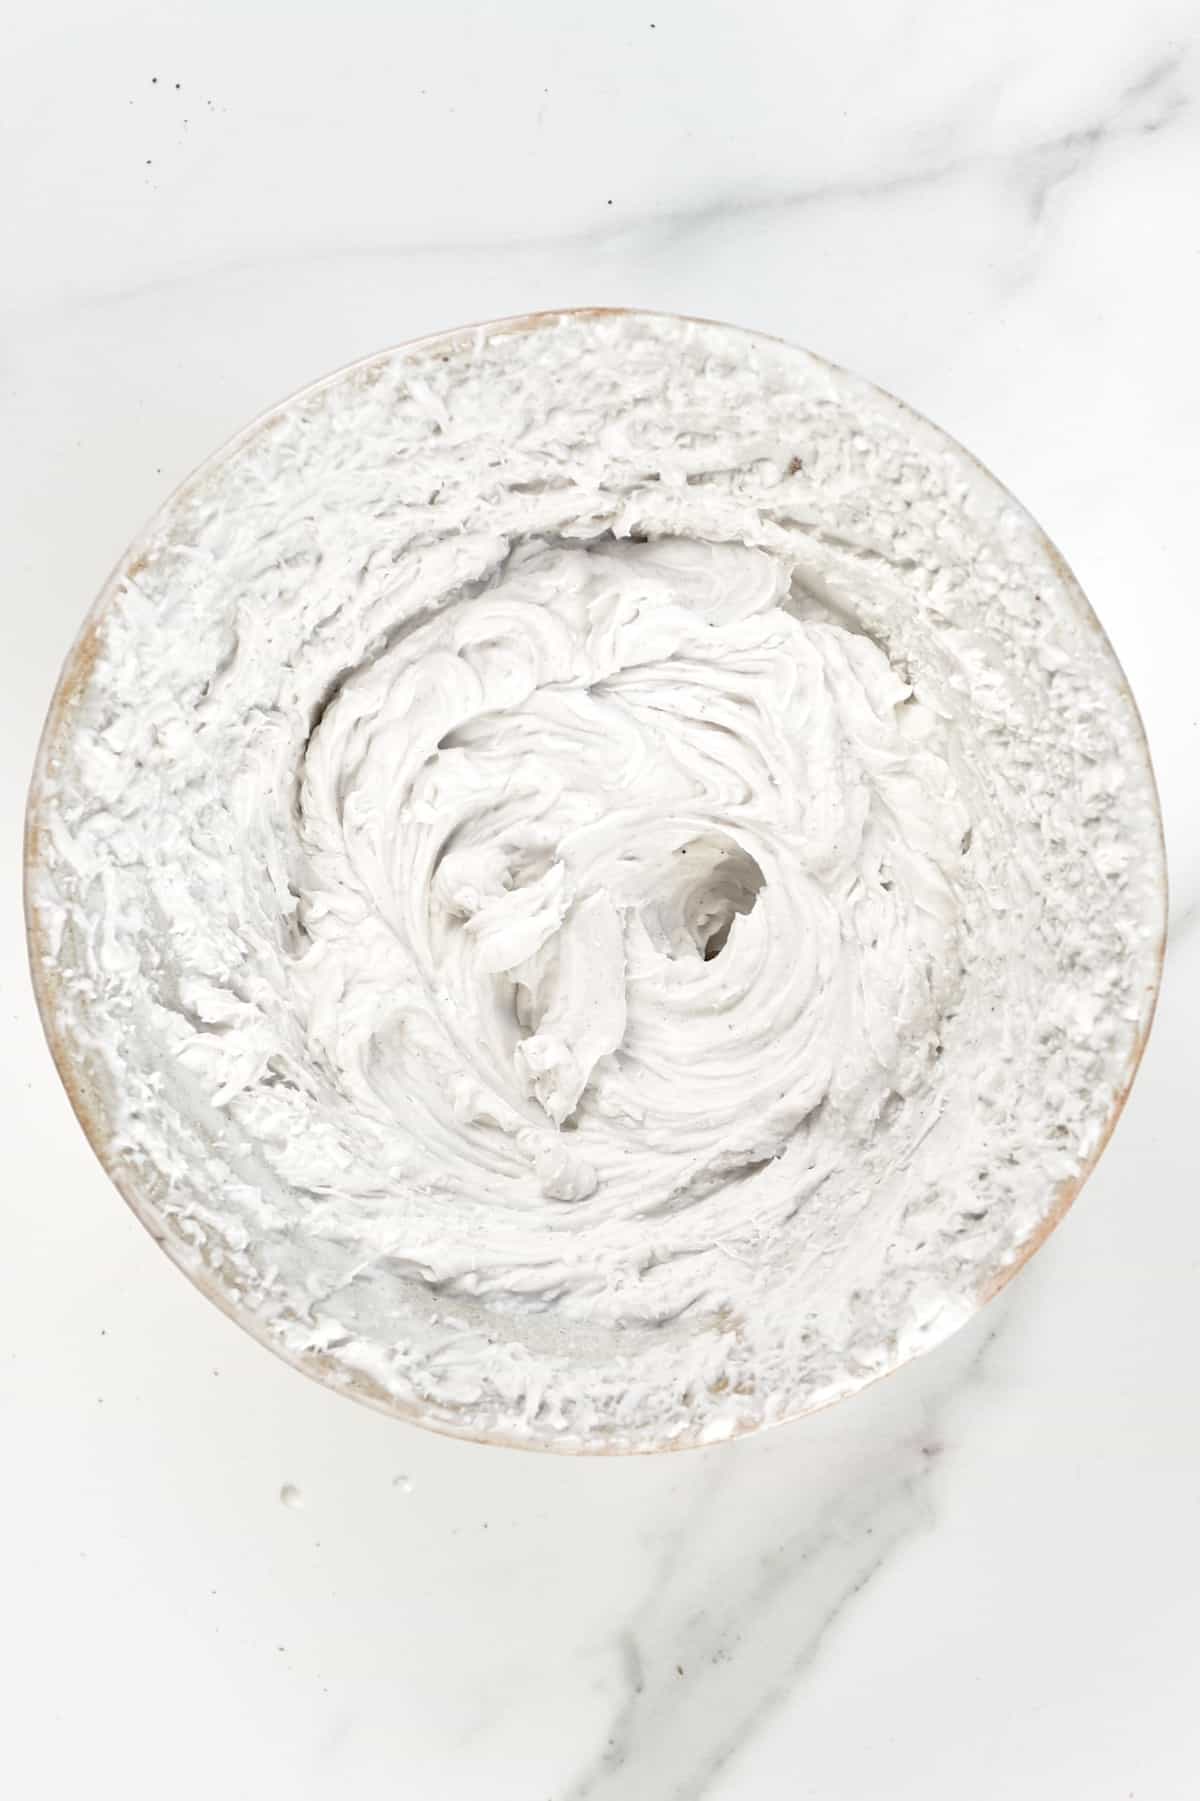
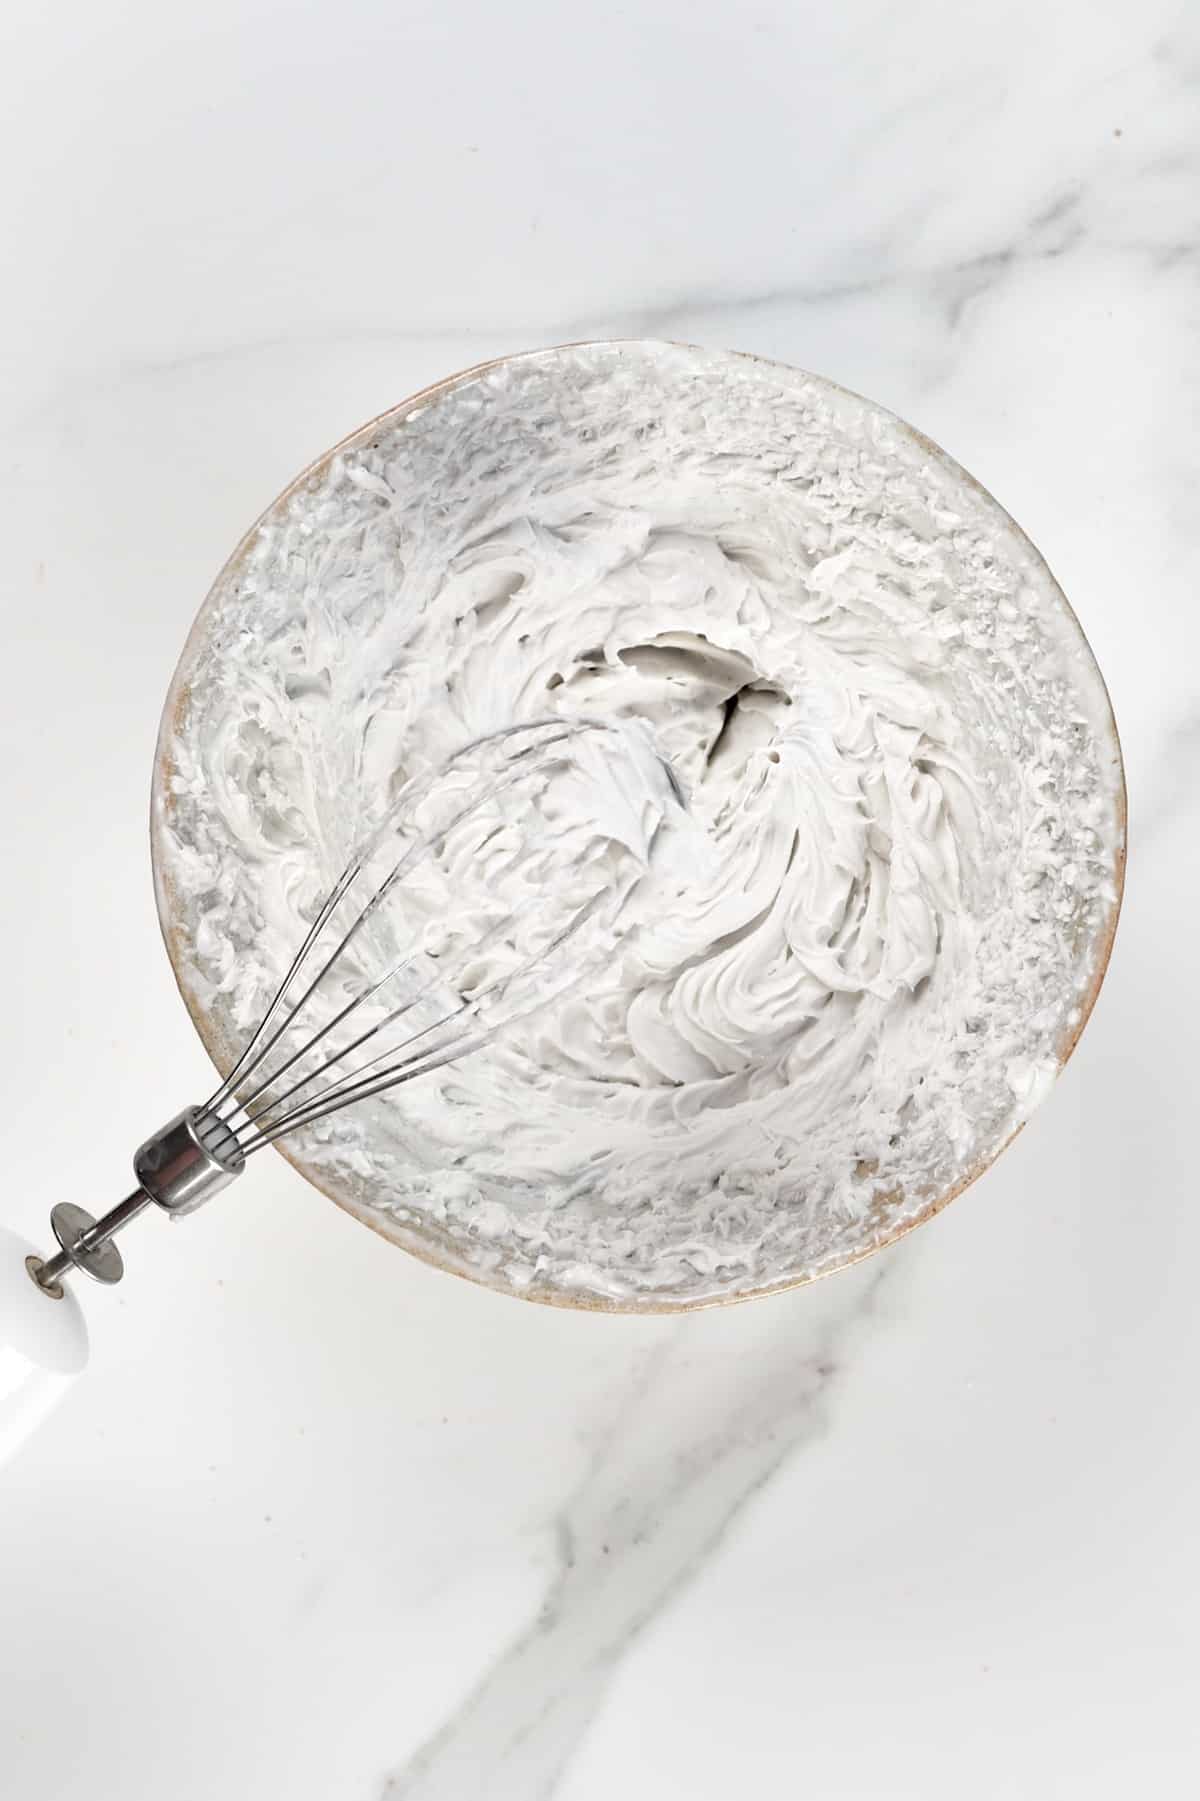
Using an electric hand mixer, whip the coconut cream until light and fluffy.
The cream can look quite grainy and lumpy to begin with but will eventually smooth out and become light and fluffy. Add some of the remaining liquid from the can if the cream is too thick and won’t whip nicely- but be careful not to add too much.
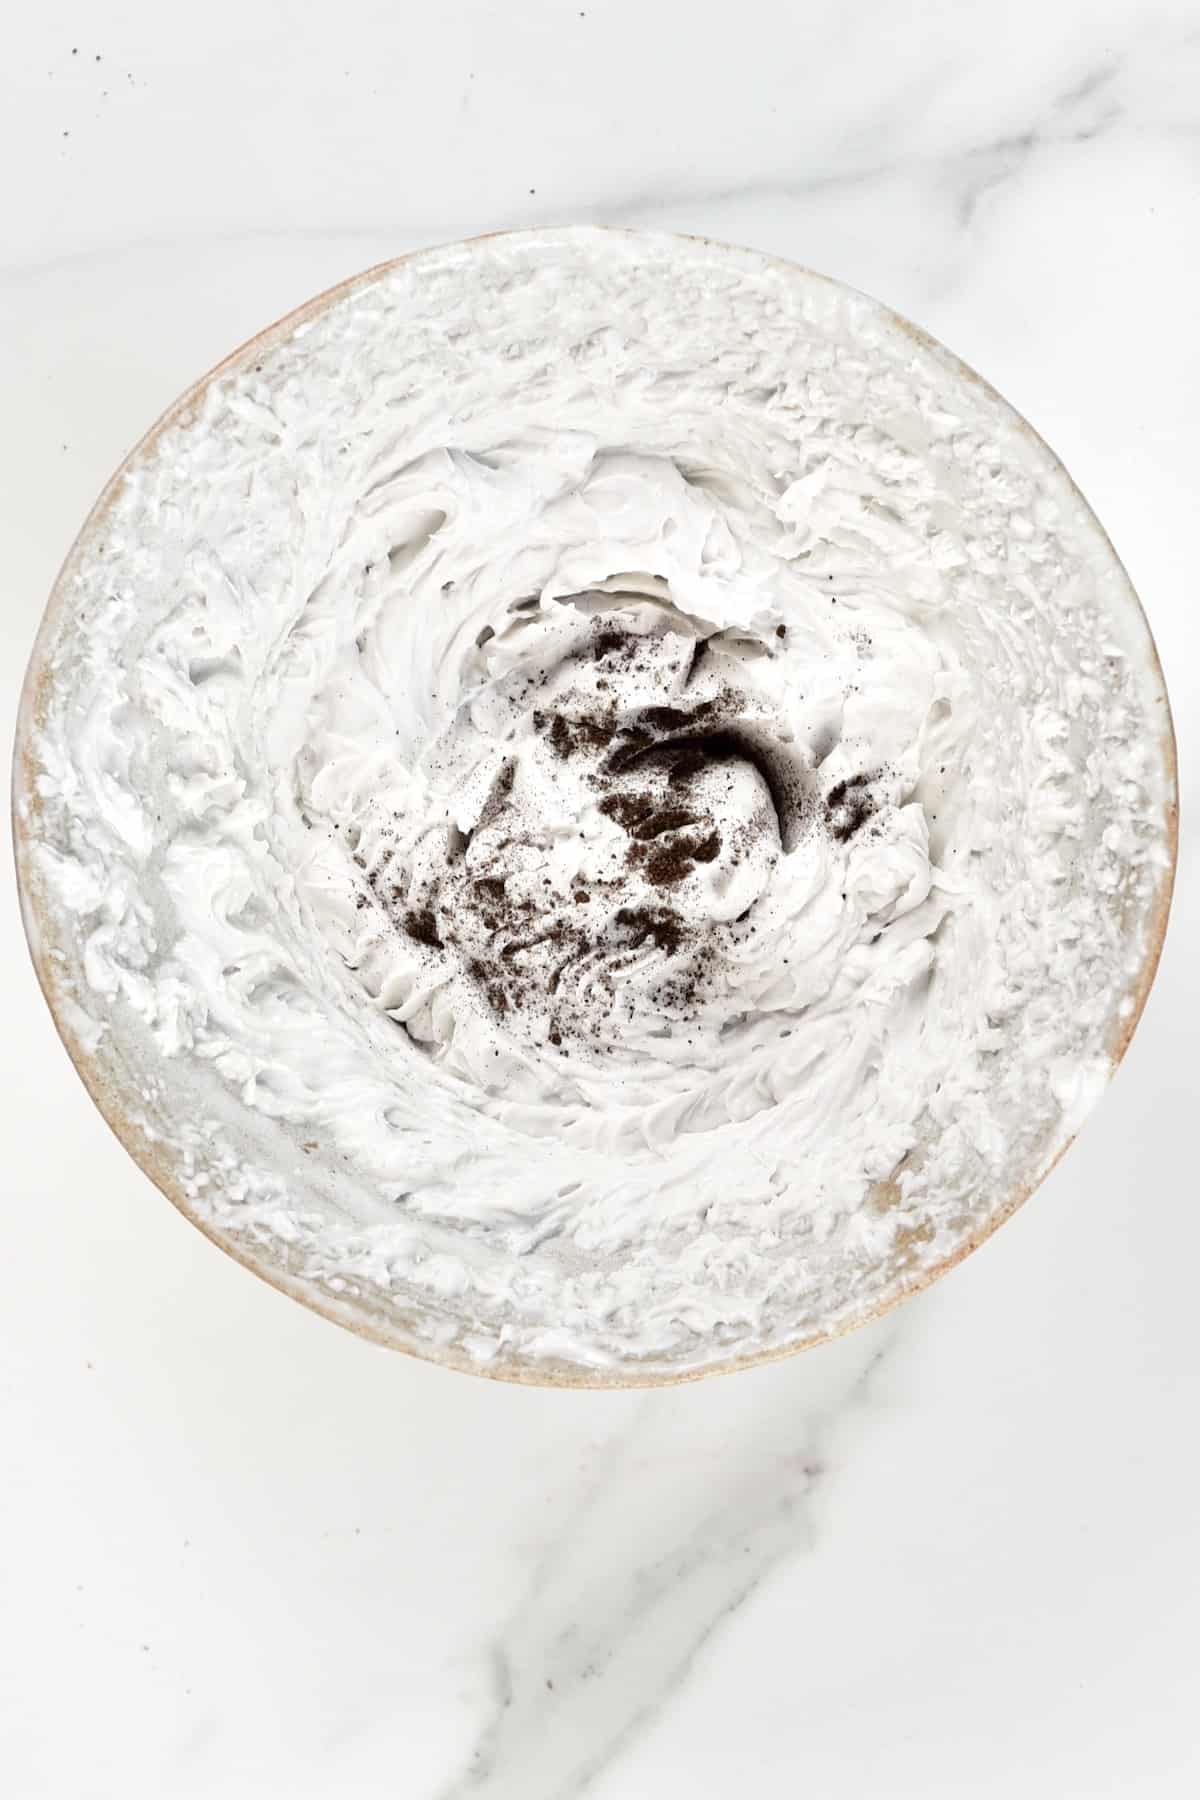
I add the vanilla and sweetener only when the cream is very almost at the correct consistency (when hard peak form)
Your coconut whipped cream is now ready. Use immediately or place back in the fridge until it’s ready to use.
How To Store:
You can store this coconut whipped cream in the fridge for between 1-2 weeks. It will thicken up slightly when chilled and soften when left at room temperature for too long.
You may need to re-whip it when removing it from the fridge to get the same fluffy texture.
If you want to freeze the cream then place it in a freezer-safe container/bag for up to a month.
FAQs
Honestly, there are several factors that can make the coconut cream not whip properly. Some brands of coconut milk just don’t work as well as others and/or don’t have consistent results.
It’s vital to chill the coconut cream overnight. Even better if you chill the bowl that you’ll be whipping the cream in for 30 minutes in the fridge or 10-15 minutes in the freezer.
This will depend entirely on where you live, so what is best here in the UK is likely unavailable elsewhere. Having consulted several friends In the US with some ‘testing’, the brands I can suggest as worth testing are: Thai Kitchen, Aroy-D, 365 Organic (Wholefoods brands), Natural Value Organic coconut milk Always use full-fat!
If you haven’t had the chance to experiment then I suggest keeping a couple of different brands to-hand to try.
It’s best to use brands that don’t have lots of additional additives like stabilizers, as these can affect the way the coconut milk separates and whips. Guar gum within the milk can be positive or negative depending on the brand, though I tend to avoid it if possible.
If you find that the coconut whipped cream is a little too stiff, you can add in a little of the remaining liquid from the coconut milk can. This will help it blend AND allow it to become airy and fluffier. Only do this if it’s too stiff, though!
Though not always possible, there are some occasions where you can fix a coconut cream that’s too thin. Simply whisk to soft peaks and then add some powdered sugar and/or tapioca starch to help thicken the cream.
You can also add a little coconut oil to the cream and mix well then place back in the fridge to chill before whipping again.
Yes, but I find it fairly subtle. The additional vanilla and sweetener, plus the whipping makes it sweet and neutralizes the coconut flavor somewhat.
Recipe Notes and Variations
- Make sure to chill the coconut milk In the fridge rather than a quick chill in the freezer. Freezing won’t give it enough time to separate properly.
- The cream can look quite ‘lumpy’ for a while but don’t worry, keep whipping and this should become smooth. The time can differ depending on the brand you’re using and your machine. Don’t rush the process, this can take up to 15 minutes sometimes!
- If you want to use this to frost cupcakes or cakes, then they are best left in the fridge until right before serving or kept in a chilled area. The cream will soften at room temperature.
- You can use the leftover liquid coconut water from the coconut milk cans. Add it to smoothies, use in bread recipes, to thin sauces, etc.
- If you use brands that contain guar gum then it’s best to leave in the fridge for longer. This will make sure it has enough time to separate. I’ll often pop it in the fridge 2 days in advance, just in case.
- Though it might seem like a good idea, avoid store-bought ‘coconut cream’ or milk sold in cartons.
- You can add additional flavors in the form of spices (like cinnamon), natural flavorings/extracts, and even citrus zest.
How To Use
There are tons (and tons and tons) of ways to use this coconut cream whipped cream. It’s a great dairy-free whipping cream alternative and can be used in most cases in place of dairy cream.
Here are some of my favorite options:
- As a whipped topping for Drinks: like this Strawberries and Cream Frappuccino, Mocha Frappuccino. You can also use it for warm drinks too, like coffee and hot chocolate.
- As a frosting: like for this heart-shaped cake.
- With desserts: like this Vegan Chocolate Mug Cake, or served alongside simple 4-Ingredient Avocado Ice Cream, or spooned over a warm Blackberry Cobbler.
- On top of pancakes/waffles: like this Fluffy Japanese Style Pancake Cake, or protein Pancakes.
- As a dessert: As well as serving this alongside other dishes, it can also be the base for a dessert too – like vegan mousse.
Related Recipes
- How To Make Homemade Coconut Condensed Milk
- Homemade Dairy-free Coconut Yogurt
- How to make Coconut Butter
- DIY: How to make Virgin Coconut Oil
- How-to: DIY Homemade Coconut Milk
- DIY: Coconut Bowls, chips & Shredded (desiccated)
If you give this coconut whipped cream recipe a go, then let me know your thoughts and any questions in the comments. Also, feel free to tag me in your recreations @AlphaFoodie.
Coconut Whipped Cream
Equipment
Ingredients
- Tinned coconut milk or homemade coconut cream
- vanilla extract optional
- sweetener of choice optional
Instructions
- If using tinned coconut milk then refrigerating overnight is crucial (or even two days in advance) in the fridge.If you're using homemade coconut cream, then this will also need to be chilled in the fridge – though only for a few hours. I like to chill it in the same mixing bowl I'll be whipping it in.
- Step 1: Remove the cans from the fridge and flip the can upside down* then open (this should now have the coconut liquid at the top, to easily drain). Pour out the liquid and what you have remaining is a thick coconut cream, which is what's needed.
- Step 2: Using an electric hand mixer, whip the coconut cream until light and fluffy.The cream can look quite grainy and lumpy to begin with but will eventually smooth out and become light and fluffy. Add some of the remaining liquid from the can if the cream is too thick and won't whip nicely- but be careful not to add too much.
- I add the vanilla and sweetener only when the cream is very almost at the correct consistency (when hard peak form).Your coconut whipped cream is now ready. Use immediately or place back in the fridge until it's ready to use.
How To Store:
- You can store this coconut whipped cream in the fridge for between 1-2 weeks. It will thicken up slightly when chilled and soften when left at room temperature for too long.You may need to re-whip it when removing it from the fridge, to get the same fluffy texture.If you want to freeze the cream then place it in a freezer-safe container/bag for up to a month.
Notes
- Make sure to chill the coconut milk In the fridge rather than a quick chill in the freezer. Freezing won’t give it enough time to separate properly.
- The cream can look quite ‘lumpy’ for a while but don’t worry, keep whipping and this will eventually become soft and smooth. The time can differ depending on the brand you’re using and your machine so don’t rush the process, this can take up to 15 minutes sometimes!
- If you want to use this to frost cupcakes or cakes, then they are best left in the fridge until right before serving or kept in a chilled area. The cream will soften at room temperature.
- You can use the leftover liquid coconut water from the coconut milk cans to add to smoothies, use in bread recipes, to thin sauces, etc.
- If you use brands that contain guar gum then it’s best to leave the milk in the fridge for even longer, to make sure it has enough time to separate. I’ll often pop it in the fridge for 2 days in advance, just in case.
- Though it might seem like a good idea, avoid store-bought ‘coconut cream’ or milk sold in cartons.
- You can add additional flavors in the form of spices ( like cinnamon), natural flavorings/extracts, and even citrus zest.
Check out the FAQs section in the post for answers to more questions and additional helpful tips and tricks.


Excellent recipe , thank you very much for sharing this , I am getting ready to make Coconut ice cream and a couple variations , made with a coconut cream base, I’m making Chocolate Mousse rt now w/of course this lovely Coconut Whipped cream base , & I used a real Vanilla bean for the first time, & I love it!!! , & there are many possibilities with this recipe as the base Thanks again for sharing this recipe
Thank you so much for your comment, Janeen. Glad you are enjoying the recipe.
Loved it
Love from (hyderabad)