
This post may contain affiliate links. Please read our disclosure policy.
Want to know how to make cream cheese at home with ingredients you probably already have? Business Insider tested homemade cream cheese methods and named my 3-ingredient version their top pick for flavor and texture.
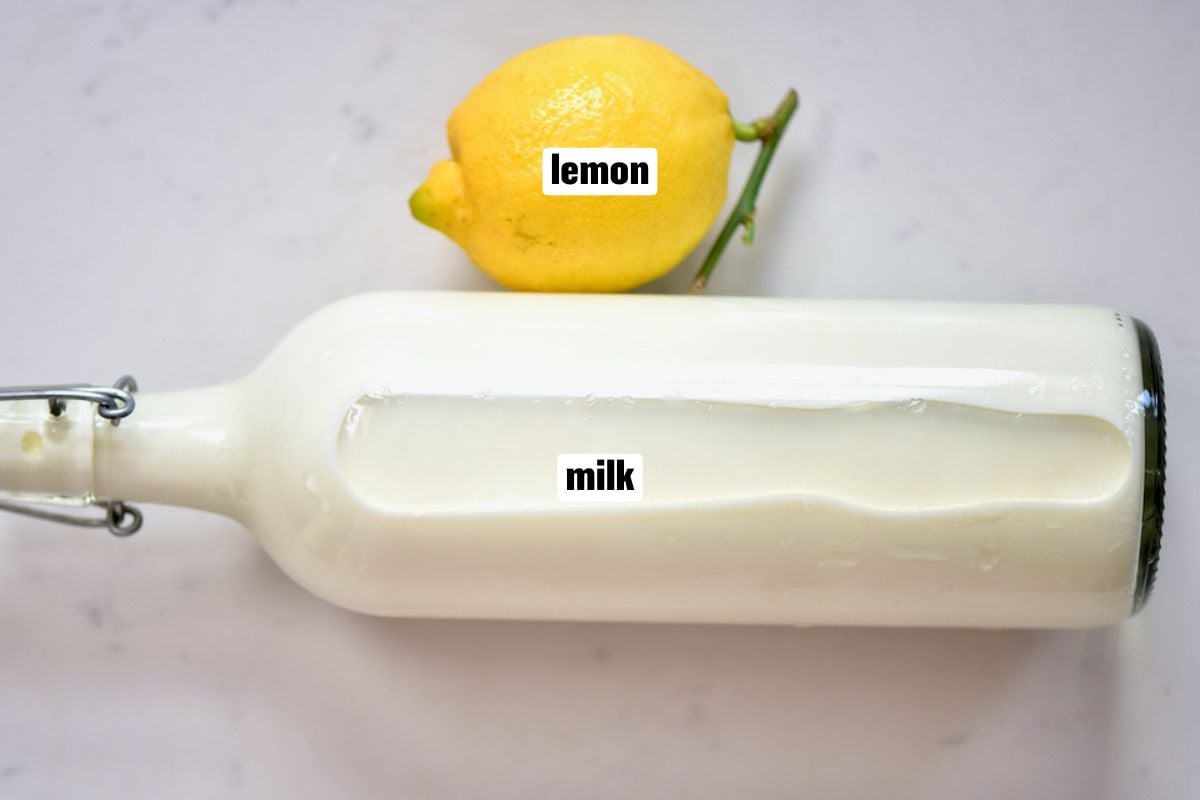
This easy method uses just 3 ingredients (milk + lemon juice or vinegar + salt) and makes a soft, tangy, spreadable homemade cream cheese you can use like store-bought, on bagels, in frosting, and even in cheesecake-style desserts.
All you do is gently heat the milk, add acid to form curds, strain, then blend until smooth and fluffy. No special cultures, no fancy equipment, and no waiting around for hours.
If you like making dairy basics at home, you might also enjoy my homemade mozzarella, goat cheese, cottage cheese, and 3-ingredient ricotta.
Updated: March 2026 (added clearer step cues, troubleshooting, and storage tips for consistently smooth results).
Table of Contents
- Why you’ll love this recipe
- What is cream cheese?
- Tools and ingredients
- How to make homemade cream cheese
- My tips for smooth, spreadable cream cheese
- How to store homemade cream cheese
- Homemade vs store-bought cream cheese
- How to use homemade cream cheese
- FAQs and troubleshooting
- More cheese recipes you might like
- How to Make Cream Cheese (Quick & Easy) Recipe
Why you’ll love this recipe
- 3 simple ingredients and one pot
- No cultures, no rennet, no special equipment
- Smooth, fluffy, and spreadable with easy ways to adjust thickness
- Works in sweet or savory recipes, including frosting and cheesecake-style desserts
What is cream cheese?
Cream cheese is a fresh (unaged), soft cheese with a mild tang and a smooth, spreadable texture.
In store-bought cream cheese, milk (and sometimes cream) is acidified, often with cultures, so it separates into curds and whey, then the curds are processed until silky. Many commercial versions also include stabilizers or thickeners to keep the texture extra uniform.
This homemade version follows the same basic idea (curds + whey), but uses the quick, no-fuss approach: milk + lemon juice or white vinegar + salt. After straining, the key step is blending, which transforms the curds from ricotta-style into a light, fluffy cream cheese-style spread.
Tools and ingredients
Ingredients
- Whole milk (full-fat): Best for richness and the smoothest texture.
- Low-fat milk can work, but the result is usually less rich and may yield smaller curds.
- Lactose-free milk can work too, but curds may be smaller, so line your strainer well (or use a nut milk bag) so you don’t lose any.
- If possible, avoid UHT/ultra-high-temperature milk, which can be more stubborn about curdling.
- Lemon juice OR distilled white vinegar: Either works to separate the milk into curds and whey (use whichever you have).
- Salt (optional): Add at the end so you can taste and adjust.
Easy variations:
- Extra-rich option: Replace a little of the milk with heavy cream for a richer result.
- Flavor add-ins: After blending, mix in dried herbs, garlic powder, or dried chili flakes (add-ins can shorten shelf life).
Tools you’ll need:
- Heavy-bottomed saucepan: milk can scorch, so a thicker pot helps
- Wooden spoon or silicone spatula: for stirring
- Fine-mesh strainer/sieve + a large bowl: to catch the whey
- Cheesecloth/muslin cloth (or a nut milk bag) for easy draining and squeezing
- Food processor or blender to blend the curds into a smooth, spreadable texture
Optional but helpful:
- Slotted spoon: handy for scooping curds out of the pot
- Thermometer: extra confidence hitting a gentle simmer without boiling
See the printable recipe card below for the full ingredients list and quantities.
How to make homemade cream cheese
This is the quick method: heat → curdle → strain → blend.
1) Set up the strainer first.
Place a fine-mesh strainer over a large bowl and line it with cheesecloth/muslin (or use a nut milk bag).
2) Heat the milk to a gentle simmer.
Warm the milk over medium-high heat, stirring occasionally to prevent scorching. You want steam and small bubbles around the edges, not a rolling boil.
 Heat the milk
3) Add the acid.
Stir in the lemon juice (or vinegar), stirring gently, until curds start forming.
4) Let the curds form.
Once the curds form and the whey begins to separate, turn off the heat and let it sit for 2-3 minutes to fully separate.
If it’s not separating, the milk may not be hot enough (or it may be UHT). Briefly return it to gentle heat and add a little more acid as needed.
 Add the acid
 Let the curds form

5) Strain.
Pour the curds and whey into the lined strainer. (Or scoop curds out with a slotted spoon.) Save some whey in case you want to loosen the texture later.
6) Optional rinse (for a milder flavor).
Rinse the curds with cold water to mellow sharpness, then let them drain again.
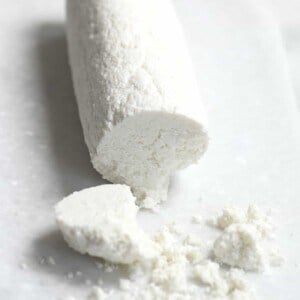
7) Squeeze to control thickness.
Gather the cloth and squeeze firmly to remove whey. More squeezing equals thicker cream cheese.

") Rinse (optional)
Rinse (optional) Strain
 Squeeze
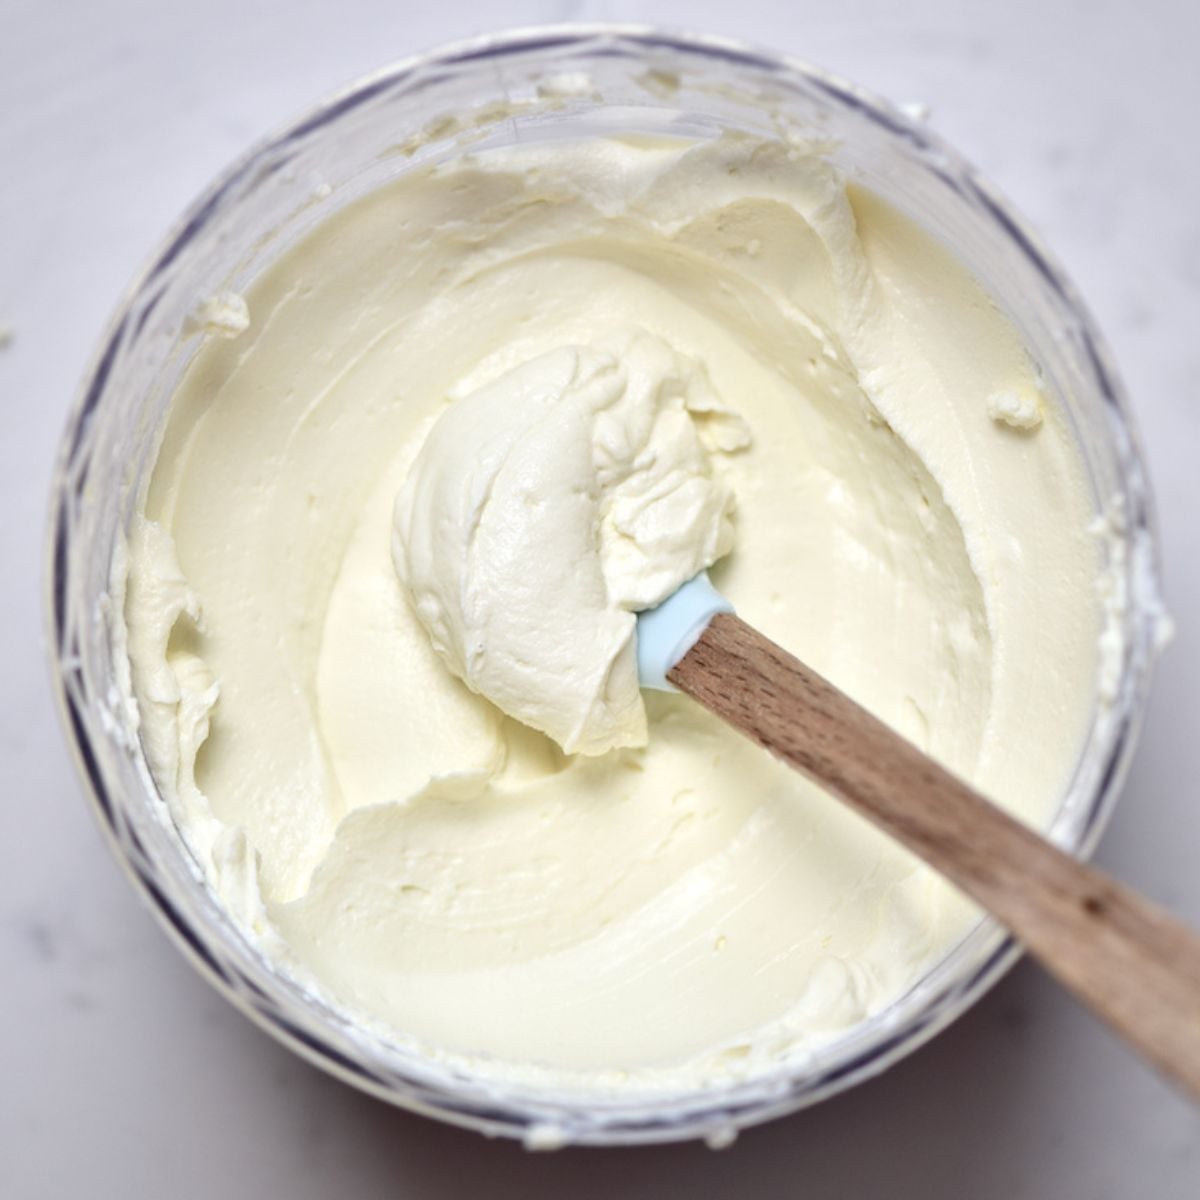
8) Blend until fluffy.
Blend the curds with salt until smooth and creamy. If it looks stiff or grainy, blend longer and add 1-2 Tablespoons reserved whey gradually until spreadable.
9) Taste and season.
Adjust salt and add any flavorings you like. Use right away or chill for a slightly firmer texture.

 Blend
Blend
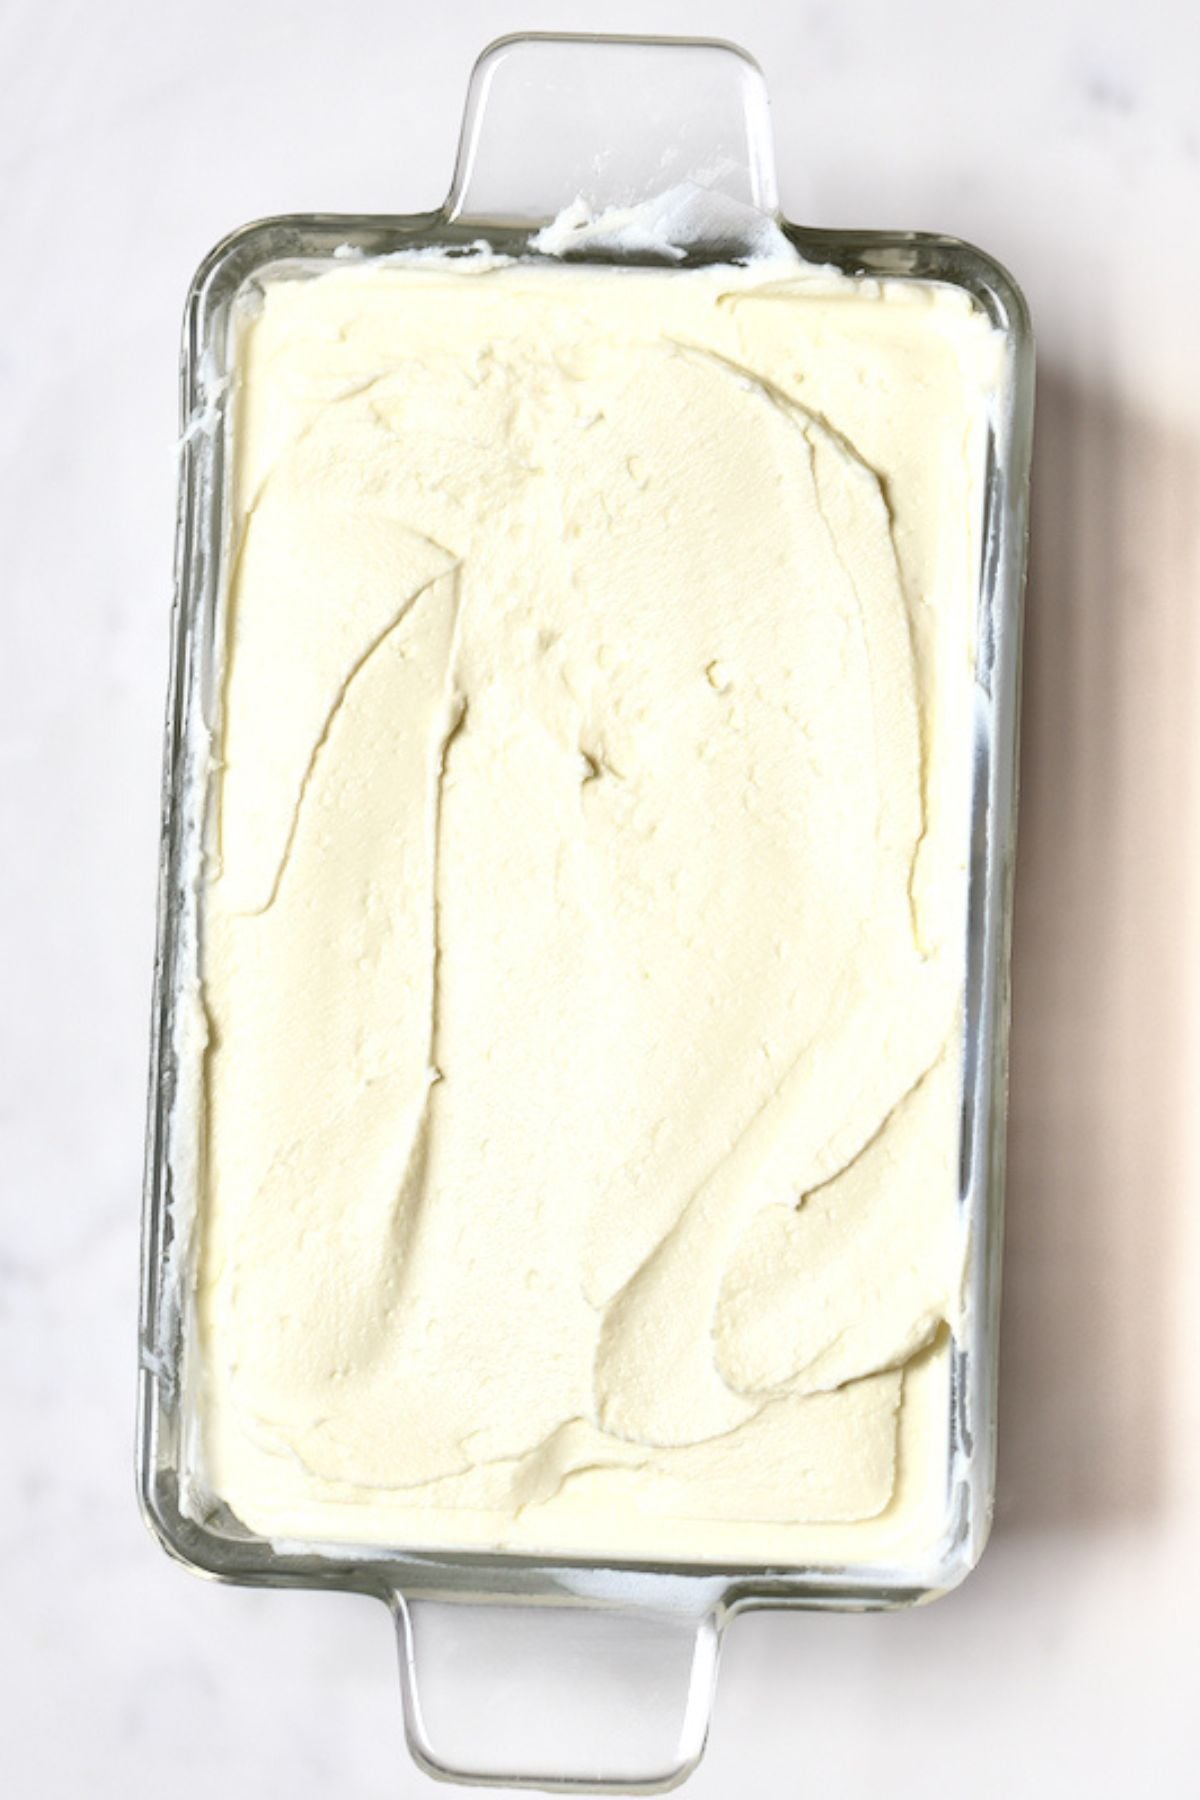
 Store
StoreMy tips for smooth, spreadable cream cheese

- Keep the heat gentle. Aim for a gentle simmer (steam + small bubbles around the edge). Boiling can make tougher curds.
- Let the curds fully form before draining. Give it a few minutes after adding the acid so separation is clear.
- Thickness is controlled at the draining step. Squeeze out more whey for thicker cream cheese.
- Grainy is usually under-blended. Blend longer, and if needed, add 1-2 Tablespoons of reserved whey gradually while blending.
- Save the whey. It’s useful for loosening texture and for cooking (ideas below).
How to store homemade cream cheese
Because this is a fresh, homemade cream cheese (no preservatives), store it cold and use it fairly quickly.
- Fridge: Store in an airtight container and use within 7 days. Always use a clean spoon/knife so it stays fresh longer.
- Freezer (optional): Freeze in a freezer-safe container for up to 2 months. After thawing, the texture can be more crumbly, so it’s best used in dips, sauces, soups, and baking.
- How to thaw: Thaw overnight in the fridge, then stir well (or briefly re-blend). Add a tiny splash of whey or milk if it needs loosening.
Homemade vs store-bought cream cheese
Homemade cream cheese is a fresh, blended curd spread, so it’s naturally a little different from supermarket blocks and tubs.
- Texture: Smooth and spreadable, but without stabilizers it can be slightly less uniform than some brands. Drain longer for thicker results.
- Flavor: Clean and tangy.
- Best uses: Great as a spread, blended into frosting, stirred into sauces, and used in cheesecake-style desserts.
How to use homemade cream cheese
Use this the same way you would use store-bought cream cheese, sweet or savory.
- Spread it: It’s perfect for homemade New York-style bagels, a cucumber sandwich, or a lox bagel.
- Bake with it: Make carrot cake with cream cheese frosting or cheesecake-style desserts (blend until extra smooth, then chill to firm up).
- Savory snacks and appetizers: It goes great with stuffed mini peppers, or you can stir it into warm sauces or soups for extra creaminess.
- Quick flavor ideas:
- Garlic and herb: dried herbs + garlic powder + pinch of salt
- Scallion: finely chopped scallions + black pepper
- Sweet: honey + vanilla + pinch of salt

FAQs and troubleshooting
Most often:
– The milk wasn’t hot enough (you need a gentle simmer).
– The milk was UHT/ultra-high temperature.
– It needs a touch more acid.
Return it to gentle heat briefly and add a little more lemon/vinegar as needed. You should see white curds and pale yellow whey.
This is usually from overheating or under-blending. Keep the milk at a gentle simmer, then blend longer. If needed, add 1-2 Tablespoons reserved whey gradually while blending.
Drain longer and squeeze the cloth more firmly. Chilling also helps it feel firmer.
Blend again and add reserved whey (or a tiny splash of milk) a little at a time.
Yes, optional. Rinsing can mellow sharpness. Skip it if you prefer a stronger tang.
Yes. Use it the same way you would store-bought cream cheese.
Use it in soups, stews, marinades, breads, pancakes, muffins, or smoothies.
More cheese recipes you might like


If you try this cream cheese recipe, let me know how it goes in the comments below. Please leave a rating and a comment below, it really helps!

How to Make Cream Cheese (Quick & Easy)
Equipment
- Cheesecloth (Muslin cloth) or nut milk bag
Ingredients
- 8 cups whole milk full-fat preferred; lactose-free can work; avoid UHT if possible
- 5 Tablespoons lemon juice (about 1 large lemon) OR 5 Tablespoons distilled white vinegar
- 1/2 teaspoon salt or more to taste (optional)
- 1-2 Tablespoons reserved whey optional, to loosen while blending
Yield: about 1 cup.
Instructions
- Line a fine-mesh strainer with cheesecloth (or a nut milk bag) and set it over a bowl.
- Heat the milk in a heavy-bottomed saucepan over medium-high heat until steaming with small bubbles at the edges (gentle simmer). Do not boil.
- Stir in the lemon juice or vinegar until curds form, and the whey begins to separate. Turn off the heat and rest 2–3 minutes
- Pour into the lined strainer and drain until the curds are cool enough to handle. Optional: rinse with cold water for a milder flavor, then drain again.
- Gather the cloth and squeeze firmly to remove excess whey.
- Blend the curds with salt until completely smooth and fluffy. If it seems dry or slightly grainy, keep blending and drizzle in reserved whey a little at a time until creamy.
- Taste and adjust salt, then transfer to an airtight container and chill.
Video
Notes
Check the blog post for more tips and troubleshooting!
Nutrition
Nutrition information is automatically calculated, so should only be used as an approximation.


We live on a rural ranch and since it’s just my hubs and me, I don’t usually buy milk because it spoils too quickly before we use it. I was running very low on cream cheese and found this recipe. Thought I’d try it with the (whole) milk powder I keep on hand. Cut the recipe down to just 1 cup of milk so I didn’t waste any in my trial and error. IT WORKED GREAT! I heated the milk to a mere 145°F, added lime juice because it was what I had on hand (again, just experimenting) and let it sit for 20 mins. Strained it for a good 10 mins, then rinsed and strained a good while longer (unintentionally…curse you, ADD!) I then whipped it with two tablespoons of heavy cream (I do keep that in the fridge, because it lasts a lot longer than milk) and added a pinch of citric acid because it was a bit bland. Thankful it can be made with powdered milk! (whole milk that is)
Vickie, I love how you adapted it with powdered milk — such a clever way to make cream cheese without worrying about spoilage. Thanks for sharing your method and tweaks! <3
I don’t have a wooden spoon. Can I use a metal spoon instead?
Hi Darlene,
A wooden spoon or silicone spatula are preferable, but your metal spoon will get the job done.
I don’t have a food processor, but I have this small handheld blender and it did the trick. It turned out great, but it feels a bit dry. I added a tiny amount of water and it helped, but not 100%. I probably added a bit more lemon than you, could that be the reason?
Thank you so much for your comment, Melo. I’m happy to hear the handheld blender worked. Adding extra lemon juice can sometimes cause the curds to separate a little more firmly, which might make the cream cheese feel drier. Then indeed, as you’ve done, a splash of water or a bit more of the whey liquid can help with the texture. I hope you give it another try!
For the life of me I can’t get this to not be grainy when I make it. I’m using raw milk from our cow, I skim some cream off the top before making the cheese. Is too little cream my issue or maybe I’m not getting enough of the whey out? Help!
Hi Regan,
To get it smooth, you can blend the rinsed curds. Just add everthing to a blender or food processor and blend until light and fluffy. I hope this helps.
It might be because you’re taking your milk too far on the boil
Thank you so much for your comment.
Indeed, it only needs to simmer gently, and not fully boil.
Your recipe is so spread out it would take 60 pages to print it. PleASE FIx this.
Hi Mike,
You can use the option “Print Recipe” on the recipe card. This prints 1 to 2 pages max. I hope this helps.
Where has this been all my life?
I hope you gave the recipe a try 🙂 Let me know how you liked it!
Hi! Will this work for 1% milk?
Hi Rachel,
If you use fat-free or low-fat milk, the milk might not curdle at all and you won’t obtain cream cheese. It’s better to use full-fat milk. I hope you give it a try.
How to watch video
Hi Gary,
There is a video in the recipe card. Unfortunately, if you are using an ad blocker, the video doesn’t display. You can check my social channels as well, where I share many videos including this one. I hope this helps.
I love how easy it was to follow. I did scorch the bottom of my pan… but it was fine.
There is no way to make this without a food processor. Fortunately my son gave me one for Christmas
It does tastes a little milky… so adding in garlic and onion may be helpful until I’m use to it.
Thank you
Thank you so much for your comment, Gina! So happy you gave this recipe a try!
Me? Making bagels and homemade cream cheese? My friends will be as stunned as I am.
Hi Susan,
Glad you liked the cream cheese recipe! I hope make it again and again! Happy cooking! <3