
This post may contain affiliate links. Please read our disclosure policy.
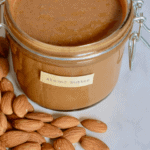


With just two ingredients, you can make your own homemade almond butter – the perfect almond spread that’s naturally gluten-free, vegan, and free from refined sugar.
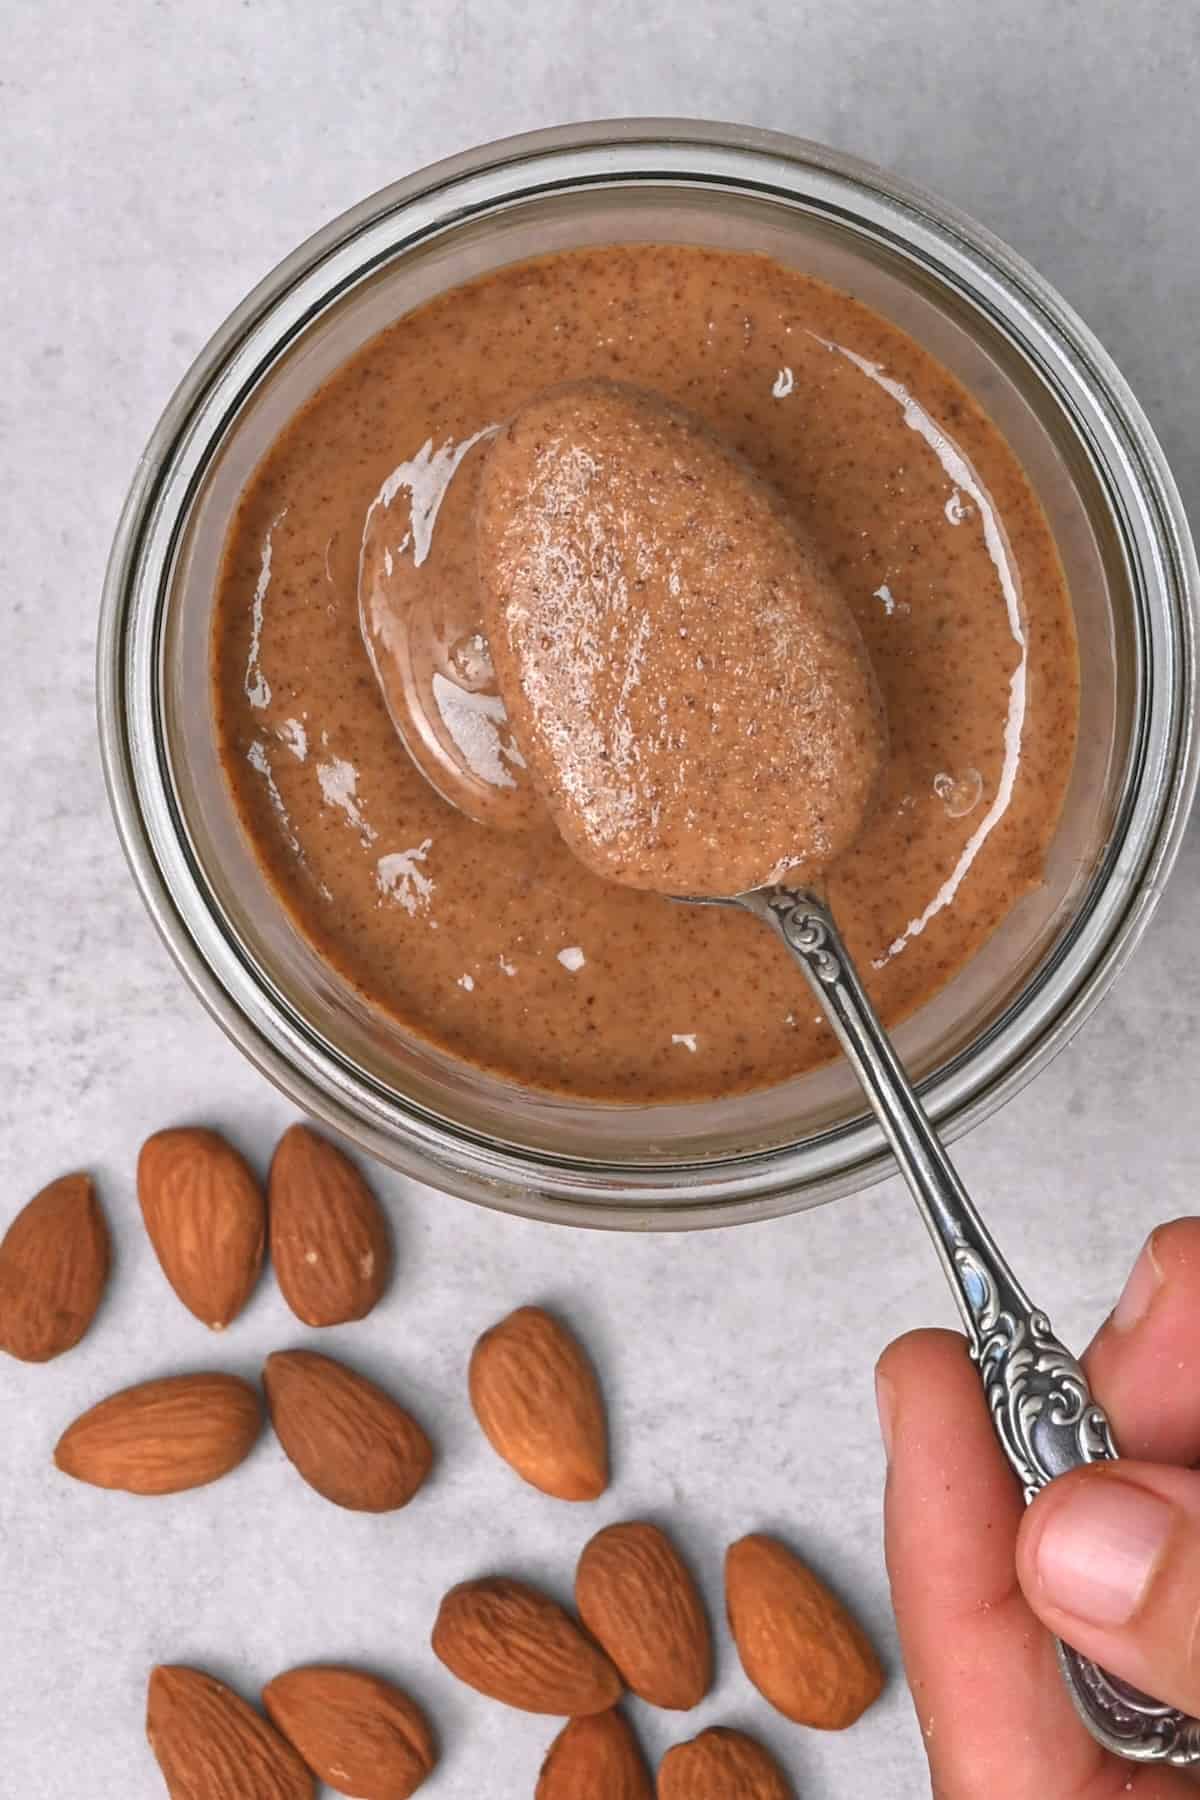
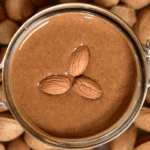
Almond nut butter is a paste made from blitzed toasted almonds. Alongside the traditional peanut butter, roasted almond butter is one of the most popular spreads. It’s a healthy snack that’s delicious, super thick, creamy, and can be used in a myriad of ways.
Made with just two ingredients – roasted almonds and a little sea salt – making this creamy almond butter recipe takes about fifteen minutes and a little elbow grease. Not to mention, it’s a fraction of the cost of a jar from the grocery store. Plus, there are no unwanted additives in the homemade version so it’s worth the effort to make your own almond butter.
Want to save this recipe?
What is homemade almond butter made of
As I mentioned above, you only need two ingredients:
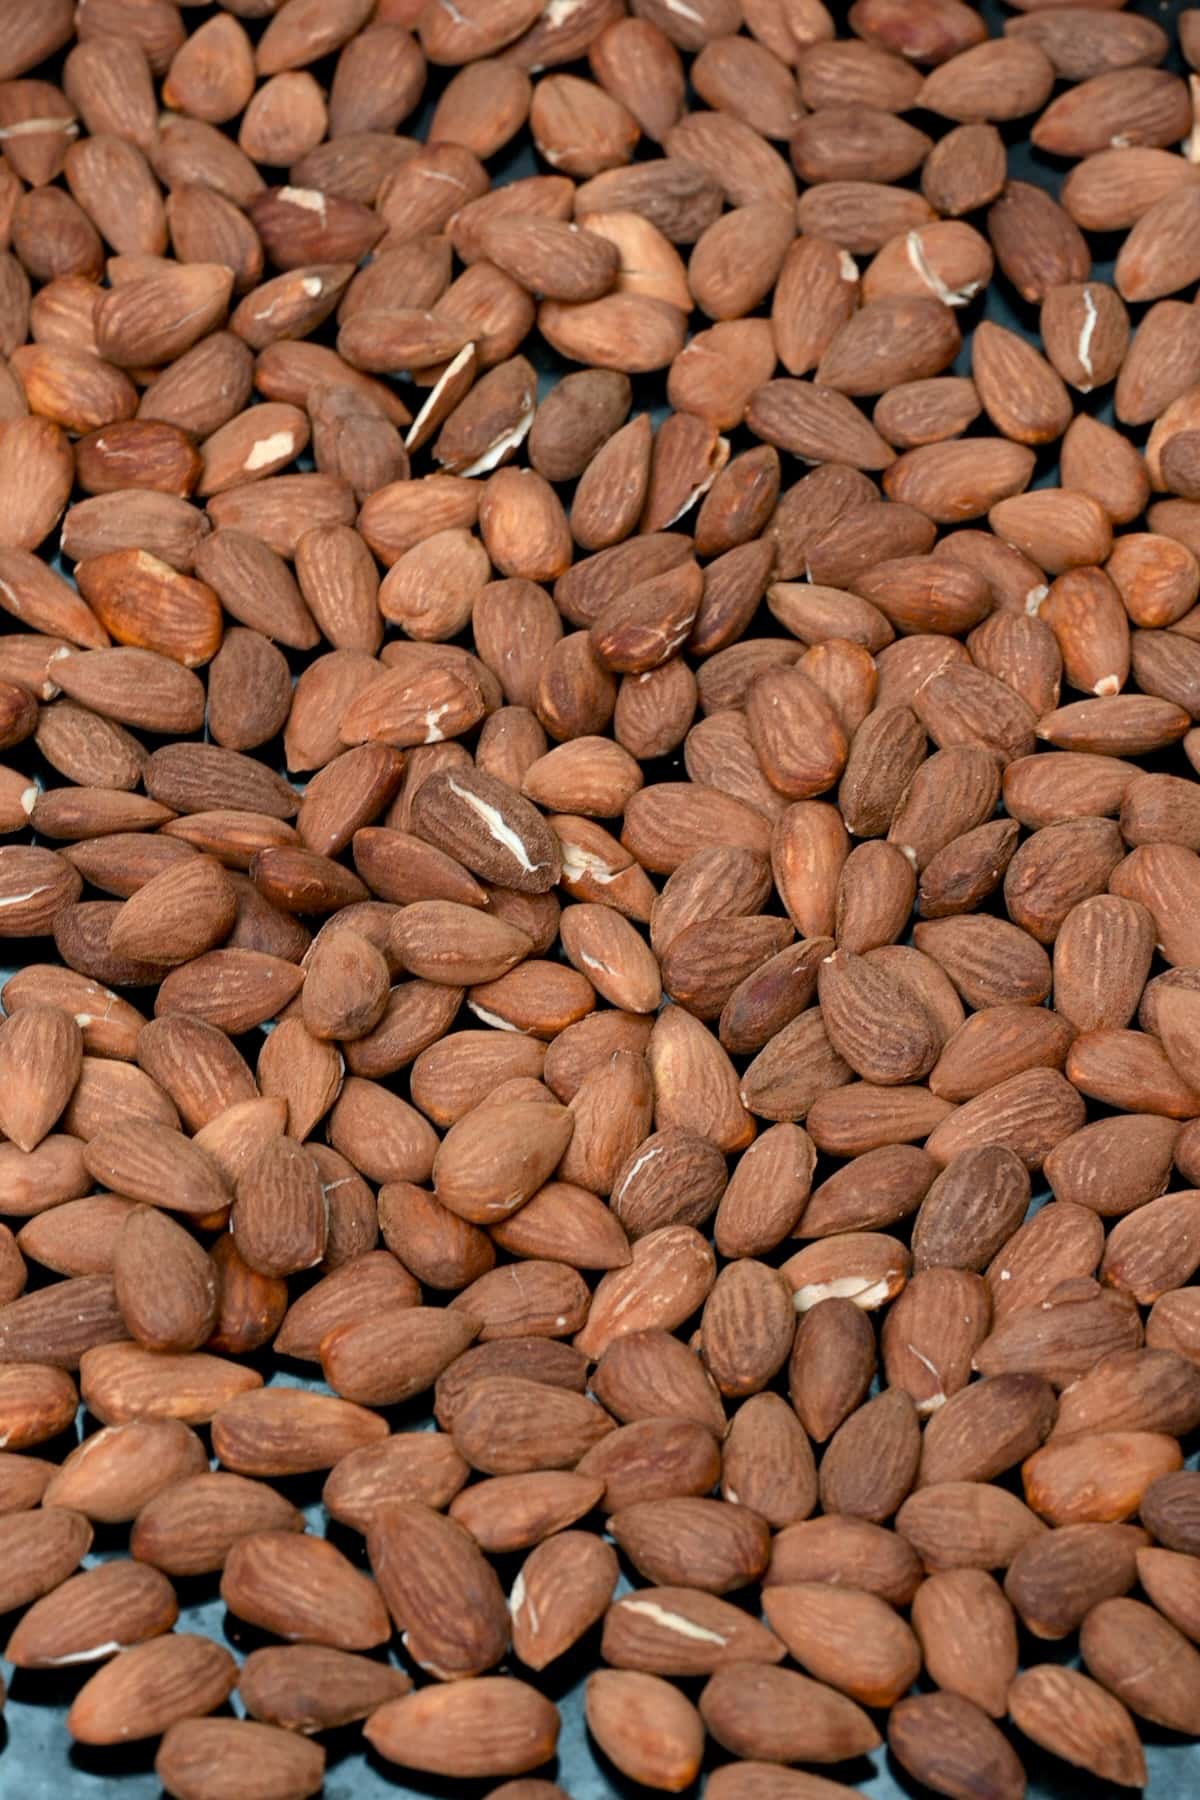
- Raw Almonds: It’s best to use unsalted and unroasted nuts for making a DIY almond butter. If you want, you can choose to use blanched raw almonds. Unpeeled almonds will make a spread with a deeper brown color and a slightly nuttier flavor while the blanched ones will result in a lighter color and slightly milder flavor.
- Salt: I would use any salt with smaller granules for ease in blending, like sea salt.
How to make homemade almond butter
Here’s how to make almond butter creamy and delicious.
Toast the almonds
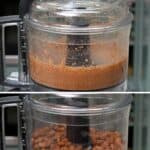
Place the almonds on a baking sheet and toast in the oven for 8-10 minutes at 325ºF/165ºC. This brief toasting is necessary so the almonds release their natural oils as well as to bring out the flavor.
Do this step even if you are using blanched almonds.
Once your toasted almonds are ready, leave them to cool for about 10 minutes or until they are cool enough to handle.
Blend
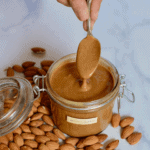
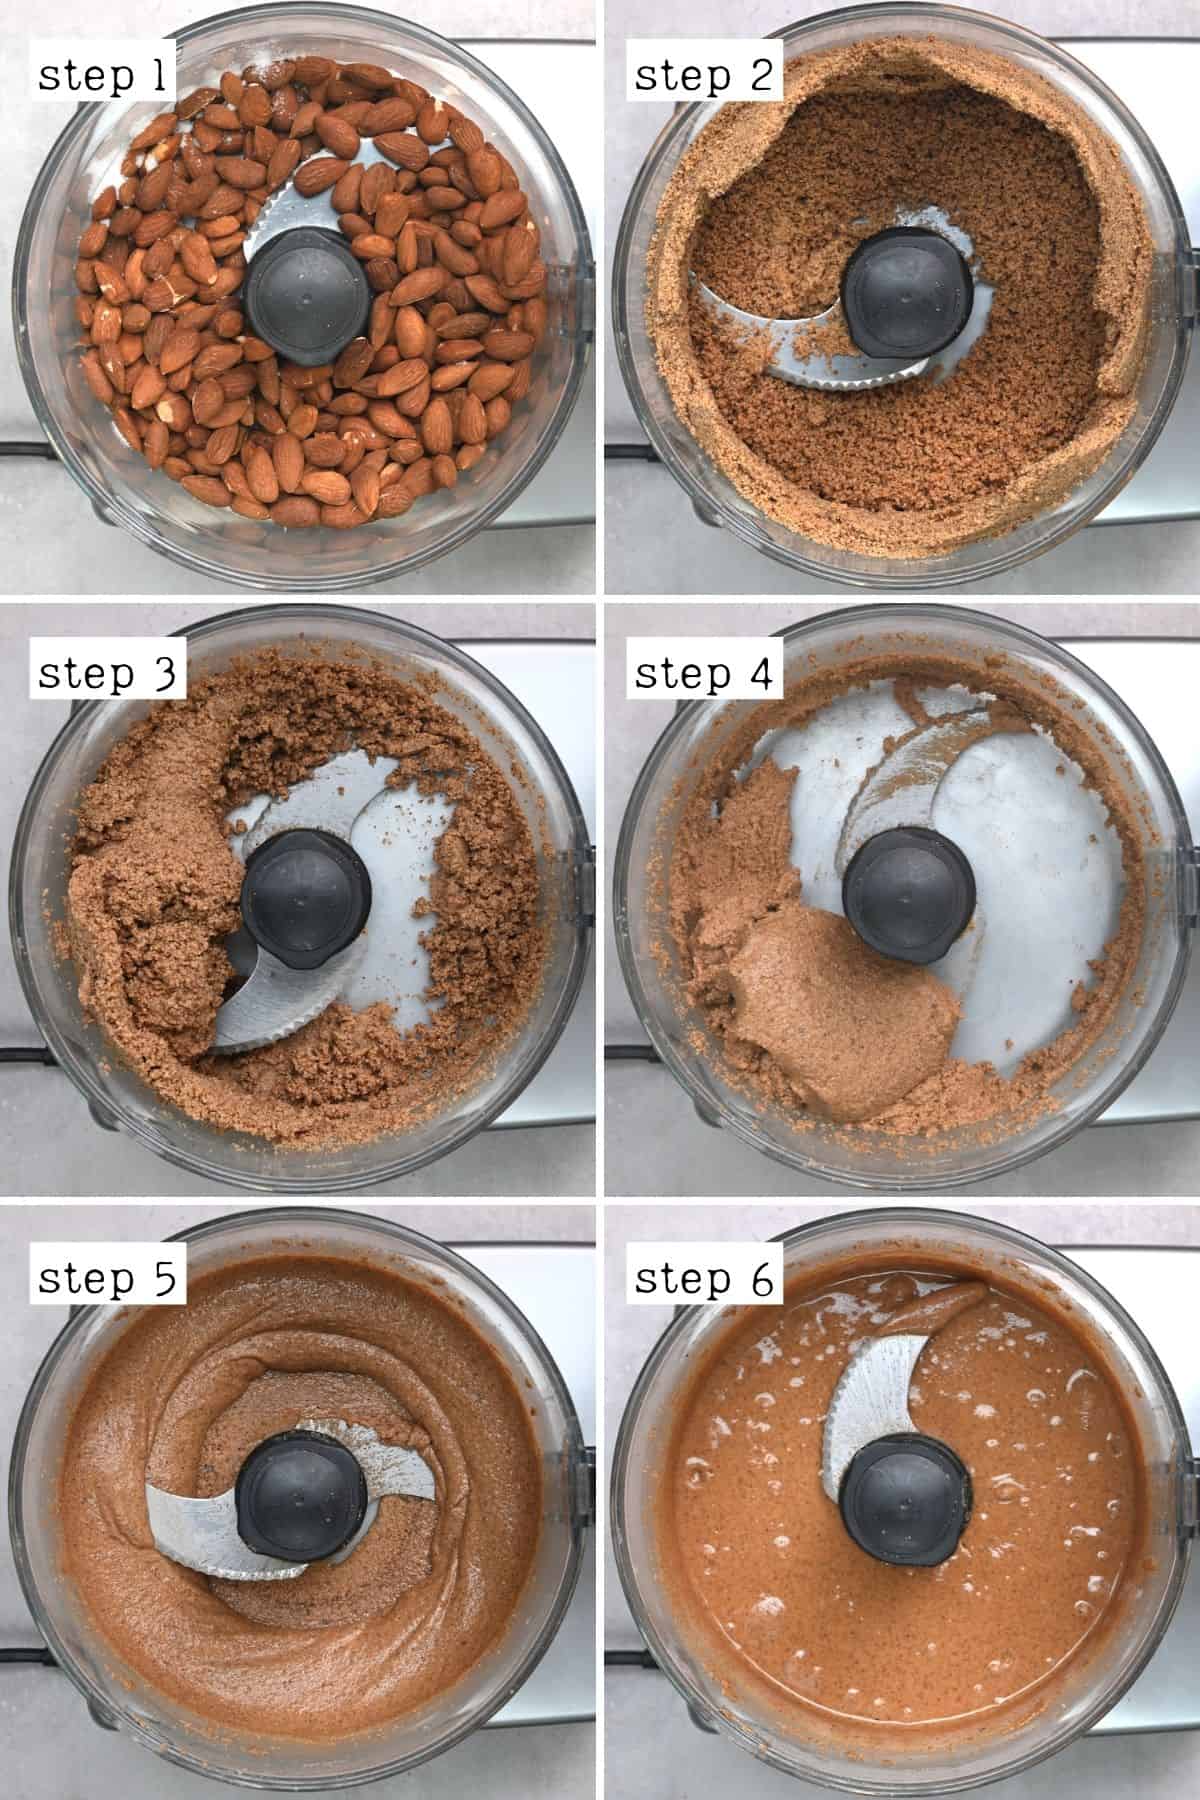
Add the almonds to a food processor or blender, add a pinch of salt, and blend until at your desired consistency. The longer you blend, the runnier the butter will be. The process can take 10-15 minutes or longer depending on your machine and texture preference.
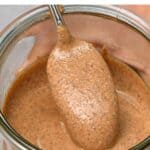
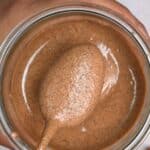
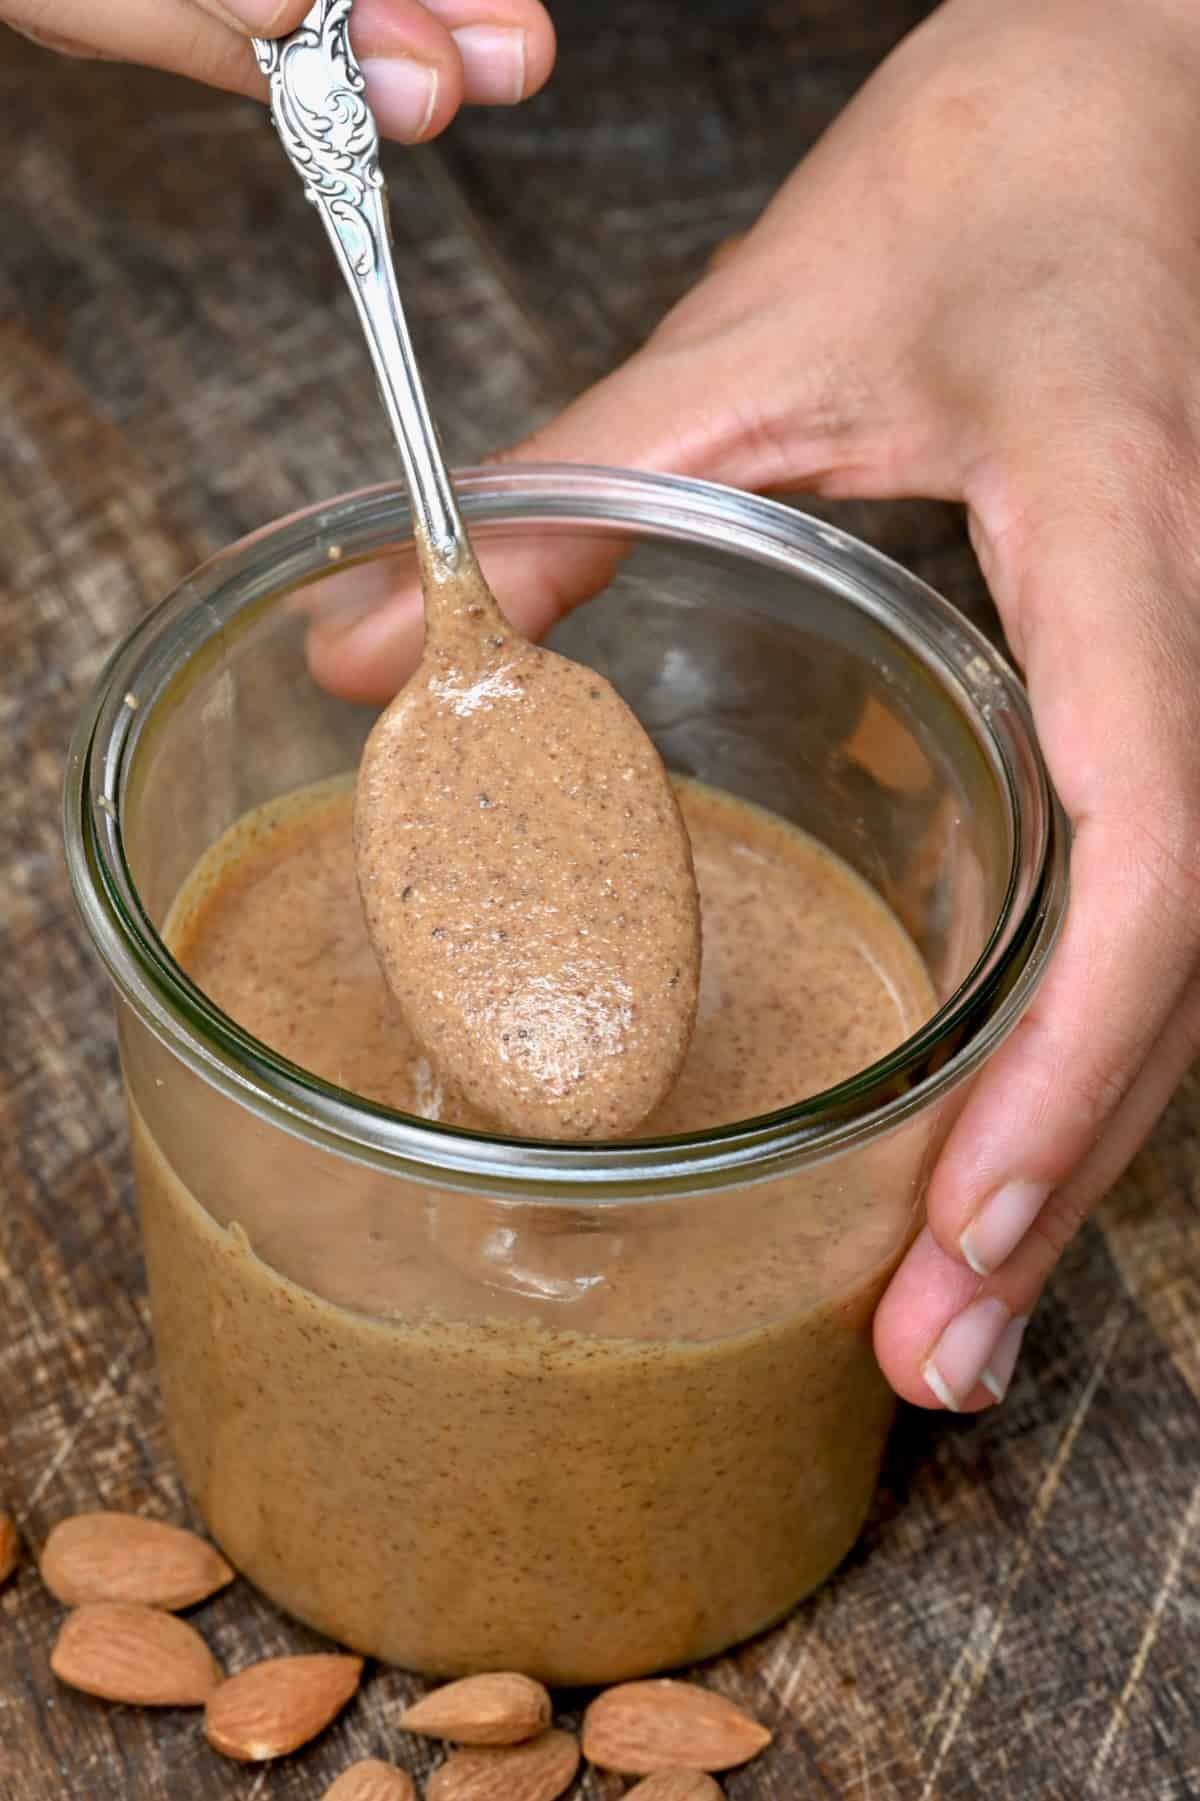
As you blend, the almond butter will go through various stages: from powdery to clumpy and thick, then to grainy butter, and finally, to a smooth creamy texture.
Also, make sure to give your food processor a break every few minutes so it doesn’t overheat. Use this time to scrape down the sides of the blender.
Once you achieved your desired consistency, pour the almond butter into a clean glass container or a jar. Make sure it’s cooled down completely before closing the lid.
Almond butter recipe tips
- Use fresh raw almonds: For the best results and for butter that lasts longer, make sure to use fresh raw almonds that you roast yourself. Fresh almonds will also be easier to blend.
- Avoid over-roasting: The nuts will toast fairly quickly, so keep an eye on them to avoid burnt almonds which will have a bitter taste.
- Let them cool: Once roasted, give the almonds a few minutes to cool down before blending.
- Scrape down the blender jug: When you pause blending to give your machine a break, make sure to scrape down the sides and push the almond paste towards the blades.
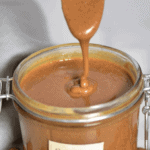
- Blend to your desired texture: The longer you blend, the runnier it will be. Stop when you are happy with the texture.
- Season to taste: I prefer the natural almond taste and don’t usually add anything to it. However, you can sweeten or season to taste with maple syrup, vanilla, cinnamon, cocoa powder, est. Just add your extra ingredients halfway through blending so they get incorporated into the butter.
Ways to use almond butter
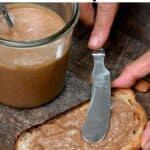
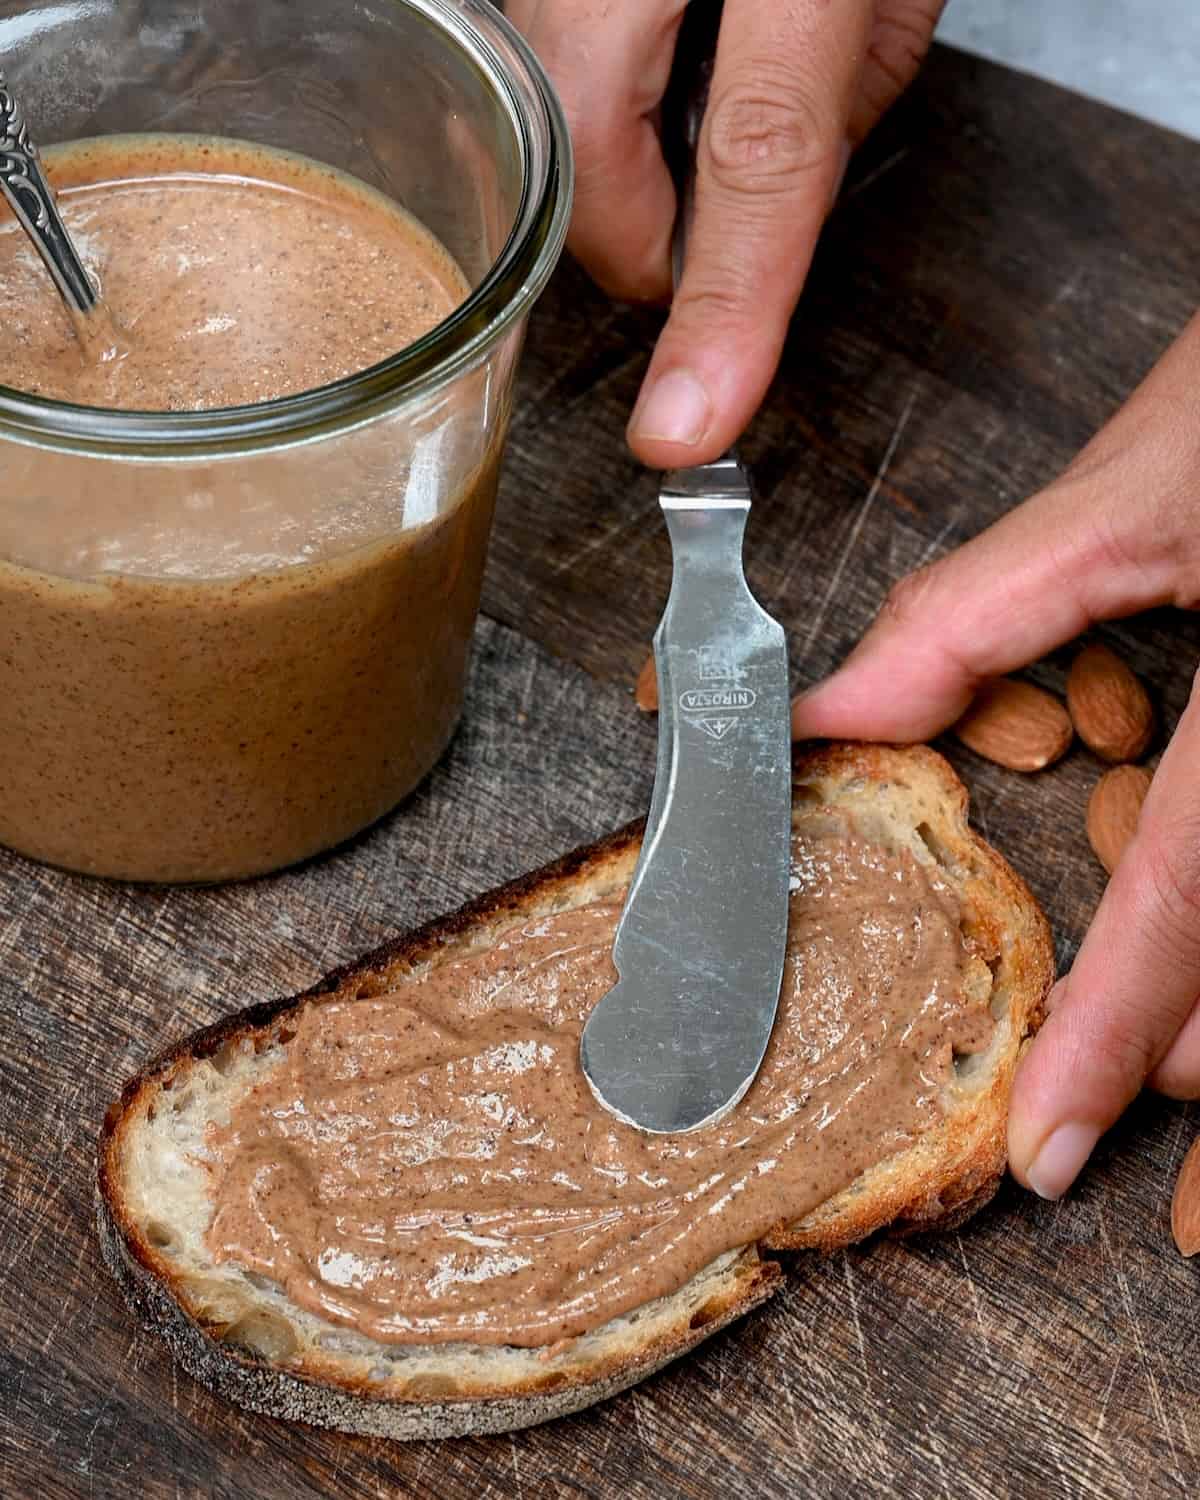
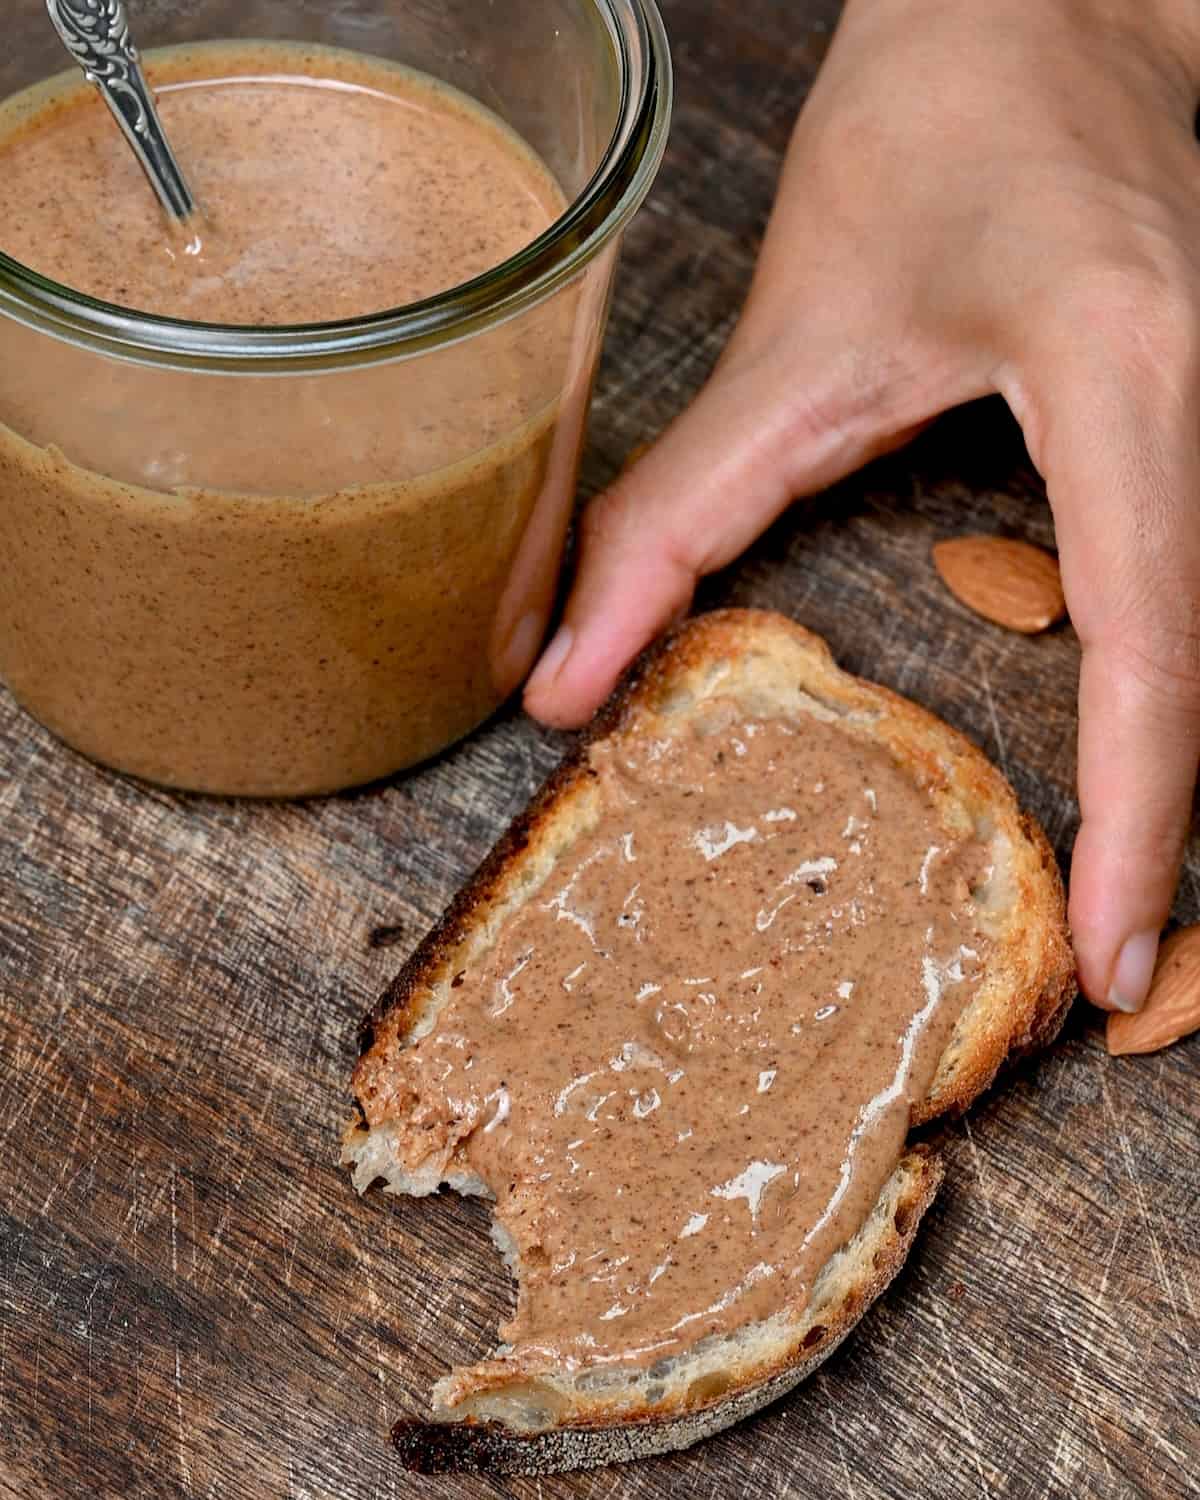
There are so many uses for it. Of course, there’s the classic use of almond butter as a spread on toast with a delicious berry jam. And here are some of my other favorite ways to use it:
- With breakfast favorites: Dollop it into a bowl of oatmeal, overnight oats, yogurt parfaits, or smoothies. It is a great source of plant-based protein to start your morning.
- Snack with fruit & veggies: It works well with almost all fruit and vegetables. Try it with bananas, berries, dates, citrus fruit, celery, or carrots. It’s perfect for making stuffed dates too.
- Dipping sauce: Use it to make delicious nutty dipping sauce or salad dressing.
- Baked goods: Incorporate it into your favorite baked goods like cookies or banana bread. It’s also a great binder in my homemade granola bars.
- You can also add it to soups, salads, and more.
How to store homemade almond butter
Store it in a glass container or a jar in a cool dry place like a pantry or a kitchen cupboard for 3-4 weeks. Alternatively, keep it in the fridge for 2-3 months, if not even longer.
However, keep in mind that almond butter can go bad. Look for a bad smell (chemical-y and sour), black or brown spots on the surface, mold, or an odd taste. If you notice any of these, it’s best to discard it.
How to soften almond butter?
To soften homemade almond butter, you can place the jar in a pot with water. Heat it over medium heat for a few minutes until it softens and melts. Alternatively, you can microwave it on HIGH for 10 seconds.
More homemade nut butters
If you try this homemade almond butter recipe, let me know how it goes in the comments below. I’d appreciate a recipe card rating and would love to see your recipe recreations – tag me on Instagram @Alphafoodie!
Homemade Almond Butter Recipe
Equipment
- Food Processor or blender
Ingredients
- 14 oz almonds raw, peeled or with skin, 3 cups
- 1/2 tsp sea salt
This will yield 1.5 cups of almond butter
Instructions
- Place the almonds on a baking sheet and toast in the oven for 8-10 minutes at 325ºF/165ºC. Let them cool down for a couple of minutes before blending.
- Once cooled, place the almonds and the salt in a food processor or a high-speed blender. Blitz them until you achieve your desired consistency – the longer you blend, the runnier the peanut butter becomes. This process can take between 5 and 15-20 minutes depending on your machine and desired texture.Make sure to give the machine a break so it doesn't overheat! Use this time to scrape down the sides of the processor bowl.
- Once you've blended to your desired consistency, pour the almond butter into a clean mason jar or glass container. Make sure it's completely cooled before you close the lid.
Storage
- Store it in a glass container or a jar in a cool dry place like a pantry or a kitchen cupboard for 3-4 weeks. Alternatively, keep it in the fridge for 2-3 months, if not even longer.
Video
Notes
- Season to taste: I prefer the natural almond taste and don’t usually add anything to it. However, you can sweeten or season to taste with maple syrup, vanilla, cinnamon, cardamom, cocoa powder, est. Just add your extra ingredients halfway through blending so they get incorporated into the butter. I prefer to only flavor smaller portions (as additional ingredients will affect the shelf life).
- A drizzle of oil: Only if needed! If the blending process is taking too long and you are stuck at the flour-like pasty stage, add a drizzle (just 1-2 teaspoons at a time) of neutral oil or coconut oil. This will help “grease” the nuts so they can blend into a runny smooth consistency.
Nutrition
Nutrition information is automatically calculated, so should only be used as an approximation.


Sunday, 13-Nov-2022
Hi Samira,
Greetings from Hong Kong. My husband & I tried to make almond butter for the 1st time. Unfortunately, we have tried for a while (maybe over half an hour) it remained only powdery almond flour stage and has not gone to a clumpy, thick paste stage. We used a Germany made “Bosch” food processor? with 750w. Is the machine not powerful enough or just we don’t have enough patience?
Hi Jen,
Did you use raw almonds or did you toast them for a bit in the oven? I recommend toasting as that releases their natural oils making the blending easier. Also, while blending, I recommend scraping down the sides every now and again.
Having patience and giving the machine a break every few minutes is good.
Hi, Jen!
I know this comes well… rather late.
I tryed to make not almond, but coconut butter twice.
The difference was in the quiality of the nuts used: once cheapest on the market, it only went powdery, and once, well, a little more expensive – it immediatelly started to release oil as I was blending it and turned buttery. So this might be a clue.
Hi Iza, thank you so much for your tips!
Hi Samira! I always make almond butter with roasted almonds and the result is always great with the NutraMilk. What do you think will happen if I use blanched almonds? (Besides the difference in color) would there be a difference in consistency and flavour? Also, what about almond milk? I was thinking I could use blanched almonds for the milk, does it make any difference?
Oh my! Gave this a try today using a cup and a half of almonds. I followed your directions and after 10 minutes in the food processor (with breaks) had beautiful, creamy, shiny almond butter. Thank you!!
Thank you so much for your comment, Dianne. Glad you gave this recipe a try.
I finally got a runny consistency! Thank you so much, Samira, for the thoughtful instructions and lovely photos. Any time I need to make ANYthing, I come to alphafoodie.com I’m continuously grateful for you and all the recipes you share. Keep doing what you love, angel — you being YOU gives back to much to the world!
Yay! Enjoy your homemade almond butter! and thank you so much for your kind words 🙂
Hi! Thank you for sharing your talent! I have made this three times now, and have yet to get a runny, spreadable consistency like your photos. I use a vita-mixer and run it at least 10 minutes, with breaks. It is very smooth, but it is so thick like sculpting clay. And then after refrigeration, it’s even harder to spread. Do you have any thoughts?
P.S. you were right: it is so delicious that I will never buy store bought again — I just hope to get a spreadable texture.
Hi Caitlin,
I am sorry to hear you haven’t achieved a nice runny consistency. Do you roast the almonds before blending them? Maybe they become too “cooked” and dry, so you could try to roast them less (5-8 minutes). Also, the almonds don’t need to be completely cool after roasting. Just wait a minute or two before blending them.
It’s good you tried blending for longer – it takes different times for different machines. Some of my readers have said it took almost 30 minutes for them (with breaks) to achieve a runny consistency. So don’t give up. Finally, adding a drizzle of neutral-flavored oil (coconut oil or other) may help to smooth your texture and get the results that you’re hoping for.
I hope this helps.