
This post may contain affiliate links. Please read our disclosure policy.


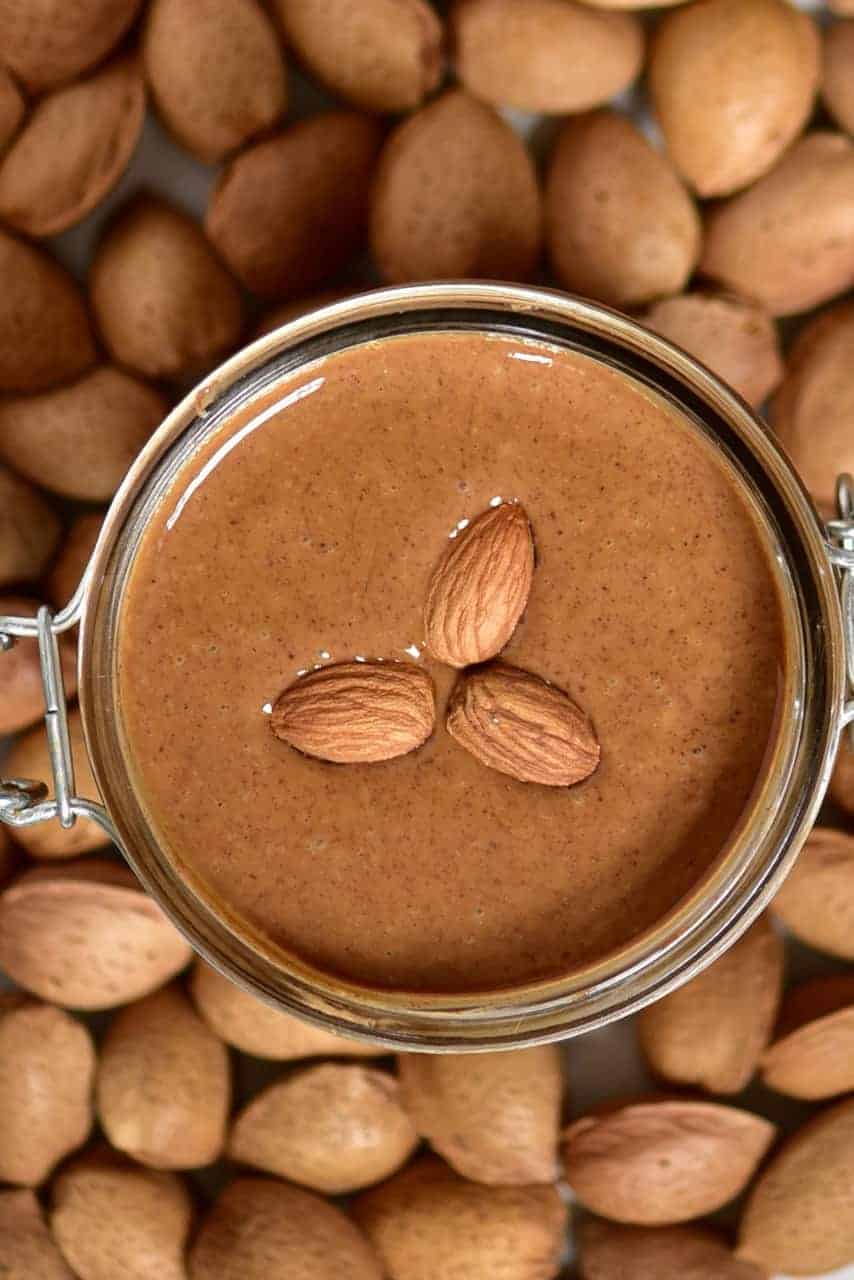
How to make coffee peanut butter with just 5 ingredients in under 30 minutes! This coffee nut butter is the perfect spread to start your day, spread over baked goods, add to smoothies, and even add to coffee for more ‘pow’!
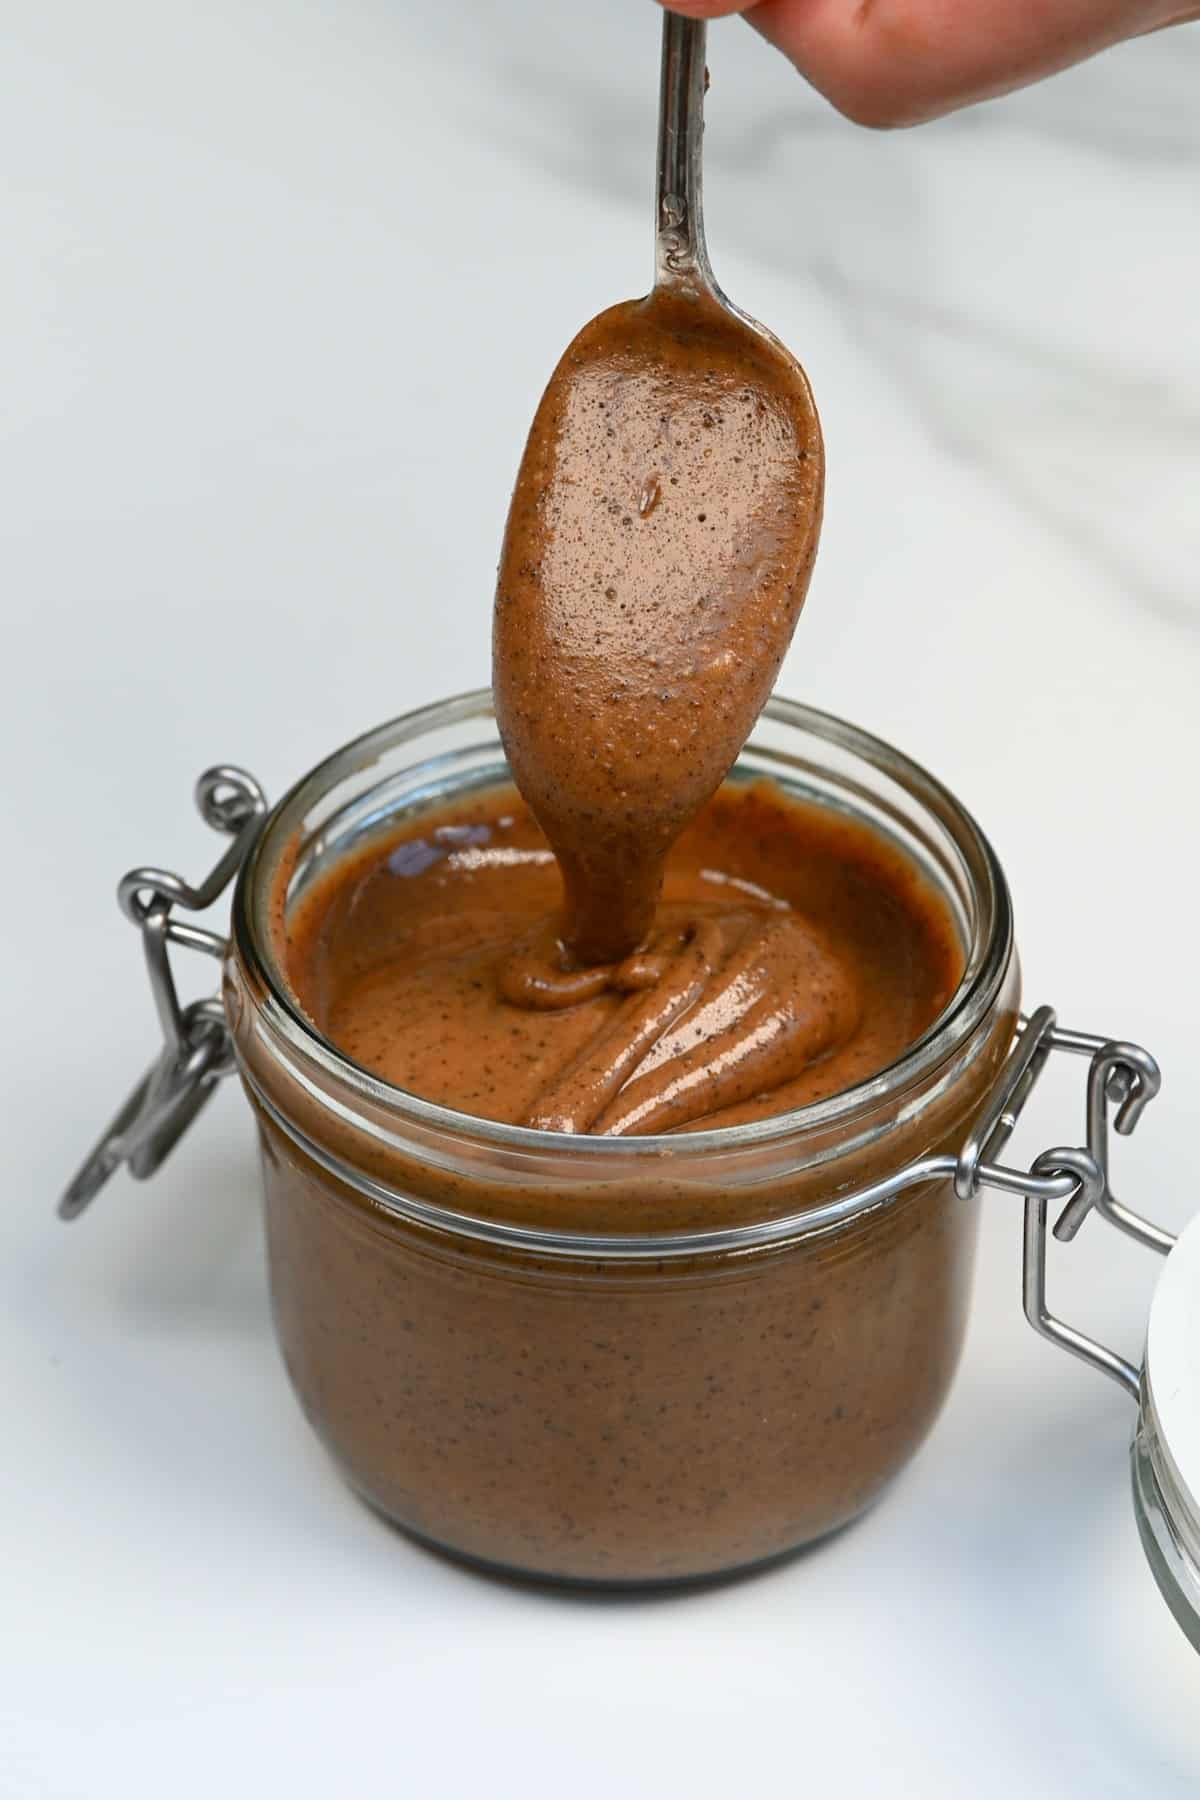
What’s better than all-natural homemade creamy peanut butter, you ask?! How about this coffee peanut butter? Not only does it make for a delicious addition to a peanut butter coffee, but you get to take advantage of the flavor combination as a spread, dip, and drizzle too!
I’ve already shared tons of plain nut and seed butter recipes to the blog. Then recently shared a recipe for homemade granola butter, now it’s the turn of this coffee-flavored peanut butter. Can you tell that I’m slightly obsessed?
I mean, with all the baking I’ve done recently for treats like NY-style bagels and soft pretzels, obviously, I need more spreads to slather them with, right?!
All you need is just 5 ingredients, a high-speed blender, and under 30 minutes to make this espresso spread/espresso nut butter (or 5 minutes using my ‘cheat’ method in the recipe notes!)! Best of all, I’ve also included a list of ways to enjoy your spread and even a cheeky bonus recipe for peanut butter coffee (hot and iced!)
Want to save this recipe?
The Ingredients
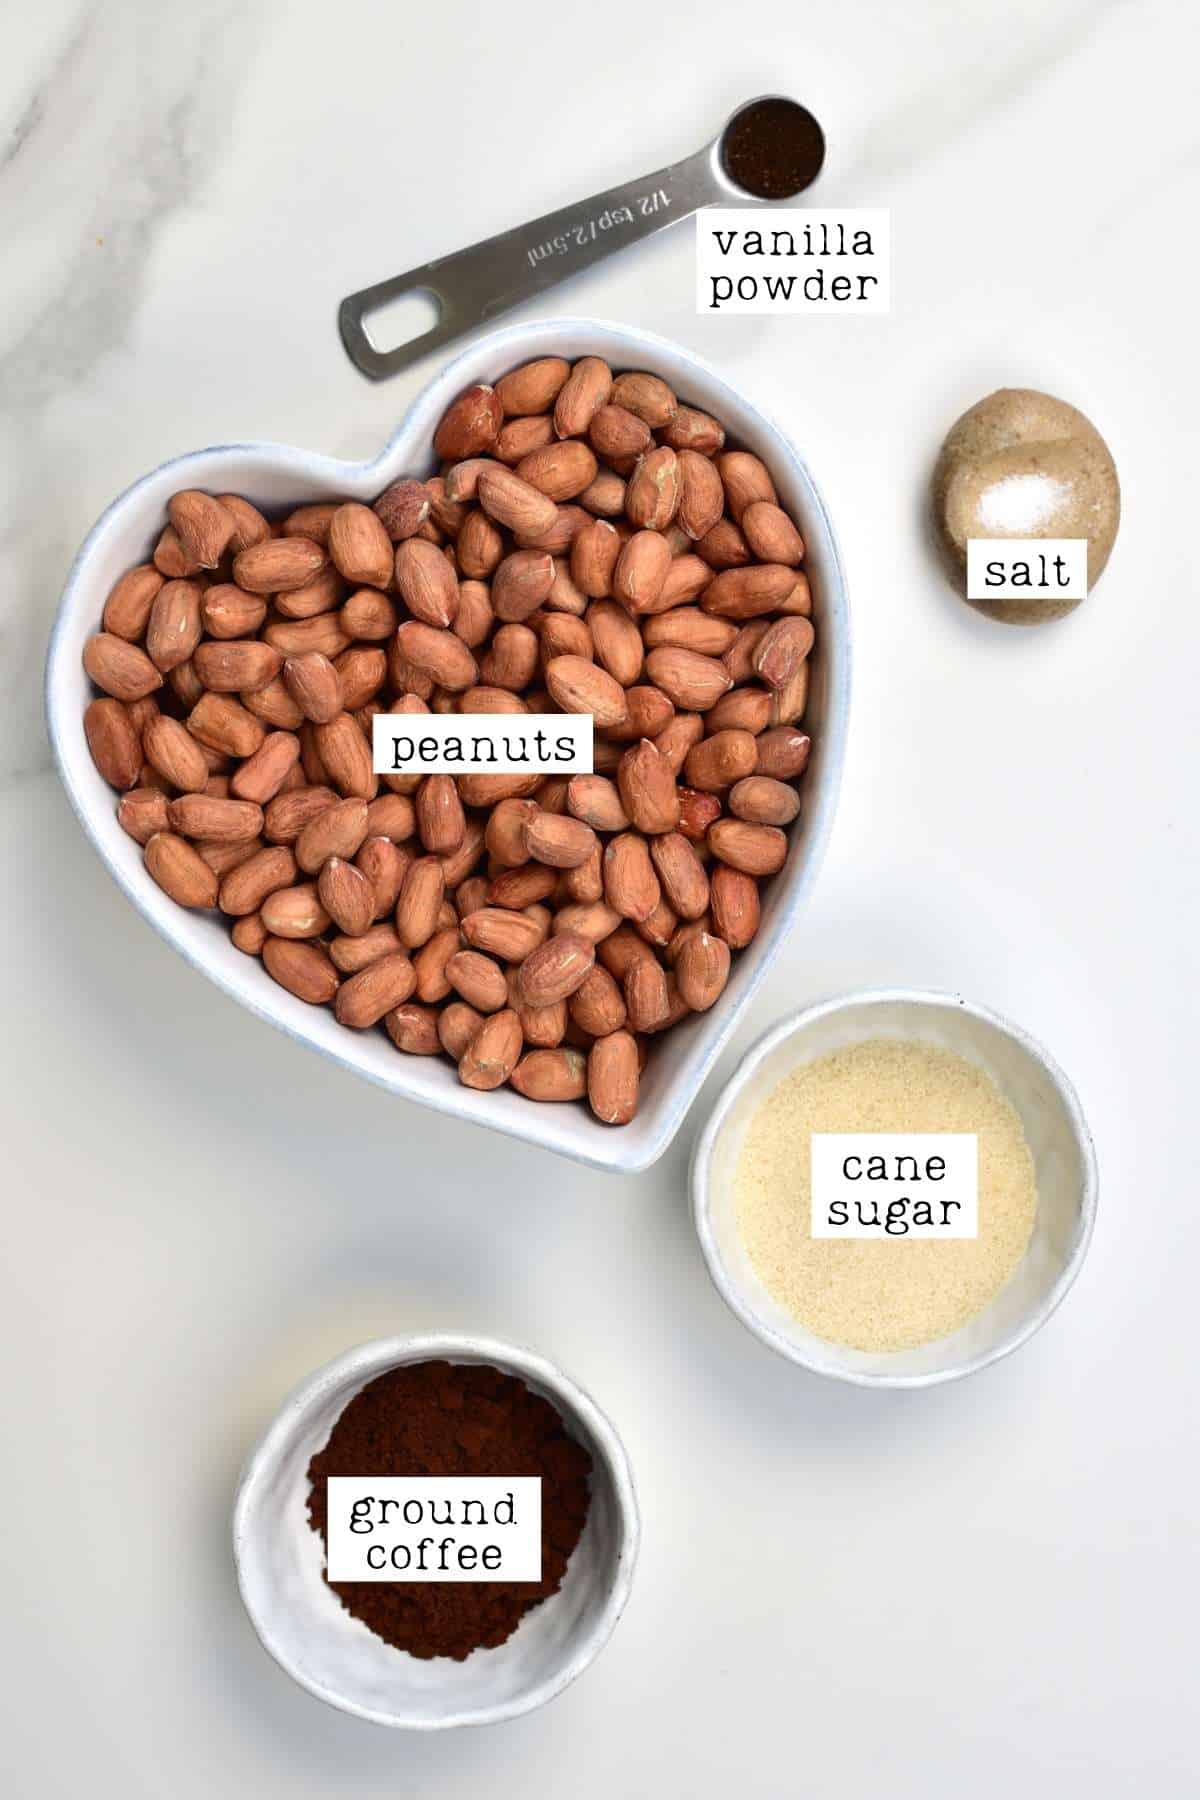
- Peanuts: buy de-shelled peanuts to save yourself some time. We’ll also be removing the skins (optionally) so if you can get blanched peanuts, go for it. Use raw, unsalted peanuts. Alternatively, use peanut butter.
- Ground coffee: use ground instant coffee or espresso powder. Feel free to adjust the amount you used based on the strength you want to add to the drink.
- Vanilla powder: don’t use vanilla extract as it can cause the peanut butter to seize. Instead, use vanilla powder or fresh vanilla seeds.
- Sugar: it’s best to use dry sugar for this recipe. Liquid sweeteners can cause the espresso butter to seize (read FAQs for more info!). I used cane sugar. However, you can use the sugar or sugar-free sweetener of your choice. For the smoothest results, transform your granulated sugar of choice to powdered sugar first.
- Salt: just a pinch – to balance and enhance the flavors.
How to Make Coffee Peanut Butter
Step 1: Roast the peanuts
This will help the peanuts to start releasing some of their oils for more effortless blending. It also makes the skins easier to remove.
Spread the peanuts on a large parchment-lined baking tray and roast in the oven for between 7-10 minutes at 325ºF/160ºC. The longer you roast them, the darker they (and your peanut butter) will be.
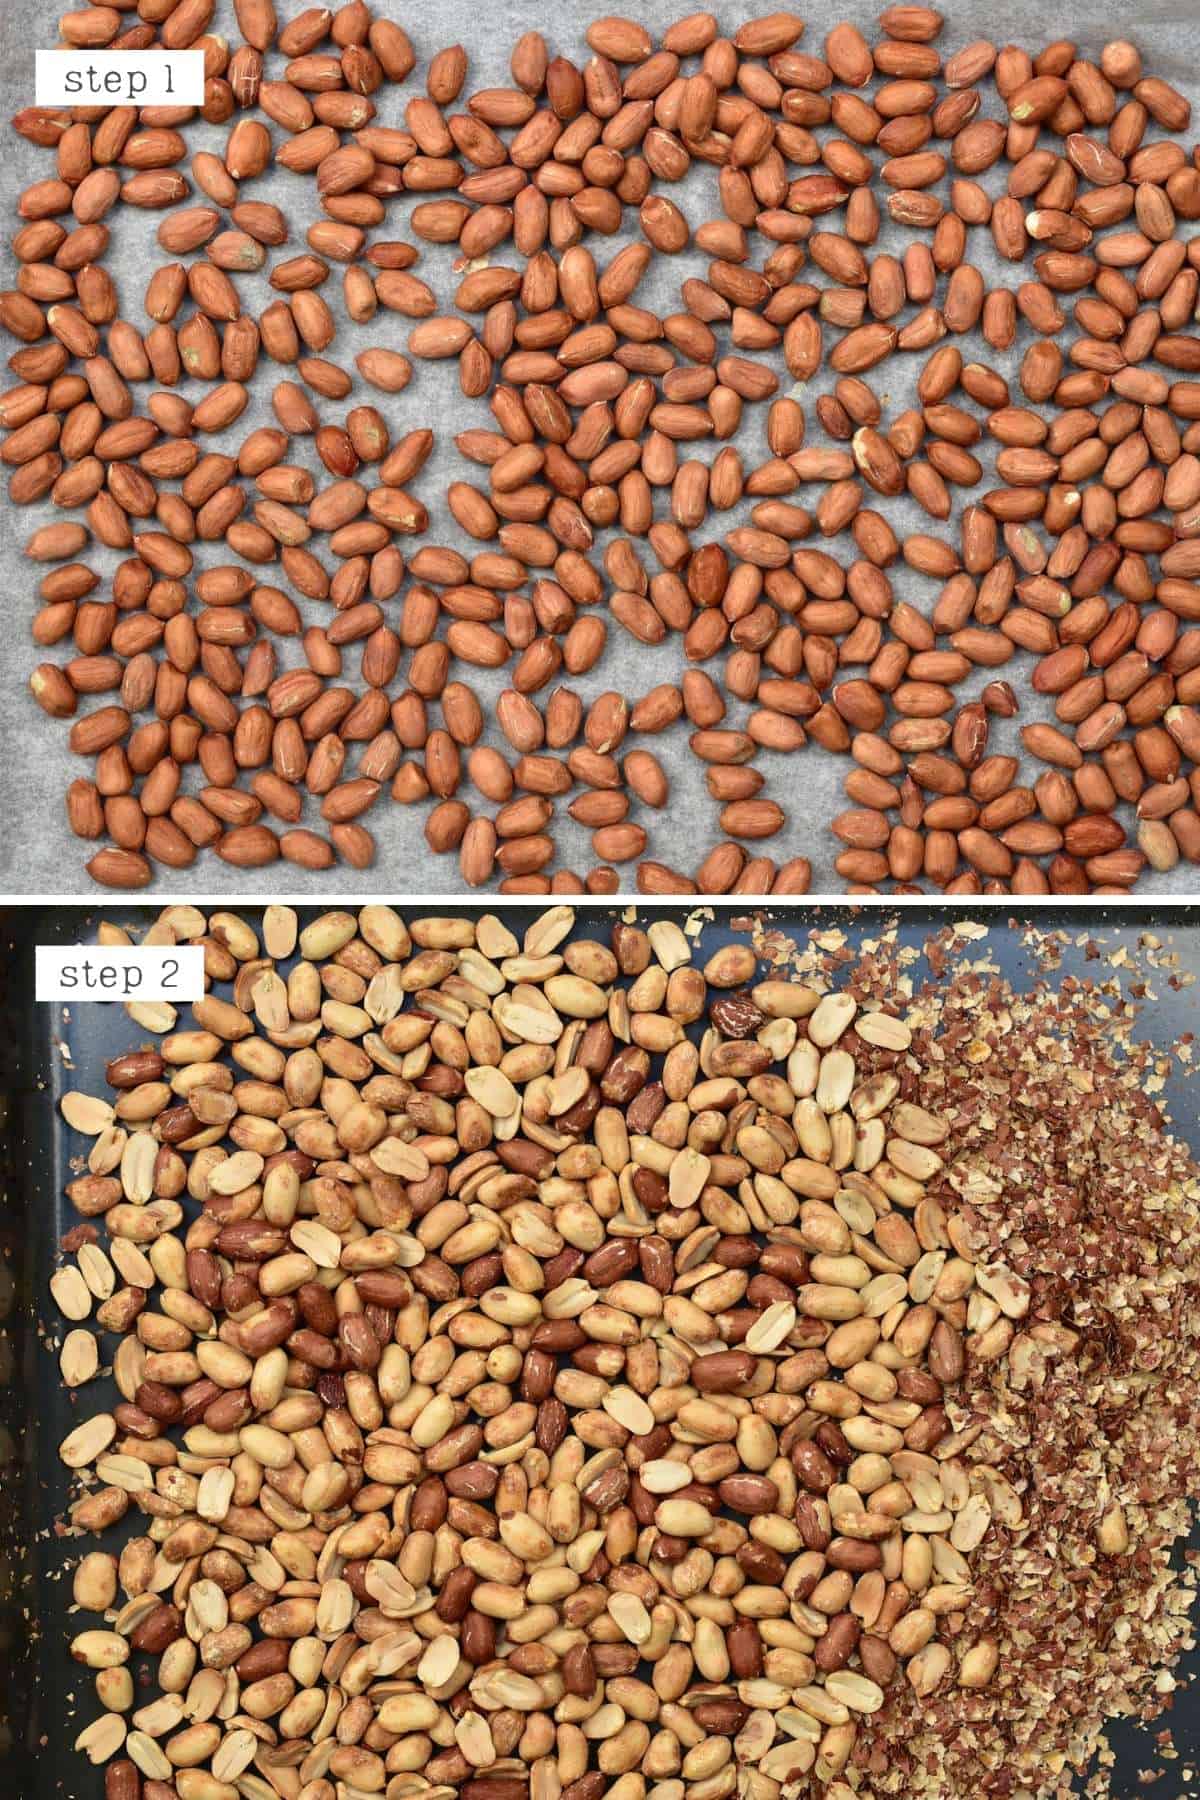
Once roasted, you can optionally remove the peanut skins for smoother peanut butter. To do this, gather all the nuts in a tea towel in a ‘bundle.’ Scrunch it between your hands for 20-30 seconds. When your open the tea towel again, most of the skins should have removed (leaving some on is fine).
Chef’s note: I found that an easier way to separate the peeled peanuts from the loose skins than picking the nuts out individually is to transfer them back to a roasting tray. Then move them forwards and backward in a motion like using a wok or flipping a pancake. The skins will gather on one side of the tray and the nuts on the other side (as pictured above).
Step 2: Process the coffee peanut butter
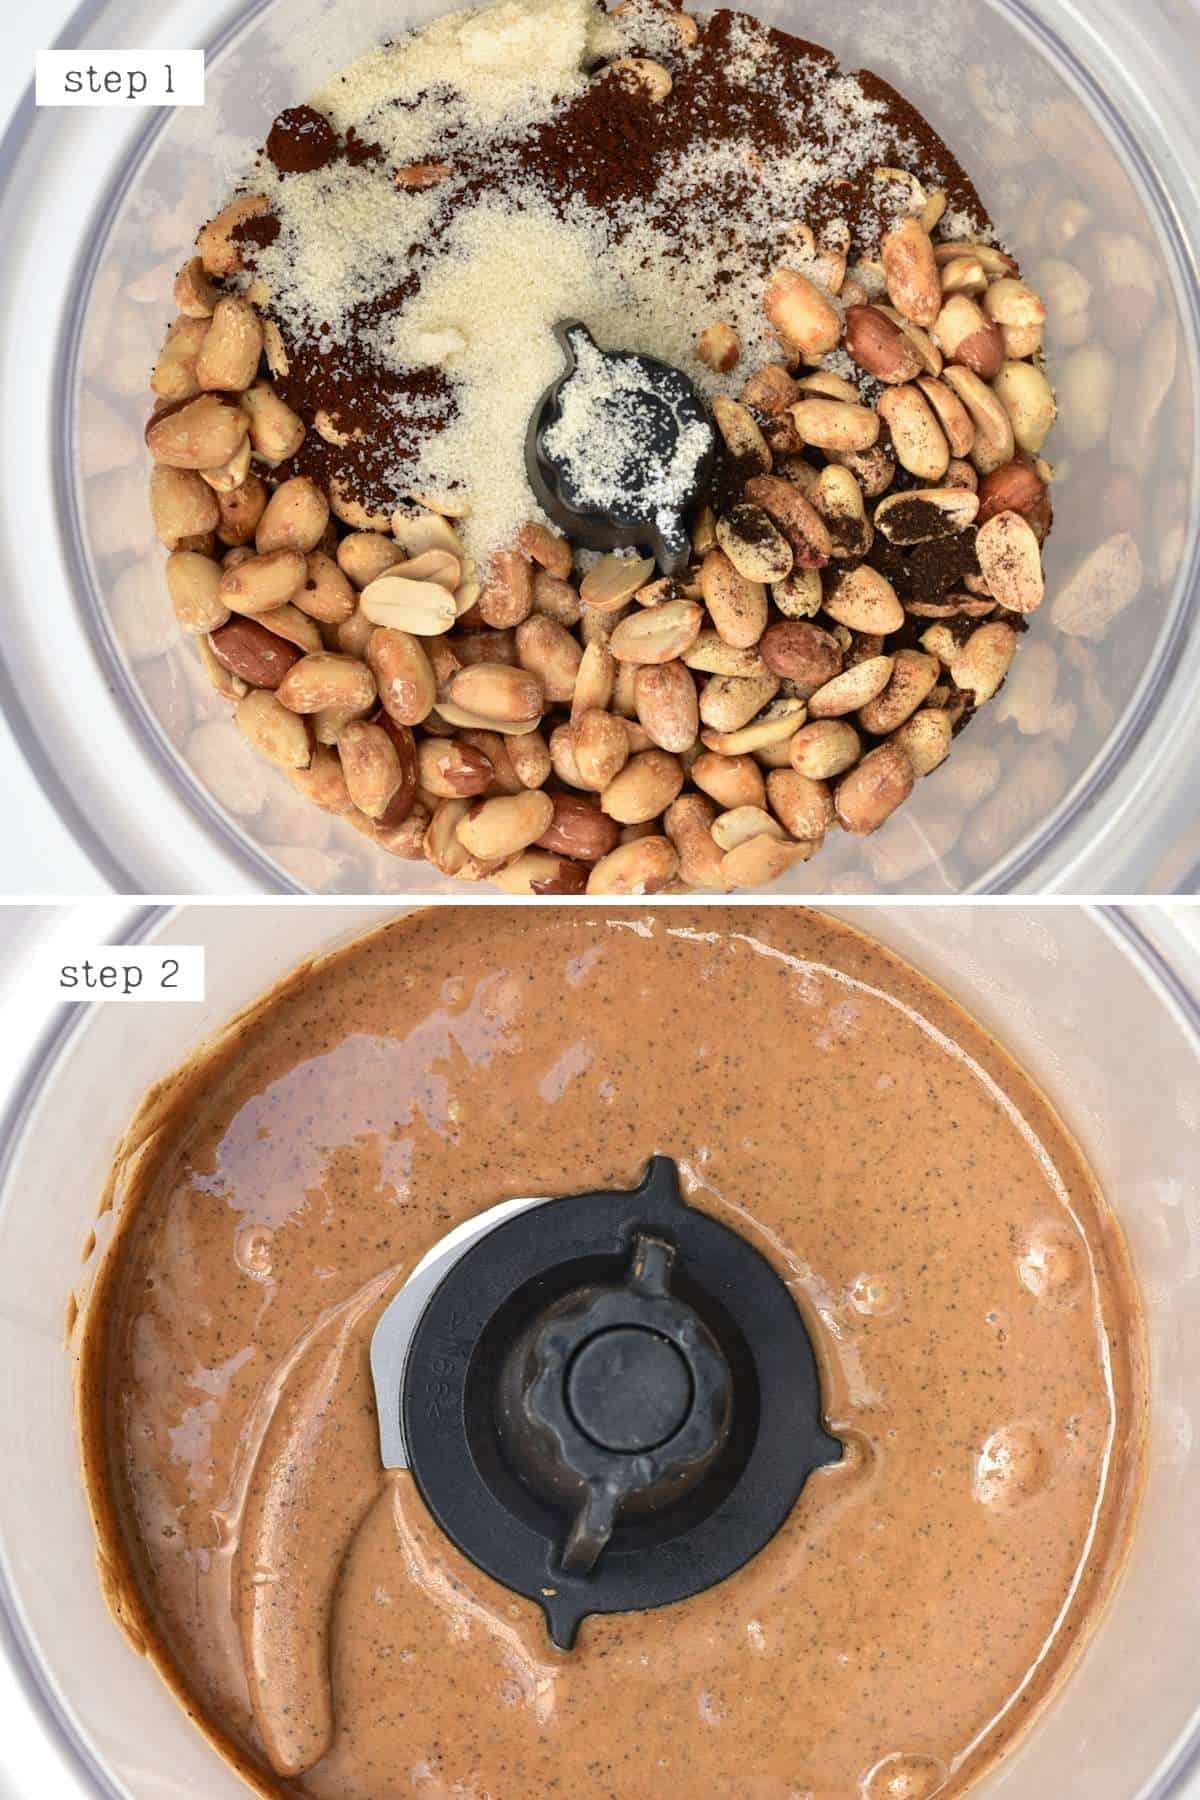
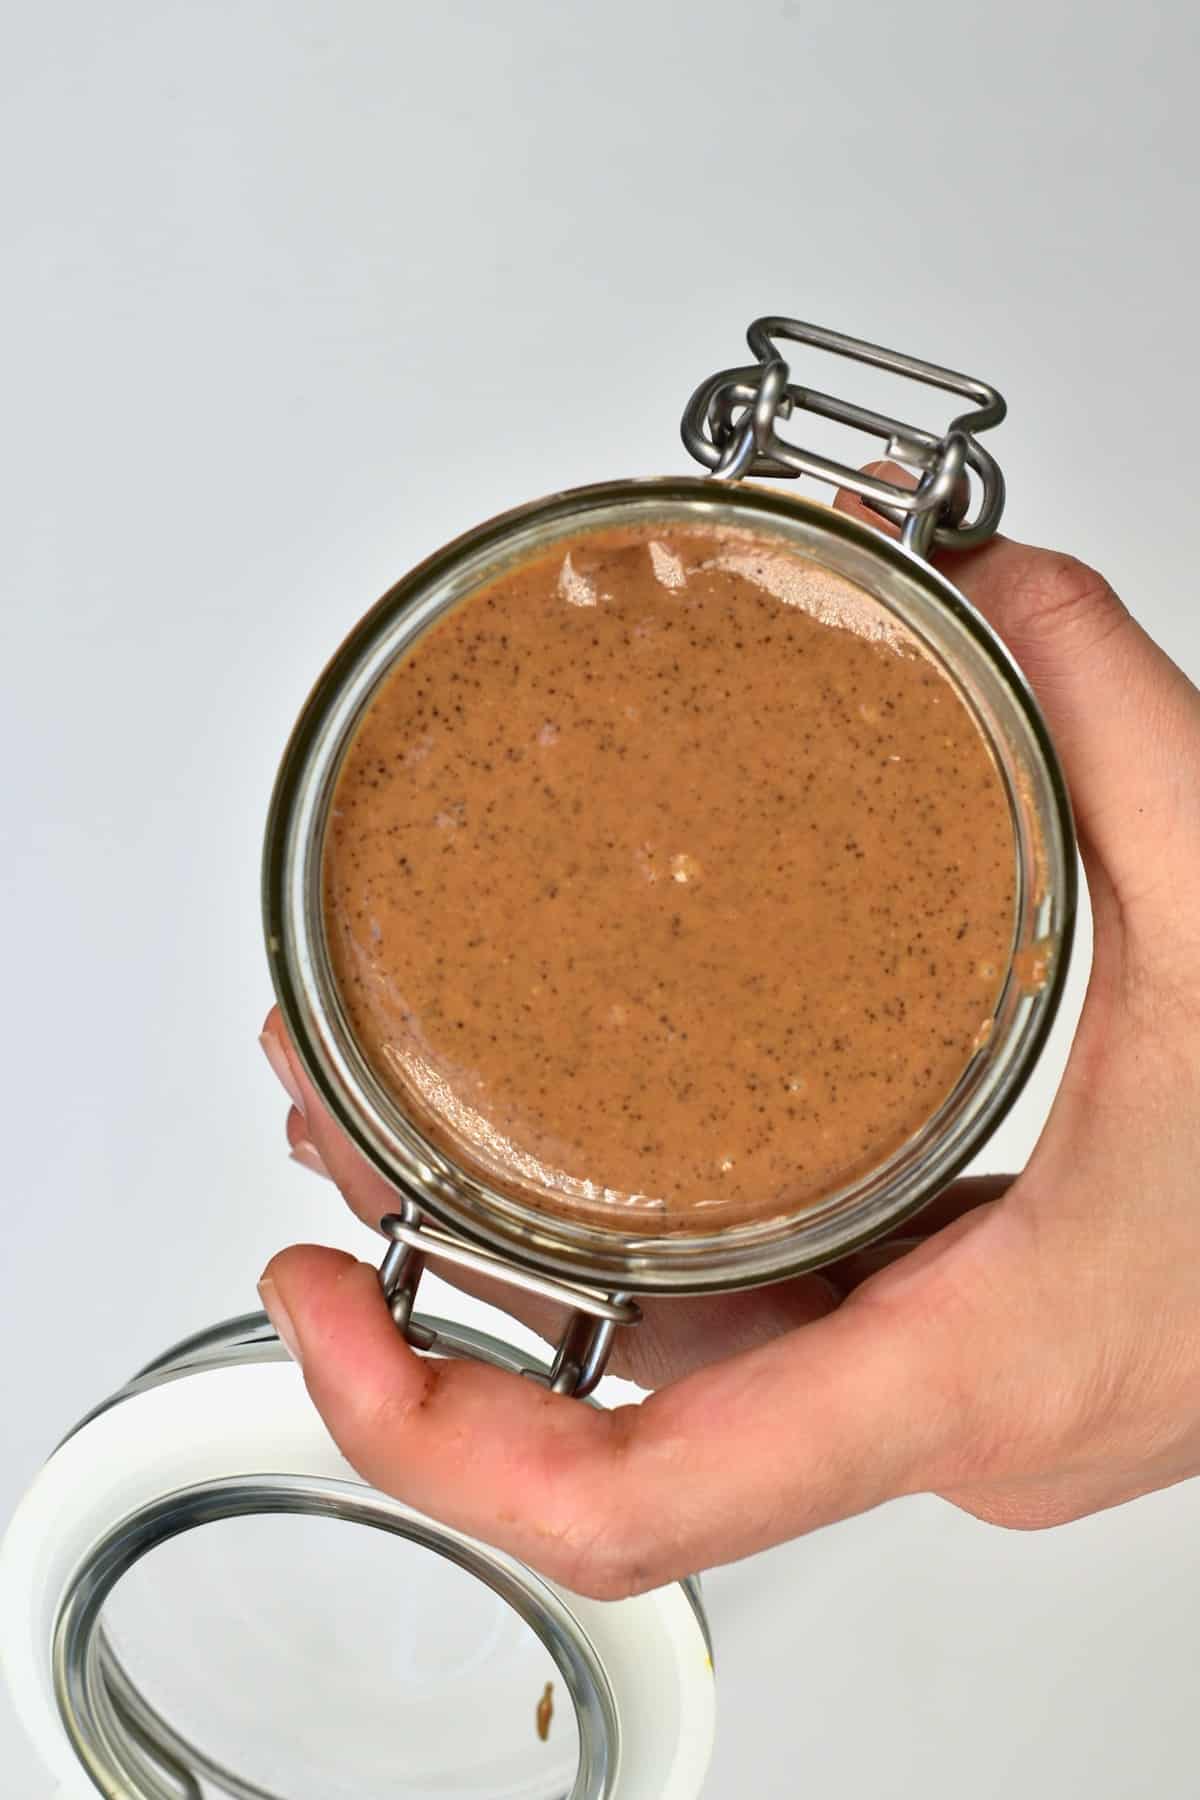
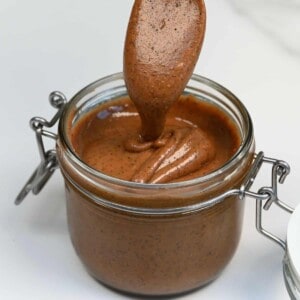
Add all the ingredients into your high-speed blender and blend into smooth, creamy nut butter. This can take some time, so be patient. Give your machine a 20-second break every 2-3 minutes and scrape down the sides of the jug as necessary until you reach your desired texture.
If you don’t have a high-powered machine, this can take CONSIDERABLY longer as the nuts may stay at the ground ‘meal’ stage for quite a while. To encourage it along, you could optionally add a little oil like coconut oil to the machine. I try to avoid this, though, as the peanut oils should be enough.
How to Store?
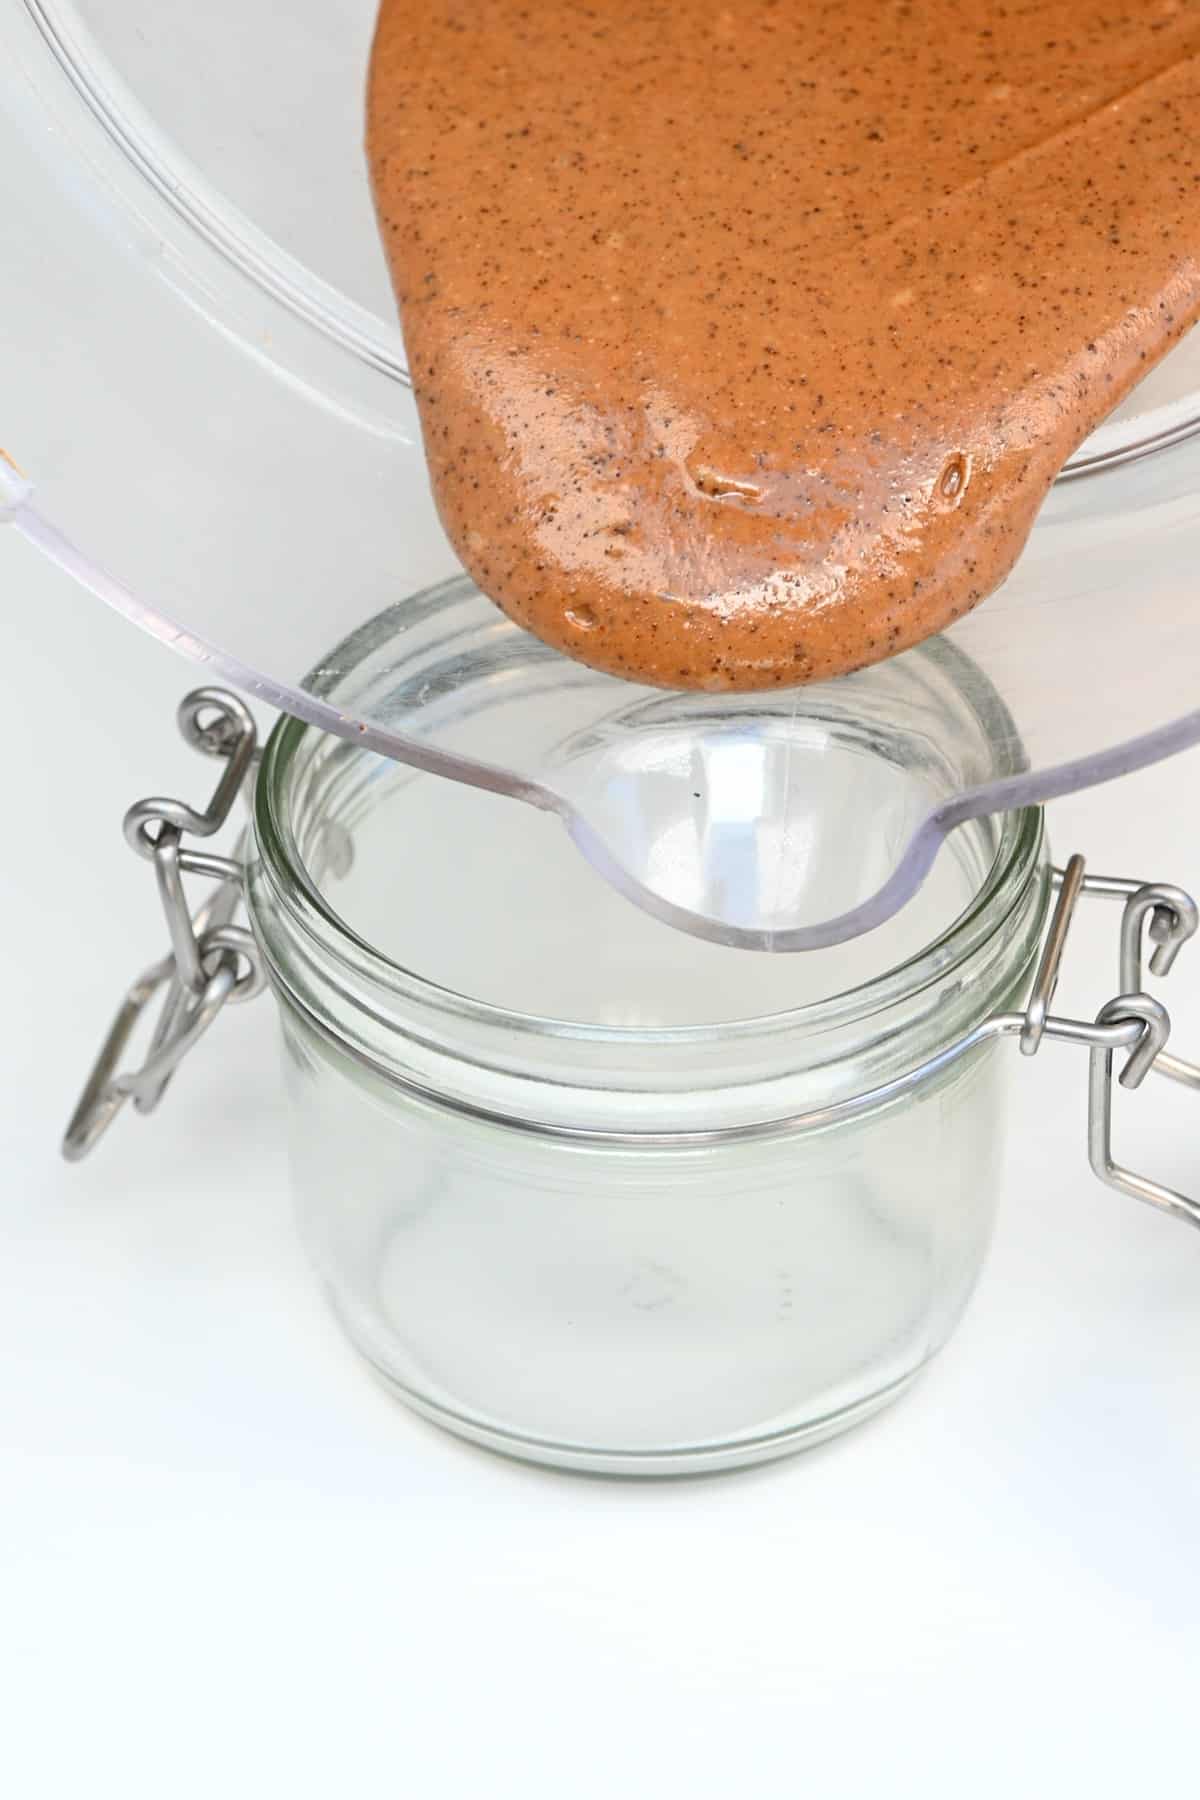
Room Temp: you can store the coffee nut butter for 1-2 weeks in a cool, dark cupboard.
Fridge: store the coffee peanut butter in an airtight jar in the refrigerator for up to 1 month. The peanut butter may separate a little in the refrigerator (the oils can separate from the nuts) – all you need to do is stir it well before serving.
Freezer: I like to freeze peanut butter in ice-cube trays so that it’s portioned, and I can remove as many cubes as needed each time. Once frozen, transfer the cubes to a freezer-safe bag to take up less storage space. Once frozen, store the peanut butter for between 3-4 months for the best flavor.
Allow the butter to thaw in the fridge or on the counter.
How to Use Coffee Peanut Butter
You can use this homemade espresso spread in many of the same ways you’d use any other nut/ seed butter.
- Spread over toast, bagels, croissants, soft pretzels, fruit slices, etc.
- As a filling for peanut butter cups.
- Used to make chocolate peanut butter coffee drinks (recipes below!).
- Stir into other warm drinks like warm milk or hot chocolate.
- Added into or drizzled over smoothies.
- With yogurt (homemade yogurt or dairy-free like coconut yogurt, almond yogurt, or soy yogurt!).
- Spooned into or over oatmeal and overnight oats.
- Drizzled over pancakes, waffles, and French toast!
- Within baked goods – like brownies, cakes, granola bars, frosting, etc.
That is if you’re not too busy eating it with a spoon directly from the jar…

How to Make Peanut Butter Coffee
You’ll need:
- Coffee peanut butter
- Brewed Coffee
- Milk of your choice
- Chocolate syrup or homemade Nutella
- Sweetener: You can use sugar, sweetener, or even a liquid sweetener like maple syrup or honey.
For Chocolate Peanut Butter Coffee
Brew your cup of coffee as usual and add 1 Tbsp of the peanut butter and ½-1 Tbsp homemade Nutella or 1-2 Tbsp chocolate syrup and mix well.
Add any additional sweetener at this point, too, then top up the coffee with milk. For a more decadent treat, use a milk frother for a foamy peanut butter mocha.
For Iced peanut butter coffee
Prepare your coffee and allow it to chill or even freeze it into ice-cubes. Make sure to add any sugar/sweetener to the coffee while it’s still warm and stir well or use a liquid sweetener.
Combine the coffee (or coffee cubes) into a high-speed blender or food processor with a 2:1 ratio of milk (i.e., 1 cup brewed coffee to ½ cup milk), 1 Tbsp peanut butter per portion (add more for extra flavor, if preferred), and 1-2 Tbsp chocolate syrup or Nutella per portion.
Blend into a smooth texture and serve – optionally top with coconut whipped cream and a little cacao powder.
Alternatively: blend/mix all the ingredients apart from the coffee ice-cubes, then add a few ice cubes of strongly brewed coffee to the glass. The coffee will slowly melt into the milk, and you won’t have ice watering down your refreshing drink!
FAQs
Whenever you make any homemade nut butter, it’s up to you how chunky or smooth you like it. So, feel free to experiment!
For chunky peanut butter, pulse the nuts into thick crumbs, remove a few spoonfuls of the crumbs, blend the peanut butter to a smooth consistency, add the crumbs back into the blender, and pulse a few times until they’re thoroughly incorporated.
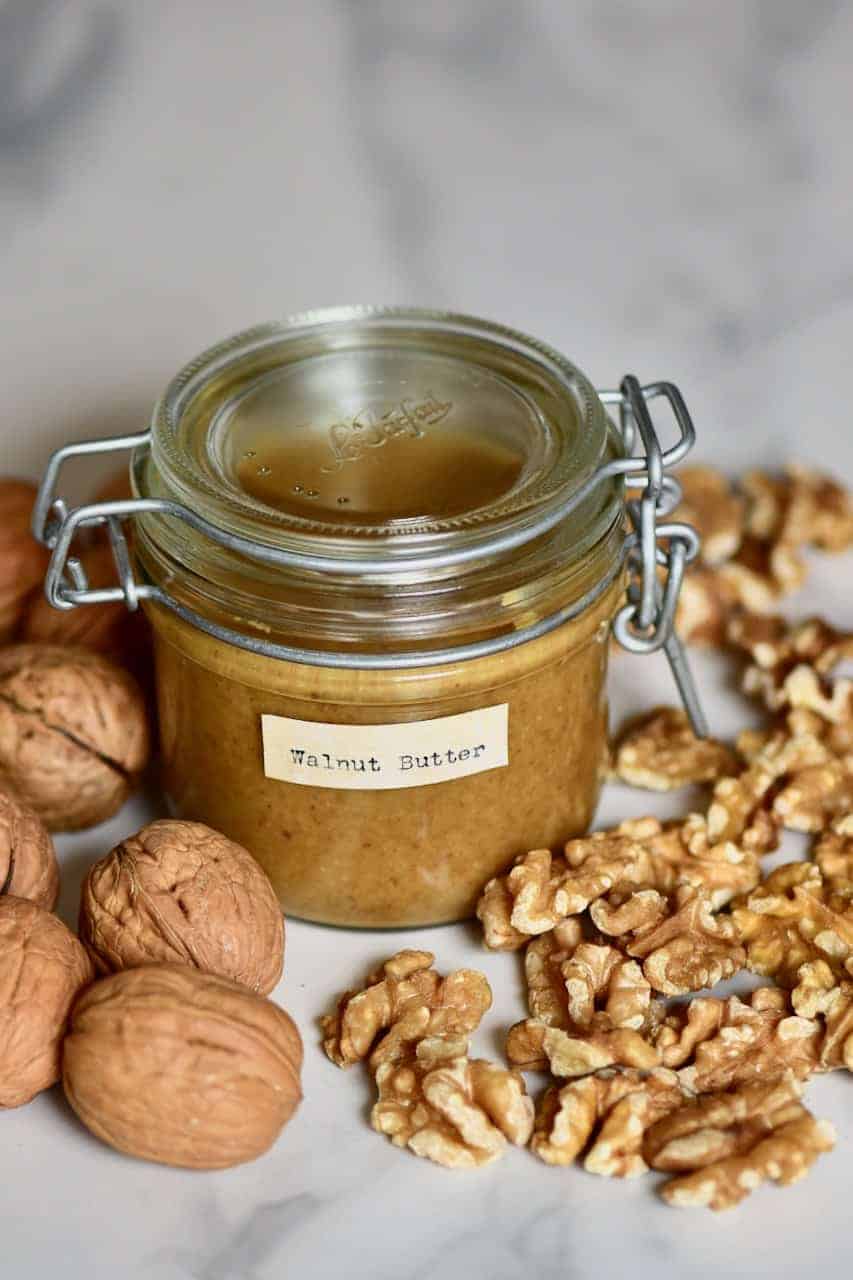
Yes, of course. The premise will be the same for most nuts – this would make for delicious espresso almond butter or even using hazelnuts or cashews.
Please don’t – not only will the liquid massively reduce the shelf life, but it will likely cause your nut butter to seize and/or make it way too watery and not pleasant at all.
Recipe Notes & Variations
- If you’re using roasted (unsalted) peanuts: skip the first step – there’s no need to roast them again as you run the risk of burning the peanuts.
- To use liquid sweetener: if you want to risk this recipe with a liquid sweetener, I recommend carefully folding it in at the end of the process after allowing the espresso peanut butter to cool completely. If the sweetener and nut butter are at the same temperature, this will give the best shot at it not seizing. Alternatively, you can drizzle the syrup over the peanuts while roasting them, so they maintain temperatures together – but then you won’t be able to remove the skins.
- For mocha peanut butter: add in some cacao powder or cocoa powder when blending. The amount you add is up to personal taste. I recommend adding in 1 1/2 tbsp to begin and increasing to taste.
- For instant coffee nut butter: if you already have your nut butter prepared, you can make this ‘instantly’ by grinding the coffee, sugar, and vanilla down into a fine powder in an electric coffee/spice grinder. Then mix it into (or pulse it in a food processor) until mixed.
Other Nut and Seed Butter Recipes
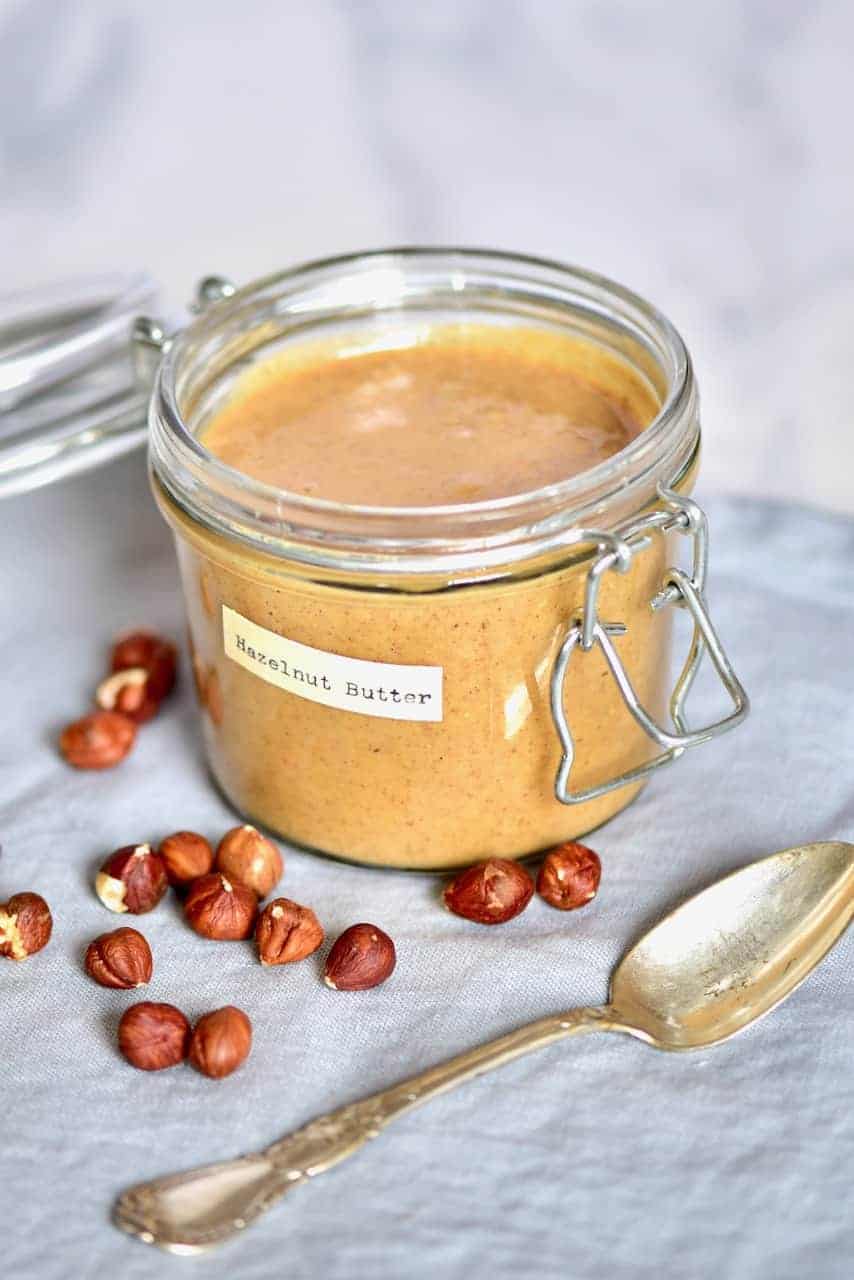
- How to make Homemade Hazelnut Butter
- Simple Two-Ingredient Homemade Almond Butter
- Simple Homemade Walnut Butter Recipe
- How to Make Homemade Cashew Butter
- Homemade Tahini / Sesame Paste
- How To Make Granola Butter (Oatmeal Butter)
You might also be interested in my complete list of nut and seed butter recipes. I also have a similar list of dairy-free milk recipes!
If you try this coffee peanut butter recipe, I‘d love to hear your thoughts/questions below. Also, I‘d really appreciate a recipe card rating below, and feel free to tag me in your recipe recreations on Instagram @Alphafoodie!
Coffee Peanut Butter Spread (Espresso Spread)
Equipment
- Food Processor or blender
Ingredients
- 3 cups peanuts or 1.5 cups peanut butter
- 2 Tbsp ground coffee or espresso powder
- 1/2 tsp vanilla powder
- 2 Tbsp cane sugar or powdered sugar of your choice
- 1/8 tsp salt
- ground cinnamon powder optional
These ingredients yield 1.5 cups spread.
Instructions
Step 1: Roast the peanuts
- This will help the peanuts to start releasing some of their oils for more effortless blending. It also makes the skins easier to remove.Spread the peanuts on a large parchment-lined baking tray and roast in the oven for between 7-10 minutes at 325ºF/160ºC. The longer you roast them, the darker they (and your peanut butter) will be.
- Once roasted, you can optionally remove the peanut skins for smoother peanut butter. To do this, gather all the nuts in a tea towel in a ‘bundle.’ Scrunch it between your hands for 20-30 seconds. When your open the tea towel again, most of the skins should have removed (leaving some on is fine).Chef’s note: I found that an easier way to separate the peeled peanuts from the loose skins than picking the nuts out individually is to transfer them back to a roasting tray forwards and backward in a motion like using a wok or flipping a pancake. The skins will gather on one side of the tray and the nuts on the other side (as pictured above).
Step 2: Process the coffee peanut butter
- Add all the ingredients into your high-speed blender and blend into smooth, creamy nut butter. This can take some time, so be patient. Give your machine a 20-second break every 2-3 minutes and scrape down the sides of the jug as necessary until you reach your desired texture.If you don’t have a high-powered machine, this can take CONSIDERABLY longer as the nuts may stay at the ground ‘meal’ stage for quite a while. To encourage it along, you could optionally add a little oil like coconut oil to the machine. I try to avoid this, though, as the peanut oils should be enough.
How to Store?
- Room Temp: You can store the coffee nut butter for 1-2 weeks in a cool, dark cupboard.Fridge: Store the coffee peanut butter in an airtight jar in the refrigerator for up to 1 month. The peanut butter may separate a little in the refrigerator (the oils can separate from the nuts) – all you need to do is stir it well before serving.Freezer: I like to freeze peanut butter in ice-cube trays so that it’s portioned, and I can remove as many cubes as needed each time. Once frozen, transfer the cubes to a freezer-safe bag to take up less storage space. Once frozen, store the peanut butter for between 3-4 months for the best flavor.Allow the butter to thaw in the fridge or on the counter.
Video
Notes
- If you’re using roasted (unsalted) peanuts: skip the first step – there’s no need to roast them again as you run the risk of burning the peanuts.
- To use liquid sweetener: If you want to risk this recipe with a liquid sweetener, I recommend carefully folding it in at the end of the process after allowing the espresso peanut butter to cool completely. If the sweetener and nut butter are at the same temperature, this will give the best shot at it not seizing. Alternatively, you can drizzle the syrup over the peanuts while roasting them, so they maintain temperatures together – but then you won’t be able to remove the skins.
- For mocha peanut butter: add in some cacao powder or cocoa powder when blending. The amount you add is up to personal taste. I recommend adding in 0.5-1 Tbsp to begin and increasing to taste.
- For instant coffee nut butter: if you already have your nut butter prepared, you can make this ‘instantly’ by grinding the coffee, sugar, and vanilla down into a fine powder in an electric coffee/spice grinder. Then mix it into (or pulse it in a food processor) until mixed.
Read the post for more answers to FAQs and ingredient notes!
Nutrition
Nutrition information is automatically calculated, so should only be used as an approximation.


omgggg I loooved it
Thank you for your comment, Aysun. Glad you’ve enjoyed the recipe!