
This post may contain affiliate links. Please read our disclosure policy.

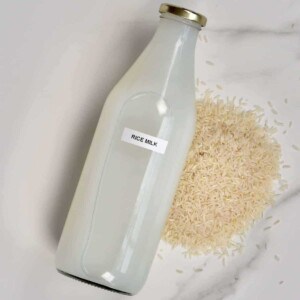
At just pennies to make, this low-cost homemade rice milk recipe requires only two ingredients to make. Plus it is allergen-free, lactose-free, and dairy-free – great for almost all diets!
You may have noticed recently that I’m really enjoying sharing all my favourite dairy-free milk recipes. Making homemade plant-based milk is such an easy process that everyone should try. And this homemade rice milk recipe is one of my favourites. In this post, I’ll show you how to make rice milk as well as discuss rice milk health benefits and pros/cons.
Rice milk is naturally sweeter than many dairy alternative milks, it’s not as creamy as your oat, nut or seed milks but its flavour may be preferred for some. It’s also a great ‘carrier’ for a variety of dairy-free milk combinations. For example, rice and coconut milk is a winner in my books.
Why Make Homemade Rice Milk?
Store-bought milks are usually filled with unnecessary preservatives, additives and gums/thickeners etc. Not to mention sweeteners/sugars. Even buying rice milk with a reasonably clean ingredients list has a downside in that it usually comes with a hefty price tag.
Not to mention that the actual % of nut/oat/rice etc. to water can be ridiculously low in certain store-bought varieties. Which is probably why the gums and thickeners are used – to trick you into thinking you’re getting a better product than you are.
- If you make your own dairy-free milk though, you’ll find that two ingredients are all you’ll ever need to make the base milk. If you want it to be creamier/thicker – add more of your base ingredient, if you prefer it thinner/subtle – then add more water.
- Homemade rice milk SO MUCH more cost-effective because rice is such a cheap ingredient, especially when bought in bulk. In fact, this recipe costs mere pennies to make per cup– slightly more with a dash or two of your favourite spices. Even cheaper than homemade almond milk, soy milk etc.
- It’s possible to fortify your milk too. Either with collagen powder and/or, if you consume meat products, then bone broth for additional nutrition. However, if you do decide to do this, then you’ll need warm water to dissolve the add-ins before blending with the rice.
- You can also be 100% in control of any add-in or sweetener you want to add to your homemade rice milk too. I like to keep my rice milk free from any refined sugars and so Medjool dates, monk fruit sweetener or maple syrup are personal favourites.
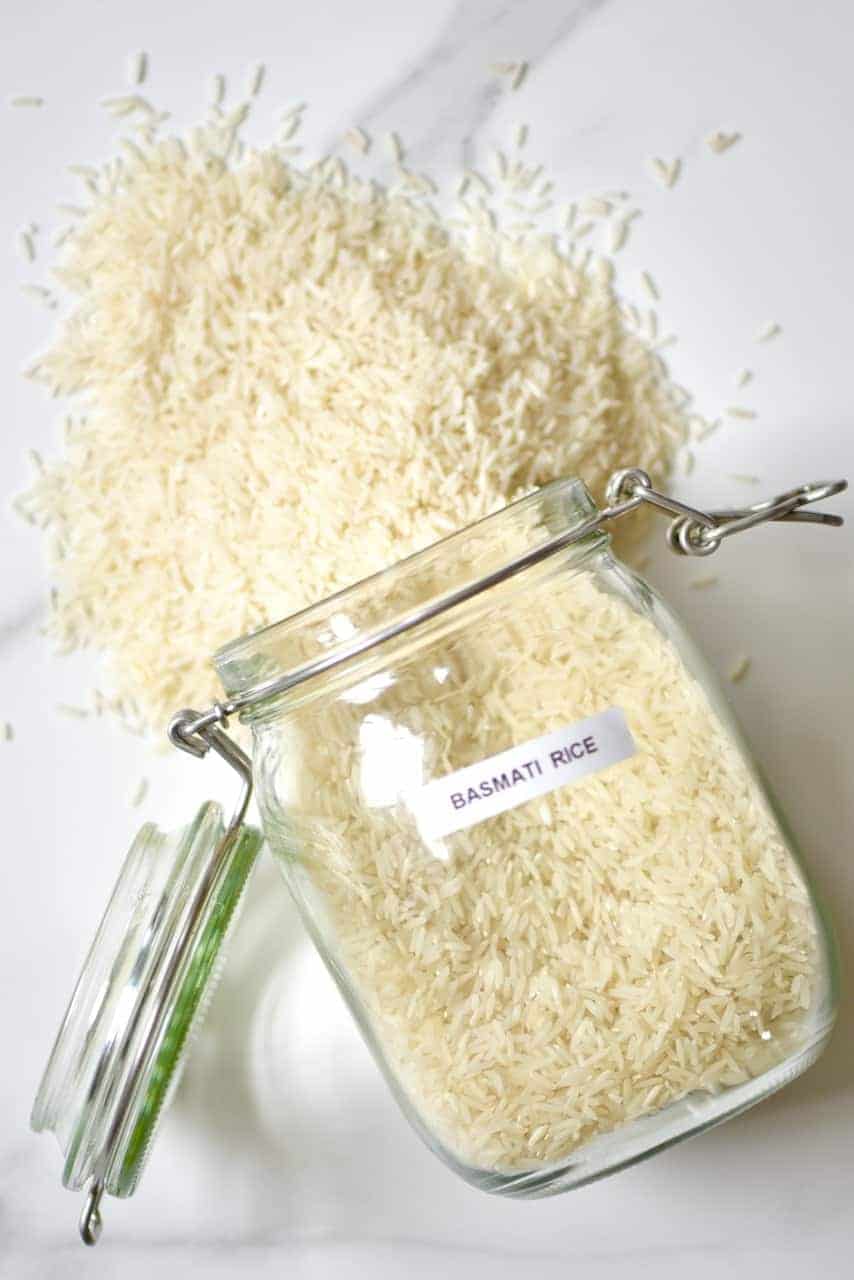
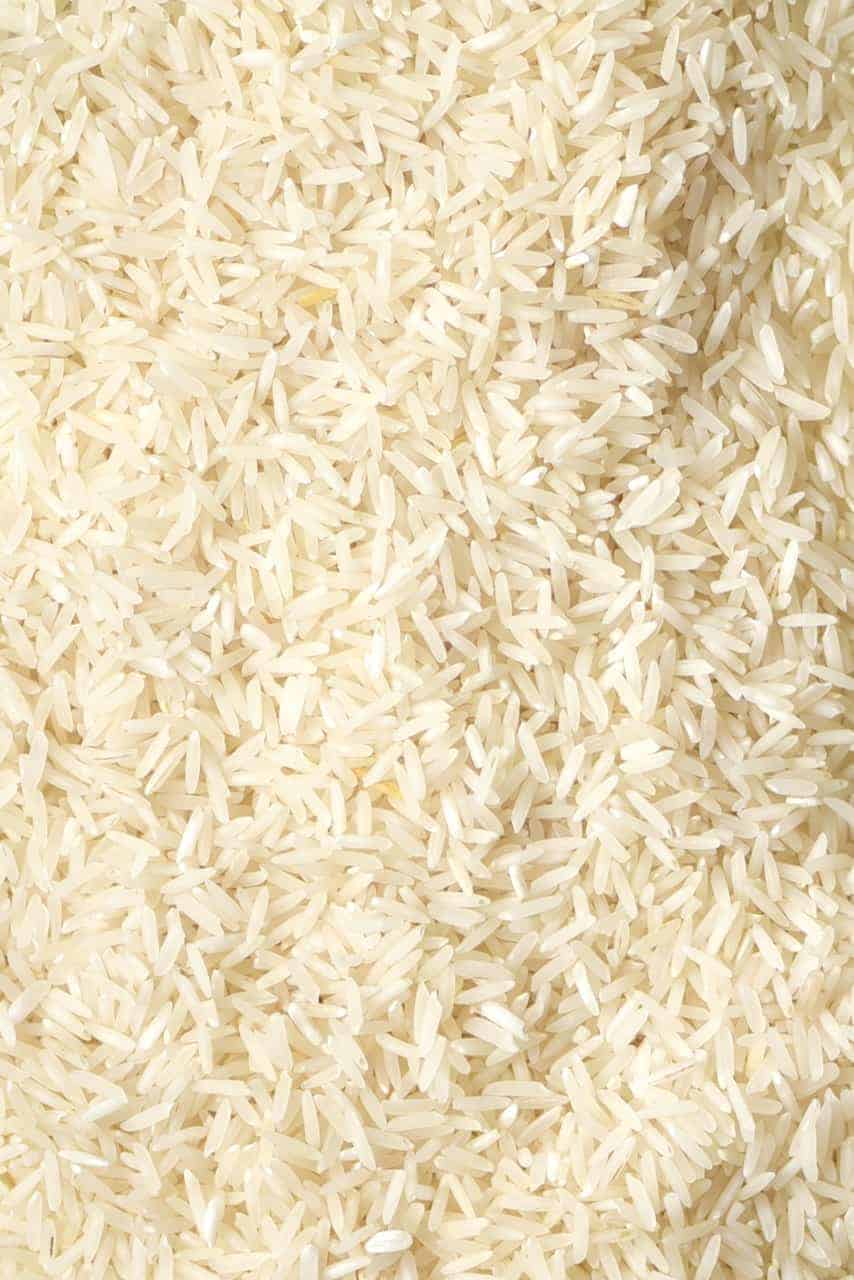
Oh and, with rice milk, it’s worth noting that you can experiment with brown vs white rice etc. for different nutritional value. I chose white as I had a large bag in my pantry already that needed to be used. However, I’ve made brown rice milk before too and loved the results- feel free to experiment.
If you are wanting to check out more dairy-free milk recipes then I have a whole variety on this blog. This includes Zero Waste Homemade Almond Milk, Homemade Oat Milk (that isn’t slimy), and How-to: DIY Homemade Coconut Milk. Plus lots more (including soy and a variety of nuts) in the DIY section of my blog.
Is Rice Milk Good For You
In comparison to other dairy-free milk recipes, homemade rice milk has a variety of pros and cons. As well as the options mentioned above include being cost-effective.
Pros:
- Rice milk is one of the least allergenic dairy-free milk options, meaning it’s great for those with nut and other allergies.
- It is one of the sweeter milk alternatives, being naturally sweetener than most nuts.
- Because of rice milk containing no cholesterol, it is a very heart-healthy option.
- Rice is an excellent high-carb option (which can be a pro or con, depending on who you ask). Personally, I take this as a good thing as carbs provide more energy with less fat, to keep you fuller for longer.
Cons:
- In comparison to other dairy-free milk recipes, homemade rice milk is high carb, low fat, low protein and low fibre.
- Rice contains more natural high sugars, so while this is good for the taste, it’s not as nutritionally balanced as it could be.
- Rice milk can contain small amounts of arsenic. This shouldn’t be an issue unless you’re consuming rice milk multiple times a day, every day. Brown rice contains more arsenic than white usually. However, rinsing/cooking the rice will help to remove some of it.
- When comparing rice milk side-by-side with other dairy-free milk options, you’ll notice that rice milk is more translucent. This is because rice milk can be one of the ‘thinner’ dairy-free milk options – which some people may not be a fan of.
How To Make Rice Milk
When it comes to making dairy-free milks at home, it can feel a bit like I’m a stuck record because the process is not only simple but also almost identical for every single milk.
All you need is
- A high-speed blender
- A nut milk bag or layers of cheesecloth
- Filtered Water
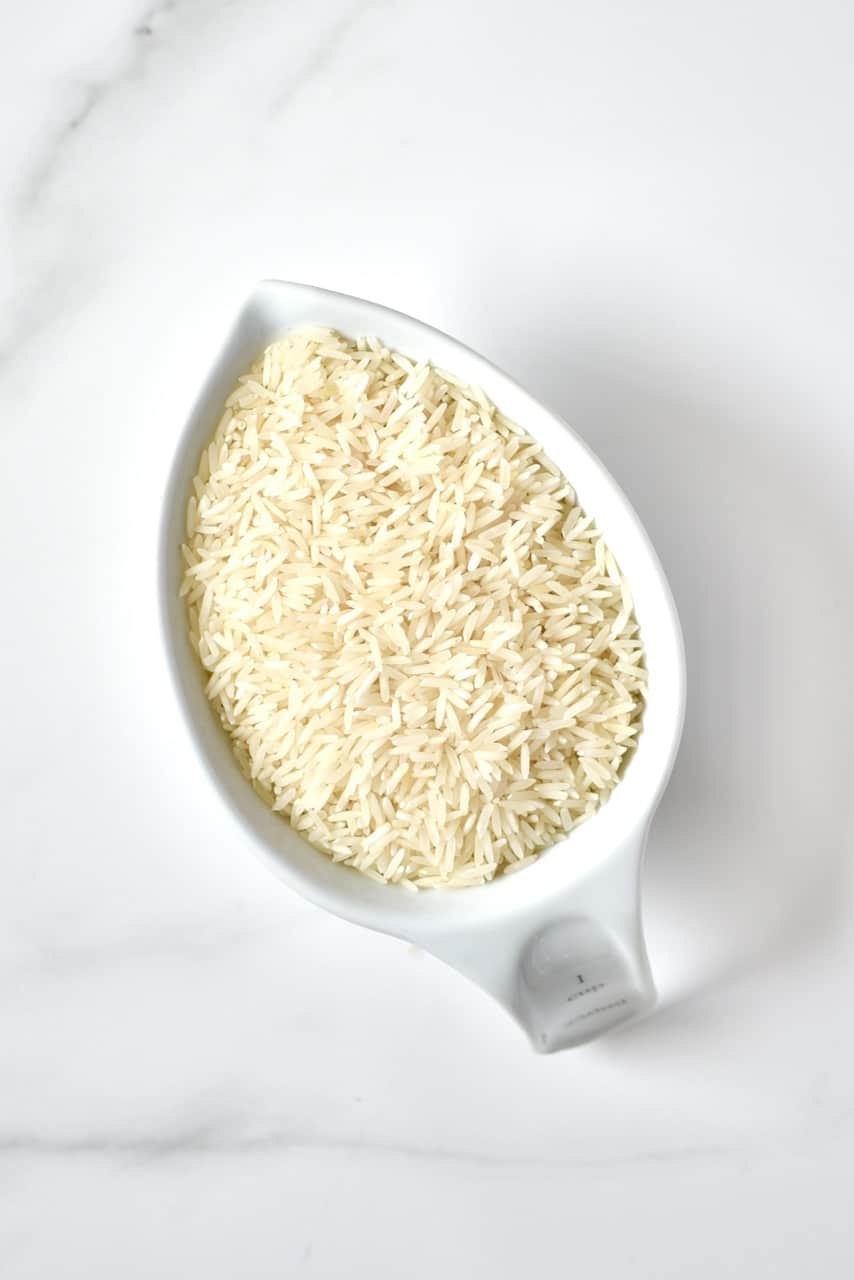
- Your base item (this time, Long grain white rice)
In fact, I don’t even need the second item I have the NutraMilk machine (If you’d like to buy one, use discount affiliate code ALPHAFOODIE50 at checkout for a £50/$50 discount). This machine blends and then automatically strains the liquid for you, leaving the small amount of leftover ‘pulp’ behind in the bottom of the jug. You can then use the pulp for a variety of other uses, so every single milk is zero-waste.
I like to use cooked rice, instead of just soaked, for texture as well as to avoid a starchy final product. By rinsing and cooking your rice then you’ll get rid of some of the excess starch in the rice. However, if you want to try the soaked method then simply soak your rice in hot water for 2-3 hours.
Note* I usually make my homemade rice milk at the same time as meal-prepping any meals with rice, so I’m already cooking the rice. You can also use leftover cooked rice that you have, so nothing goes to waste.
How to make rice milk
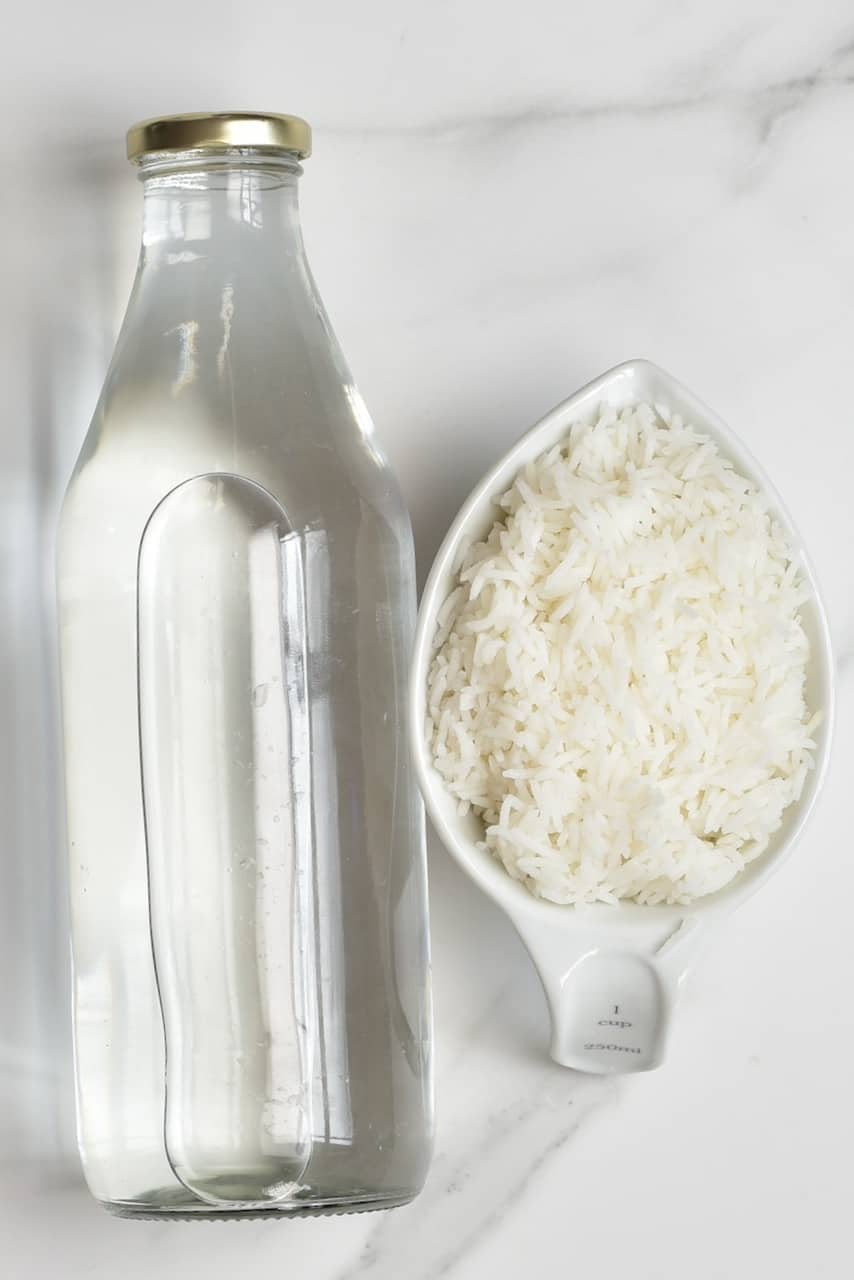
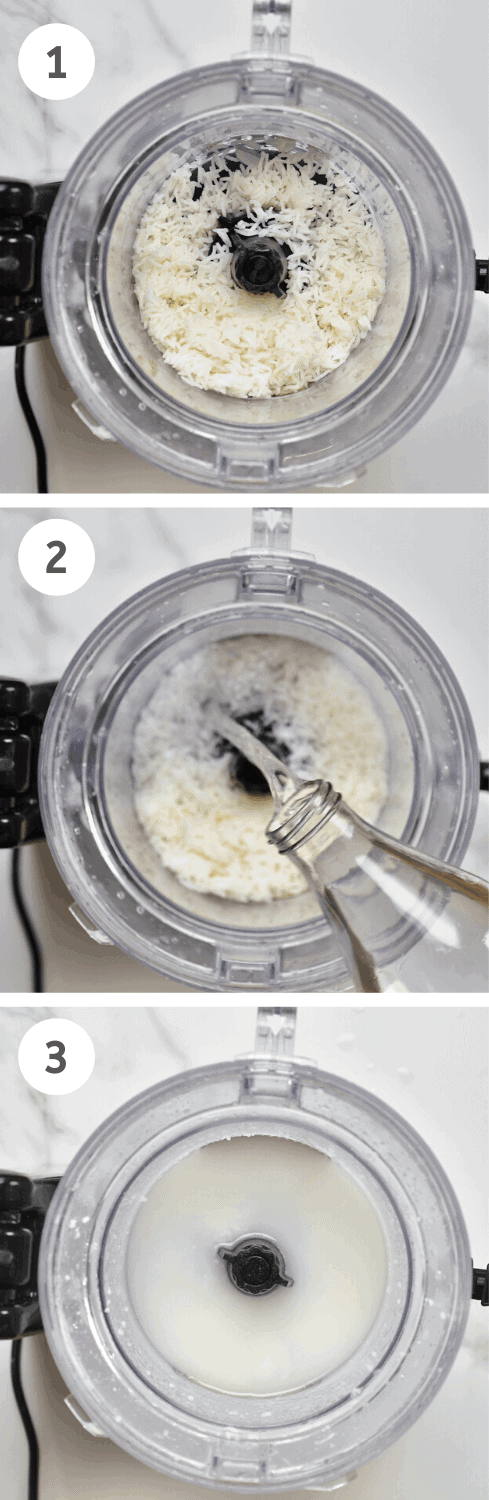
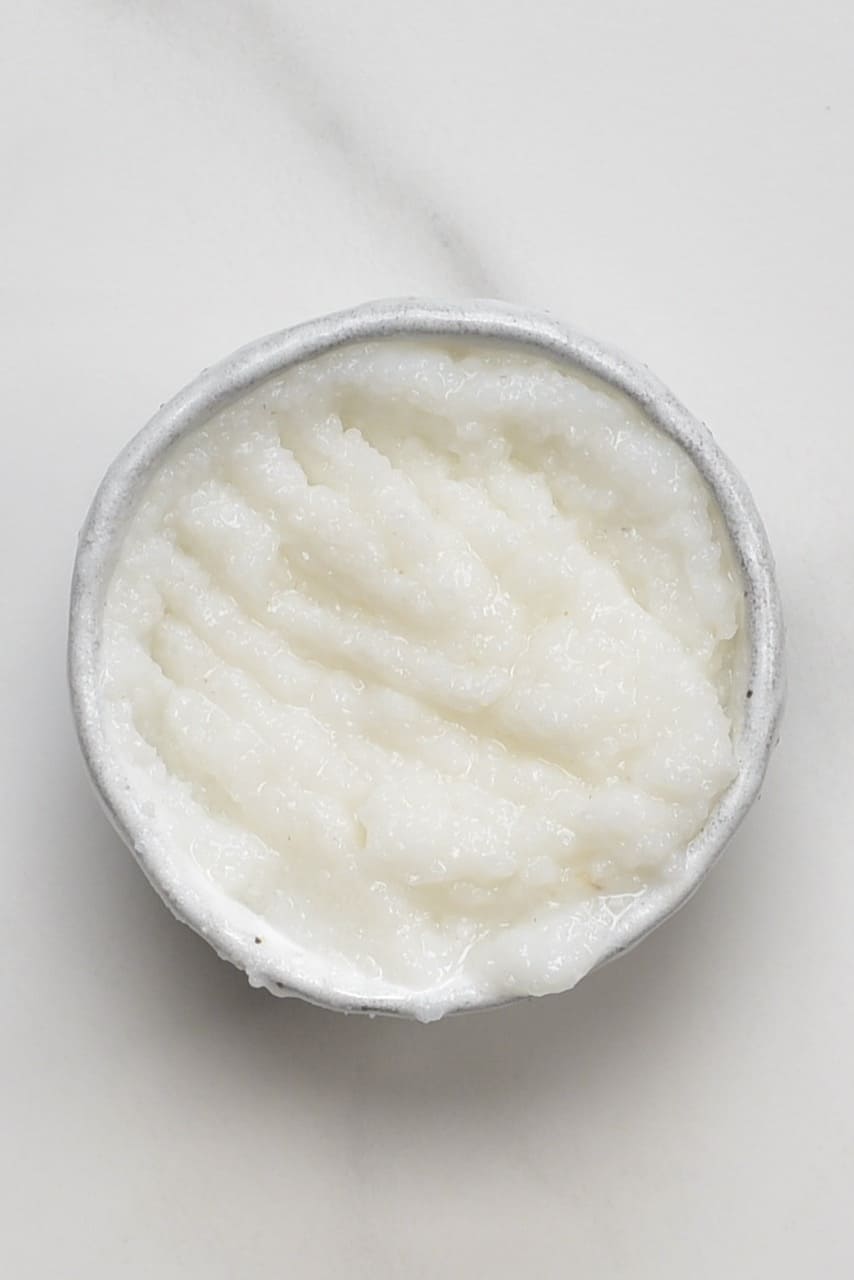
Rinse and cook the long-grain rice. Use one cup of cooked rice and add it to a high-speed food processor/blender. Add the cups of water and blend.
Begin by blending for around 20 seconds, stop and check the consistency. Blend for longer if required.
I prefer my rice milk to be light so blend it for a minimal time. This means there’s a lot of leftover rice pulp and it’s fairly thin. However, for a creamy version then you can blend your rice milk for between 1-2 minutes.
Note* I’ve found that if I blend it for longer, till it’s super creamy, then the rice almost all but disappears in a way that doesn’t require filtering/sieving. The sediment that is left in the milk isn’t unpleasant.
I use my NutraMilk processor, which allows me to drain the liquid directly into a bottle while keeping any rice leftovers in the jug. When using a regular blender/food processor, after blending the rice with water, strain the milk into a bowl through a nut milk bag and squeeze gently to get all the milk out.
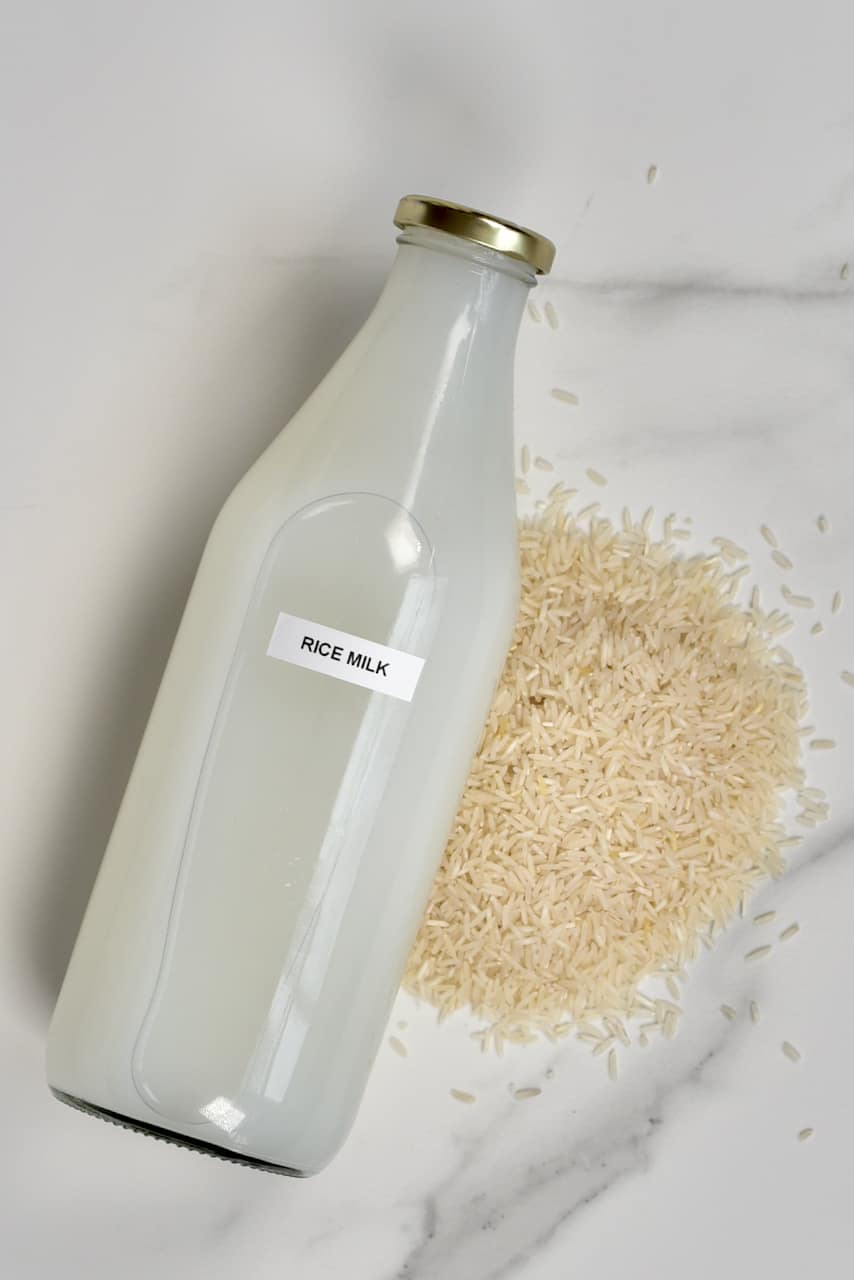
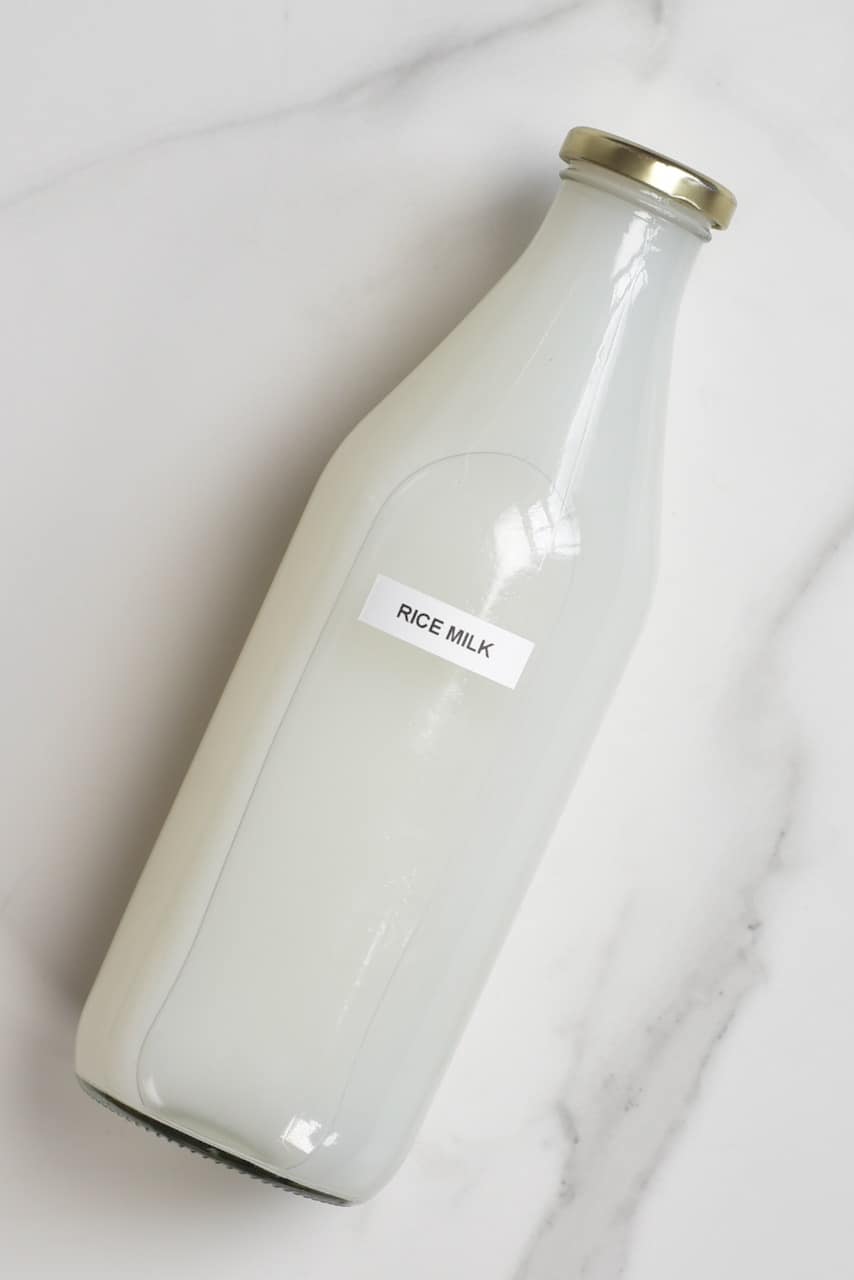
Store in a glass bottle in the fridge for 4-5 days. It can also be frozen for longer-term storage.
You’ll know when the rice is past its best when it begins to smell ‘sour’.
Note* If you find that you go to drink your rice milk and it is a little sour then you can actually use this as a ‘buttermilk’ alternative to make some delicious pancakes. I’ve only ever done this a day or two after the 4-5 day period – Better safe than sorry, I say.
How to Use The Leftover Rice Pulp
As I mentioned above, depending on how long you blend your rice milk will affect the amount of leftover rice pulp you have (if any). However, if you do find that you have quite a bit then there are a few ways to use this rice pulp.
I like to use the rice pulp to make a quick warm ‘rice pudding’ style meal with some homemade coconut milk or cream, a natural sweetener and some cinnamon/pistachio sprinkles. You could also add it to a homemade soup like this Healthy Lentil Soup with Rainbow Chard. Or even use it to prepare a congee ‘rice porridge’ dish.
Rice Milk Variations
I think it’s crucial to note that this is the absolute base recipe’ for rice milk. With this recipe, you can then experiment with sweeteners, rice types etc. I’ve made homemade rice milk ALOT and have probably tried a dozen variations (at least) yielding slightly different results every time.
Whether it’s taste, add-ins, thickness, etc., there are a lot of changes you can do to this simple rice milk recipe.
For example:
- How you prepare your rice will affect the consistency of your final homemade rice milk. This recipe uses cooked rice, however, you could also use rice soaked in hot water for 2-3 hours.
- If you use hot vs cold rice with hot vs cold water. Hot rice with hot water can yield a super cream rice milk. So much so that you may need to dilute it with extra water (so even cheaper to make!).
- Your blending time will also affect how creamy your homemade rice milk is too. You might be tempted to leave it for less time, but this can leave you with a ‘thin’ final milk. I suggest blending it for the full (2) minutes.
- Depending on the consistency you prefer, you can use less/more rice to water ratio.
- You can choose to not strain your rice milk at all if you’re left with just a little amount of sediment. It will yield creamy milk. Just shake the bottle before drinking it.
Optional Rice Milk Add-Ins
- For a creamier milk, add a handful of soaked cashews when blending.
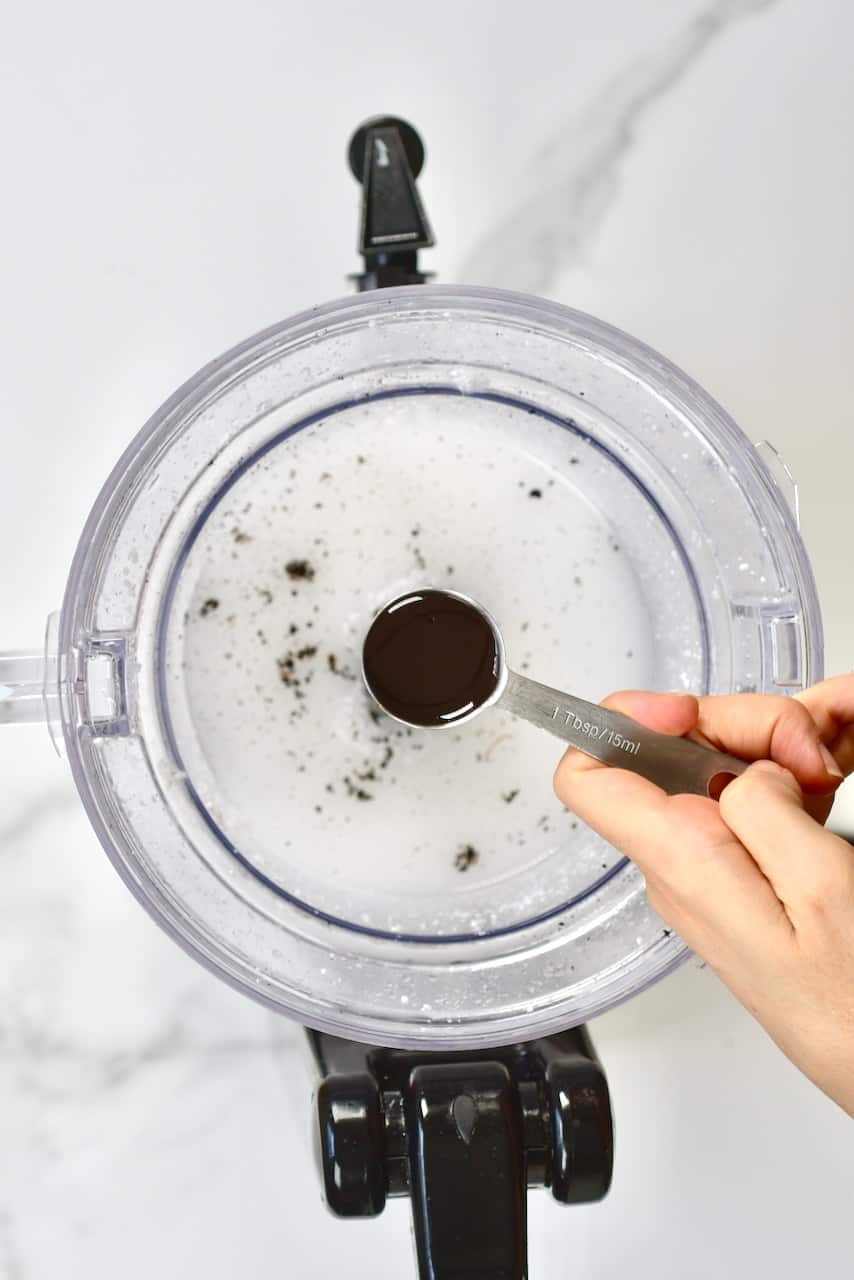
- Sweetener: I like to stick to natural unrefined sugars like maple syrup, agave, or Medjool dates (or dates syrup).
- Spices: Vanilla extract (I use homemade) or just vanilla powder, Cinnamon, nutmeg etc.
- Cacao powder for delicious chocolate milk.
If you have any questions then feel free to leave them in the comments below. Also, I love to see any recreations to you can tag me on Instagram @AlphaFoodie.
For the full plethora of dairy-free homemade milk, feel free to browse through the DIY section of my blog or search ‘milk‘ in the search bar for options including soy, flax, almonds, oats, pistachio, etc.
Homemade Rice Milk (2 Ingredient)
Equipment
Ingredients
- 1 cup rice cooked
- 4 cups filtered water
Instructions
- Note* For this recipe I'll assume you already have cooked rice. If not, simply cook it according to the package instructions.
- Use one cup of cooked rice and add it to a high-speed food processor/blender. Add the cups of water and blend.
- Begin by blending for around 20 seconds, stop and check the consistency. Blend for longer if required. I prefer my rice milk to be light so blend it for a minimal time. This means there's a lot of leftover rice pulp and it's fairly thin. However, for a creamy version then you can blend your rice milk for between 1-2 minutes. *
- I use my NutraMilk processor, which allows me to drain the liquid directly into a bottle while keeping any rice leftovers in the jug. When using a regular blender/food processor, after blending the rice with water, strain the milk into a bowl through a nut milk bag and squeeze gently to get all the milk out.
- Store in a glass bottle in the fridge for 4-5 days. It can also be frozen for longer-term storage.
- You'll know when the rice is past its best when it begins to smell 'sour'. **
Video
Notes
Nutrition
Nutrition information is automatically calculated, so should only be used as an approximation.


I keep bags of cooked rice in my freezer to make rice milk quick. I use brown rice. This last time my milk had a cotton-like sediment at bottom of jar. What is that?
Hi Shiloh,
This sediment is probably starch that has separated from the rice during the freezing and thawing process. It’s not harmful and you can sieve it out if wanted.
I appreciate the rice milk idea as I’m stuck at home with no way to the store except once a month and buying shelf stable milk to be shipped is around $12 a gallon or more (and that’s with free shipping!)
The pulp can be used in quick breads, just like using the pulp from juicing carrots, apples, etc
Hi there!
Glad you like the rice milk. Thank you for the tip on how to use the pulp! 🙂
How many medjool dates to a batch?
I’d just add 1 or 2 but it’s up to personal preference and what type of dates you are using – for example, Medjool dates tend to be bigger and even sweeter than other varieties.
Hi Samira, I am trying tonight with the soaking method.
What ratio do you use with Rice to Water
Hi Mary,
For soaking, just make sure there is plenty of water in the bowl/container. About 2 inches above the rice should be good.
When making the milk – the ratio of rice to water would be 1 to 4. I used 1 cup of cooked or soaked rice to 4 cups of water in the recipe. Hope this helps